

Dutch braids are the hairstyle I recommend to almost everyone. They look like you tried, but they honestly take less time than they seem to. And for Black women, they are a natural fit because our hair loves a good braid pattern.
In this post, I’m sharing 30 Dutch braid looks that actually work for everyday wear. The school run, the office, the gym, a random Tuesday. Some are sleek, some are soft, some carry that 2026 hairstyles energy.
You don’t need a professional braider for every single one. A few are simple enough to do yourself once you get the rhythm.
Let’s get into it.
Why Dutch Braids Work So Well for Everyday Wear
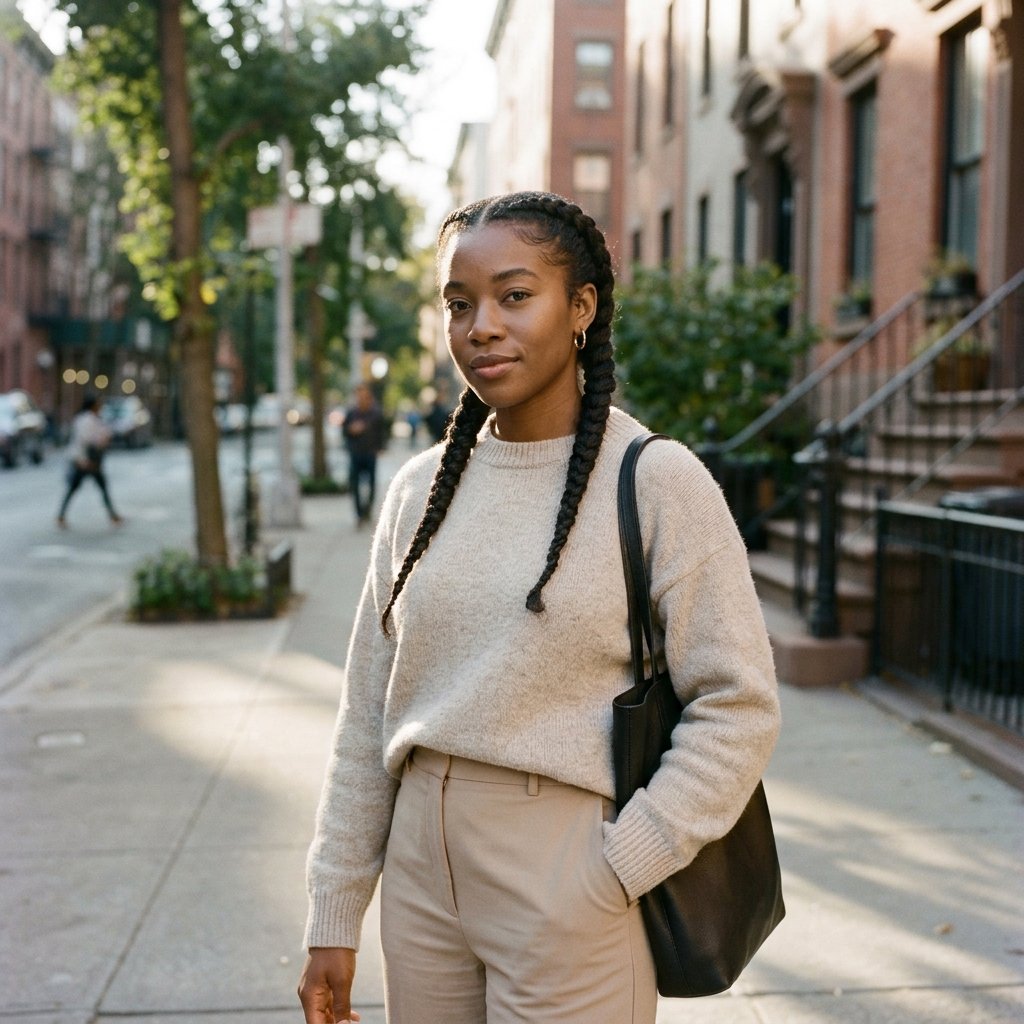
Dutch braids are the flip side of a French braid. Instead of crossing the strands over, you cross them under, so the braid sits on top of your hair. The result looks bold, defined, and a little bit expensive.
For Black women, that technique is a genuine win. It keeps ends tucked away, holds moisture in, and protects your edges while you get on with your day.
- Works on natural, relaxed, and extension hair
- Holds for three to five days with proper care
- Looks polished without any heat styling
That’s why it keeps showing up in every roundup of 2026 hairstyles. Practical and pretty at the same time.
The Classic Two Dutch Braids
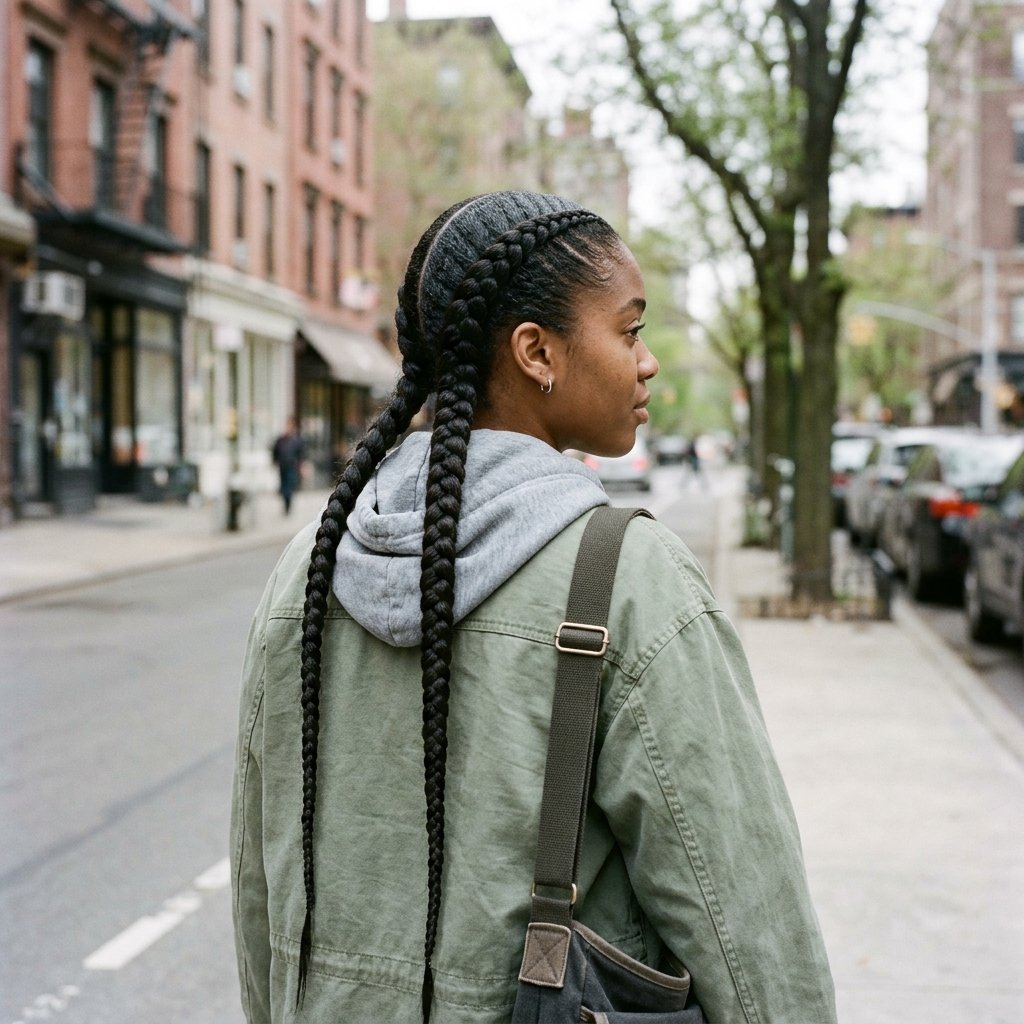
Two braids down the back is the original, and it still wins. Part your hair cleanly down the middle, braid each side close to the scalp, and tie off with a satin scrunchie instead of a rubber band.
The trick is a sharp part. Take a fine comb and go slow for the first inch. Everything after that looks intentional.
- Part clean down the middle
- Braid each side using the underhand method
- Seal the ends with oil before tying off
- Add a light edge control only where needed
Wear it with hoops and a plain tee and you look put together in ten minutes.
One Sleek Dutch Braid Down the Back
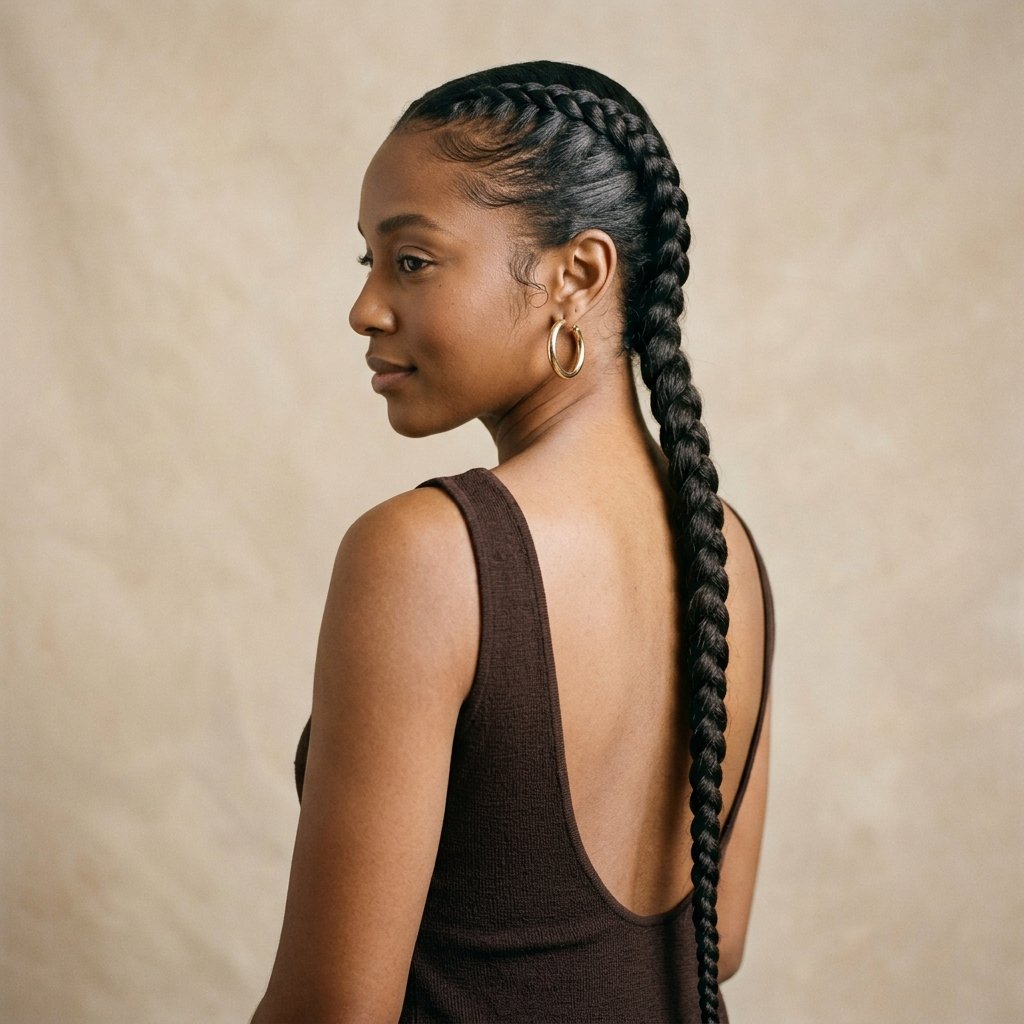
One braid is the quiet version of two. It reads softer and works beautifully for the office or a lunch date. Start at the crown, braid straight down, and keep the tension even so it doesn’t lean.
This one is my go-to when I want something low effort that still looks deliberate.
- Best on medium to long hair
- Pair with a middle or slight side part
- Finish with a tiny bit of shine serum on the braid itself
If your hair is fine, add a little mousse before you start. It gives the braid grip and stops it from slipping by lunchtime.
Dutch Braid Ponytail for Busy Mornings
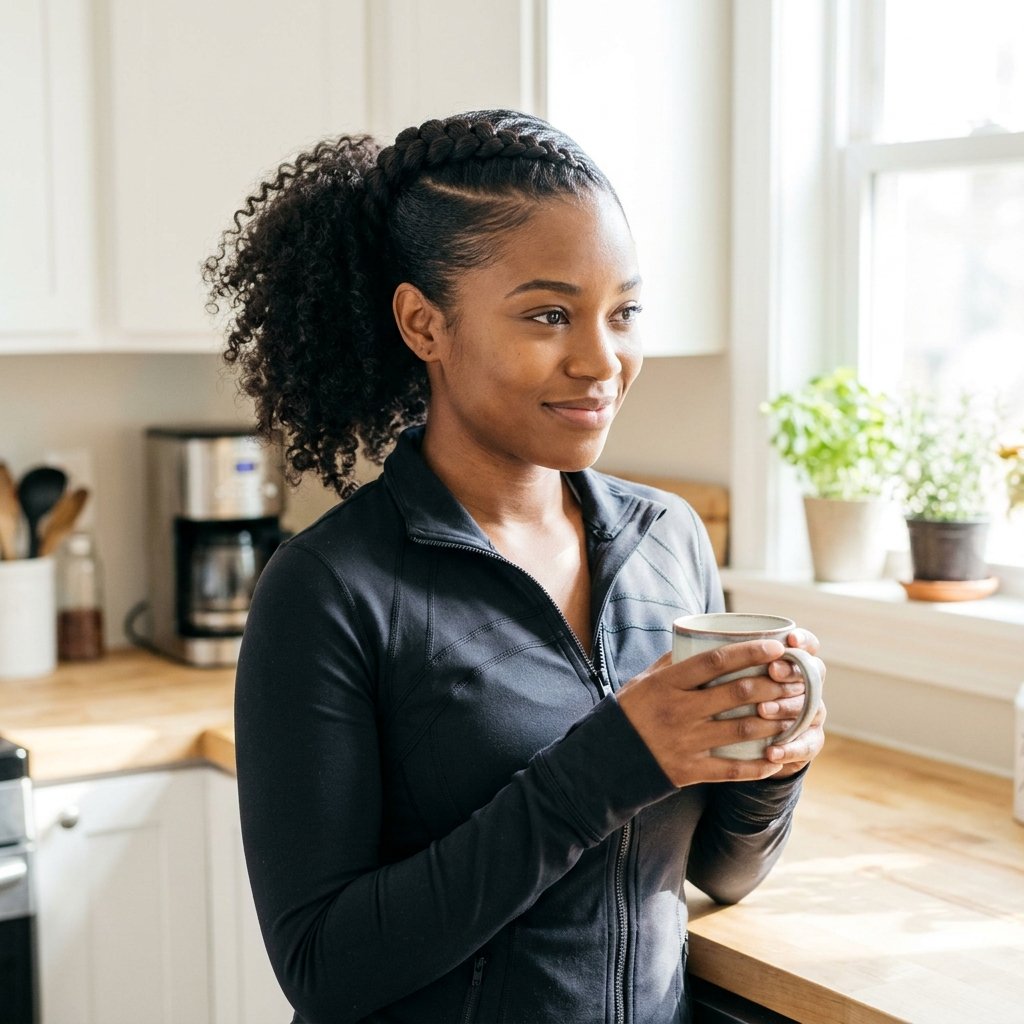
This is the five-minute version. Braid just the top section from your hairline to the crown, then gather everything into a high ponytail. You get the braided detail without committing to a full braid down.
It’s perfect for workout days, errands, or any morning when you hit snooze twice.
- Braid the top section in a straight line back
- Secure at the crown with a small elastic
- Gather the rest into a ponytail
- Smooth the sides with a soft brush
A wrap of hair around the base hides the elastic and makes it look finished.
Half-Up, Half-Down Dutch Braids
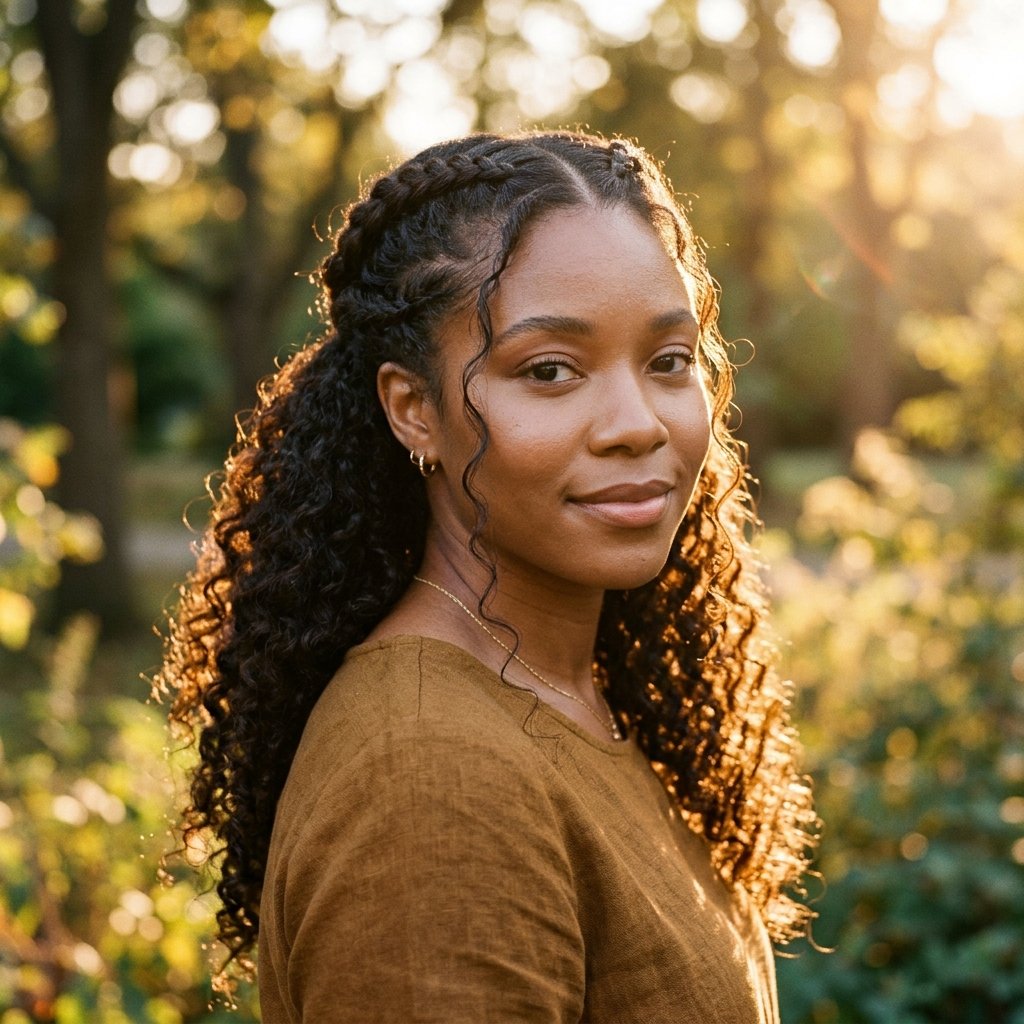
Two small braids on each side, joined at the back, with the rest of your hair loose. This one shows off your length and your curl pattern at the same time.
It’s a lovely choice for a birthday dinner or a Sunday brunch, but it’s easy enough for a regular workday too.
- Great for showing off healthy ends
- Works with curls, waves, or blown-out hair
- Keeps hair off your face without a full updo
Add a couple of gold pins where the braids meet. Small detail, big difference.
Feed-In Dutch Braids for Extra Fullness
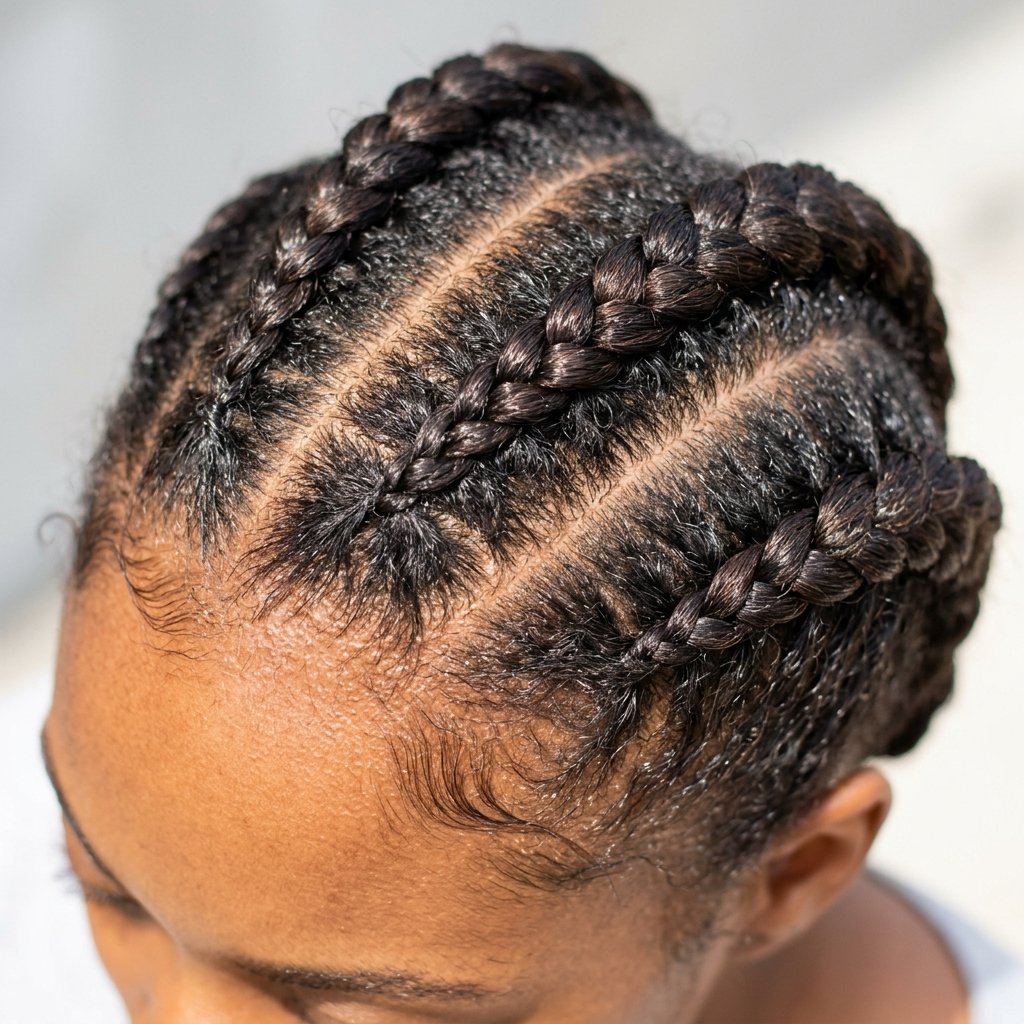
Feed-in braids are where you add small sections of hair as you go instead of starting with one thick chunk. The braid gets fuller and thicker toward the end, and the root looks softer.
This is the technique most professional braiders use, and it’s why their work lasts so much longer.
- Looks more natural at the root
- Lasts longer before it frizzes
- Protects your own ends better
If you’re learning to braid yourself, practice the feed-in motion on a mannequin first. Once it clicks, the whole style opens up.
Jumbo Dutch Braids for Big Volume

Jumbo braids are the statement version. Fewer, thicker sections, and a lot more presence. They photograph beautifully and they cut your braiding time in half.
They also work as a protective style when you want a break from daily styling without sitting in a chair for six hours.
- Best with extension hair for fullness
- Keep the parts clean and geometric
- Don’t pull too tight at the hairline
Jumbo braids look especially good with a sleek outfit and almost no other styling. Let the hair do the talking.
Mini Dutch Braids for a Subtle Look
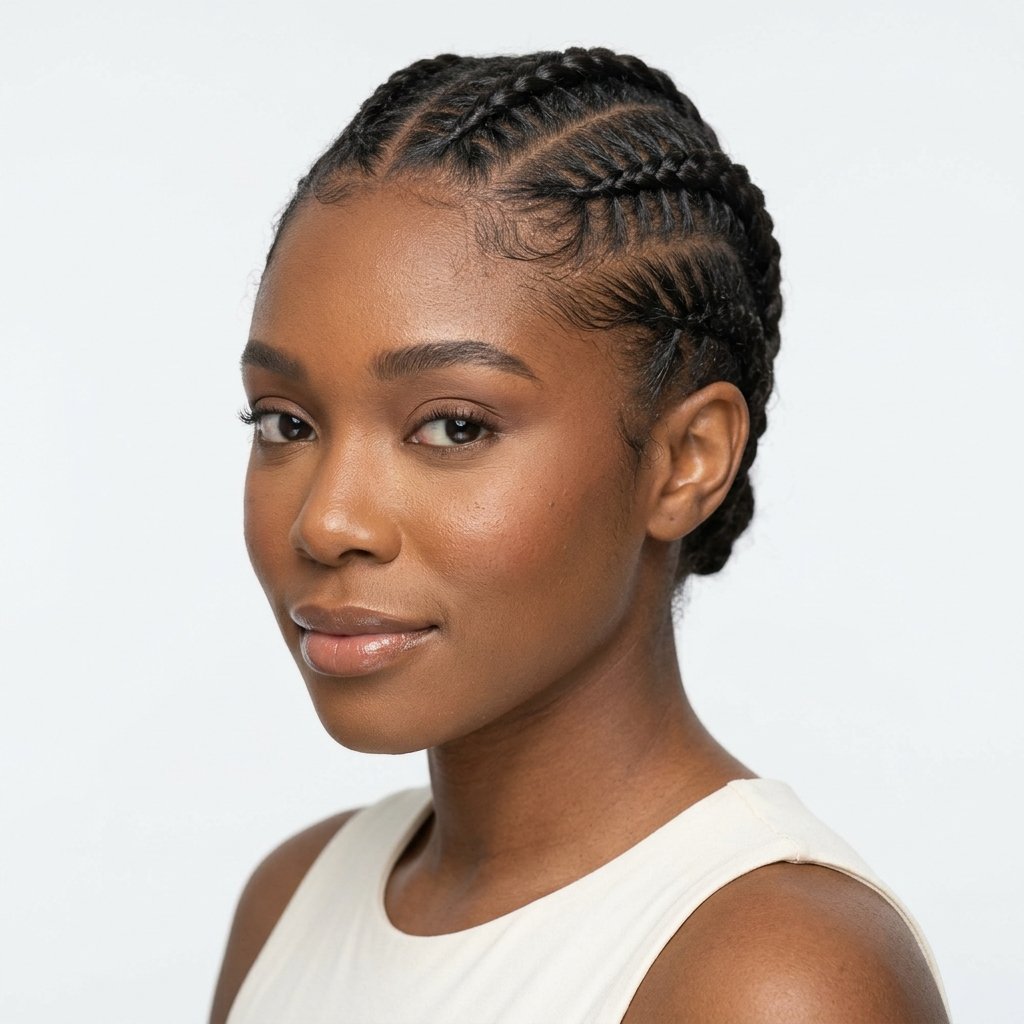
Mini braids are small, precise, and quietly striking. You can do two, four, or a whole pattern across the head, depending on how much time you have.
They last well and they look intentional without shouting. Very much a soft-luxury everyday choice.
- Great for short to medium hair
- Easy to refresh with a little oil
- Works under hats and scarves
Pair mini braids with a simple gold cuff or two and you’re done. Less really is more here.
Dutch Braid Crown (Halo Braid)
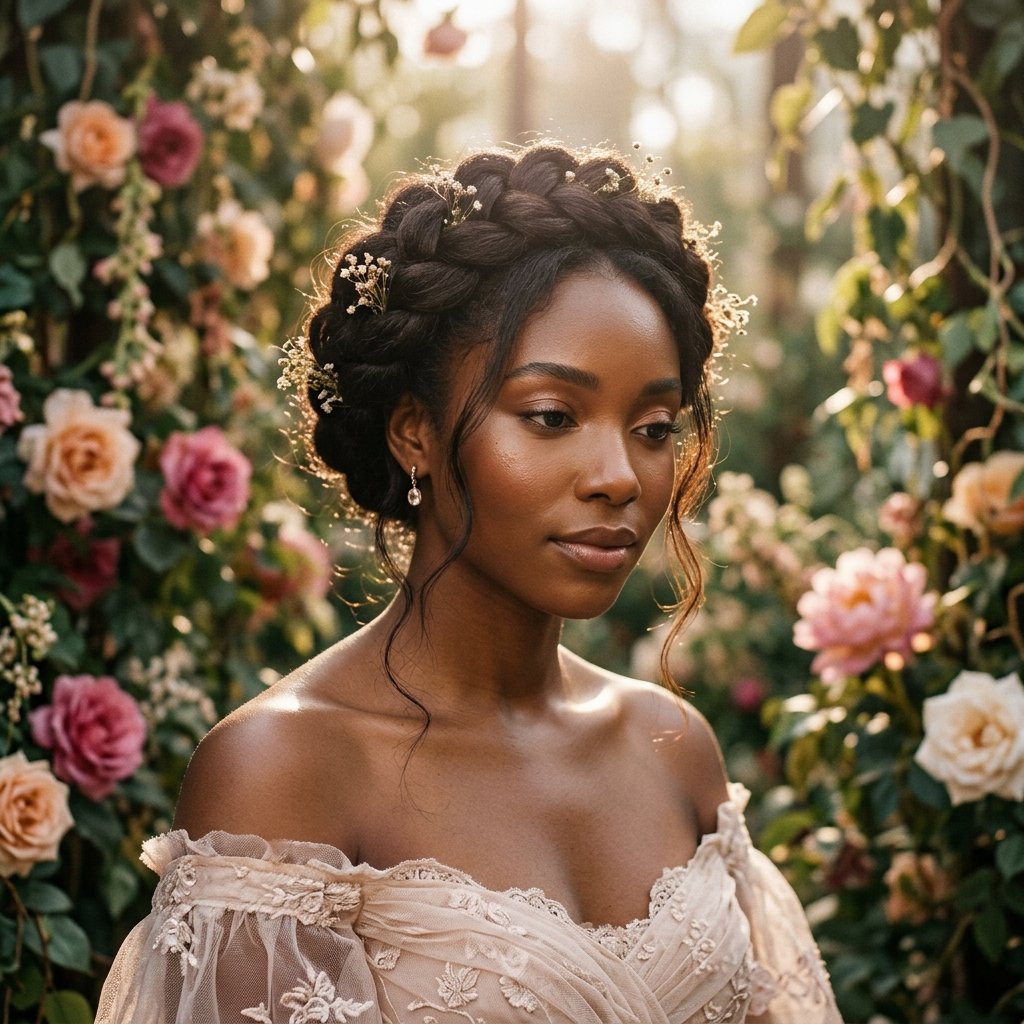
A halo braid wraps around your head like a crown. It’s romantic, it’s flattering, and it keeps every strand off your neck and shoulders.
Start a braid at one side, curve it around the back of your head, and tuck the tail under at the other side. Pin as you go.
- Braid along the hairline, not too tight
- Curve slowly around the back
- Tuck and pin the end underneath
- Gently pull the braid wider for softness
This one is beautiful for weddings, church, or any day you want to feel a bit special.
Side Dutch Braid for a Soft Finish

A side braid is relaxed and a little romantic. Instead of two braids, you braid one side across and let it fall over your shoulder.
It’s an easy way to switch up your usual routine without learning anything new.
- Start with a deep side part
- Braid diagonally toward the opposite shoulder
- Leave a few soft pieces out near the face
This is one of those styles that looks like you did something, even when you barely did.
Dutch Braids Into a Low Bun

Two braids that meet at the nape and roll into a low bun. It’s clean, professional, and holds up through a full workday.
This one is a favorite for interviews, presentations, and any day you need to look sharp.
- Braid both sides toward the nape
- Gather the tails into a small bun
- Pin securely and smooth flyaways
- Add a light shine spray
It looks especially elegant with a middle part and a turtleneck. Simple, quiet, expensive-looking.
Dutch Braids With Curly Ends
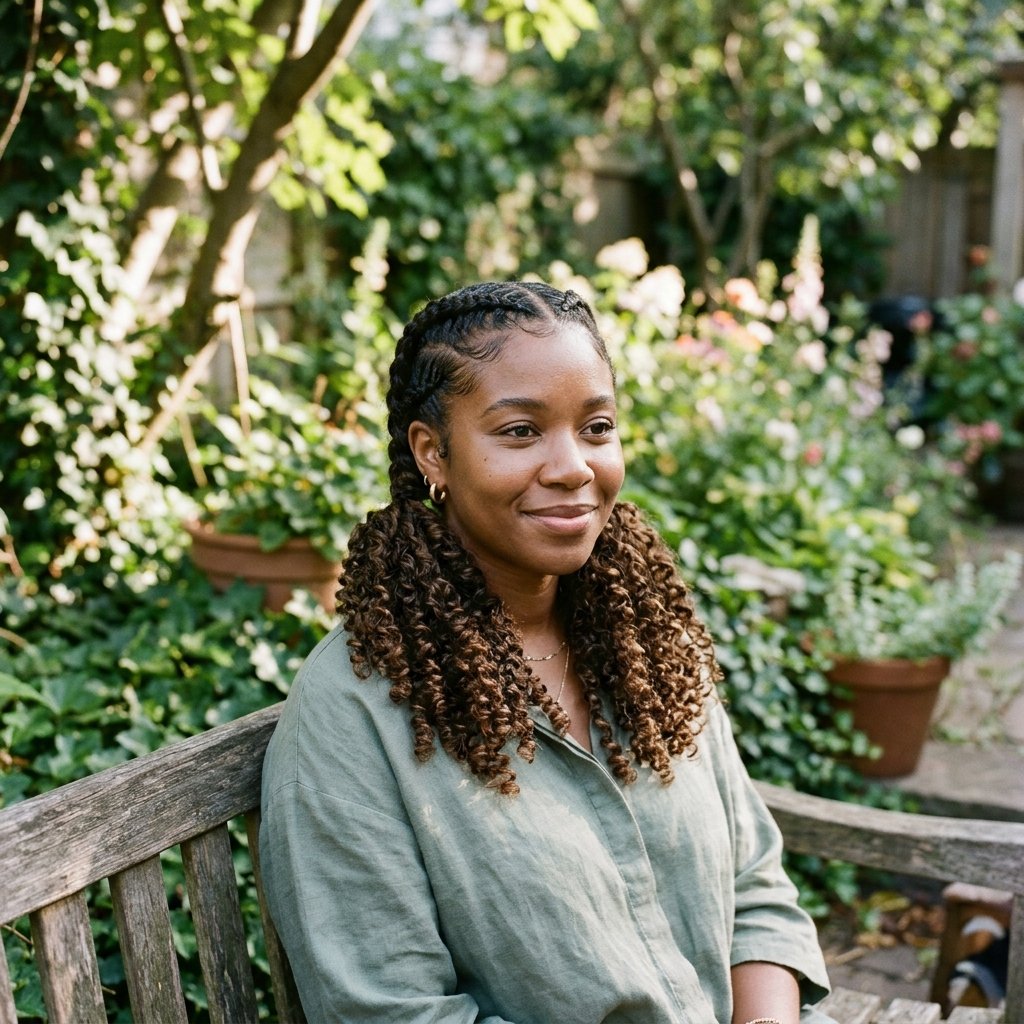
You don’t have to braid all the way down. Stop about two-thirds of the way and leave your curls out at the ends.
It’s a beautiful way to show off your texture and give the style movement.
- Braid loosely near the ends
- Define curls with a light cream or gel
- Twist the ends around your finger to shape them
This works best on natural hair with some length. It also softens the whole look, which is great if full braids feel too severe for you.
Dutch Braids With Gold Cuffs and Hair Jewelry
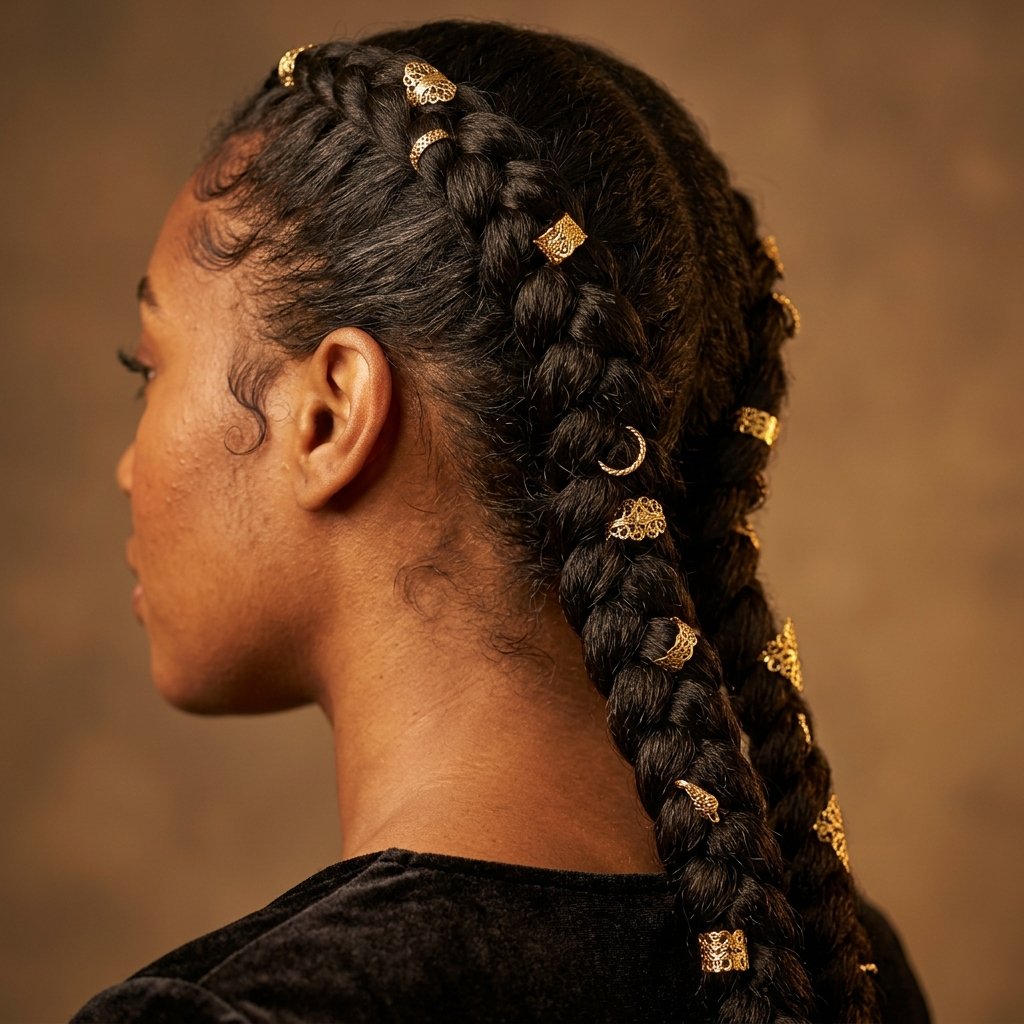
Gold cuffs are the easiest way to make plain braids look expensive. You slide them onto the braid at different points and instantly have a styled look.
They’re reusable, affordable, and they take about a minute to add.
- Use two or three cuffs per braid, not ten
- Space them evenly for a cleaner look
- Choose gold or silver, not both
This is the trick that makes a simple Dutch braid look like it belongs on a mood board.
Dutch Braids on Short Hair, Bob and Asymmetrical Lob Friendly
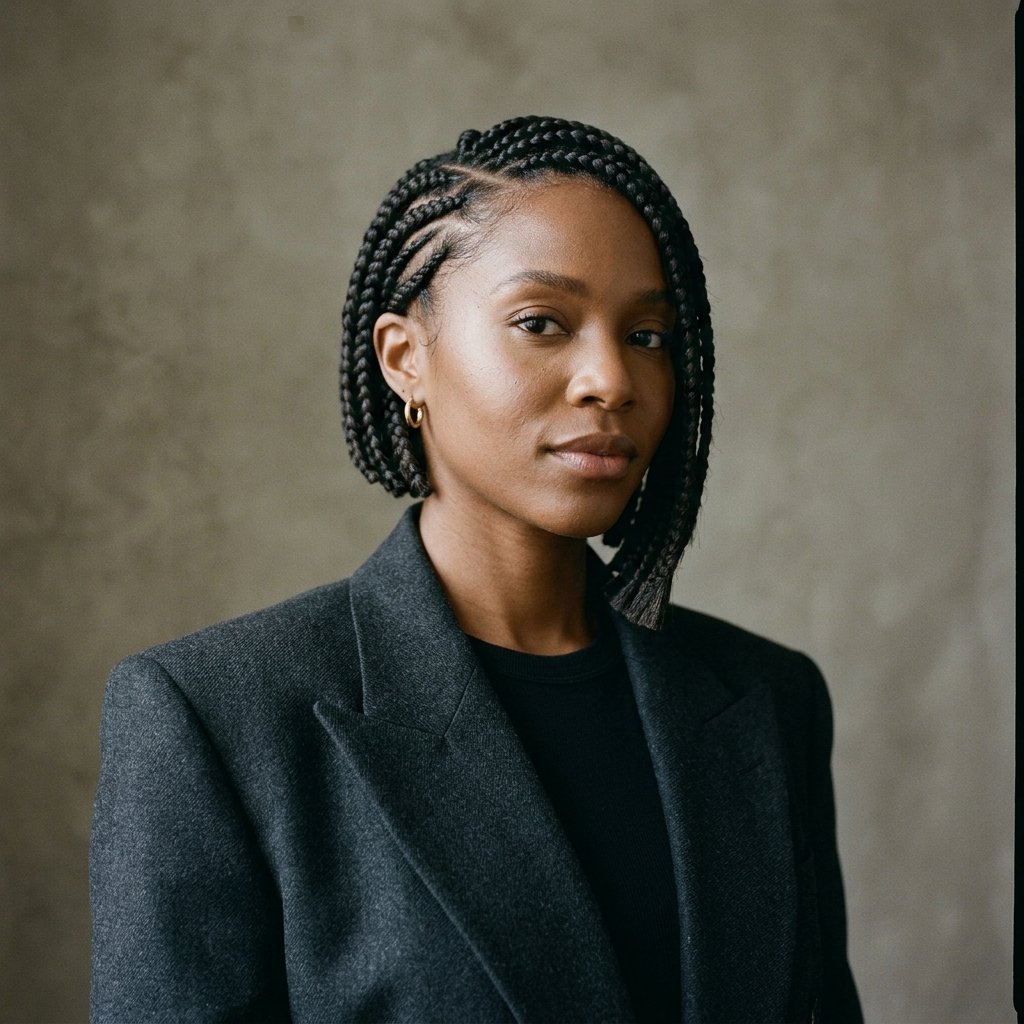
You don’t need long hair for Dutch braids. On a bob or an asymmetrical lob, a partial braid along the side or top is enough.
If the quiet luxury bob is your usual look, this is how you get the same clean feeling with a bit of texture.
- Braid only the front sections
- Pin the tail along the side
- Keep the rest sleek and smooth
Short hair with a Dutch braid detail looks modern and a little unexpected. It’s a nice change from the usual pinned-back style.
Face-Framing Dutch Braids With a Hime Cut Twist
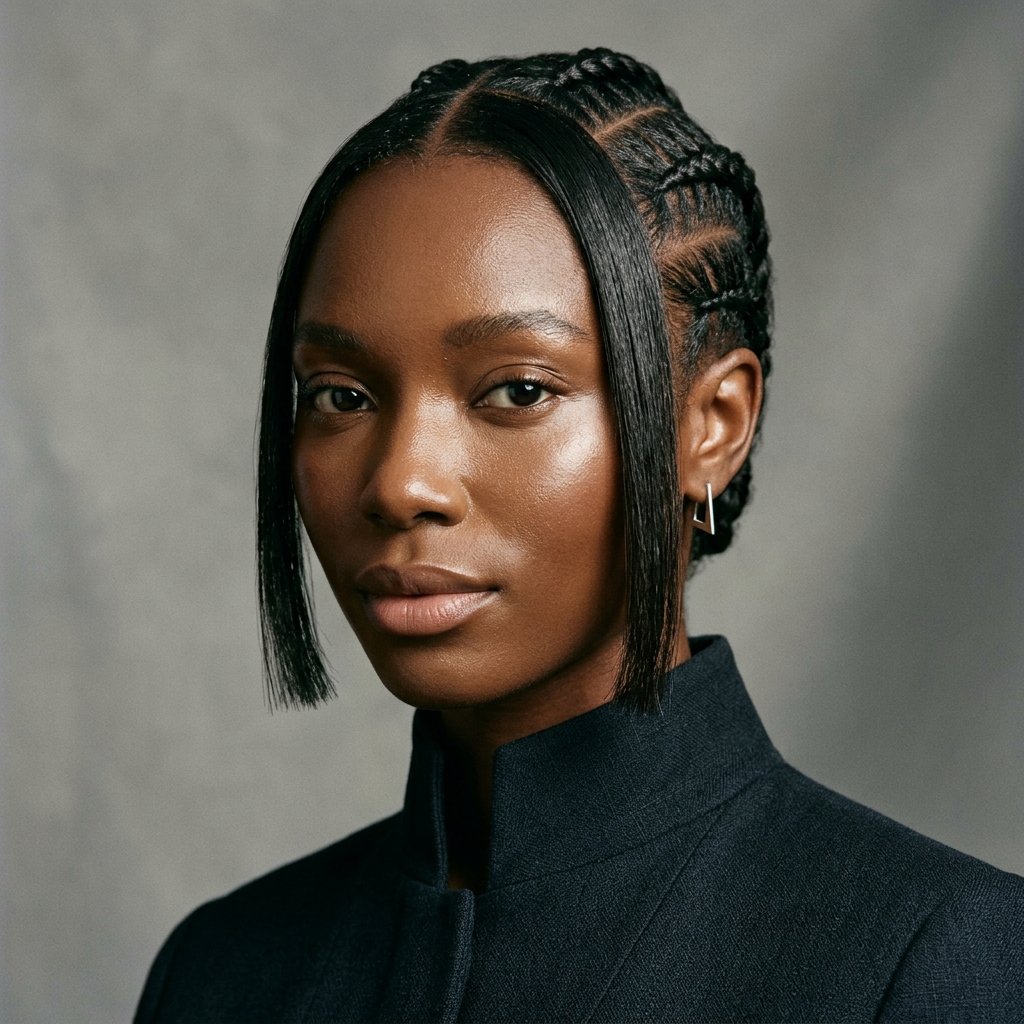
This one leans into the hime cut idea. Braid the back and middle, but leave blunt, straight pieces around the face to frame your features.
It blends a soft romantic braid with sharp, clean lines. Very 2026 hairstyles.
- Keep the face-framing pieces blunt, not layered
- Smooth them with a little serum
- Braid close to the scalp for contrast
It’s a great option if you love edgy beauty trends but still want a style that works for a normal day.
Deep Side Part Dutch Braids With Old Money Hair Energy

Old money hair is all about looking effortless and expensive at the same time. A deep side part with one clean braid does exactly that.
Keep the braid smooth, the part sharp, and skip anything too busy. No chunky accessories here.
- Deep side part, combed flat
- One braid, even tension
- Soft shine finish
This is the look for a nice dinner, a family event, or any day you want to feel quietly put together. Less is genuinely more with this one.
Dutch Braids With Curly Baby Hairs
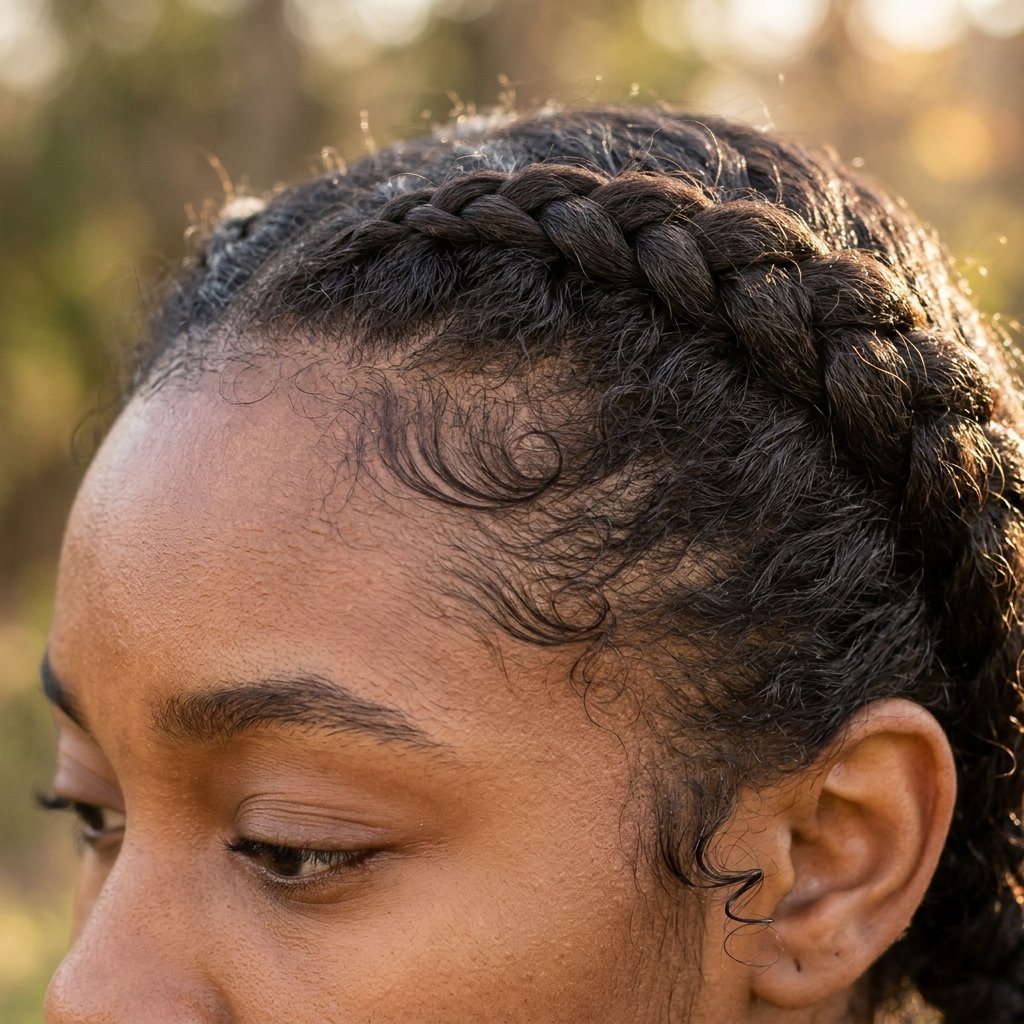
Curly baby hairs around a clean braid is a classic for a reason. It softens the hairline and makes the whole style feel more personal.
You don’t need much. A little edge control and a small brush is enough.
- Braid first, then style the edges
- Use a soft brush and light gel
- Swipe in small curves, not hard lines
- Lay a light scarf for five minutes to set
Keep it soft and natural. The braid does the heavy lifting.
Romantic Goth Dutch Braids
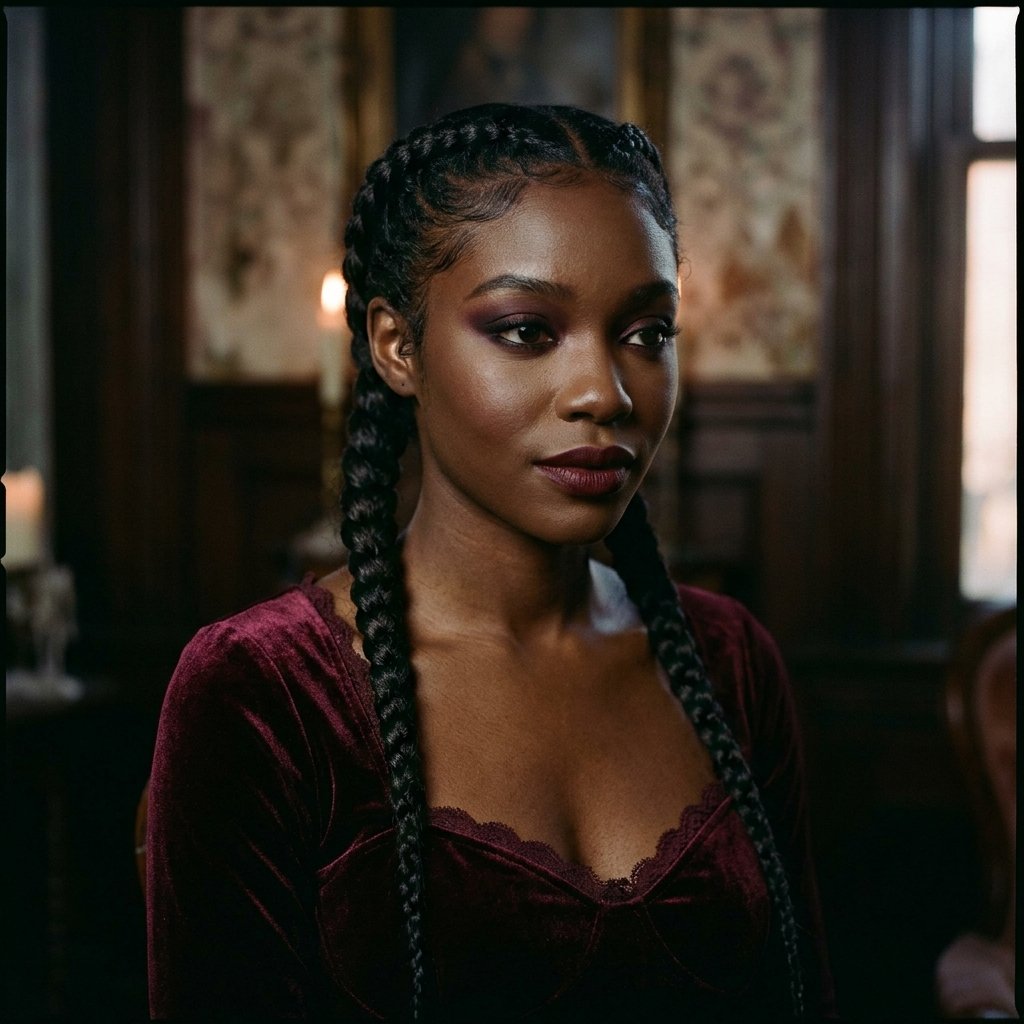
Braids can absolutely be part of a moodier look. Two Dutch braids with dark lipstick and a velvet top is one of the best romantic goth hairstyles out there.
It’s soft but dramatic, which is exactly the point.
- Keep the braids tight and clean
- Leave a few loose pieces near the face
- Pair with deep tones and silver jewelry
If you’ve been eyeing a vampire haircut or something darker for the season, start here. It’s a low-commitment way to shift your whole vibe.
Glitchy Glam Dutch Braids

Glitchy glam hair is a little bit off, on purpose. Think uneven braids, one side tighter, mixed textures, and a little shine.
A Dutch braid on one side with the other side loose and slicked back is the easiest way to try it.
- Vary the tension between sides
- Mix metal cuffs with a smooth finish
- Keep your makeup clean and let the hair be loud
It’s playful and it doesn’t take itself too seriously. Perfect for a night out or a content day.
Dutch Braid Updo for the Office

Braid both sides, then wrap and pin the tails into a soft updo at the back. It’s polished, it lasts all day, and it keeps your hair out of your way.
Two pins and a little patience are all you need.
- Braid both sides toward the back
- Cross the tails and pin into a small bun
- Smooth any stray pieces
- Finish with a light hold spray
Pair it with a blazer and you’re ready for any meeting on the calendar.
Dutch Braids for the Gym and Errand Days

For workouts, tight Dutch braids are unbeatable. Nothing shifts, nothing falls in your face, and you don’t have to touch it once.
It’s also the perfect style for a full errand day when you don’t want to think about your hair again until bedtime.
- Braid close to the scalp
- Skip heavy product
- Use a sweatband to protect your edges
After the gym, a little dry shampoo at the roots and you’re fresh again. Simple and reliable.
How to Keep Dutch Braids Looking Fresh All Week
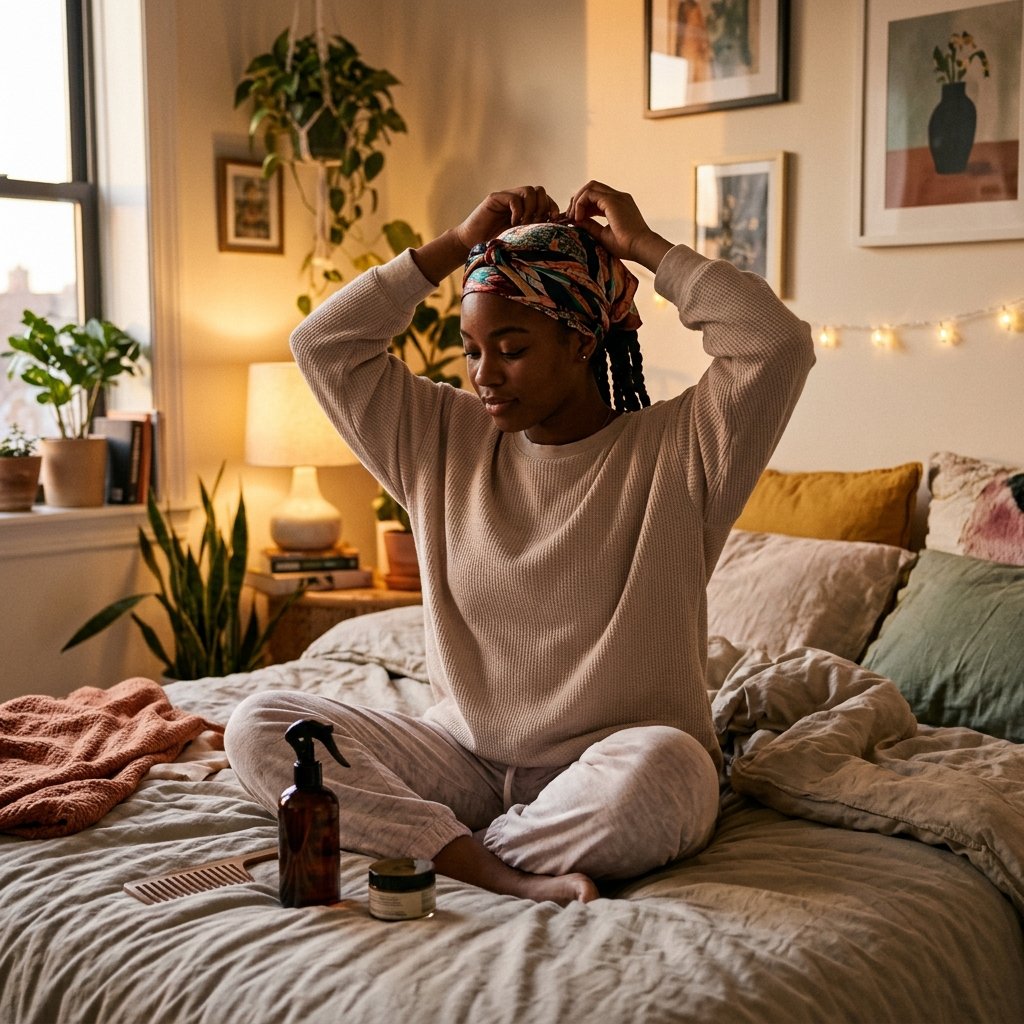
A good braid can last days, but only if you care for it. A little moisture and a scarf at night go a long way.
Don’t over-wash. Focus on the scalp and keep the braid itself dry.
- Oil your scalp every two to three days
- Sleep on satin or wrap with a scarf
- Refresh edges with a soft brush only
- Take them down gently, never pull
That routine is the difference between two days and six. Be gentle and your braids will reward you.
Before You Grab Your Comb
Dutch braids really are one of those styles that give back more than they take. They protect your hair, they travel well through a busy week, and they make you look like you had a plan this morning.
Start with the classic two braids if you’re new. Then work your way toward the halo, the gold cuffs, or that glitchy glam moment. There’s no wrong order.
Pick one, try it this week, and see how it fits into your actual life. That’s how a style becomes yours.
Save this post to Pinterest so you have all 30 ideas ready the next time you’re standing in front of the mirror unsure what to do.
And tell me in the comments: which one are you trying first? I read every single one.

