

If you have ever stood in the hair aisle feeling completely lost, this one is for you. The Curly Girl Method sounds fancy, but it is really just a gentle way to care for natural curls. No mystery, no magic potion.
I remember my first attempt. I used way too much gel, scrunched too hard, and looked like a wet poodle. But after a few weeks, my curls finally started to clump and shine.
In this beginner’s guide, I will walk you through every step. You will learn what to avoid, what to buy, and how to style curls that fit 2026 hairstyles and even a quiet luxury bob. It is easier than you think, I promise. So grab a cup of coffee and let us get those curls happy.
What Is the Curly Girl Method?
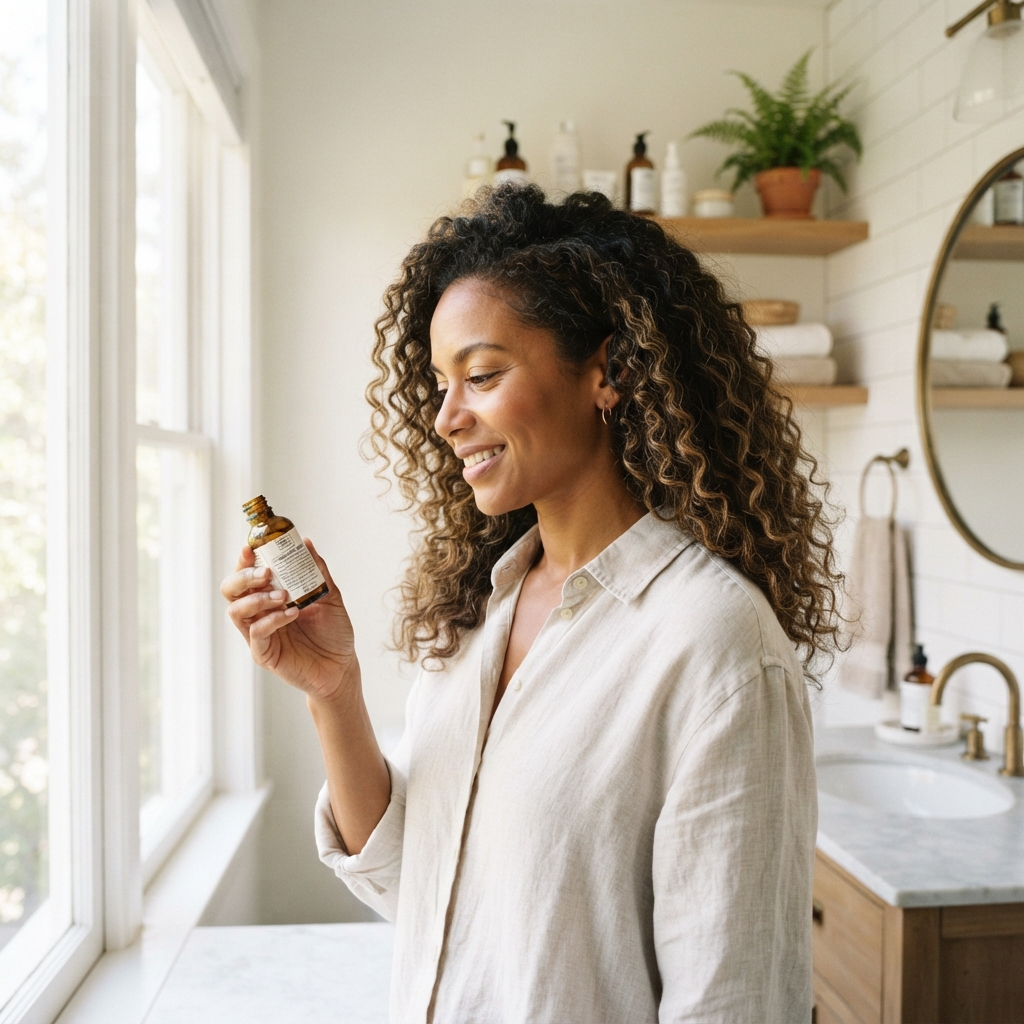
The Curly Girl Method is a gentle hair care routine that skips harsh sulfates and silicones. Instead, you cleanse with conditioner and keep curls hydrated. It was created by Lorraine Massey. The goal is to let your natural texture do its thing.
No more fighting your curls. You will use gentle products, lots of water, and simple techniques. It works for waves, coils, and kinks. Think of it as a reset for your hair. In 2026 hairstyles, healthy curls are always in. So it fits any look, from old money hair to a quiet luxury bob.
Why the Curly Girl Method Works for All Curl Types

Whether you have type 2 waves or type 4 coils, CGM can help. It focuses on moisture and shape. Curls love water. They hate rough drying and harsh detergents.
The method teaches you to handle your hair gently. You will stop brushing dry curls. You will start using a wide-tooth comb in the shower. This reduces frizz and breakage. Over time, your curl pattern gets stronger. You might even discover a tighter curl than you thought. That is why it works for romantic goth hairstyles or a fun asymmetrical lob. Your texture is unique. CGM just helps it shine.
The Big No-No List: Ingredients to Avoid
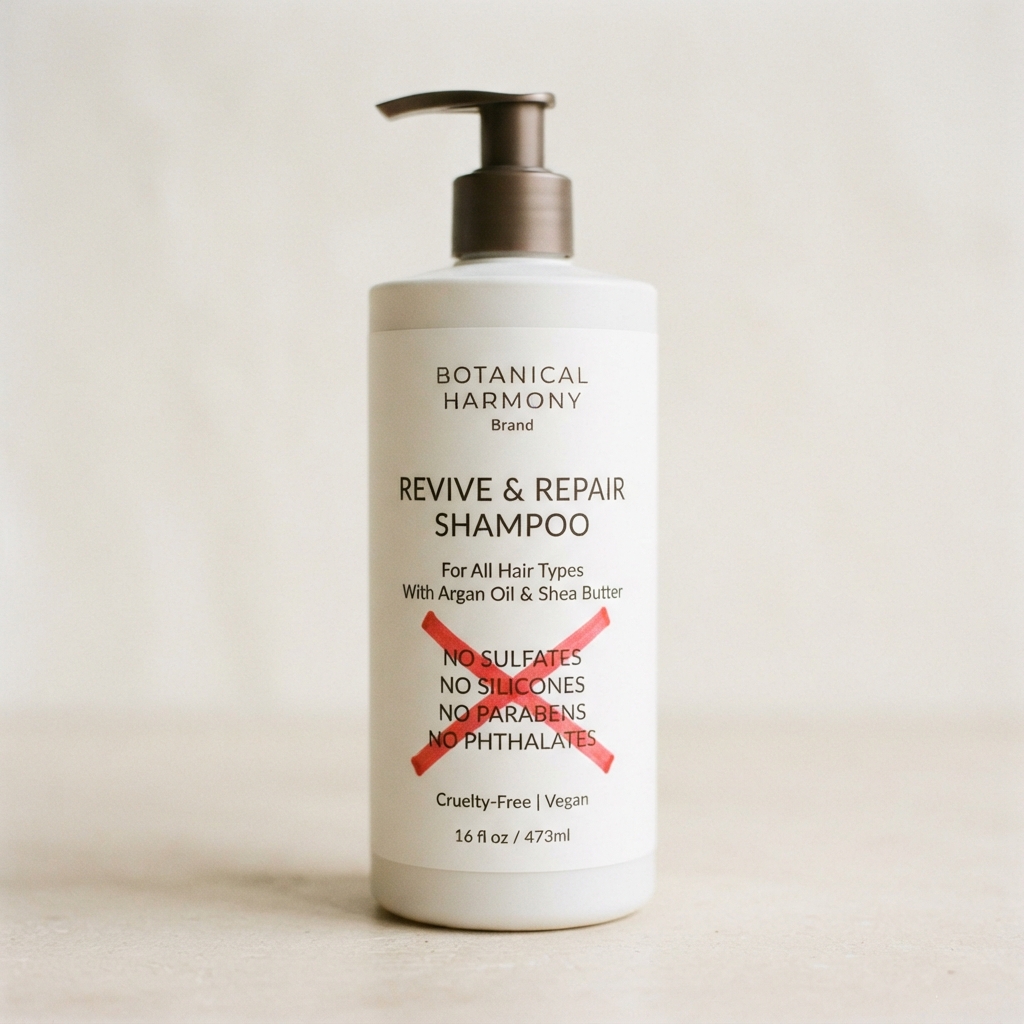
First, check your labels. You want to avoid sulfates like sodium lauryl sulfate. They strip natural oils. Also skip silicones like dimethicone. They coat curls and cause buildup. Avoid drying alcohols like isopropyl alcohol. And skip non-water-soluble waxes.
Here is a quick list:
- Sulfates
- Silicones
- Drying alcohols
- Mineral oil
- Petrolatum
Not every product is bad, but these are the main ones. If you love old money hair, you want soft, touchable curls, not coated ones. So read your labels. It takes a minute but saves your curls.
The Only Tools You Really Need
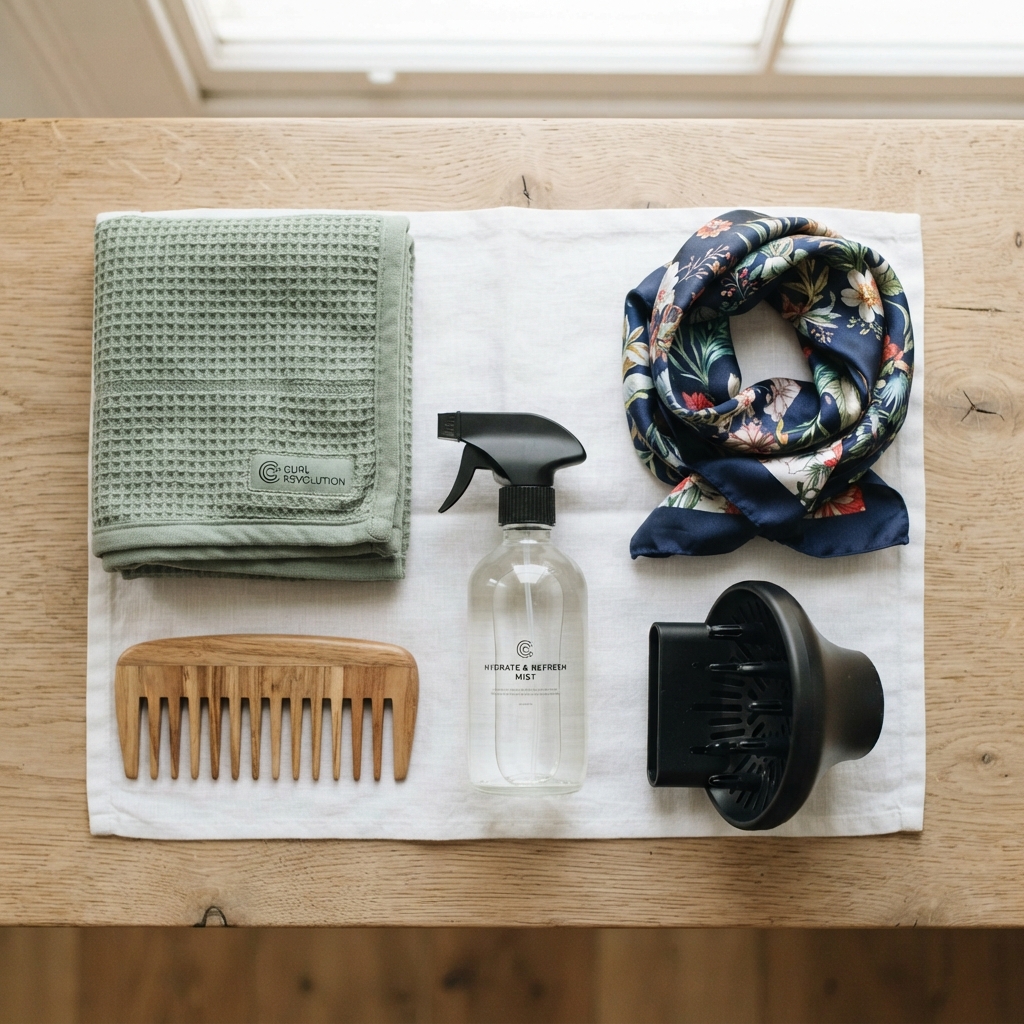
You do not need a fancy cabinet. Just a few basics. A wide-tooth comb for detangling. A spray bottle for refreshing. A microfiber towel or cotton t-shirt for plopping. A diffuser attachment for your blow dryer. Satin scrunchies and a satin pillowcase.
That is it. No harsh brushes. No terry cloth towels. These tools protect your curl pattern. They also help you create 2026 hairstyles with less damage. You can find all of these at any drugstore. So do not overthink it. Simple is better.
Step 1: The Final Wash
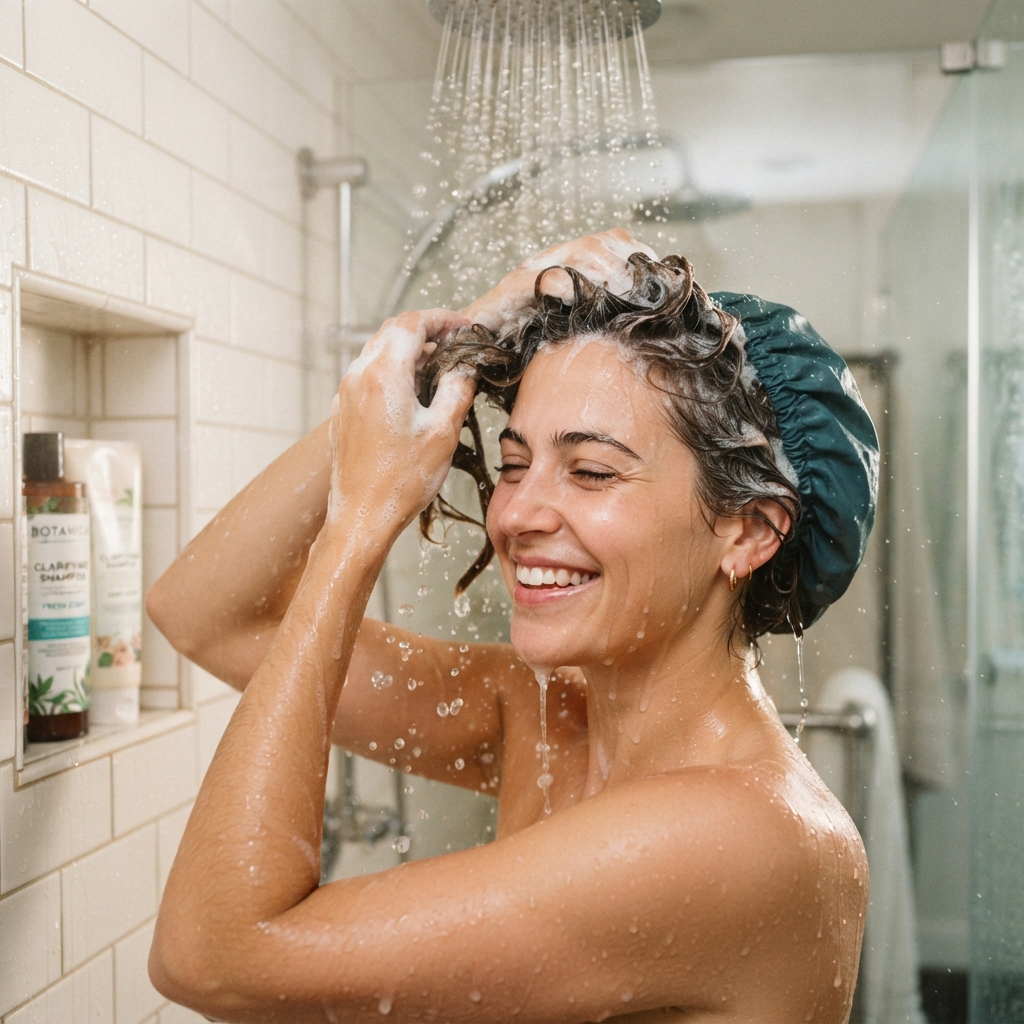
Before you start CGM, do one final wash. Use a clarifying shampoo. This removes all the old silicones and buildup. It gives you a clean slate. Do not scrub too hard. Just wash once. Then rinse well.
After this, you will not use shampoo again for a while. Some people call it the reset wash. It is a key step. If you have hard water, use a chelating shampoo. This helps your curls absorb moisture later. Think of it as spring cleaning for your hair.
Step 2: Co-Washing Explained
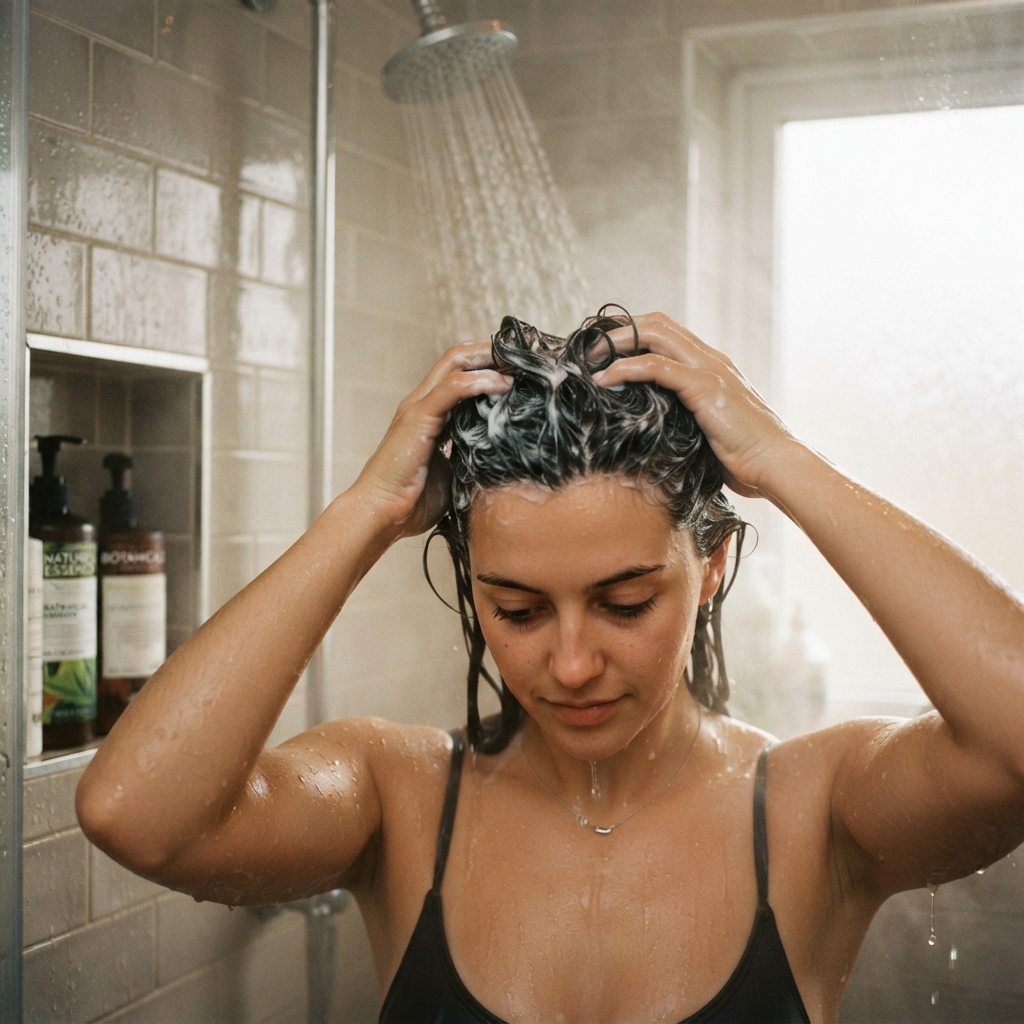
Co-washing means washing with conditioner only. Yes, really. You use a lightweight conditioner to clean your scalp. Massage it in with your fingertips. Do not use your nails. Focus on the scalp, then rinse. The conditioner will lift dirt and oil without stripping.
Choose a co-wash that is silicone-free and sulfate-free. Some people co-wash every few days. Others do it once a week. It depends on your hair. If your scalp gets itchy, you might need a gentle low-poo. But for beginners, co-washing is a great start.
Step 3: How to Condition Properly
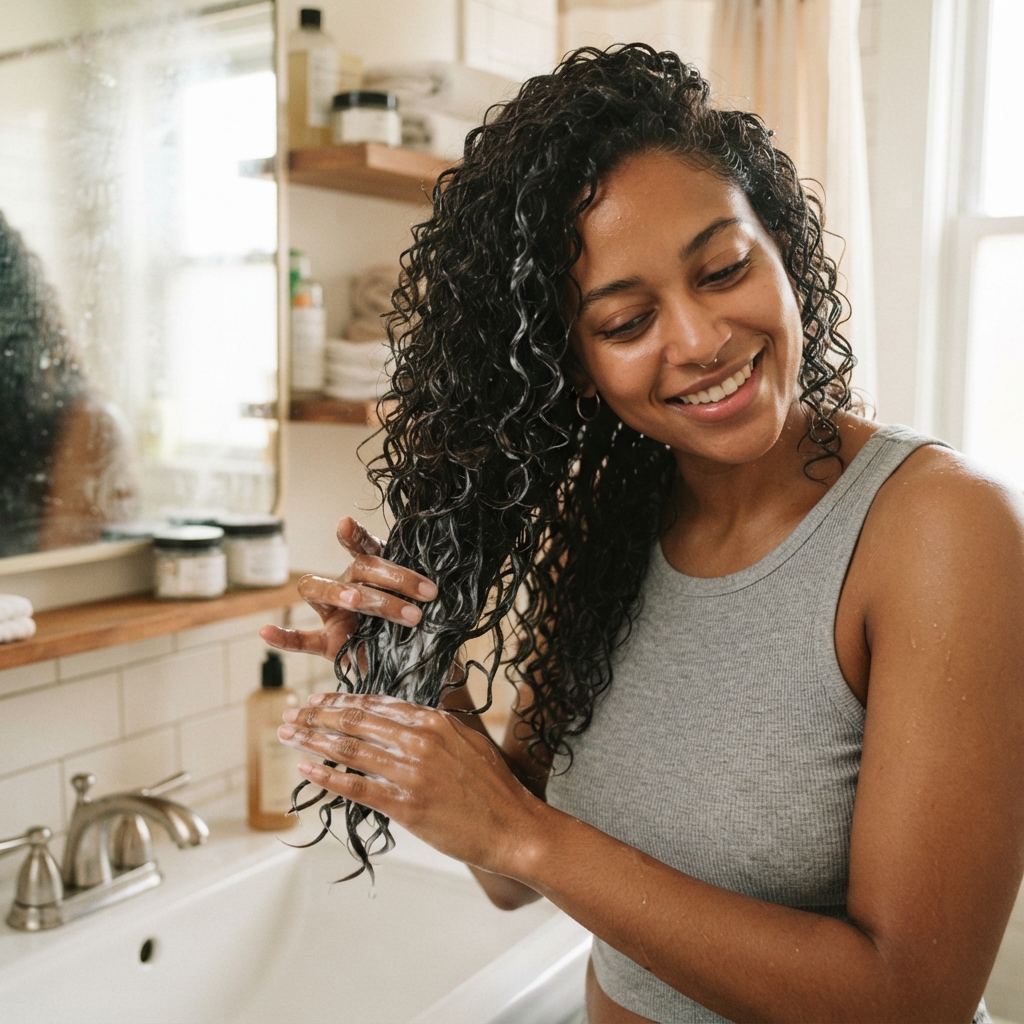
After co-washing, apply a richer conditioner. Start from the mid-lengths to the ends. Avoid the roots if you get oily. Use your fingers or a wide-tooth comb to detangle. Be gentle. Do not rip through knots. Then let it sit for a few minutes.
This is when the magic happens. Your curls soak up moisture. Rinse with cool water. Cool water seals the cuticle. That means less frizz and more shine. This step is crucial for any curly look, from a hime cut to glitchy glam hair. So take your time.
Step 4: Squish to Condish
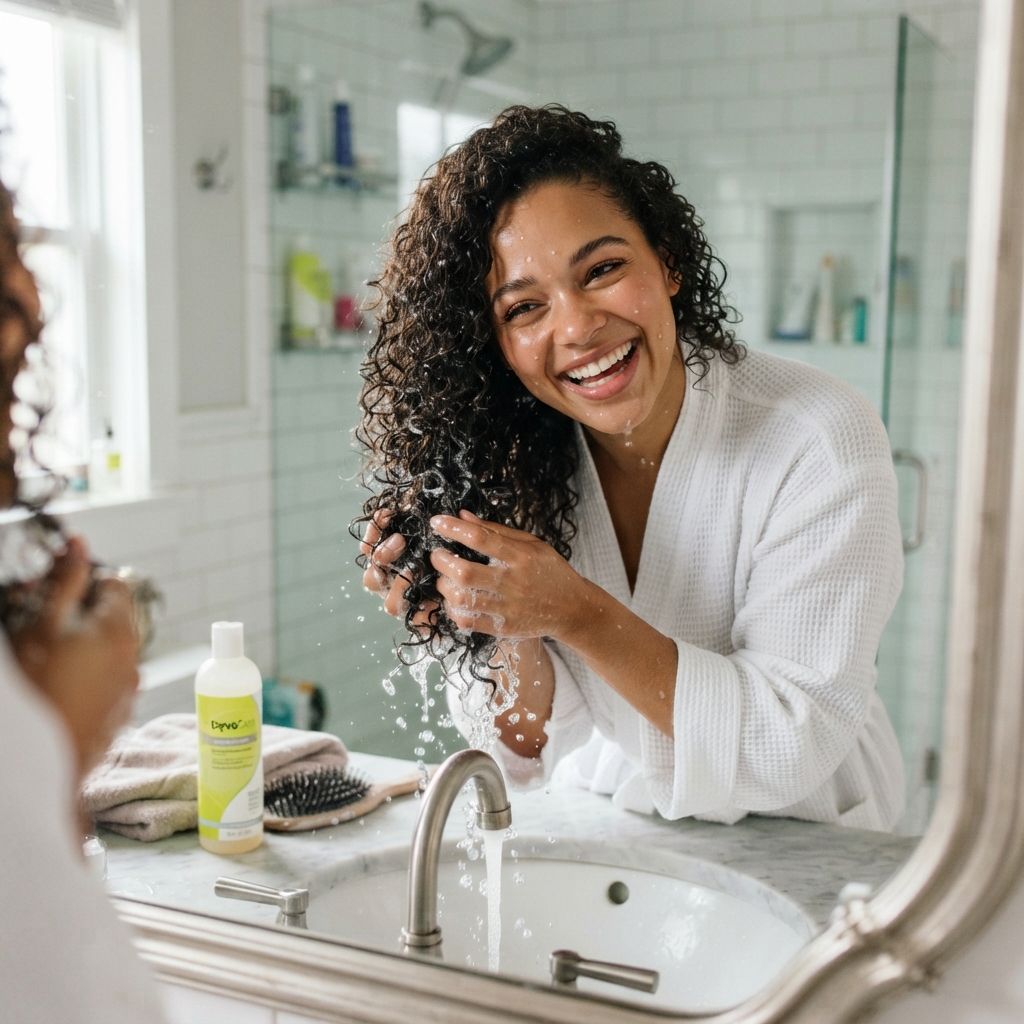
Squish to condish is a fun technique. After you rinse, leave some conditioner in. Then cup your curls in your hands. Squish the water into them. You will hear a squelching sound. That is good. It helps the conditioner absorb. It also forms curl clumps.
Do this for a minute or two. Your hair should feel like seaweed. That means it is hydrated. This step is a game changer for beginners. It makes your curls bouncy and defined. Try it with your favorite silicone-free conditioner.
Step 5: Plopping Your Hair

Plopping is a way to dry your curls without frizz. Lay a microfiber towel or cotton t-shirt on a flat surface. Flip your head down. Place your hair in the center. Wrap the towel around your head. Secure it gently. Do not rub.
Leave it for 10 to 20 minutes. This removes excess water. It also encourages curl formation. You can do this while you do your makeup. When you take it down, your curls will be defined. This step is essential for a quiet luxury bob or an asymmetrical lob. Just be gentle.
Step 6: Applying Styling Products
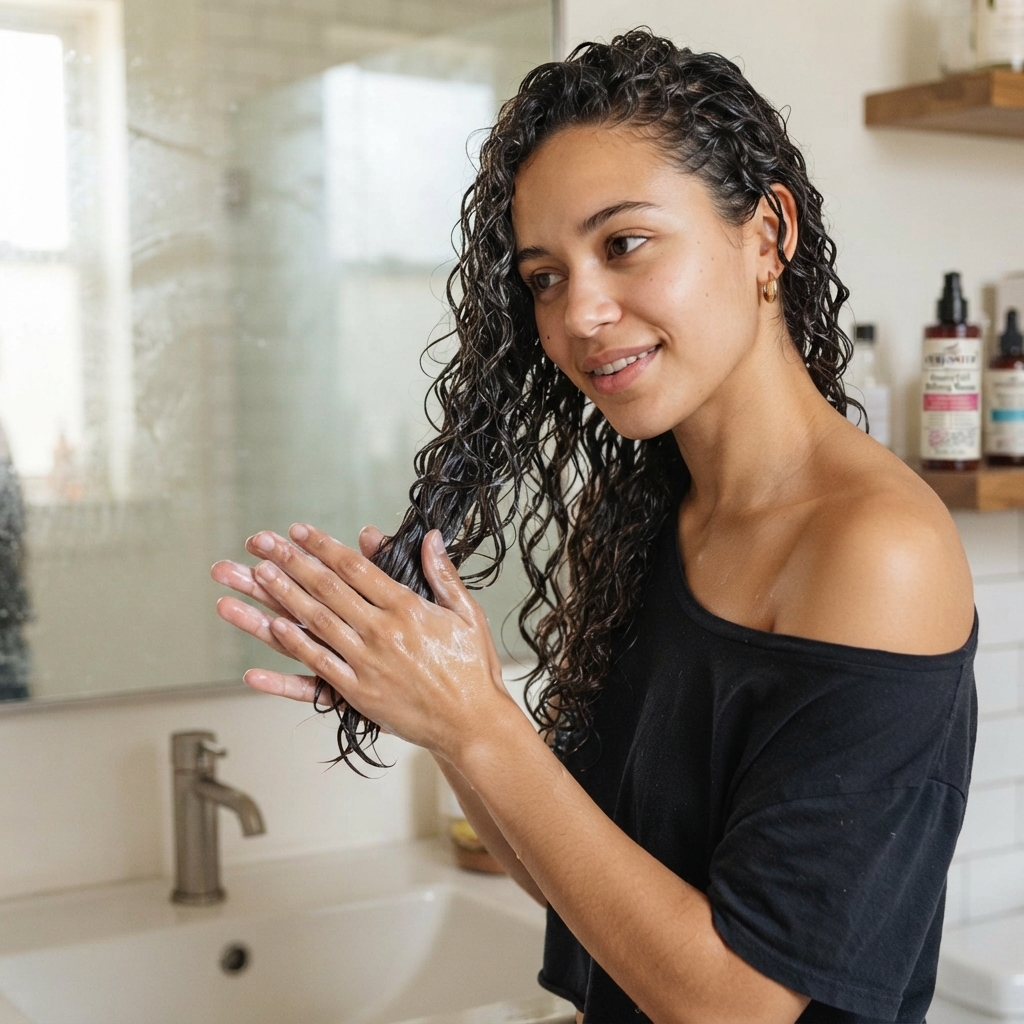
Styling products lock in moisture and hold shape. Apply them to wet hair. Use the praying hands method: glide your hands down your hair. Then scrunch upward. Start with a leave-in conditioner. Then add a curl cream. Finish with a gel or mousse.
Gel gives a strong cast. Mousse gives volume. Do not use too much. A little goes a long way. For romantic goth hairstyles, use a strong-hold gel. For soft waves, use a light mousse. Experiment. Your curls will tell you what they like.
Step 7: Diffusing vs. Air Drying
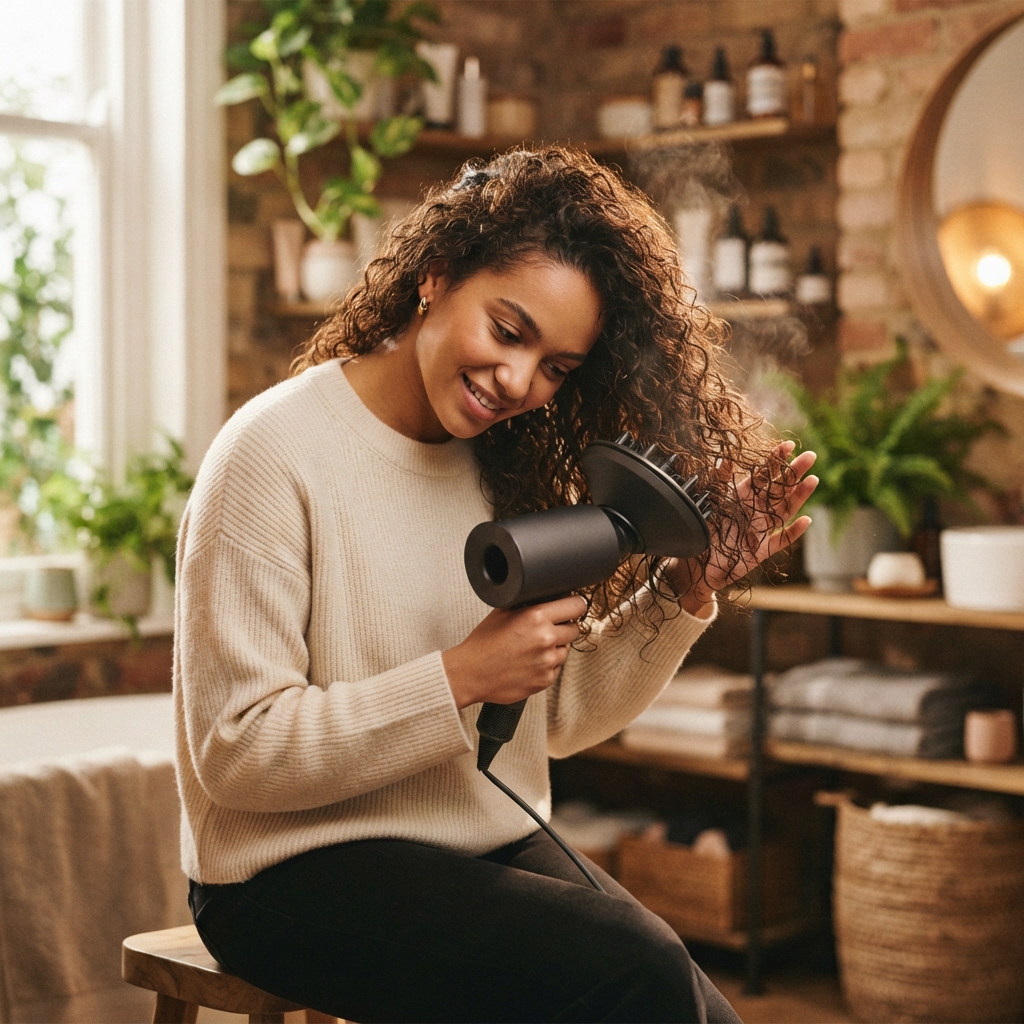
You have two choices. Air drying is the gentlest. It takes longer but causes less frizz. Diffusing is faster. It adds volume. Use low heat and low speed. Hover the diffuser around your roots. Then cup your curls in the diffuser.
Do not touch your hair too much. Keep the diffuser moving. Stop when your hair is 80% dry. Let the rest air dry. This reduces heat damage. It also helps you get consistent curls. If you want a vampire haircut with sharp edges, diffuse upside down for volume.
Step 8: Scrunch Out the Crunch

After your hair is completely dry, it might feel crunchy. That is the gel cast. Do not panic. It protects your curls. To remove it, scrunch your hair with clean, dry hands. You can also use a tiny drop of oil. Scrunch from the ends upward.
The crunch will disappear. You will be left with soft, touchable curls. This is my favorite part. It feels like magic. Now your curls are ready to show off. You can pair them with any 2026 hairstyles. So go ahead and shake them out.
How to Refresh Curls on Day 2 and 3

Curls do not last forever. But you can refresh them. Fill a spray bottle with water. Add a little leave-in conditioner. Spritz your hair until damp. Then scrunch. You can also use a curl refresher spray.
For tighter curls, use a little gel mixed with water. For looser waves, just water. Flip your head upside down to add volume. Let it air dry. This takes five minutes. It saves you from washing every day. That is key for healthy curls. So keep that spray bottle handy.
How to Sleep on Curly Hair

Sleep ruins curls if you let it. Protect them with a satin pillowcase. Or use a satin bonnet. You can also do a loose pineapple. That means gathering your hair on top of your head with a satin scrunchie. Do not pull tight. Just secure it gently.
This keeps your curls from flattening. In the morning, take it down. Shake your roots. You might not need to refresh at all. Satin reduces friction. Cotton absorbs moisture. So make the switch. Your curls will thank you.
How Often Should You Wash Curly Hair?
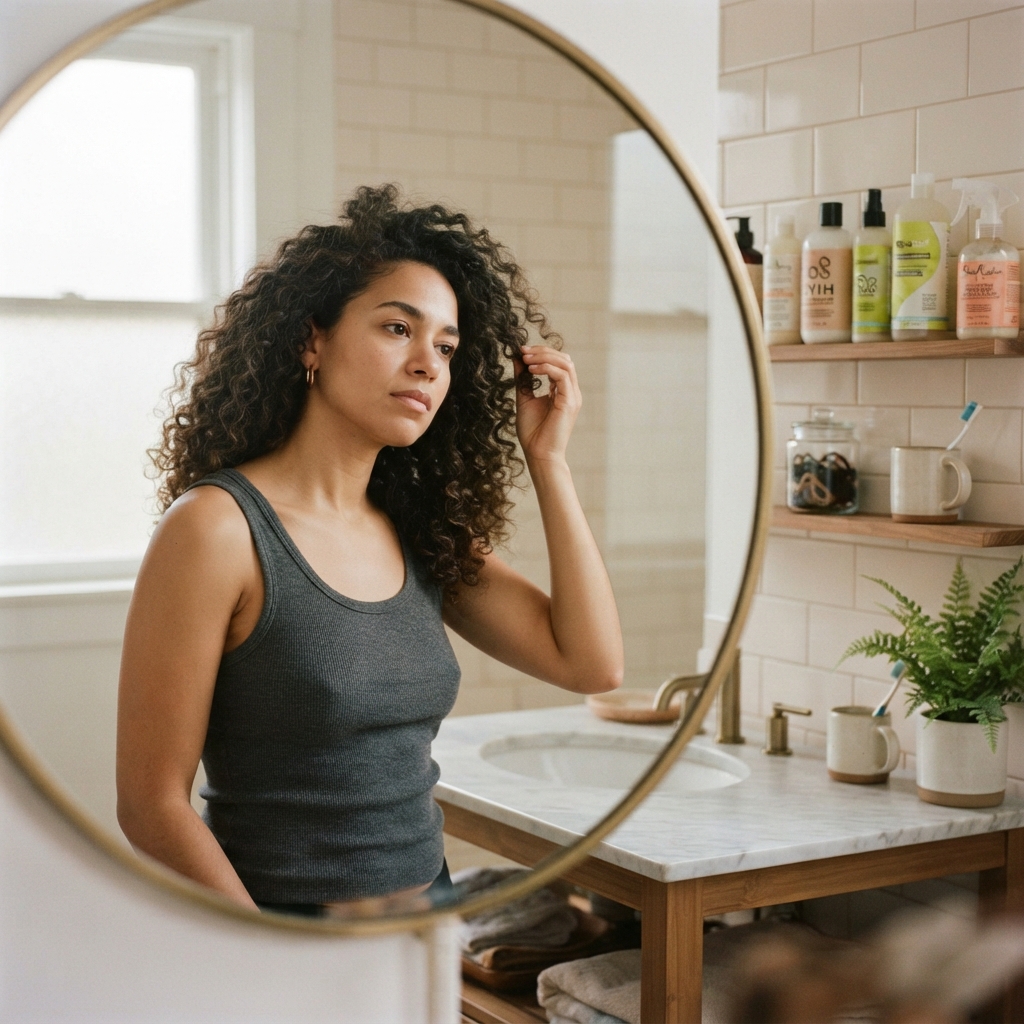
There is no one answer. It depends on your hair type, scalp, and lifestyle. Most curly girls wash once or twice a week. Some wash every four days. Others go a full week. Start with twice a week. Adjust from there.
If your scalp itches or flakes, wash more often. If your curls are dry, wash less. You can also do a mid-week co-wash. Listen to your hair. It will tell you. Do not follow a strict rule. Your hair is unique. The goal is healthy curls, not perfect timing.
How to Handle the Transition Period

The first few weeks can be rough. Your hair is healing from old damage. It might look frizzy or limp. Do not give up. This is the transition period. It usually lasts two to six weeks. Some people take longer.
During this time, wear protective styles. Try a hime cut with bangs. Or a messy bun. Use headbands and clips. Deep condition once a week. Be patient with yourself. Your curls are learning to be themselves again. I promise it gets better. The other side is worth it.
How to Adapt CGM to 2026 Hairstyles

The Curly Girl Method is not stuck in the past. You can use it to create 2026 hairstyles. Think of a curly asymmetrical lob. Or a curly quiet luxury bob. The key is healthy, defined curls. CGM gives you that base. Then you can style it.
For old money hair, use a soft hold product. For glitchy glam hair, add a shiny gel and some hair gems. The method is just the foundation. Your creativity is the fun part. So do not feel limited. Curls can be elegant, edgy, or romantic.
Trendy Curly Cuts: Asymmetrical Lob, Hime Cut, and More
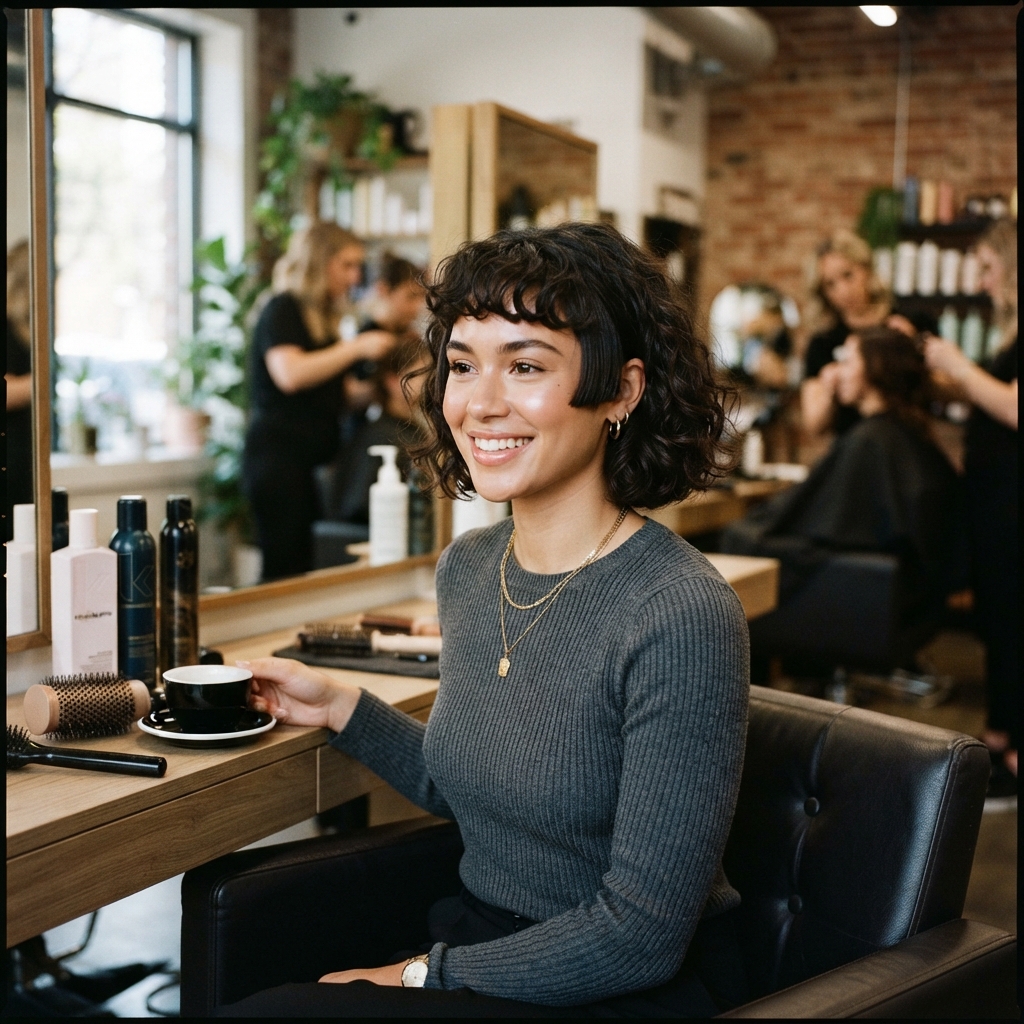
Curly cuts are having a moment. An asymmetrical lob works great with waves. It adds interest and movement. The hime cut, with its blunt side pieces, looks stunning on curls. It frames the face. A vampire haircut with choppy layers gives volume. You can also try a curly shag.
Ask your stylist for a dry cut. Curly hair shrinks when dry. So a wet cut can be a disaster. Find a stylist who knows curls. Bring photos. Be clear about your texture. These cuts are perfect for 2026 hairstyles. So have fun with your shape.
Romantic Goth Hairstyles for Curly Hair

Romantic goth hairstyles are soft, dark, and dreamy. Curls are perfect for this vibe. Start with clean, conditioned curls. Use a black or deep purple gel. Add a little hair oil for shine. Pin one side back with a lace clip. Or let your curls flow wild.
For a vampire haircut, pair it with a deep side part. You can add a velvet ribbon. The key is contrast. Soft curls with dark accessories. It is moody but romantic. CGM keeps your curls healthy so they can handle the styling. So embrace your inner goth.
Glitchy Glam Hair and Vampire Haircut with Curls
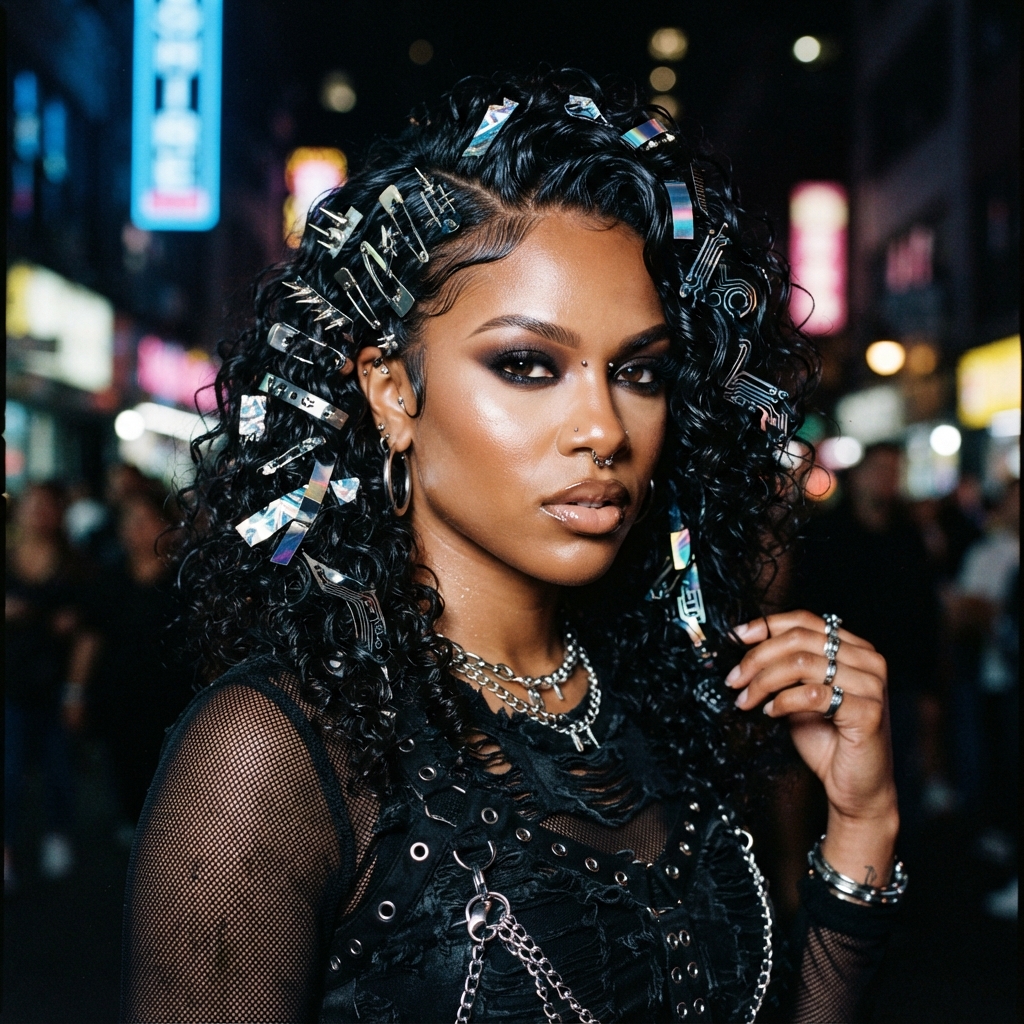
Glitchy glam hair is all about shine and texture. It is a bit futuristic. For curly hair, use a strong-hold gel. Scrunch it in. Then add metallic hair clips. You can also use temporary color sprays. The vampire haircut works with this look. It has sharp layers and a dramatic shape.
Curls add softness to the edge. Diffuse upside down for volume. Then define a few face-framing pieces. This look is bold. It is not for every day. But it is fun for a night out. CGM gives you the healthy canvas.
Old Money Hair and Quiet Luxury Bob for Curly Girls

Old money hair is polished and effortless. A quiet luxury bob is smooth and elegant. But can you do it with curls? Absolutely. You just need definition. Use a light hold cream. Smooth your curls with a soft brush. Then scrunch. Let them air dry. Do not touch them too much.
For a quiet luxury bob, keep the length around your jaw. Add a deep side part. Pair it with simple gold jewelry. The key is healthy, shiny curls. No frizz. CGM helps you get there. So yes, curly girls can do old money hair.
Common Curly Girl Method Mistakes
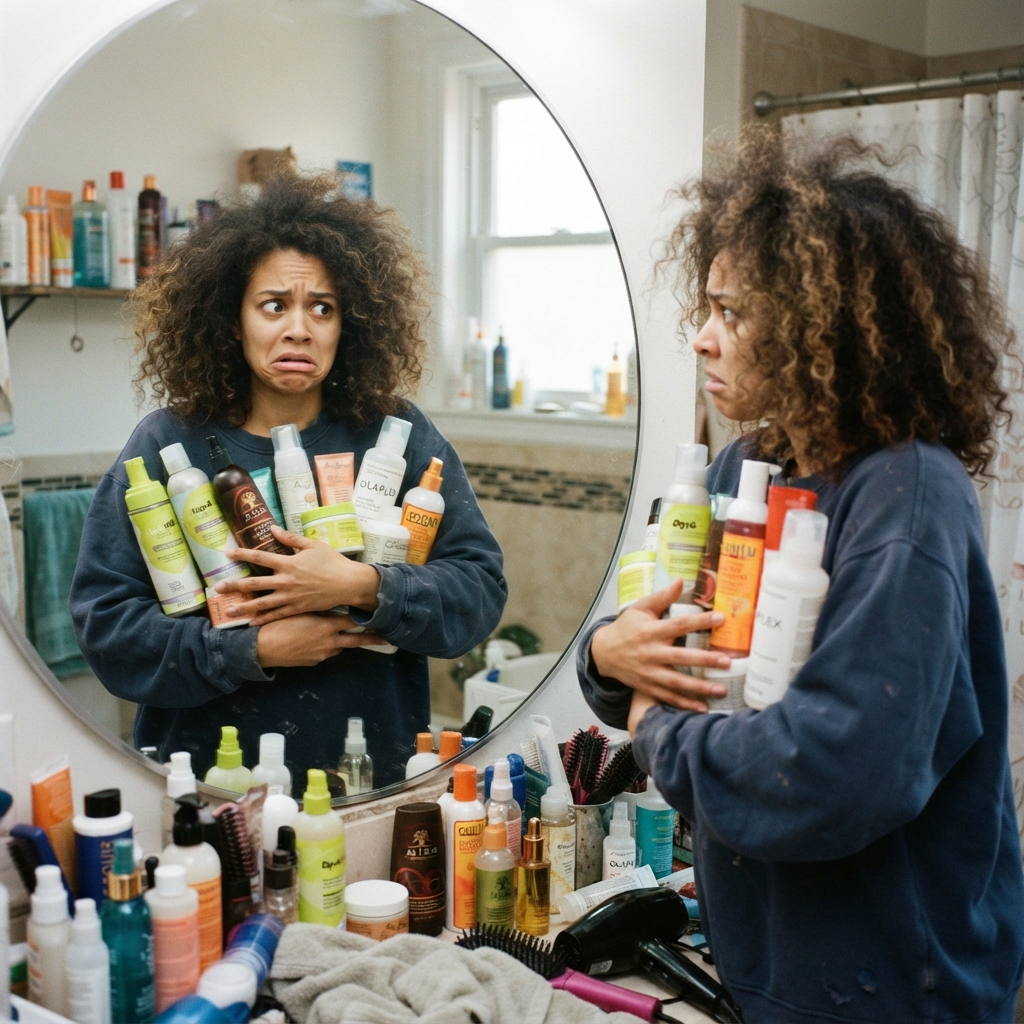
I made all of these. So you do not have to. Here are the big ones:
- Using too much product
- Scrunching with a terry towel
- Brushing dry hair
- Not using enough water
- Giving up too soon
Also, do not compare your curls to someone else’s. Your hair is unique. Another mistake is skipping deep conditioning. Curls need moisture. And do not be afraid of gel. It is your friend. Just scrunch out the crunch. If you fix these, your curls will improve fast. So be patient and kind to yourself.
How to Build a Simple CGM Routine

Keep it simple. Here is a basic routine:
- Co-wash or low-poo
- Condition and detangle
- Squish to condish
- Apply leave-in and gel
- Plopp for 15 minutes
- Diffuse or air dry
- Scrunch out the crunch
Do this once or twice a week. Refresh on other days. Deep condition once a week. That is it. You do not need ten products. Start with three: a co-wash, a conditioner, and a gel. Add more later if you want. This routine works for any curl type. So start small.
When to See a Curl Specialist
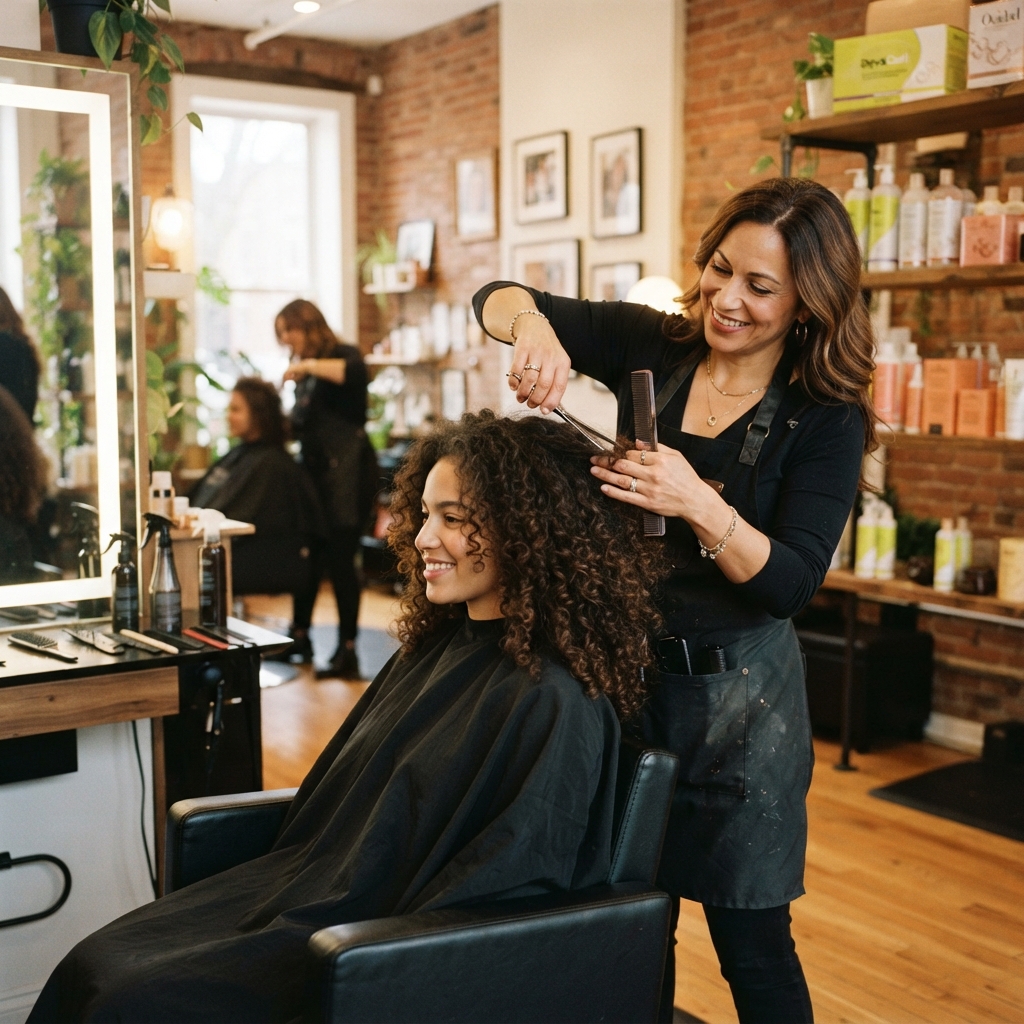
Sometimes you need help. If your curls are damaged, limp, or breaking, see a curl specialist. They can give you a proper dry cut. They can also recommend products for your hair type. Look for a stylist who has curly hair themselves. Or one who has taken curl-specific training.
Ask for a consultation. Bring photos of your best curl days. Be honest about your routine. A good specialist will not judge you. They will teach you. This is especially helpful if you want a dramatic cut like a hime cut or vampire haircut. So invest in your curls.
A Warm Goodbye for Now
You made it. The Curly Girl Method is not a race. It is a journey. Some days will be amazing. Some days will be a mess. That is normal. Just keep learning and loving your curls. Remember, healthy hair is the best accessory.
Whether you want 2026 hairstyles, old money hair, or romantic goth hairstyles, your curls can do it. So take a deep breath. Start with one step. You have got this. I am cheering for you.
Save this post to Pinterest so you can come back to these steps anytime.
And tell me in the comments: what is your biggest curly hair struggle? I read every single one. Let us help each other out.

