
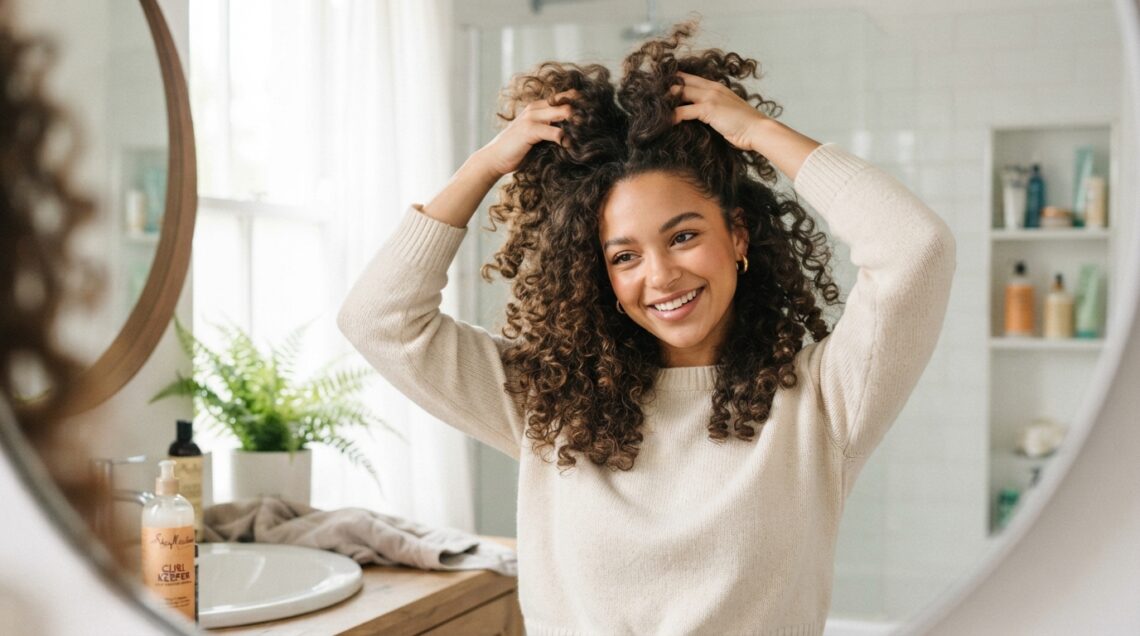
If your curls feel heavy, limp, or weirdly flat by noon, it’s probably not your hair. It’s your routine.
I spent years piling on products because I thought more meant better. Spoiler: it didn’t. My roots looked greasy, my ends looked dry, and I could not figure out why my curls wouldn’t hold their shape.
Then I learned the real secret. Curly hair doesn’t want more product. It wants lighter layers, better technique, and a little patience.
So today I’m sharing exactly how to wash and style curly hair without weighing it down. We’ll cover shampooing, drying, product picks, and how to bring in 2026 hairstyles like soft old money hair, a romantic goth look, or a curly spin on the quiet luxury bob.
Why Curls Fall Flat in the First Place

Heavy curls are almost never a hair problem. They’re a routine problem. Here’s what usually happens:
- You layer five products and water can’t escape.
- You rinse with hot water, which roughs up the cuticle.
- You touch your hair while it dries and break the curl clumps.
- You use thick butters and oils on fine, low-porosity curls.
Water weight is the biggest thief. Curls hold moisture longer than straight hair, so anything you pile on just sits there and pulls your shape down. The fix isn’t more product. It’s fewer, lighter layers and better technique. Once I cut my routine down to three products, my curls finally bounced back.
Know Your Curl Pattern Before You Buy Anything
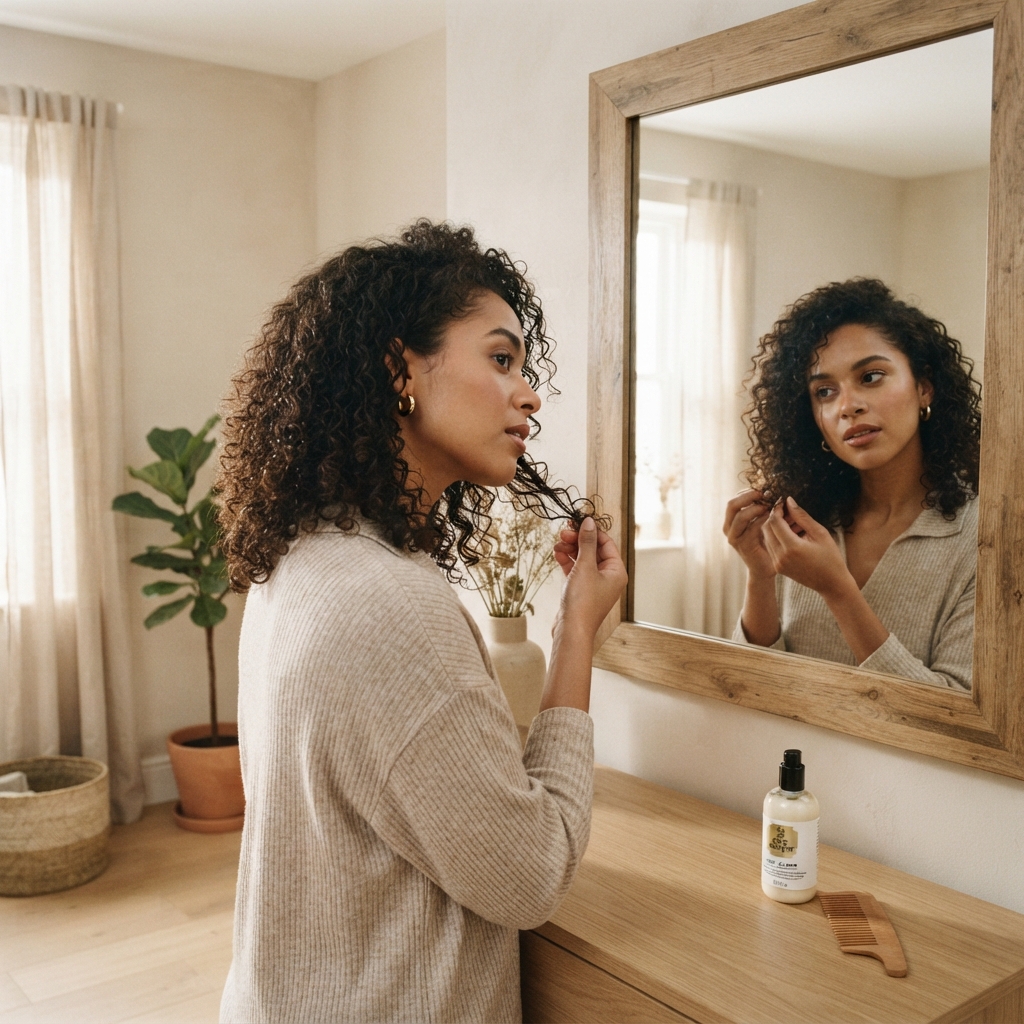
Before you spend a dime, figure out what you’re actually working with.
- Type 2 (wavy): Loose S-waves. Gets weighed down fast, so keep it light.
- Type 3 (curly): Springy loops. Loves gel and cream combos.
- Type 4 (coily): Tight coils and zigzags. Needs more moisture and richer creams.
Porosity matters too. If your hair dries fast and drinks up water, it’s high porosity and can handle heavier products. If water sits on top, it’s low porosity and needs thin, watery formulas. I’m a 3A with low porosity, so a dime of gel goes further for me than a palmful of butter ever did.
The Pre-Wash Detangle Nobody Talks About
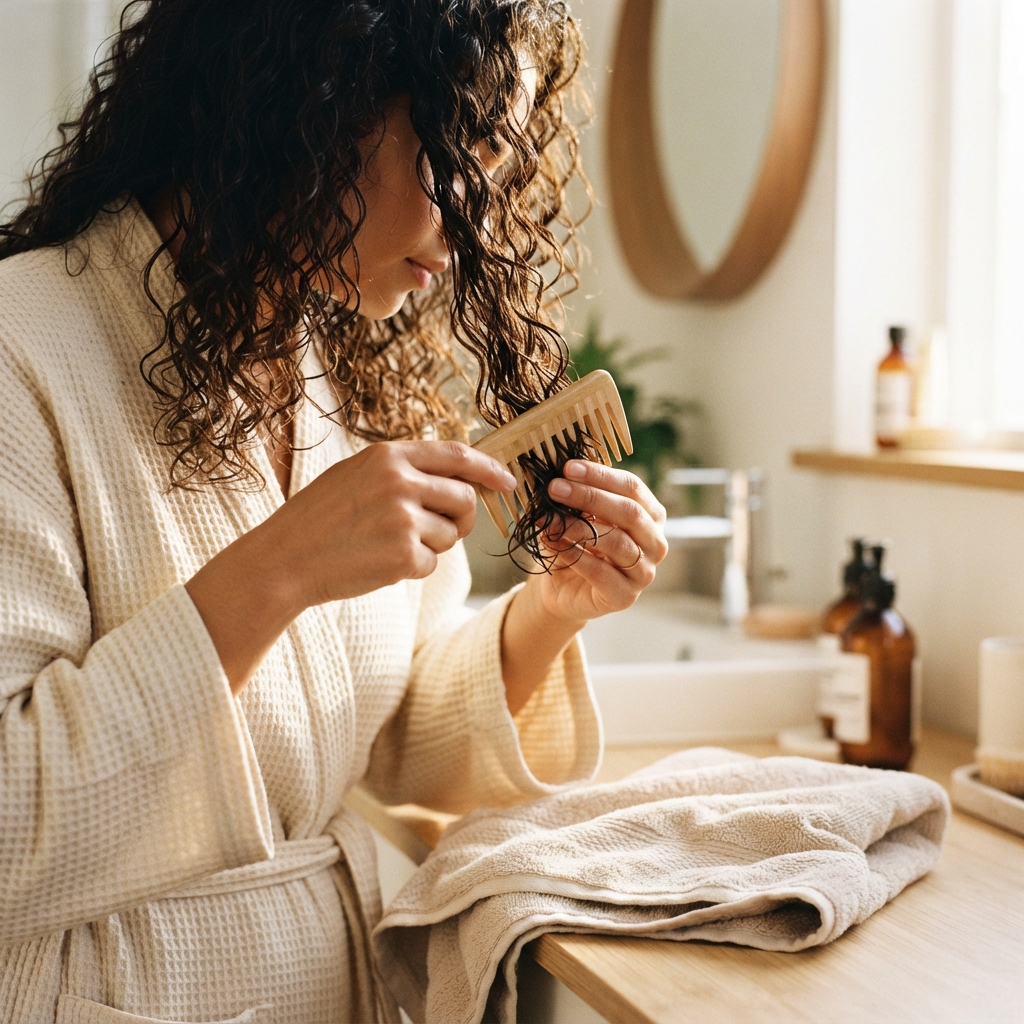
Here’s the move that changed everything for me: detangle before you get in the shower.
- Spritz dry hair with water or a light leave-in.
- Start at the ends and work up, never the other way around.
- Use your fingers first, then a wide-tooth comb.
- Never rip through a knot. Hold the hair above it and ease it apart.
Wet detangling feels easier, but soaking wet curls stretch and snap. Doing it dry-ish means way less breakage and fewer frizzy spots later. It takes three extra minutes and saves you months of frustration.
Pick a Shampoo That Respects Your Curls
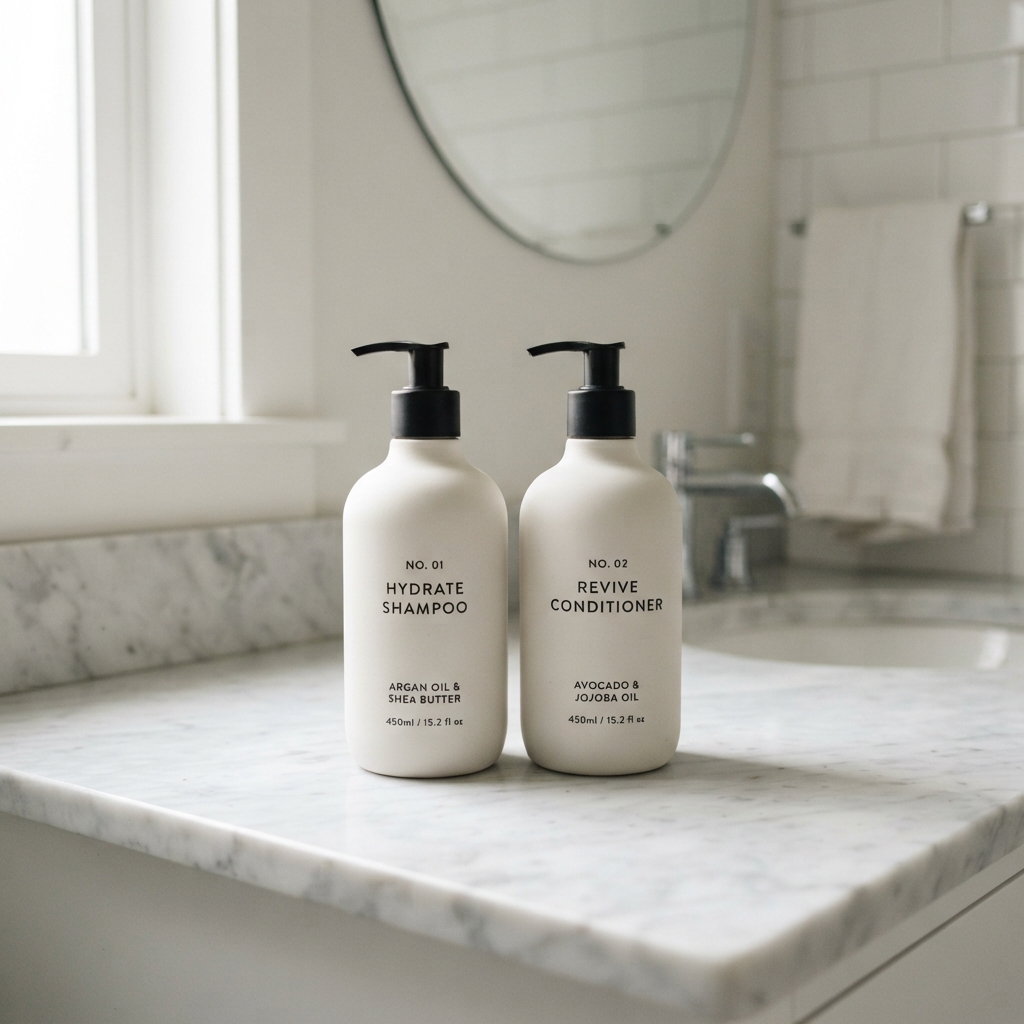
You don’t need a cabinet full of options. You need one gentle shampoo and one clarifying shampoo.
- Every wash: a sulfate-free, creamy shampoo that cleans without squeaking.
- Every three to four weeks: a clarifying shampoo to strip buildup from product and hard water.
Shampoo your scalp, not your ends. The suds rinse down and clean the lengths on their own. And skip the pile-it-on-your-head move. Let your hair hang down so you’re not tangling everything up again. Gentle beats aggressive every single time, especially if your goal is that healthy, polished old money hair look.
How Often Should You Really Wash Curly Hair?
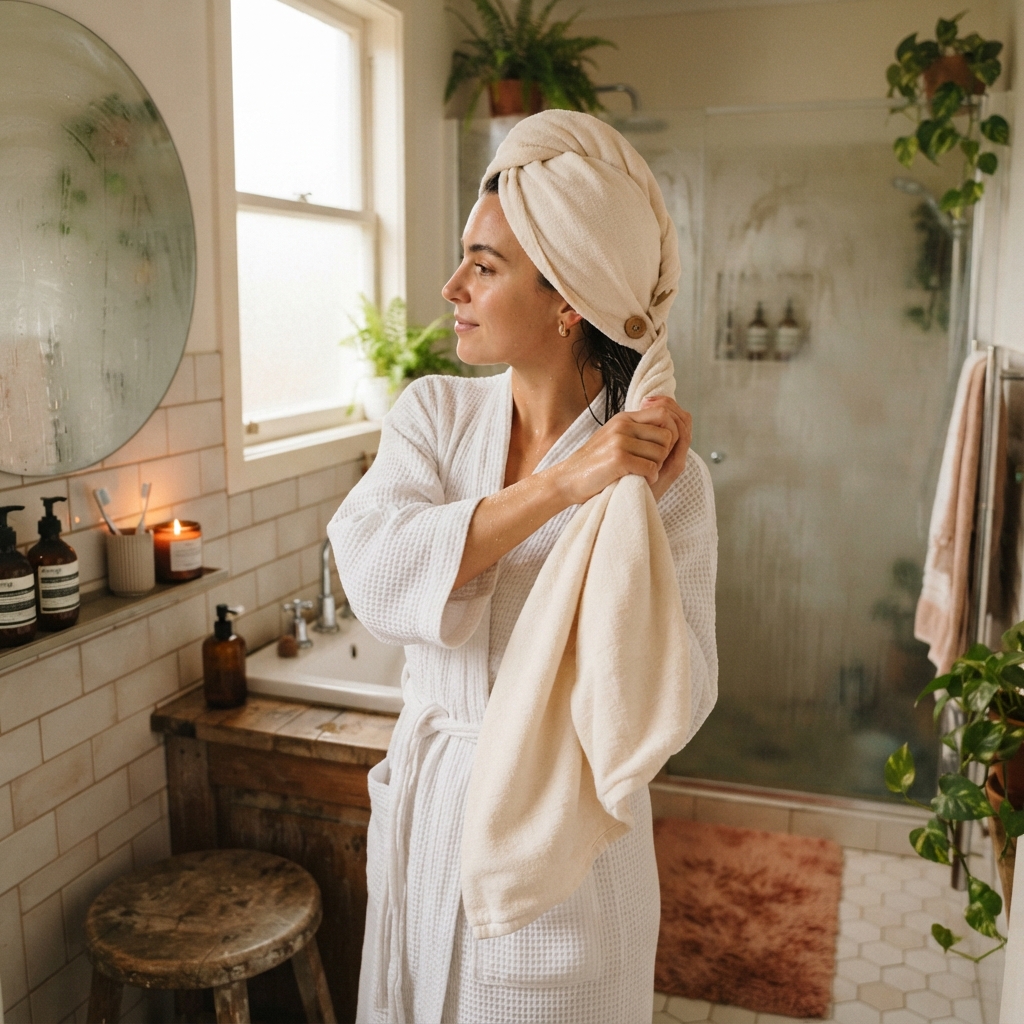
Most curly girls do best with two to three washes a week. But it’s not a rule, it’s a rhythm. Listen to your scalp instead of a calendar.
- Fine, wavy hair: every other day is fine if your scalp gets oily.
- Medium curls: two to three times a week.
- Coily hair: once a week, sometimes less.
If your scalp itches or flakes, wash more. If your curls feel dry and brittle, wash less or switch to a gentler formula. Between washes, refresh instead of rewashing. Your curl pattern will thank you, and your styling will last longer.
Co-Washing: Great, But Not Forever
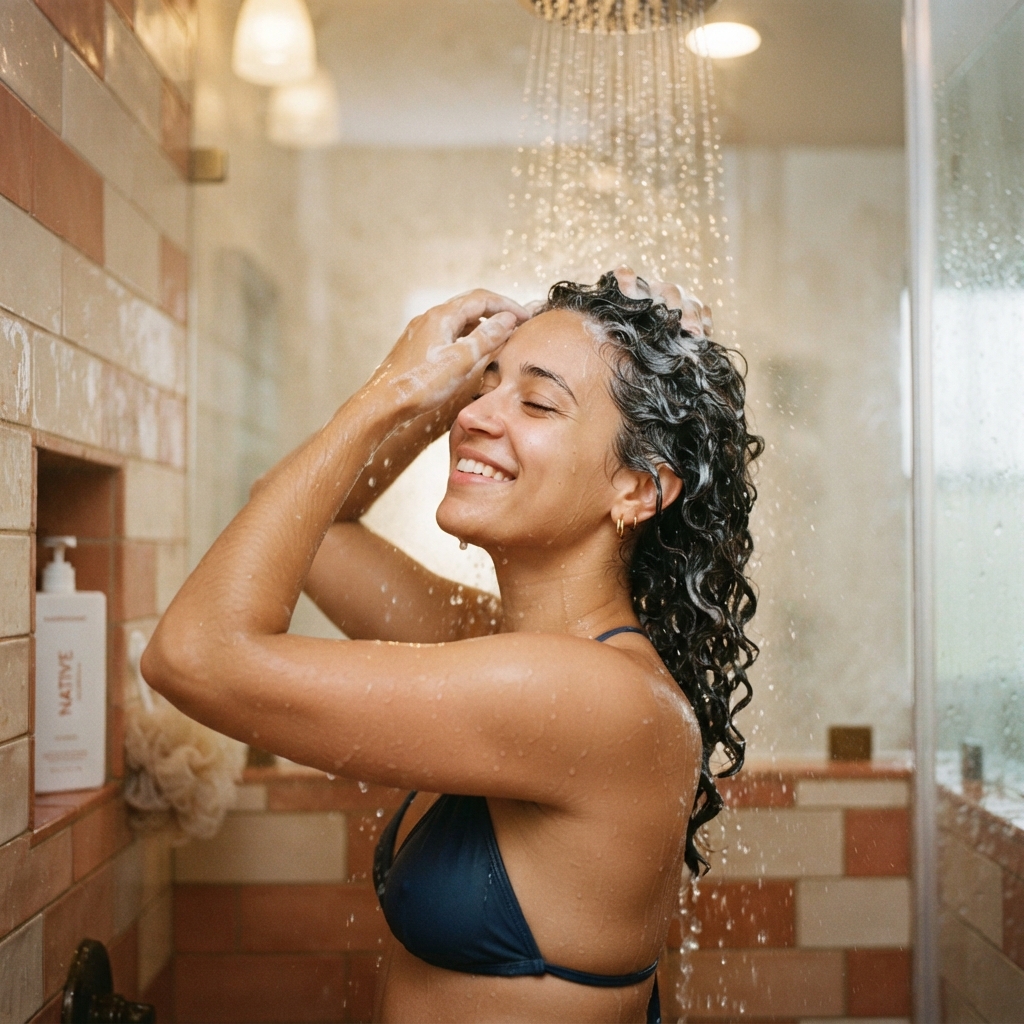
Co-washing means washing with conditioner instead of shampoo. It’s a lifesaver for dry, thirsty curls, and it keeps color looking fresh.
But here’s the catch. Conditioner doesn’t fully remove product or oil. If you co-wash forever, you’ll get buildup, flat roots, and a scalp that feels greasy even when it’s clean.
- Co-wash once or twice between real shampoos.
- Scrub your scalp with fingertips, not nails, for a full minute.
- Rinse longer than feels necessary.
- Use a clarifying shampoo every few weeks to reset.
It’s a tool, not a religion. Treat it that way.
Conditioner: Where to Put It and Where to Skip
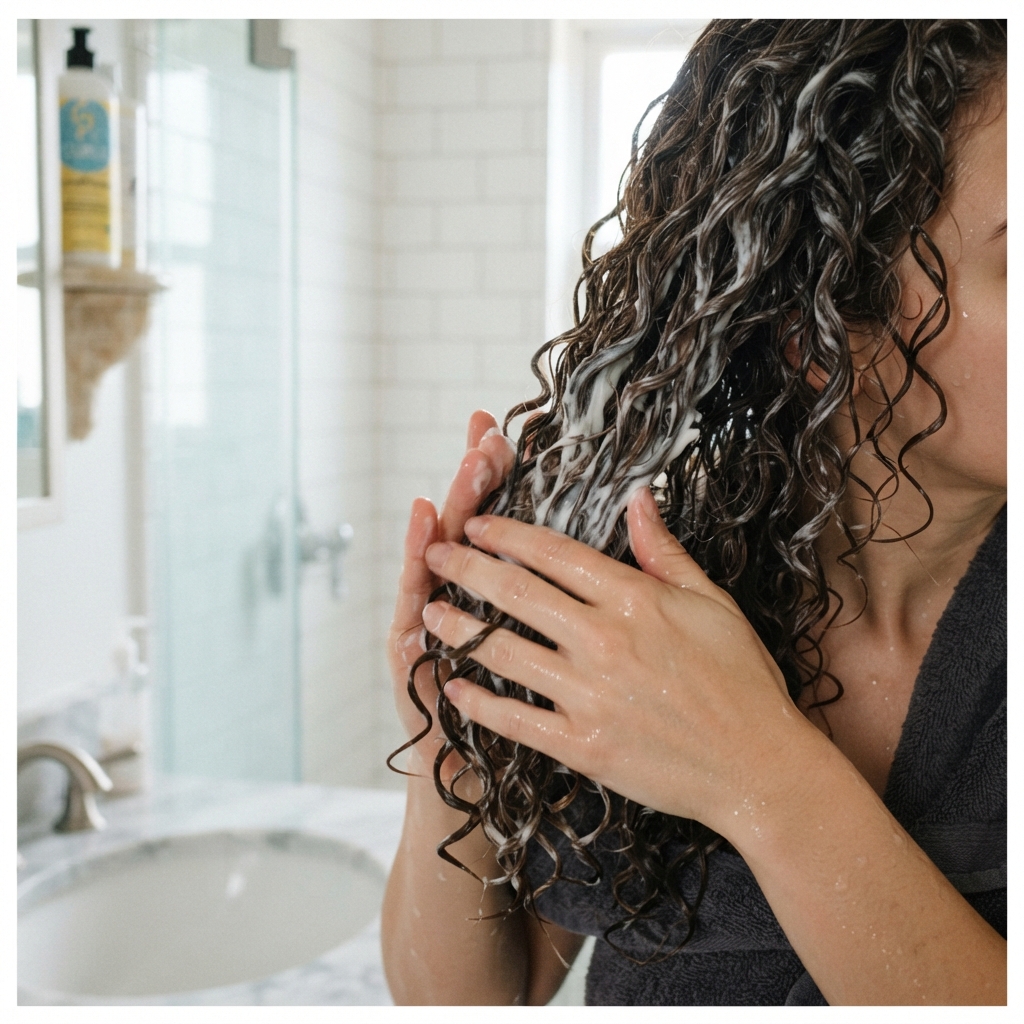
Conditioner belongs on your mid-lengths and ends. Not your roots. I know it feels wrong to skip the top, but trust me on this one.
- Squeeze excess water out first so the conditioner actually absorbs.
- Apply from your ears down to the tips.
- Run your fingers or a wide-tooth comb through for slip.
- Squish the ends upward in handfuls. You’ll hear a little squelch. That’s good.
- Rinse with cool water, leaving a tiny bit behind for softness.
Roots get plenty of moisture from your scalp’s natural oils. Loading them up is the fastest way to a flat, heavy look.
Deep Condition Without the Heavy Feel
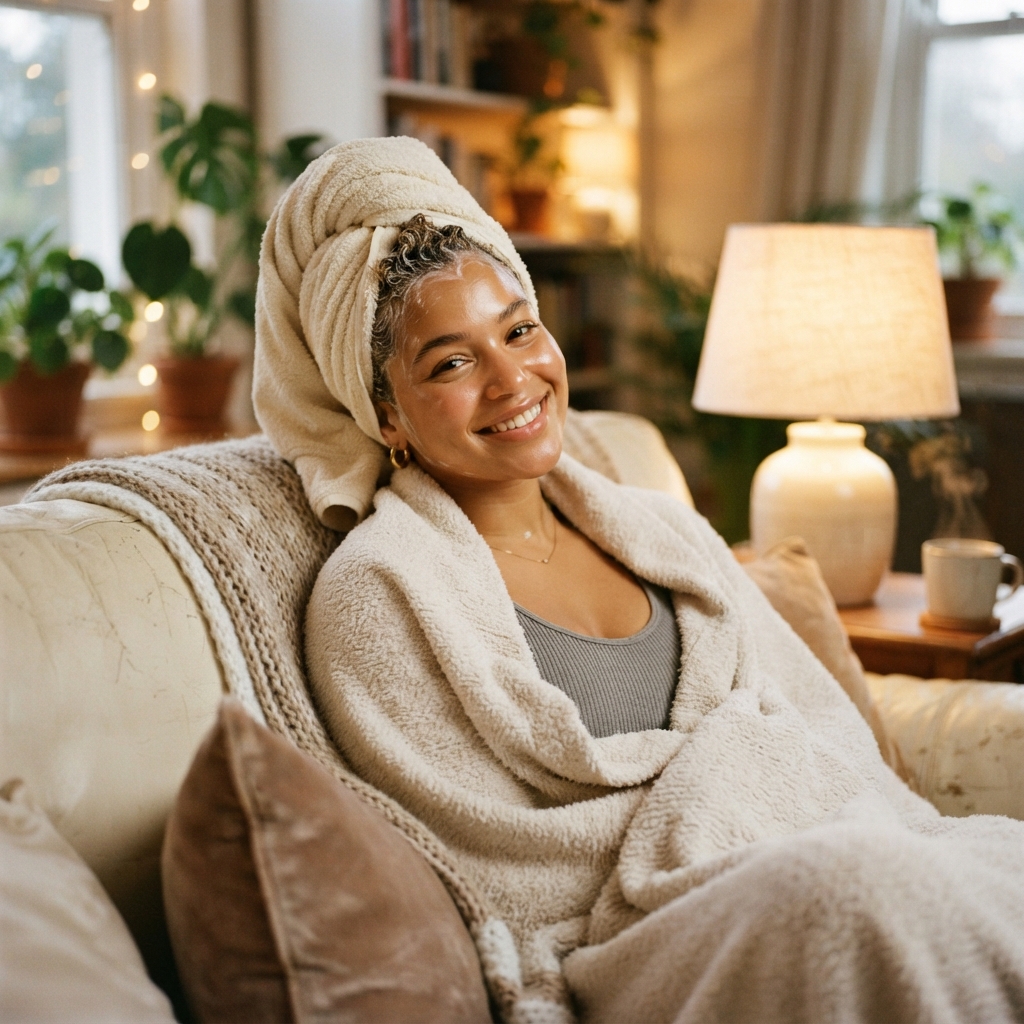
Deep conditioning once a week keeps curls soft and elastic. But the wrong mask can weigh you down for days.
- Choose a lightweight mask over thick, heavy butters if your hair is fine.
- Look for protein if your curls feel limp and stretchy.
- Look for moisture if they feel dry and snap easily.
- Leave it on 15 to 20 minutes, then rinse completely.
Don’t deep condition every wash. Once a week is plenty for most of us. If your hair starts feeling mushy, you’re overdoing it. Skip a week and see how it feels. Less really is more here, and that’s true for quiet luxury style too.
The Cool Rinse Trick for Shine
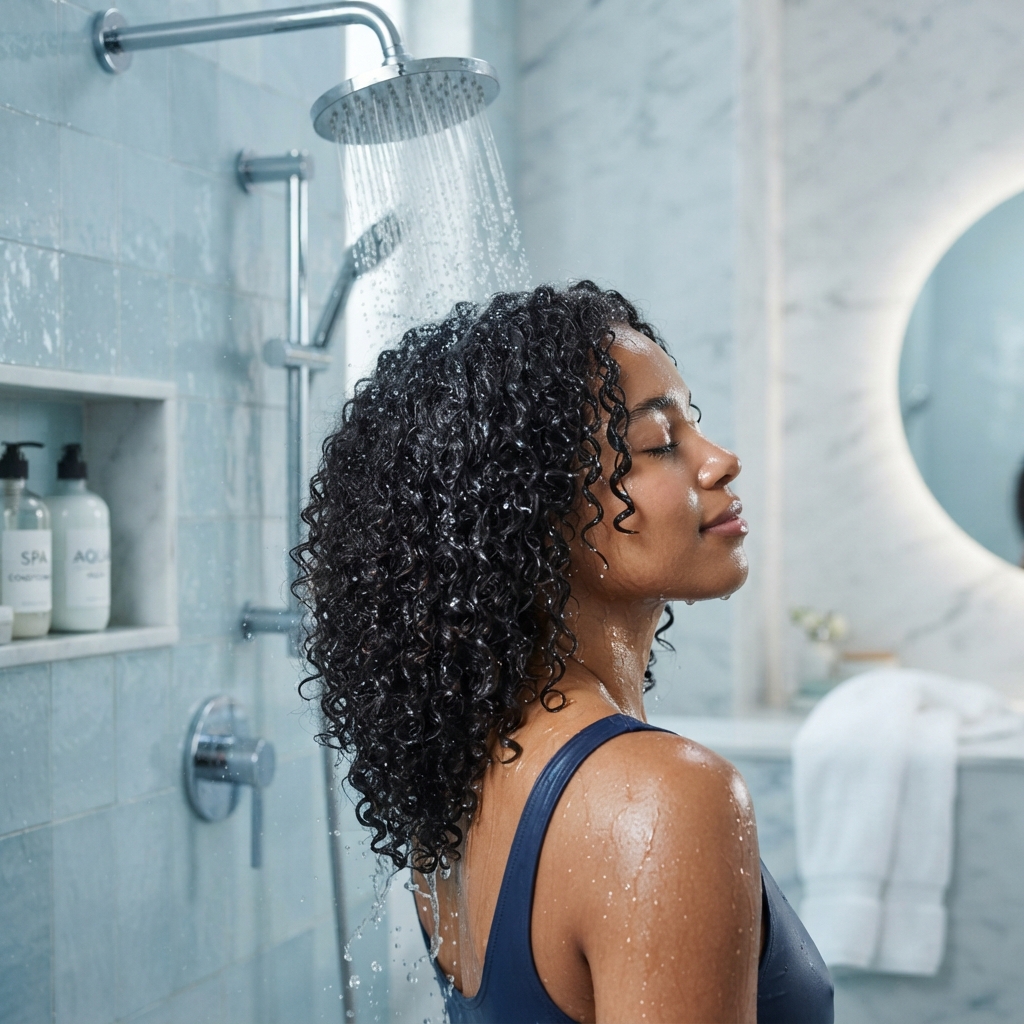
This one takes 30 seconds and it’s worth it. After conditioning, turn the water to cool and rinse your hair for a few seconds.
Cool water helps smooth the outer layer of each strand, which means less frizz and more shine. It also helps your curl clumps stay together instead of fraying apart.
Is it magic? No. But it’s a free upgrade, and I’ll take those every time. Bonus: it wakes you up better than coffee, especially on a Monday morning when your alarm was too rude.
How to Dry Curls Without Frizzing

Your towel is not your friend. Rubbing your hair with a terry towel roughs up the cuticle and turns defined curls into a fuzzy cloud.
- Step out of the shower with soaking wet hair.
- Skip the towel rub completely.
- Use a microfiber towel or a plain cotton t-shirt.
- Squeeze and press upward, section by section, instead of scrubbing.
You want your hair damp, not dry. Leaving it wetter means better clumps and more definition. This one habit change did more for my hair than any expensive product ever did.
Plopping and Microplopping, Explained Simply

Plopping sounds fancy but it’s just wrapping your hair in fabric.
- Lay a cotton t-shirt flat and flip your wet hair into the center.
- Wrap the shirt around your head and secure the sleeves.
- Leave it for 10 to 20 minutes. Not overnight, unless you want a damp, sore scalp.
- For microplopping, just press the shirt against your curls in sections for a few seconds.
Plopping removes extra water without breaking your curl pattern. It’s the easiest way to keep volume at the roots while your ends stay defined. Try it once and you’ll never go back to a heavy towel again.
Leave-In Products That Stay Light
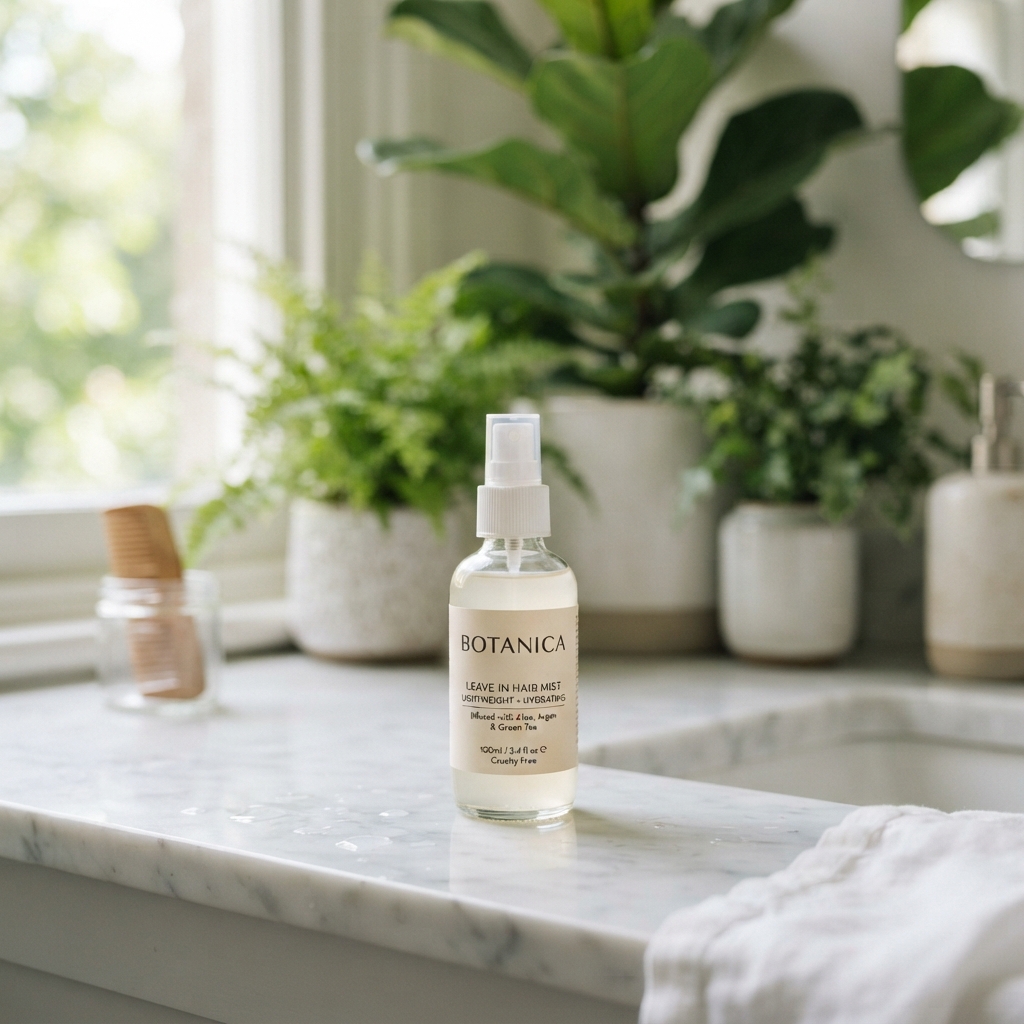
Leave-in is where most people go wrong. They use a heavy cream instead of a watery spray, then wonder why their curls went limp.
- Choose water-based leave-ins over thick butters.
- Start with a pea-size amount. You can always add more.
- Apply to soaking wet hair so it spreads evenly.
- Keep oils away from your roots.
Fine curls do best with a spray. Thicker curls can handle a light lotion. If your product says “butter” and your hair is thin, put it back on the shelf. Your hair should feel soft and bouncy, never coated.
Curl Cream, Mousse, or Gel: Pick Your Finish
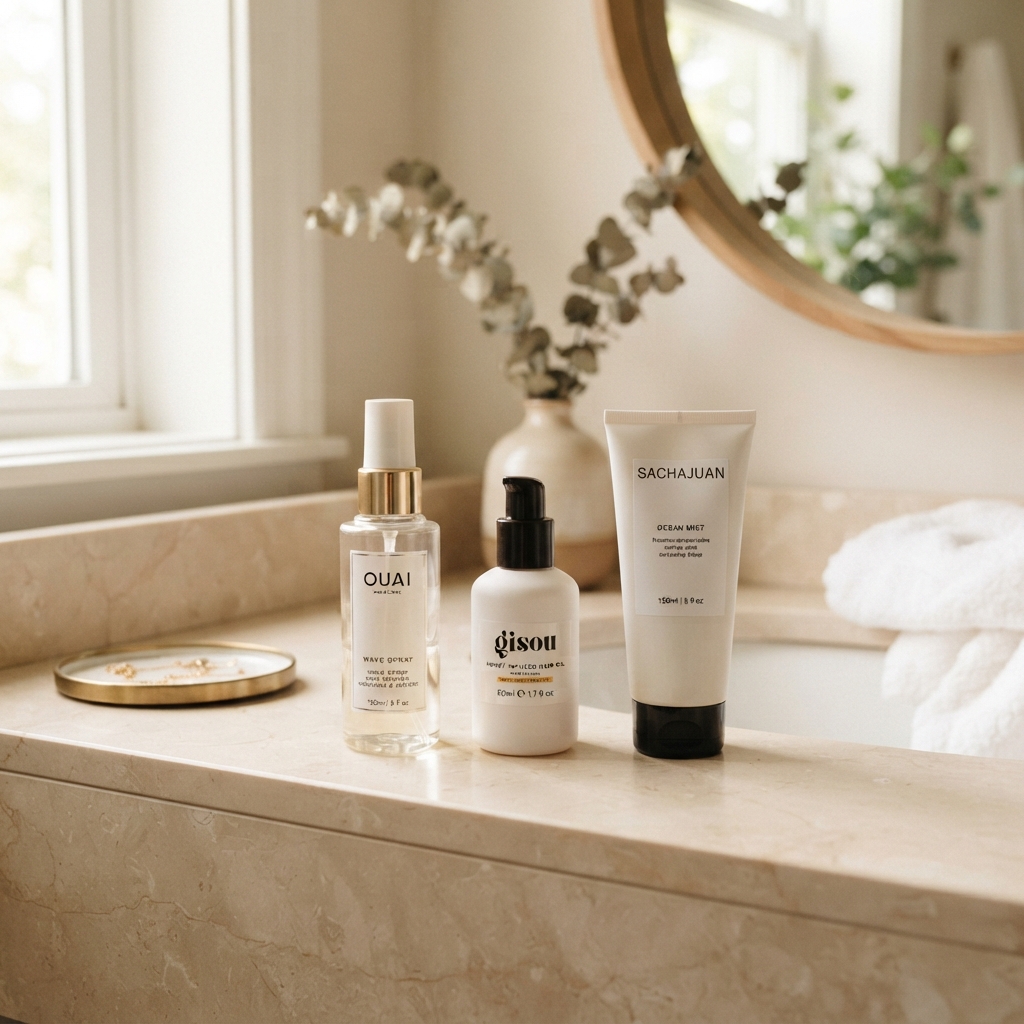
Each one does a different job, and you don’t need all three.
- Curl cream: softness and moisture. Great for dry curls, can weigh fine hair down.
- Mousse: volume and light hold. Best for wavy and fine hair.
- Gel: the strongest hold and best definition. Essential for type 3 and 4 curls.
Cream then gel is the classic combo. Mousse then a little gel works for wavies. Foam is the lightest of all and perfect if everything else feels heavy. Pick based on the finish you want, not the label on the bottle.
The Praying Hands Method for Even Coverage
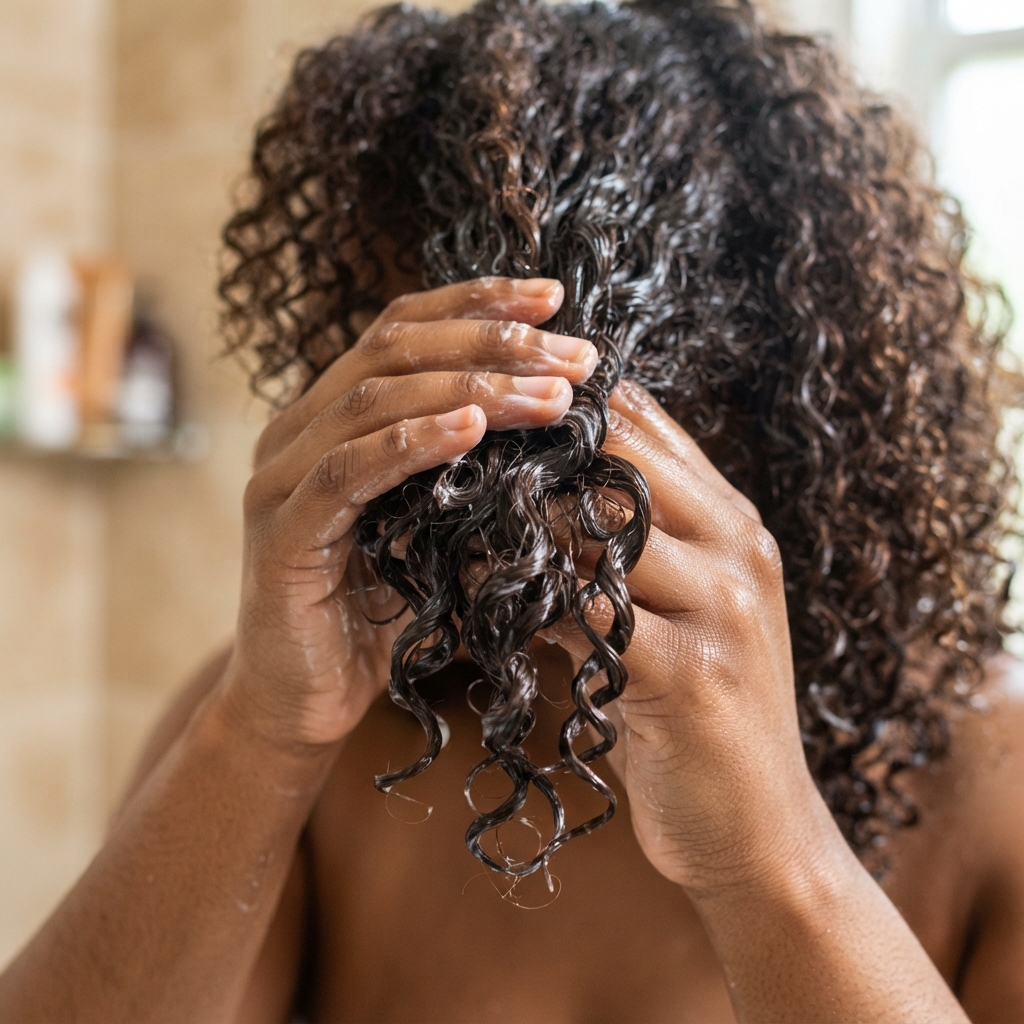
This is the technique that gets product everywhere without disturbing your curls.
- Put product in your palms and rub them together.
- Press your palms flat against a section of hair, like you’re praying.
- Slide your hands down from mid-length to ends.
- Repeat around your whole head, working in small sections.
You’re coating the outside of the curl clump instead of raking through it. That means smoother, more even coverage and way less breakage. It also stops that clumpy, greasy patch that shows up when you use too much in one spot.
Raking vs. Glazing: Which One Is Right for You?
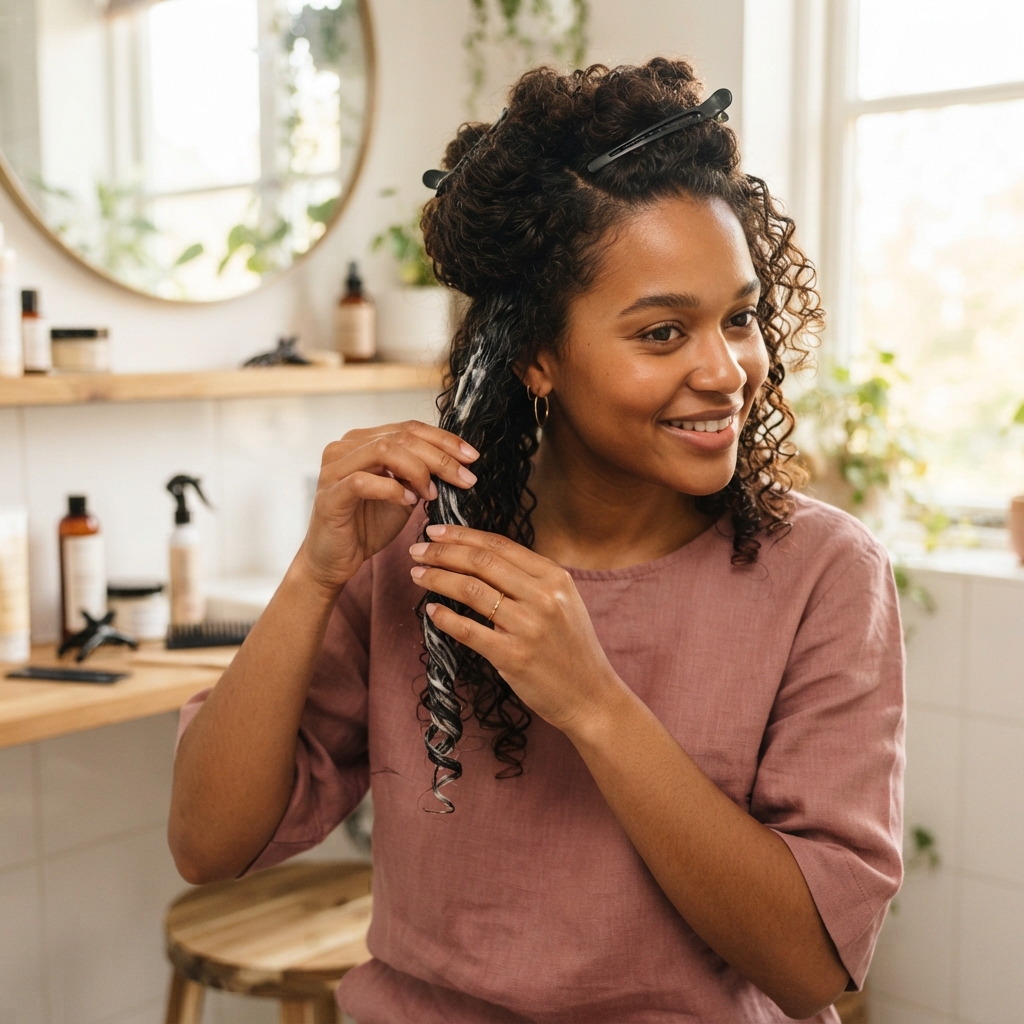
Two techniques, two very different results.
- Raking: fingers comb through the hair like a rake to form clumps. Great for type 3 and 4 curls that need definition.
- Glazing: palms skim over the surface only. Perfect for wavies who lose their pattern easily.
If your curls break apart when you style, glide instead of rake. If they clump but look stringy, you might be glazing when you should be raking. Try both on a wash day and see which one gives you the shape you actually want.
Scrunching Without the Crunch

Gel gives you a hard cast while your hair dries. That’s normal, and it’s actually protecting your curls. Don’t panic when it feels crispy.
- Wait until your hair is 100 percent dry. This is the hard part.
- Scrunch upward with dry palms, section by section.
- For extra softness, rub one drop of light oil between your hands first.
- Fluff at the roots with your fingertips for volume.
The cast breaks, the softness appears, and the definition stays. Never scrunch wet hair. That’s how you get frizz instead of softness.
Diffusing Without Blowing Out Your Curls
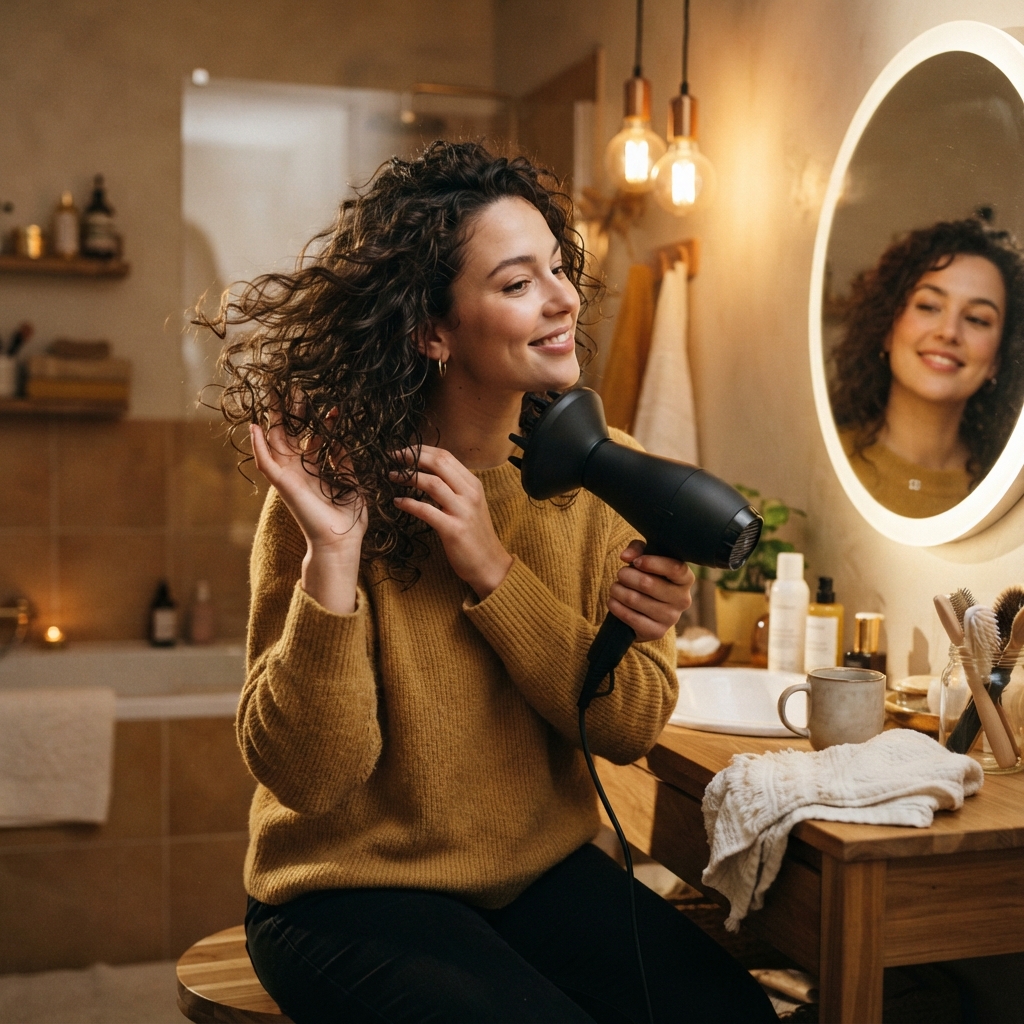
A diffuser is a curls-best-friend, if you use it right.
- Flip your head upside down and start at the roots.
- Use low heat and low speed. Always.
- Hover the diffuser around your head first, no touching.
- Then cup sections and push upward toward your scalp.
- Stop when hair is about 80 percent dry. Let the rest air dry.
High heat and high speed blast your curls apart and create frizz. Patience gets you definition. If you want more volume, diffuse the roots longer and keep the ends light.
Air Drying for Maximum Volume

Air drying is the gentlest option and the best one for volume.
- Microplop first so you’re not waiting forever.
- Do not touch your hair while it dries. This is the whole secret.
- Keep hair off your shoulders so it doesn’t flatten at the roots.
- Stay away from wind and fans that blow strands around.
Every time you touch wet curls, you break the clump and invite frizz. Use that drying time to get ready, answer emails, or honestly, do nothing. It’ll take longer, but the volume and softness are worth the wait.
Day Two and Day Three Curl Refresh
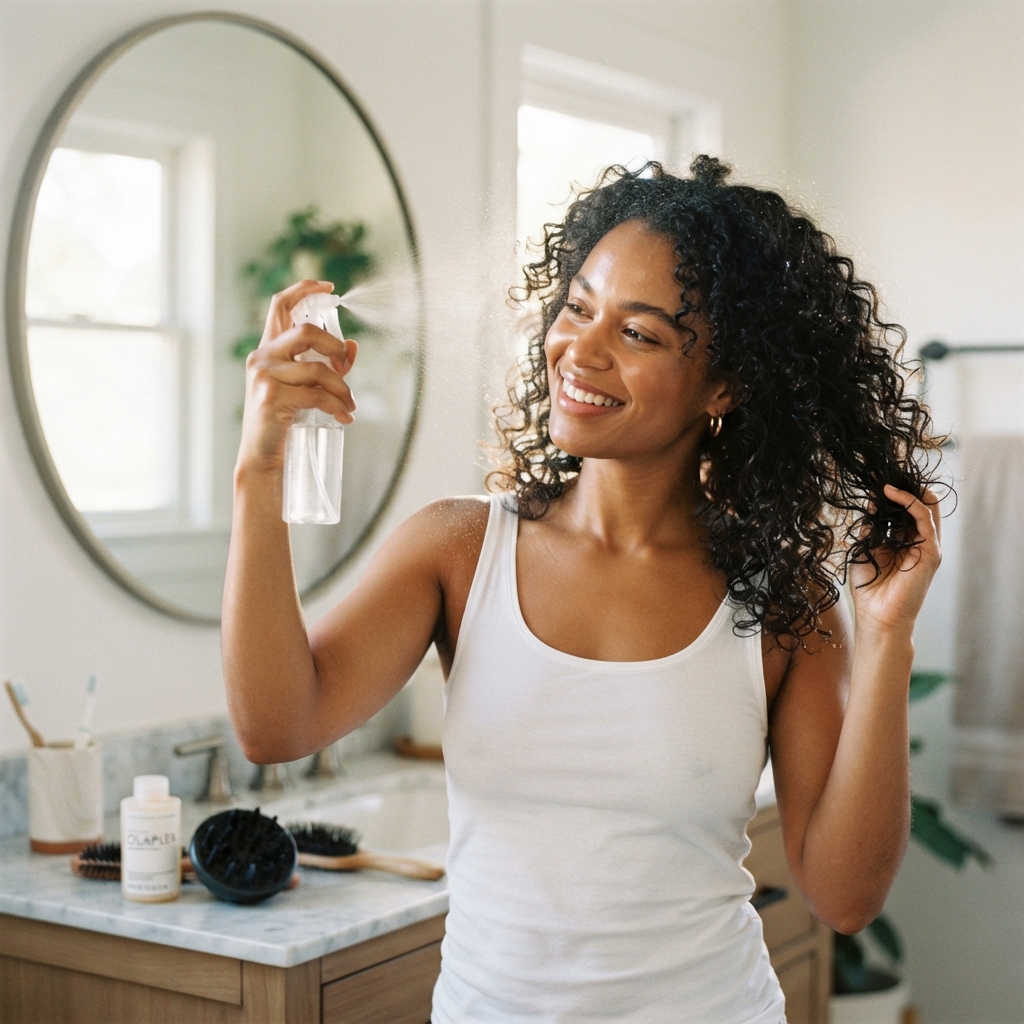
You don’t need to rewash to get your curls back. You need water and a light touch.
- Make a spray bottle with water and a little leave-in.
- Mist the sections that look flat or frizzy, not your whole head.
- Scrunch upward with damp hands.
- Add a tiny bit of gel or foam if you need hold.
- Let it dry, then scrunch again.
No time? Stand in a steamy bathroom for five minutes. The humidity alone wakes up the curls. Never soak your hair on a refresh day, that’s the fastest route to weighed-down roots.
Sleep Habits That Protect Your Shape

How you sleep decides what your curls look like at 7 a.m.
- Pineapple it: gather hair at the very top of your head with a loose scrunchie.
- Go satin: a satin or silk pillowcase creates less friction than cotton.
- Braid loosely: a single loose braid works great for longer curls.
- Never tie tight: tension causes breakage and headaches.
This one small routine saves me from touching my hair every single morning. Your curls keep their shape, and you wake up with hair that actually looks intentional.
How to Get a Cut That Loves Your Curls
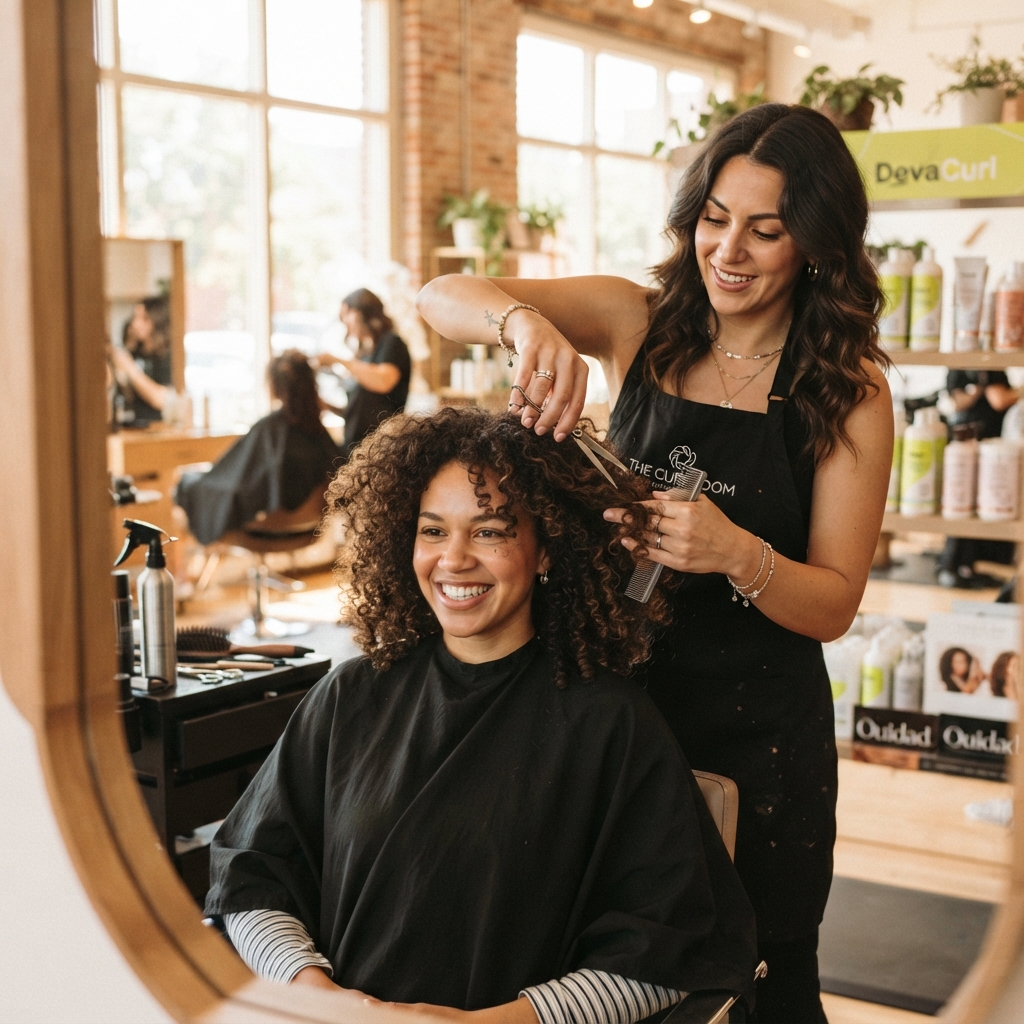
A bad cut can make even great curls look heavy. A good one makes styling almost effortless.
- Ask for a dry cut, so your stylist sees your true shape.
- Look for someone who cuts curl by curl or has curly clients on their page.
- Ask for layers that lift the roots and remove weight from the bottom.
- Say no to thinning shears. They cause frizz.
If you want an asymmetrical lob or a short curly bob, bring photos. Shape matters more than length. Get the cut right and you’ll use half the product you used to.
Bringing 2026 Hairstyles Into Your Curl Routine

Good news: 2026 hairstyles are made for curls, as long as your hair is healthy and bouncy.
- Old money hair: glossy, healthy, and low-product. Focus on deep conditioning and shine over heavy styling.
- Quiet luxury bob: chin to shoulder length with soft shape. Great on type 2 and 3 curls with a light gel cast.
- Asymmetrical lob: longer on one side. Style one side tucked back for that effortless grown-up look.
All three work best with a simple routine and real hair health underneath. Skip the crunch, keep the shine.
Bold Curly Looks: Romantic Goth, Glitchy Glam, and the Vampire Haircut

If minimal isn’t your thing, curls can go bold in a way straight hair just can’t.
- Romantic goth hairstyles: soft brushed-out curls with a little volume and shine. Think moody and pretty, not spooky.
- Glitchy glam hair: sharp pieces, strong gel cast, intentional texture. Play with asymmetry and defined strands.
- Vampire haircut: strong face-framing layers with length in the back. Curls make this look dramatic and effortless.
- Hime cut: blunt side pieces with longer back. Works on looser curl patterns for an editorial feel.
Pick one and commit. Bold looks need definition, so gel is your friend here.
Mistakes That Weigh Curls Down
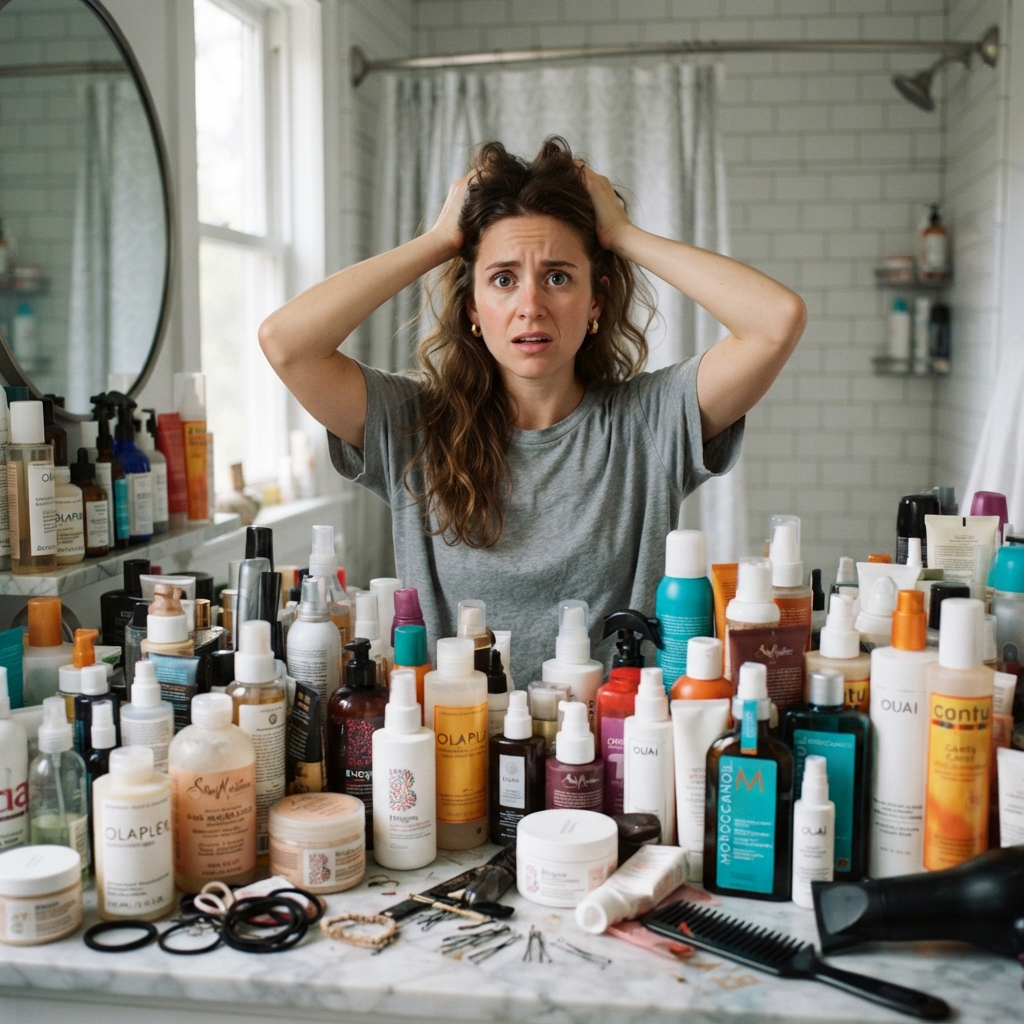
I’ve made every one of these. Learn from my mistakes.
- Applying conditioner and leave-in to your roots.
- Using heavy butters on fine, low-porosity hair.
- Touching your hair while it dries.
- Diffusing on high heat and high speed.
- Never clarifying, then blaming your products.
- Detangling soaking wet hair with a brush.
Most heavy, flat curl problems come down to two things: too much product and too much handling. Fix those and you’ll see a difference in one wash day.
Your Simple Weekly Curl Routine
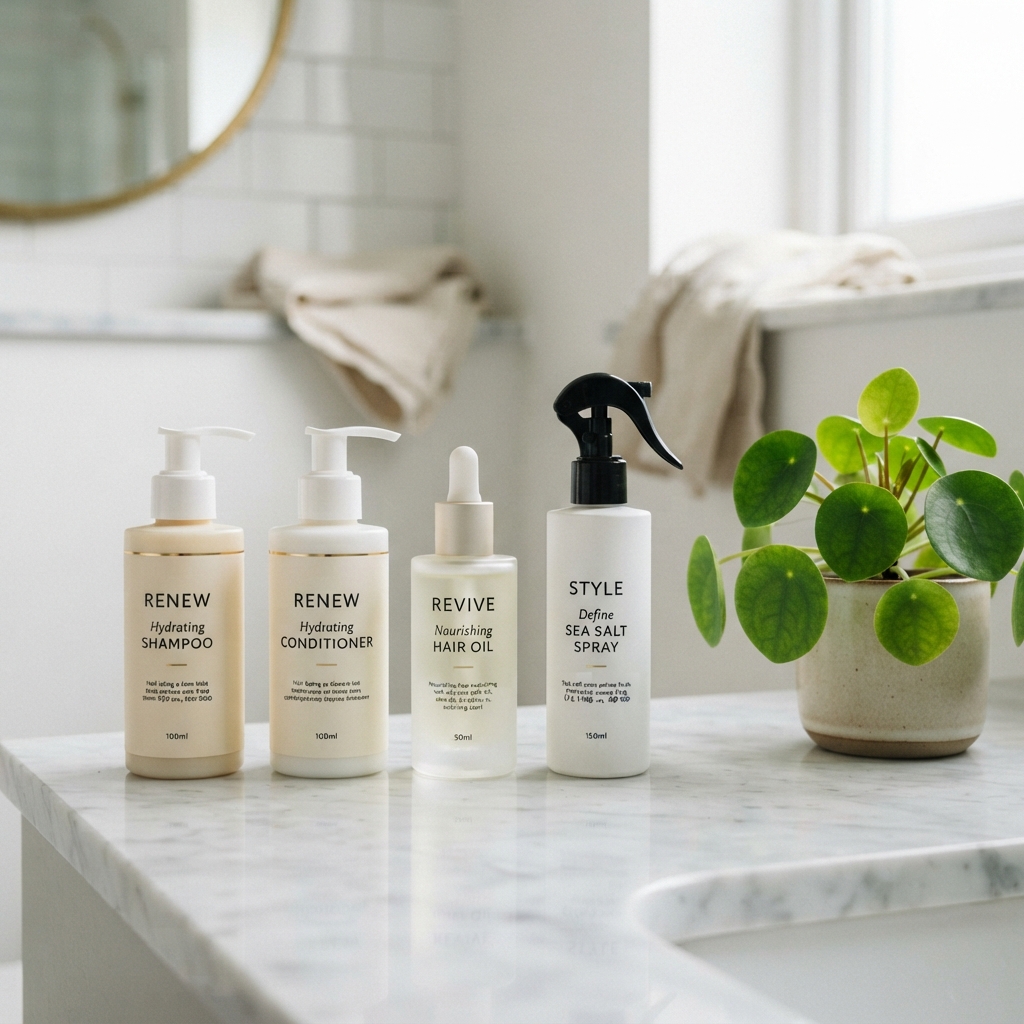
Here’s what a realistic week looks like for me.
- Wash day: gentle shampoo, conditioner, leave-in, gel, diffuse.
- Day two: refresh with water spray, scrunch, air dry.
- Day three: pineapple the night before, quick refresh, light foam.
- Day four: loose bun or half-up style if it’s getting tired.
- Weekly: deep condition once, clarify every three to four weeks.
That’s it. Four or five products total, not fifteen. Simple routines are the ones you’ll actually stick to.
A Gentle Send-Off
Curls don’t need to be tamed. They need to be understood. Once you stop piling on product and start working with your pattern, everything gets easier.
Start with one change this week. Maybe it’s the pre-wash detangle, or the cool rinse, or simply not touching your hair while it dries. Small shifts add up fast, and your curls will tell you they noticed.
You don’t need perfect hair. You need hair that feels like you. Light, bouncy, and completely yours.
Save this post to Pinterest so you’ve got your curl routine handy on the next wash day. And tell me in the comments: what’s the one product you’ll never give up? I read every single one.
— Hailey & Team

