
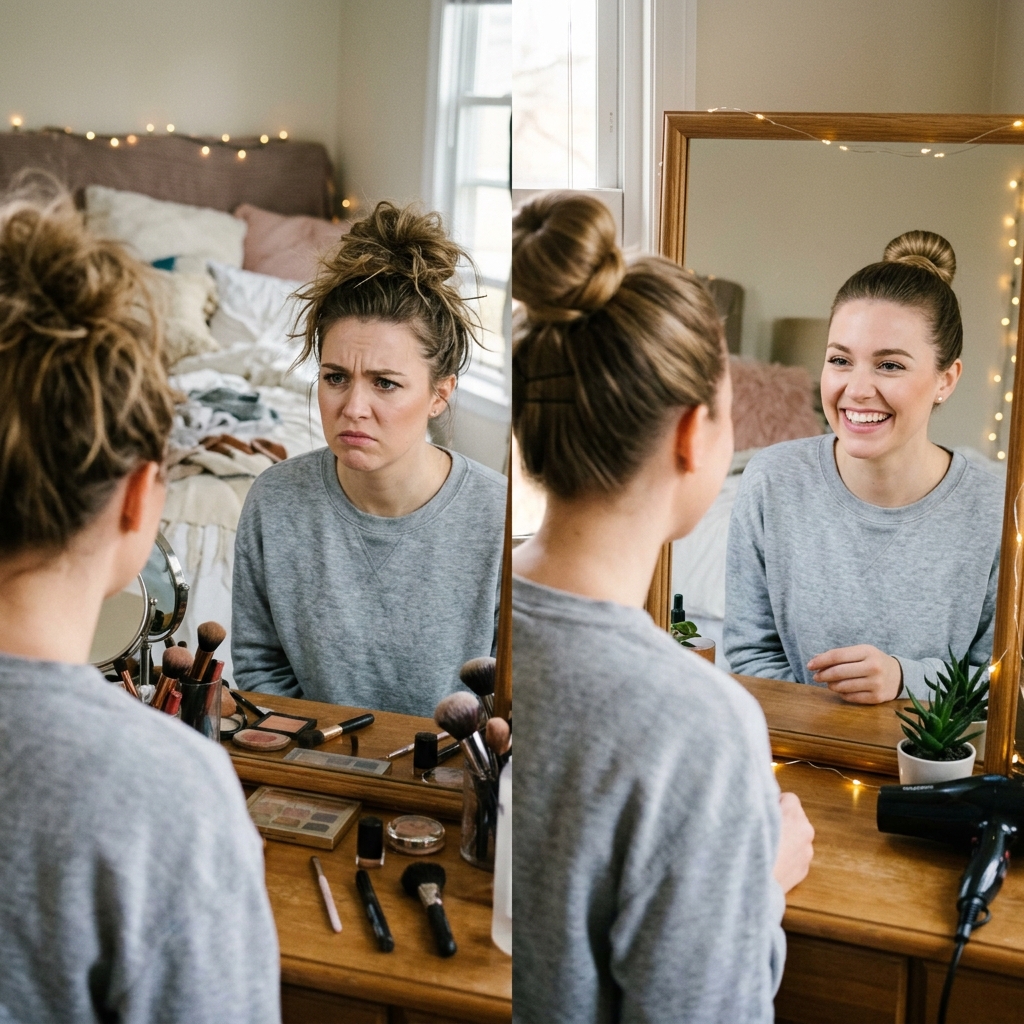
Okay, let’s talk about hair. Specifically, that feeling when you see someone with a perfectly chic, effortless-looking bun and think, “I could never.” If you have thick hair like me, you know the struggle. It’s either a heavy knot giving you a headache or a frizzy mess that falls out in an hour.
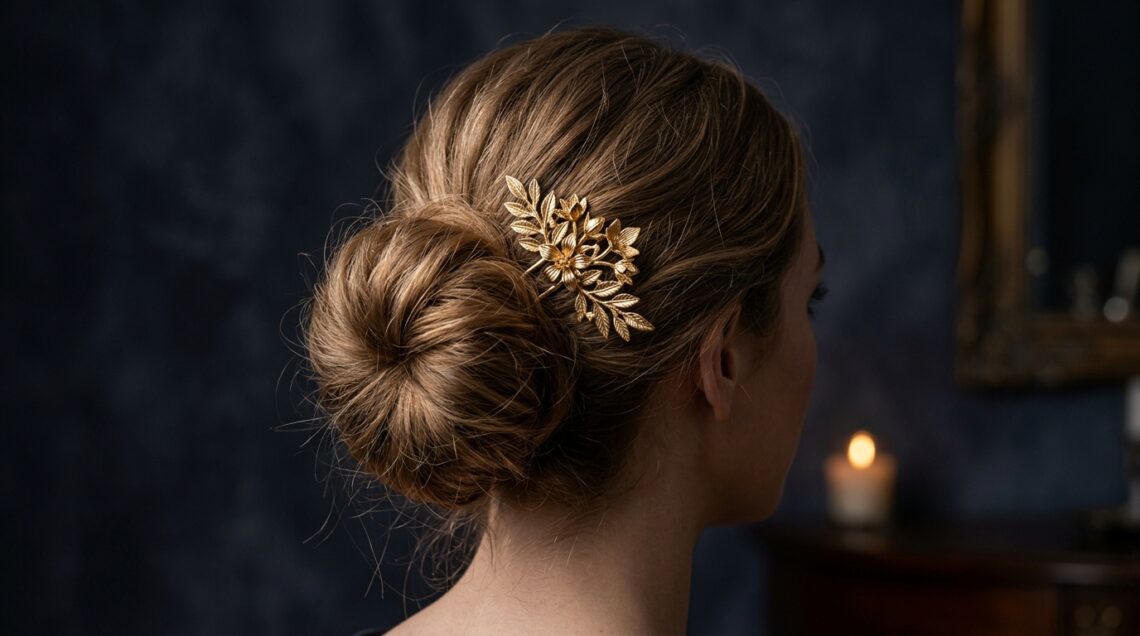
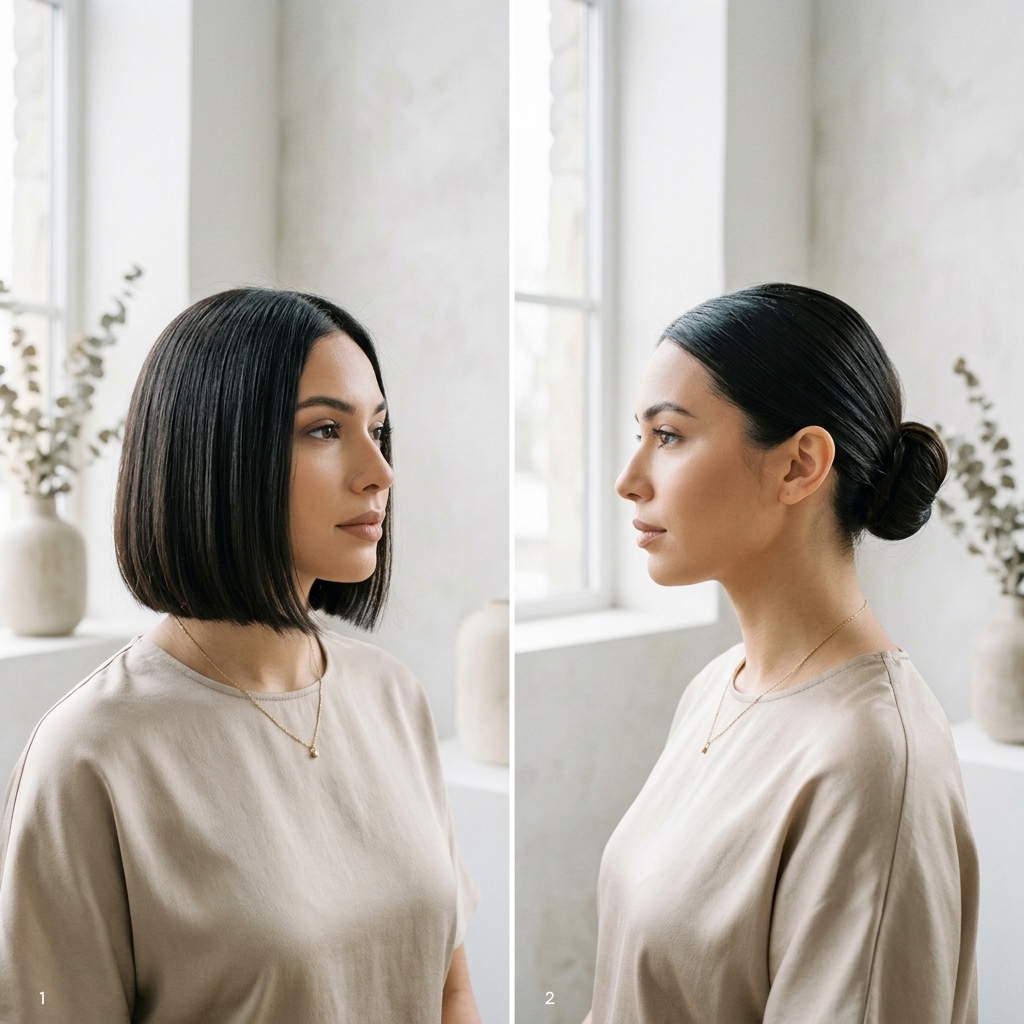
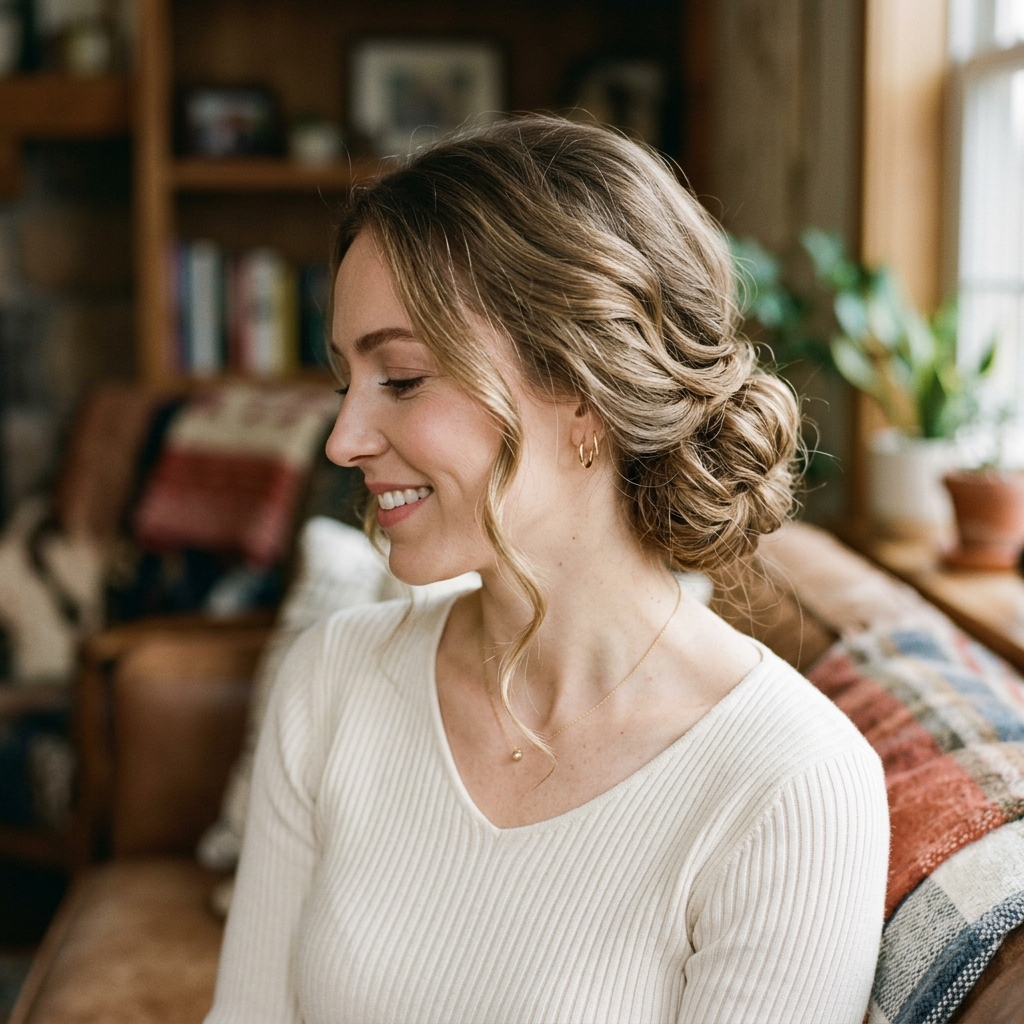
But what if I told you there’s a bun that’s both simple and stunning? It’s that “old money hair” vibe—polished, quiet, and like you didn’t try too hard. It works for the office, a dinner date, or just feeling put-together on a Tuesday.
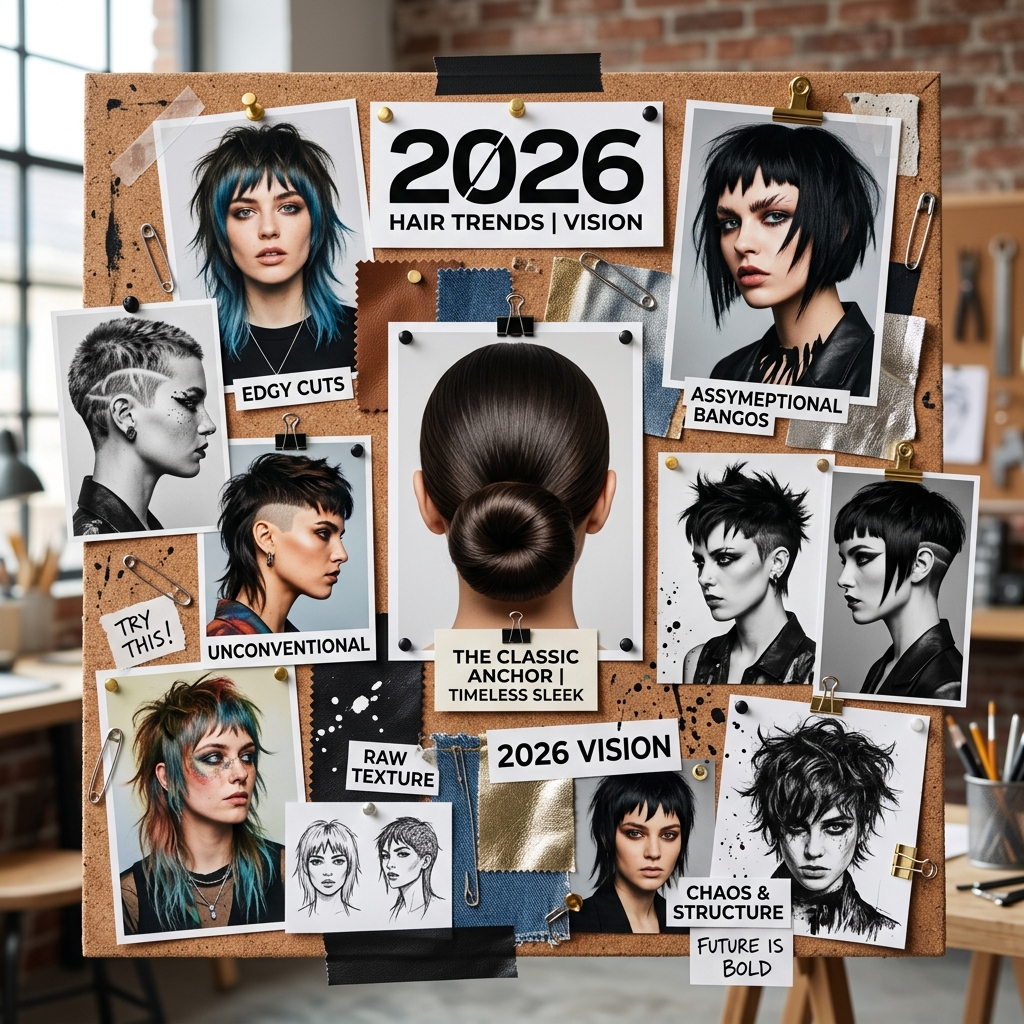
This isn’t about complicated twists. It’s one simple technique that holds all day. Forget the 2026 hairstyles for a second; this is a timeless look. Let me show you how to get that sleek, lived-in elegance in under five minutes, no fancy tools required.
What Is “Old Money” Hair, Really?
It’s not about being expensive. It’s an attitude. Think “quiet luxury” for your hair. It looks pristine, healthy, and intentional without being trendy or over-styled. The colors are often natural, the cuts are timeless, and the styles are elegant in their simplicity.
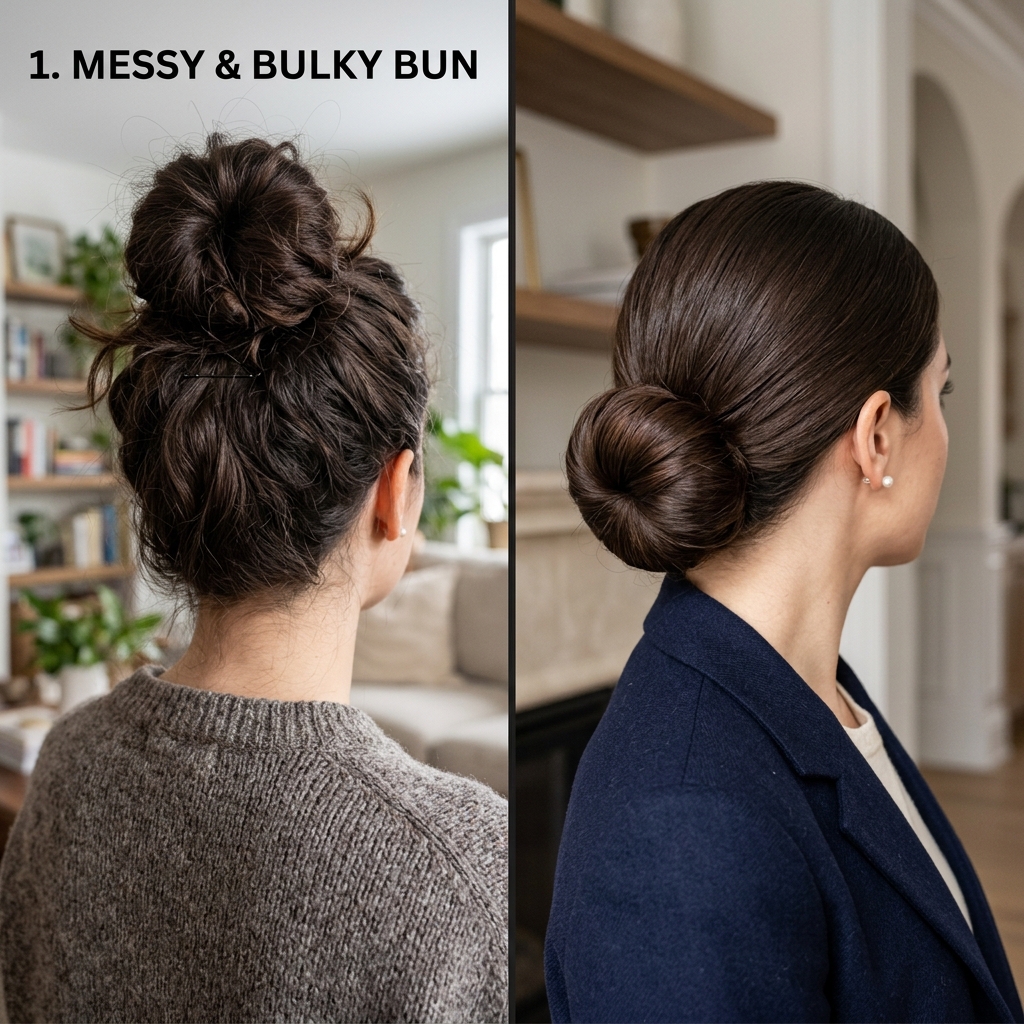
This aesthetic is the opposite of “glitchy glam hair” or “romantic goth hairstyles.” It’s understated confidence. A low bun is a perfect example. It’s not messy; it’s perfectly imperfect. It says you’re too busy living a fabulous life to fuss over your hair all day.

Why This Bun Works for Thick Hair
Thick hair needs structure. A flimsy bun just won’t cut it. This method uses a simple trick to distribute the weight evenly and anchor it securely at the nape of your neck, where it’s most comfortable.
It also embraces your hair’s natural volume instead of fighting it. The goal isn’t a pin-flat ballet bun. We want a little softness, a little body. It keeps the look soft and modern, not severe or dated.
Gather Your Simple Tools
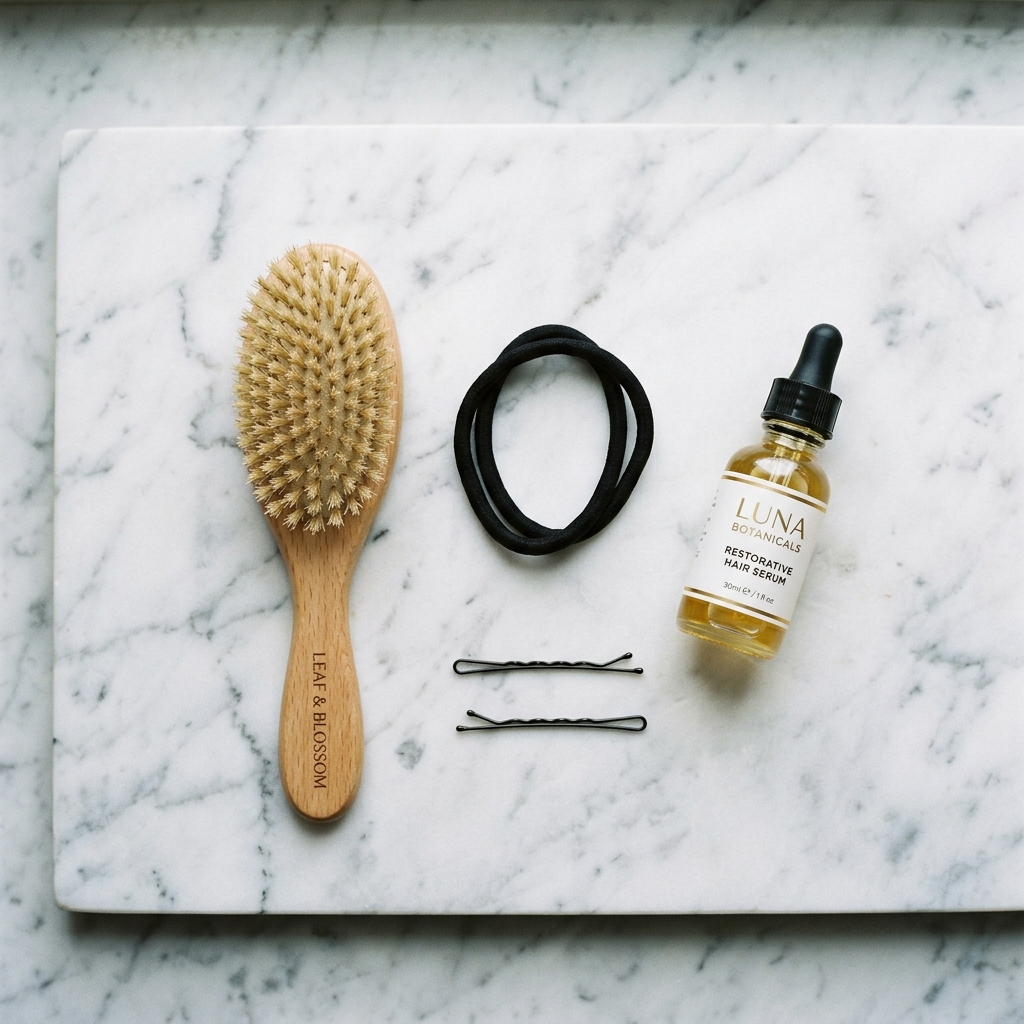
You don’t need much. In fact, you probably have it all already:
- A strong, no-snag hair tie (I like spiral ones).
- 4-5 bobby pins that match your hair color.
- A fine-tooth comb or brush.
- A light-hold hairspray or a bit of smoothing serum (optional).
That’s it! No donut forms, no special clips. The magic is in the technique, not the gadgets.
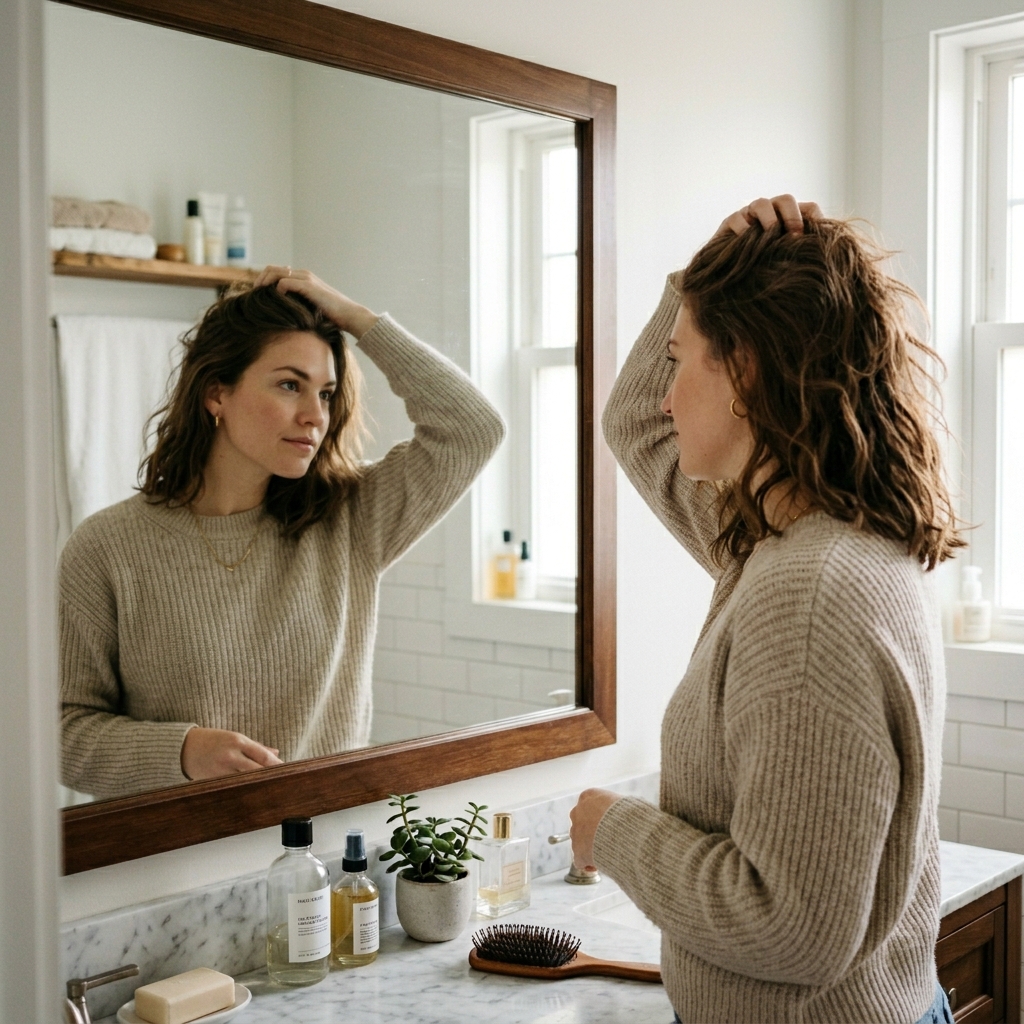
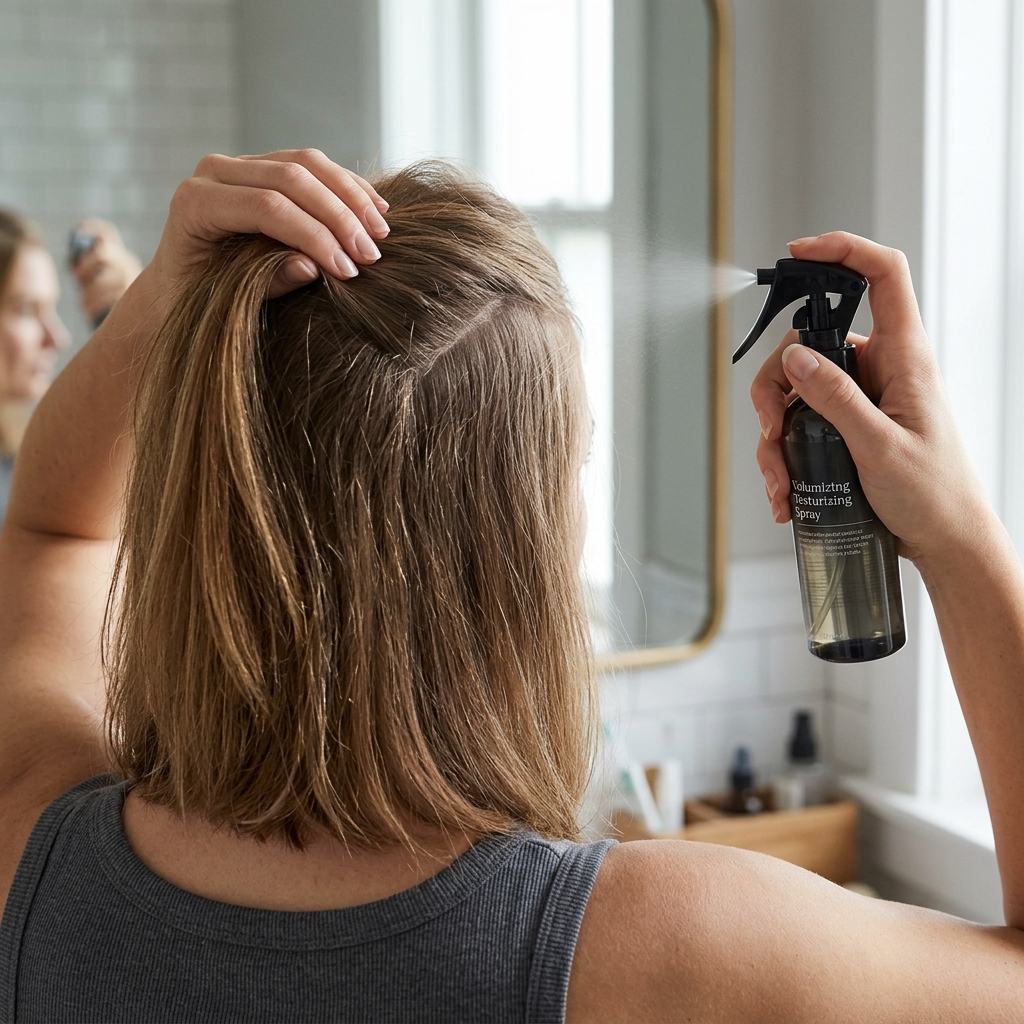
Start with Day-Old Hair (Trust Me)
Freshly washed hair on thick strands can be too slippery. Day-two or day-three hair has just enough natural texture and grip to help the style hold. If your hair is very clean, a light dusting of texturizing spray at the roots can add the needed grip.
This is a great trick for many styles, from an “asymmetrical lob” to updos. That slight bit of natural oil is your best friend for creating lasting, lived-in styles without the fuss.
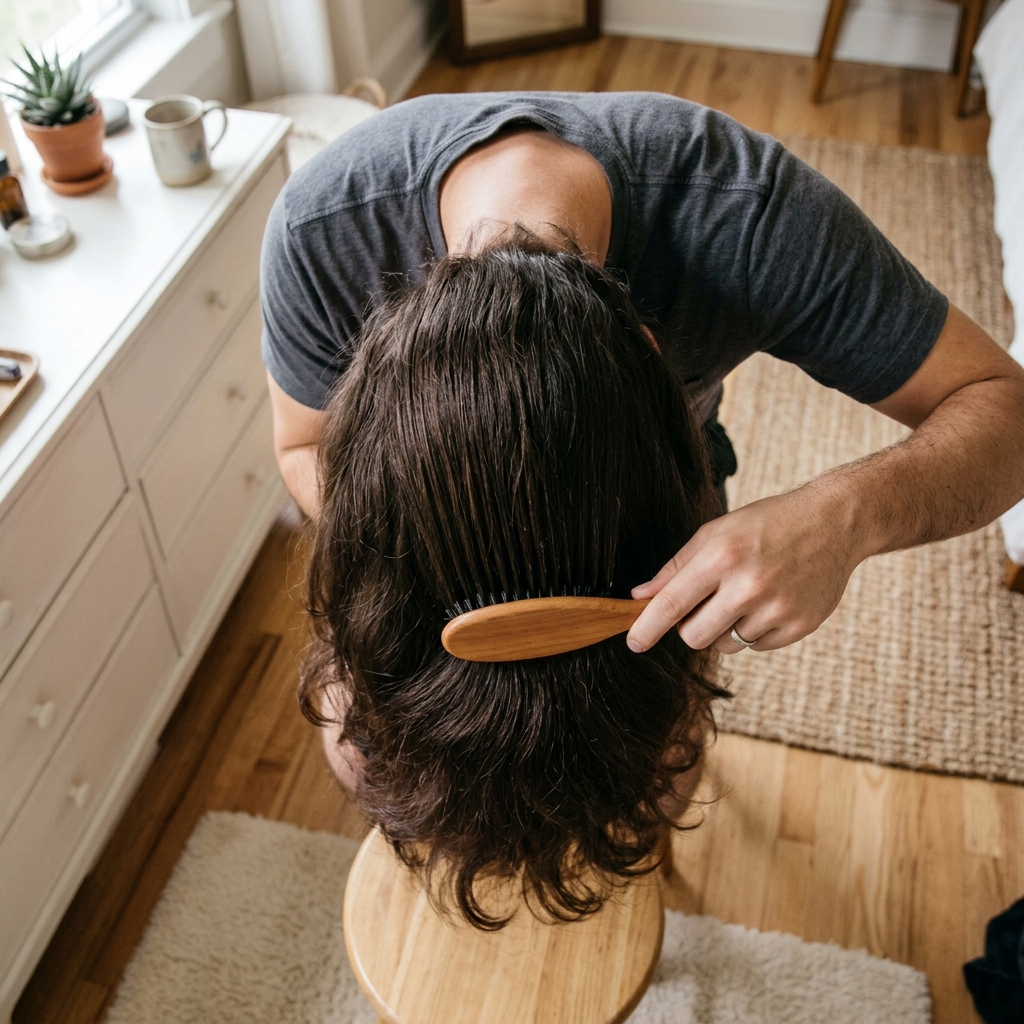
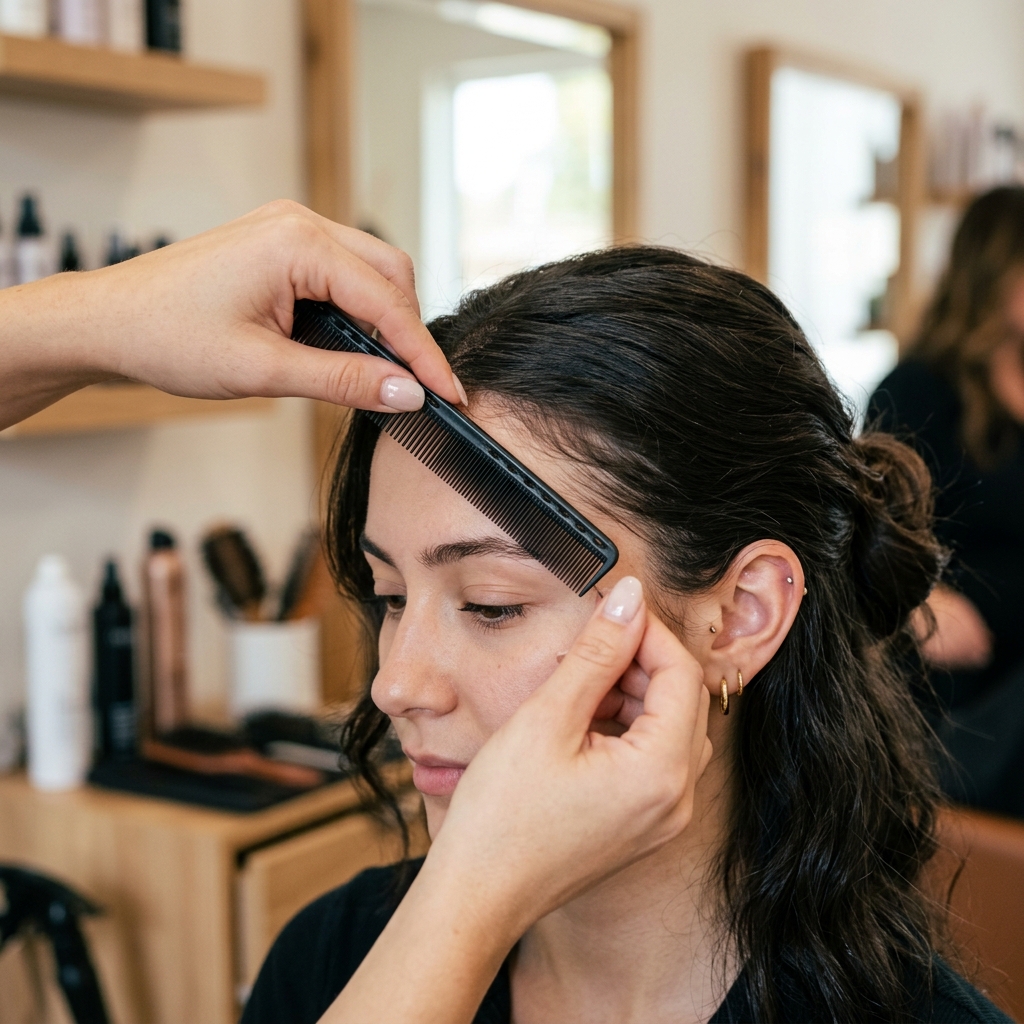
Step 1: Brush It All Back Smoothly
Bend at the waist and flip your hair forward. Brush it all from the nape up to the crown, getting out any knots. This helps create a smooth base and minimizes bumps on top.
Stand up slowly, gathering all your hair at the nape of your neck with one hand. Don’t pull it too high; keep it low, right where your neck meets your skull. Use your other hand to smooth any flyaways at your temples.
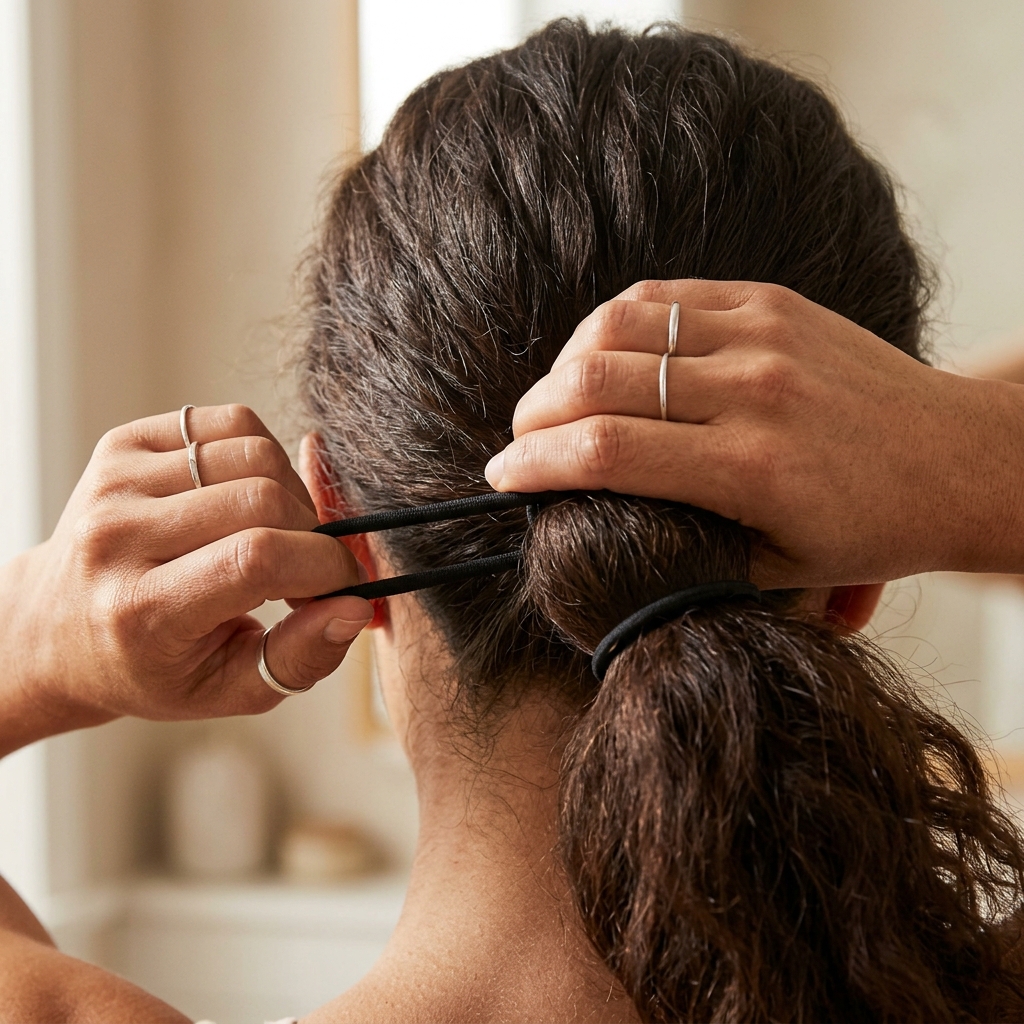
Step 2: Make a Low, Loose Ponytail
With the hair gathered, secure it with your hair tie into a low ponytail. But here’s the key: only loop the tie twice, on the third loop, stop when your hair is only halfway through.
You should now have a loop of hair (the bun) and a tail of hair hanging out. Don’t pull the tail all the way through. This half-pulled-through ponytail is the secure base for our entire bun.
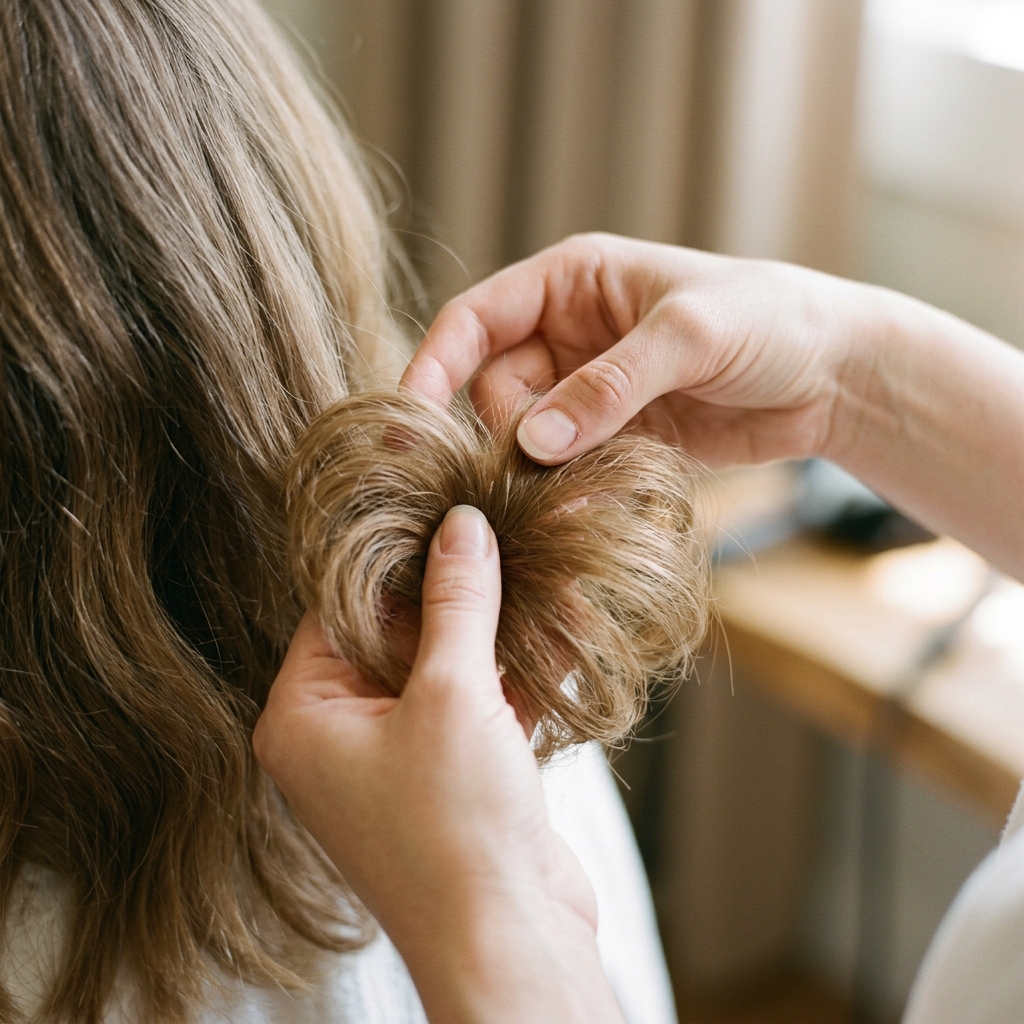
Step 3: Spread the Loop into a Bun
Now, take the loop you’ve created and gently spread it out with your fingers. Flatten it a bit against your head, fanning it around the hair tie base. It will look messy—that’s perfect.
This creates the soft, full shape of the bun. For thicker hair, you might need to spread it wider. The goal is a soft, donut-like circle, not a tight ball.
Step 4: Wrap & Tuck the Tail
Take the remaining tail of hair and wrap it around the base of the bun, covering the hair tie. As you wrap, keep the tail smooth to conceal the base.
Once you’ve wrapped it all the way around, tuck the very end of the tail under the bun and into the center of the base. Use a bobby pin to secure that tucked end. Push the pin through the tail and into the base of the bun, going against the direction of the wrap for more hold.
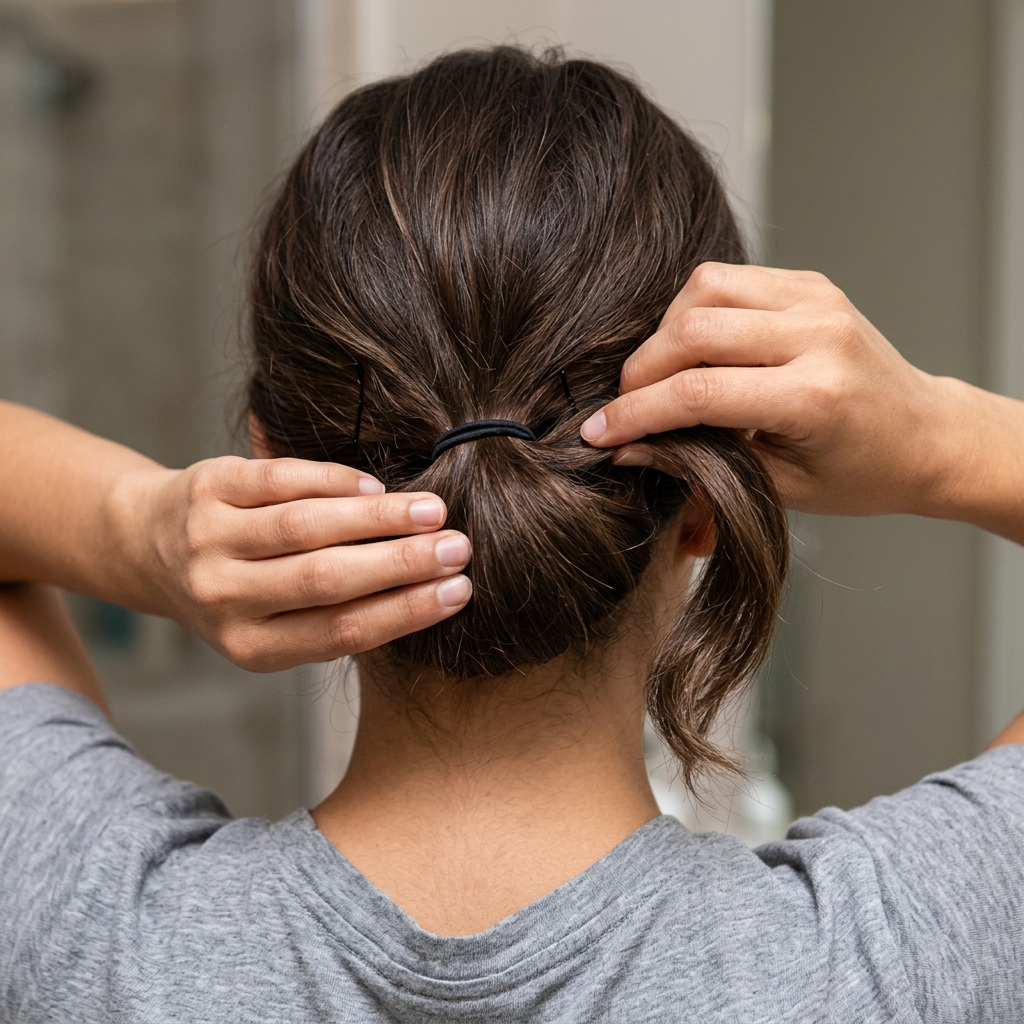
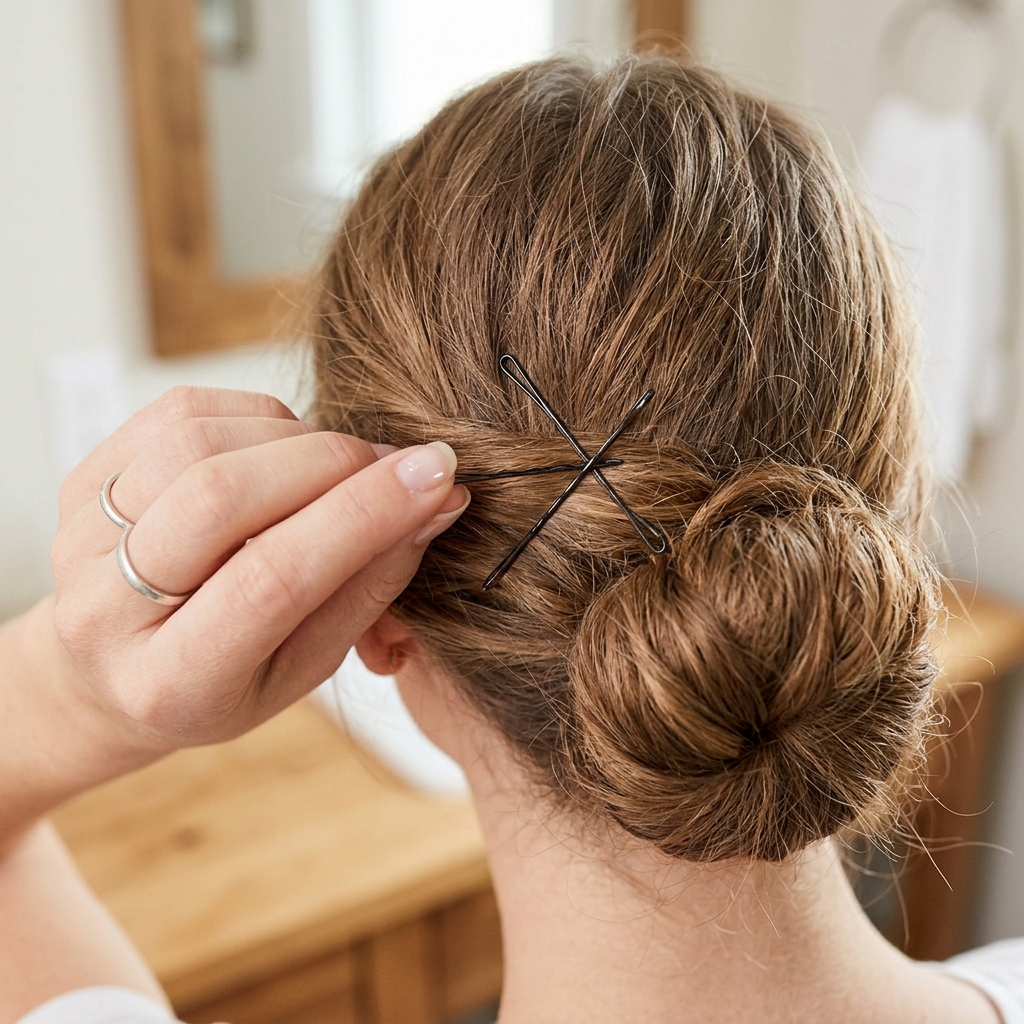
Step 5: Pin for Security & Shape
This is the secret for thick hair. Take 2-3 more bobby pins. Open them, and slide them into the sides of the bun, going through the bun and into the hair underneath at your scalp.
Always criss-cross the pins for a stronger hold. Aim for areas that feel loose. Don’t just poke them into the bun itself; anchor it to your head. This locks the weight in place.
Step 6: The Final Smoothing Touch
Lightly mist a fine-tooth comb with hairspray or water. Use it to gently smooth any baby hairs or flyaways around your hairline and the bun itself. This gives that polished, “quiet luxury” finish.
If you like, a tiny drop of serum on your fingertips can be smoothed over the surface of the bun to add shine and control any frizz. Less is more here.
How to Make It Look “Lived-In”
Perfection is not the goal. After pinning, gently pull at two or three small sections around the bun to create soft, loose pieces. This adds volume and makes it look effortless.
You can also pull slightly at the hair above your ears to soften the sides. The contrast between the sleek bun and these soft details is what makes the style feel modern and not too strict.

Common Thick-Hair Problems & Fixes
Problem: The bun feels too heavy and pulls.
Fix: You didn’t anchor with enough pins. Add 1-2 more criss-crossed at the base.
Problem: It looks messy, not chic.
Fix: Did you smooth with a comb? That final step is crucial. Also, ensure the initial ponytail was smooth.
Problem: Hair slips out by midday.
Fix: Day-old hair is key. Also, try a stronger hold hair tie or a texturizing spray before styling.
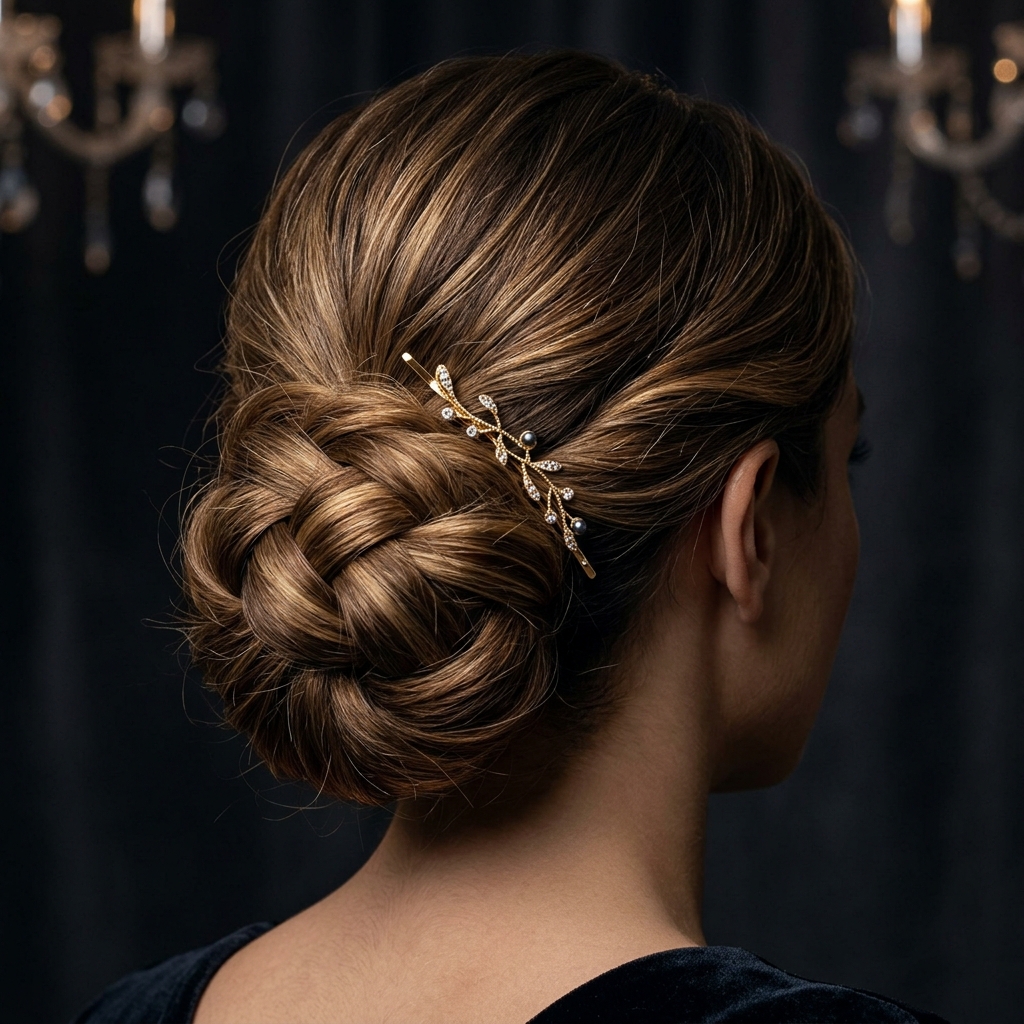
From Day to Night in Seconds
This bun is incredibly versatile. For a day look, keep it soft and simple. For evening, it’s easy to elevate. Slide in a simple, elegant hairpin or a few pearl-ended bobby pins near the base.
You can also add a sleek middle part before you start for a more dramatic vibe. Or, pull out a few more tendrils for a romantic touch that bridges “old money” and “romantic goth” aesthetics.
Pair It With Your Favorite Makeup Look
This bun is a blank canvas. It pairs beautifully with clean-girl makeup—dewy skin, a little mascara, and a nude lip. That’s the ultimate “quiet luxury” combo.
But it also creates a stunning contrast with a bold lip or a smoky eye. It lets your face take center stage. Think of it like a “vampire haircut” or a “hime cut”—the strong shape frames your features perfectly.

Is This Like a “Quiet Luxury Bob”?
In spirit, yes! A “quiet luxury bob” is about a precise, sharp cut that looks expensive and easy. This bun achieves the same feeling but in an updo. It’s that same ethos of looking impeccably groomed without appearing to follow fleeting trends.
While the bob is a cut and this is a style, they share a DNA of sophistication and effortlessness. If you love that bob aesthetic, you’ll love wearing your hair like this.
How It Stacks Up to 2026 Hair Trends
Trends come and go. We’re seeing “glitchy glam hair” with intentional disconnection, and “asymmetrical lob” cuts. They’re fun! But the old money bun is your classic foundation.
It’s the style you master now and will still be wearing in 2026 and beyond. Trends can be for your weekend looks, but this bun is your reliable, always-chic staple. It’s the leather jacket of hairstyles.
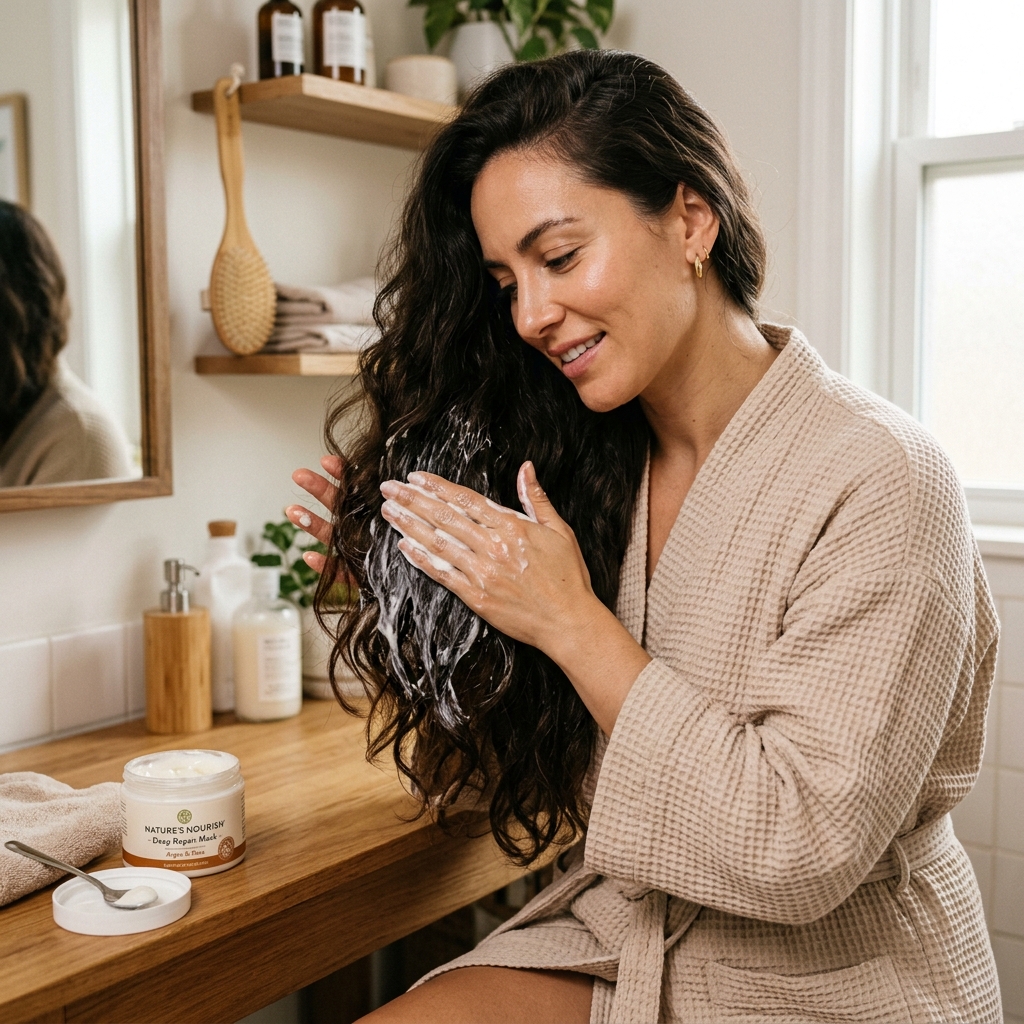
Maintaining Healthy Hair for Any Style
The best hairstyles start with healthy hair. For thick hair, moisture is everything. Use a good conditioner every time you wash. A weekly deep-conditioning treatment is a game-changer.
Protect your ends from heat, and get regular trims. Healthy, shiny hair will make this bun—or any style, from a “vampire haircut” to waves—look a million times better.
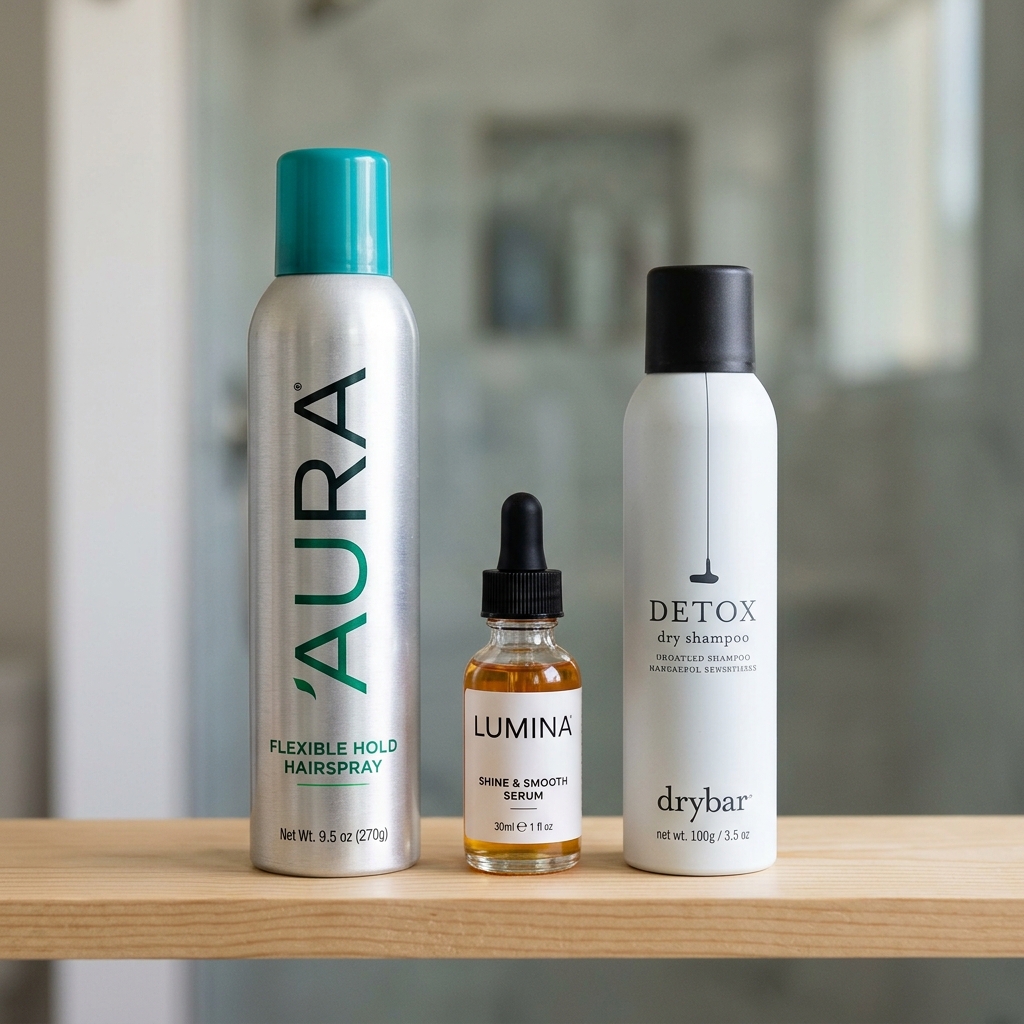
My Favorite Products for Hold & Shine
I keep it simple. For hold, a flexible-hold hairspray lets you reshape if needed. For smoothing, a pea-sized amount of a silicone-free serum on damp hair does wonders.
On second-day hair, a dry shampoo at the roots adds volume and grip. For a high-shine finish, a tiny bit of hair oil on the palms smoothed over the bun’s surface is perfect.
Adapting the Bun for Fine Hair
My friends with fine hair love this too! The trick is to add texture first. Use a texturizing spray at the roots before you start. When you make the half-pulled-through ponytail, make it messier to create more volume.
You can also gently backcomb the ponytail slightly before making the bun for extra fullness. The same pinning technique will secure it beautifully.
When You Need a Change: Try a Side Bun
Mastered the low bun? Switch it up! Gather your hair at the nape, then sweep it all over one shoulder. Follow the exact same steps, but with the bun sitting at the side of your neck.
It feels instantly more romantic and is a gorgeous look. It has a bit of that “romantic goth” elegance but kept clean and polished.
Why This Hairstyle Feels So Empowering
There’s a power in looking put-together with minimal effort. It frees up mental space and boosts your confidence. When your hair is sleek and secure, you feel ready to tackle anything.
It’s a form of self-care that takes minutes but pays off all day. You carry yourself differently. That’s the real magic of a great hairstyle—it’s not just about hair.

Your Questions, Answered
Can I do this on wet hair?
I don’t recommend it for thick hair. The weight can strain your scalp as it dries, and it may not hold as well.
How long does it last?
All day and into the night if pinned correctly. It’s my go-to for long, busy days.
Will it give me a headache?
It shouldn’t! Because it’s low and anchored at the nape, it distributes weight better than a high bun. If it feels tight, start with a looser ponytail base.

Final Thoughts From My Chair
So there you have it. The simple, chic bun that actually works for our thick, glorious hair. It’s become my absolute favorite for looking polished without the effort. It’s more than a hairstyle; it’s a little secret weapon in my back pocket.
I hope this tutorial breaks it down so clearly that you can do it without even thinking. Once you get the muscle memory, it’ll be your five-minute savior on rushed mornings or when you just need to feel a bit more pulled together.
Remember, the goal isn’t perfection. It’s that easy, elegant vibe. Give it a try, play with it, and make it your own. I’d love to hear how it goes for you!
Save this post to Pinterest so you can always find the steps when you need them! Did you try the bun? What’s your go-to quick hairstyle? Tell me in the comments below!

