
Okay, let’s be real. We’ve all spent hours trying to get that perfect “I just came from the beach” wave, only to end up with something that looks more like “I fought with a crimping iron and lost.” I’ve been there too. It’s frustrating.
But guess what? The classic beachy wave is having a major moment again. And this time, it’s all about making it truly effortless. No more over-complicated routines.
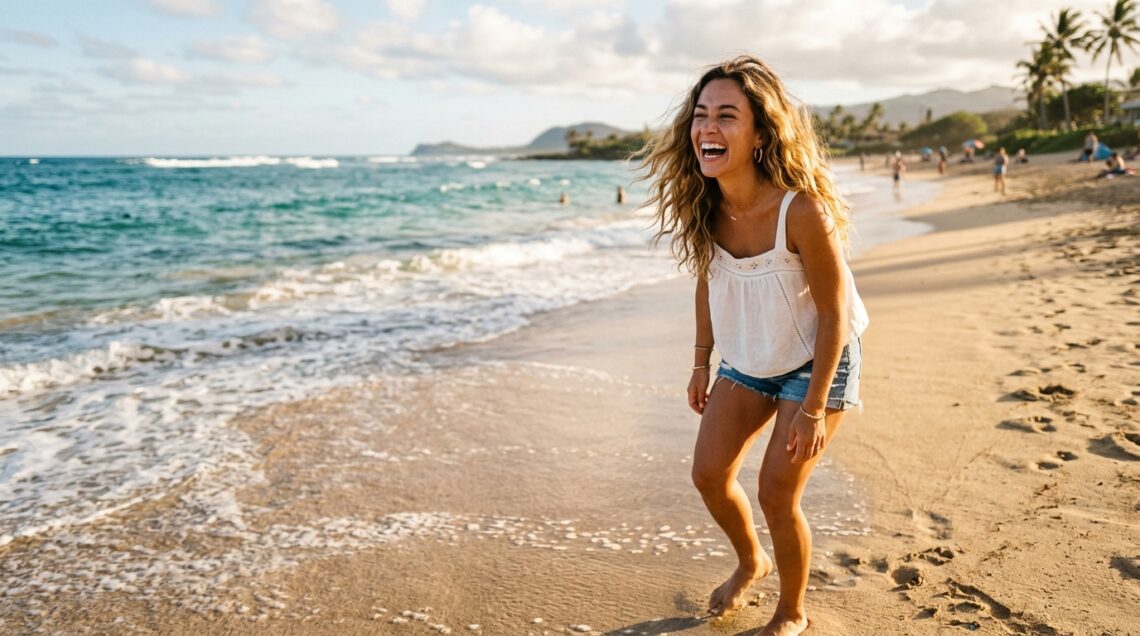
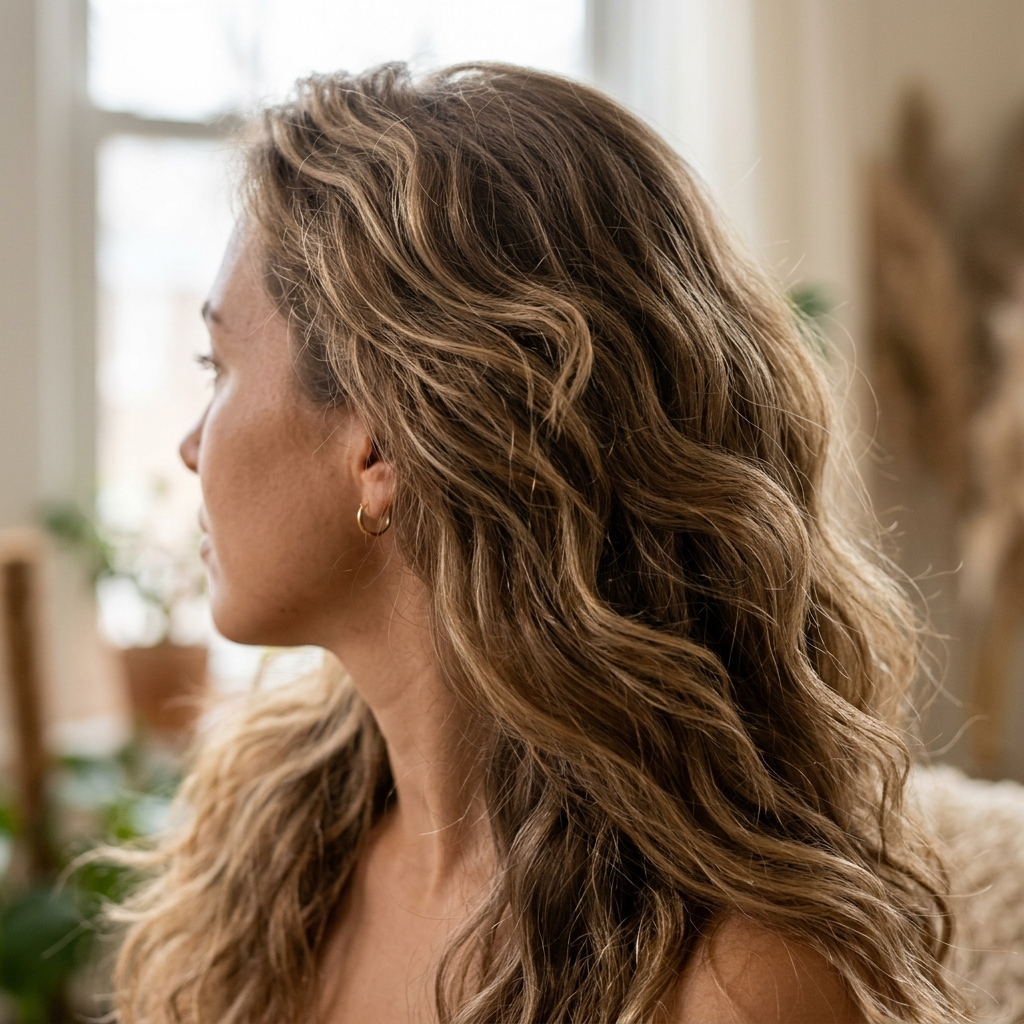
This isn’t about a stiff, over-done look. It’s about soft, touchable texture that looks amazing whether you’re running errands or out for dinner. It’s the ultimate in low-maintenance, high-impact style.
So, let’s ditch the frustration. I’m breaking down everything—from the right products to the simplest techniques—so you can finally get the perfect, lived-in waves you’ve been dreaming of. Let’s get into it.
Why Beachy Waves Are a Timeless Winner

Some trends come and go, but beachy waves? They’re a forever staple. There’s a reason they keep coming back into the spotlight. They’re the ultimate blend of relaxed and put-together.
This look works for almost every hair type and length. It adds body to fine hair and gorgeous texture to thicker hair. It’s the perfect style when you want to look like you tried, but not too hard.
While we’re seeing amazing trends like the quiet luxury bob and romantic goth hairstyles, beachy waves offer a universally flattering, easy-going vibe. They’re your reliable, always-beautiful base.
The Secret Is in the Prep (Haircut & Health)
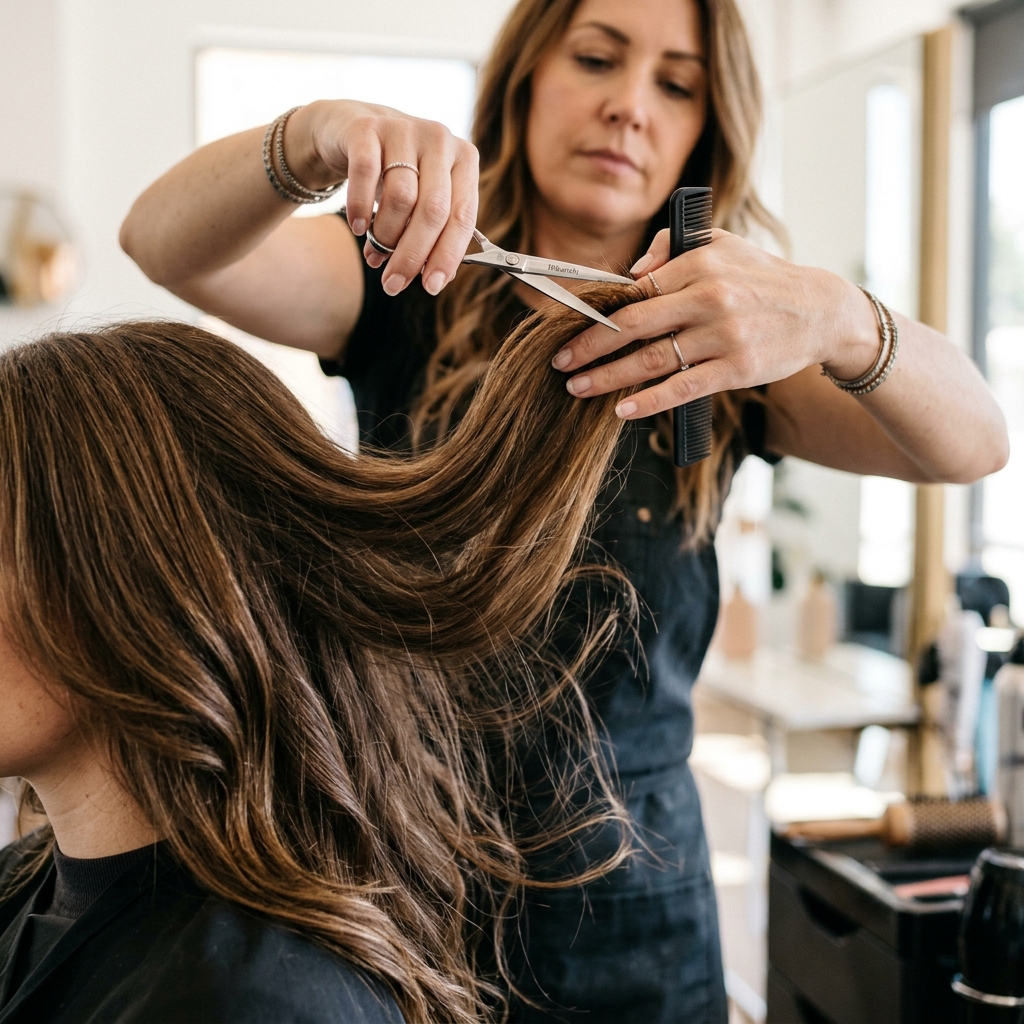
Perfect waves start before you even pick up a styling tool. It begins with your haircut. The right cut gives your hair the natural movement it needs to fall into waves easily.
If your hair is one blunt length, waves can look heavy. Ask your stylist for long, face-framing layers. This removes weight and lets your hair bend and curve naturally. This principle works for everything from an asymmetrical lob to longer styles.
Healthy hair is also key. Dry, damaged hair won’t hold a soft wave well. A good hydrating mask once a week makes all the difference. Silky, nourished hair is your best canvas.
Essential Products for That “Salty” Texture
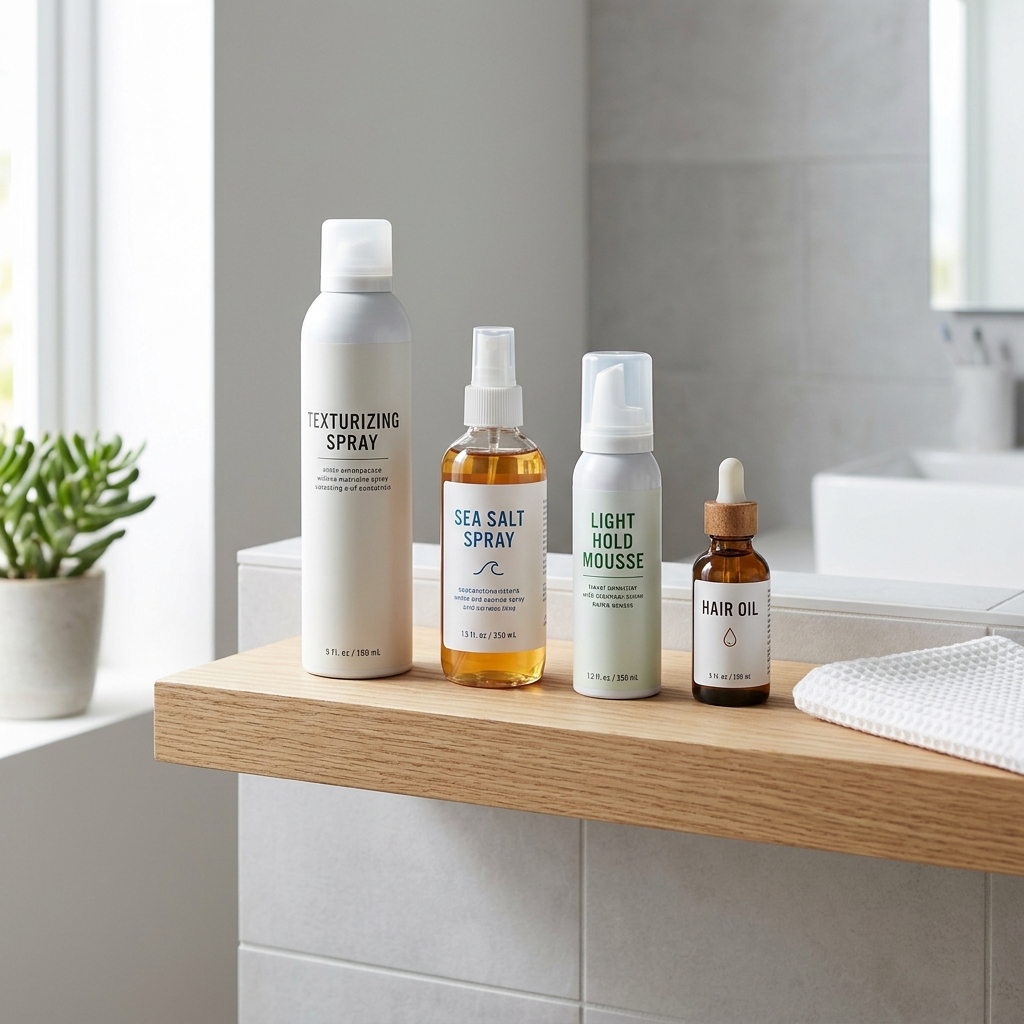
You don’t need a cabinet full of products. You just need the right ones. The goal is to create grip and texture, not a crunchy helmet.
A light-hold mousse at the roots gives lift. A sea salt spray is the MVP—it gives that piecey, textured, lived-in feel. Finish with a flexible-hold hairspray to lock it in without stiffness.
My pro tip? Avoid heavy creams or oils before styling. They can weigh hair down. You want products that enhance your hair’s natural body, not fight it.
Tool Kit: You Only Need These Two
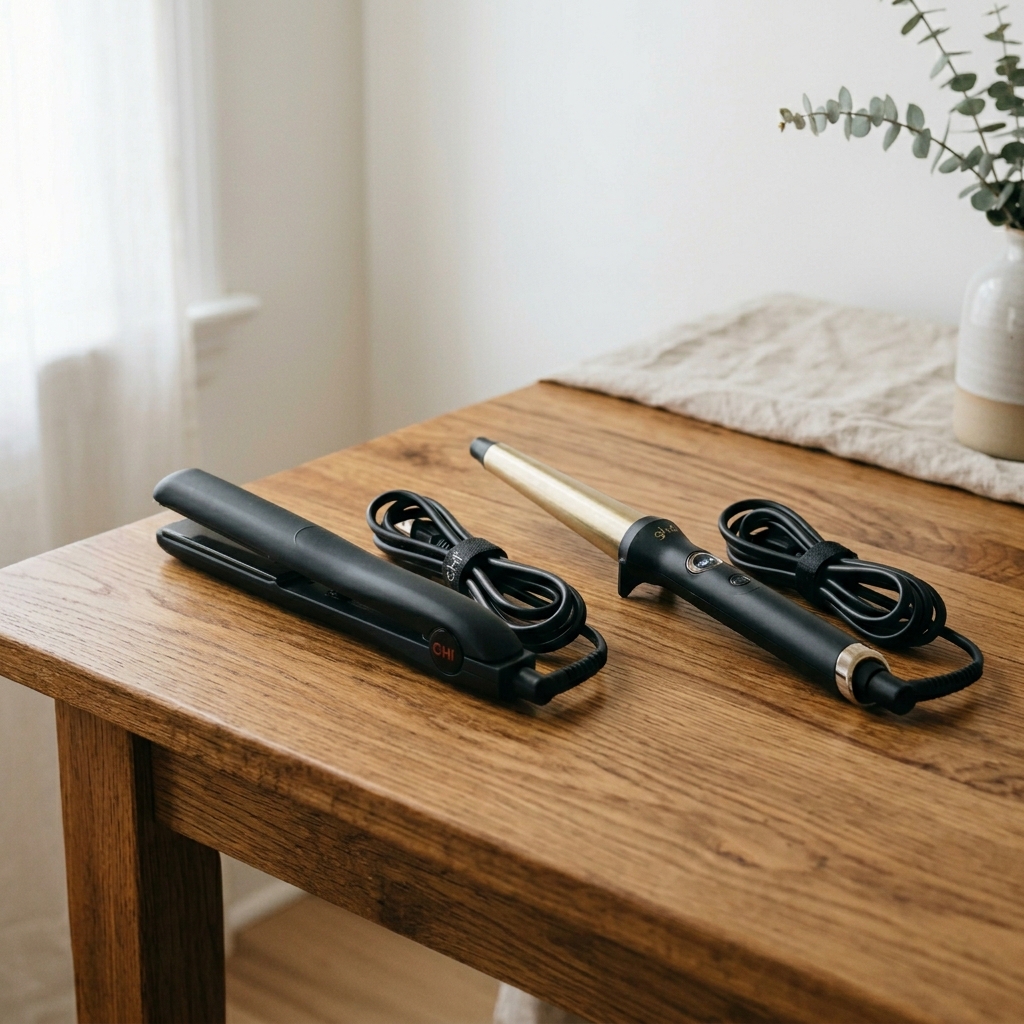
Forget the complicated array of barrels. You can create stunning waves with just one or two tools. My absolute favorite is a classic 1 to 1.25-inch curling wand.
The barrel size gives you a soft, loose wave. If you only have a flat iron, that works too! The technique is just slightly different, which I’ll cover next.
I don’t recommend huge barrels for this look. They create looser curls that can fall out too quickly. The medium size gives you the perfect balance of definition and softness.
Classic Method: The Curling Wand Wave
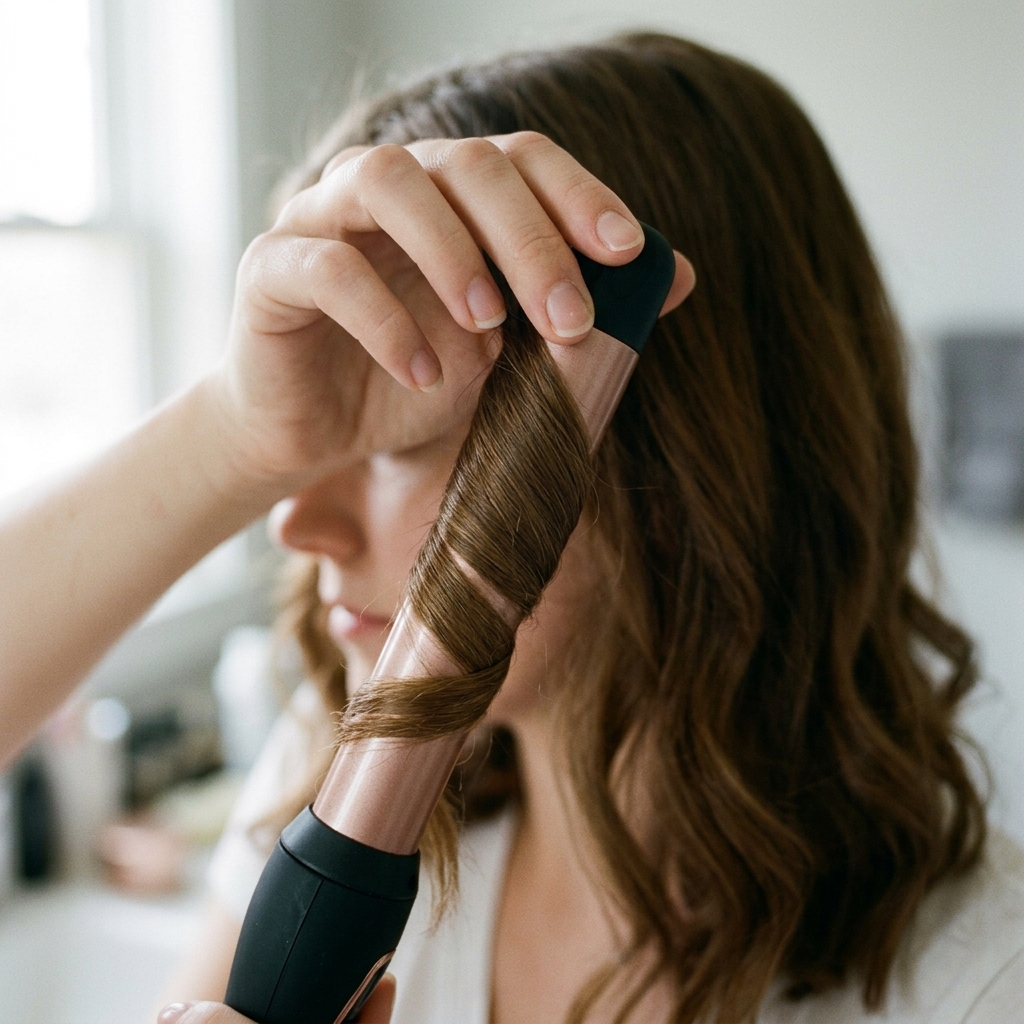
This is my go-to for consistent, beautiful waves. Start with day-old hair or dry your hair completely. Take one to two-inch sections. Smaller sections mean tighter curls, which we don’t want.
Wrap the hair around the wand, starting a few inches from the roots. Hold for 8-10 seconds, then gently release. Don’t touch the curl yet! Let it cool completely.
Always alternate the direction you curl. Wrap one section away from your face, the next toward your face. This creates that natural, imperfect vibe and prevents the “pageant” hair look.
Quick Hack: Waves with a Flat Iron
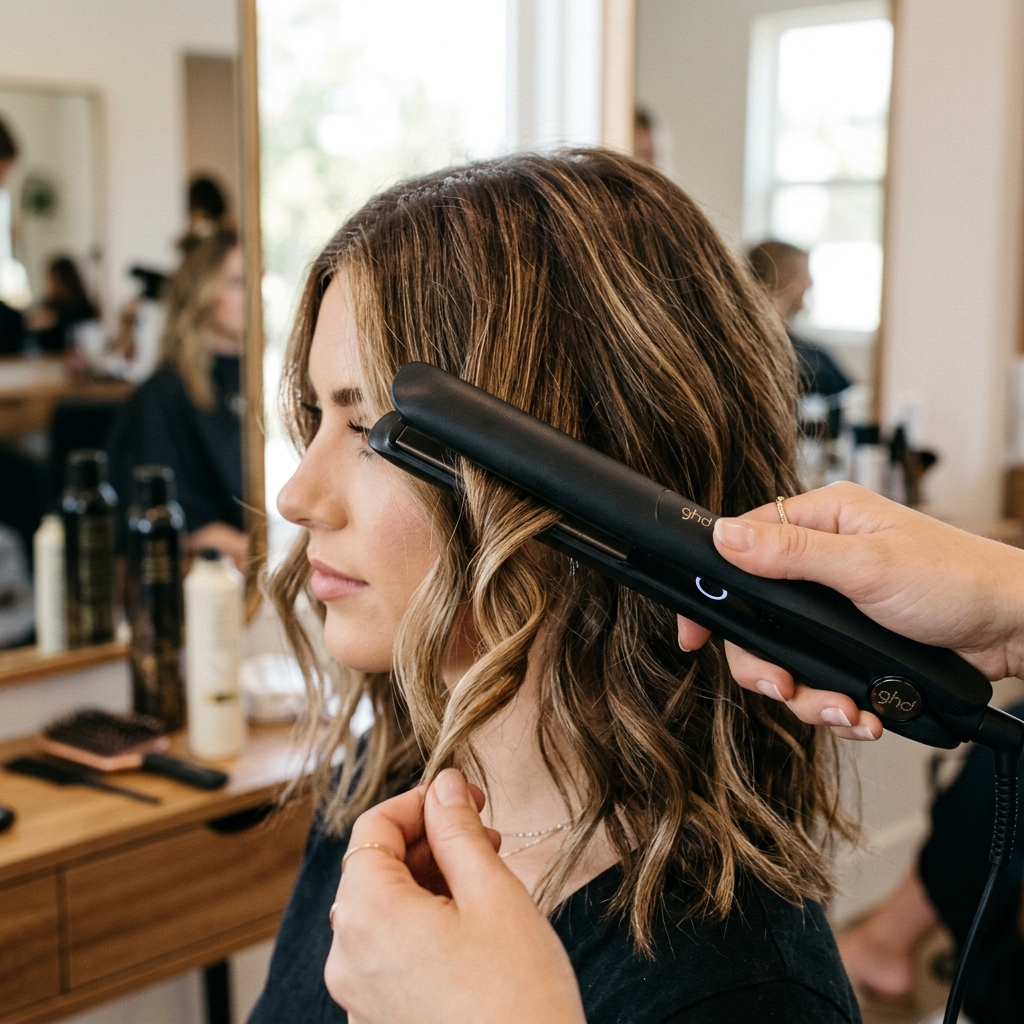
No curling wand? No problem. Your flat iron is a secret weapon for waves. The key is to create a slight “S” shape instead of a curl.
Take a section of hair. Clamp the flat iron near the roots. Give the iron a slight half-turn (like you’re turning a key) and gently glide it down the hair shaft.
When you reach the ends, reverse the turn to finish the “S” shape. It sounds tricky, but after one or two tries, it becomes a super fast way to get gorgeous, flowing waves.
The Cool-Down Rule: Don’t Touch!
This is the most important step everyone skips. After you curl a section, do not brush it, run your fingers through it, or touch it at all. You must let the curls cool completely.
When hair is hot, the style is temporary. As it cools, the shape sets. If you mess with it while it’s warm, you break that set and the wave will fall out fast.
I do all my curls first, then maybe do my makeup. Once my hair is completely cool to the touch, then I move on to the next step.
Breaking the Curls for Softness
Now that your hair is cool, it’s time to break up the curls. Do not use a brush. This will create frizz and flatten everything.
Use your fingers. Gently rake through your hair, starting at the ends and working upward. Shake your roots a little with your fingertips for extra volume.
You’re looking to separate the defined curls into soft, piecey waves. If some areas look too perfect, gently twist and pull them apart with your fingers.
Root Volume: The Final Touch
Beachy waves need that lived-in volume at the crown. After breaking your curls, flip your head upside down. Gently massage your scalp with your fingertips to lift the roots.
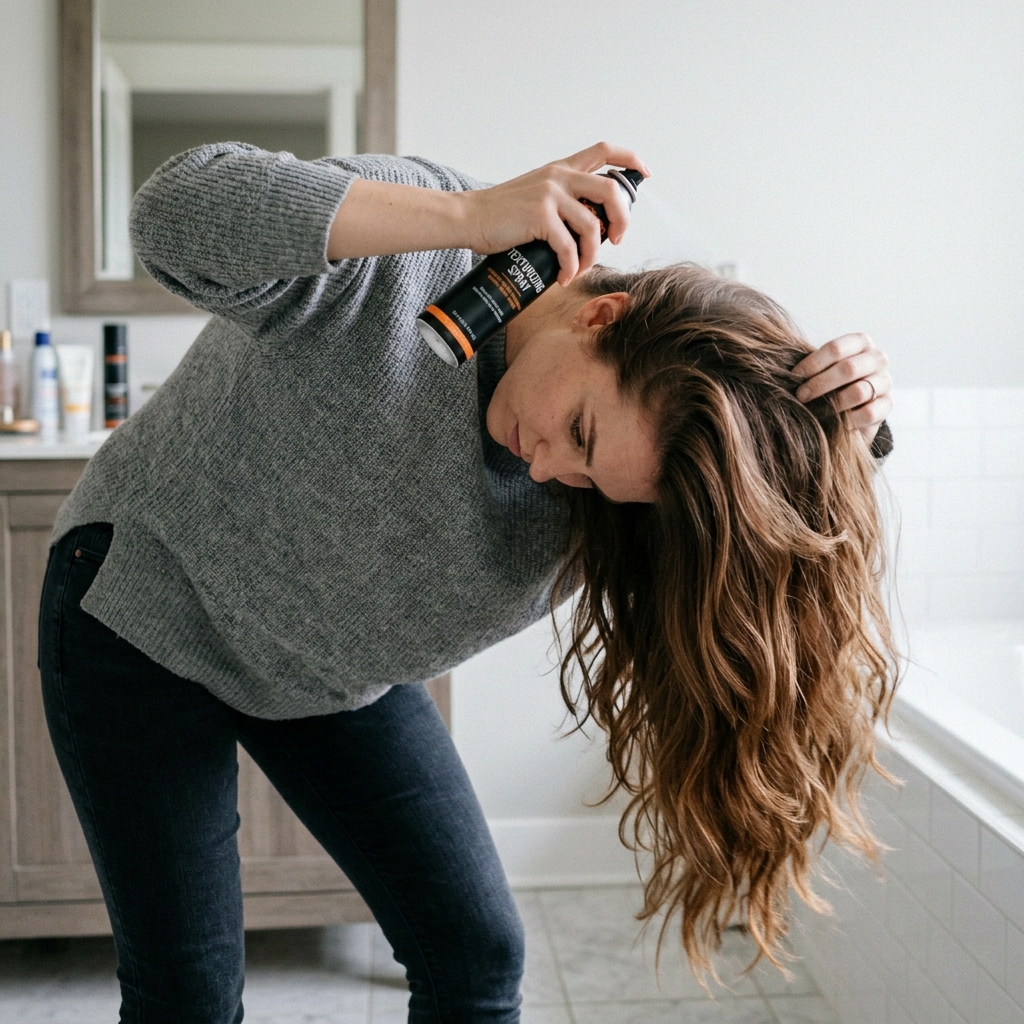
A quick spritz of texturizing or dry shampoo at the roots adds grip and lasting power. Don’t overdo it—just a light spray does the trick.
Flip back up and give your head a gentle side-to-side shake. Use your fingers to arrange the top layer, but avoid over-smoothing. A little messiness is good.
Making Your Waves Last All Day
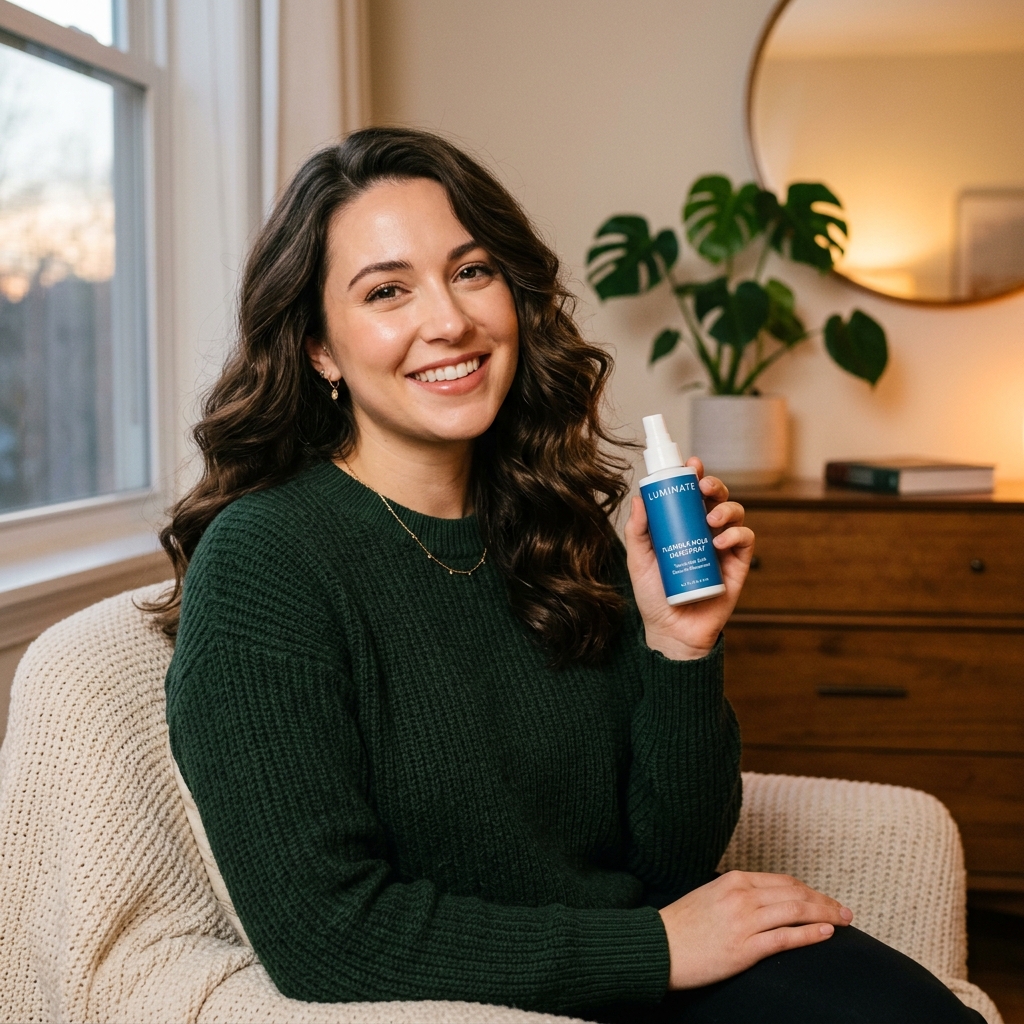
To lock in your hard work, you need a good finishing spray. Look for a hairspray labeled “flexible hold,” “finishing spray,” or “texturizing spray.”
Hold the bottle about 10 inches away from your head. Spritz lightly over your entire head, focusing on the mid-lengths where waves tend to drop first.
Avoid spraying directly at the roots, as this can make hair look greasy and flat. The goal is to hold the shape while keeping the hair touchably soft.
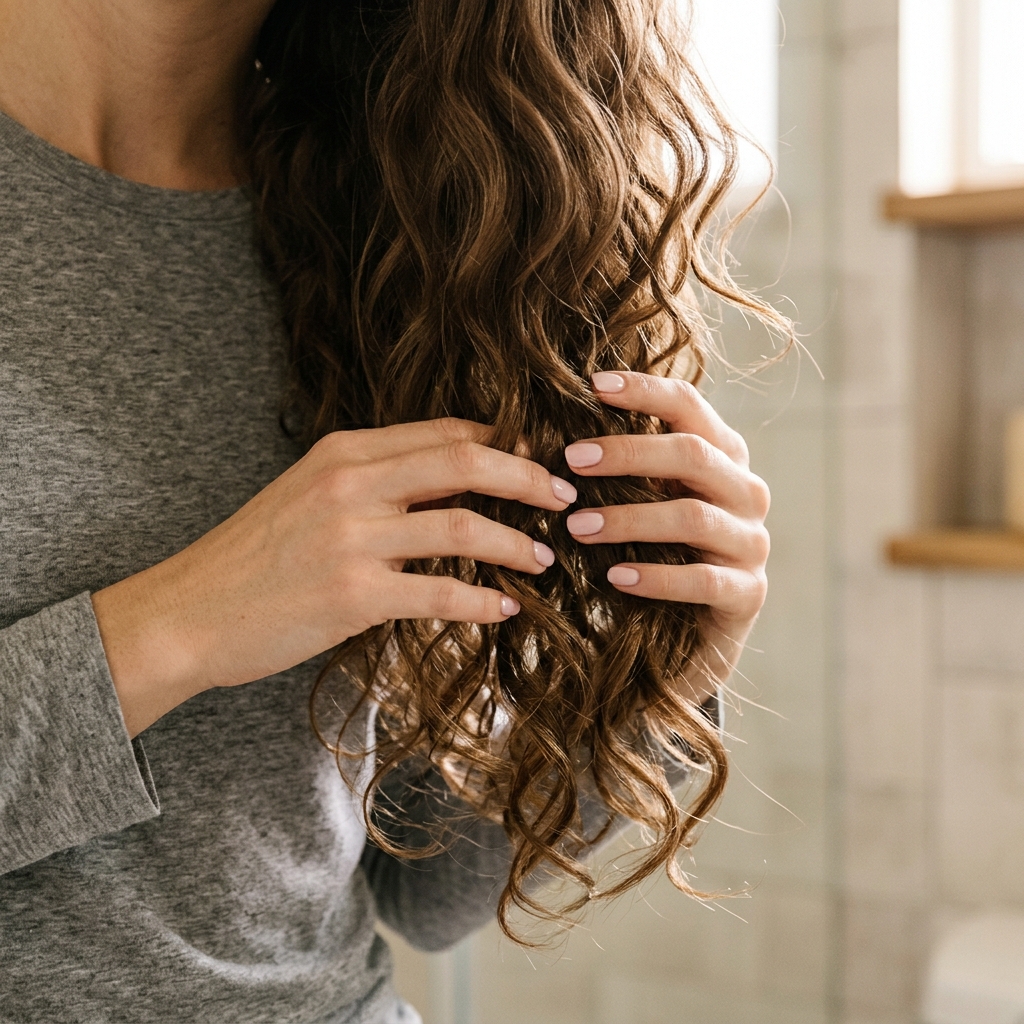
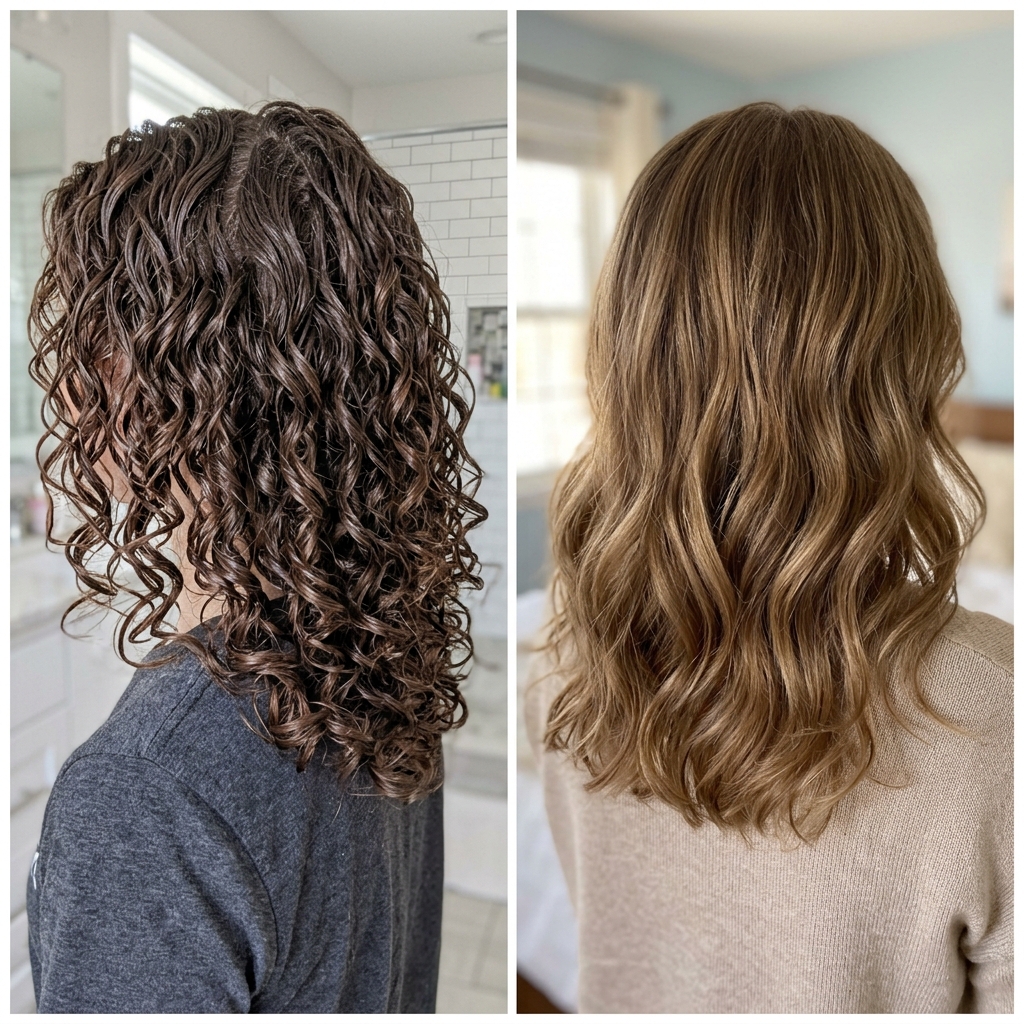
Second-Day Waves: The Best Waves
Honestly, day-two or even day-three waves are often the best. The natural oils in your hair and the settled texture create the ultimate effortless look.
If waves have fallen, revive them by spritzing sections with a mix of water and a little sea salt spray. Then, loosely twist small sections around your finger and let them air dry or hit them with a blow dryer on low heat.
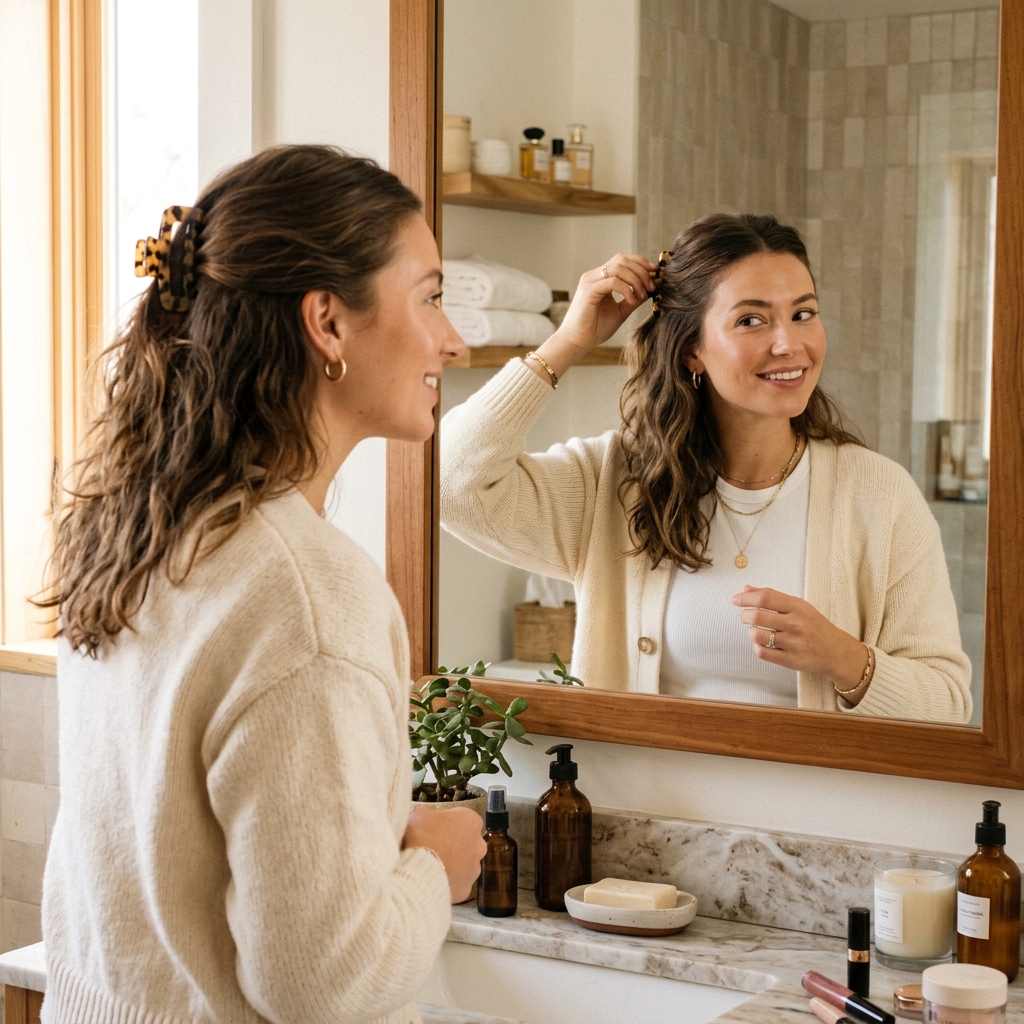
For a trendy look, pull the front pieces back with clips. This style feels very now, sitting perfectly alongside other 2026 hairstyles like the hime cut or glitchy glam hair with its undone texture.
Beachy Waves on Short Hair & Bobs

Short hair lovers, you can absolutely rock this look. It’s all about creating width and texture. Use a small curling wand (under 1 inch) or your flat iron to create bends.
Focus on the ends and mid-lengths, curling away from your face. This adds a ton of body and that chic, piecey effect. It’s a fantastic way to style a quiet luxury bob for a more relaxed vibe.
The key is to keep the roots flat and let the texture start around your cheeks and below. Finish with a matte texturizing paste on your fingertips to define the ends.
Adapting the Look for Thick Hair

If you have thick hair, you might find waves get lost or look too bulky. The trick is to use larger sections when curling. This creates bigger, more noticeable waves that won’t add excess volume.
Make sure your haircut has enough layering to remove weight. After curling and cooling, break up the waves thoroughly with your fingers to spread the volume out evenly.
A light-hold, texturizing spray is better than a heavy mousse. You want to enhance your hair’s natural body without making it poofy. Embrace the volume—it’s gorgeous!
Adapting the Look for Fine Hair
Fine hair needs a different approach to avoid looking greasy or flat. Start with a volumizing mousse at the roots on damp hair before blow-drying. This builds a foundation.
When curling, use smaller sections than you would for thick hair. This creates more waves, which gives the illusion of more hair. A light mist of dry shampoo before styling adds crucial grit.
After breaking your curls, flip your head and spray a light-hold texturizing spray at the roots. This is your non-negotiable step for lasting volume that doesn’t weigh you down.
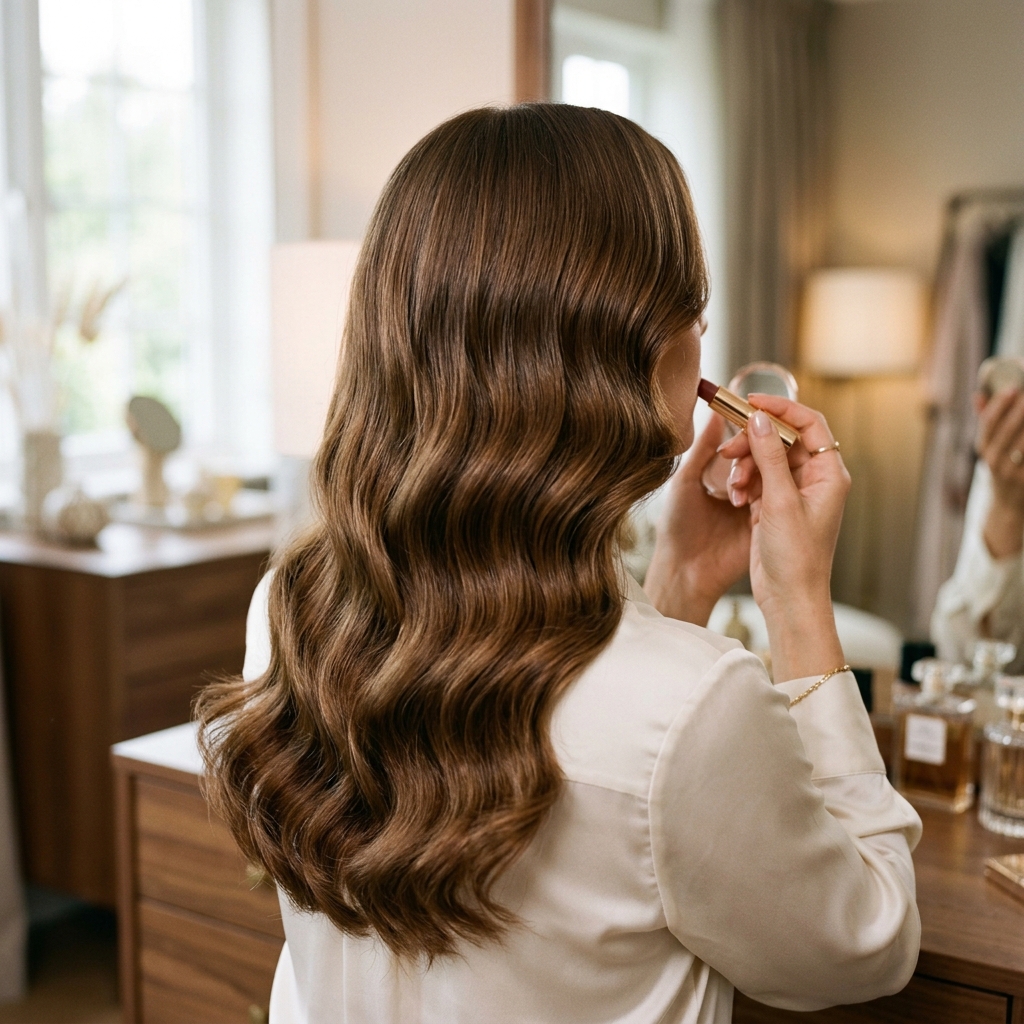
The “I Slept In It” Updo

Got waves that are on their last leg? Turn them into a beautiful, effortless updo. This is where the texture really works in your favor.
Pull your hair into a low, loose ponytail but don’t pull the last loop through—you’ll create a bun. Gently pull at the bun to loosen it and let a few waves fall around your face and neck.
This style is the epitome of quiet luxury. It looks intentional and chic, but took you 30 seconds. It’s perfect for last-minute plans or hot days.
How This Trend Fits With 2026 Styles
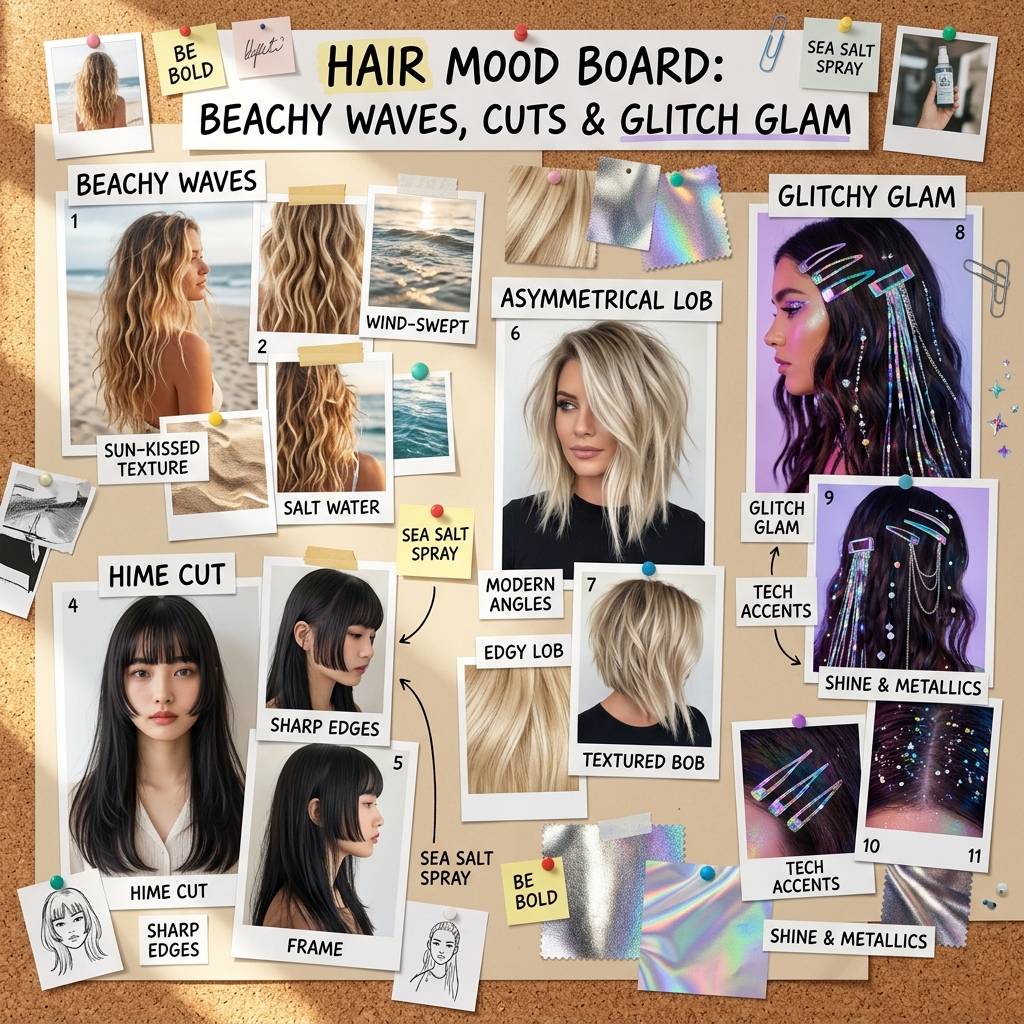
You might wonder how a classic like beachy waves fits with the bold 2026 hairstyles we’re seeing. Think of waves as your foundational texture.
That asymmetrical lob? Even more stunning with a soft wave. The vampire haircut or romantic goth hairstyles often use soft waves to add romance and movement to sharp cuts.
Even the edgy, disconnected layers of glitchy glam hair can be styled with a wave for a softer take. It’s all about adaptable, wearable beauty.
Common Mistakes & How to Fix Them
We’ve all made mistakes. The biggest one is curling every section in the same direction. This gives you uniform curls, not waves. Remember to alternate!
Using too much product or the wrong product (like a heavy gel) creates crunch. If this happens, rub a tiny drop of hair oil or even hand cream between your palms and gently smooth it over the crunchy areas.
Not letting curls cool is mistake number three. If your waves fall in an hour, this is likely why. Patience is key for all-day wear.
My Favorite Budget-Friendly Products
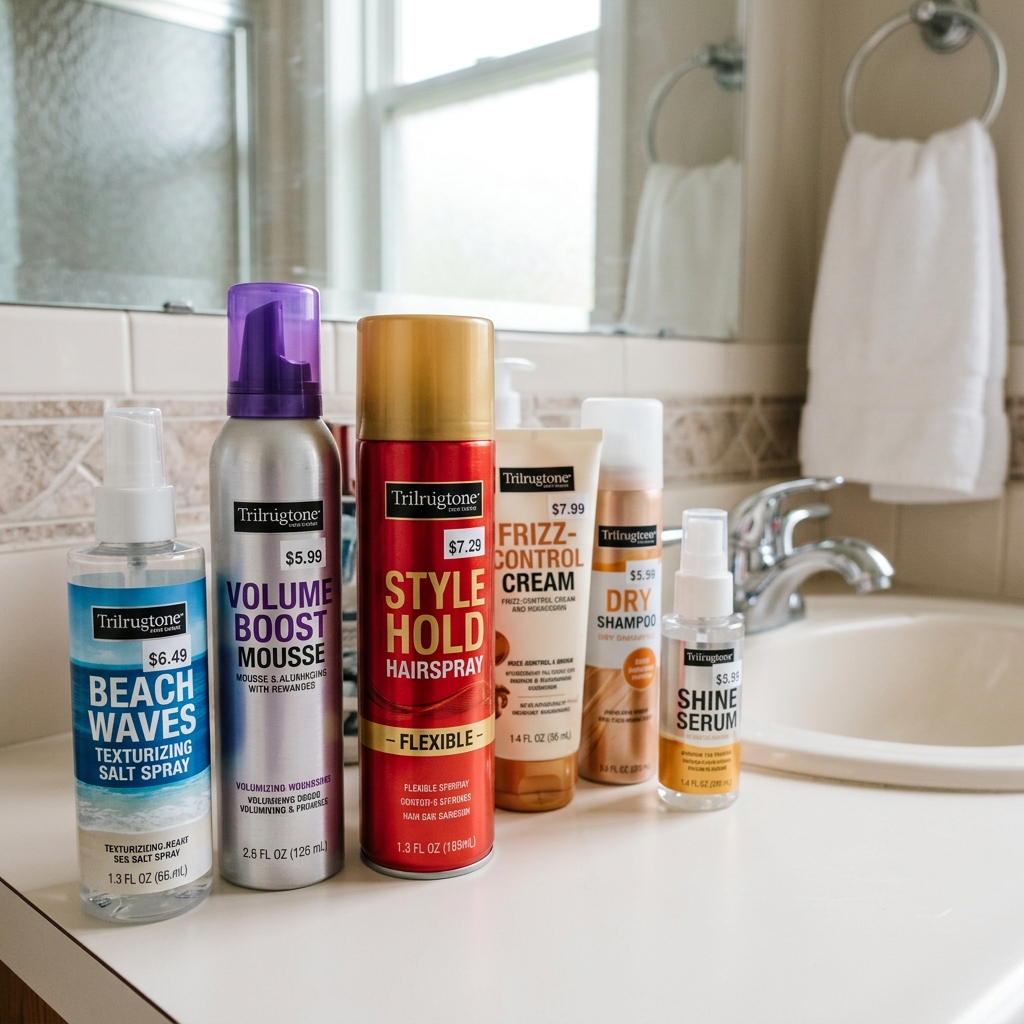
You don’t need to spend a fortune. Some of my favorite texturizing sprays are from the drugstore. Look for keywords like “beach,” “texture,” or “wave” on the bottle.
A good, affordable mousse is a game-changer for volume. And a flexible-hold hairspray from any brand will work to set your style.
It’s more about the technique than the price tag. I’ve gotten compliments using a $5 sea salt spray and my trusty old curling wand.
When to See a Professional
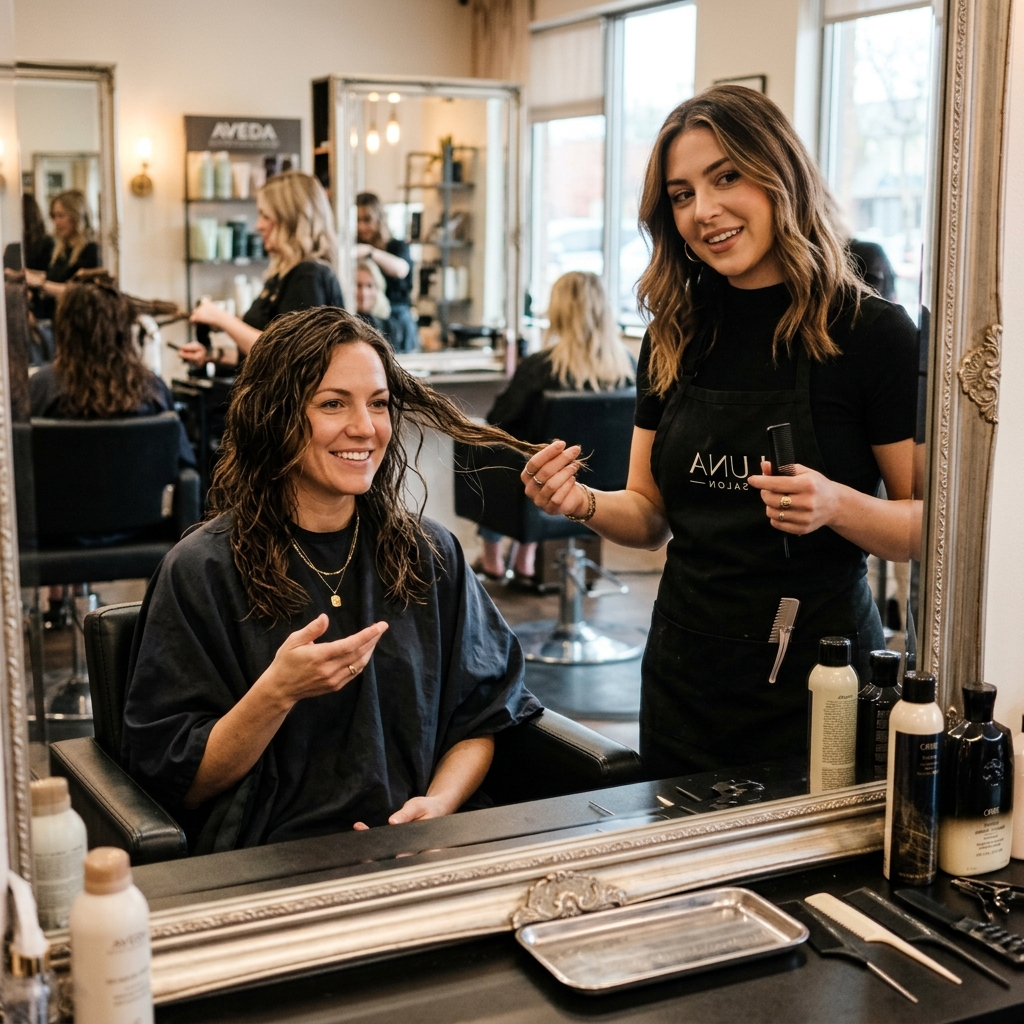
If you’re really struggling, sometimes you need a pro’s eye. A great haircut is the best foundation. Book a consultation and tell your stylist you want a cut that makes waves easy.
Ask for long layers and face-framing pieces. You can even show them a picture of the wave style you love. A good stylist can tailor your cut to make at-home styling a breeze.
They can also recommend products specifically for your hair type. This one-time investment in a great cut will pay off every single day you style your hair.
Your Quick-Start Routine Summary
Let’s simplify. Here’s your five-step routine to keep on hand:
- Prep: Start with dry, textured hair (use a sea salt spray or mousse).
- Curl: Use a 1.25″ wand on medium sections, alternating directions.
- Cool: Walk away! Let all curls cool completely.
- Break: Use fingers to gently separate curls into waves.
- Finish: Flip head, massage roots, spritz with texturizing spray.
That’s it. Follow these steps, and you’ll have perfect waves every single time. No stress, no fuss.
Final Thoughts on Your Effortless Style
At the end of the day, beachy waves are about feeling confident and comfortable. They’re a style that says you’re cool, collected, and ready for anything.
Don’t get caught up in perfection. A little imperfection is what makes this look so real and so beautiful. It’s about working with your hair’s natural texture, not against it.
I hope these tips help you create a look you love without spending your whole morning on it. You’ve got this.
And that’s the full scoop! Getting the perfect beachy wave is really about understanding a few simple principles and then making them work for you. It might take one or two tries to find your rhythm, but once you do, it’ll become your fastest, most reliable style.
Remember, the best hair looks lived-in, touched by the wind, and uniquely yours. So have fun with it, experiment a little, and don’t be afraid to break a few “rules” to find what makes you feel amazing.
Save this post to Pinterest so you always have the steps handy! And I’d love to know—what’s your biggest hair styling win or challenge lately? Tell me in the comments below!

