

Okay, let’s talk about a hairstyle that’s having a major moment. It’s the perfect blend of edgy and elegant, and I’m completely obsessed. We’re taking the iconic, structured hime cut and giving it a dreamy, soft-wave makeover.
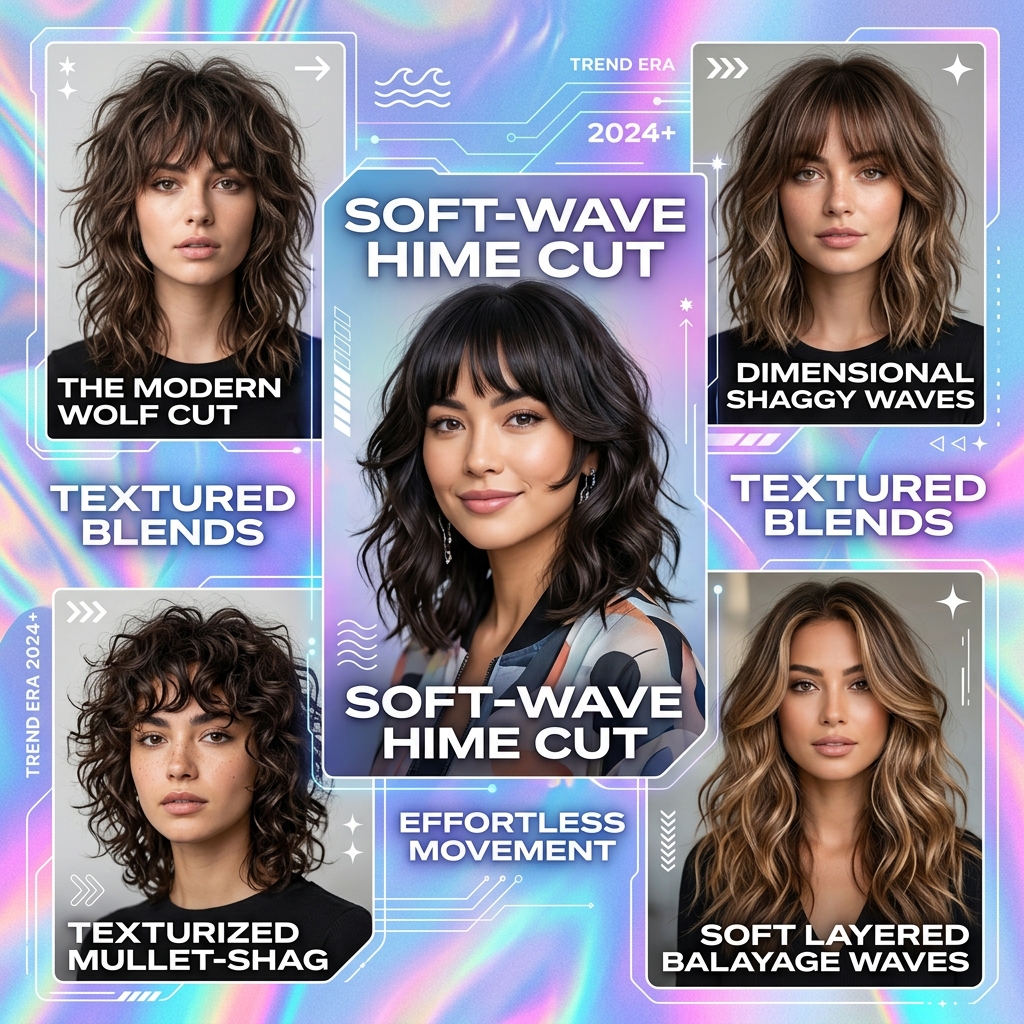
This look is for anyone who loves the drama of 2026 hairstyles but craves something wearable and romantic. It mixes that bold, graphic shape with texture that feels effortless and lived-in. Think of it as a romantic goth twist on a classic.
If you’ve been eyeing the vampire haircut or asymmetrical lob trends but want something softer, this is your perfect middle ground. I promise, the technique is simpler than it looks. Let’s get into how you can create this dreamy texture at home, no salon trip required.
What Is The Hime Cut, Exactly?
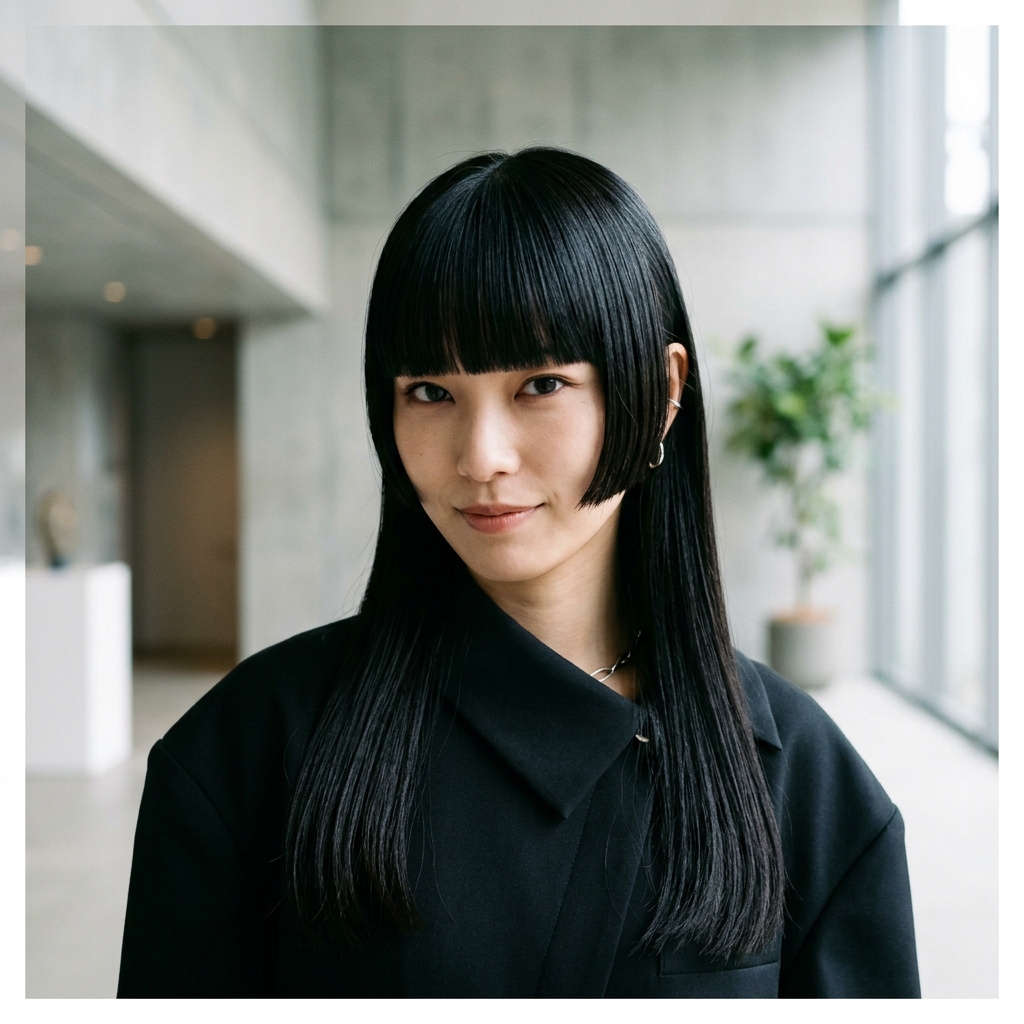
The hime cut is a traditional Japanese style that’s all about stark, geometric shapes. It features straight, cheekbone-length front strands (the “hime” or princess part) with longer hair in the back. It’s a powerful, statement look on its own.
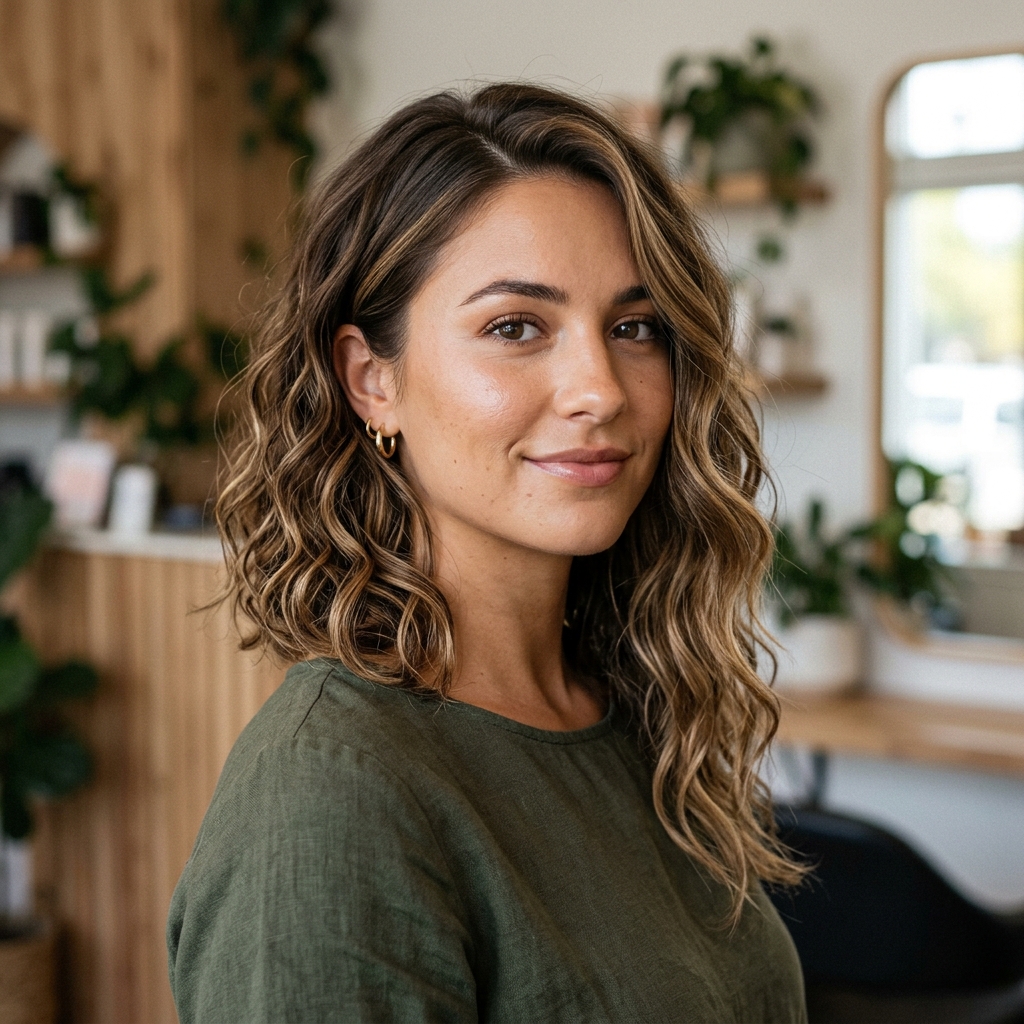
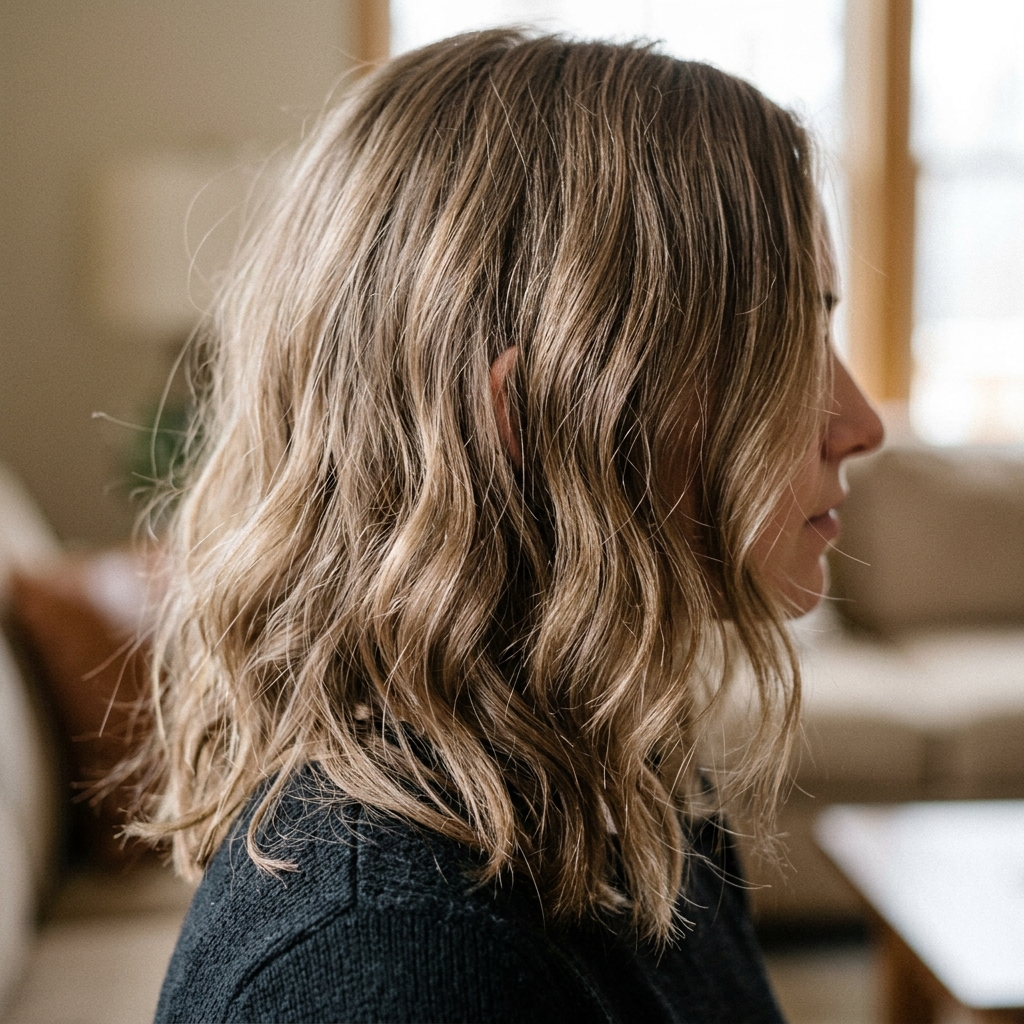
But today, we’re softening those lines. By adding waves, we’re blending that graphic edge with a more modern, quiet luxury vibe. It keeps the interesting shape but makes it feel breezy and touchable, less severe.

Why Add Soft Waves? The Magic Combo
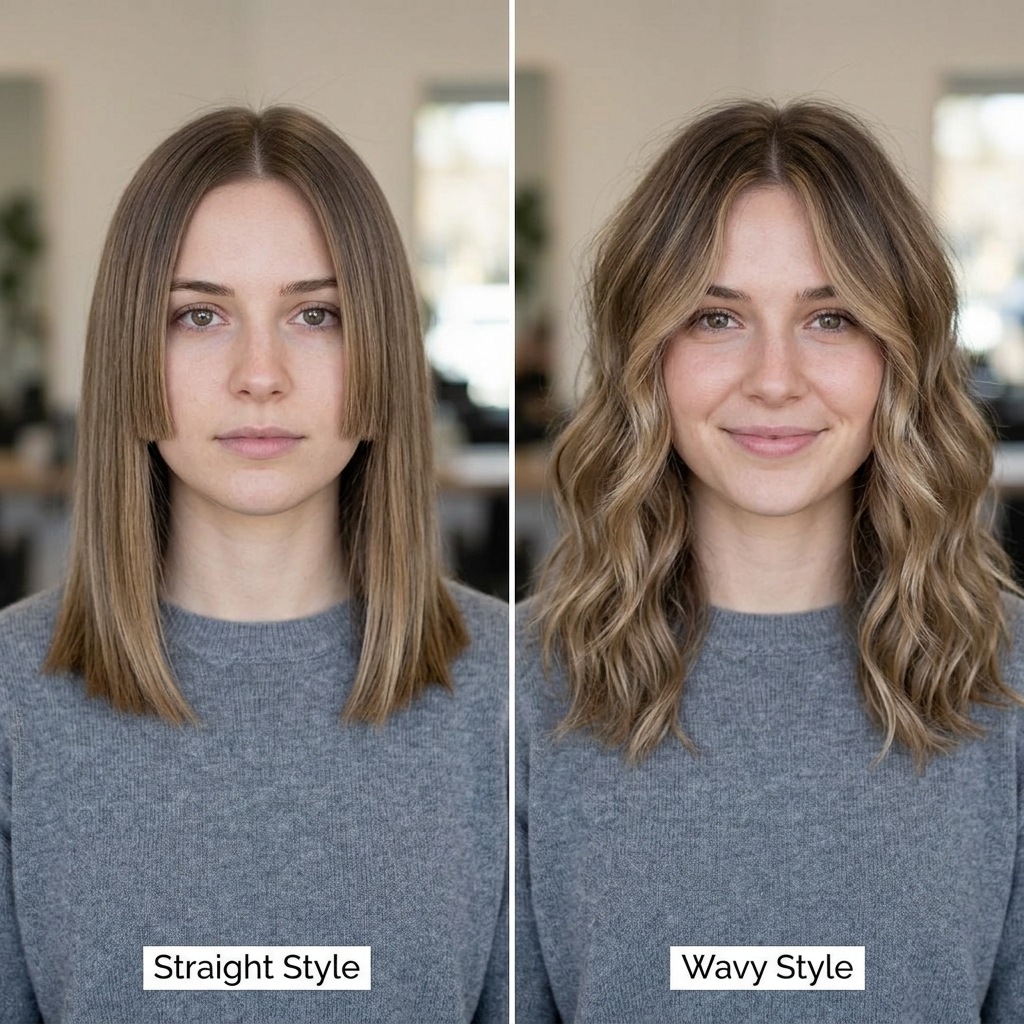
Adding waves completely transforms the vibe. The straight-across front pieces get movement, framing your face in a softer way. The longer back hair gets beautiful, dreamy texture that adds volume and romance.
This mix is what makes it feel so current. It has that cool, glitchy glam hair element—mixing two contrasting textures—but the result is surprisingly elegant and wearable for everyday. It’s a style with major personality.
Tools You’ll Need For This Tutorial
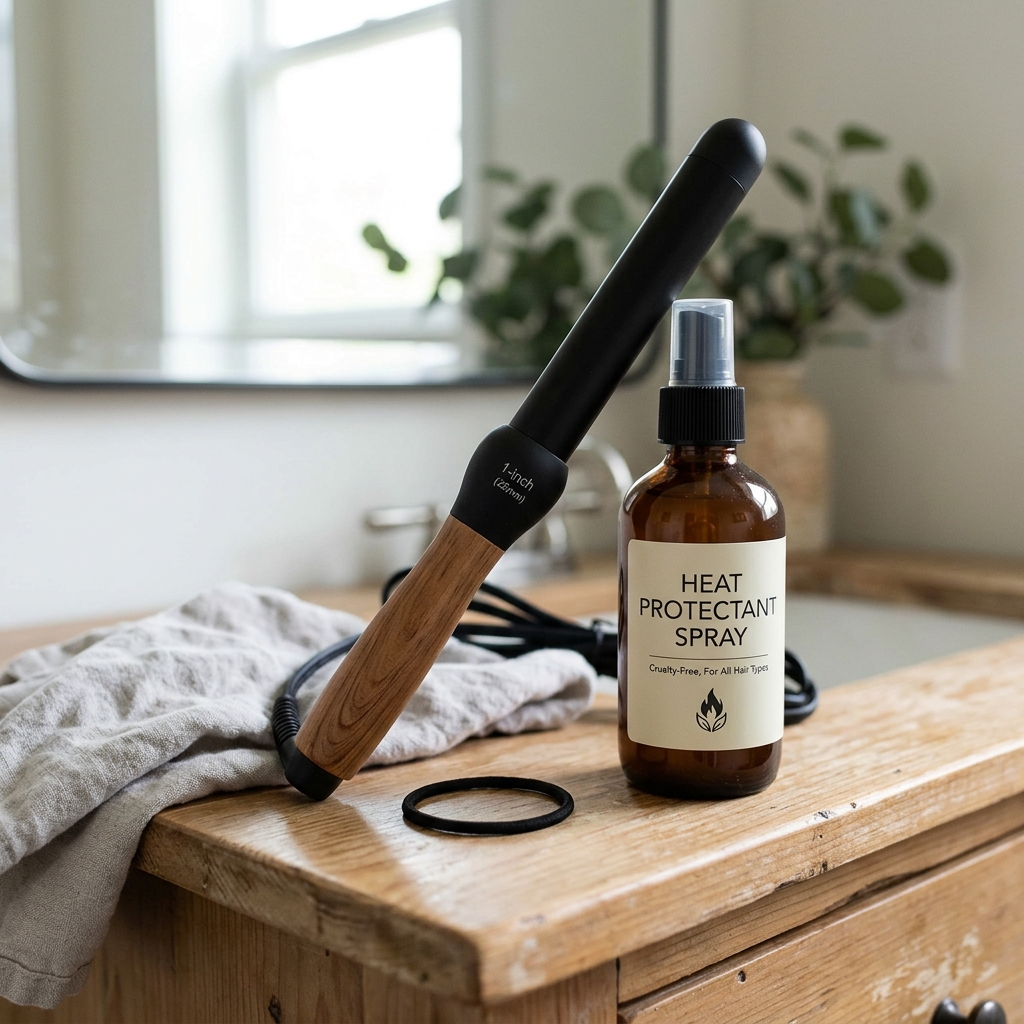
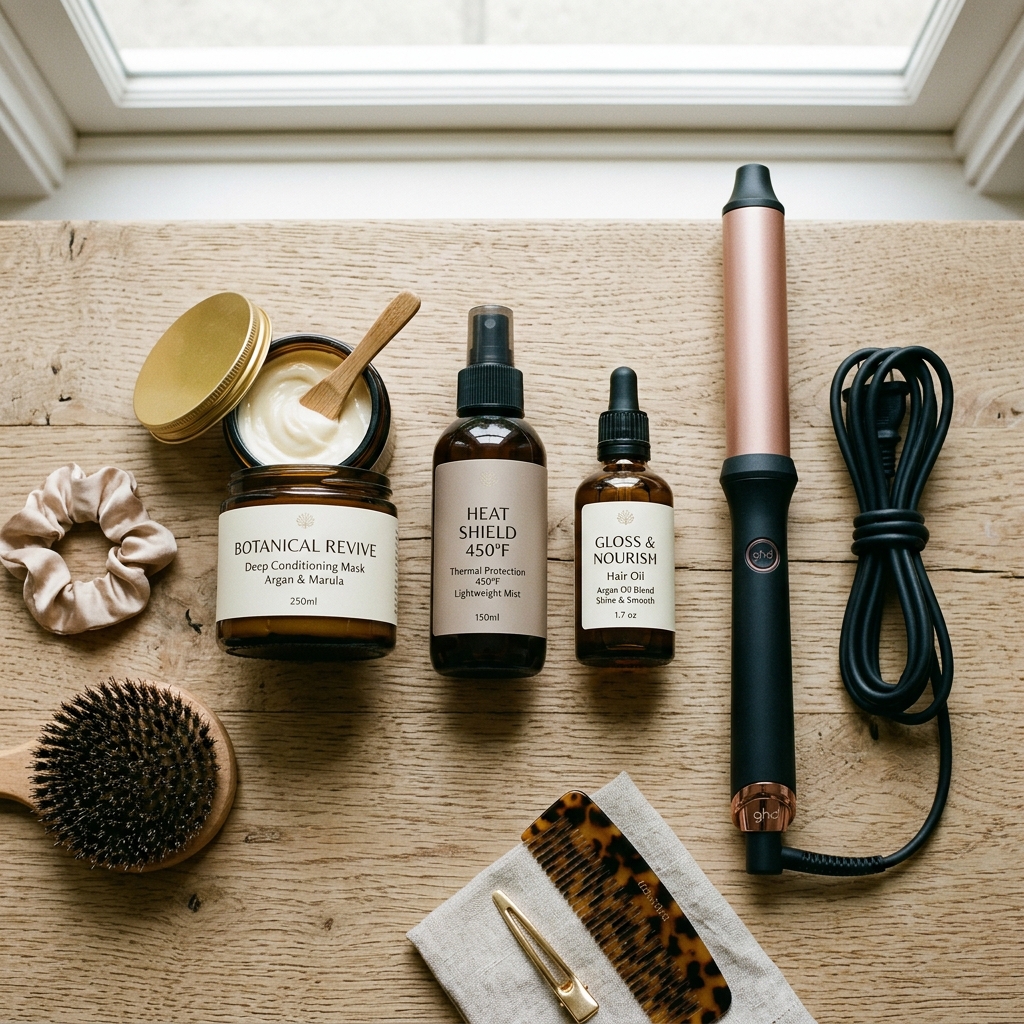
You don’t need a ton of fancy tools. A good 1-inch curling iron or wand is the star. I prefer a wand for more natural-looking waves. You’ll also need a heat protectant spray—non-negotiable for keeping hair healthy.
Gather some small hair clips to section your hair, a texturizing spray or sea salt spray, and a light-hold hairspray. A wide-tooth comb is better than a brush here to maintain the wave pattern.
Start With The Right Haircut Foundation
This style works best if your haircut already has some of that hime structure. If you’re thinking of getting the cut, ask your stylist for a soft, face-framing version. The front pieces should hit between your chin and collarbone.
The back can be a long bob or longer. Having some layers in the back will help the waves look more blended and effortless. A one-length blunt cut can work, but layers add more movement.
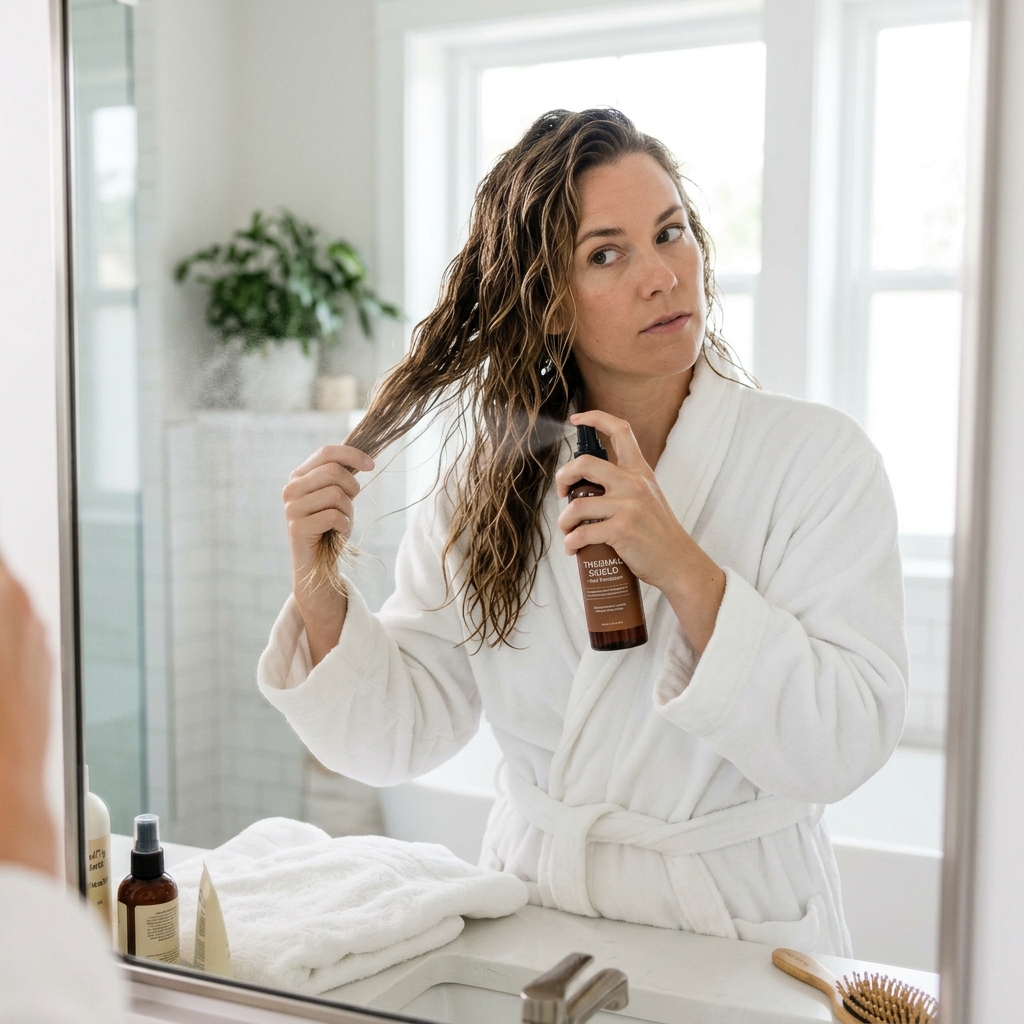
Step 1: Prep With Heat Protectant

You can let your hair air dry mostly or blow-dry it smooth. For this look, I prefer a blow-dry with a round brush for a little volume at the roots, but the waves will add the main texture, so don’t stress perfection here.
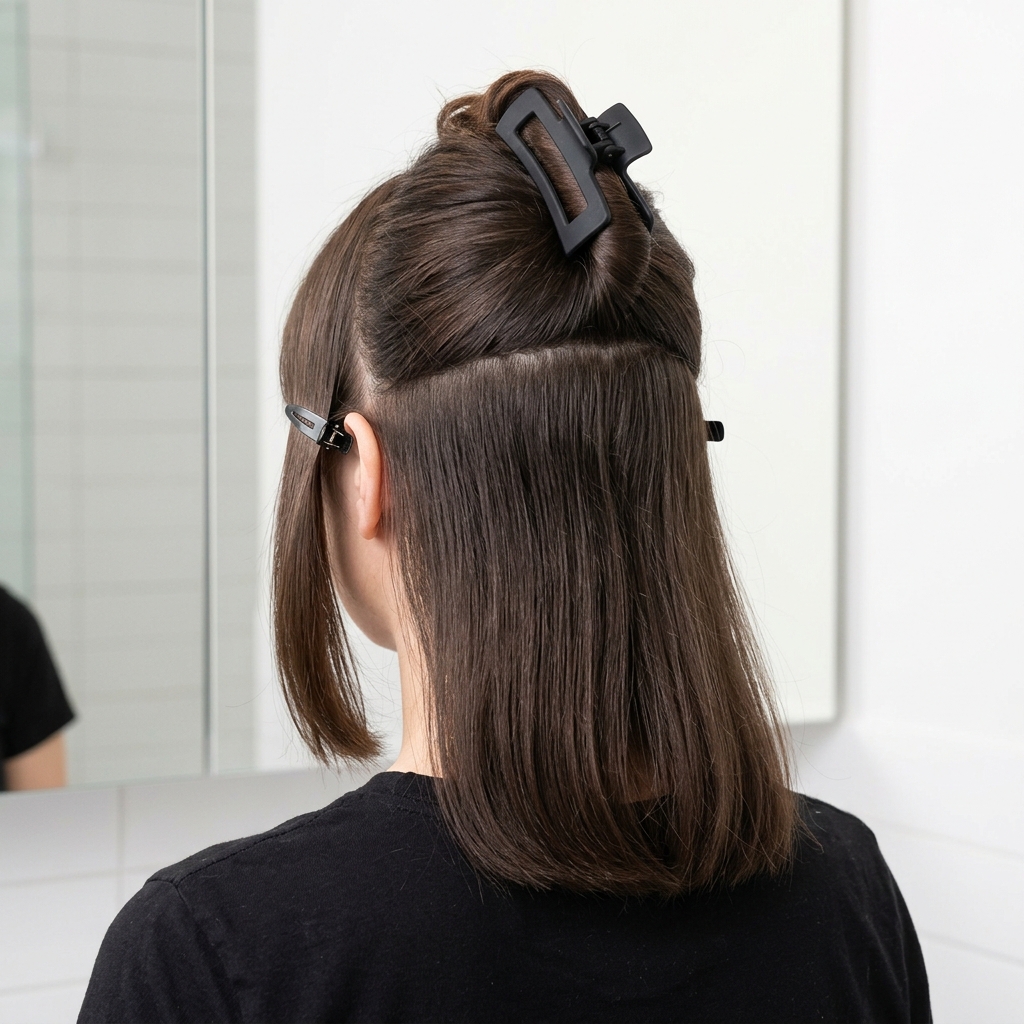
Step 2: Section Your Hair Strategically
Clip the top half of your hair up. We’ll start with the bottom, back sections first. Then, separate out your two front “hime” pieces—these are the signature strands that frame your face. Clip them forward and away from the rest.
Working in sections makes the process faster and ensures you get every piece. It also helps prevent the waves from getting flattened as you work on other areas. Keep those front pieces clipped until the very end.
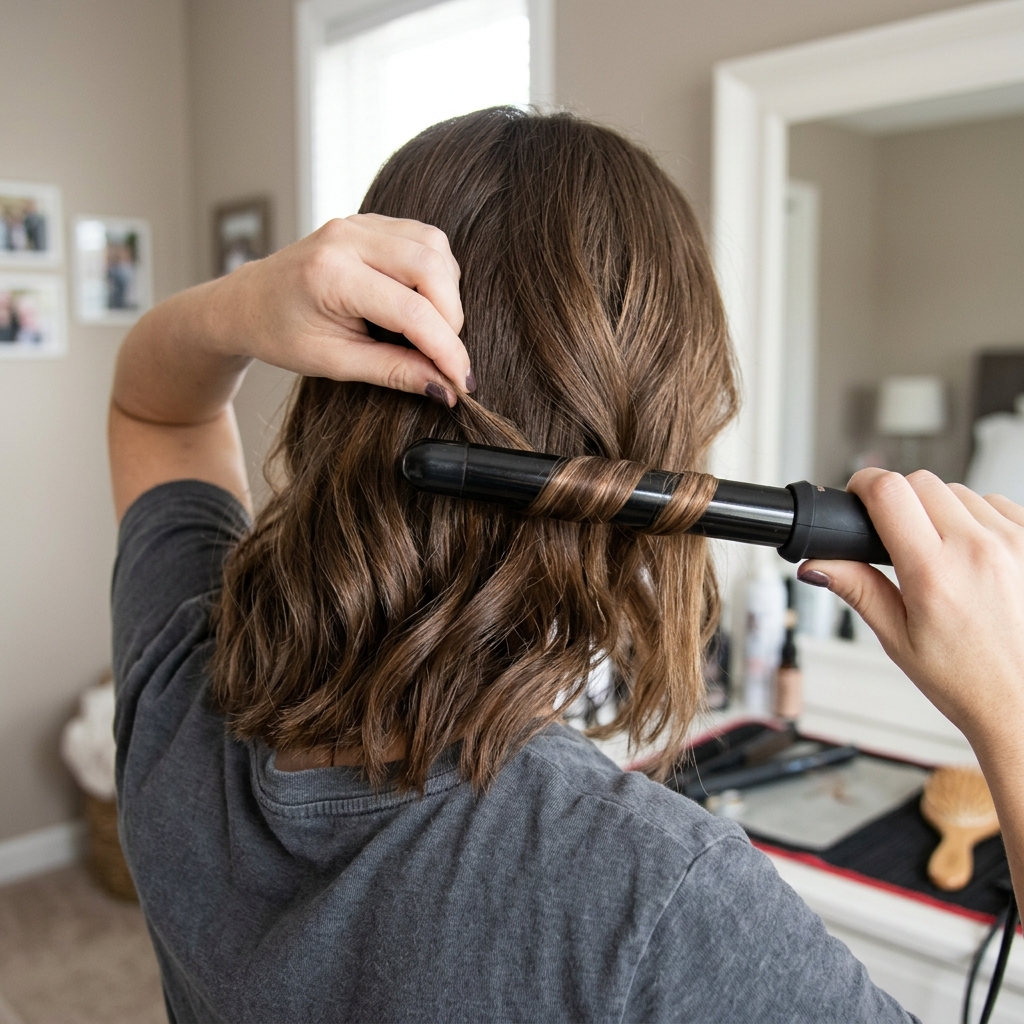
Step 3: Wave The Back Sections First
Take a small section from the back of your head. Wrap it around your curling wand, holding for about 8-10 seconds. Don’t clamp the end; leave the last inch or so out for a more relaxed wave.
Alternate the direction of your curls—one section away from your face, the next toward it. This creates that perfectly undone, natural texture instead of uniform curls. Drop each curl as you go, don’t brush it out yet.
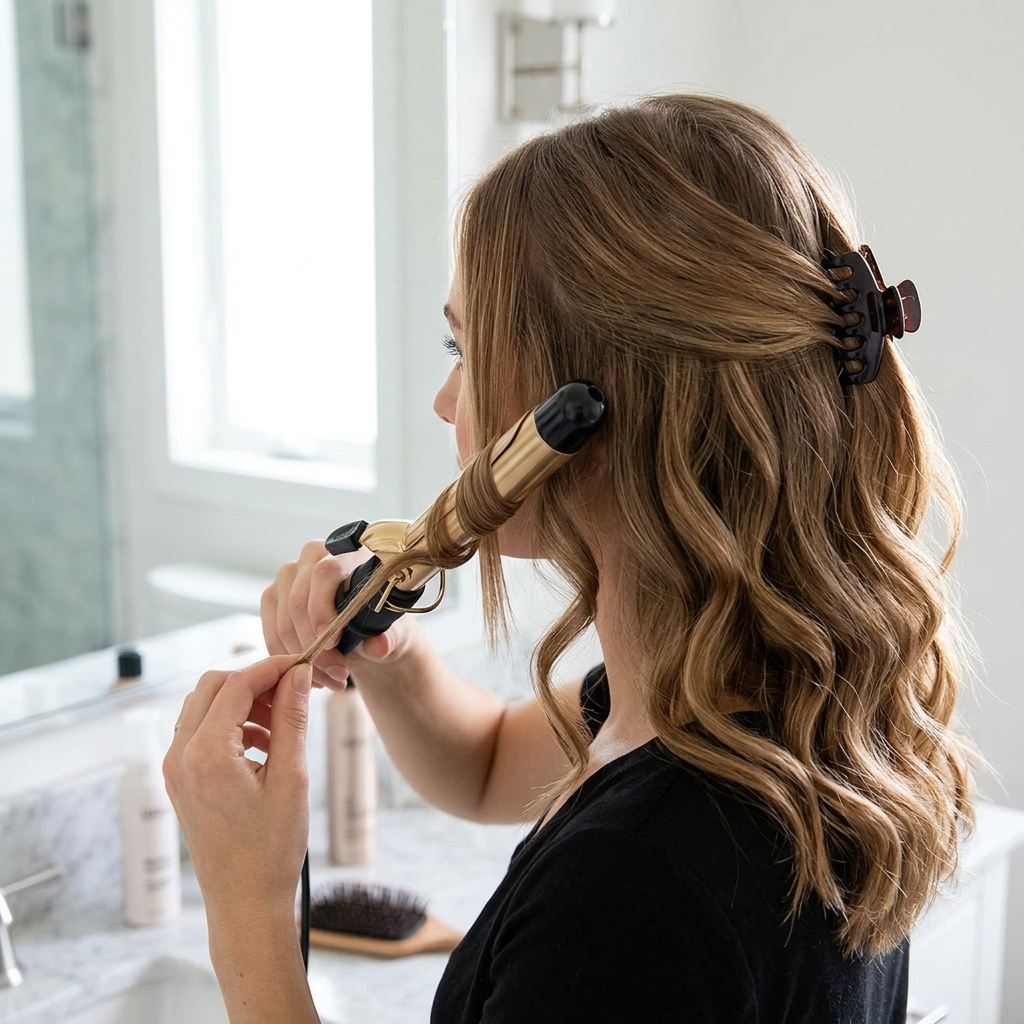
Step 4: Move To The Side Sections
Once the back is done, unclip the side sections. Follow the same process here. Remember to keep alternating the curl direction. These side waves will blend seamlessly into the back and eventually meet your front pieces.
Use smaller sections near your face for more definition. The goal is consistent texture throughout, so take your time. If your hair holds a curl easily, you can use slightly less heat or hold for a shorter time.
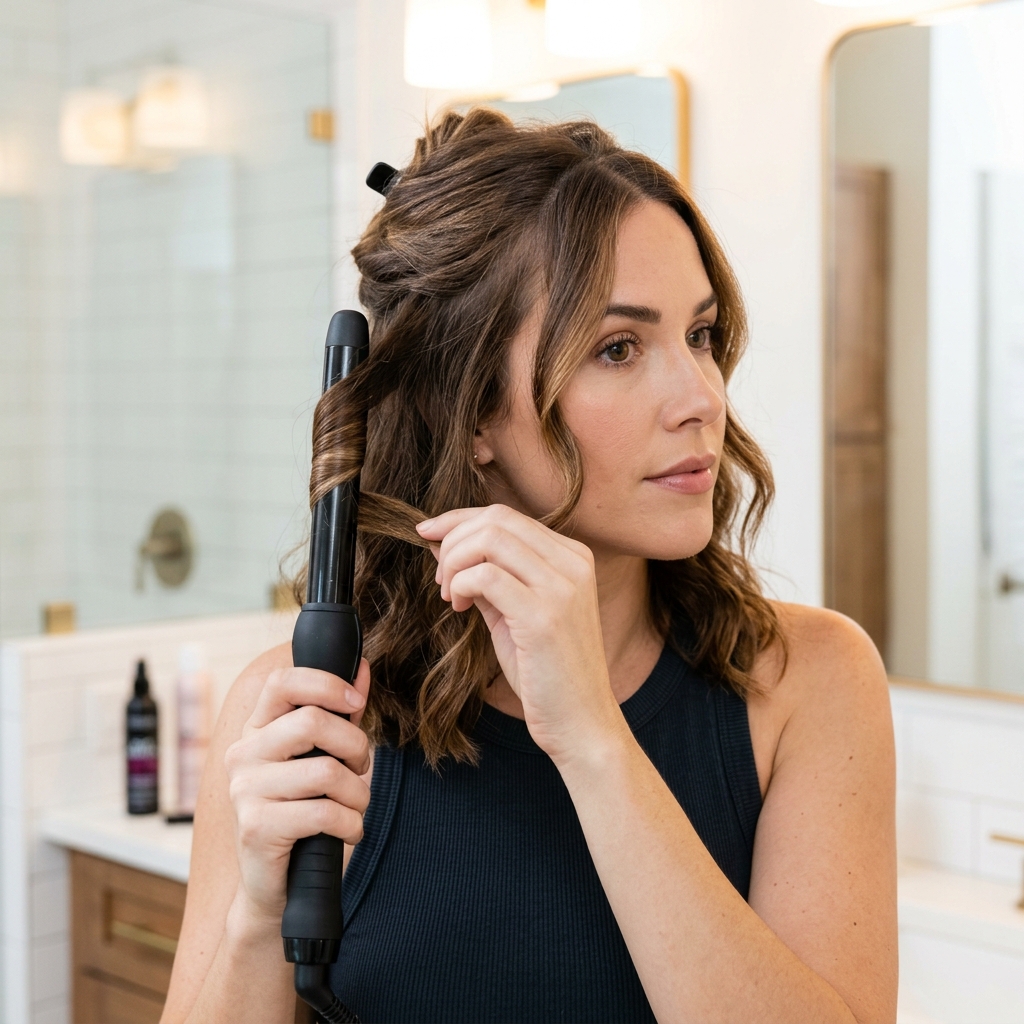
Step 5: The Star Step: Curling The Front Hime Pieces
Now for the fun part! Unclip one front piece. This is where we create the soft frame. Wrap this section around the wand, curling it away from your face. Hold it for the same amount of time as the rest.
When you drop it, you’ll see that bold, straight line transform into a soft, cascading wave. It instantly softens your whole look. Repeat on the other side. Be sure to curl them in the same direction for symmetry.
Step 6: Let Everything Cool Completely
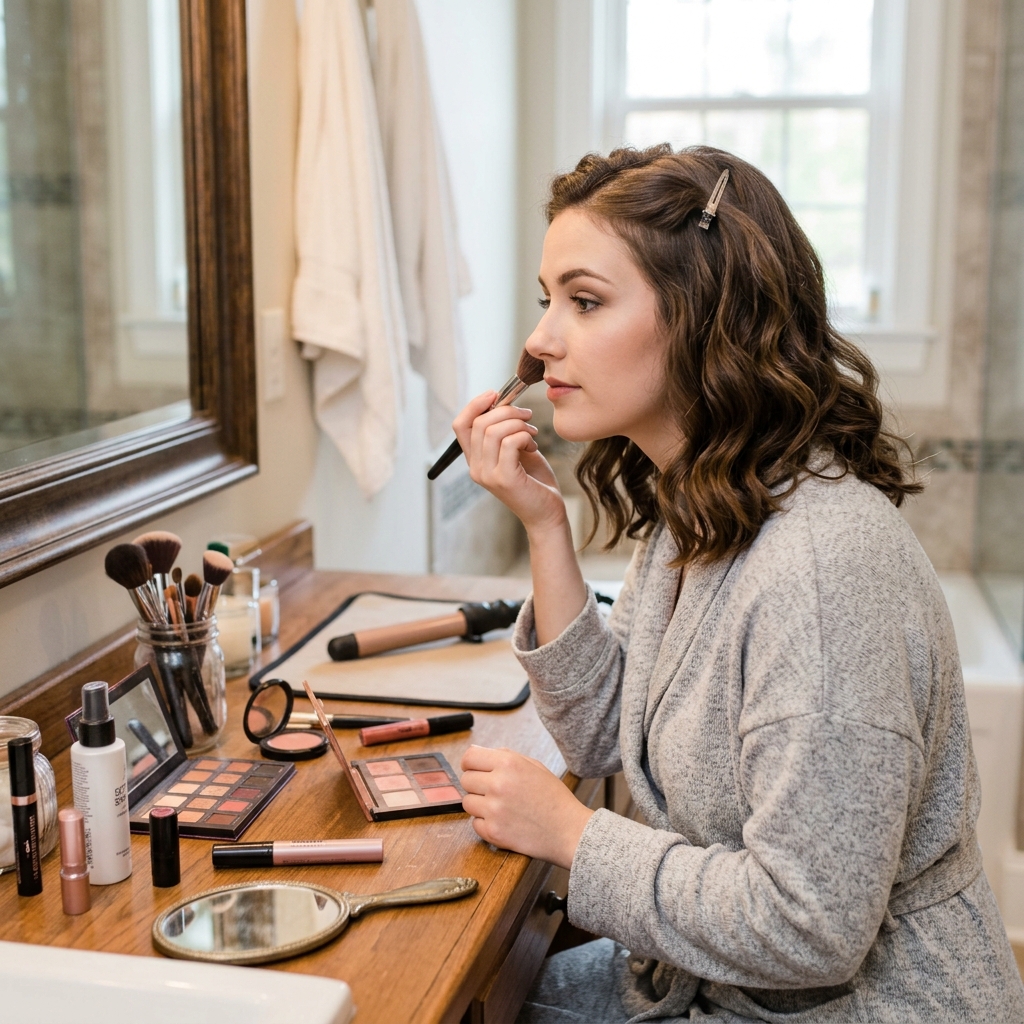
This might be the hardest step—waiting! Let all the waves cool down completely before you touch them. This allows the shape to “set” and makes the waves last much longer. I usually do my makeup at this point.
When the hair is hot, the wave pattern is still flexible and can fall out easily. Cooling locks in the shape. Trust me, this five-minute wait makes all the difference in longevity.
Step 7: Break Up The Waves With Your Fingers
Once cool, it’s time to break up the curls. Don’t use a brush! Gently run your fingers through your hair from roots to ends. Shake the roots a little with your fingertips to add volume and separate the waves.
You’re aiming for soft, blended waves, not defined ringlets. Use a raking motion with your fingers to create a more effortless, piece-y texture. This is where the magic really happens.

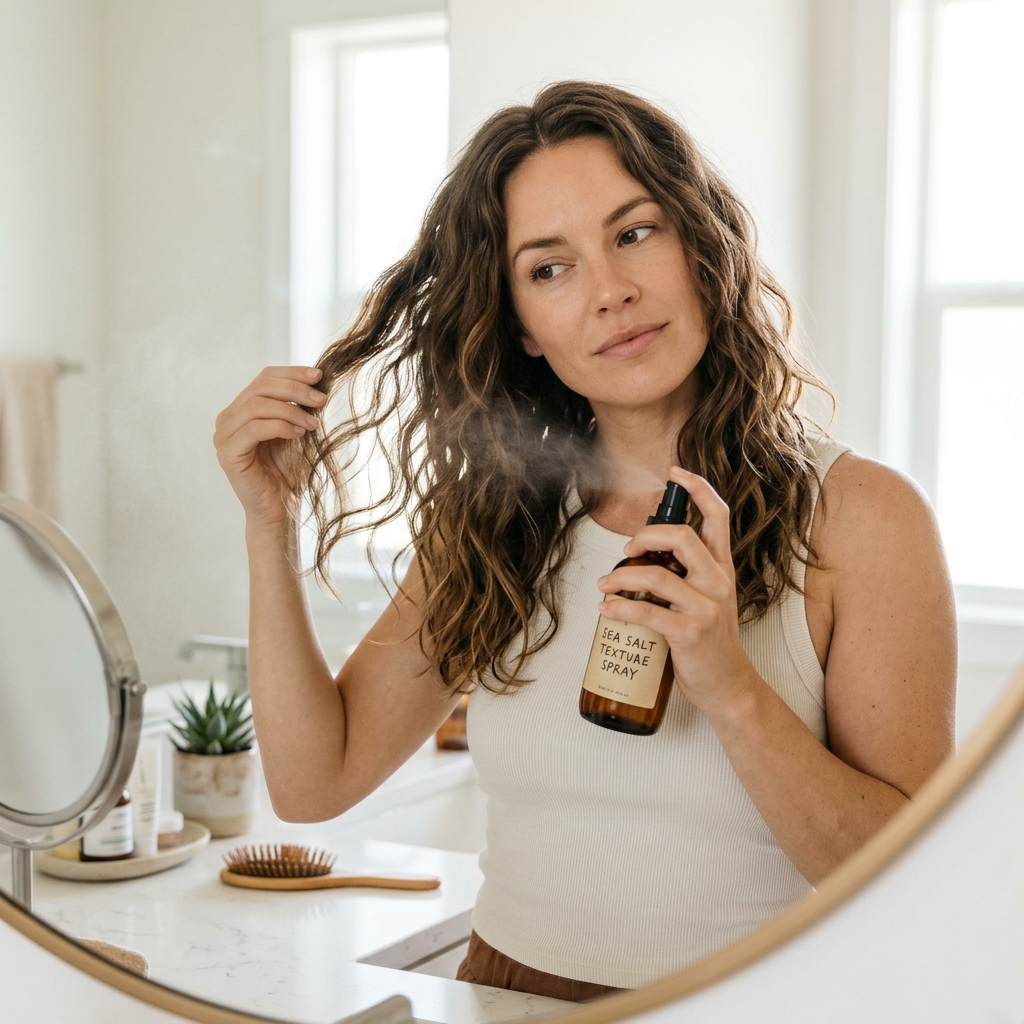
Step 8: Add A Texturizing Spray
Lightly mist a texturizing or sea salt spray over your waves. Focus on the mid-lengths and ends. This gives grip, enhances the texture, and makes the style look more lived-in. It’s the secret to that dreamy texture.
Avoid the roots to prevent any heaviness or grease. Scrunch your hair slightly with your hands after spraying to reactivate the wave pattern and add a bit of extra bounce.
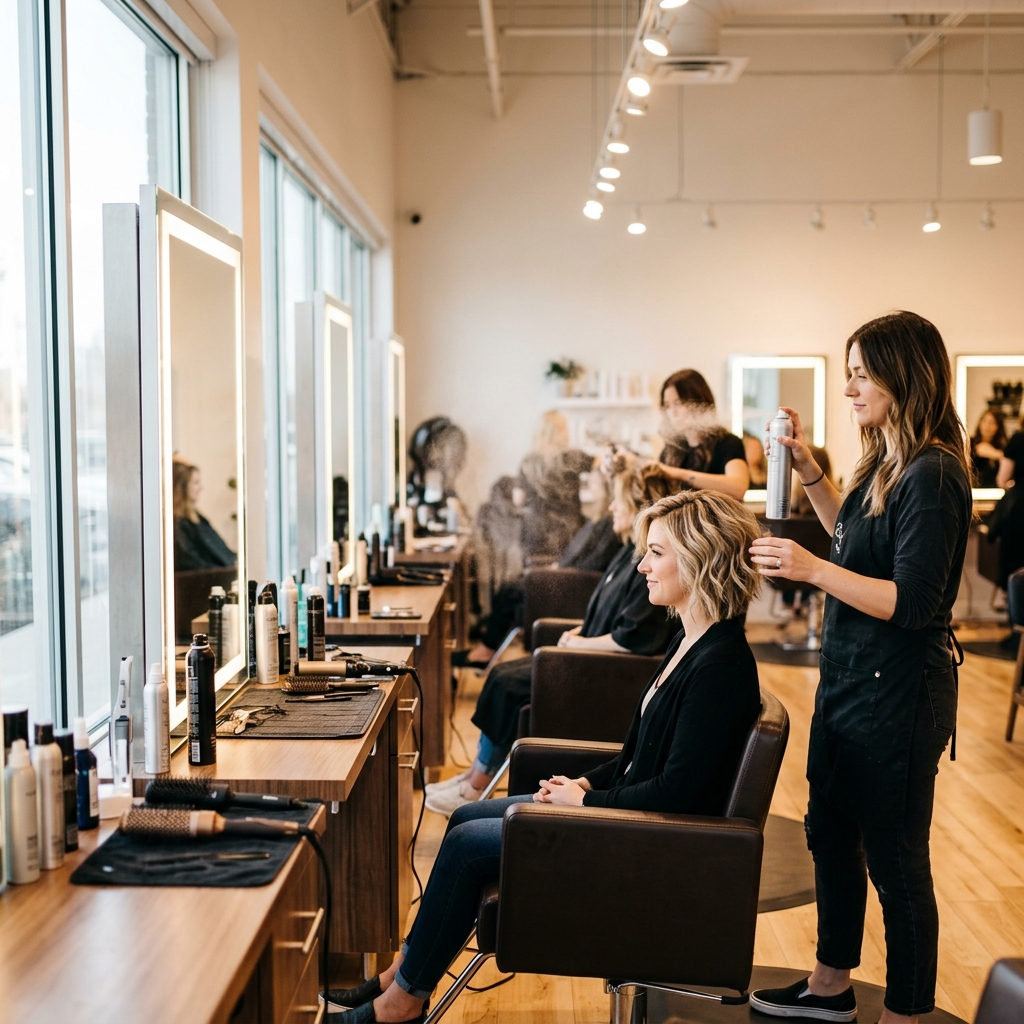
Step 9: Final Touch With Light Hairspray
To make it all last, finish with a light-hold, flexible hairspray. Hold the can about 10 inches away and do one quick mist all over. This holds the style without making it crunchy or stiff.
You want to preserve the movement. If you have pieces that fall quickly, you can spray a little on your fingers and gently glaze them over just those front pieces for extra hold.
How To Style It For Daytime Casual
For daytime, keep it simple. The style itself is the statement. You can tuck one side behind your ear for a more practical, sweet look. It pairs perfectly with a simple tee and jeans, giving that cool-girl old money hair effortlessness.
Let the texture do the talking. This is a great go-to for running errands, a coffee date, or work. It looks polished but not overdone, hitting that perfect quiet luxury bob vibe.

How To Dress It Up For Night
For evening, amp up the drama. Add a deep side part to make the waves feel more glamorous. You can also use a tiny bit of shine serum on just the ends to make the waves look more polished and intentional.
This is where the romantic goth or vampire haircut energy really shines. Pair it with a leather jacket or a sleek black dress. The contrast between the soft waves and edgy clothing is everything.

Managing And Refreshing Your Waves
To make the style last into day two or three, sleep on a silk pillowcase or put your hair in a loose top knot. In the morning, refresh with a mix of water and a drop of conditioner in a spray bottle.
Lightly mist, scrunch, and let it air dry. You can also use a dry shampoo at the roots for volume. The waves often look even better on the second day—more relaxed and piece-y.

Common Mistakes To Avoid
The biggest mistake is curling the front pieces toward your face—it can look dated. Always curl them away. Also, avoid using a small-barrel iron, which creates tight curls, not soft waves.
Don’t brush out the curls with a hairbrush; it creates frizz and flattens the wave. And don’t skip the texturizing spray! It’s what gives that modern, undone finish that makes this style special.

Adapting This For An Asymmetrical Lob
If you have an asymmetrical lob, this technique works beautifully. The waves will just fall at different lengths, creating even more interesting movement. Focus on wrapping each section according to its length.
The shorter side will have a bouncier wave, while the longer side will have a looser cascade. It adds another layer of cool, glitchy glam hair dimension to the look. Embrace the asymmetry!
What If My Hair Is Very Fine?
Fine hair can look incredible with this style! The waves add so much volume. Use a volumizing mousse at the roots when your hair is damp before blow-drying. When curling, use smaller sections for more hold.
Choose a texturizing spray specifically for fine hair—it adds grit without weight. You might find this gives you more body and style longevity than you’ve ever had before.
What If My Hair Is Very Thick Or Curly?
If your hair is thick, work in smaller sections to ensure the heat penetrates fully. You might need a higher heat setting. For curly hair, you can use this technique with a flat iron to create looser waves over your natural pattern.
Or, embrace your curls! You can adapt the hime cut to your natural texture—just ensure the front pieces are cut to frame your face when dry and styled naturally.

Hair Health Tips For Frequent Styling
If you plan to wear this often, hair health is key. Always use that heat protectant. Try to limit heat styling to 3-4 times a week. Incorporate a deep conditioning mask into your routine once a week.
Getting regular trims will keep your ends fresh and prevent the waves from looking frayed. Healthy hair holds style better and looks shinier, making any hairstyle pop more.
This Style In The 2026 Hairstyle Context
This look fits right into the forecast for 2026 hairstyles: personalized mixes of texture, a touch of retro inspiration, and styles that feel both intentional and effortless. It’s not one strict look.
It’s about taking a classic shape (the hime) and making it your own with modern texture (soft waves). This DIY, mix-and-match approach is exactly where hair trends are headed—creative and individual.
Your Questions Answered: Quick FAQ
Can I do this on short hair? Yes! If you have a short hime or a micro bob, use a very small wand and create tiny, loose waves for a similar textured effect.
Does it work on straight, stubborn hair? It does. Use a higher heat setting and a strong-hold texturizing spray. Let the curls cool completely before touching for maximum hold.
And there you have it! Your complete guide to the softest, dreamiest hime cut out there. This style is such a fun way to play with texture and shape without committing to something too extreme.
It feels fresh, modern, and incredibly versatile. Whether you’re channeling a bit of quiet luxury or a touch of romantic goth, this hairstyle adapts to your mood. I love how it mixes boldness with softness in the best way.
I really hope you give this a try! It’s become my absolute favorite way to wear my hair lately. If you do, tag me—I’d love to see your version.
Save this post to Pinterest so you can find the steps whenever you need them! Did this tutorial help? Let me know in the comments what your go-to quick hair transformation is!

