
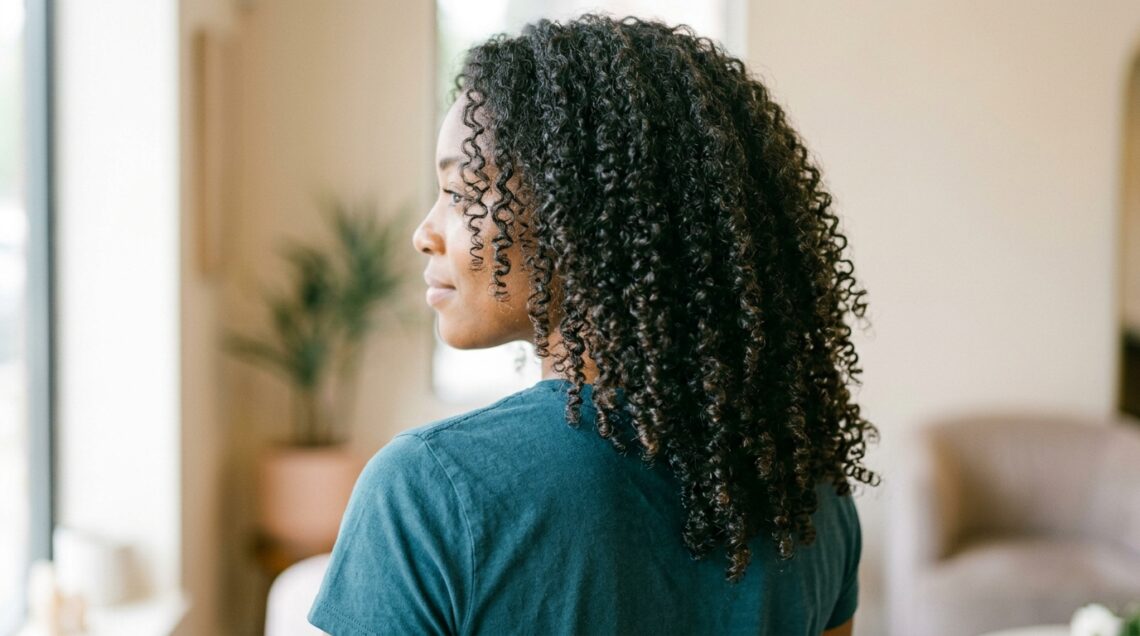
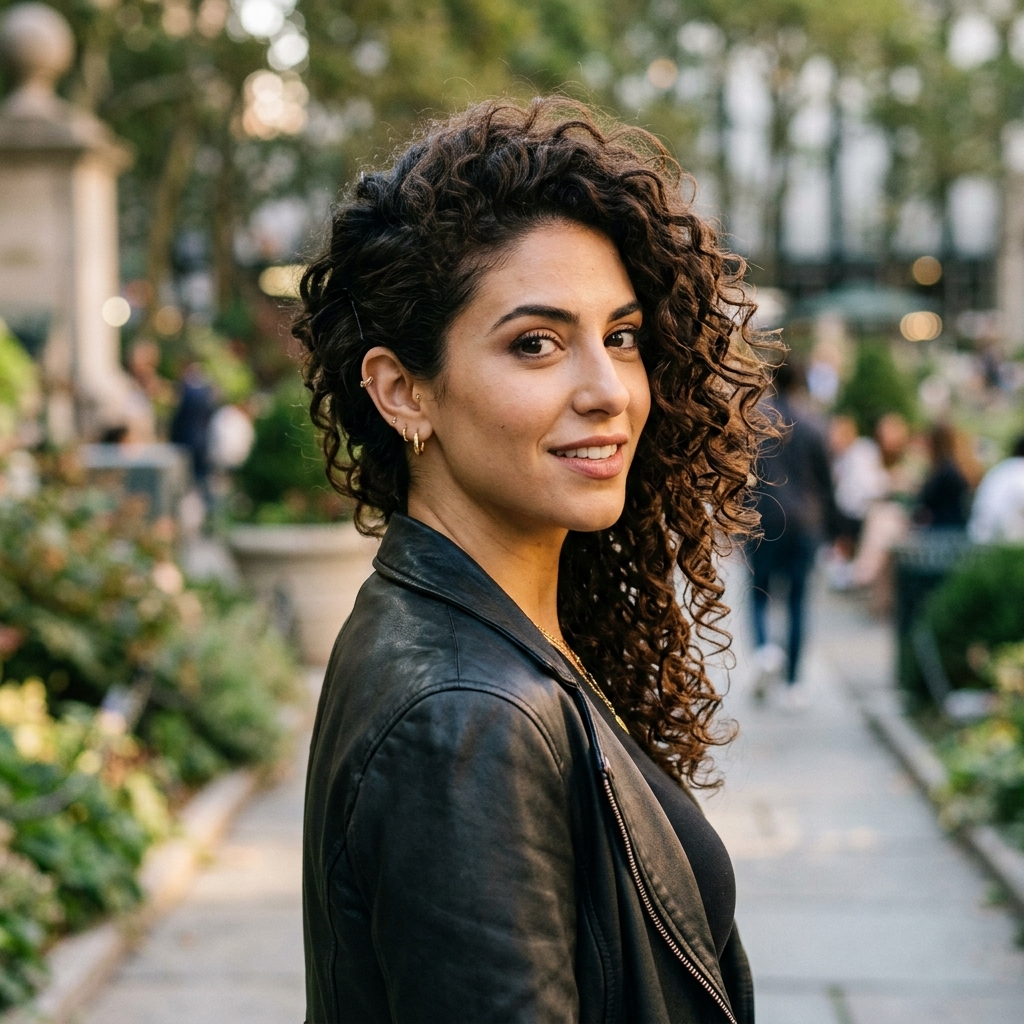
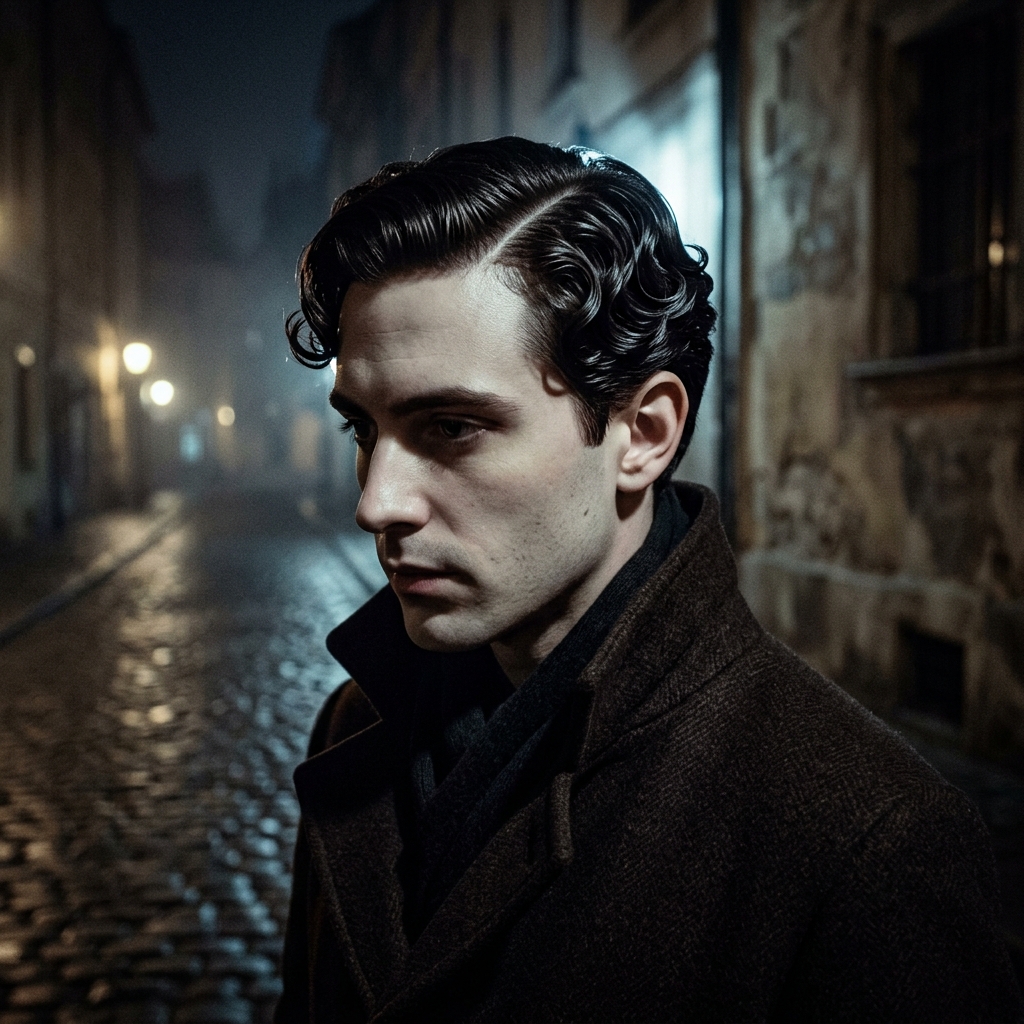
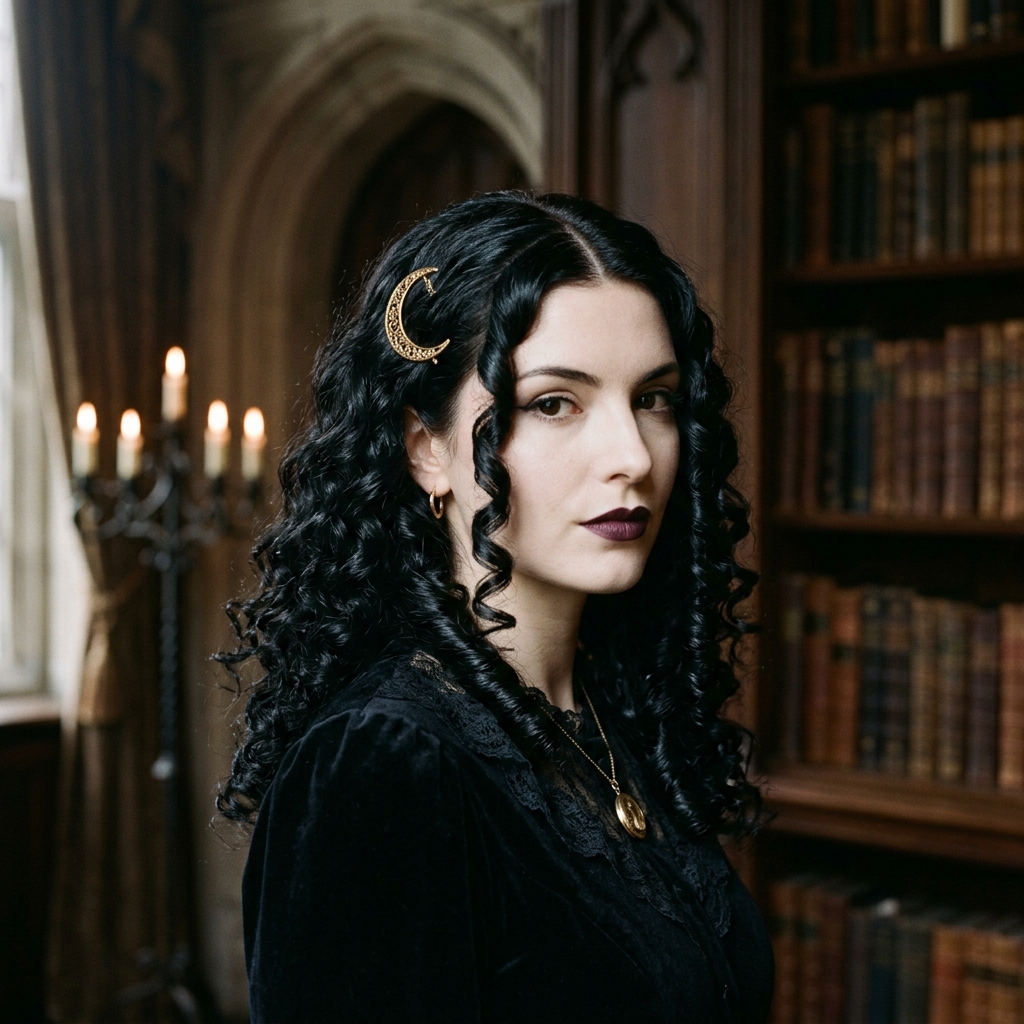
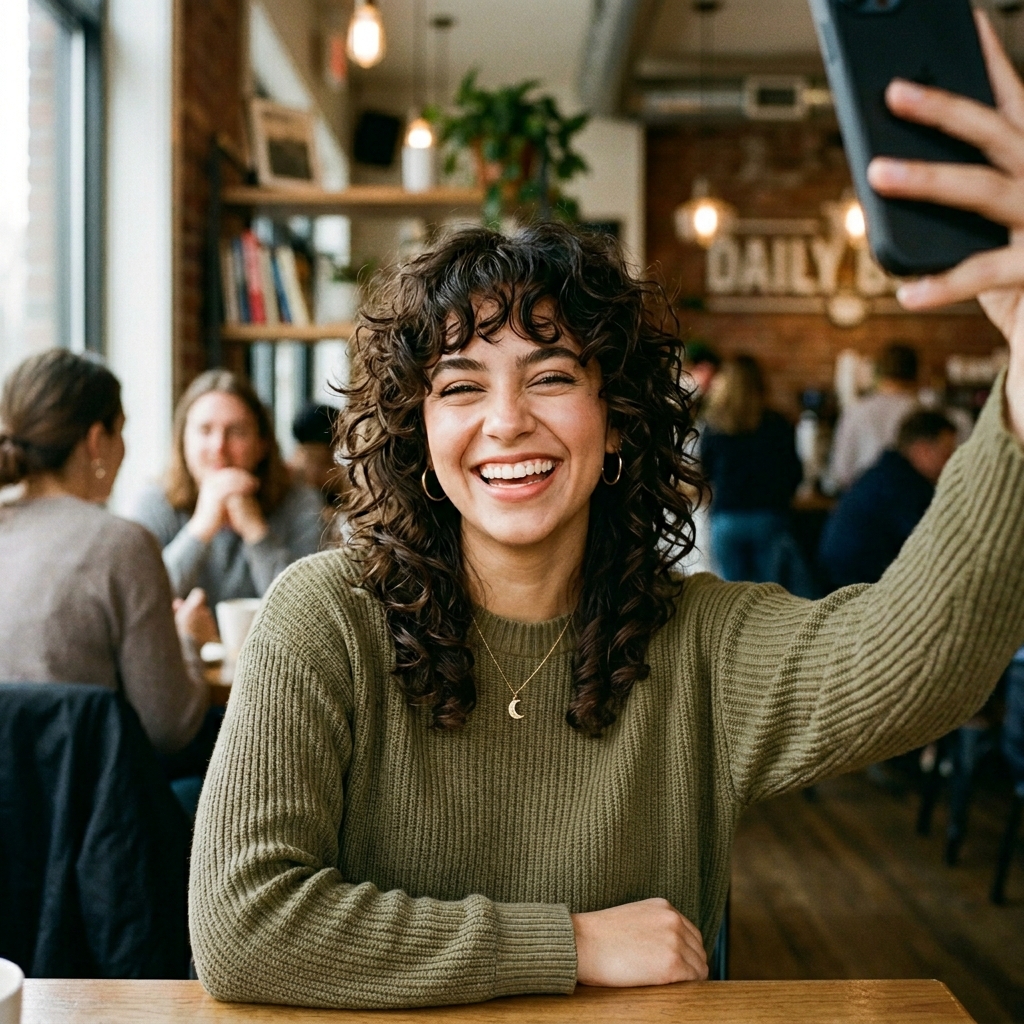
Okay, let’s talk about the haircut that’s absolutely everywhere right now. The vampire haircut is that perfect mix of edgy and elegant, and if you have curly hair, you’re probably wondering if it can work for you. The answer is a huge yes. In fact, your natural texture is the secret weapon for the most defined, cool-girl version of this look.
This isn’t about fighting your curls. It’s about cutting and styling them in a way that lets their shape do the talking. We’re moving beyond just a shag. This is about creating intentional, piece-y definition that feels both romantic and a little undone.
I’m breaking down exactly how to ask for it, how to style it at home, and why it’s one of the best 2026 hairstyles for curly girls who want to make a statement without the fuss. Get ready for the most defined curls of your life.
What Exactly Is a Vampire Haircut?
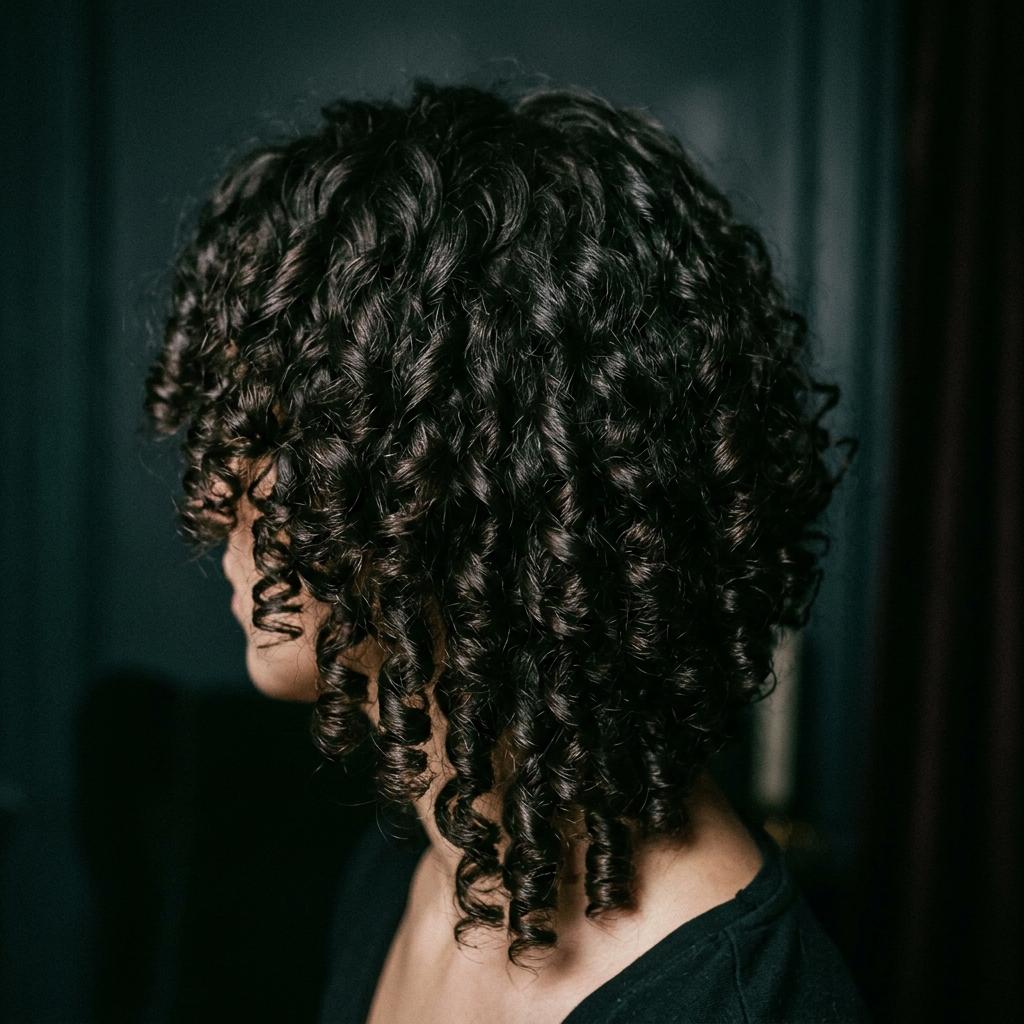
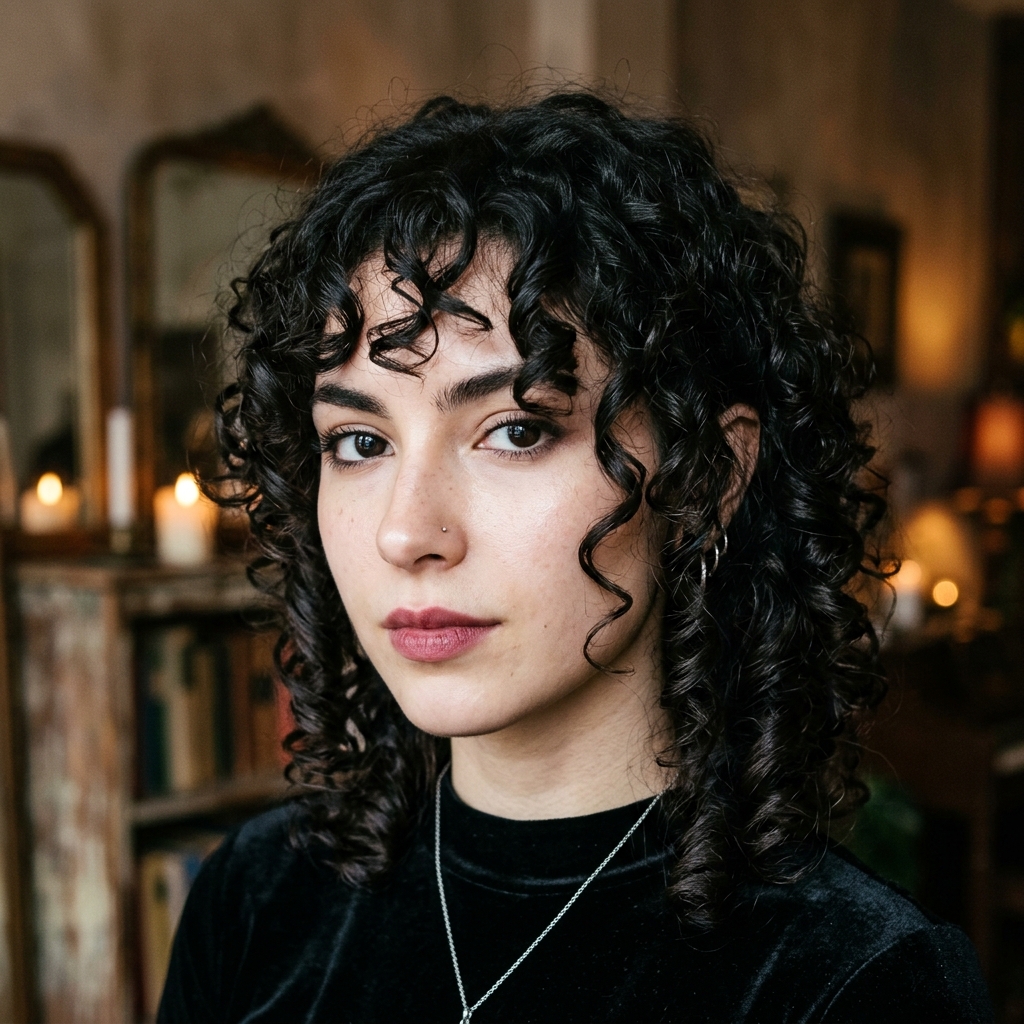
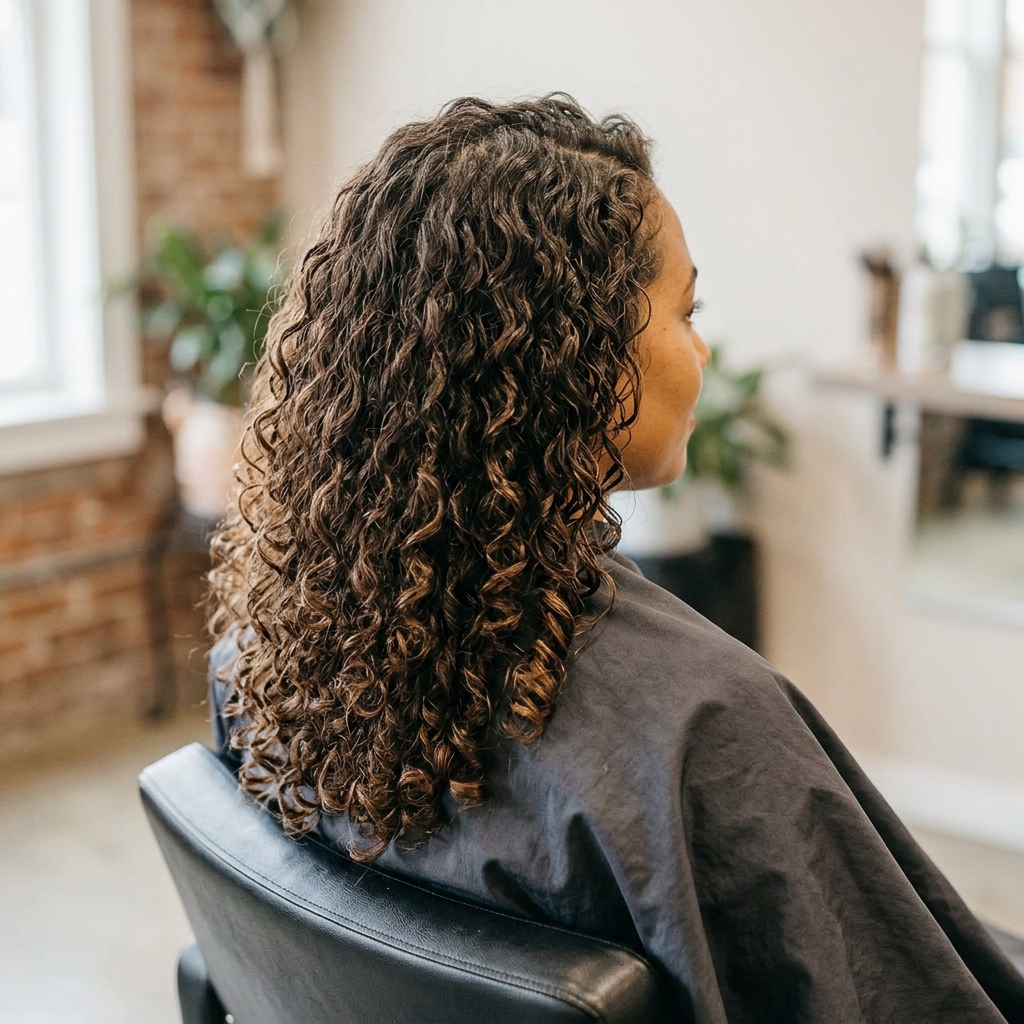
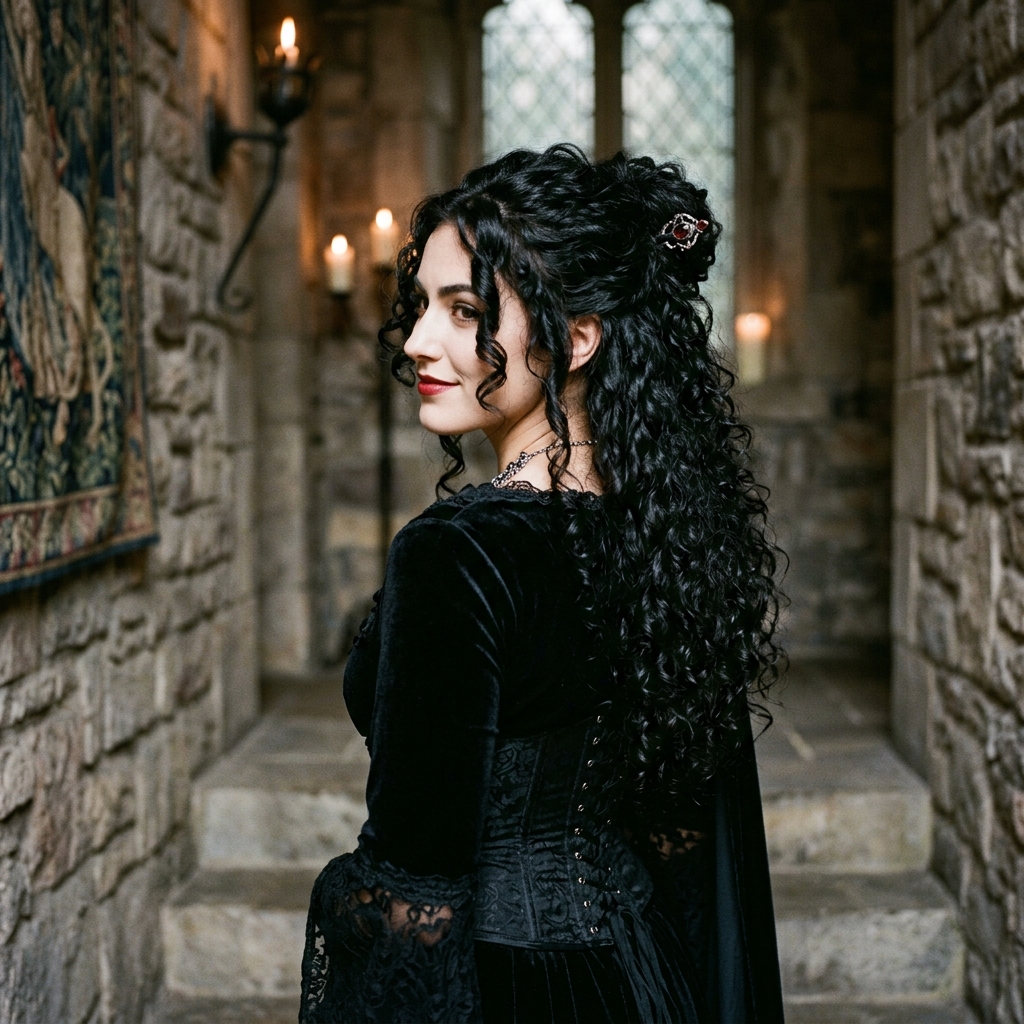
The vampire haircut is a modern, textured take on classic shapes like the shag or wolf cut. It’s defined by its sharp, often pointy ends, lots of internal layers for movement, and a general vibe that’s equal parts romantic goth and effortless cool. The goal is “lived-in” perfection.
For curly hair, this translates to a cut that prioritizes shape and definition over uniform curl clumps. It uses the natural spring of your curl to create that piece-y, slightly “undone” look that’s so key to the style. Think less ringlets, more intentional texture.
Why Curly Hair is Perfect for This Cut
Curly hair already has built-in volume and texture, which is the exact foundation this cut needs. The layers don’t have to be cut as drastically to achieve lift, and your natural curl pattern creates automatic separation and definition at the ends.
It celebrates the natural variation in your curl pattern. A tighter curl at the crown and a looser wave at the bottom? That just adds to the dynamic, glitchy glam hair effect. This cut works with your hair’s personality, not against it.
Key Elements to Ask Your Stylist For
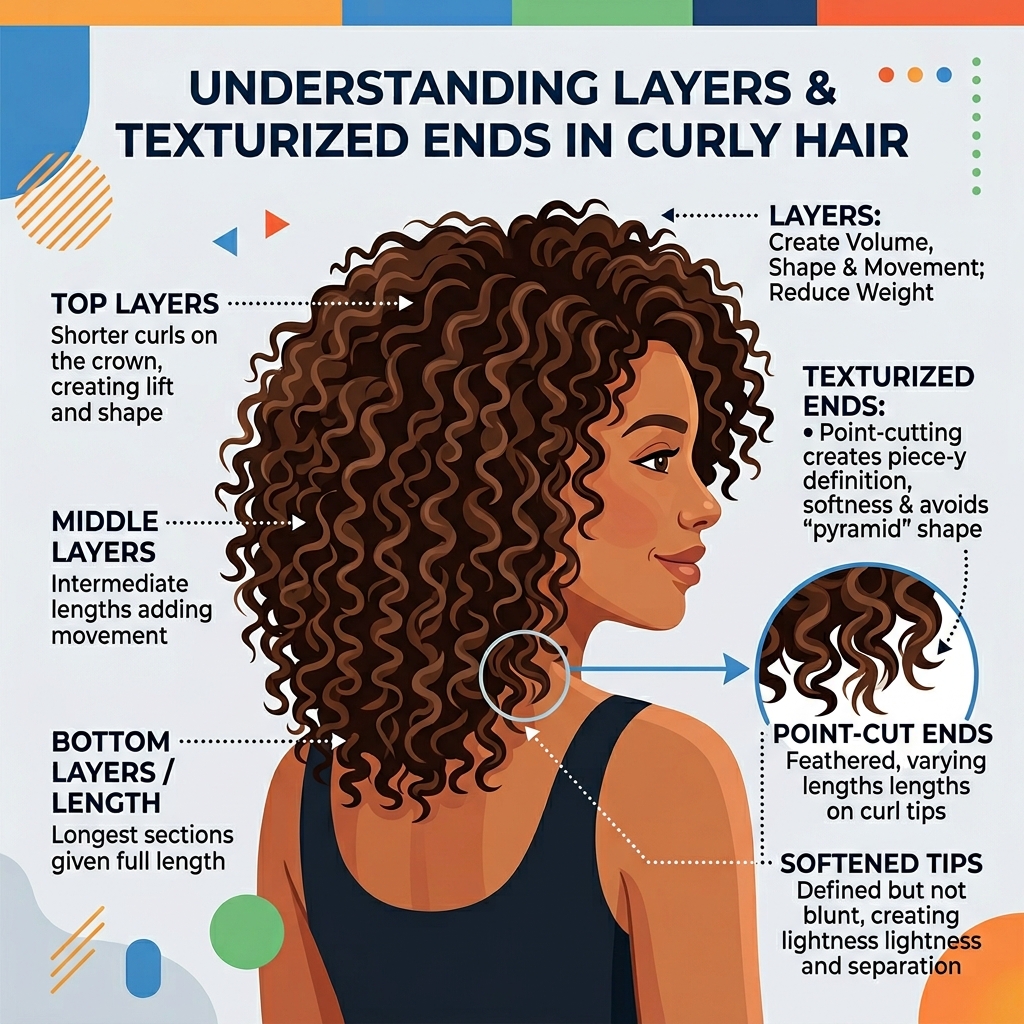
Walking into the salon with the right words is everything. Don’t just say “vampire cut.” Be specific. You want a heavily layered cut with lots of internal texturizing to remove bulk without losing length.
- Point Cutting: Ask for the ends to be point-cut, not blunt-cut. This creates those wispy, defined points.
- Face-Framing: Emphasize you want strong, face-framing layers that start at the jaw or cheekbone.
- Weight Removal: Request “weight to be removed from the interior” to avoid a triangular shape.
The Consultation: Bringing Your Inspiration
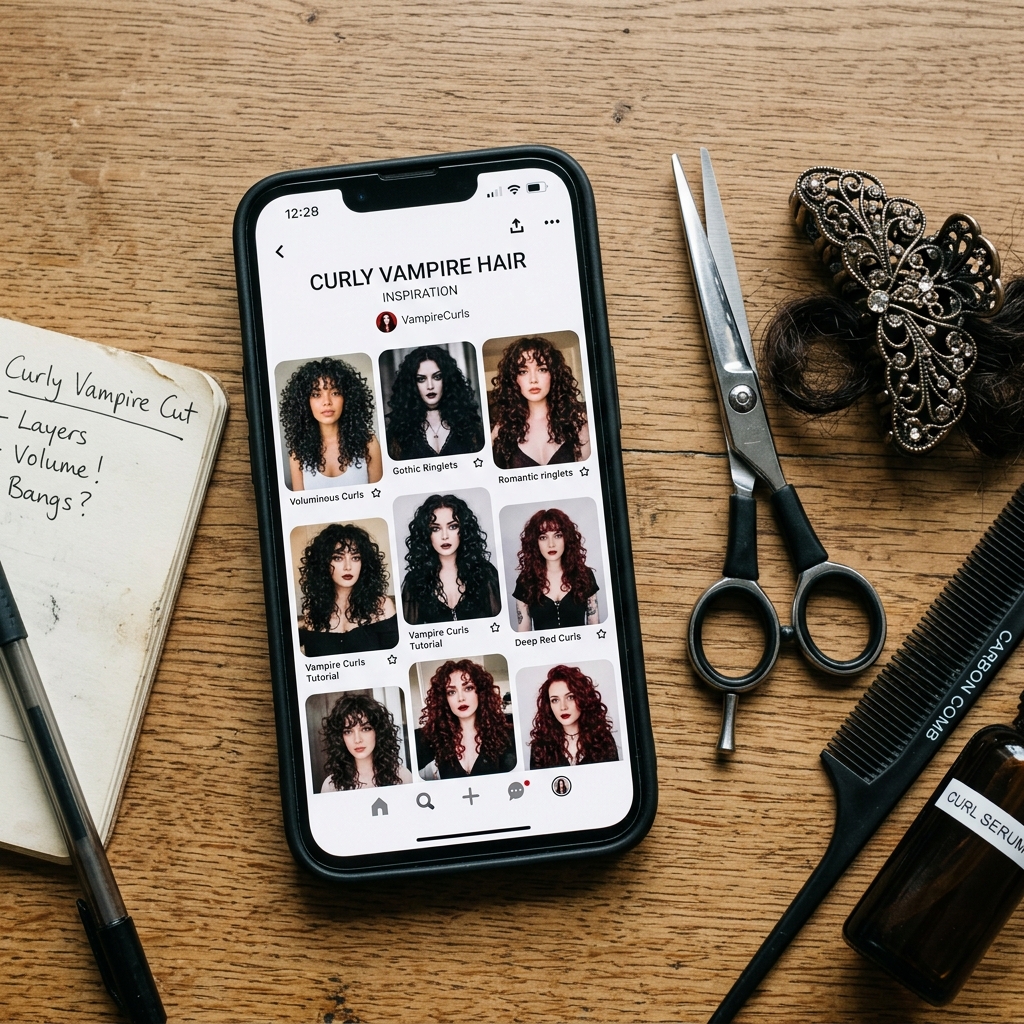
Bring pictures! This is non-negotiable. Find photos of vampire haircuts on people with a curl pattern similar to yours. Also, show them what you don’t want. This gives your stylist a complete visual map.
Discuss your daily routine. A good stylist will tailor the cut to how you actually live. If you air-dry 90% of the time, the cut should look amazing air-dried, not just when it’s diffused with product.
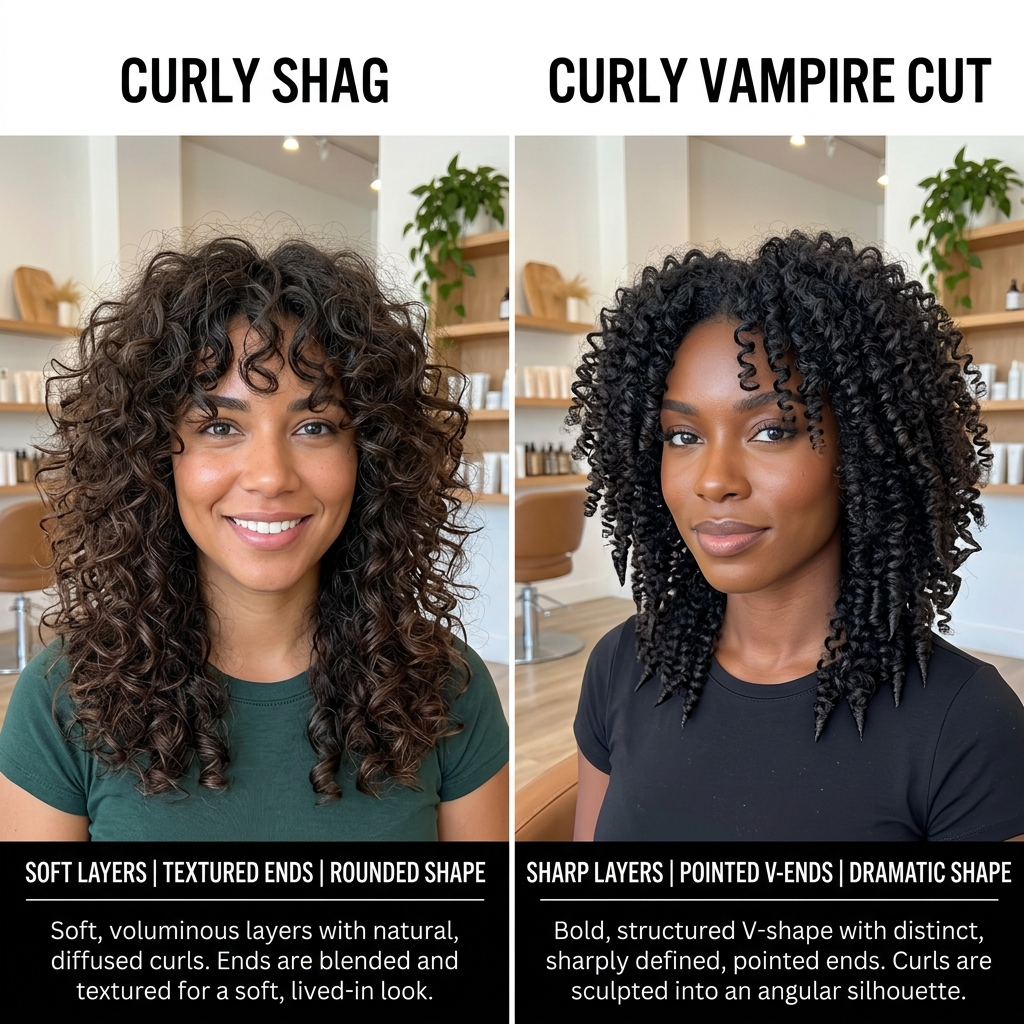
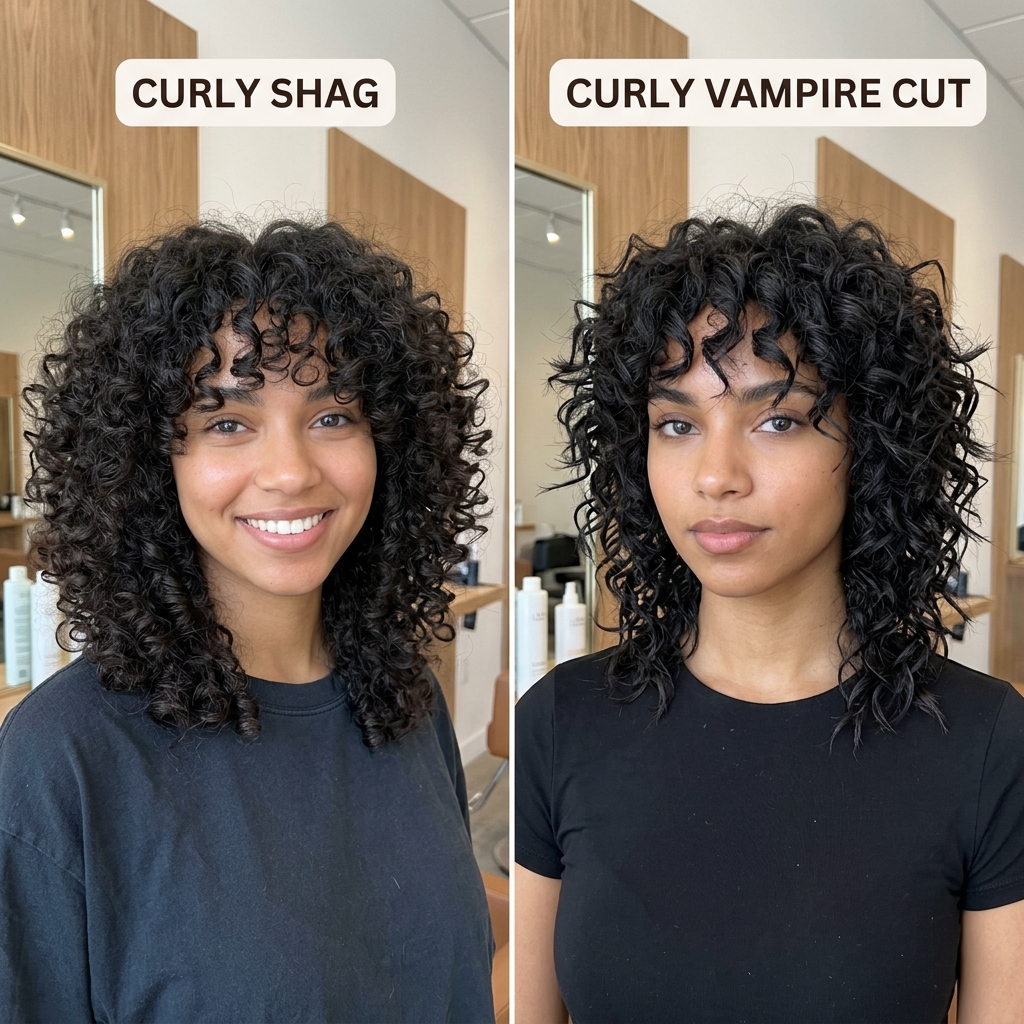
How It Differs From a Curly Shag
A shag is all about a consistent, rounded shape and volume. The vampire haircut is more about asymmetry and sharp angles. While a shag might have softer, blended layers, the vampire cut has more pronounced disconnection.
The ends are the biggest tell. Shag ends are often blended or razored for a soft finish. Vampire cut ends are precisely point-cut to stand alone, creating that “cobwebby” or piece-y effect that defines the look.
The Asymmetrical Lob Variation
If a full, long vampire cut feels like too much, the asymmetrical lob is your gateway. It keeps the signature textured ends and piece-y layers but in a shorter, more manageable length. One side can be dramatically longer than the other for that edgy twist.
This is a fantastic option if you want to dip your toes into 2026 hairstyles that feel fresh but still wearable. It has that quiet luxury bob vibe but with a much cooler, more personalized edge thanks to your curls.
Connecting to the Hime Cut Influence
See those super dramatic, face-framing layers in many vampire cuts? That’s a nod to the hime cut, a traditional Japanese style. For curly hair, this means those front pieces are cut to specifically highlight your cheekbones and jawline.
When styled, these curly hime sections can be pushed forward for a romantic frame or tucked behind the ears to show off the cut’s structure. It adds a historical, elegant feel to the otherwise modern edge.
Prepping Your Hair for the Cut
Come to your appointment with your hair in its natural, clean state. Wash and style it as you normally would, so your stylist sees your true curl pattern. Don’t show up with it pinned back or in a tight bun.
This means if you usually diffuse, diffuse. If you air-dry with a bit of mousse, do that. An honest canvas helps them plan the cut for your hair, not a theoretical idea of curly hair.
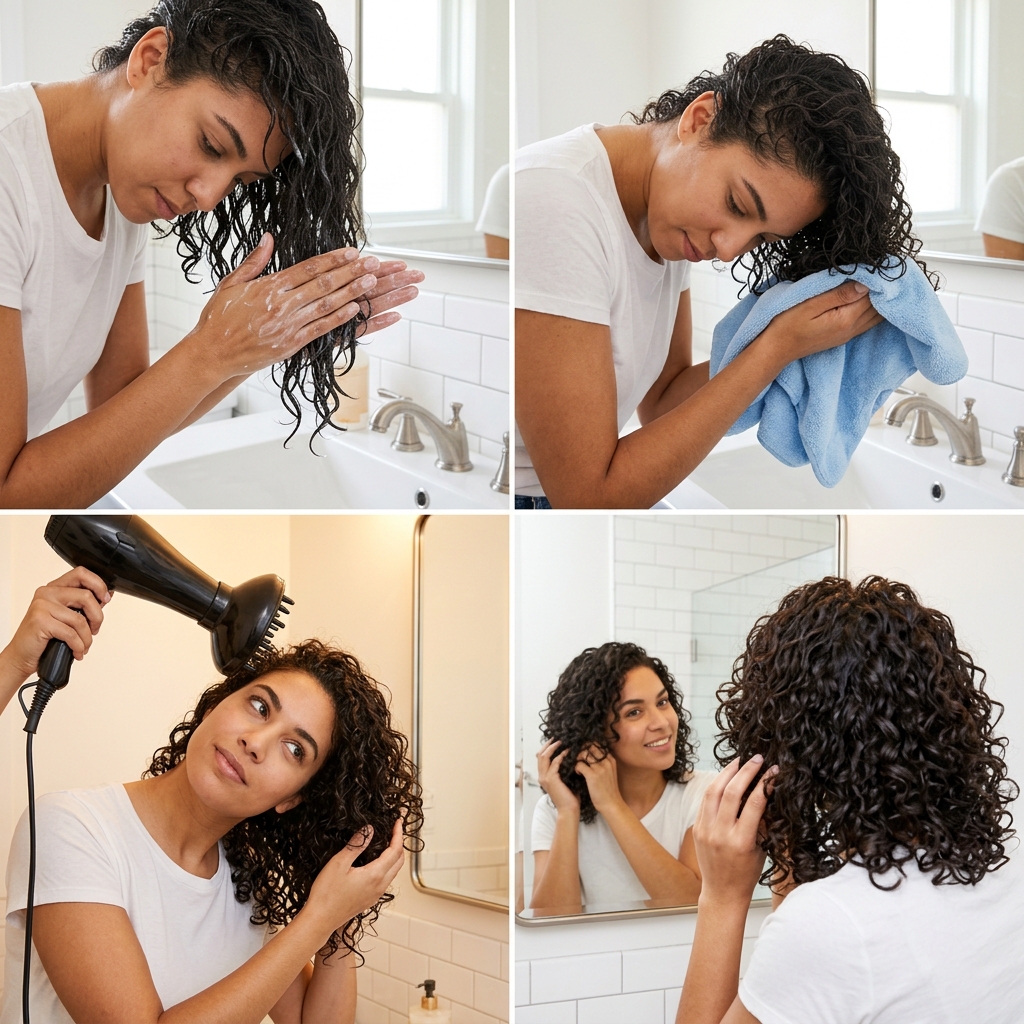
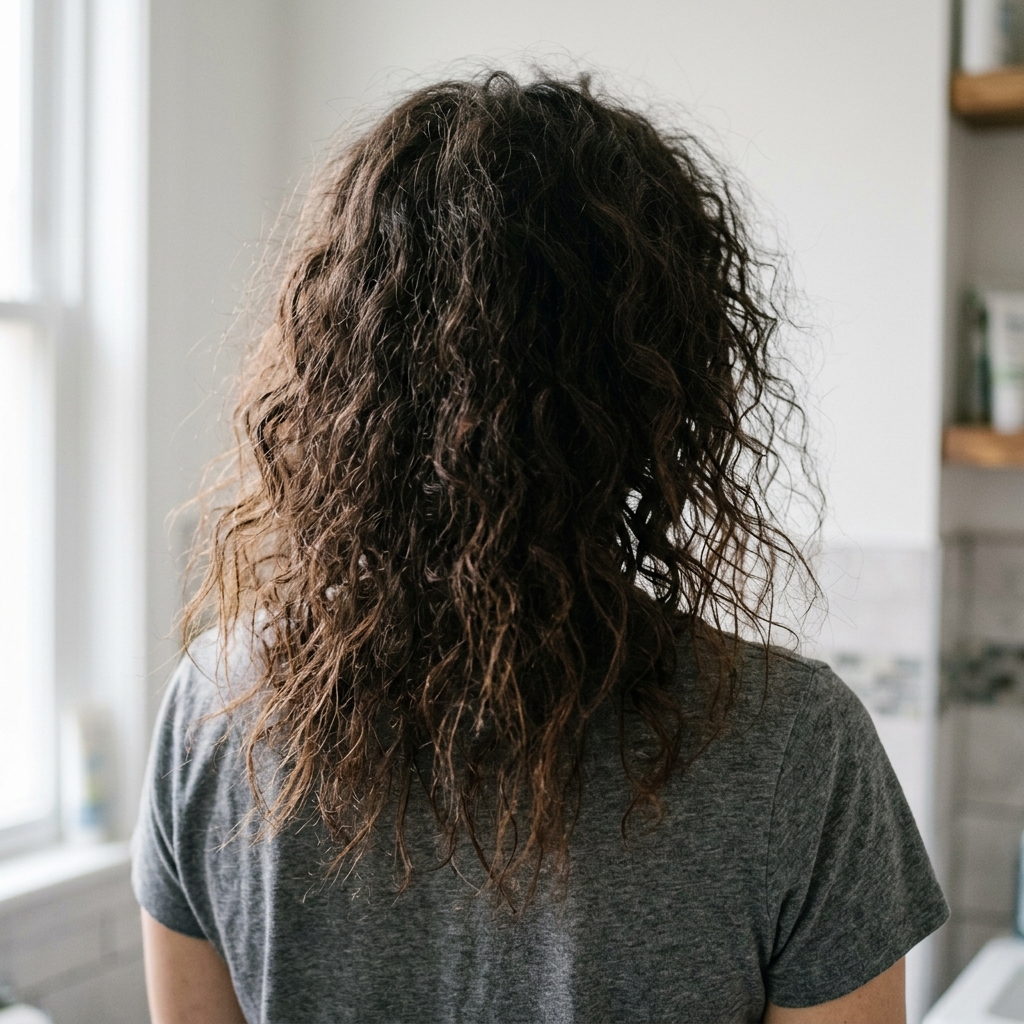
Step-by-Step Styling for Definition
- Start Soaking Wet: Apply a curl-defining cream or mousse to sopping wet hair. Rake and scrunch it through.
- Micro-Plop: Use a cotton t-shirt to gently scrunch out excess water, don’t rub.
- Pixie Diffuse: Use a diffuser on low heat/medium speed. Cup sections of hair into the diffuser and hold it in place until mostly dry.
- Break the Cast: Once 100% dry, scrunch your hair with a tiny bit of oil on your palms to break any cast and separate the pieces.
The Right Products Are Everything
You need products that define without being too heavy or sticky. Look for lightweight curl creams, foams, or mousses that offer hold without crunch. A flexible-hold gel can work if you dilute it with water in your hands first.
A leave-in conditioner is your base for moisture, but don’t overdo it. Too much product will weigh down those perfect layers. The goal is separation and hold, not a single, solid curl cast.

Air-Drying for a Softer Look
For a less dramatic, more romantic goth hairstyles vibe, air-drying is your friend. After applying your products, gently scrunch with the t-shirt. Then, don’t touch it! Let it dry completely without disturbing the curl clumps.
Once dry, you can gently separate the larger clumps into smaller, piece-y sections with your fingers, focusing on the ends. This gives a softer, more ethereal finish to the defined ends.

Creating “Glitchy Glam” Texture
That “glitchy glam hair” texture is all about controlled chaos. After your hair is dry, take a tiny bit of texturizing paste or wax on your fingertips. Rub your hands together to warm it up.
Then, gently pinch and pull at random ends and mid-lengths, focusing on the face-framing layers. Don’t do it all over—just in select spots to create that imperfect, digital-art effect.
Mastering the Half-Up, Half-Down Style
This cut was made for half-up styles. Take just the top section of your hair, from the temples back. Pull it up loosely at the crown, but leave plenty of face-framing pieces out.
Before securing it, gently tease the base for a bit of volume. The goal is effortless, like you just threw it up. This showcases the layers in the back while keeping hair out of your face.
Night-Out Styling: Adding Drama
To amp it up, add a deep side part. This immediately adds asymmetry and drama. Use a strong-hold spray on the roots of the side with more hair for lift.
Then, define a few specific face-framing pieces with a tiny curling iron or wand if needed, twisting them slightly for extra shape. Keep the rest of the hair natural for that cool contrast.
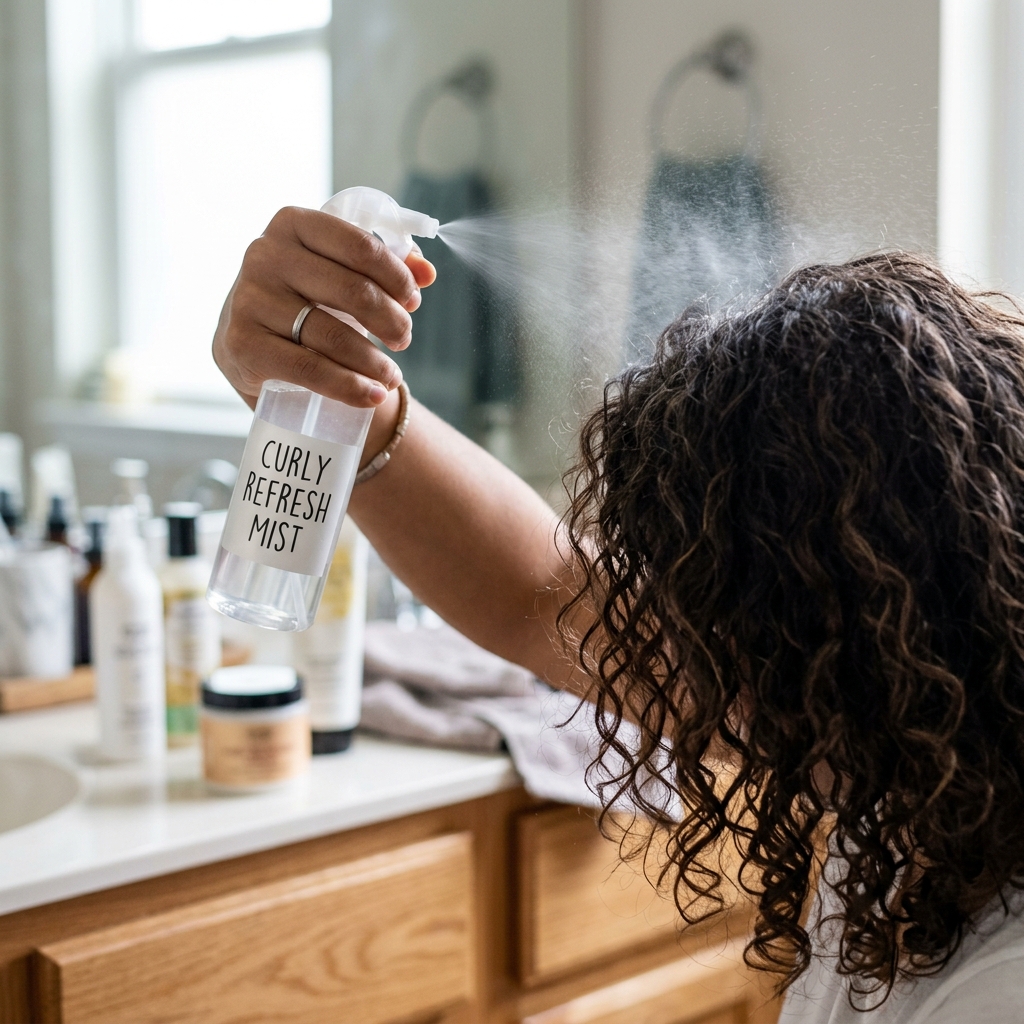
Morning Refresh Routine (It’s Easy)
Don’t wash it every day! To refresh, mix a bit of leave-in conditioner with water in a spray bottle. Mist your hair lightly until damp, not wet.
Then, scrunch upwards. If the canopy looks flat, lift sections at the root and spray a tiny bit of texturizing spray there. Let it air dry or use the diffuser for a minute. That’s it.
Avoiding Common Mistakes
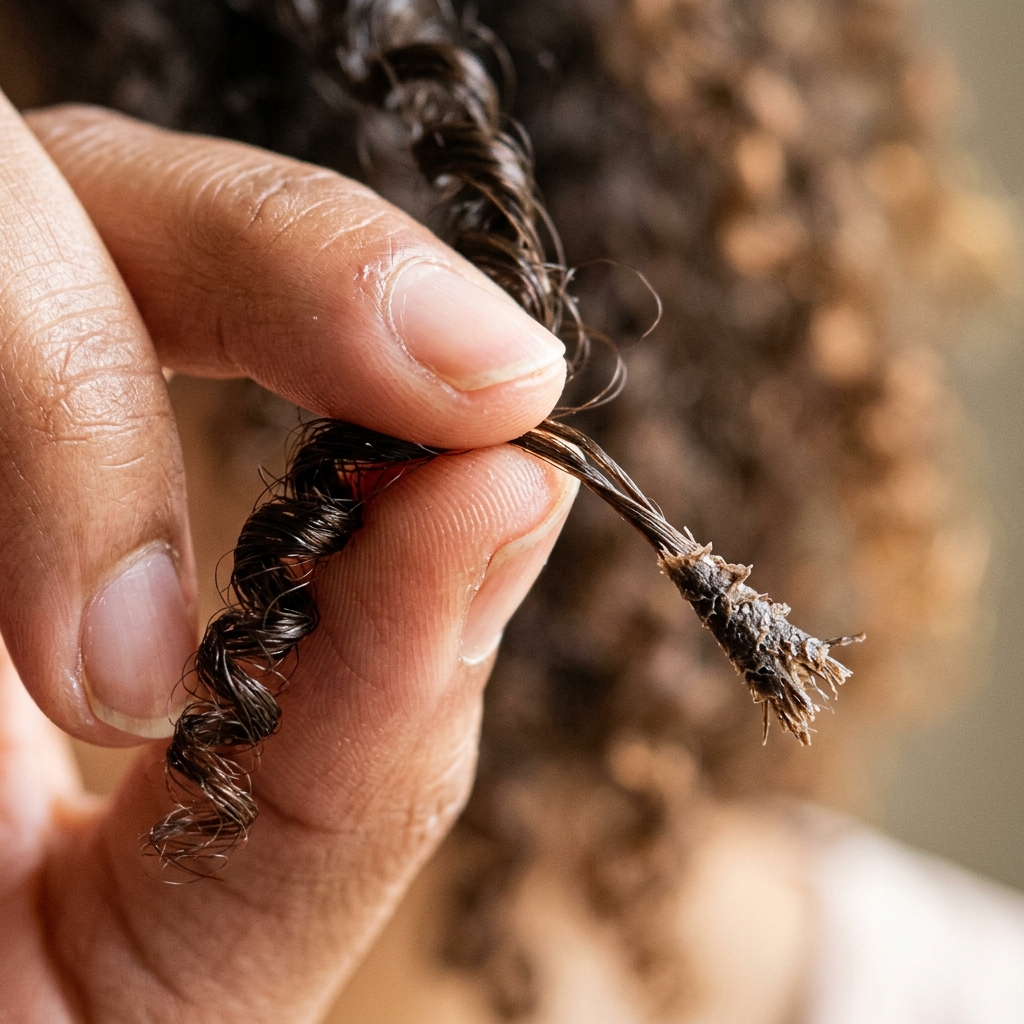
- Over-Thinning: Too much texturizing shears can make curls frizzy and weak.
- Wrong Product Weight: Heavy butters or creams will drag down the layers.
- Over-Separating: Wait until hair is totally dry before breaking up clumps, or you’ll cause frizz.
- Forgetting the Back: Make sure the layers in the back are as defined as the front when styling.
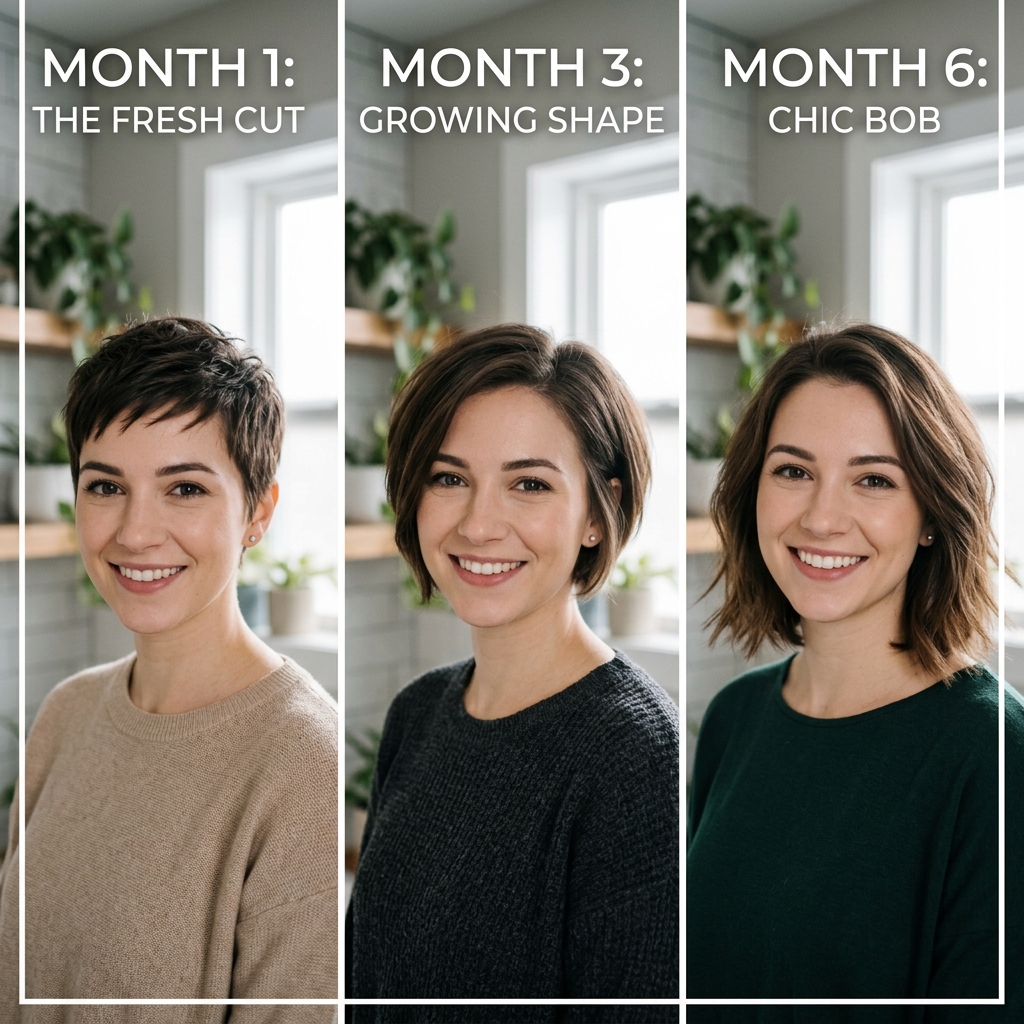
How It Grows Out (Beautifully)
The good news? This cut grows out incredibly well. The layers simply blend together over time. As it grows, it starts to morph into a more classic, layered curly cut.
You might lose some of the sharpest points after 3-4 months, but the shape remains intact. Many people find they love the grow-out phase just as much, as it becomes softer and more blended.
Pairing It with “Old Money Hair” Vibes
Want to blend the edge with some old money hair elegance? It’s all in the styling. Opt for a center part and super sleek, defined curls. Use a stronger hold product for more polished clumps.
Keep the texture more “lived-in” than “undone.” Accessorize with simple, gold hair clips or a silk scarf tied as a headband. It’s that perfect mix of rebel and refinement.
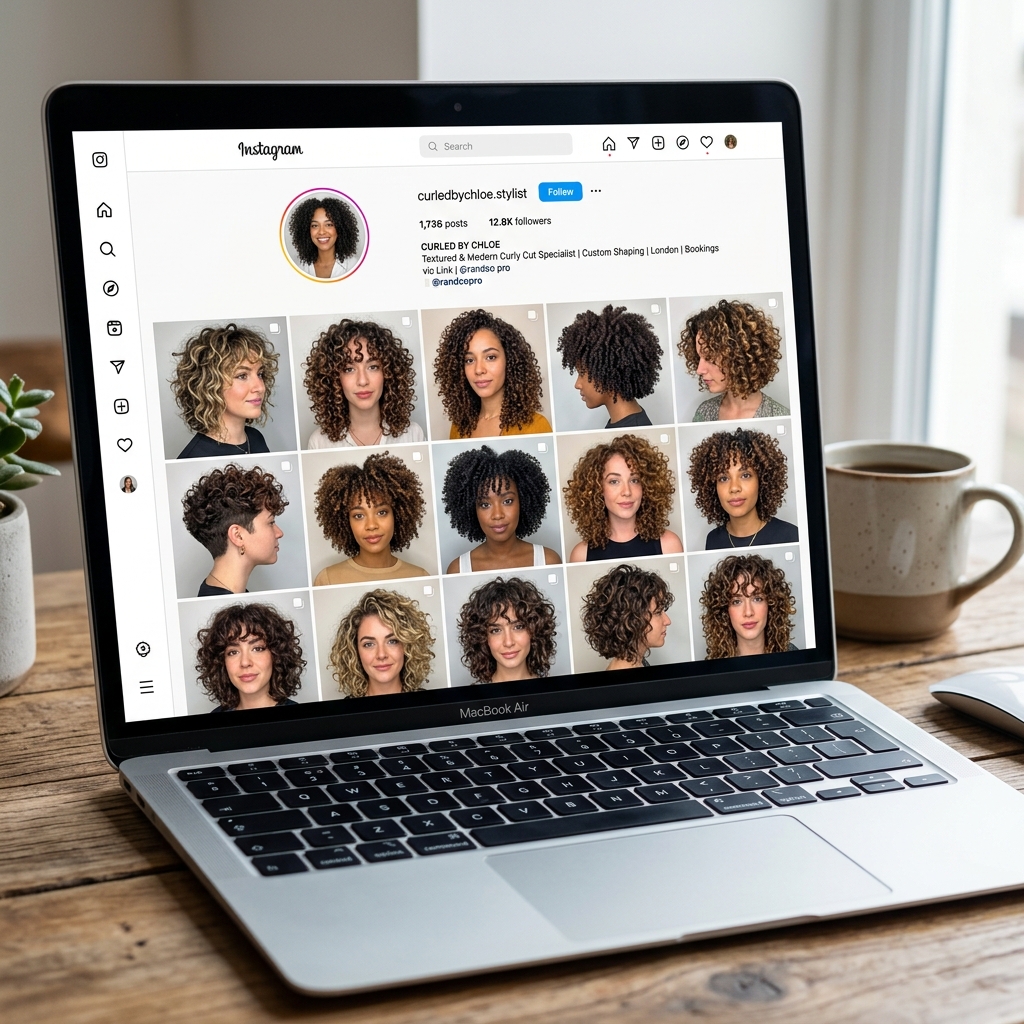
Finding the Right Stylist Near You
This is not a cut for a stylist who isn’t confident with curly hair and modern textures. Search Instagram for hashtags like #[YourCity]CurlySpecialist or #[YourCity]HairStylist. Look at their portfolios for shags, mullets, and textured cuts.
Don’t be afraid to DM them with a photo and ask if this is a cut they’re comfortable doing. A great stylist will be excited by the challenge and happy to consult first.
My Personal Experience & Tips
I got this cut last fall, and it completely changed how I see my curls. The biggest lesson? Trust the process. When it’s wet, it might look a little wild. But once it’s dry and you break the cast, the magic happens.
My #1 tip is to use less product than you think you need. Start with a small amount, you can always add more. Over-producting is the enemy of that light, piece-y definition we’re after.
Your Questions, Answered
Will it work on tight coils? Absolutely! The principles are the same—point cutting, weight removal, face-framing. The shape will be incredible, showcasing your coil pattern.
Is it high maintenance? The cut is low-maintenance, but the style requires a consistent routine. You’ll need to style it to see the definition, but the actual haircuts can be spaced 4-5 months apart.
So, there you have it. The vampire haircut isn’t just a trend for straight hair—it’s a secret weapon for curly girls ready to show off their texture in a bold, new way. It’s the kind of cut that makes you look like you put in effort, even on those days you just scrunched and went.
It gives you that cool-girl confidence because it’s uniquely yours. Your curl pattern will make it look different than anyone else’s, and that’s the best part. It’s a style that finally lets your natural hair be the star, with just a little bit of an edge.
Save this post to Pinterest to keep this guide handy for your next salon visit! And I’d love to know—are you thinking of taking the plunge? Or do you have a curly textured cut you already love? Tell me everything in the comments below!

