
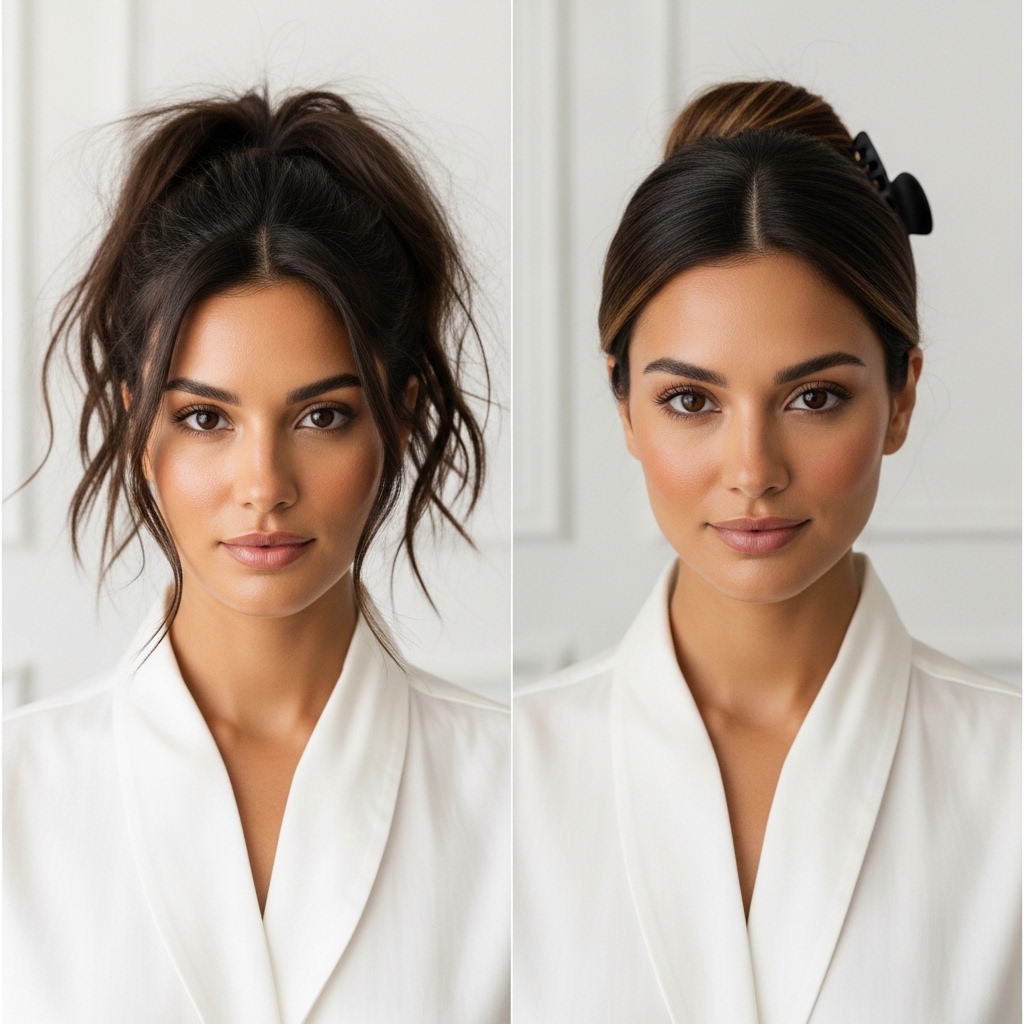
Okay, let’s be real. Some mornings, you just don’t have the time or energy for a full-blown hairstyle. But you still want to look put-together, right? Like you have your life in order and maybe just stepped out of a very chic, very expensive spa.
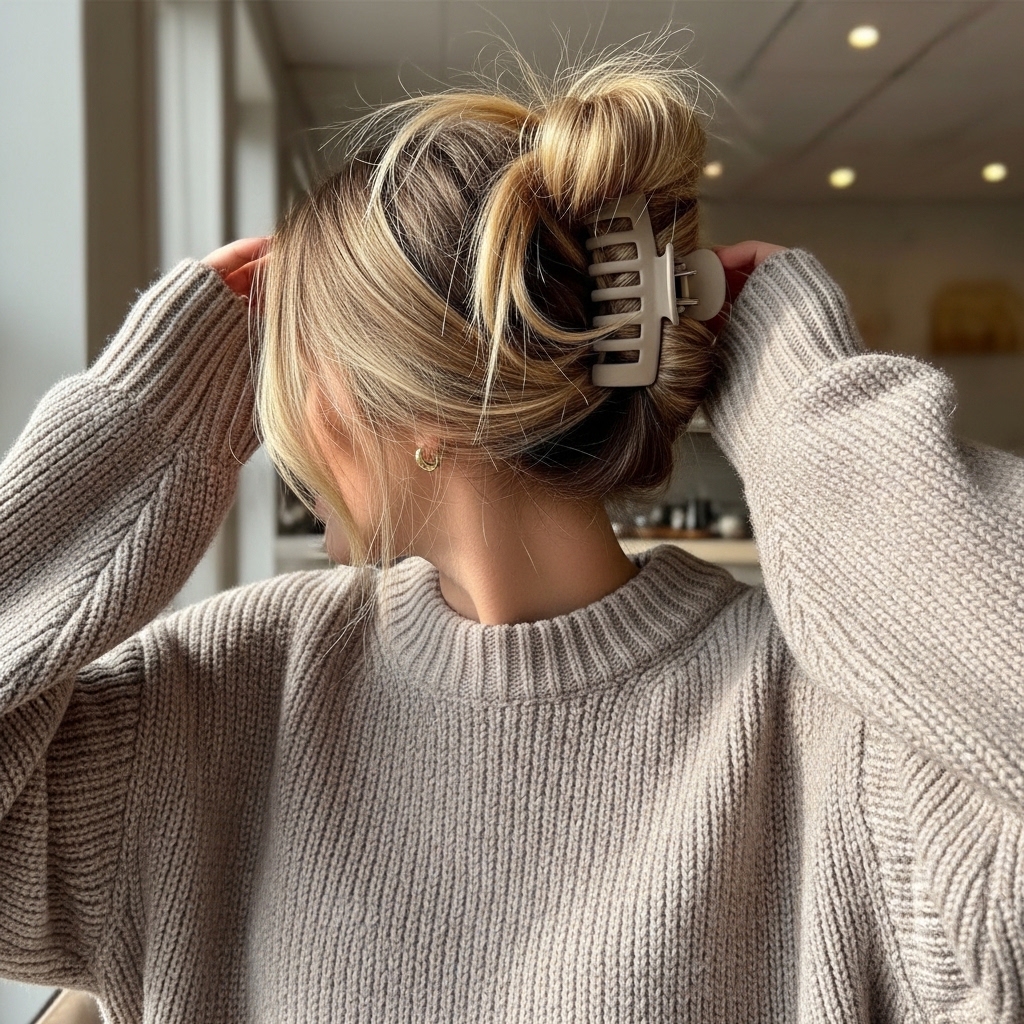
That’s the magic of the Old Money Hair Claw Clip Bun. It’s my absolute go-to for quick, elegant glam. It takes literal minutes, works on almost any hair length or texture, and gives off that “I woke up like this, but make it billionaire” vibe.
Forget complicated 2026 hairstyles for a second. This is timeless. It’s the quiet luxury of hairstyles. And I’m going to show you exactly how to nail it, so you can get out the door feeling confident and gorgeous.
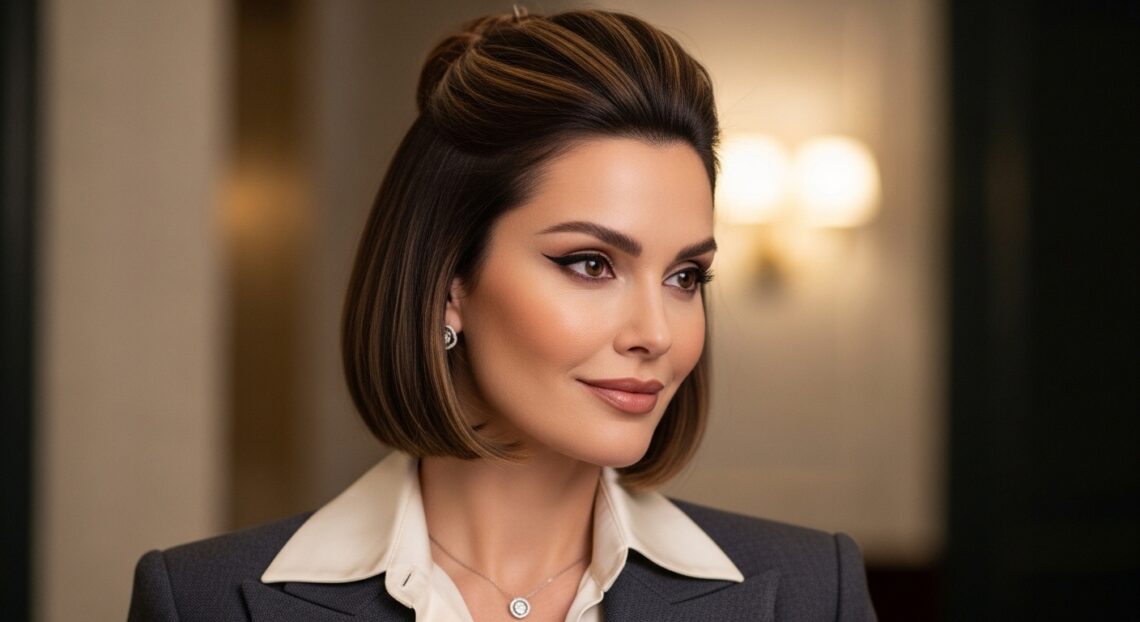
What Is “Old Money Hair” Anyway?
It’s not about being actually rich. It’s about a specific aesthetic. Think timeless, effortless, and impeccably groomed. Hair that looks healthy, soft, and intentional without being trendy or overdone.
It’s the opposite of glitchy glam hair or romantic goth hairstyles. It’s polished, calm, and classic. The Old Money Hair Claw Clip Bun is a perfect entry point into this look because it’s so simple yet so sophisticated.

Why The Claw Clip Bun Is a Game-Changer
This style saves you on so many levels. It’s a quick updo for second-day hair. It keeps hair off your neck on hot days. And it instantly elevates a simple t-shirt and jeans.
Unlike a tight ponytail, it doesn’t cause tension or breakage. It also creates beautiful, soft volume at the crown. Once you master it, you’ll find yourself reaching for your clip more than any other hair tool.
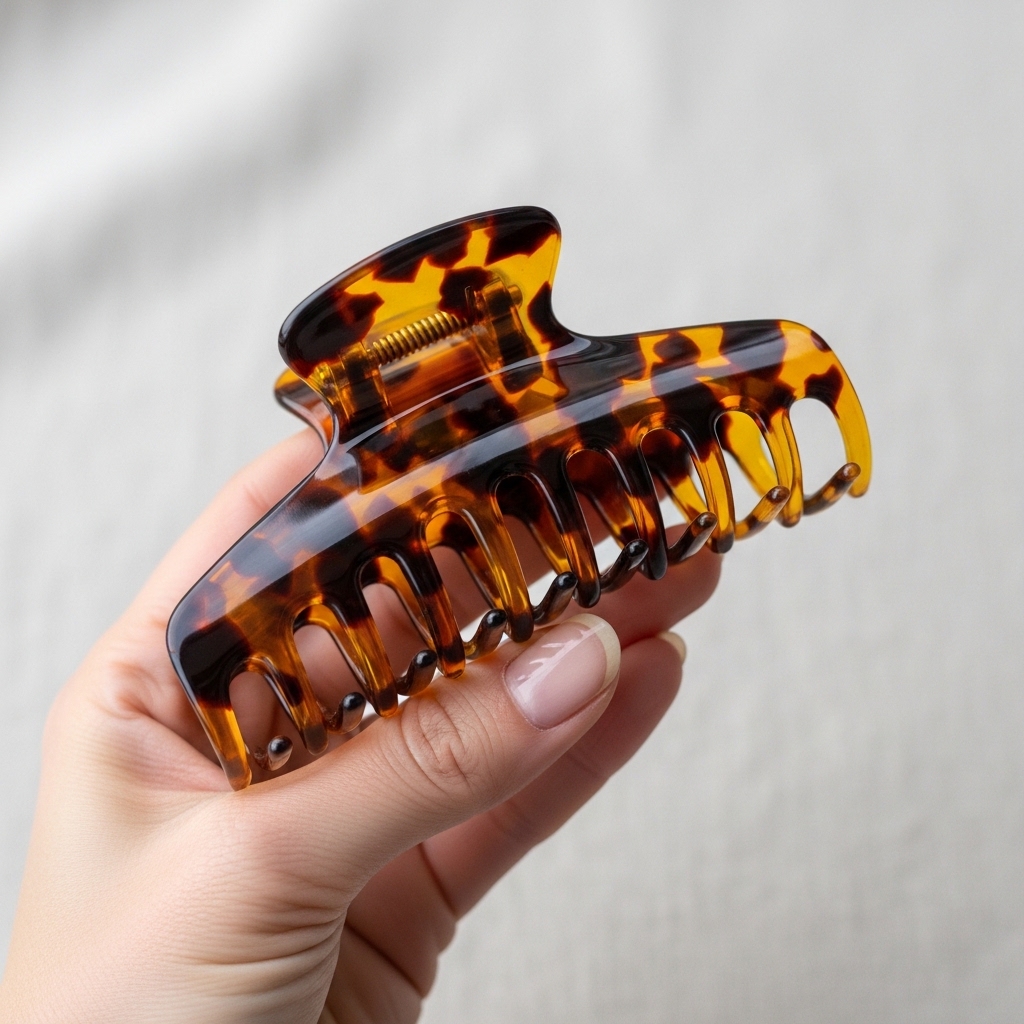
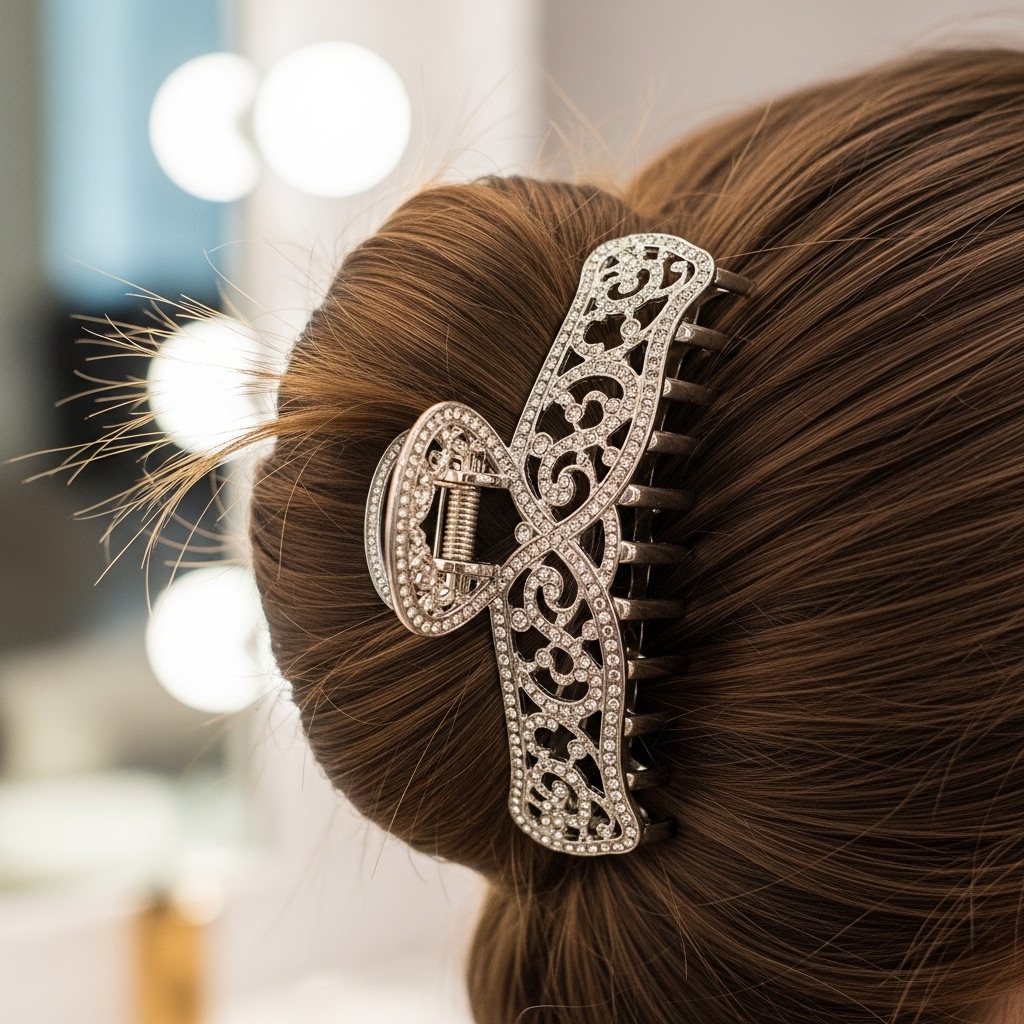
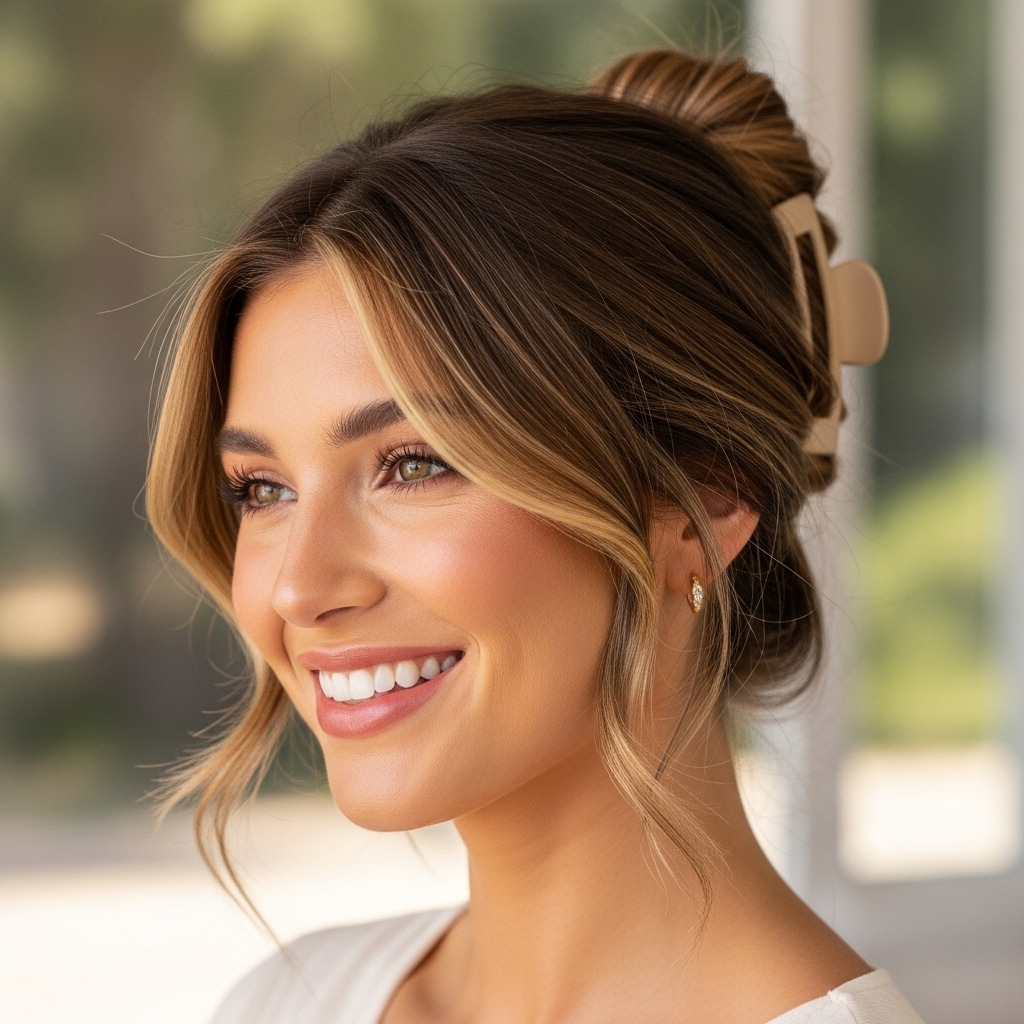
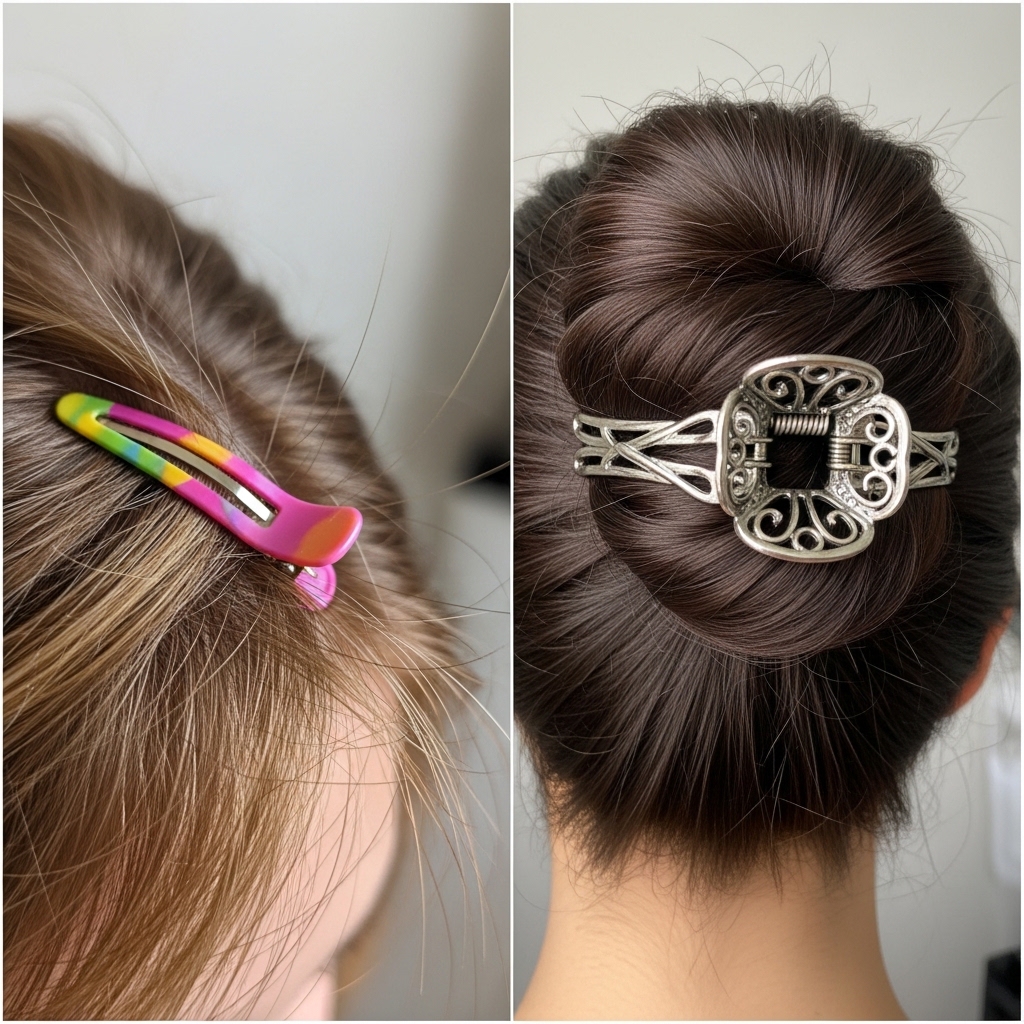
The One Tool You Absolutely Need
Not all claw clips are created equal. For this bun, you need a large, sturdy clip. I’m talking 4-5 inches long, with strong teeth and a solid spring.
- Material: Look for matte finishes or tortoiseshell for that quiet luxury feel.
- Size: It should feel almost too big. This ensures it holds all your hair securely.
- Quality: Avoid flimsy plastic. A good one is worth the investment.
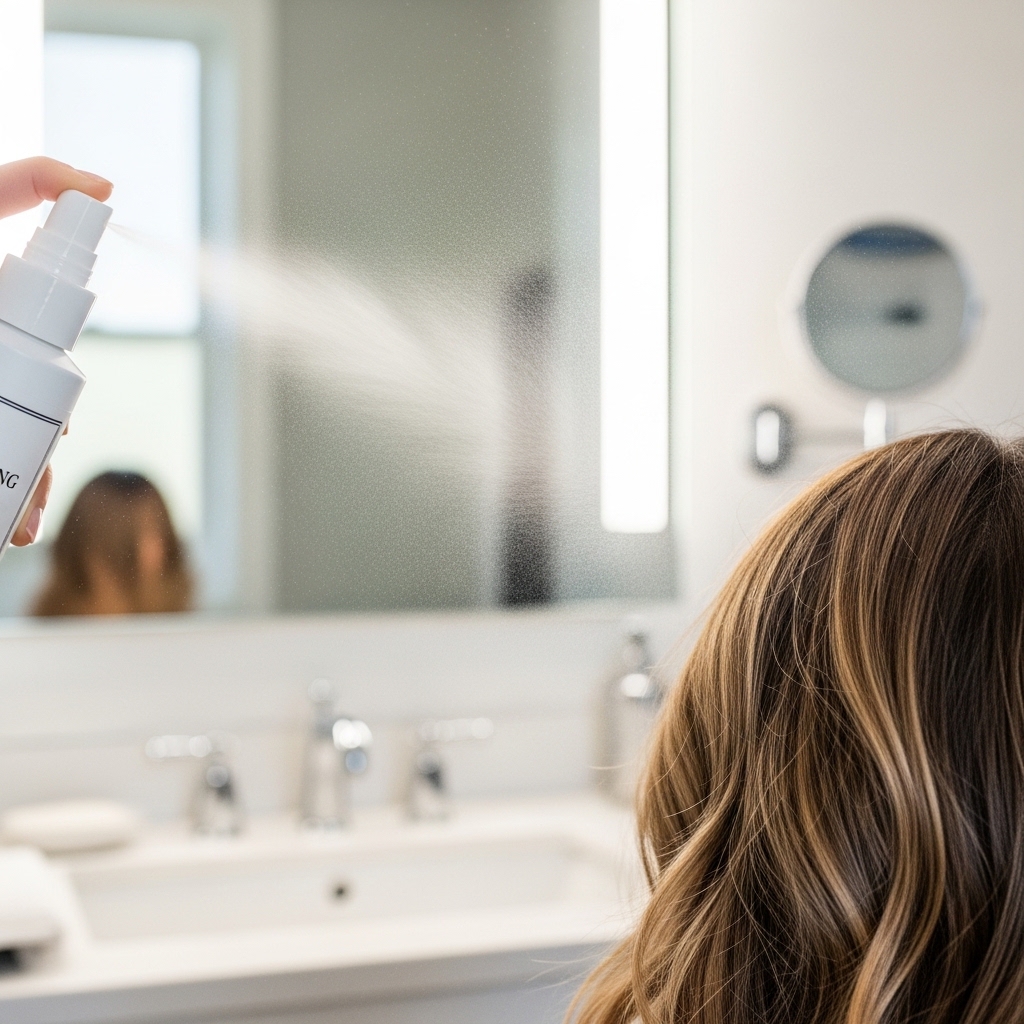
Prepping Your Hair for the Perfect Hold
This style works best on day-old hair or hair with a bit of texture. If your hair is freshly washed and slippery, add a light product.
I like a texturizing spray or a light mousse at the roots for grip and volume. The goal is softness, not crunch. You want movement, not a helmet.
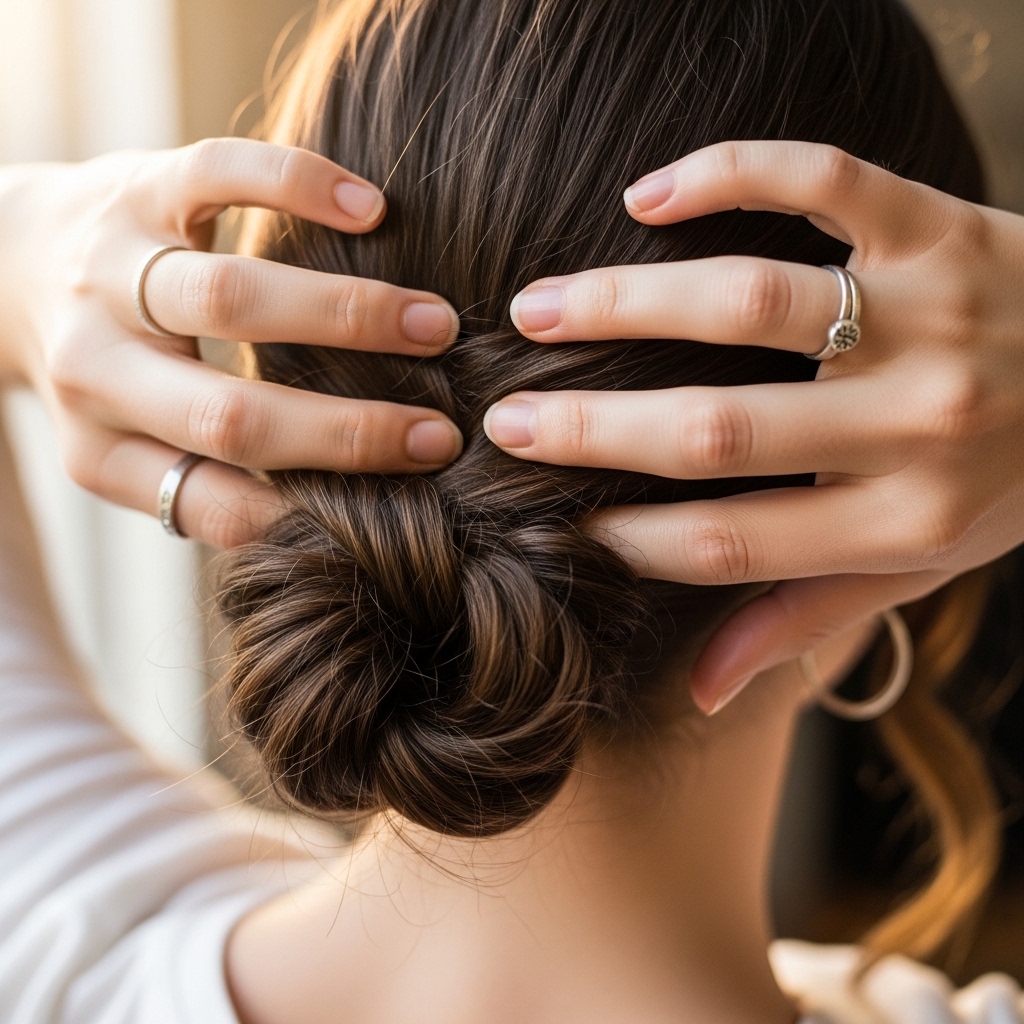
Step 1: Create Loose Volume at the Crown
Don’t just pull your hair straight back. Flip your head upside down and gently gather your hair at the crown of your head. This isn’t a high ponytail; think more at the back of your head.
Use your fingers to comb it through—no brush yet! This keeps the look soft and effortless. Lightly tease the roots at the crown if you need extra lift.

Step 2: The Simple Twist Technique
Once gathered, give your hair one or two loose twists. Don’t make it tight. This twist is what gives the bun structure and keeps shorter pieces in place.
Think of it as gently corralling your hair, not restraining it. The twist should feel relaxed in your hands.
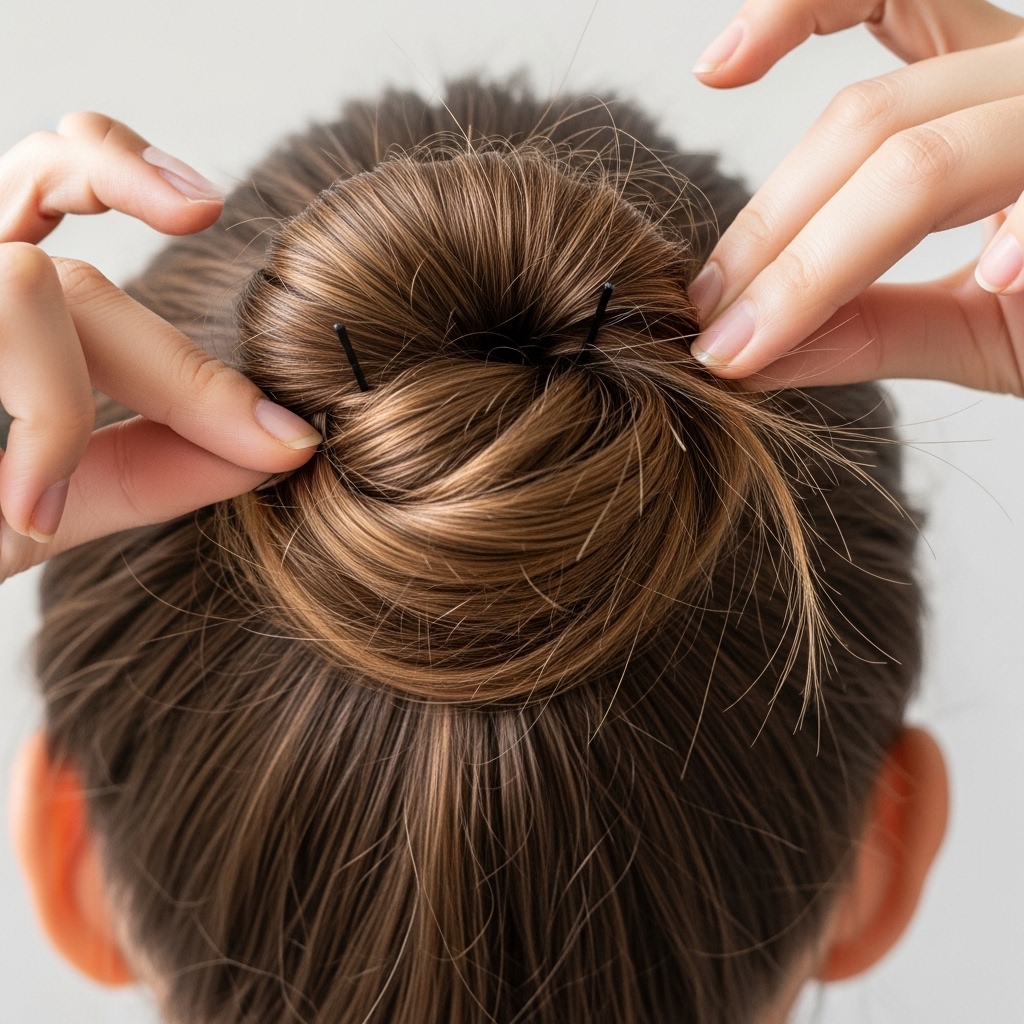
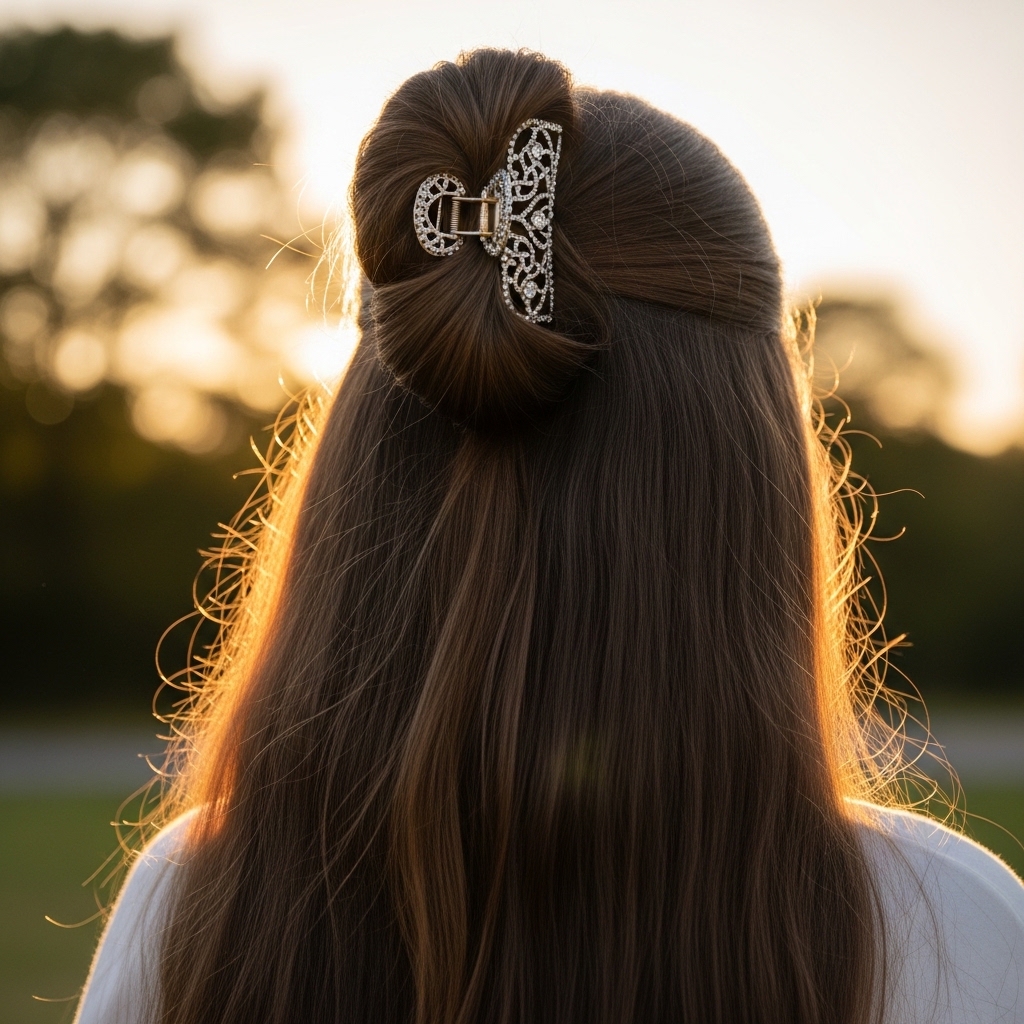
Step 3: Looping the Bun (The Secret Step)
Here’s the trick. Don’t just clip the twist. Coil the twisted length loosely against the back of your head to form a soft, messy bun shape.
Let the ends peek out or tuck them under. There’s no right or wrong here. The messier, the better for that lived-in elegance.
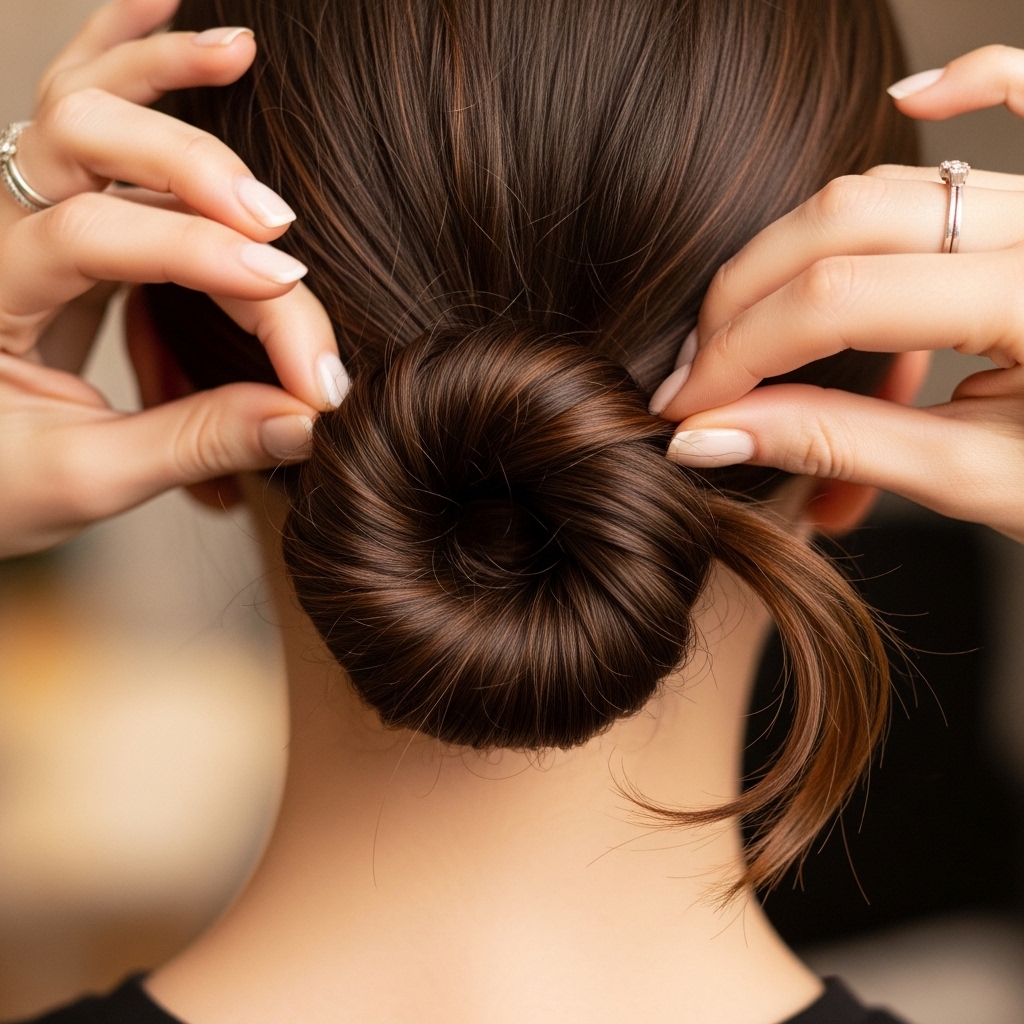
Step 4: Securing with the Claw Clip
Open your large claw clip. Place it vertically over the center of your coiled bun. Press it into your scalp and then clamp it shut, capturing the bun and the hair at the roots.
You should hear a satisfying *click*. Give your head a gentle shake. If nothing moves, you’re golden.
Step 5: The Art of the Gentle Tug
Once clipped, this is where the magic happens. Gently tug at the sides of the bun to create more volume and a softer shape.
Pull out a few tiny pieces around your ears and neck. This isn’t a mistake—it’s the intentional, effortless detail that makes the style.
Styling Face-Framing Pieces
If you have bangs or layers, use them! Curl a few front pieces away from your face with a flat iron for a soft wave.
Or, leave them straight and piecey. This frames your face and keeps the look from being too severe. It’s a trick seen in everything from the asymmetrical lob to the hime cut.
Making It Last All Day & Night
A good clip does most of the work. But for all-day hold, a light spritz of flexible-hold hairspray on the flyaways is key.
Carry a mini clip in your bag just in case. To refresh at night, simply take it out, shake your hair, and re-clip. It often looks even better the second time.

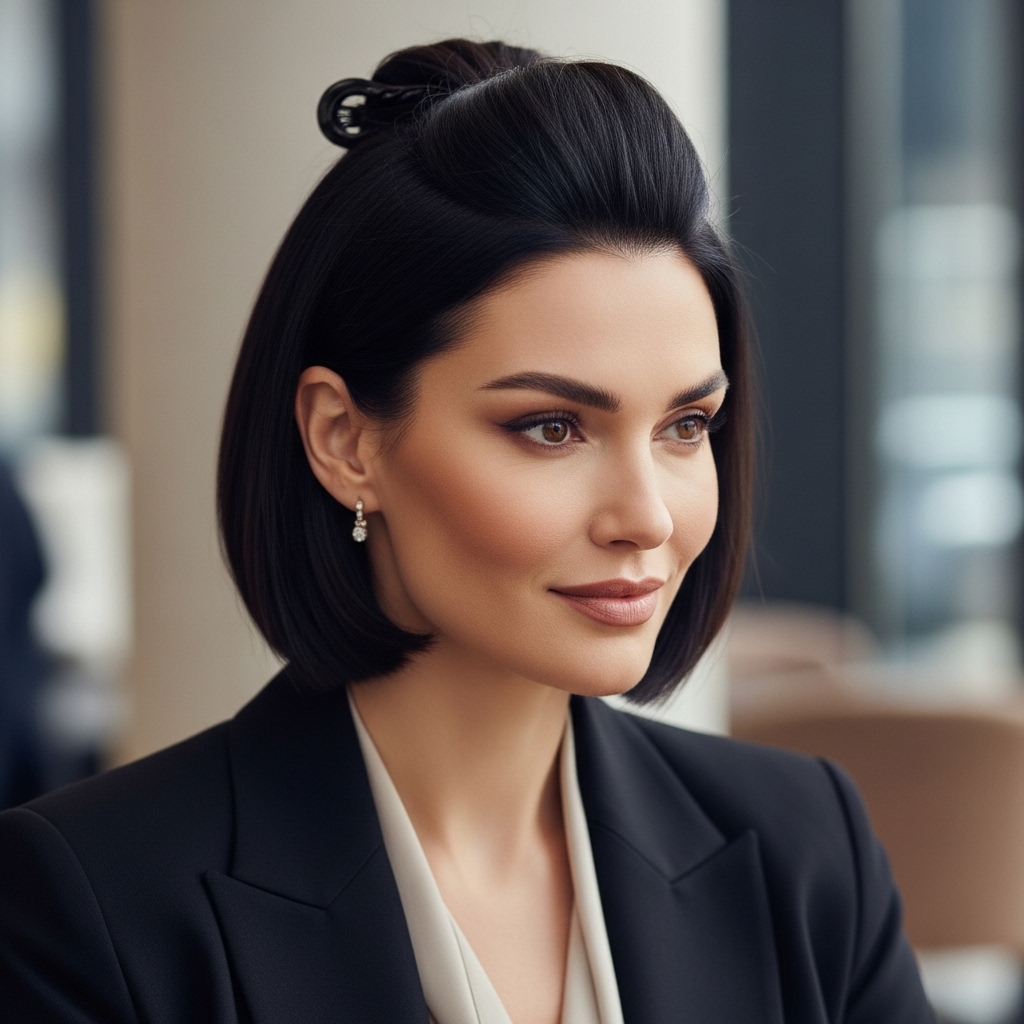
Adapting for Shorter Hair (Lobs & Bobs)
If you have a quiet luxury bob or an asymmetrical lob, you can still do this! Focus on twisting and clipping just the top section.
Leave the bottom layers down. It creates a half-up, half-down look that’s incredibly chic and perfect for shorter lengths.
Adapting for Very Long or Thick Hair
You might need two large clips. Create your twist and bun, then use one clip horizontally at the base and one vertically in the middle.
Don’t fight your thickness—celebrate it! A bigger bun just means more drama and elegance. It’s all about using the right tools for your hair.
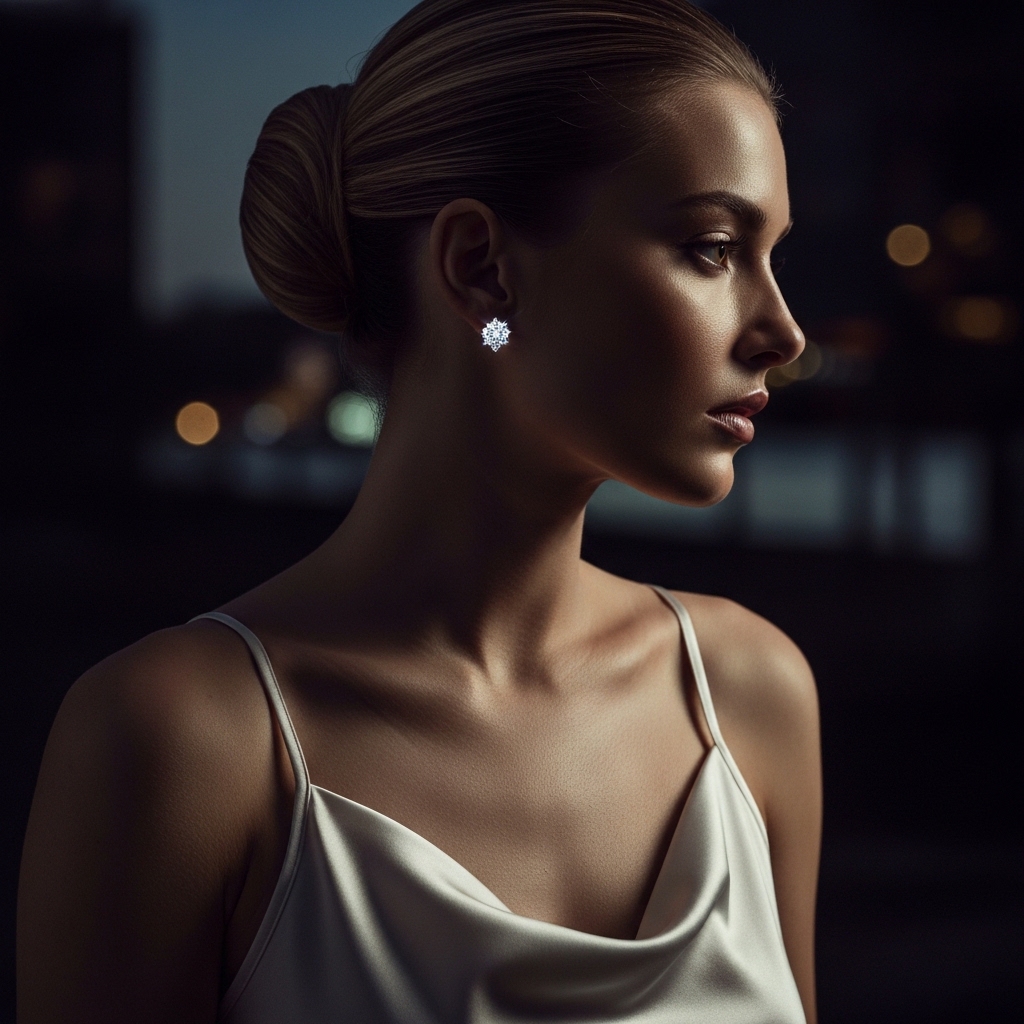
From Day to Night in 30 Seconds
This is where it shines. For evening, take the bun out, run your fingers through it, and re-clip it a bit more neatly.
Add statement earrings. Maybe swap your matte clip for a metallic one. Instantly, you’ve gone from school run to dinner out. It’s faster than trying to master romantic goth hairstyles or vampire haircut details.
The “I Tried” Messy Version
Some days, you want it even easier. Skip the precise twist. Just gather, loosely coil, and clip. Let pieces fall where they may.
This version has major “I just threw this up” energy, but in the best way. It pairs perfectly with a casual outfit and still looks incredibly stylish.
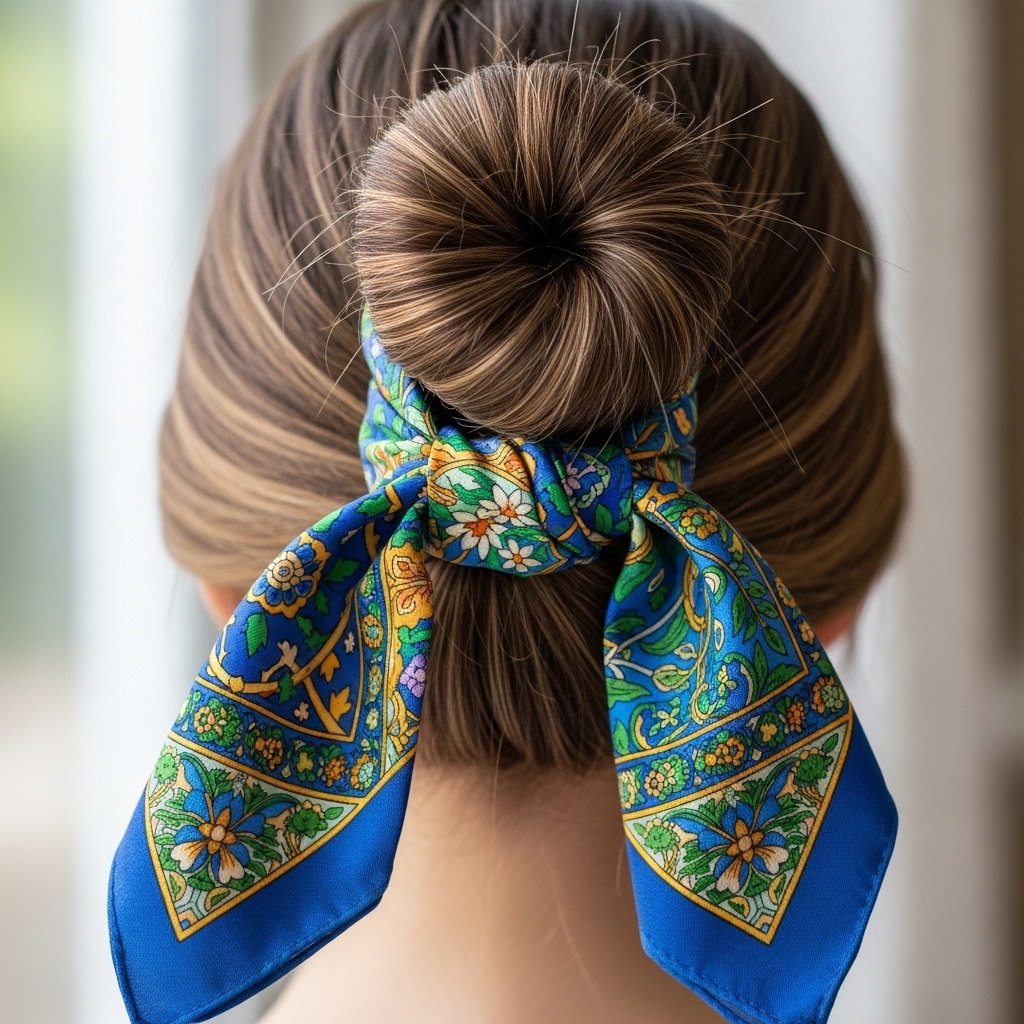
Accessorizing Your Bun for Extra Glam
The clip itself is an accessory. But don’t be afraid to add more. Silk scarves woven under the clip are stunning.
- Wrap a thin scarf around the base of the bun before clipping.
- Use decorative pins or clips around the bun.
- Let your favorite earrings take center stage.
Common Mistakes & How to Fix Them
The biggest mistake is using a clip that’s too small. It will slip and give you a headache. Another is pulling hair too tight. Start loose!
If your bun looks flat, take it out and start again with more volume at the crown. Remember, perfection is not the goal. Easy elegance is.
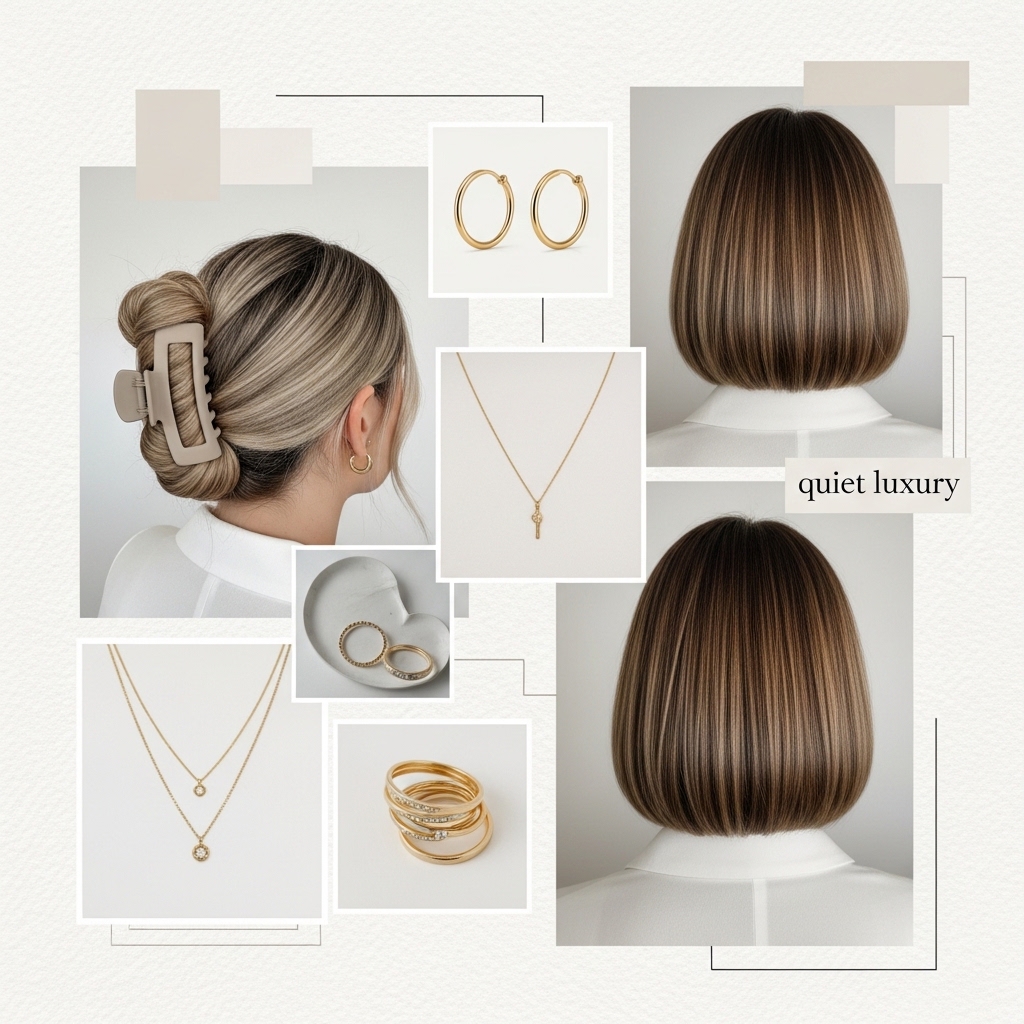
How This Fits Into 2026 Hair Trends
While timeless, this bun aligns perfectly with the move towards low-maintenance, wearable glamour. It’s the sister to the quiet luxury bob and a counterpoint to edgier looks like glitchy glam hair.
The trend is about looking and feeling good with minimal effort. This bun delivers exactly that, making it a forever style that always feels current.
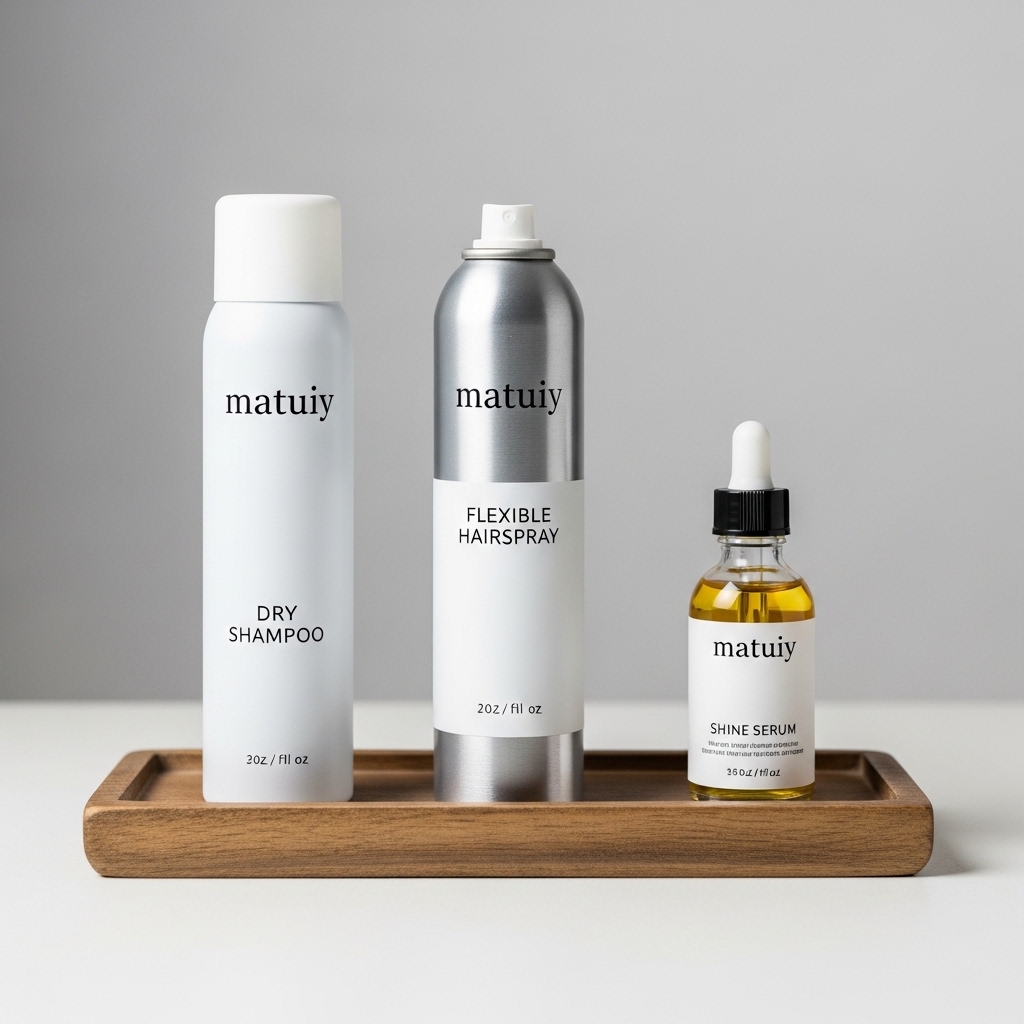
My Favorite Products to Pair With It
I keep it simple. A good dry shampoo for texture, a light-hold hairspray, and a shine serum for those face-framing pieces.
For scents, I prefer something clean and fresh. The goal is to enhance your hair’s natural beauty, not mask it with heavy products.
Your Questions, Answered!
Will it work on fine hair? Yes! Use texture spray and a strong clip. The twist is key for creating the illusion of thickness.
Can I sleep in it? I don’t recommend it with a hard clip. Try a silk scrunchie for sleep instead, and recreate the bun in the morning.

Give It a Try This Week
I promise, once you get the hang of it, you’ll be hooked. It takes less time than blowing out your hair and looks so much more intentional.
Try it for your next grocery run, work meeting, or date night. See how it makes you feel. That’s the real test of any great hairstyle.
So there you have it. My not-so-secret secret for looking like you have it all together, even on mornings when you really, really don’t. It’s more than just a bun; it’s a little boost of confidence you can wear in your hair.
In a world of complicated tutorials and fleeting trends, sometimes the simplest tricks are the ones that stick. This one has saved my look more times than I can count, and I have a feeling it’s about to become your quick-glam best friend, too.
Save this post to Pinterest so you always have the steps handy! And tell me in the comments—what’s your go-to quick hairstyle when you’re in a rush?
XOXO, Hailey & Team

