
Okay, let’s be real. You’re thinking about a major hair change. You love the drama of a hime cut or the softness of a color melt, but the idea of a harsh grow-out line? No thank you. I get it. That’s exactly why we’re talking about the Hime Cut Color Melt today.
This is your secret weapon for a stunning, low-maintenance look. It blends that iconic, face-framing Japanese cut with a seamless, lived-in color technique. The goal? A style that grows out gracefully, feeling both editorial and utterly wearable.
Whether you’re drawn to 2026 hairstyles with a romantic edge or just want a fresh take on old money hair, this fusion is it. It’s practical magic. Let’s break down exactly how to ask for it, style it, and love it as your natural roots become part of the look.
What Is a Hime Cut, Really?
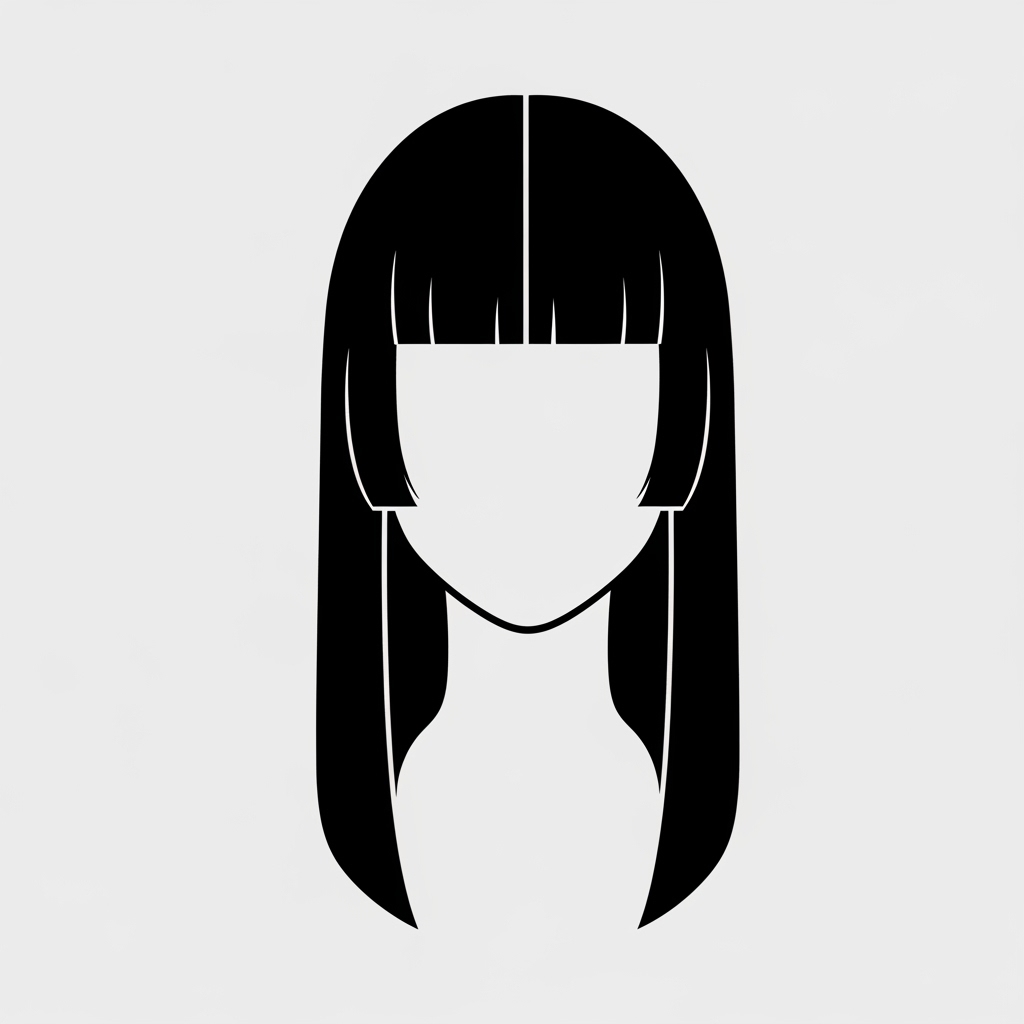
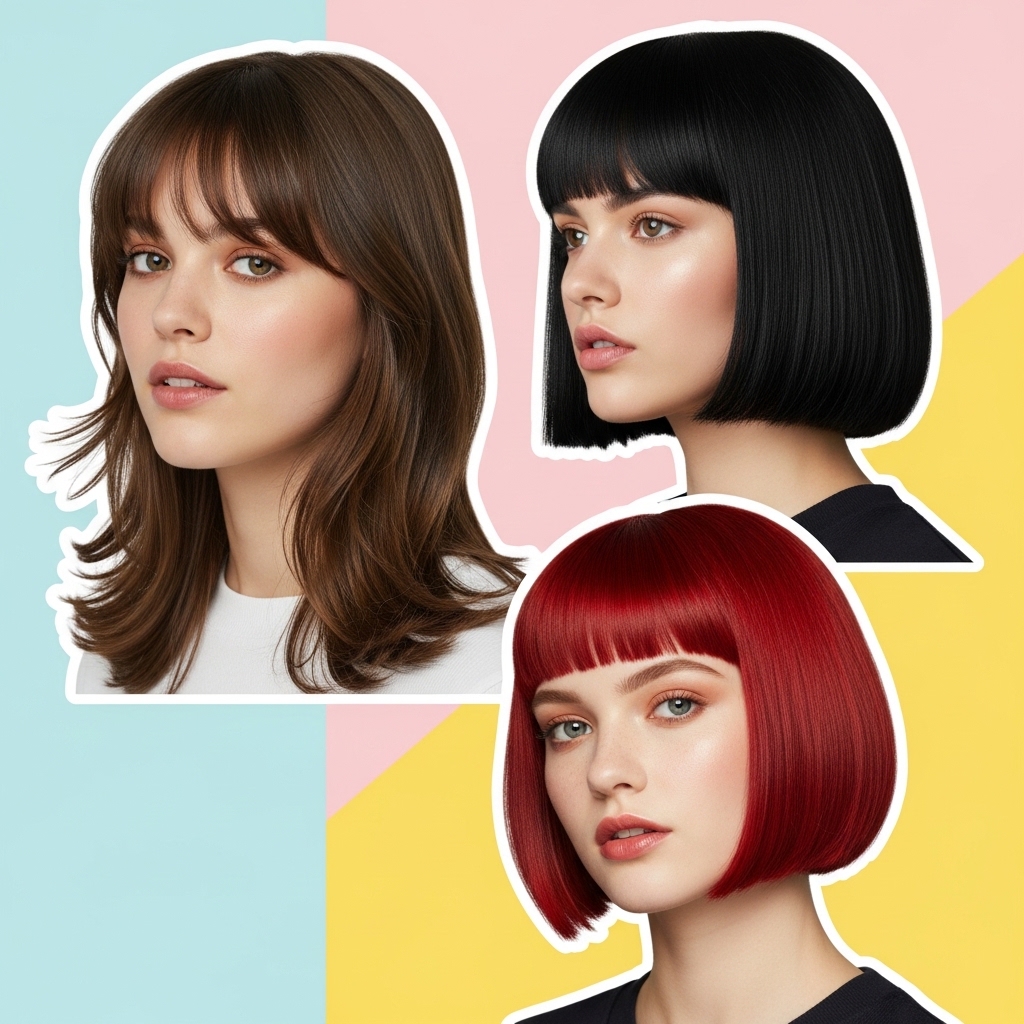
The hime cut is a historic Japanese style that’s having a massive moment. It’s defined by straight, cheekbone or chin-length front strands (the “hime”) paired with longer hair in the back. It’s a powerful, structured look that instantly frames your face.
Think of it as a built-in filter. It’s not just a haircut; it’s a statement. While it’s a star in romantic goth hairstyles and vampire haircut aesthetics, its clean lines also translate beautifully into a more subtle, quiet luxury bob vibe. It’s all about how you wear it.
And What’s a “Color Melt”?
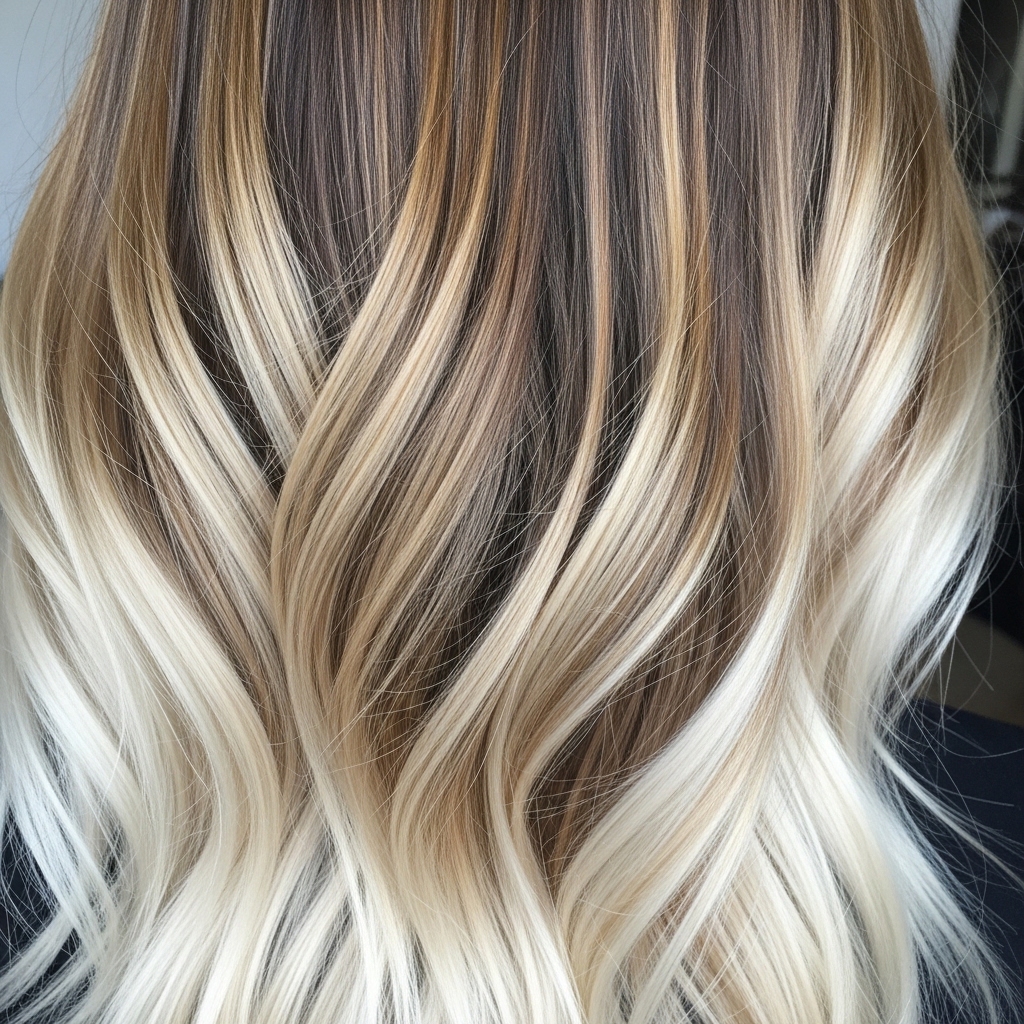
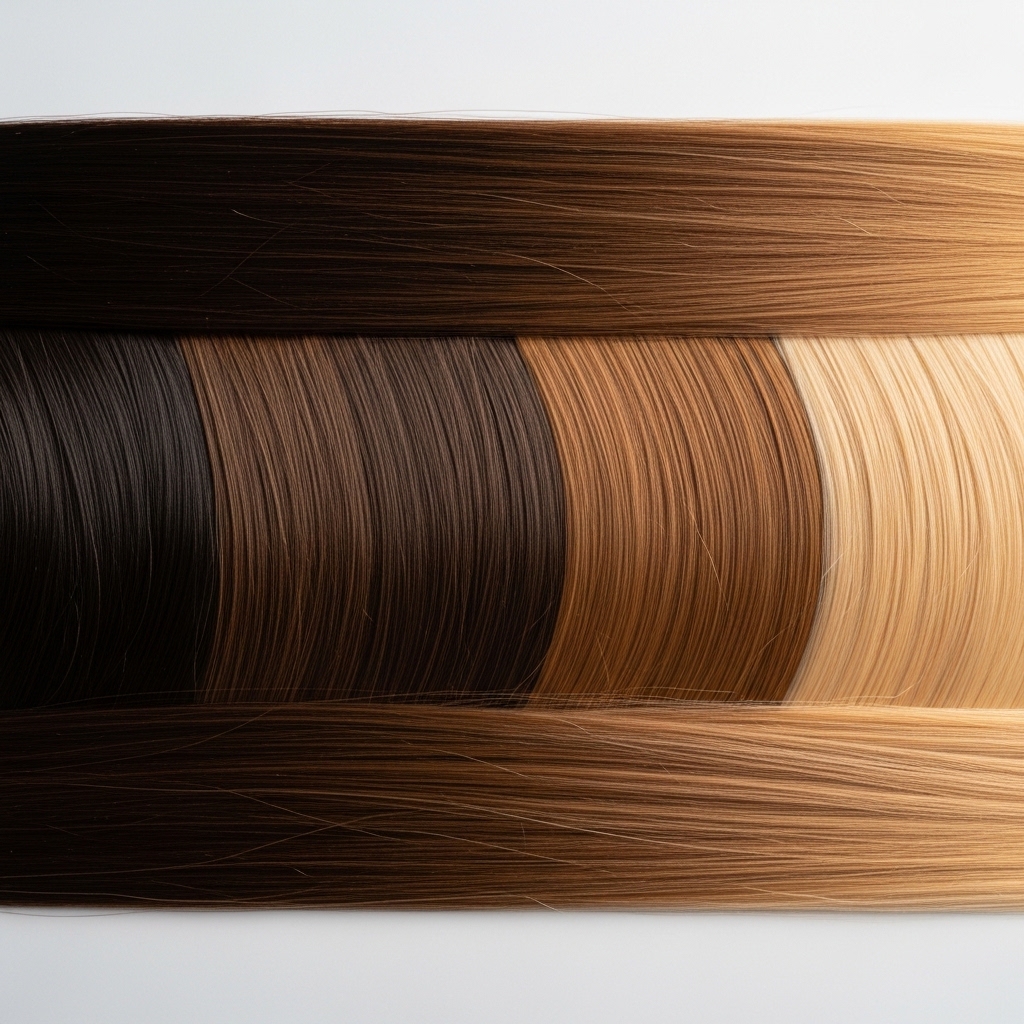
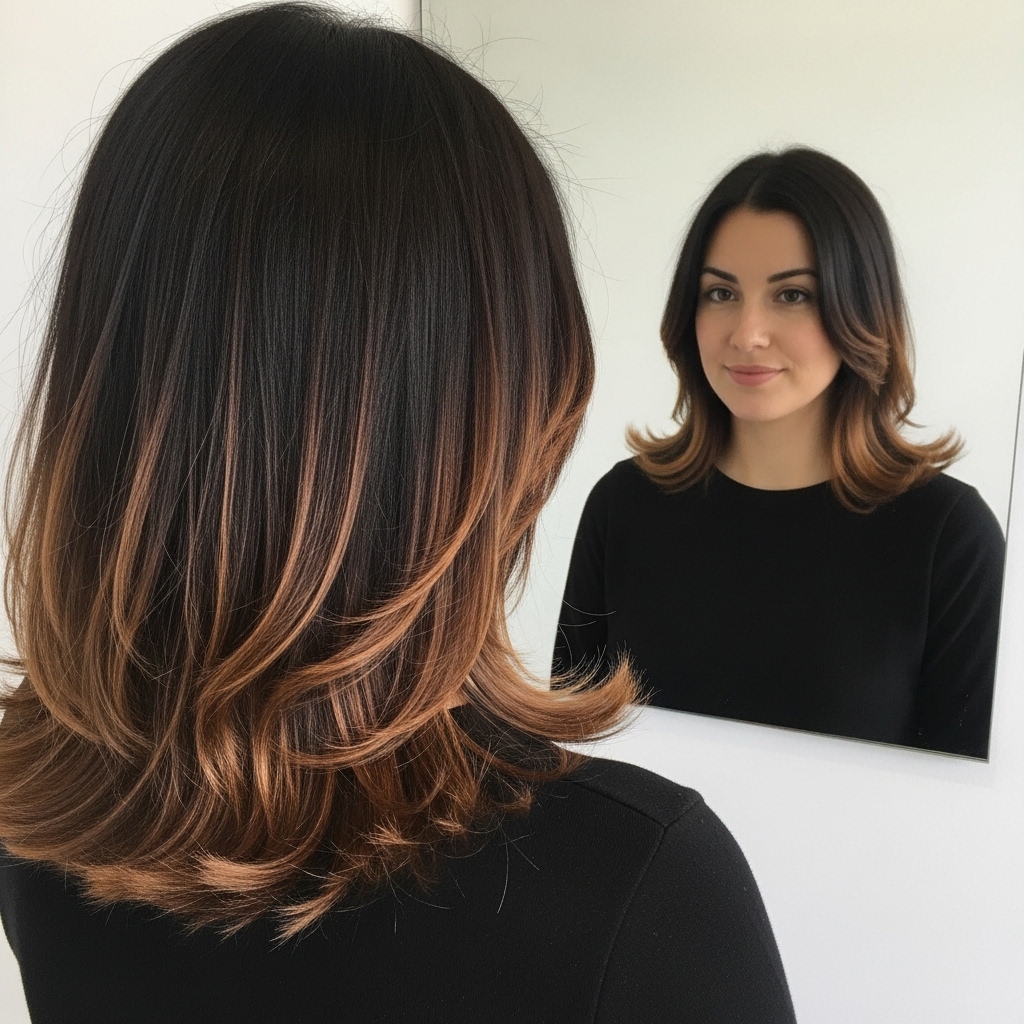
Forget harsh lines. A color melt is a blending technique where your colorist seamlessly transitions from one shade to another. It often involves melting a darker color at your roots into a lighter shade toward the ends, or blending multiple tonal shades together.
The result is soft, diffused, and incredibly natural-looking. It’s the opposite of a stark root touch-up. This is the key to making any bold cut, like a hime, feel wearable and grow out beautifully without that awkward band of demarcation. It’s the ultimate low-commitment high-style move.
Why Combine Them for a Natural Transition?
This combo is a game-changer for anyone who wants impact without constant upkeep. The structured hime cut gives you immediate shape and drama. The color melt ensures that as your hair grows, the new growth blends right in.
You won’t have a harsh line cutting across your dramatic front pieces. Instead, you get a lived-in, expensive look from day one that only gets better with time. It’s the smart way to embrace a trending cut without the salon chair every few weeks.
Finding Your Perfect Hime Cut Length
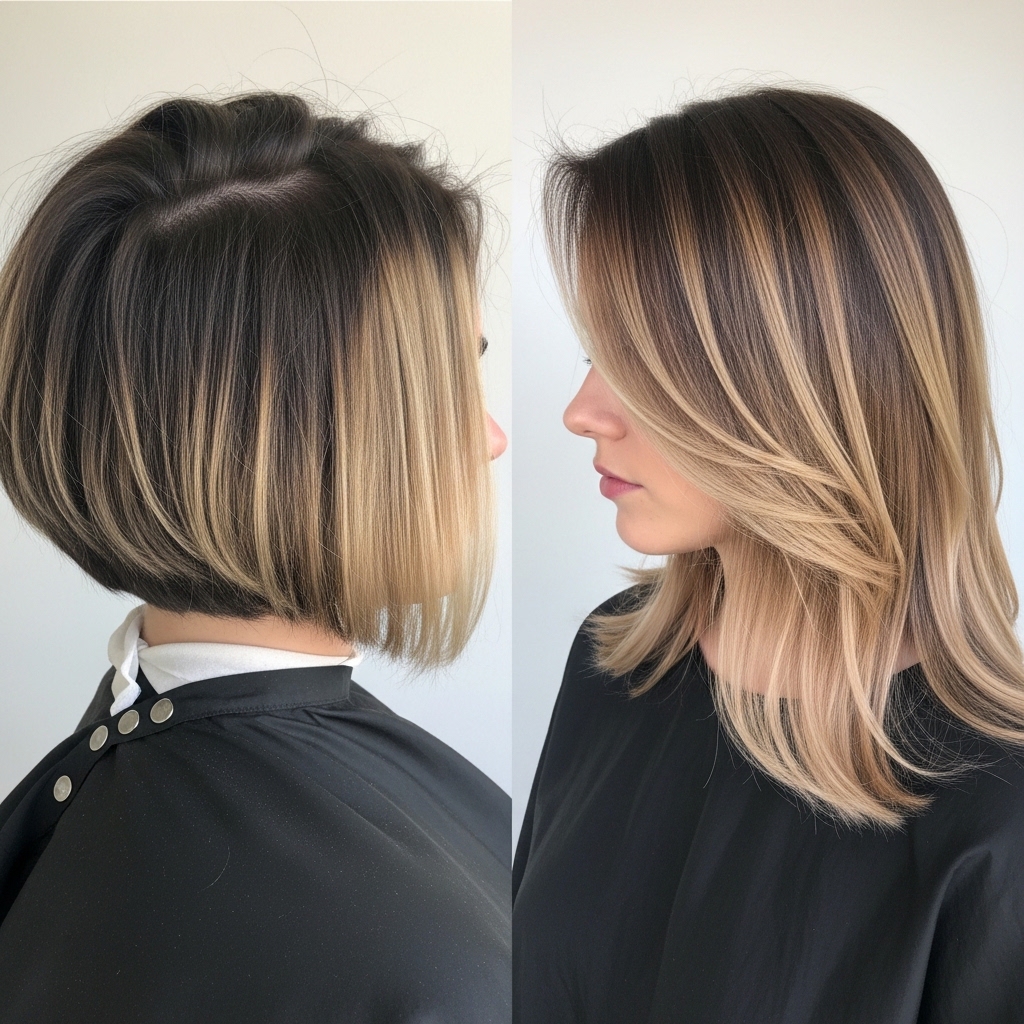
The beauty of the hime is its customization. The length of your front “princess” pieces is everything. Do you want them at your cheekbones for a soft, wide-eyed effect? Or down to your chin for a stronger, more modern asymmetrical lob feel?
Consider your face shape and daily style. Shorter pieces are bolder and more editorial. Longer pieces are versatile and can be tucked away. Your stylist can help you decide, but come in with a few inspiration photos to guide the conversation.
Choosing Your Color Melt Palette
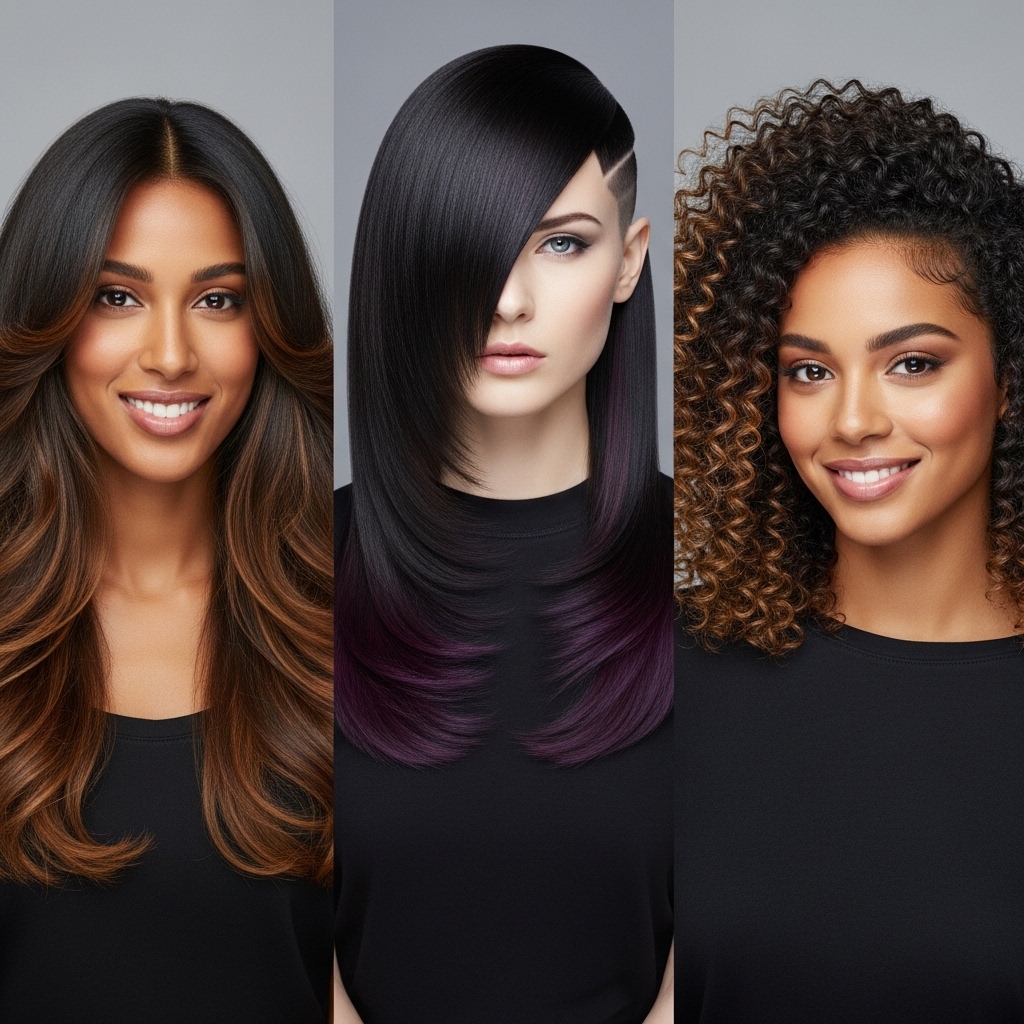
This is where the fun begins. Your color melt can be subtle or striking. For an old money hair feel, think within two shades of your natural color—a rich brunette melted into a caramel, for example. For more glitchy glam hair energy, try melting a deep plum into a vibrant magenta.
The most natural transition, of course, uses your root color as the starting point. You can go warmer, cooler, or just add dimensional highlights that melt downward. The key is creating a gradient, not a block of color.
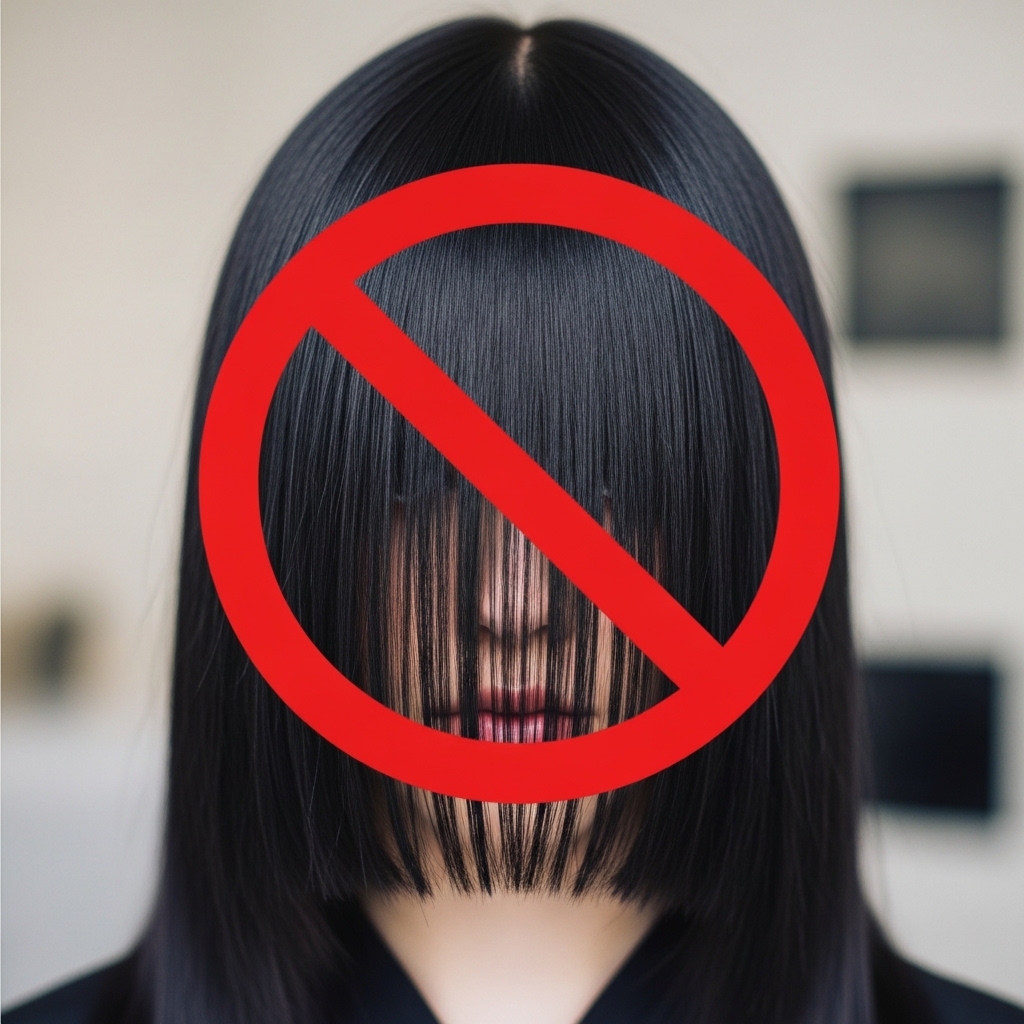
Bringing Inspiration Photos to Your Stylist
Don’t just say “hime cut color melt.” Show them! I always create a small digital mood board. Include separate photos for the cut structure and the color technique. This gives your colorist a crystal-clear vision.
- One photo showing the hime cut length you love.
- One photo showing the color melt gradient you want.
- One photo of what you DON’T want (harsh lines, etc.).
This simple step prevents miscommunication and ensures you’re both dreaming up the same gorgeous look.

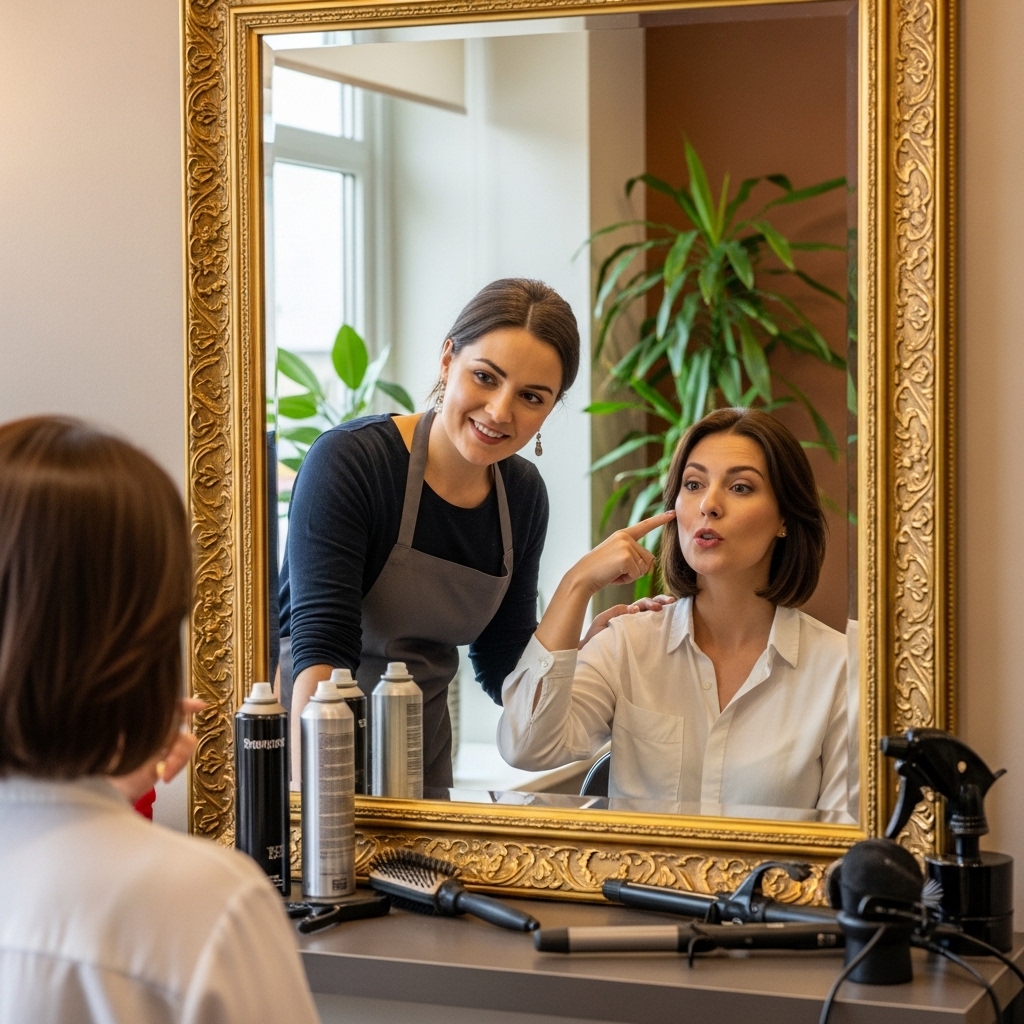
The Consultation: What to Ask For
Walk into that consultation with confidence. Use the right language. Say: “I’d like a hime cut with face-framing pieces here [point to your desired length]. For color, I want a seamless melt starting at my natural root, blending into [your desired shade].”
Be sure to discuss maintenance. Ask: “How can we do this so it grows out beautifully?” A great stylist will tailor the melt and the cut layering to your hair’s texture and growth patterns. This is your look, so be your own advocate.
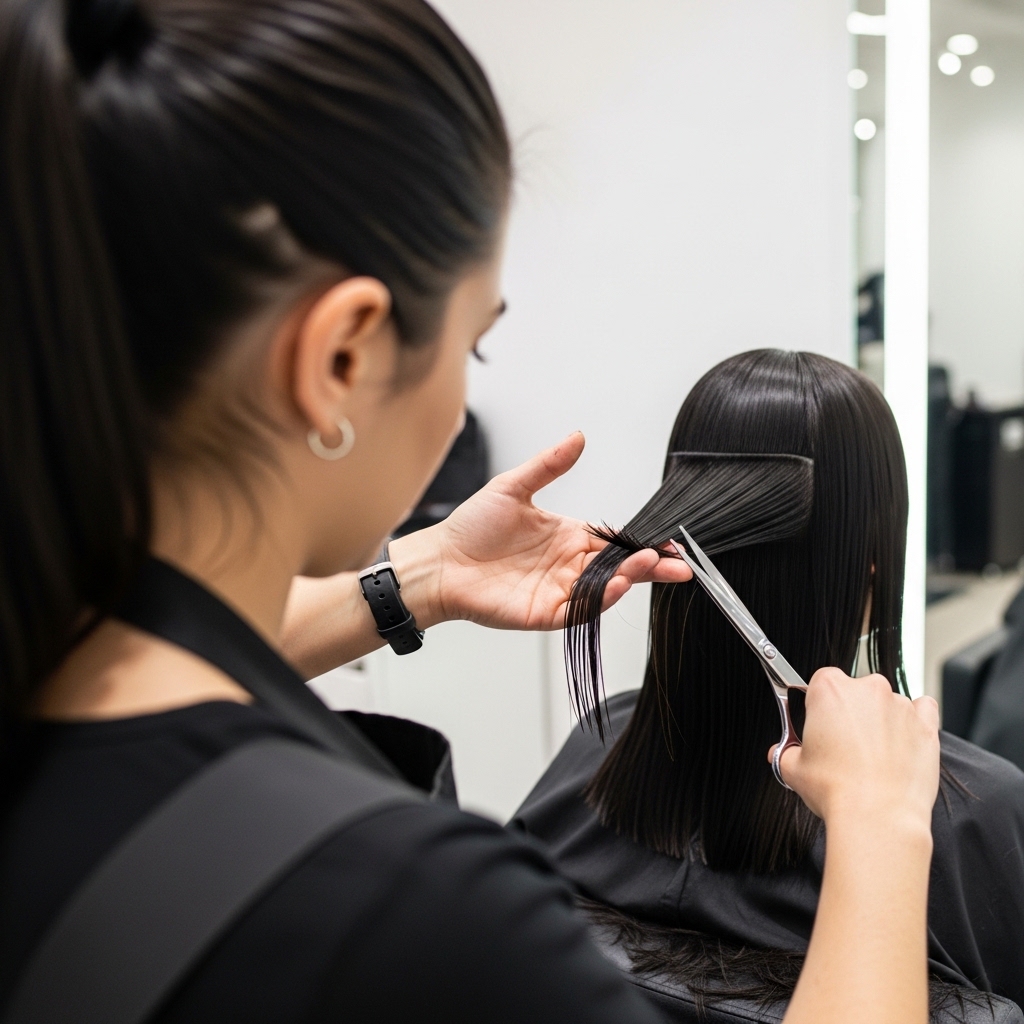
The Cutting Process: What to Expect
Typically, the cut happens before the color. Your stylist will section out the iconic front panels first. They’ll cut these precisely, often while dry, to see the exact fall and shape. Then, they’ll shape the longer back section.
Don’t be nervous when you see those first pieces come off! It’s a dramatic change, but trust the process. The precision of this cut is what makes it so chic and different from a standard layered haircut.
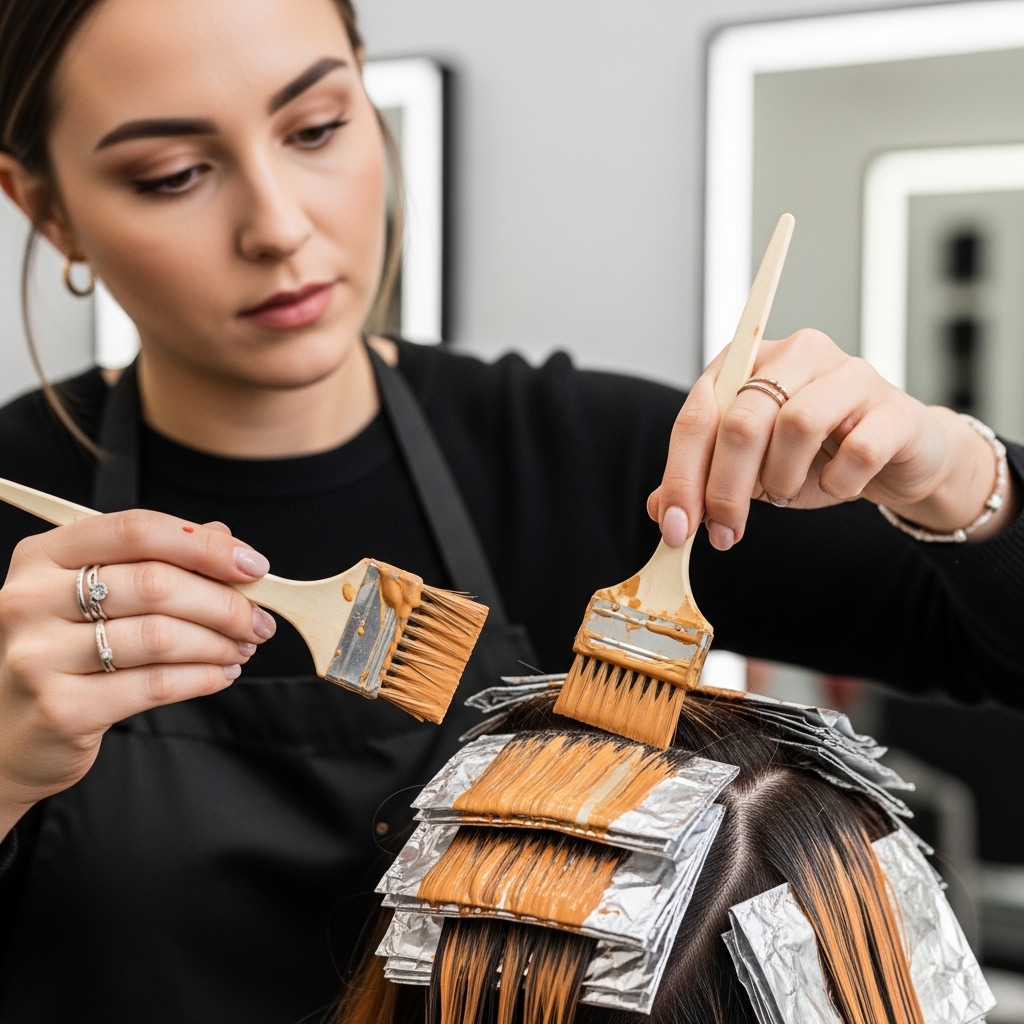
The Coloring Process: How the Melt Happens
This is the art part. Your colorist will apply color in a way that creates a soft transition. They might use balayage techniques to hand-paint the mid-lengths and ends, or use foils placed strategically to blur the line between your root color and your lighter ends.
It often requires multiple color formulas applied in sections. It takes skill and time, so be patient. You’re not getting a single color all over; you’re getting a custom, painted masterpiece.
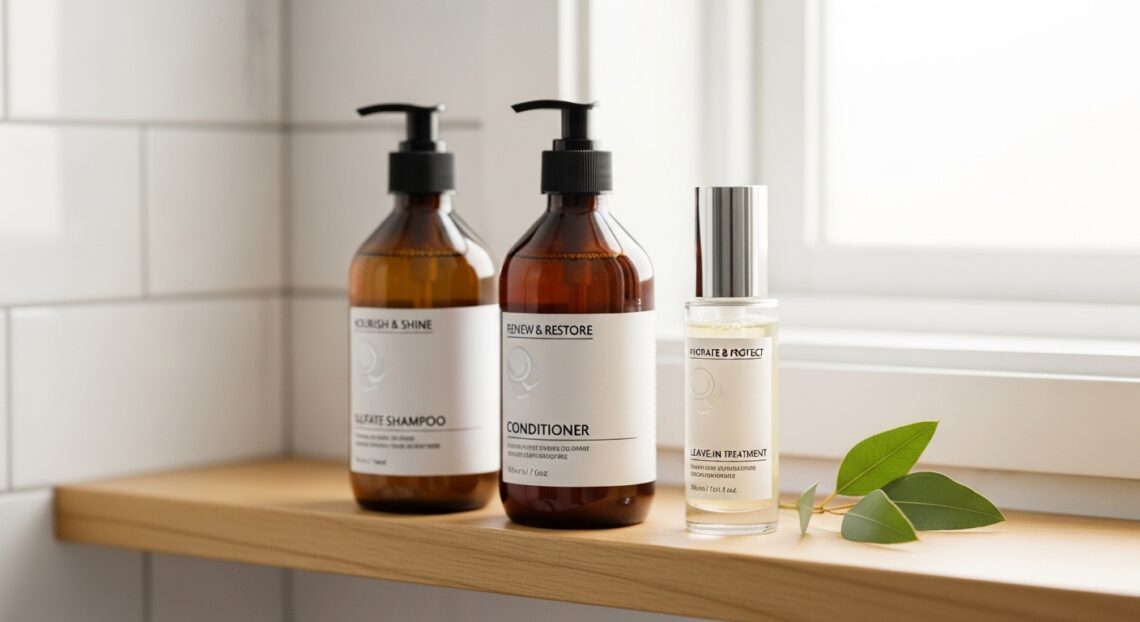
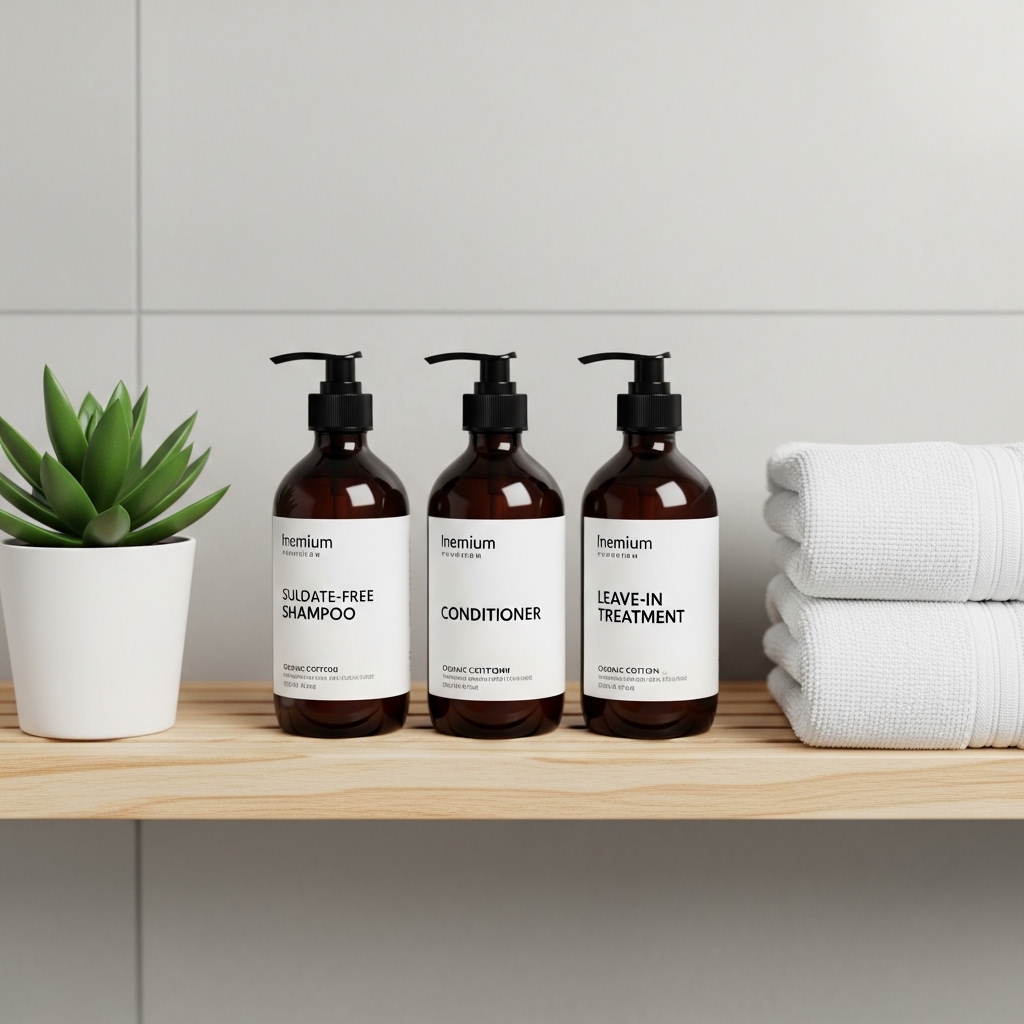
Immediate Aftercare: The First 48 Hours
To lock in your color, wait at least 48 hours before washing your hair. Use sulfate-free, color-safe shampoo and conditioner from your very first wash. I recommend a cool water rinse to help seal the hair cuticle and boost shine.
A good leave-in conditioner or hair oil is your new best friend. It will keep the ends of your melt looking sleek and healthy, especially on those shorter front pieces which can sometimes feel dry after coloring.
Daily Styling for That “Effortless” Look
The hime cut is surprisingly low-fuss. A quick blow-dry with a round brush to add a slight inward curve to your front pieces is all you need. For the back, you can let it air-dry for a natural wave or smooth it with a flat iron for a sharper contrast.
The goal is to keep the lines clean. A little texture spray on the longer lengths can add separation, but avoid heavy products on your hime pieces to keep them looking sharp and not greasy.

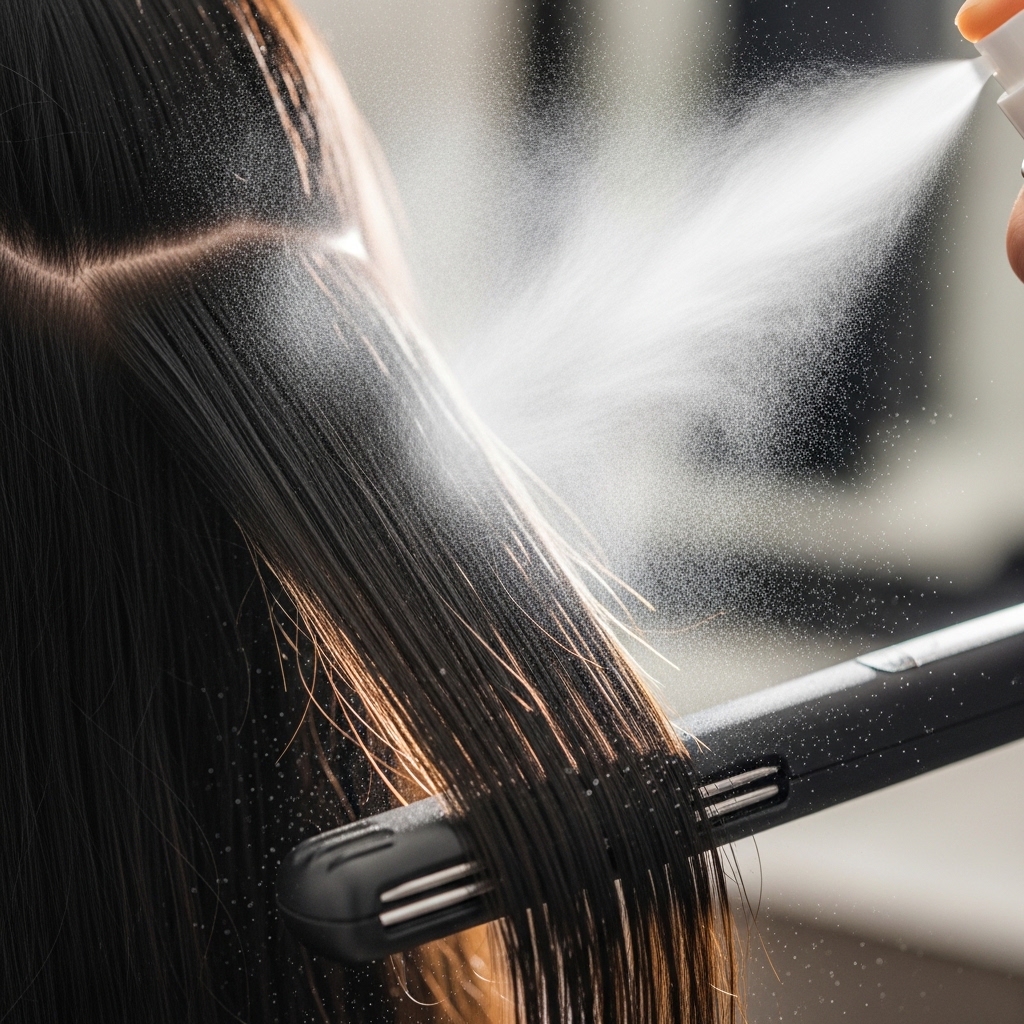
Heat Styling Tips to Protect Your Melt
Always use a heat protectant spray! This is non-negotiable for preserving your color melt and preventing brassiness. When using hot tools, keep the temperature moderate (below 380°F).
For a sleek look, use a flat iron on small sections of your hime pieces. For a softer, romantic goth hairstyles wave, wrap the longer back sections around a curling wand. The contrast in texture can be stunning.
Embracing Your Natural Texture
Got waves or curls? This cut and color combo still works! Your stylist will cut your hime pieces according to how your hair curls or dries. The color melt will follow your curl pattern, creating amazing dimension.
Style by diffusing your curls or letting them air-dry. Use a curl cream to define them. The mix of short, framed curls in front with longer curls in the back is absolutely breathtaking and full of movement.

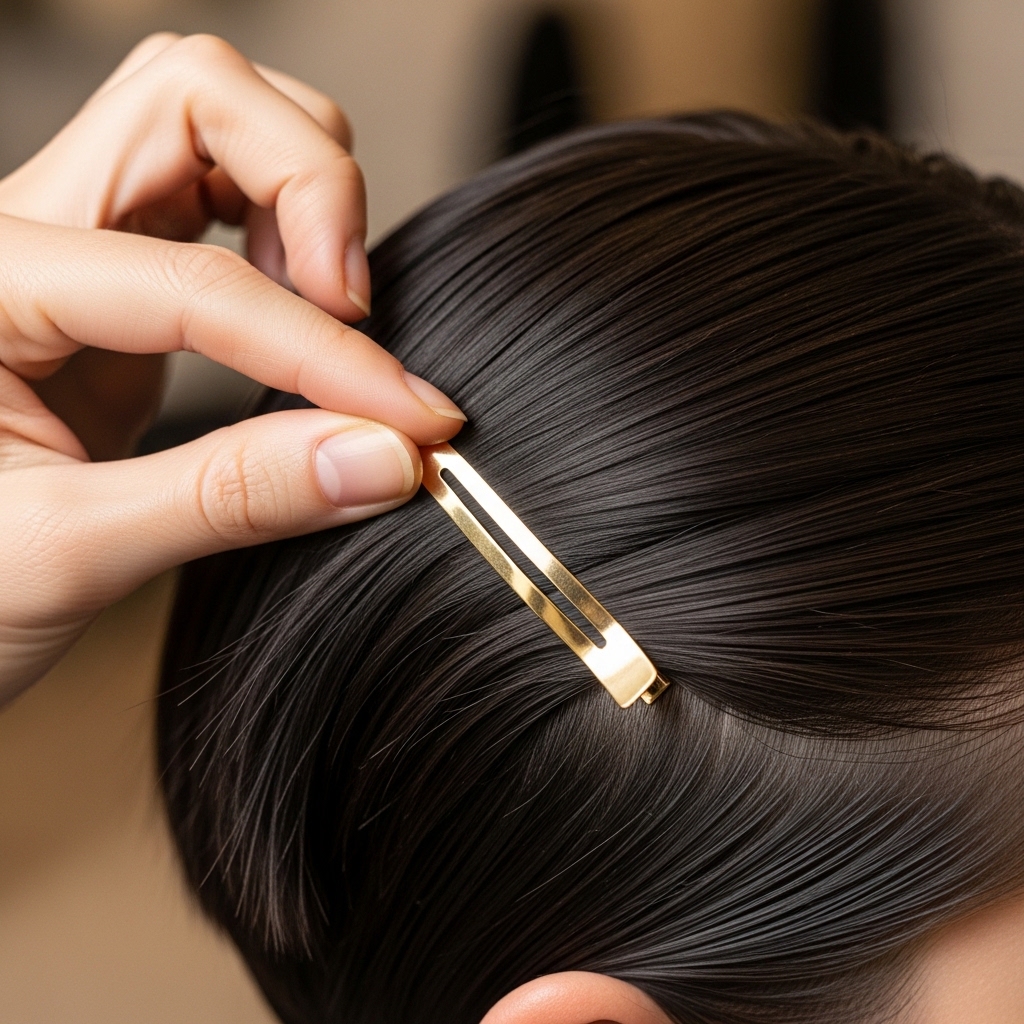
Accessorizing Your Hime Cut
Accessories can change the whole vibe. A simple barrette pinning back one side screams quiet luxury bob. Small, delicate clips add a feminine touch. For a vampire haircut edge, try a dark, ornate headband.
Play around! The stark lines of the cut make it the perfect canvas for jewelry. Even just tucking one side behind your ear highlights the beautiful asymmetry of the style.
How It Grows Out: The 2-Month Mark
This is the best part. At two months, your roots will have grown, but thanks to the melt, they’ll blend in. Your hime pieces will be a bit longer, softening the look. You might start to see a more blended, asymmetrical lob shape emerging.
This is a great time to use texturizing products to add piece-y-ness. The grow-out phase of this style is intentional and chic, not messy. You can easily go 3-4 months between salon visits.
Refreshing the Color: Do You Need a Touch-Up?
With a proper melt, you won’t need a root touch-up in the traditional sense. When you’re ready to refresh, you’ll likely just get a “glaze” or toner all over to revive the shine and tone, and perhaps a few more melted highlights around the face.
This is a much easier, less expensive, and less damaging process than constant all-over color. It keeps the look fresh without starting over. Talk to your stylist about a refresh schedule that works for you.

Trimming Schedule for Maintenance
To keep the shape sharp, you’ll want to trim your hime pieces more often than the back—maybe every 6-8 weeks. The back length can go much longer between trims, just to clean up split ends.
This staggered schedule is cost-effective. You can often just pop in for a quick 5-minute fringe trim to keep the front perfect, while letting the back grow long and healthy.

Common Mistakes to Avoid
- Cutting the pieces too thick: They should be a panel, not half your hair.
- Asking for a blunt block color: Insist on the “melt” or “blurred” effect.
- Using clarifying shampoo too often: It will strip your beautiful color.
- Over-styling with heavy waxes: It can make the front pieces look clumpy.
Stick with lightweight products and trust the soft grow-out. That’s the whole point!
Who This Look Works Best For
This look is for the person who wants a signature style. It works on straight, wavy, and curly hair. It suits those who love structure but also crave softness. It’s perfect for the busy person who can’t commit to monthly touch-ups.
If you love the idea of 2026 hairstyles that are both nostalgic and forward-thinking, this is for you. It’s for the romantic, the minimalist, and the edge-seeker all at once. It’s incredibly adaptable.
Adapting the Trend for Work & Formal Events
For the office, keep styling sleek and polished. A low bun or chignon that allows your hime pieces to frame your face is pure old money hair elegance. For a formal event, add soft waves or a deep side part.
The style is naturally dramatic, so you don’t need much else. A statement earring pairs perfectly with the exposed neck and framed face. It’s effortlessly red-carpet ready.

My Final Thoughts on This Trend
I truly think the Hime Cut Color Melt is one of the smartest requests you can make at the salon right now. It gives you the instant “wow” factor of a dramatic cut with the long-term wearability of a blended color. It’s the definition of high-impact, low-maintenance.
It feels fresh and fashion-forward, tapping into that glitchy glam hair vibe where precision meets softness. But it also feels timeless. It’s a look that you can truly make your own and wear for seasons to come.
So, there you have it—your complete guide to getting and rocking the Hime Cut Color Melt. It’s more than just a haircut and color; it’s a strategy for beautiful hair that works with your life, not against it. The grow-out is part of the plan, and every stage has its own charm.
I hope this gives you the confidence to book that appointment or simply to understand the magic behind this gorgeous trend. Remember, the best hairstyle is the one that makes you feel like the most powerful version of yourself.
Save this post to Pinterest to keep this guide handy for your next salon visit! And I’d love to know—are you thinking of taking the plunge? Or do you have a different cut on your mood board right now? Let me know in the comments below!

