
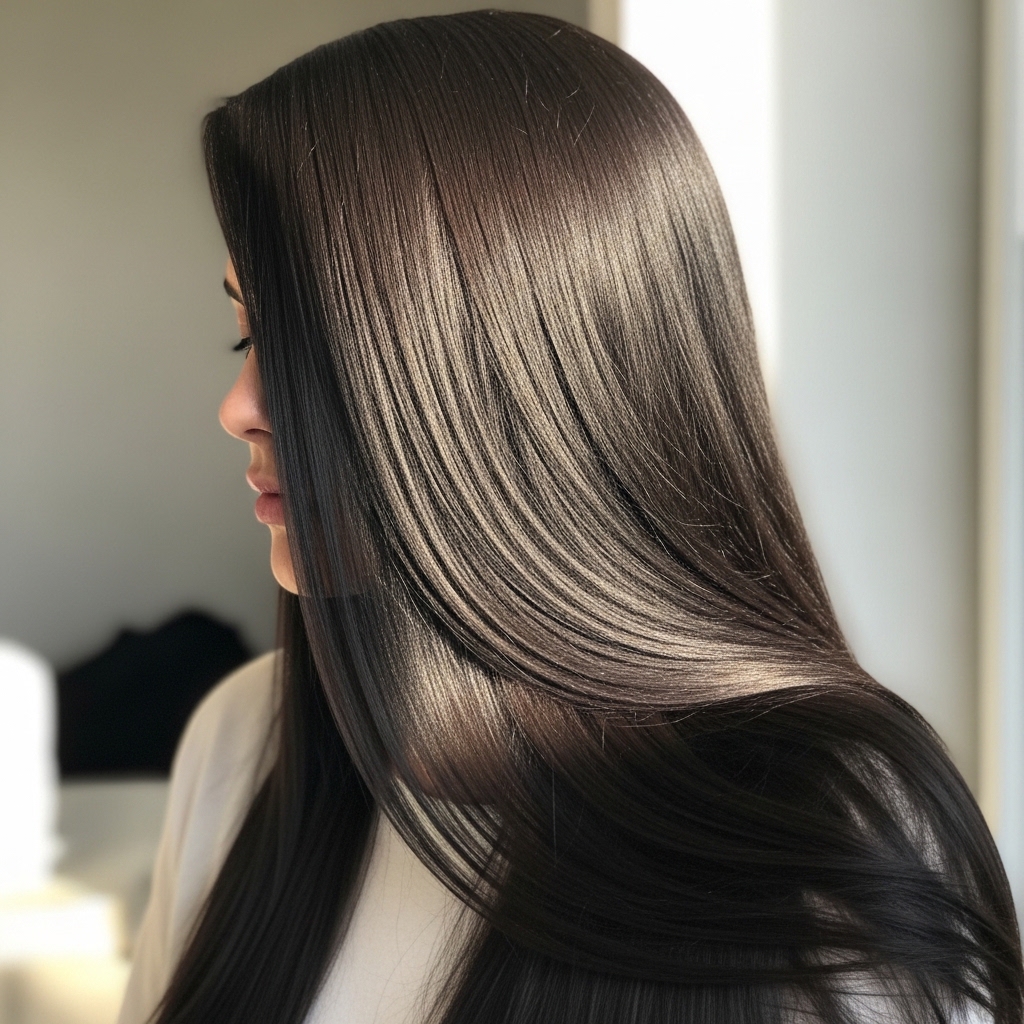
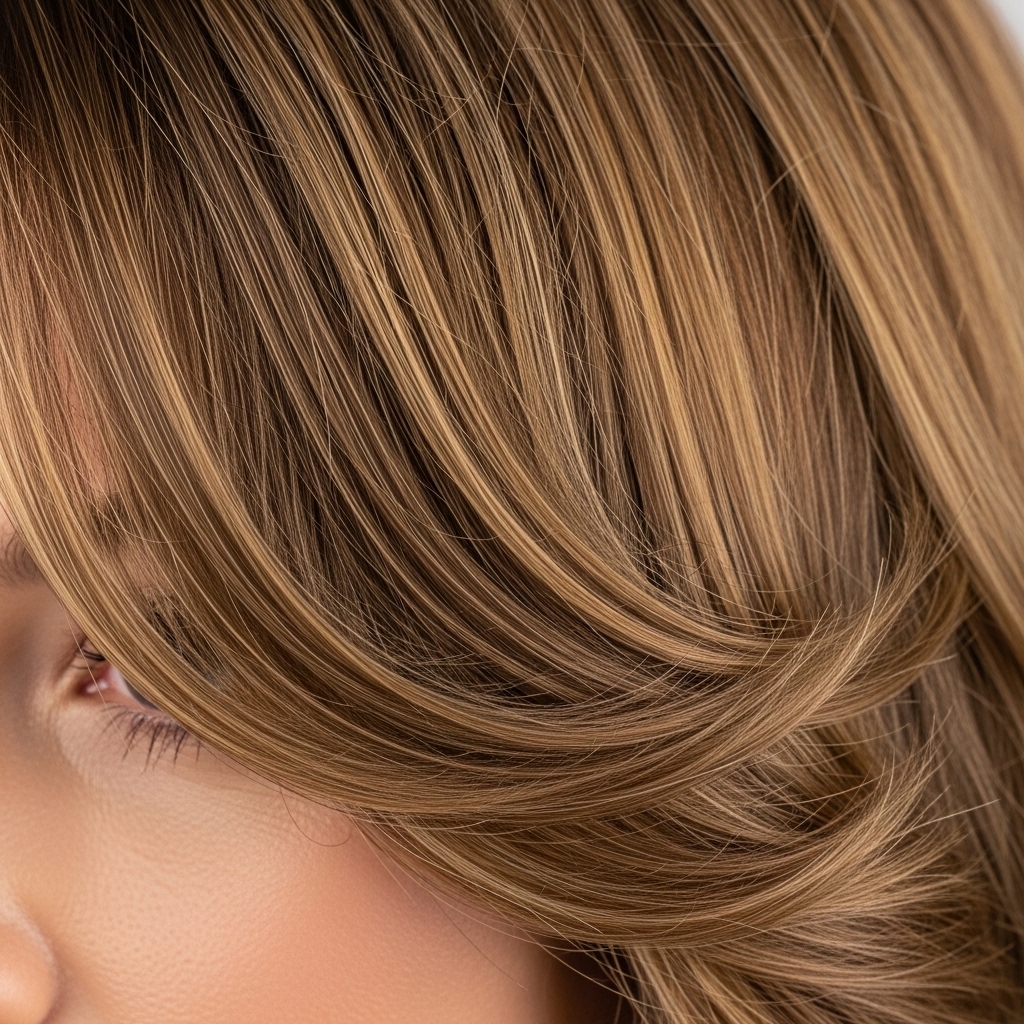
Okay, let’s talk about that hair you keep seeing everywhere. You know the one. It’s on every “it” girl from the Upper East Side to your favorite low-key celebrity’s Instagram. It’s not loud or trendy; it’s just… perfectly put together. That’s the Old Money hair sleek middle part.
It screams quiet luxury without saying a word. It’s the ultimate clean finish that works for the office, a fancy dinner, or just feeling like you have your life together on a Tuesday.
And the best part? It’s way easier to achieve than it looks. I’m breaking down everything, from the exact products you need to the styling trick that makes all the difference. Let’s get that sleek, expensive-looking hair.
What Is “Old Money” Hair, Really?
It’s more than just a hairstyle. It’s a whole vibe. Think timeless, not trendy. Polished, not perfect. It’s hair that looks naturally healthy, well-cared-for, and elegantly simple.
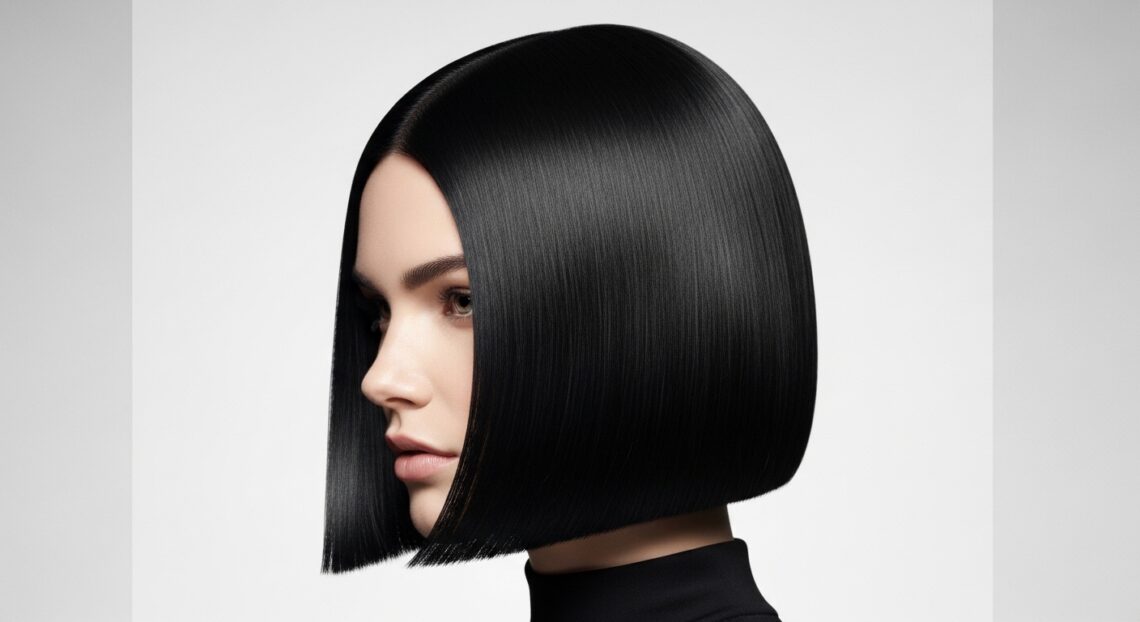
It’s the opposite of the 2026 hairstyles that might be all about glitchy glam hair or bold colors. This is about classic beauty. It pairs perfectly with a quiet luxury bob or a longer, flowing style. The key is in the finish.
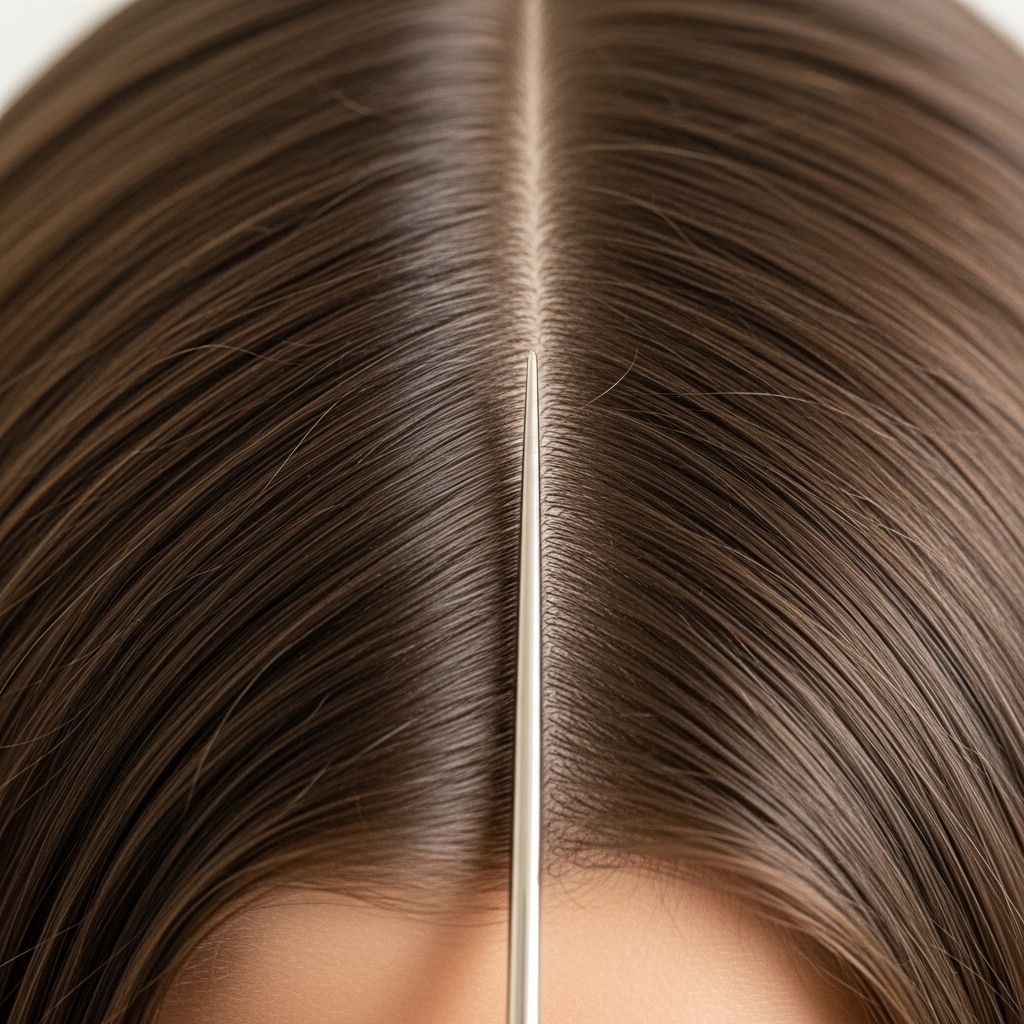
Why The Sleek Middle Part Is a Power Move
The middle part is back and it’s here to stay. It frames your face symmetrically and creates an instant look of sophistication. It’s a clean, intentional choice.
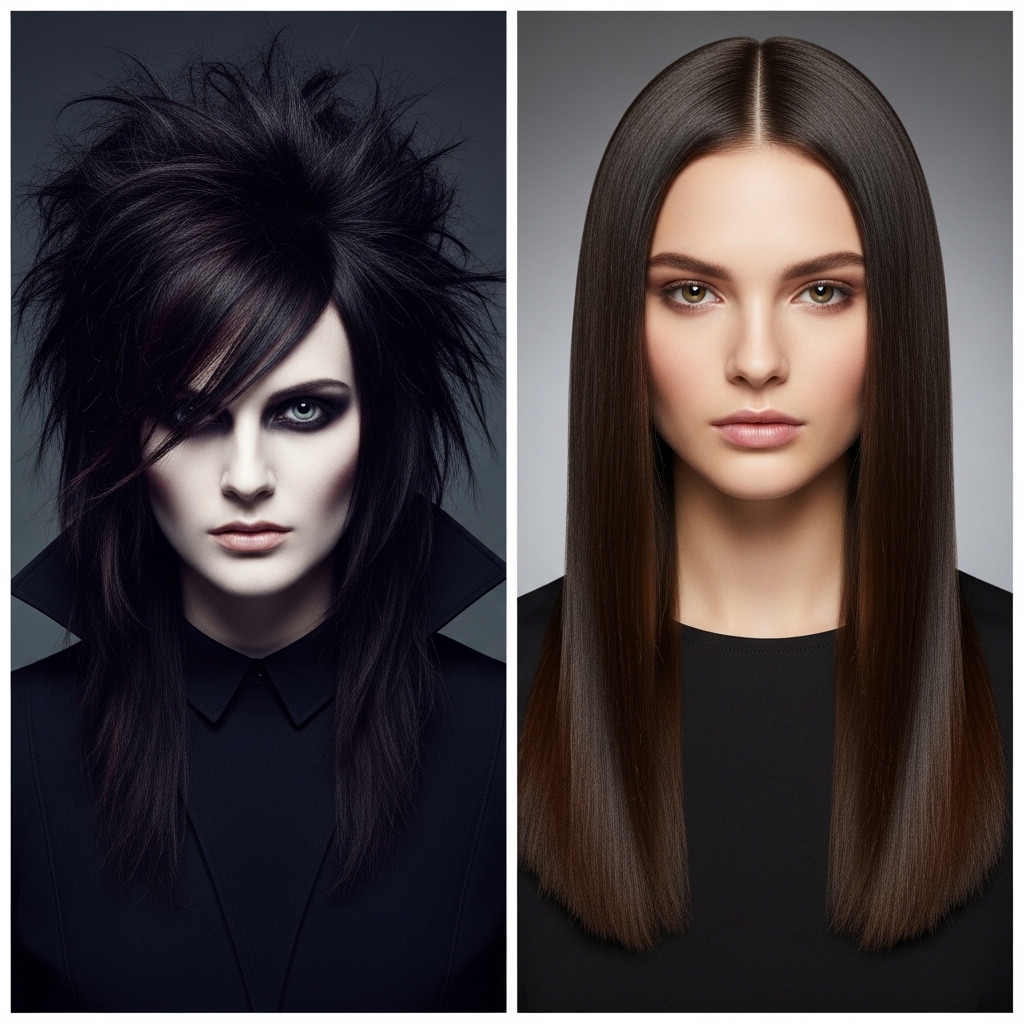
While the asymmetrical lob or vampire haircut has its edgy place, the middle part is your go-to for a pulled-together look. It works with almost every face shape and gives you that clean, graphic line that defines the style.
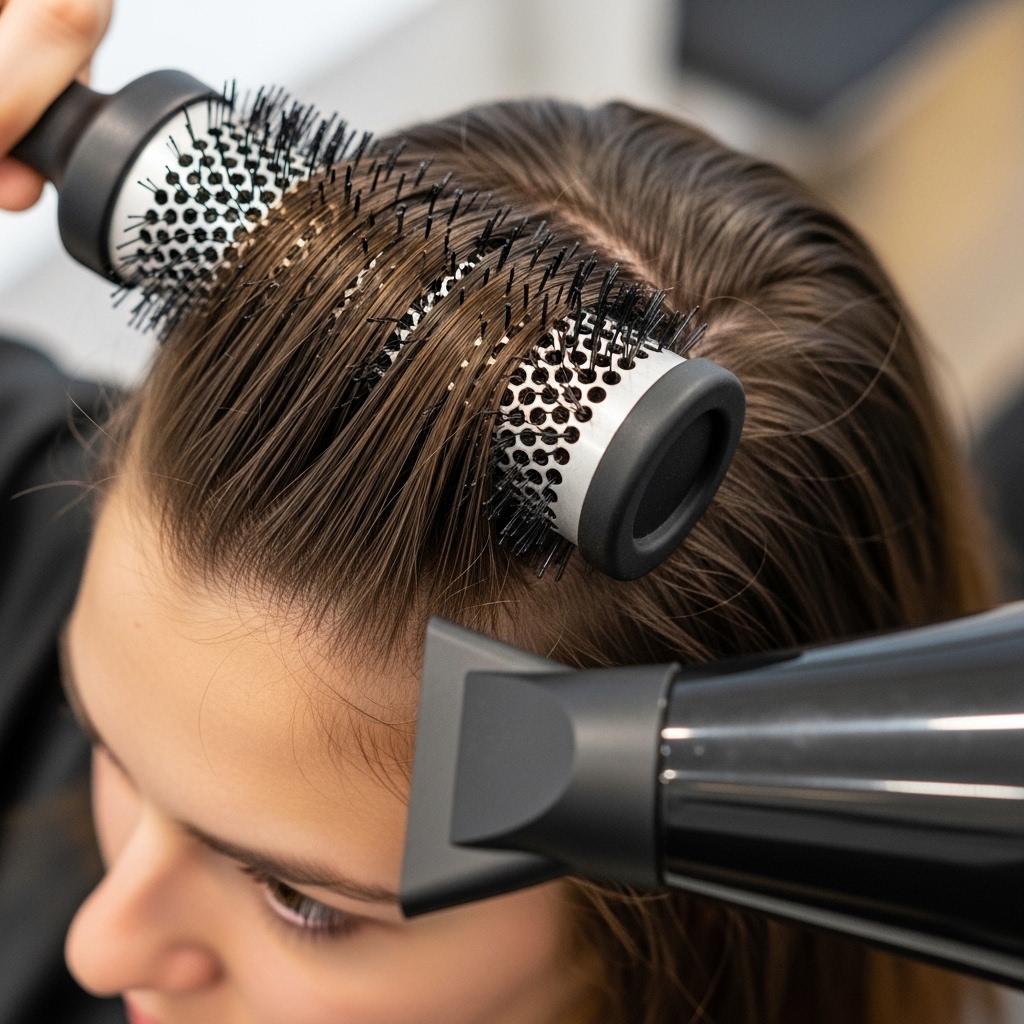
The Non-Negotiable First Step: A Great Blowout
You cannot get this look on day-three hair (trust me, I’ve tried). The foundation is a smooth, frizz-free blowout. Start with a heat protectant and a smoothing cream.
Rough dry your hair until it’s about 80% dry. Then, use a round brush to smooth each section, pulling the hair straight down from the roots. This builds the smooth base you need.
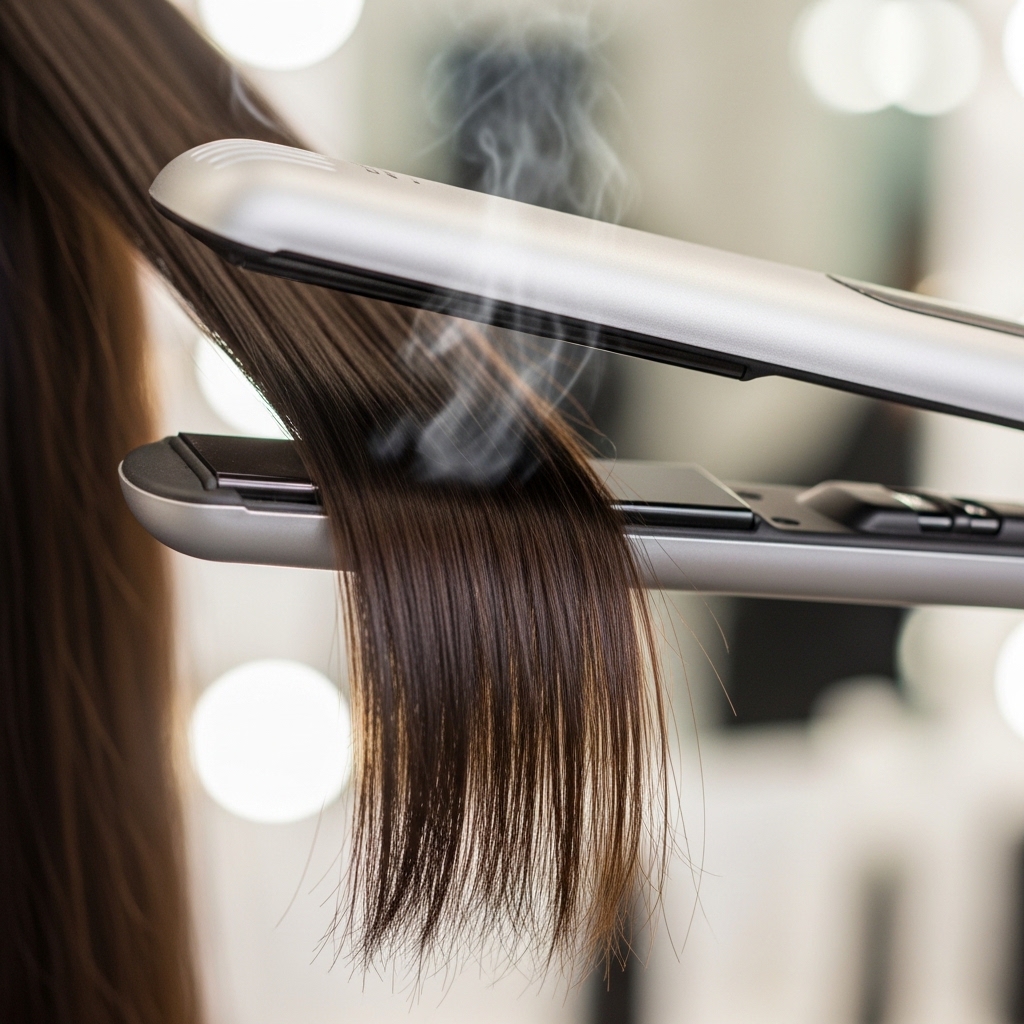
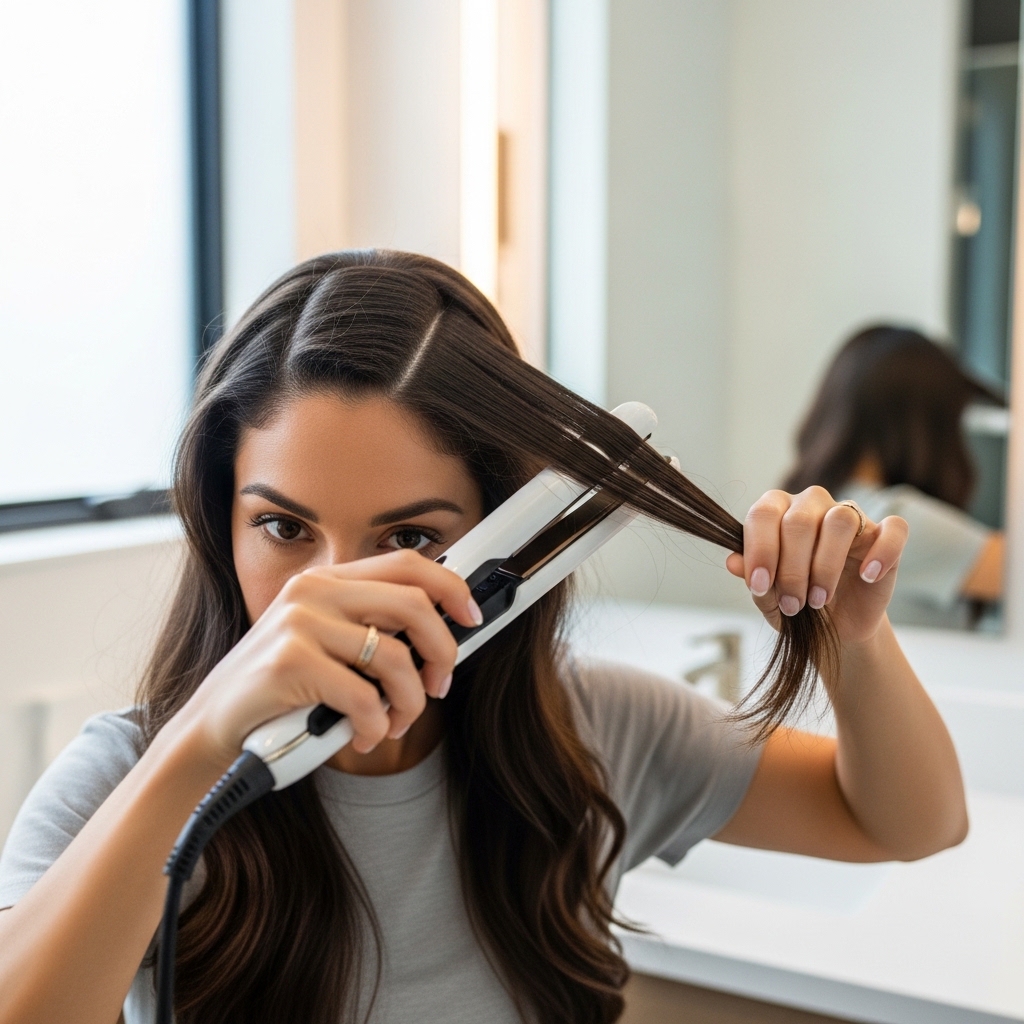
The Must-Have Tool: A Flat Iron That Doesn’t Damage
Don’t skip this! A good ceramic or tourmaline flat iron is your best friend. You don’t need the hottest setting. A medium heat (around 350°F) is safer and often does the job better.
Smaller plates (1 inch) give you more control, especially around the face. The goal is to glide, not clamp and pull. This seals the cuticle for that glass-like shine.
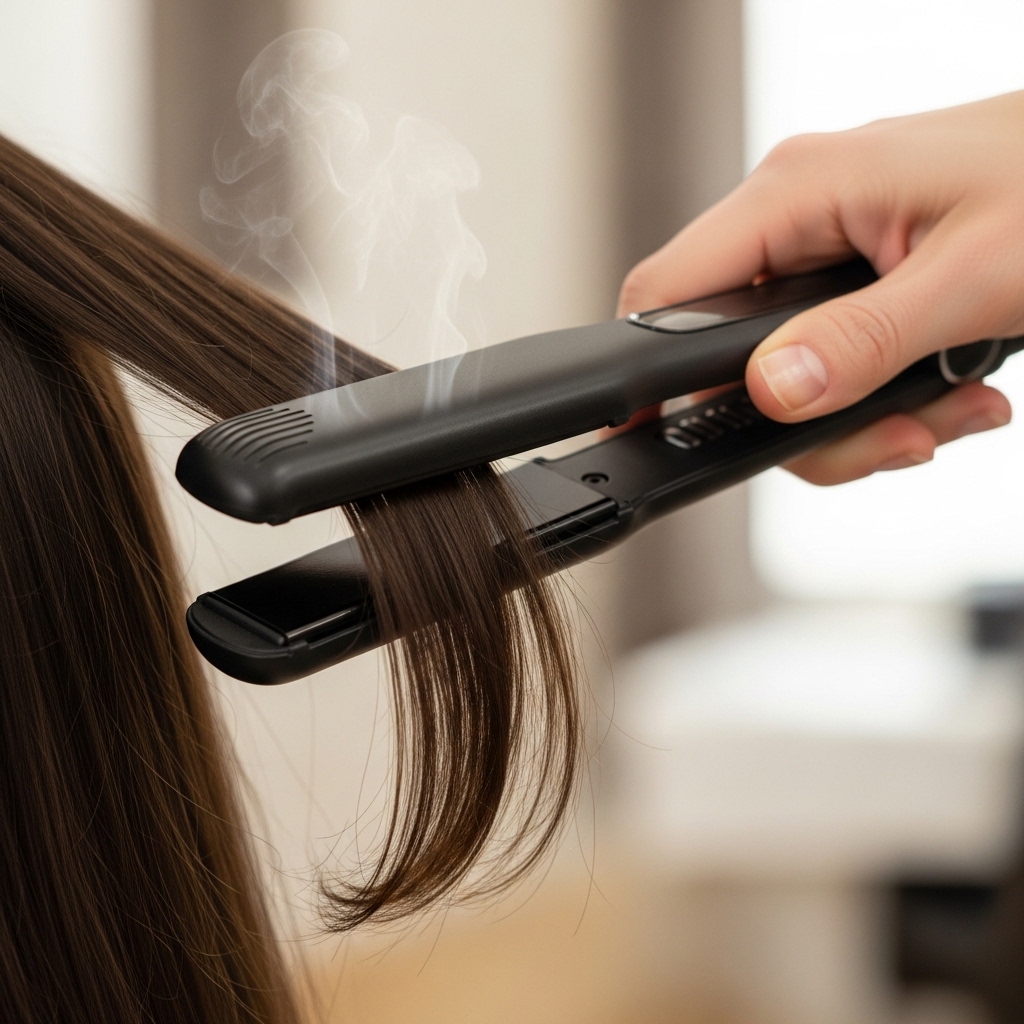
How to Flat Iron for Maximum Sleekness
- Work in very small, manageable sections. Thinner is better.
- Clamp the iron at the root, wait a second, then slowly pull it down in one smooth motion.
- Go over each section only once. Repeated passes cause frizz and damage.
Pay extra attention to the top layers around your part. This is what everyone sees first!
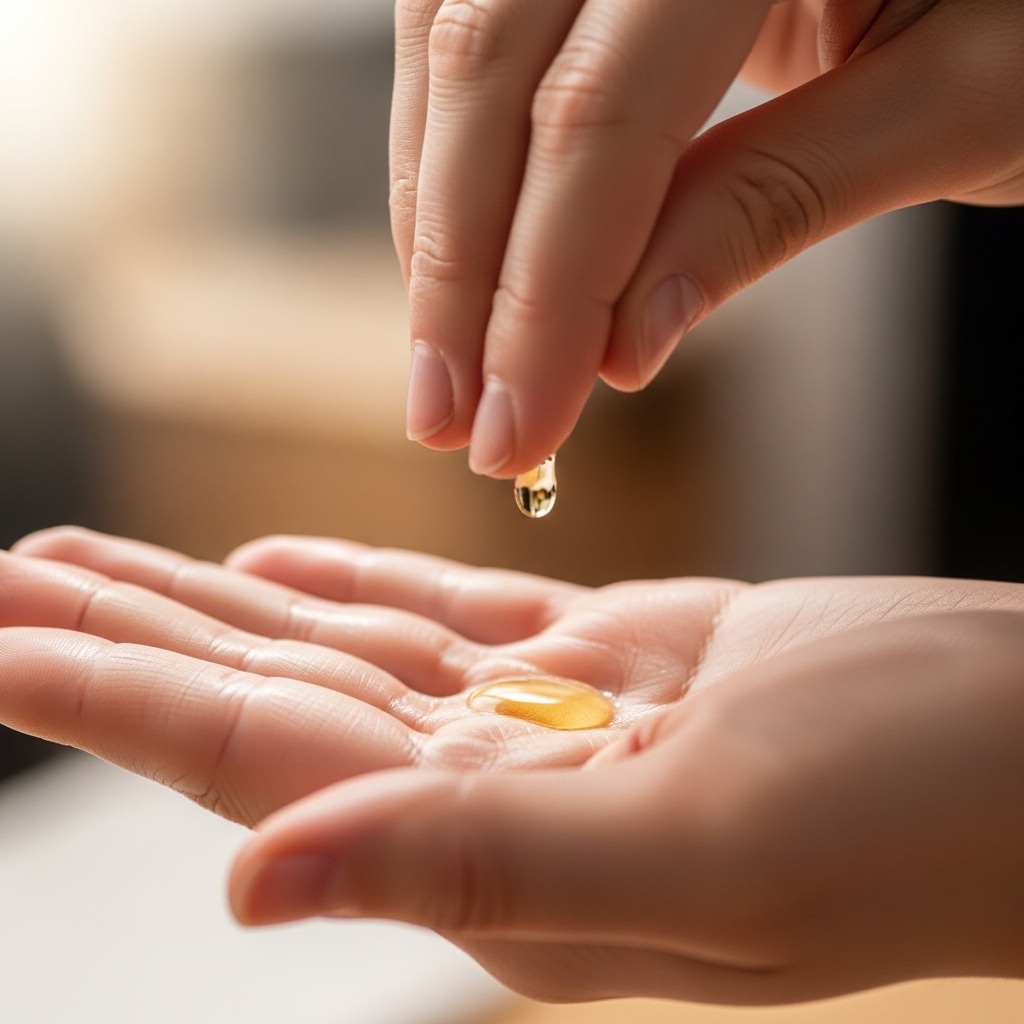
The Game-Changer: A Lightweight Hair Oil
After flat ironing, take one drop of a lightweight hair oil. Rub it between your palms and gently smooth it over the surface of your hair, focusing on the mid-lengths to ends.
This is the secret to the “clean finish” look. It tames any leftover flyaways and adds a luxurious, reflective shine. It makes your hair look and feel expensive.
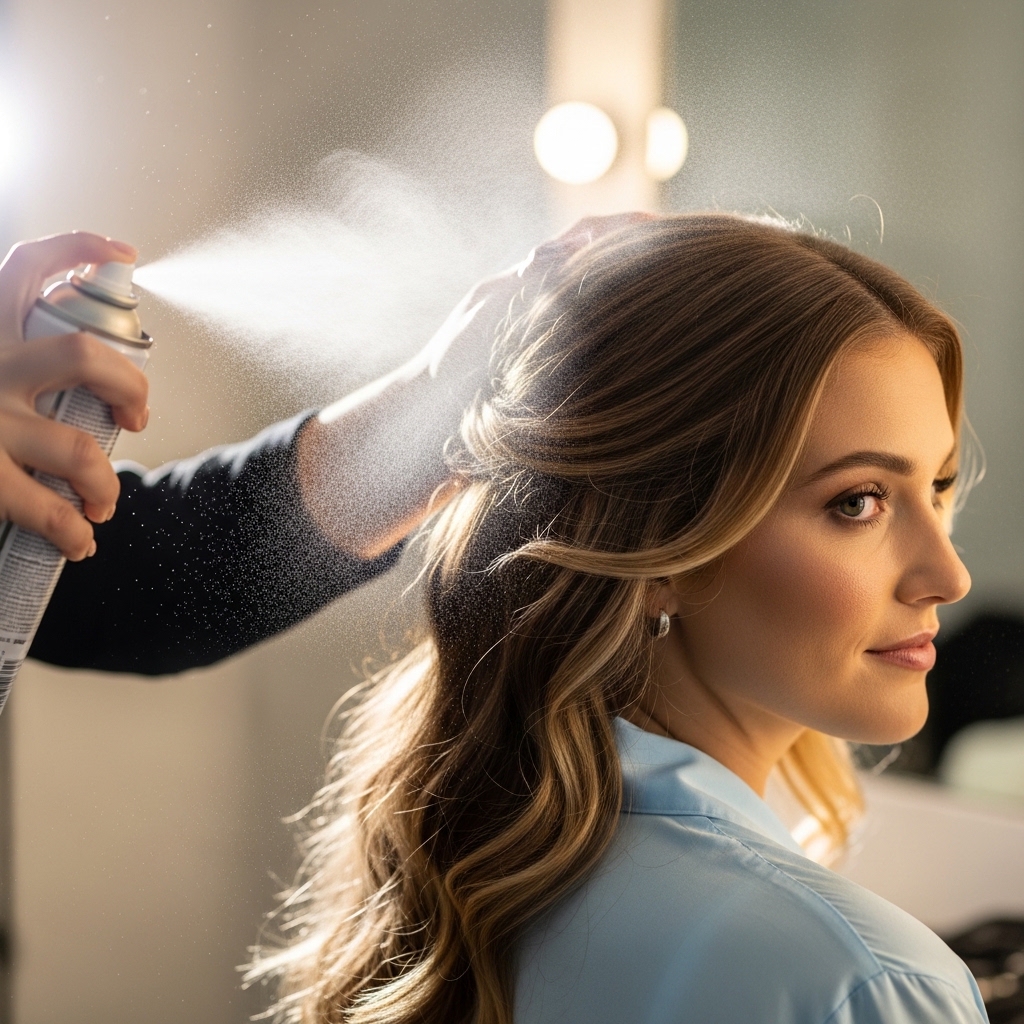
Setting It All With the Right Hairspray
You need a flexible-hold hairspray. Avoid anything that makes hair crunchy or sticky. A light mist from about 10 inches away is perfect.
Spray it on a small brush and lightly smooth over the area around your part to set those baby hairs. This keeps everything in place without ruining the movement.
What to Do With Those Pesky Baby Hairs
Baby hairs can ruin the clean line. The trick is to tame them, not fight them. Use a tiny bit of gel or a clean spoolie brush dipped in hairspray.
Gently brush them into place along your hairline, following their natural direction. Let them dry completely before you touch them. This creates a polished hairline.

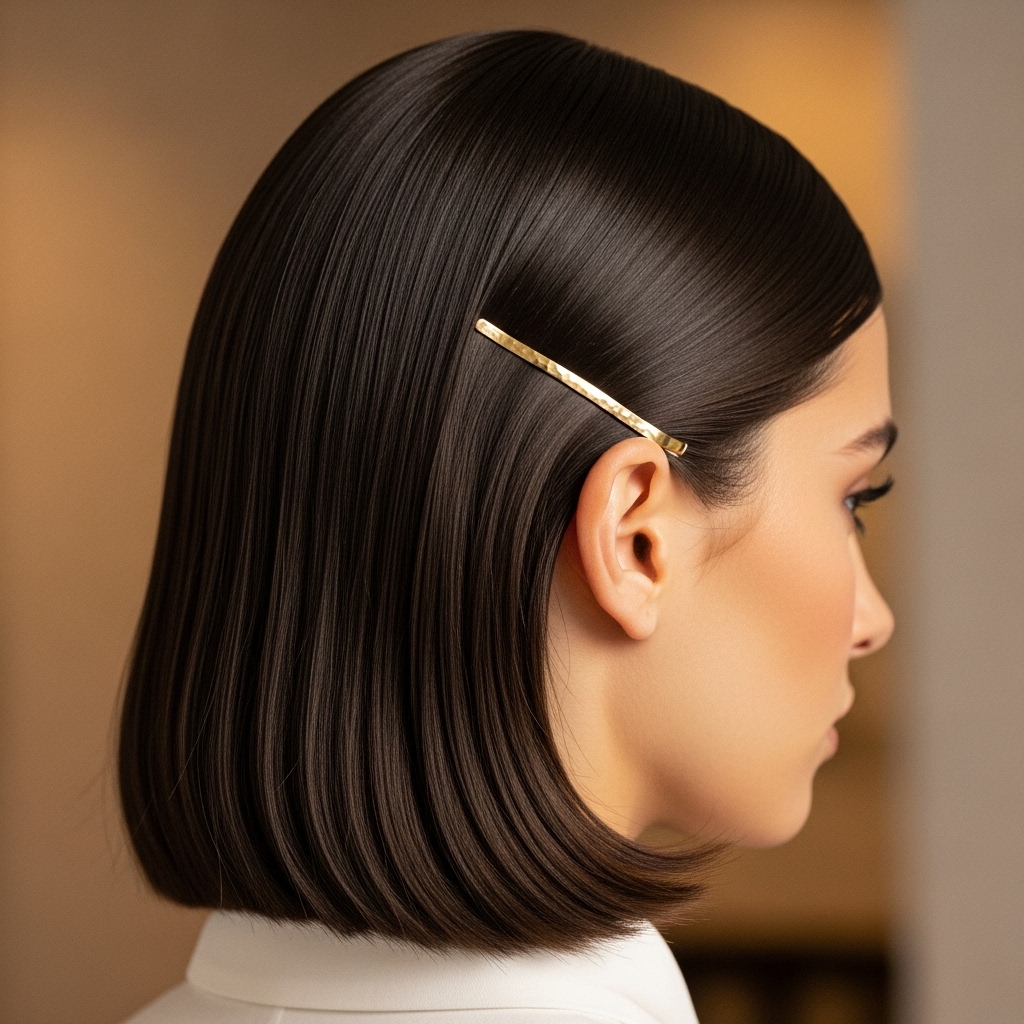
Adapting This Look for a Quiet Luxury Bob
If you have a bob, this style is perfection. The blunt ends look even sharper. Make sure your flat iron turns under slightly at the ends, just a tiny bend.
This prevents the “helmet head” look and adds a soft, modern touch. The old money hair aesthetic on a bob is incredibly chic and low-maintenance.

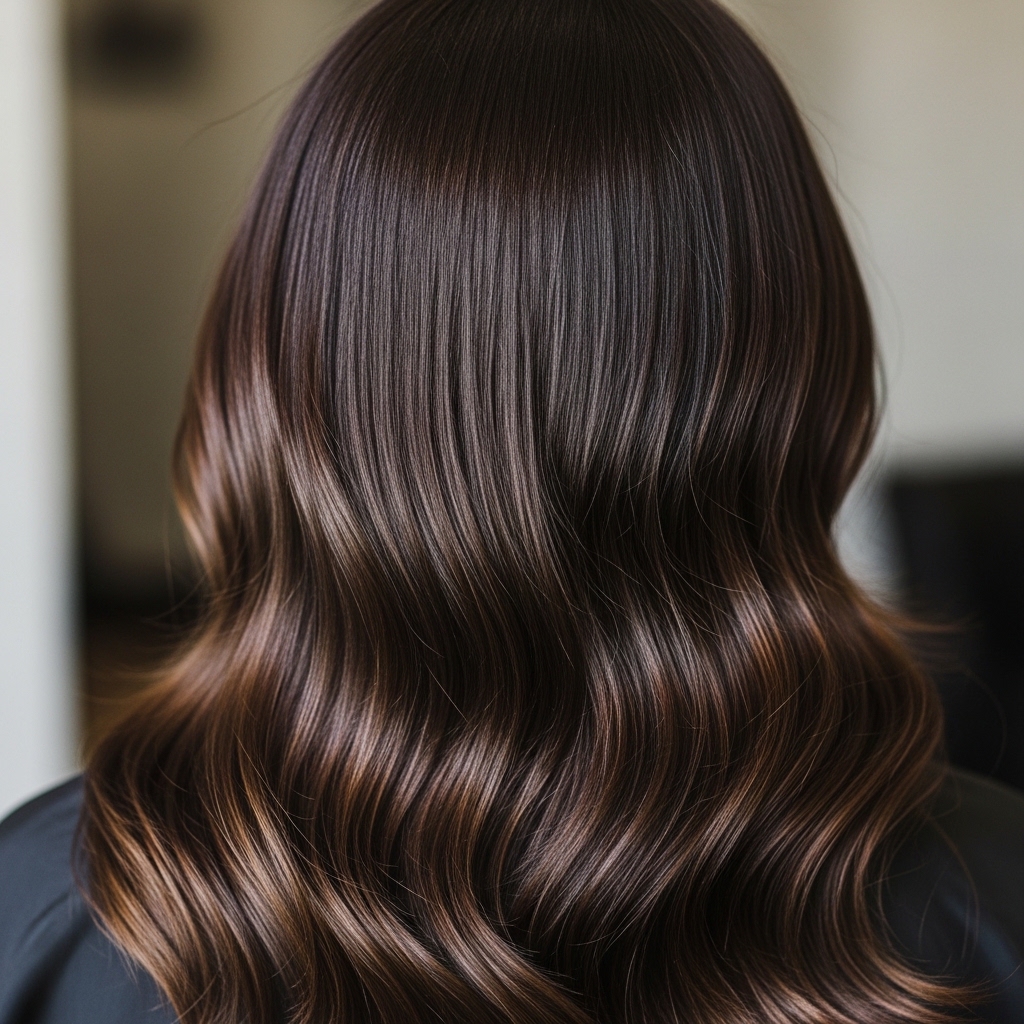
Making It Work on Longer Hair
For long hair, focus on creating that smooth, heavy feel. After styling, do a final pass with the flat iron just on the top layer to ensure no waves are peeking through.
You can leave it down for a classic look or add a simple, low ponytail or bun. The middle part keeps it elegant, not casual.
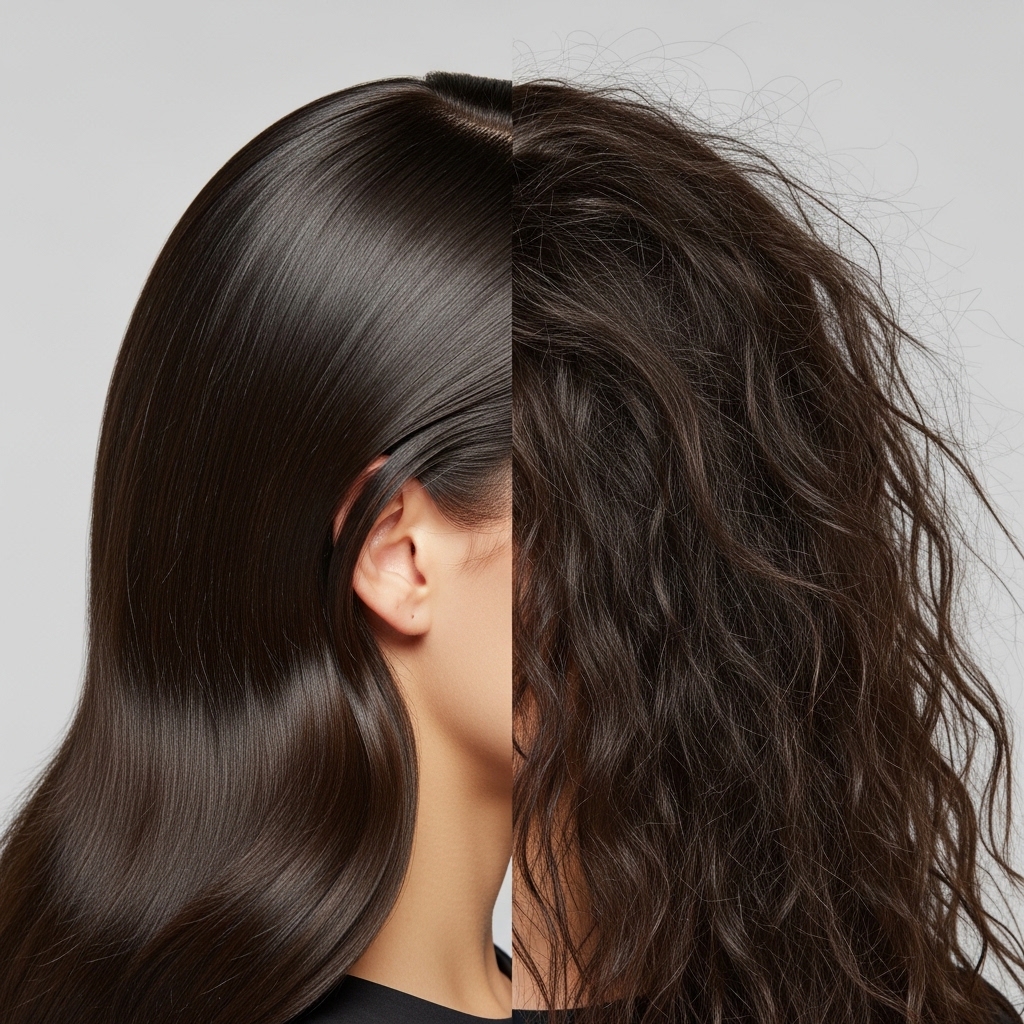
Can You Get This Look on Curly or Wavy Hair?
Absolutely, but the process is different. You’ll need a stronger smoothing product and possibly a blowout with a brush attachment first. The goal is to straighten thoroughly for the sleek effect.
It’s a more committed style for curly hair, but the result is a stunning, dramatic transformation. It’s a different feel than romantic goth hairstyles but just as powerful.

The “I Woke Up Like This” Second-Day Version
To refresh, don’t add more product. First, use a dry shampoo at the roots to absorb oil and add grip. Then, use a flat iron on only the top layer and face-framing pieces.
Redo your middle part and smooth it with a brush and a tiny bit of oil on the ends. It takes five minutes and looks brand new.
Common Mistakes That Ruin the Sleek Look
- Using too much product: This weighs hair down and makes it look greasy, not sleek.
- Flat ironing dirty hair: The heat will bake in oils and product, making it look dull.
- Skipping the blow-dry: Trying to flat iron soaking wet or damp hair is a frizzy disaster.
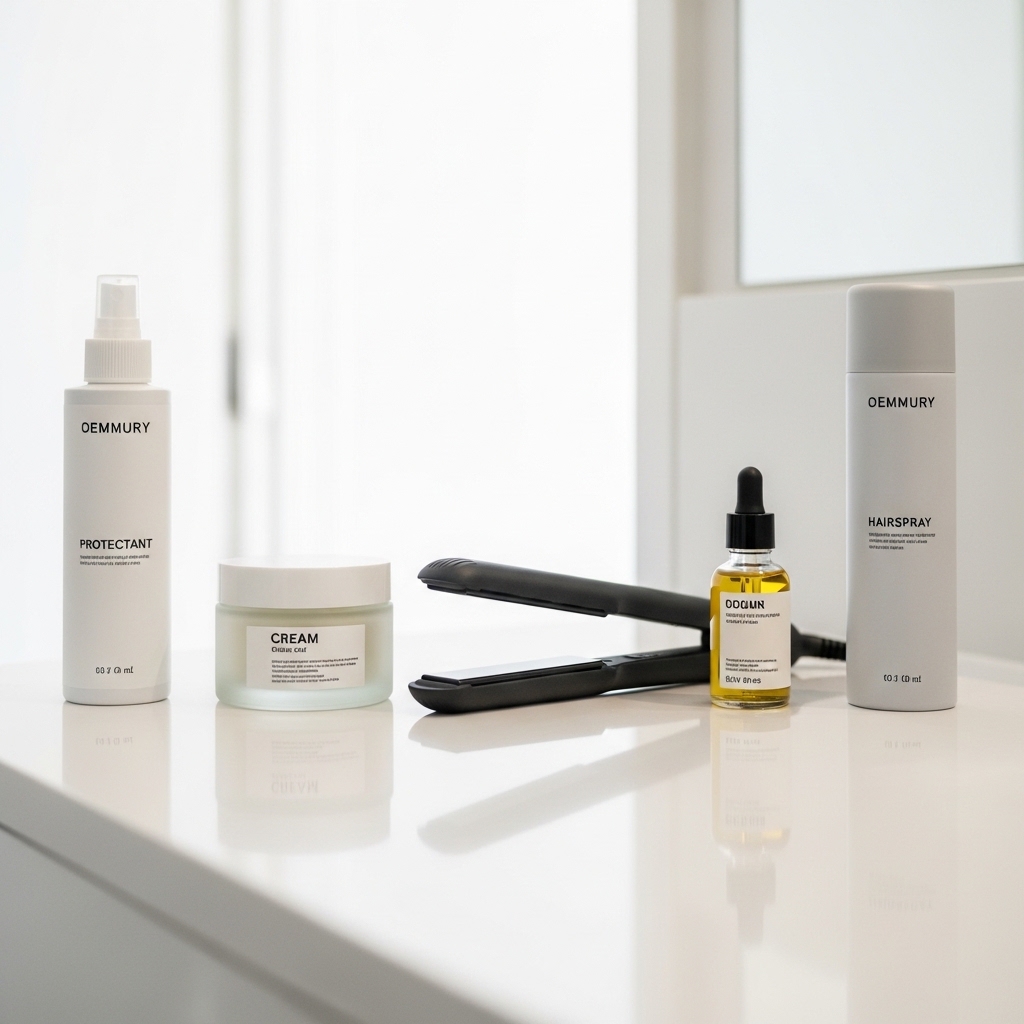
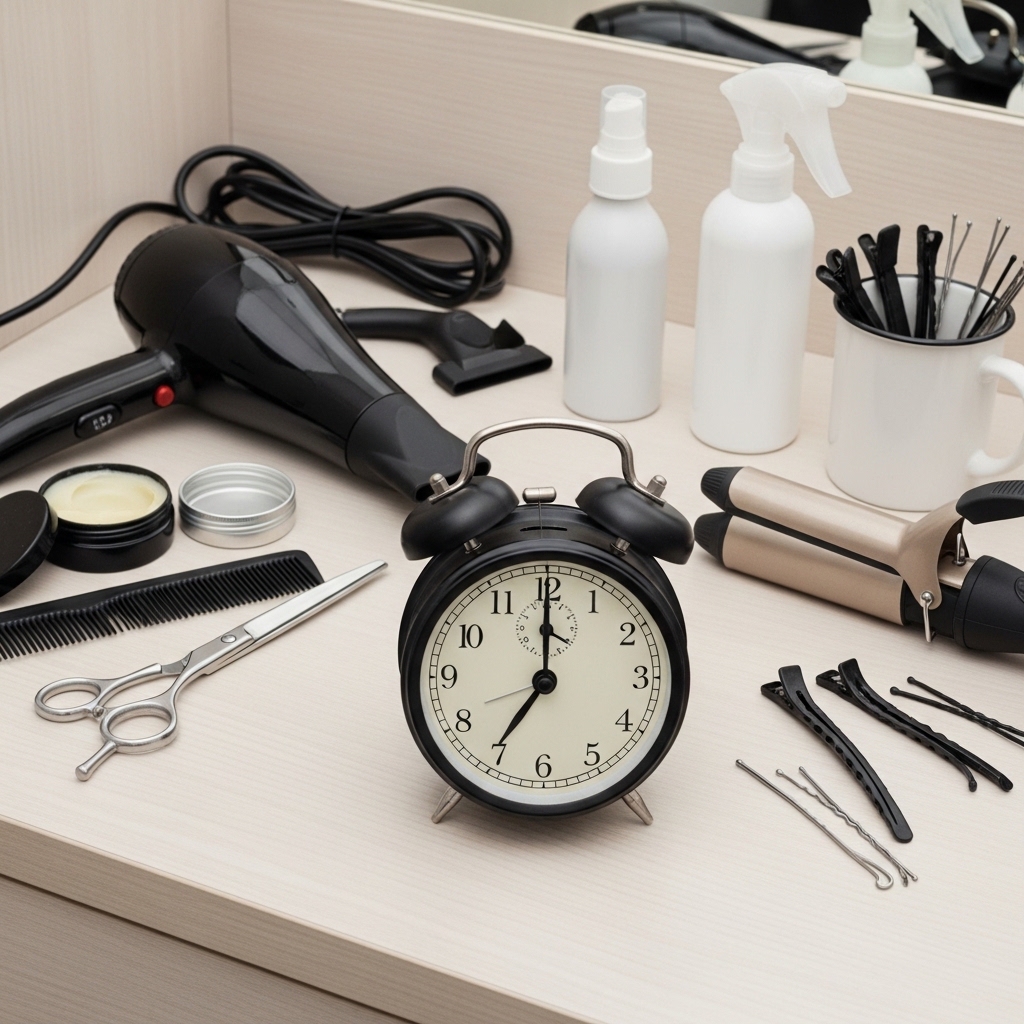
Essential Products for the Clean Finish
You don’t need a million things. My core kit: a heat protectant spray, a smoothing blow-dry cream, a reliable flat iron, a lightweight hair oil, and a flexible-hold hairspray.
Invest in the flat iron and oil. Drugstore options are great for the protectant and hairspray. The right tools make all the difference.
How This Style Fits Into 2026 Hairstyle Trends
While trends like the hime cut or glitchy glam hair are about artistic expression, the sleek middle part is about timelessness. It’s the quiet anchor in a noisy trend cycle.
It complements trendier pieces—imagine this sleek base with a bold accessory. It’s the perfect canvas, making it a forever trend that always feels current.
Is This Different From the “Vampire” Haircut?
Totally! The vampire haircut is all about dramatic, sharp layers and often a heavy fringe. It’s edgy and intentional. The old money sleek look is about seamless, smooth lines.
Think of the vampire style as a statement piece, while the sleek middle part is your favorite, perfect white shirt. Both are cool, but for different moods.
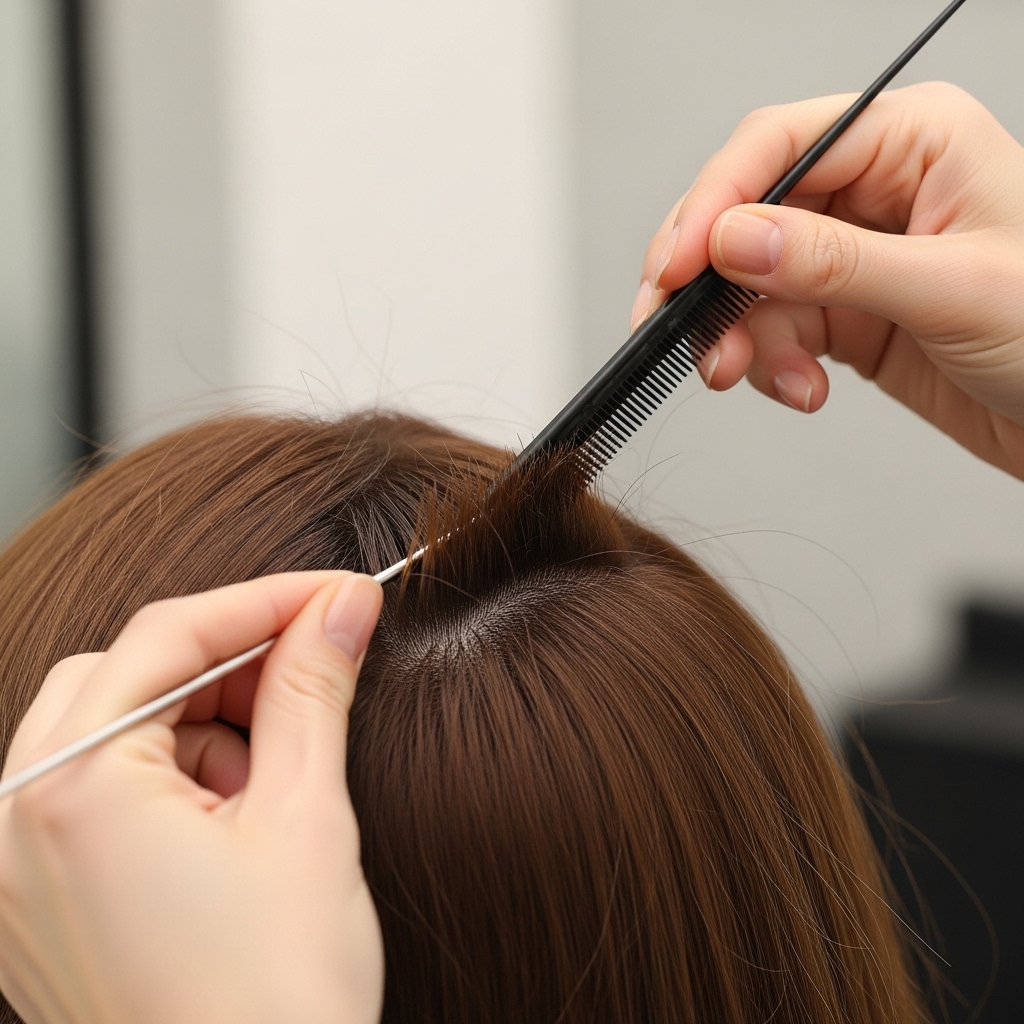
Creating Volume at the Roots (Without the Frizz)
You want sleekness, not flatness. After styling, take a fine-tooth comb. Gently backcomb just at the root under the top layer, only once or twice.
Then, smooth the top layer back over it. This gives a tiny lift. You can also use a root-lifting spray before blow-drying for more oomph.
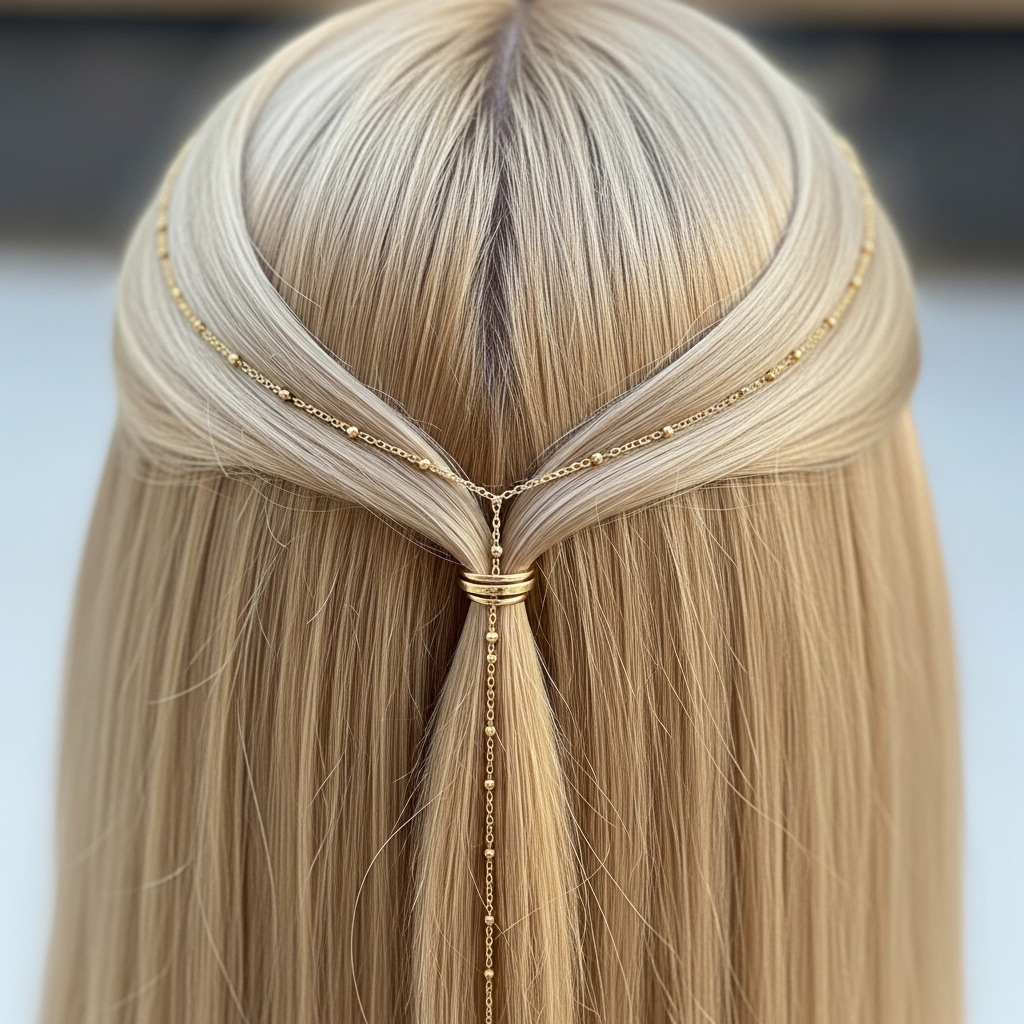
Accessorizing Your Sleek Middle Part
Keep it minimal. A thin, gold hair chain laid over the part. A simple silk scarf tied as a headband. Small, classic barrettes clipped back at the temples.
The hair is the star. Let accessories complement, not compete. This is the heart of the quiet luxury aesthetic.
How to Make It Feel “Soft” and Not Severe
The fear is looking too strict. The fix is in the texture. That tiny bend at the ends of your bob or long hair helps. So does using a flexible-hold hairspray.
Keep the hair around your face slightly softer—don’t over-flatten it. A face-framing piece that’s barely curved can make all the difference.
Maintaining Healthy Hair to Pull This Off
This style shows every bit of damage. Regular trims are non-negotiable. Use a deep conditioning mask once a week. Always, always use a heat protectant.
Healthy hair is shiny hair. And shine is the most important part of the “old money” look. It looks expensive because it’s well-cared-for.

Your Quick 10-Minute Daily Routine
- Spritz roots with dry shampoo (if needed).
- Re-part hair neatly.
- Flat iron top layer and face-framing pieces only.
- Apply one drop of oil to palms, smooth over ends.
- Light hairspray mist to set.
That’s it! You’re out the door looking polished in minutes.
Final Thoughts on Mastering the Look
This isn’t about being perfect. It’s about looking polished and feeling put-together. It’s a style that says you pay attention to details.
It works for so many occasions and honestly, once you get the routine down, it’s one of the fastest styles to do. It’s a reliable beauty staple.
And there you have it—your complete guide to that effortlessly chic hair you’ve been loving. It’s less about following a strict rulebook and more about mastering a few key techniques that make your hair look its absolute best.
Remember, the goal is to feel confident and polished, not stiff or overdone. With a little practice, this will become your go-to, trusty style for days when you want to look like you have it all together (even if you’re just running to the grocery store).
Did you try this method? I want to know! Save this post to Pinterest to keep the guide handy, and tell me in the comments—what’s your number one hair struggle when going for a sleek look?

