
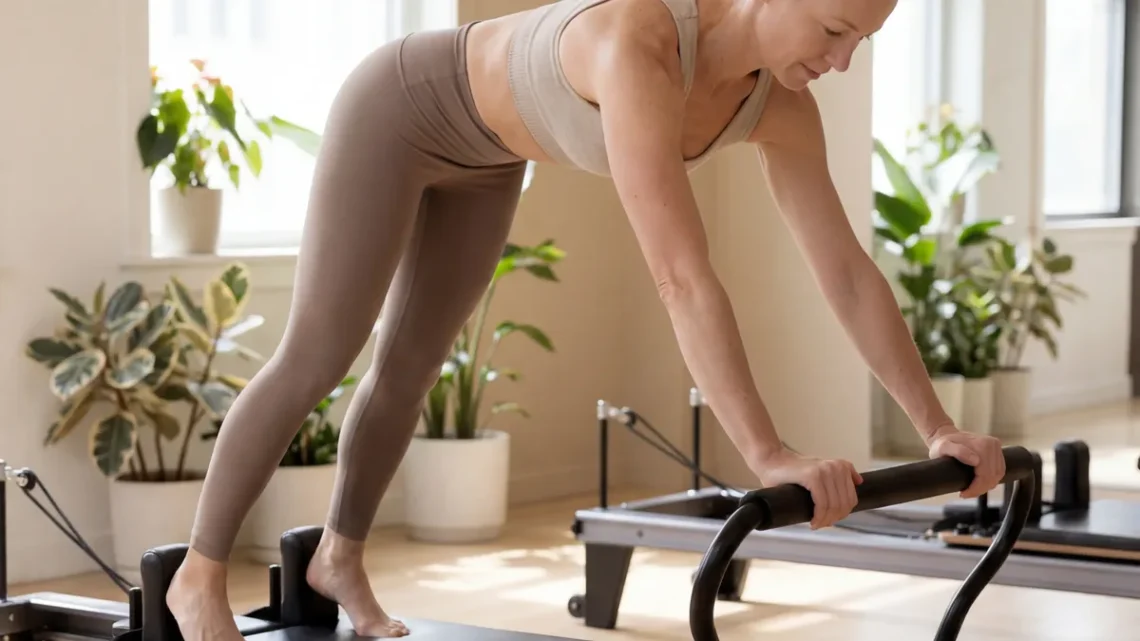
There is a particular kind of frustration that only pilates can produce: you are lying on your back on the mat, halfway through a roll-up, and your hair is suddenly everywhere — in your eyes, stuck to your neck, trailing across the mat, and somehow caught in a reformer strap. You sit up, push it back with a sweaty hand, and by the next exercise it has escaped again. A hairstyle that looks perfect standing in front of the mirror can fall apart completely the moment you lie down, roll over, or hang upside down, and pilates asks you to do all three in the same class.
That is why the best hairstyles for a pilates class are built differently from everyday styles. They sit low or flat against the head so they do not dig in when you lie back, they lock the hair away from the face through inversions and rolling, and they survive sweat without sliding loose or turning into a frizzy halo by the cool-down. This guide starts with eight explainers — what makes a style genuinely pilates-proof, why hair escapes on the mat, which styles suit each hair length, and the mistakes that undo even a good bun — then walks through 40 secure styles, from the classic low bun to braids, twists, claw clips and short-hair fixes, and ends with honest answers to the questions people ask most before class.
What Makes a Hairstyle Pilates-Proof?
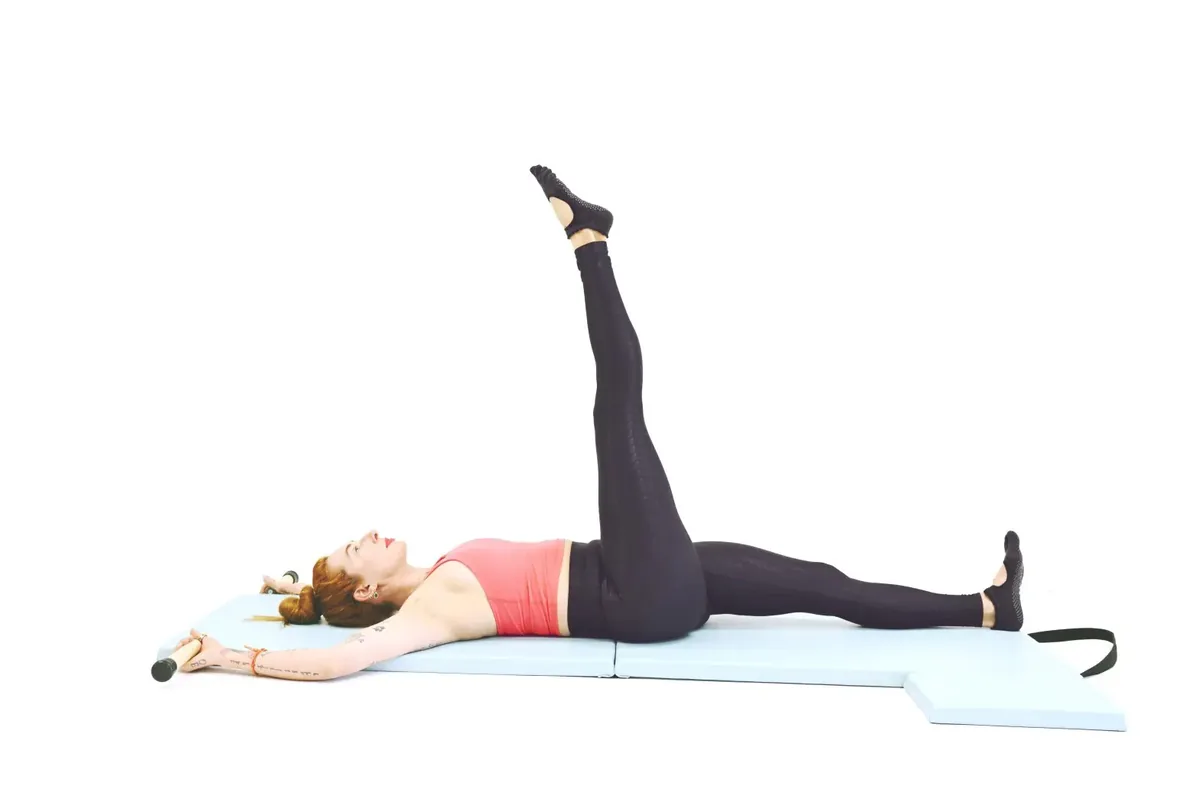
A pilates-proof hairstyle has to pass three tests that most everyday styles fail. First, it must lie flat: anything bulky at the back of the head — a high bun, a big clip, a thick knot — will press into your skull the moment you lie on the mat, and it will hurt within minutes. Second, it must hold through movement in every direction: pilates rolls you forward, tips you back, turns you sideways and sometimes upside down, so a style that only survives standing upright is not enough.
What it means: the best hairstyles for a pilates class keep the weight of the hair low and close to the head, anchor it at more than one point, and keep every loose end tucked away. What to look for: a style you can lie on without feeling it, shake your head in without it shifting, and forget about for a full hour.
Why Your Hair Falls Out on the Mat (and in the Reformer)
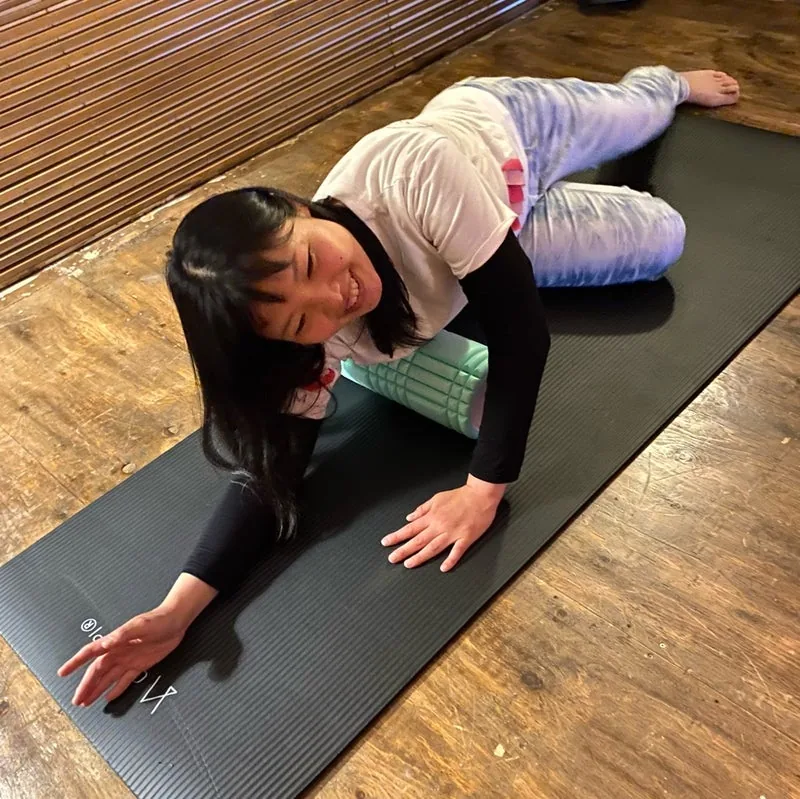
Hair escapes during pilates for reasons that have nothing to do with how well you tied it in the morning. Rolling exercises drag the back of your head across the mat, which slowly works a ponytail loose from the bottom up. Reformer straps and springs catch on anything that sticks out — a clip, a loose end, a stray curl — and one tug can undo ten minutes of careful styling. Add sweat at the hairline, which acts like a lubricant under a hair tie, and gravity pulling everything toward your face during inversions, and even a decent bun can unravel before the halfway point.
Why it happens: most styles are designed to look good from the front while you are standing up, but pilates tests them from every angle, lying down, with friction and sweat working against them. Common mistake: blaming the hair tie when the real problem is the shape of the style — a high, heavy ponytail will always slide, whatever holds it.
The Best Pilates Hairstyles by Hair Length
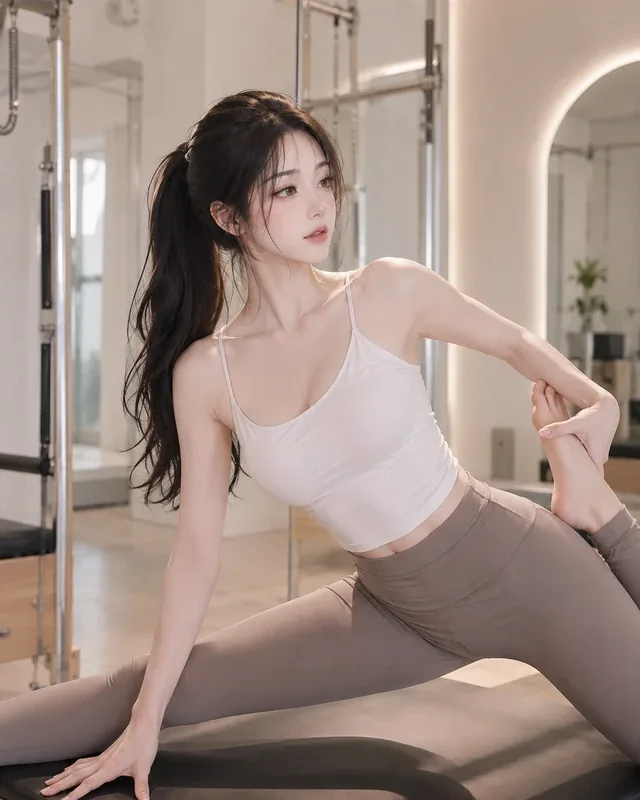
Short hair, medium hair and long hair need different answers in a pilates class, because each length fails in its own way. Short hair and bobs usually escape at the nape and around the ears, where there is not enough length to tie back — so clips, pins and slicked-back styling matter more than ties. Medium-length hair is the easiest to work with: it is long enough for a low bun or a braid, but short enough that the bun stays small and flat.
Best for: matching the style to your length instead of forcing one famous style on every head. How to use this guide: if your hair is above the shoulders, start with the short-hair styles at the end of the list; shoulder-length and longer, start with low buns and braids.
Hair Prep Before Class: Wash Day, Products and What to Avoid
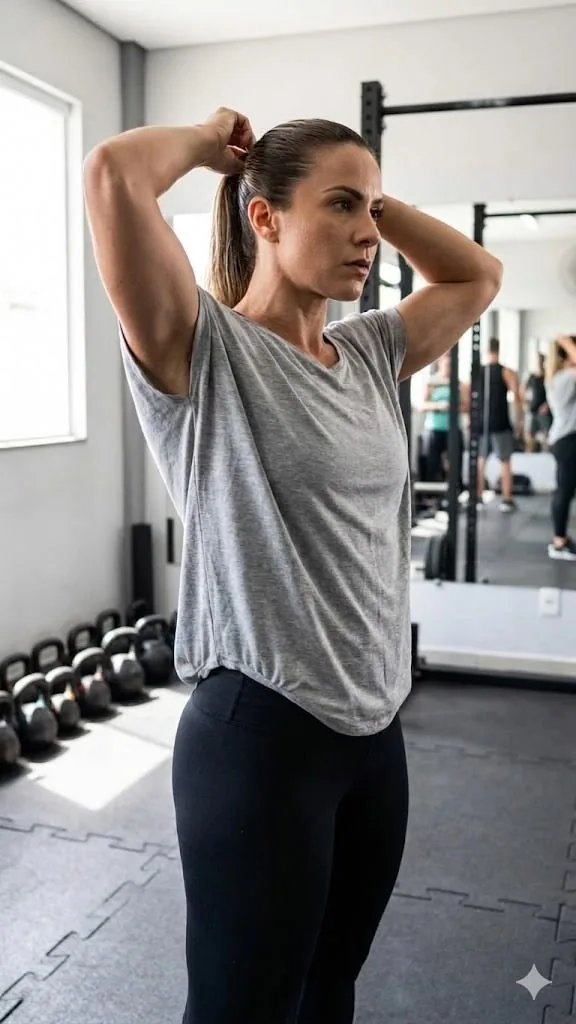
The best hairstyles for a pilates class start before you pick up a hair tie. Hair that is freshly washed and silky is the hardest to secure, because clean hair slips — so if you wash on class day, add a little texture with dry shampoo or a light styling cream at the roots before you style it. Second-day or third-day hair actually holds a braid or a bun better, which is one reason so many regulars plan their wash days around their class schedule. A small amount of product also helps: a smoothing cream or a light gel at the hairline tames flyaways that would otherwise drift into your eyes mid-roll.
What to avoid: heavy oils or leave-in conditioner right before class, which make the hair too slippery to grip, and hairspray on its own, which cracks and flakes once you start sweating.
Sweat, Frizz and Mat Hair: How to Protect Your Hair in Class
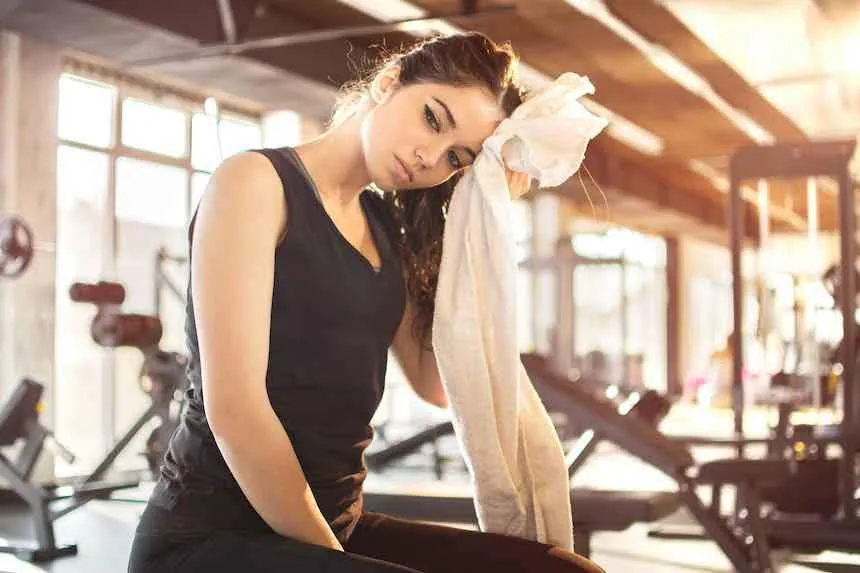
Pilates is not the sweatiest workout, but a heated studio, a reformer session and forty minutes of core work still leave most people damp at the hairline — and sweat is the enemy of a neat hairstyle. It loosens hair ties, reactivates frizz, and leaves the hair around your face curling into damp wisps.
What helps: a style that keeps the nape hair lifted and contained, a sweat-wicking headband if your studio allows it, and dry shampoo at the roots straight after class to absorb the damp before it sets into frizz. Who should take it seriously: anyone with curly or wavy hair, which reacts to sweat faster than straight hair, and anyone who goes straight from class to work or lunch.
Common Mistakes That Ruin a Pilates Hairstyle
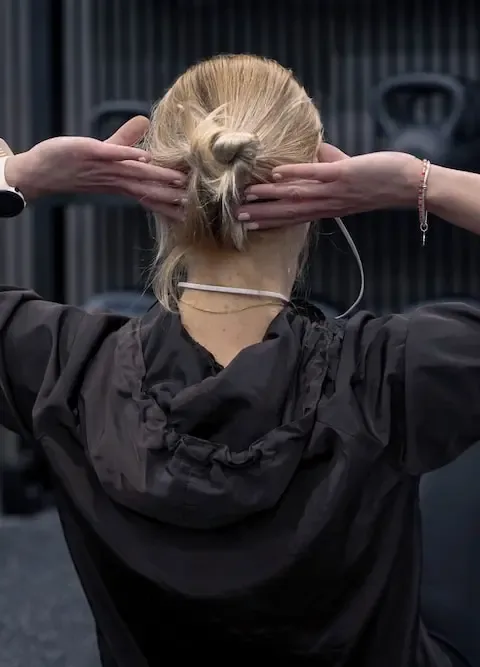
The most common mistake is styling for the mirror instead of the mat: a high bun that looks chic standing up becomes a hard lump under your head the moment you lie down, and a loose, romantic ponytail unravels the first time you roll. The second mistake is using too few anchor points — one hair tie, no pins — and expecting it to survive an hour of rolling, inverting and sweating. The third is leaving the ends free: a ponytail tail whips across your face during roll-ups, and loose braid ends catch on reformer straps and spring clips.
Mistakes to avoid: metal clips or chunky claw clips at the back of the head, which dig in on the mat; elastics with metal joins, which snag and snap; and styling wet hair into a tight bun, which dries into frizz and can damage the hair at the roots. What works instead: flat, low styles, two kinds of hold at once — a tie plus pins, or a braid plus a tie — and ends that are tucked, looped or braided away.
What to Ask Your Stylist for a Pilates-Friendly Cut
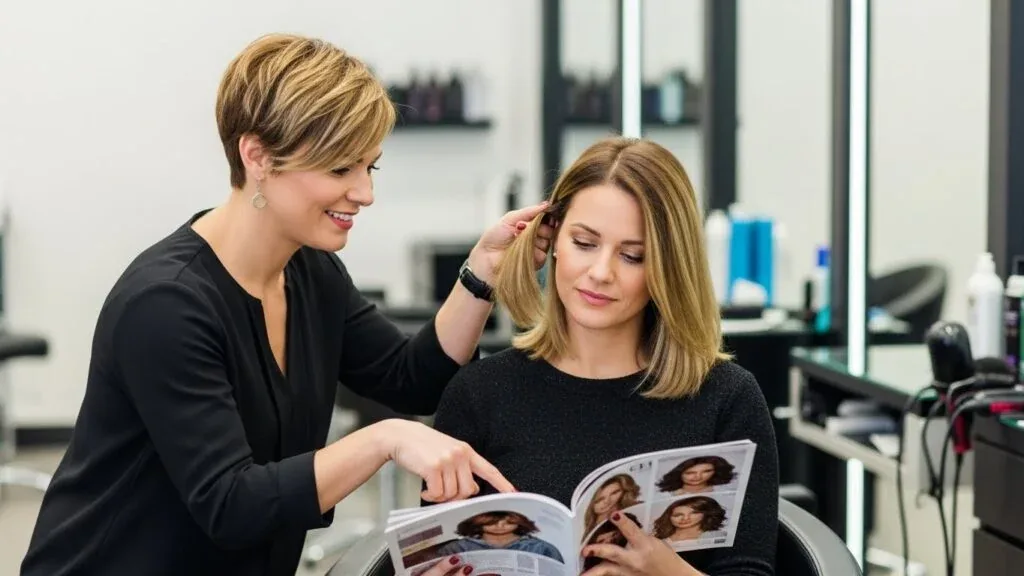
If you take pilates classes several times a week, it is worth telling your stylist, because a few small cutting choices make a big difference on the mat. Ask for layers that are long enough to tuck into a braid or a bun — very short face-framing layers are the pieces that always escape during inversions. Ask for the bulk to be thinned at the back if your hair is thick, so a low bun sits flat instead of bulging. And if you wear your hair up for every class, mention it: a stylist can cut a shape that looks good tied back as well as worn down, rather than a cut that only works loose.
Best for: anyone who does pilates three or more times a week and is tired of fighting the same escaping pieces every class. How to ask: bring a photo of the style you actually wear to class, not just the style you wear to dinner — the stylist needs to see the working version.
The Quick Verdict: Your Five-Minute Pilates Hair Routine
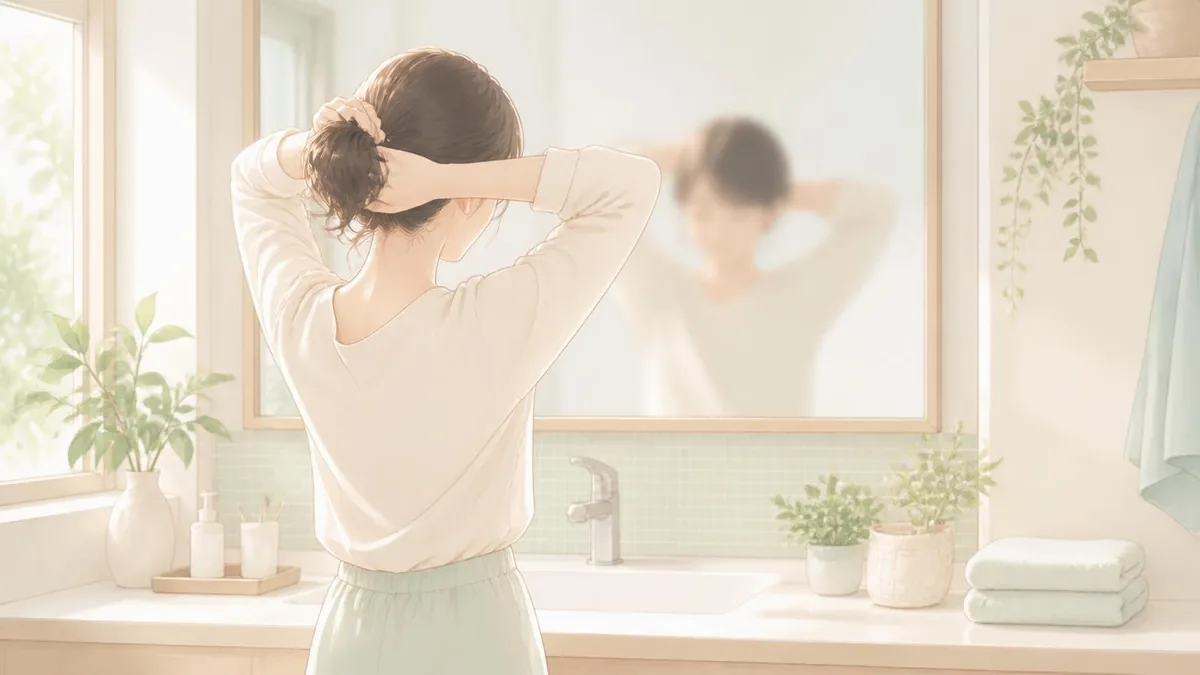
If you have five minutes before class, here is the routine that works for most hair types. Brush the hair back smoothly, add a pea-sized amount of styling cream at the hairline, and gather everything into a low ponytail at the nape — not high, not mid-height, but low, so it lies flat when you lie down. Twist the ponytail into a low bun or braid it, pin the ends in with two bobby pins crossed over each other, and clip back any short pieces at the temples. Give it one shake: if nothing moves, you are done; if something shifts, add one more pin before you leave the house.
How to use it: this is the fallback for busy mornings, not a replacement for the 40 styles below — use it on ordinary days, and save the braids and twists for the days you have ten minutes. What to keep in your bag: two spare ties, four pins and one small clip, because a style that loosens mid-class can be rescued in seconds if you have the tools.
1. The Classic High Ponytail — and When to Skip It
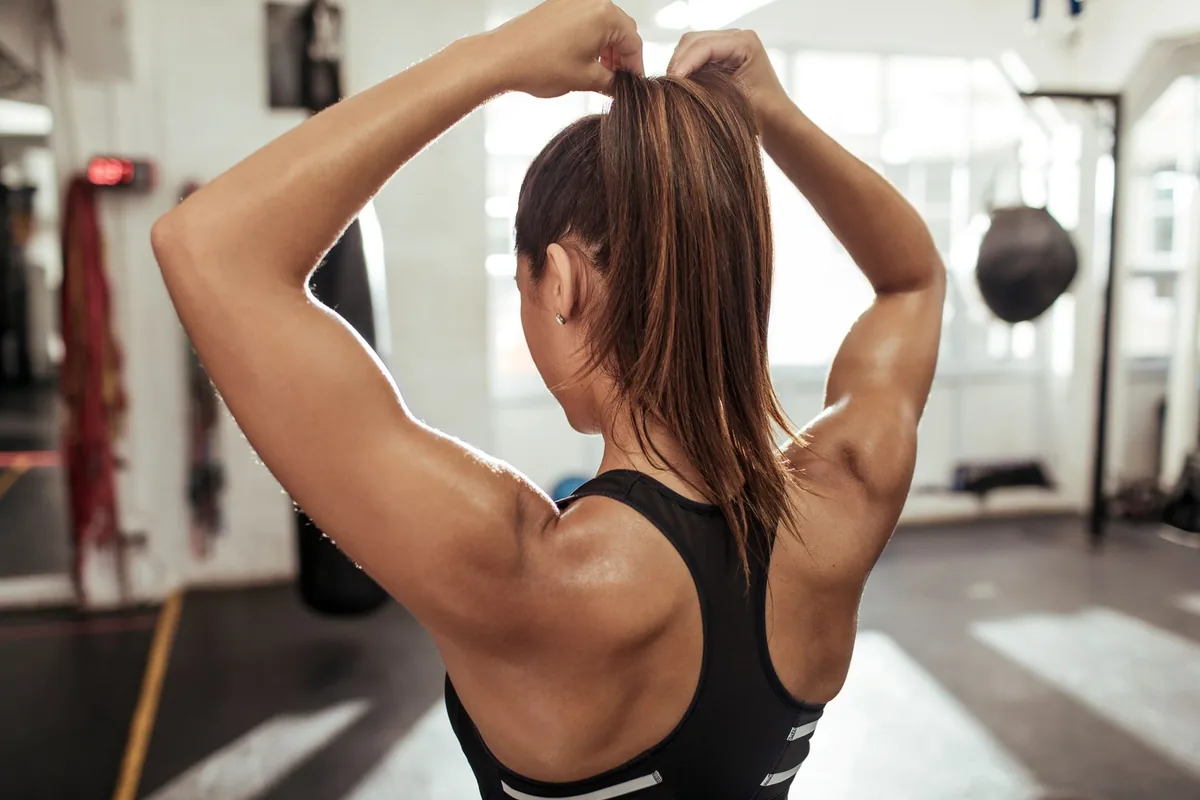
The classic high ponytail is the first style most people reach for before a workout, and it is easy to see why: it takes ten seconds, it keeps the hair off the neck, and it looks energetic and neat. Gathered high at the crown, it holds the bulk of the hair in one place and keeps it away from the face during standing exercises, which is why it survives in so many gym bags. For a short mat session with mostly upright work, it does the job, and a strong elastic plus a couple of pins at the temples will keep it tidy for the first half of class.
Pros and cons: the ponytail is fast and flattering, but it is a poor choice for a full pilates class. It swings during roll-ups, it slides down as you sweat, and the knot sits exactly where your head meets the mat, which gets uncomfortable fast. Quick verdict: keep it for a quick standing warm-up, and switch to a low style for the real work.
2. The Low Ponytail: The Pilates Workhorse
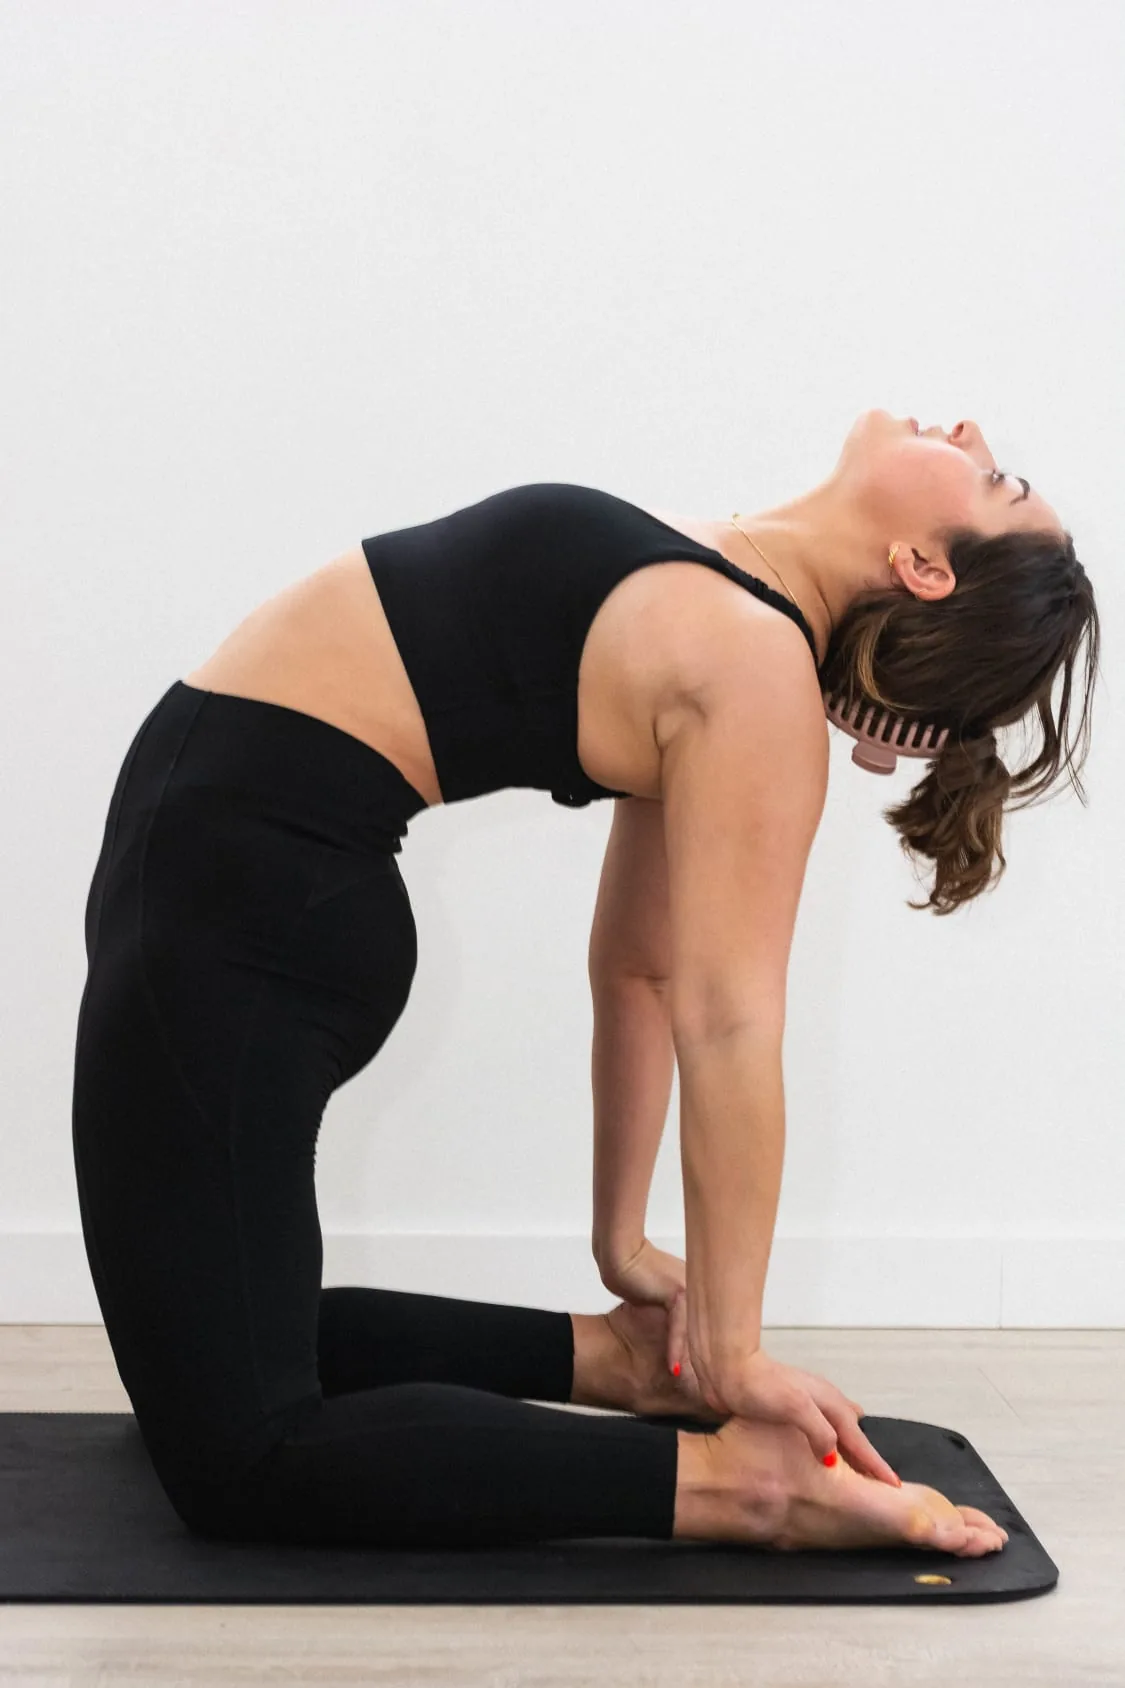
The low ponytail is the single most reliable of all hairstyles for a pilates class, and it is the style most instructors wear themselves. Gathered at the nape, it lies completely flat when you lie back, so there is nothing to dig into your head on the mat, and the weight of the hair hangs low, which means gravity works with it instead of against it during inversions. It also stays out of reformer straps, because there is nothing sticking out at the back of the head to catch. Add a second elastic halfway down for long hair, and it will survive a full hour without a single adjustment.
How to style it: brush the hair back smoothly, secure it low with a snag-free elastic, and smooth the hairline with a little cream or gel. Best for: every hair length from shoulder-length up, and every kind of pilates — mat, reformer and tower — because it is the one style that never fights the equipment.
3. The Bubble Ponytail: Secure and Surprisingly Mat-Friendly

The bubble ponytail looks playful, but it is secretly one of the most secure hairstyles for a pilates class. You start with a low ponytail, then add elastics every few centimetres down the length, gently pulling each section out into a soft bubble. The extra elastics do real work: they break the weight of the hair into small sections, so no single point carries the whole load, and the style cannot slide out in one piece the way a plain ponytail can. It also keeps the ends contained, which means nothing trails across the mat or catches on a strap.
How to style it: use small, snag-free elastics, keep the bubbles loose rather than tight, and place the first elastic low at the nape so the style lies flat. Pros and cons: it takes a couple of minutes longer than a plain ponytail and needs several elastics, but it holds better through inversions than almost any other ponytail style.
4. The Sleek Ballerina Bun
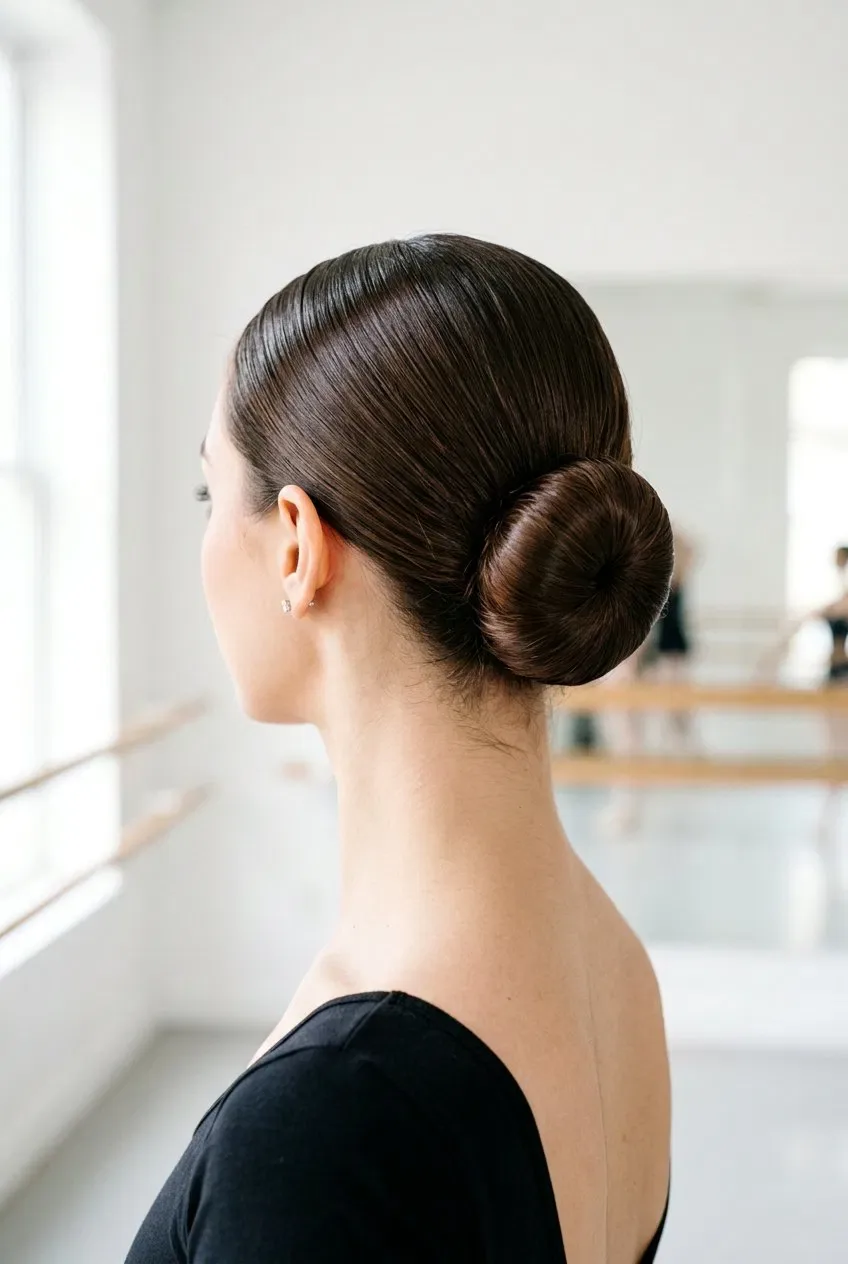
The sleek ballerina bun is the gold standard for anyone who wants their hair completely out of the way for a whole class. Smoothed back with a brush and a little gel, twisted tightly and pinned flat, it locks every strand into one compact shape that does not move, swing or shed flyaways. Because it sits low and close to the head, it lies flat on the mat, and because it is pinned in several places, no single pin carries the whole style — if one loosens, the others hold. Dancers have relied on it for centuries for exactly the same reasons pilates students need it now.
How to style it: brush the hair into a low ponytail, twist it firmly, coil it around its own base, and pin it with bobby pins placed in a cross pattern. Cost and time: about three minutes and a few pins — no special tools, no heat, no expensive products.
5. The Low Bun: Comfortable, Flat and Forgiving
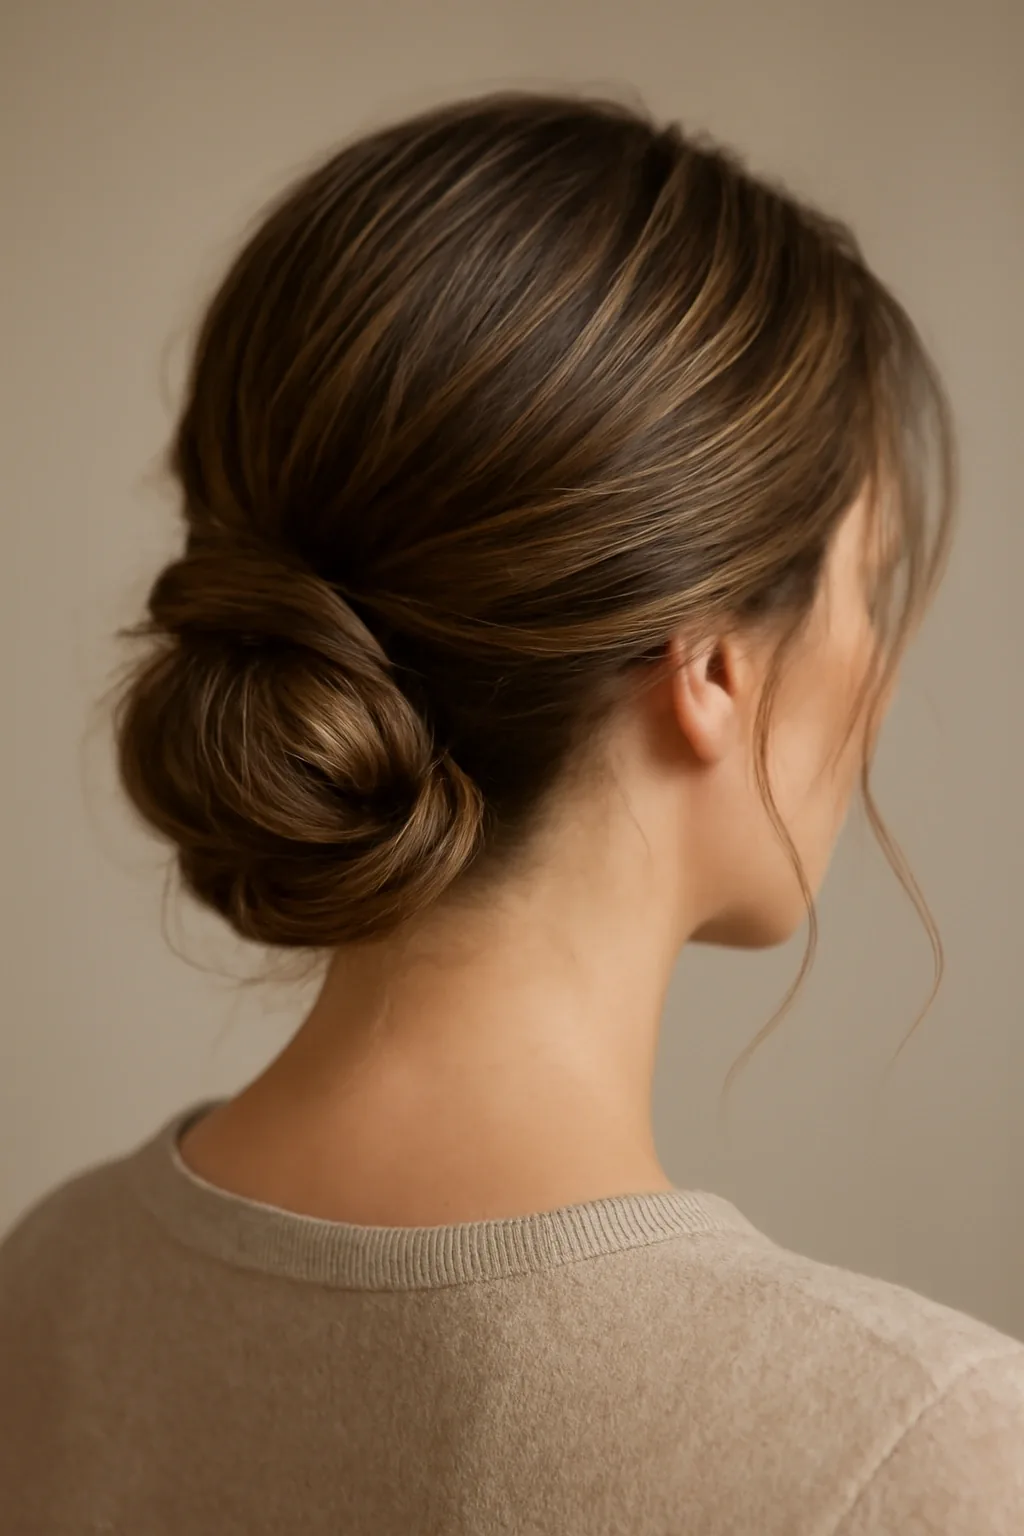
If the ballerina bun is the polished version, the low bun is the everyday one — softer, quicker, and just as reliable on the mat. Gather the hair at the nape, twist it loosely, coil it and pin it, and you have a style that lies flat, holds through rolling and inversions, and does not pull at the hairline. It is forgiving in a way tighter styles are not: a few soft pieces at the temples look intentional rather than messy, and the style still works if it loosens slightly, because the coil keeps the hair contained even when a pin slips.
Best for: medium to long hair, and anyone whose scalp is sensitive to tight pulling — the low bun holds without the headache a tight top knot can cause. Maintenance: two crossed bobby pins at the base and one at the top of the coil are usually enough for a full class.
6. The Top Knot — Worn Low for the Mat
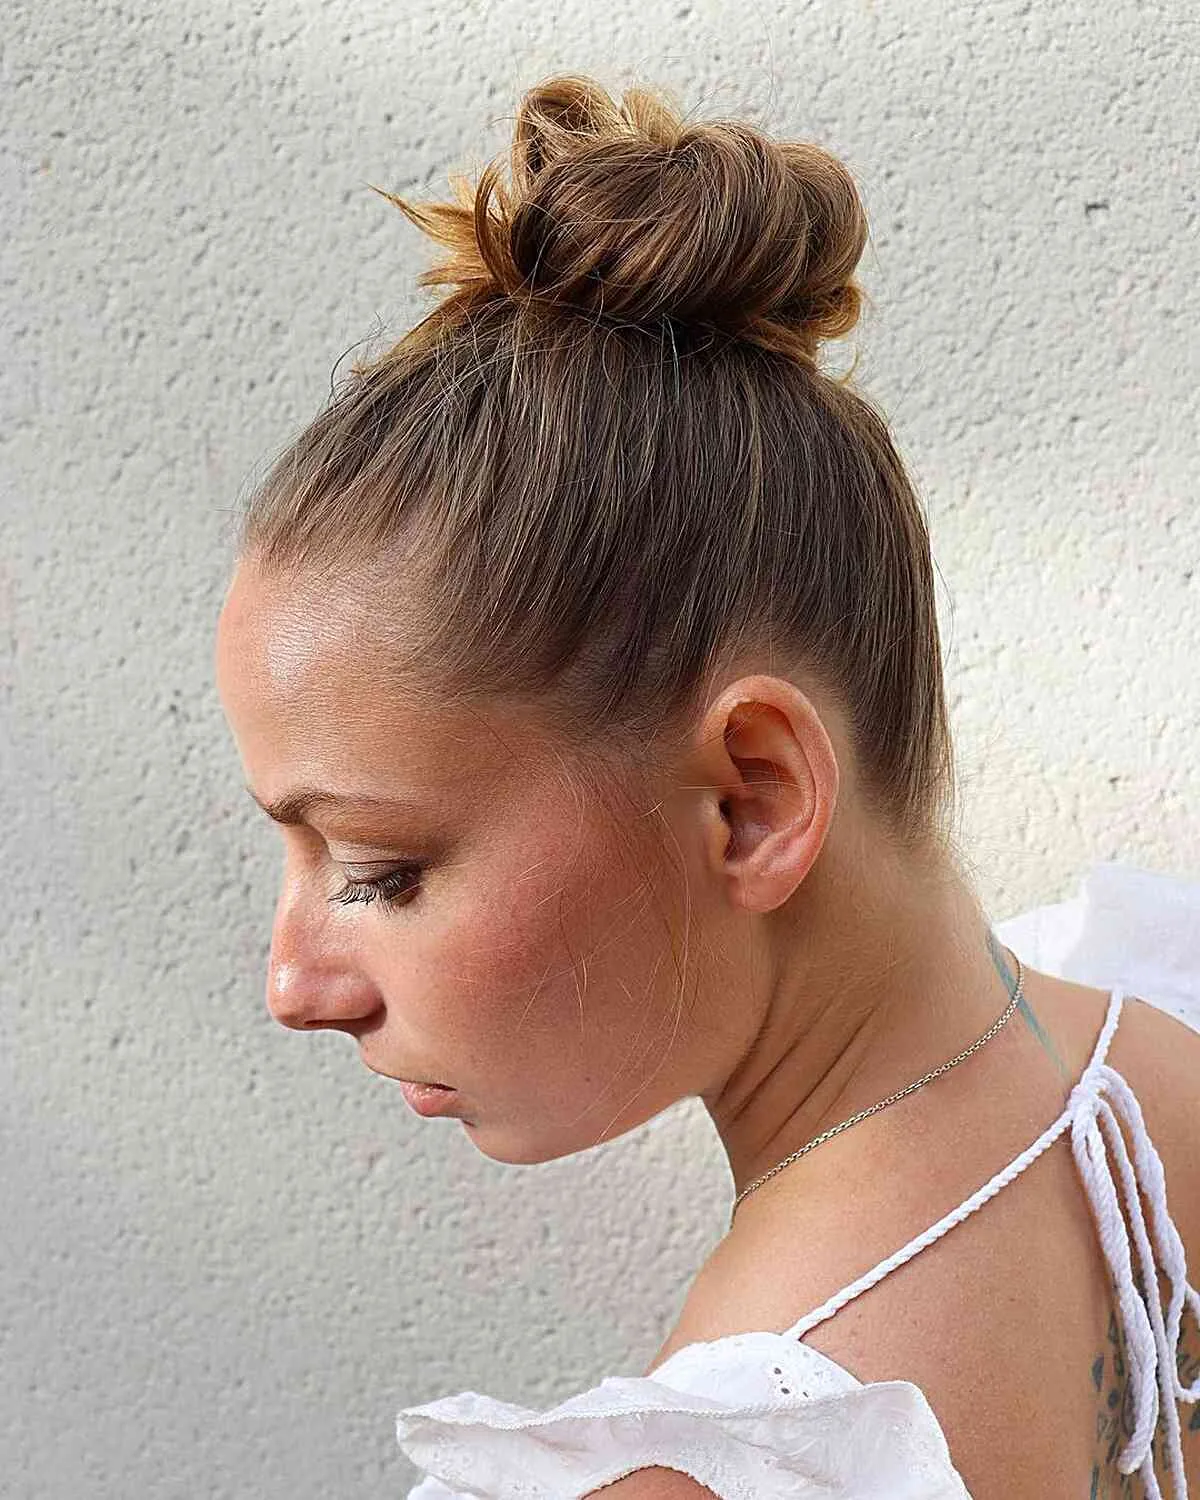
The top knot is a favourite off the mat, but its usual position — high on the crown — is exactly wrong for pilates, because it becomes a hard ball under your head the moment you lie down. The fix is simple: wear the same knot, but place it low, at the nape or just behind one ear, where it lies flat against the mat. You keep everything you like about a top knot — the hair is fully contained, nothing touches your neck, and the style takes under a minute — without the discomfort, and the lower position actually holds better, because the weight of the knot pulls down instead of swinging.
How to style it: gather the hair low, twist it into a tight coil, wrap it around its base and pin it flat. What to avoid: a knot that is too bulky for your hair thickness — very thick hair makes a large knot that still presses into the head, so braid the length first to flatten it.
7. The Messy Bun That Actually Holds
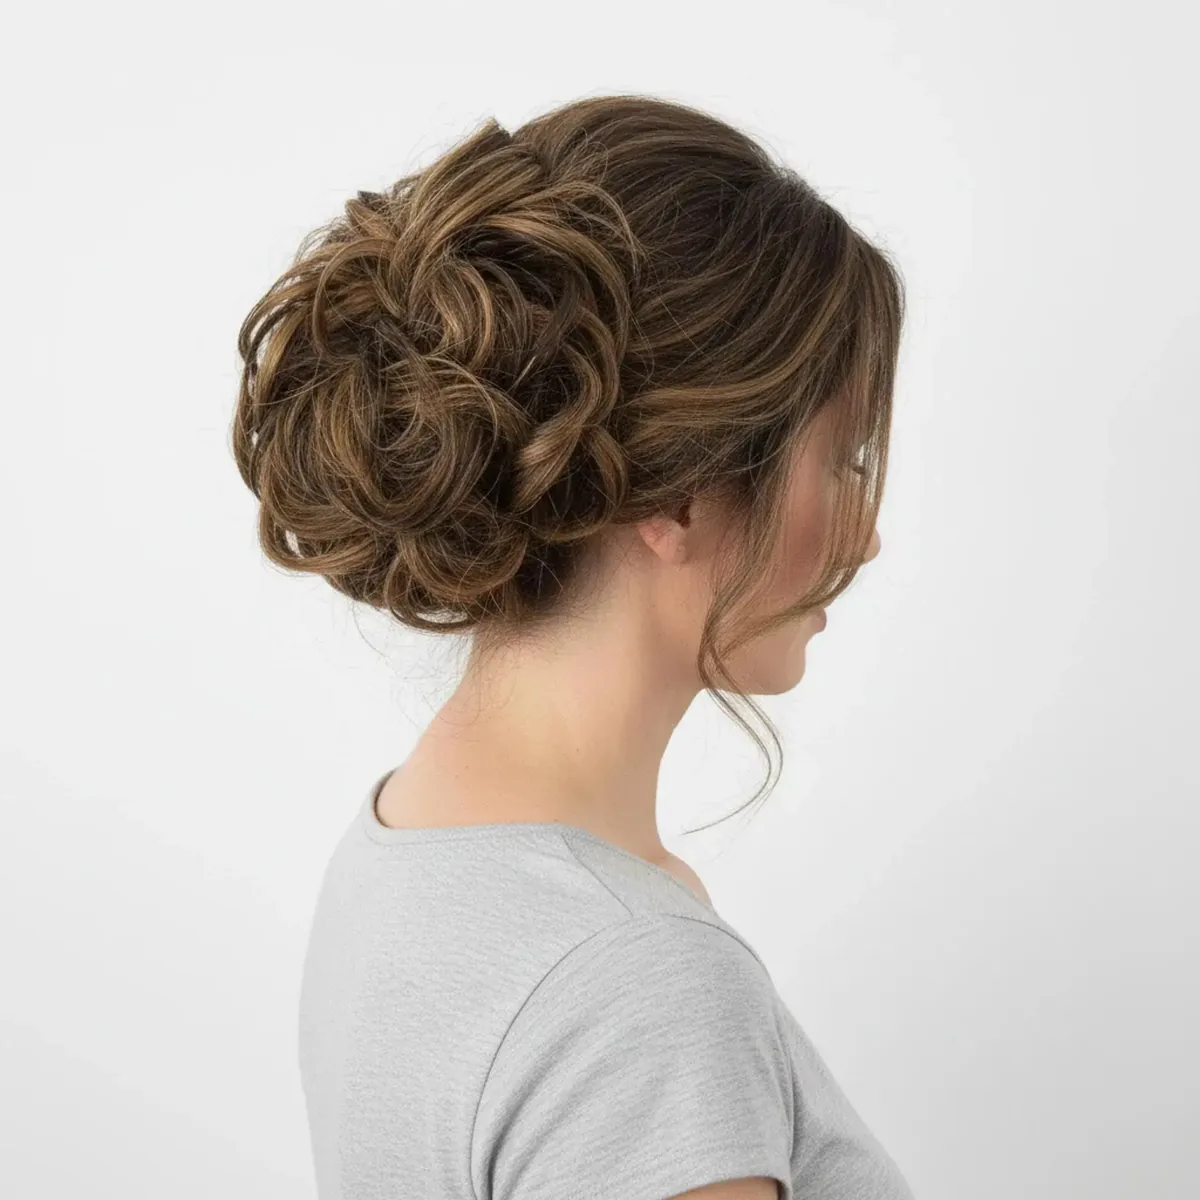
A messy bun is the style everyone wants for pilates — relaxed, quick, and forgiving — but most messy buns fall apart within ten minutes of class, because the looseness that makes them look effortless is also what lets them unravel. The trick is to build a secure structure underneath the messy finish: start with a proper low ponytail, twist and pin the bun firmly with at least four pins, and only then pull out a few soft pieces at the temples and loosen the coil slightly. From the front it looks carefree; underneath, it is anchored like a ballerina bun.
How to style it: secure the base first, add the pins, and loosen last — never the other way round. Common mistake: skipping the pins and relying on a single elastic, which is how a messy bun becomes a fallen-down ponytail by the second exercise.
8. The French Braid: The Most Secure Style on This List

If there is one style that deserves to be called the best of all hairstyles for a pilates class, it is the French braid. Woven close to the scalp from the hairline to the nape, it locks the hair in place at every step, so no amount of rolling, inverting or sweating can pull it loose. It lies completely flat against the head, which means it is comfortable on the mat in every position, and it keeps every layer — including the short pieces at the temples — contained. It also survives the whole class and looks good afterwards, which is more than most styles can claim.
How to style it: start at the front hairline, add small sections as you work back, and secure the end with a snag-free elastic, tucking the tail under if it is long. Cost and time: five minutes once you have practised it, and no products or tools beyond a brush and an elastic.
9. The Dutch Braid: A French Braid With More Grip
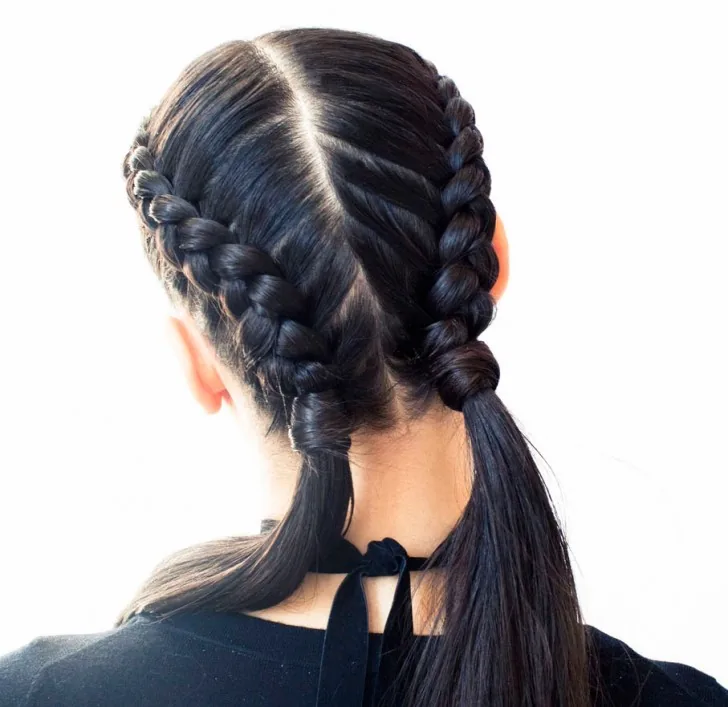
The Dutch braid is the French braid’s sturdier sibling: instead of weaving the sections over each other, you weave them under, which makes the braid sit on top of the hair and grip more tightly. For pilates, that extra grip matters — the braid holds its shape through sweat, rolling and inversions, and it is less likely to loosen at the hairline, which is where a French braid usually starts to slip first. It also looks more defined, so if you are heading somewhere straight after class, it still reads as a finished style rather than a gym afterthought.
How to style it: work underhand from the hairline back, keep the sections small and even, and pull gently on the edges at the end if you want a fuller look. Pros and cons: it holds better than a French braid and looks bolder, but it takes a little longer to learn, and the raised braid can feel slightly more noticeable when you lie back — though it is still flat enough for the mat.
10. Boxer Braids: Two Braids, Double the Hold
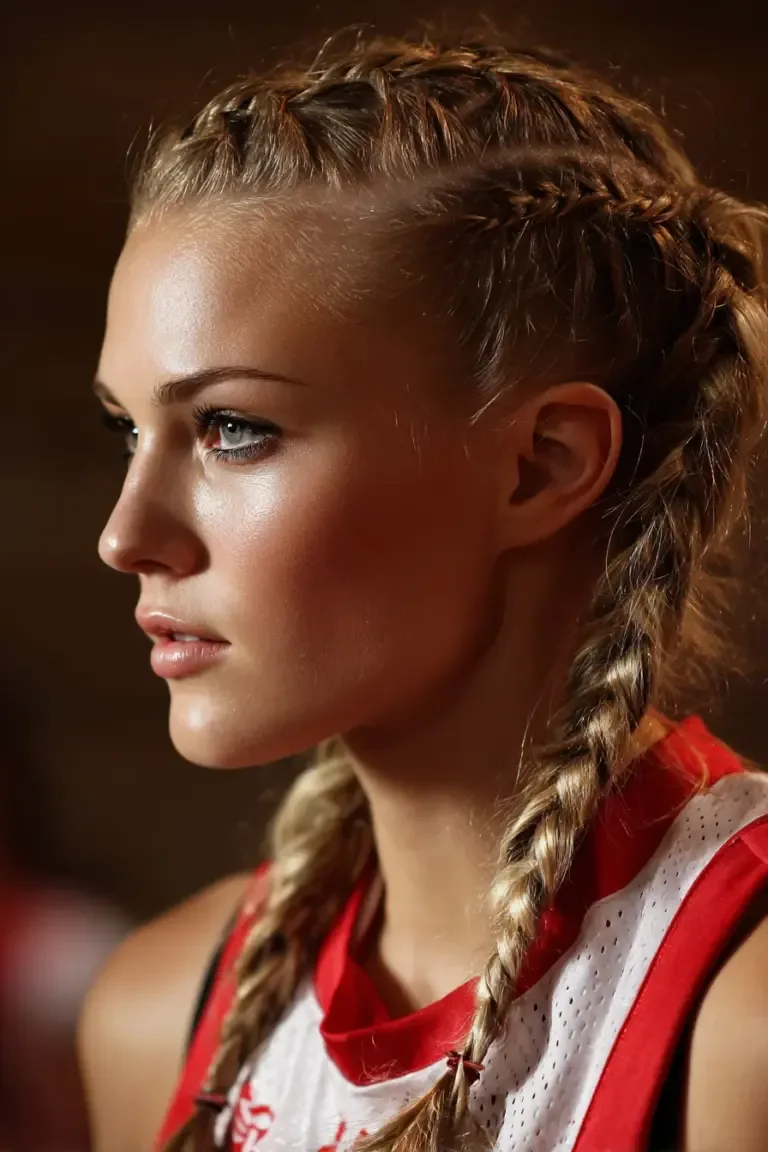
Boxer braids — two Dutch braids, one on each side — are the most secure option for long or thick hair in a pilates class, and it is easy to see why. Splitting the hair in half spreads the weight across two anchors instead of one, so nothing pulls or slides, and each braid lies flat against the scalp, which makes them comfortable in every mat position. They also contain the hair completely: there are no loose ends to catch on a reformer strap, no ponytail tail to whip across your face during a roll-up, and no flyaways at the temples, because the braids start right at the hairline.
How to style it: part the hair cleanly down the middle, Dutch-braid each side from the front to the nape, and secure both ends. Maintenance: if the ends are long, cross them at the nape and pin them, or tuck them into each other for a fully contained finish.
11. The Single Side Braid
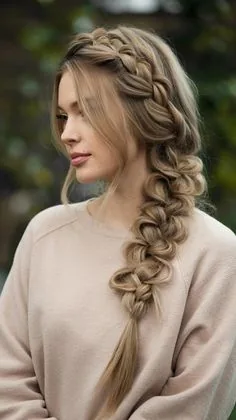
The single side braid is a good compromise when you want the security of a braid without the effort of braiding from the hairline. You sweep all the hair over one shoulder, braid it loosely from the nape down, and secure the end — the whole thing takes about two minutes, and it keeps the hair in one contained length that cannot fall into your face. The side position matters for pilates: a braid that hangs over the shoulder lies beside you on the mat instead of underneath you, so it never presses into the back of your head, and it stays clear of reformer straps at the same time.
Pros and cons: quick and comfortable, but less secure than a French or Dutch braid, because the top of the hair is only held by the sweep — short layers at the temples can still escape during inversions. How to style it: sweep the hair to your weaker side, so the braid does not interfere with the arm you use most, and pin the front pieces back before you start.
12. The Fishtail Braid: Pretty, Flat and Surprisingly Tough

The fishtail braid looks delicate, but it is one of the flattest and most durable braids you can wear to pilates. Made by crossing small sections from each side in turn, it creates a dense, interlocked pattern that grips the hair tightly and lies almost flat against the head and neck. Unlike a looser three-strand braid, it does not puff out or loosen as you move, and because the sections are small, a single strand coming loose does not undo the whole style. It also handles sweat well: the tight weave keeps its shape even when the hairline dampens.
How to style it: start with a low ponytail to anchor it, split the tail in two, and cross small pieces from the outside of each half to the inside of the other, keeping the sections even. Cost and time: about four minutes, and it gets faster with practice.
13. The Braided Ponytail: Two Holds in One Style

The braided ponytail combines the two most reliable holds in this guide — a low ponytail and a braid — into a single style that is stronger than either on its own. You secure the hair low at the nape, then braid the tail all the way down, which stops the ponytail from swinging, whipping or catching on equipment, and stops the braid from loosening at the top, because the elastic anchors it. The result is a style that stays exactly where you put it through roll-ups, inversions and the full hour, with nothing left free to fall into your face.
How to style it: use a snag-free elastic at the nape, braid the tail tightly, and secure the end with a second small elastic. Pros and cons: it is quick, secure and works on most lengths, but the braid tail can still press against the neck when you lie back if it is very long — tuck the end up and pin it if that bothers you.
14. The Braided Bun: The Bun That Cannot Fall Down
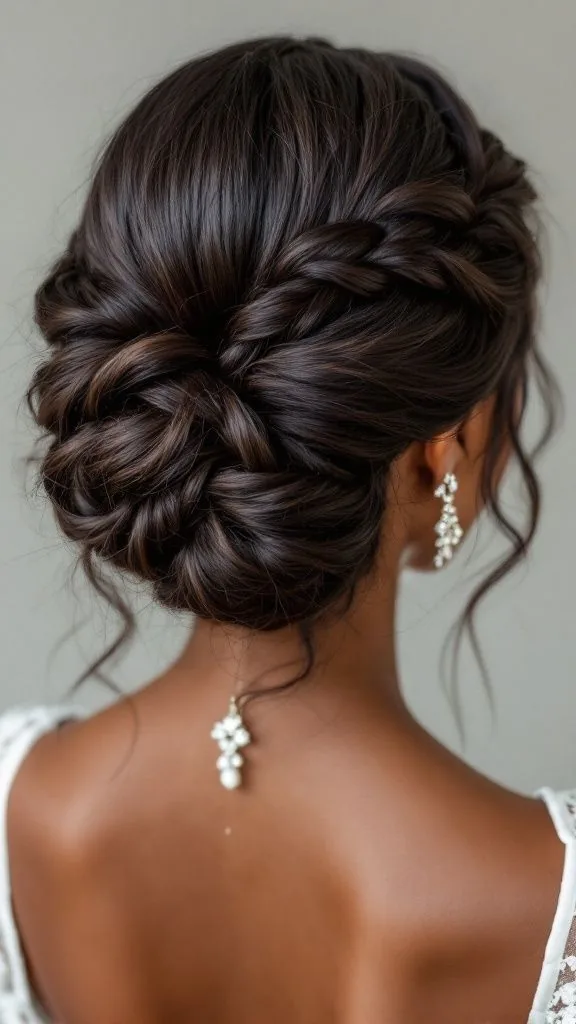
The braided bun solves the one weakness of an ordinary bun: a plain coil can loosen and slide, but a braid cannot unravel in the same way, because every section is already locked to the next one. You braid the hair first — a single low braid works best — then coil the braid around its own base and pin it flat at the nape. The result is a compact, textured bun that lies flat on the mat, holds through every roll and inversion, and stays neat even when you sweat, because the braid’s structure does the holding instead of relying on pins alone.
How to style it: braid the hair low and loosely, coil the braid into a flat circle, and pin it at four points — top, bottom and both sides. Maintenance: this style survives the whole class and the journey home, and it leaves soft waves when you take it out afterwards.
15. The Crown Braid: A Halo That Holds Everything Back
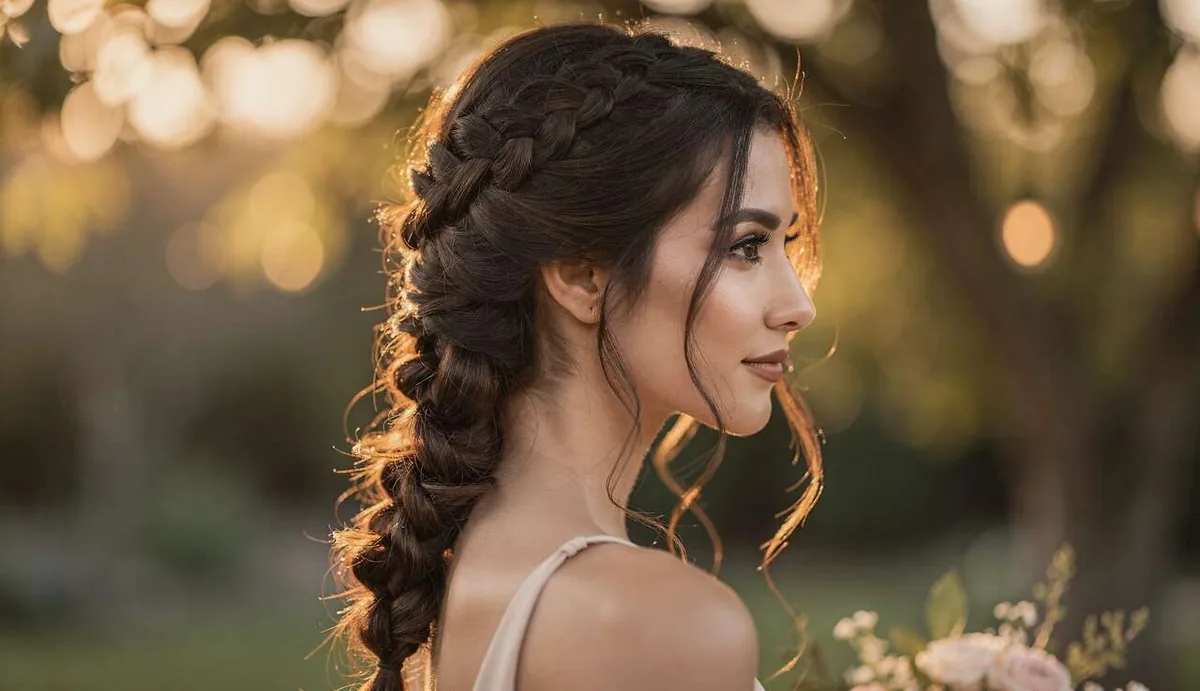
The crown braid — a braid that circles the head like a halo — is one of the prettiest hairstyles for a pilates class, and it is far more practical than it looks. Because the braid runs around the hairline, it catches every short layer and flyaway at the temples and forehead, which are the pieces that usually escape during inversions. The bulk of the hair is braided into the circle and pinned at the nape, so nothing hangs down the back to catch on equipment, and the whole style lies flat enough to be comfortable on the mat.
How to style it: Dutch-braid around the hairline from one ear to the other, then continue the braid down and around, pinning the end into the start to close the circle. Pros and cons: it holds everything back beautifully and looks finished after class, but it takes practice and about ten minutes, so save it for days when you are not rushing.
16. Double Buns: Space Buns, Worn Low
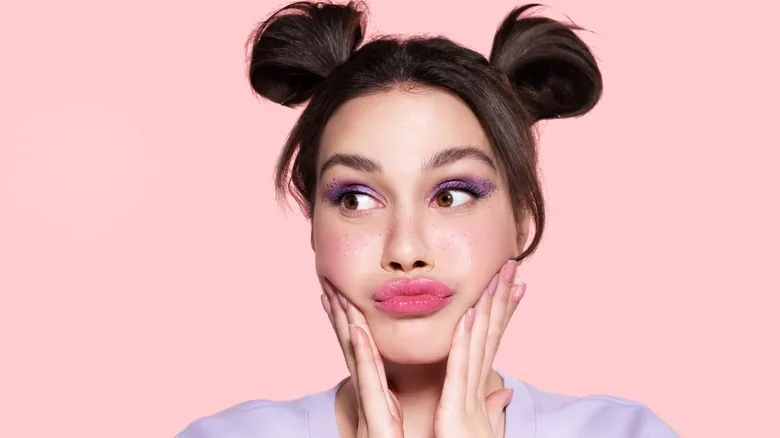
Double buns — sometimes called space buns — split the hair into two low buns, one behind each ear, and they work surprisingly well for pilates when they are worn low. Two small buns spread the weight of the hair evenly, so neither side pulls, and each bun is small enough to lie flat on the mat without pressing into the head. They also solve a problem that a single bun cannot: hair that is too thick for one coil becomes two manageable halves, each of which holds easily with a couple of pins. The style is playful, but the logic behind it is serious.
How to style it: part the hair down the middle, gather each half low behind the ear, twist and pin each bun flat. What to avoid: placing the buns high on the crown, which is the classic mistake — high buns dig into the head on the mat, while low ones disappear.
17. The Half-Up Top Knot
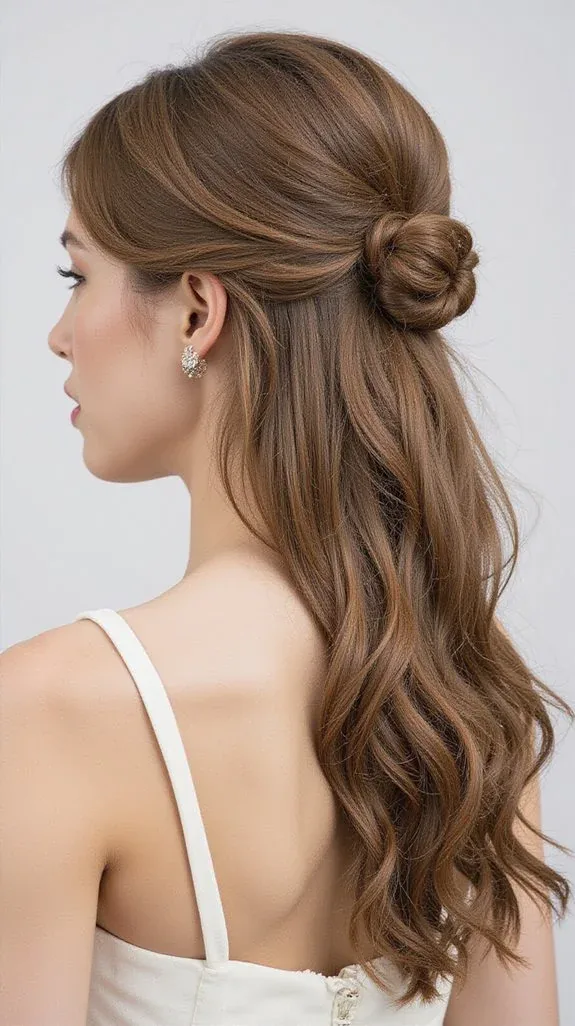
The half-up top knot is for the days when you want some hair down but none of it in your face — and in pilates, that is a harder brief than it sounds. You gather the top half of the hair into a small knot at the crown, leaving the rest loose, which keeps the front layers and the hairline completely clear while the lower hair stays out of the way at the back. The trick for class is to keep the knot small and tight, and to pin the loose hair at the nape as well, so it cannot slide forward over your shoulders during a roll-up or an inversion.
Pros and cons: it is quick and looks effortless, but the loose lower hair can still fall forward during inversions, so it is better for a gentle mat class than a fast reformer session. How to style it: take a clean top section from temple to temple, twist it into a small knot, pin it firmly, and smooth the front with a little cream.
18. The Half-Up Claw Clip
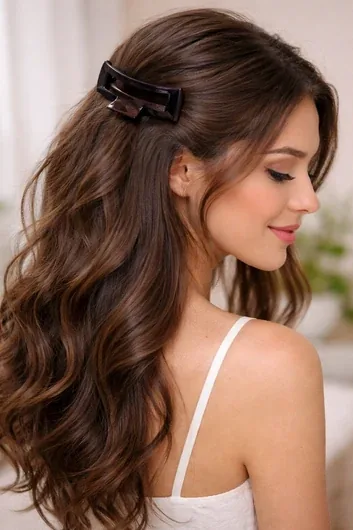
The half-up claw clip is the fastest way to get the front of your hair out of your face before class: gather the top section, twist it once, and clip it at the back of the crown. It takes about fifteen seconds, it holds without pulling, and it keeps the hairline clear through the warm-up and the standing work. For pilates, though, the clip itself matters more than the style — a flat claw clip that sits close to the head is fine, but a chunky one will dig into your skull the moment you lie back, so choose the flattest clip you own and wear it slightly to one side rather than dead centre.
How to style it: twist the top section loosely, clip it low at the back of the crown, and pin any escaping pieces at the temples. Common mistake: using a metal clip, which can press painfully into the head on the mat and can also catch on a reformer strap.
19. The Claw Clip Twist: Fully Up, Fully Flat
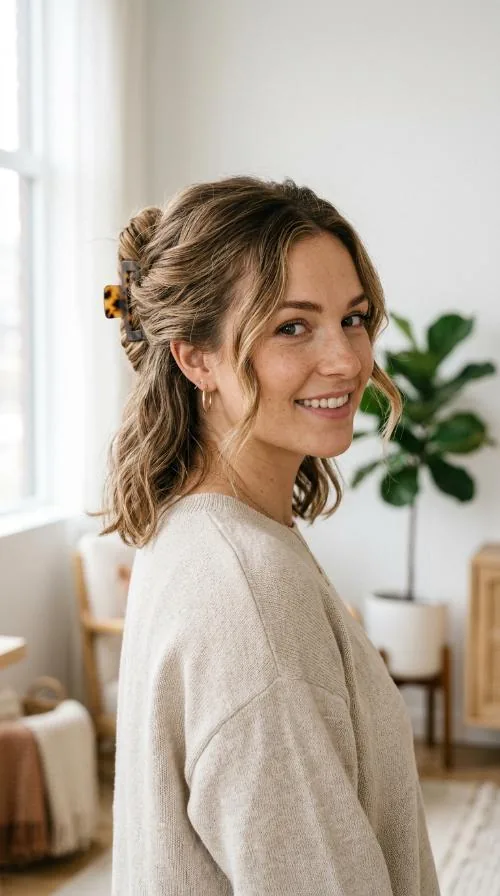
The claw clip twist — all the hair gathered, twisted up and clipped flat against the head — is a staple for a reason: it holds a lot of hair with no elastic, no pins and no pulling, and it takes seconds. For pilates, the key is the position and the clip. Twist the hair up along the back of the head and clip it so it lies vertically and flat, not bunched up at the crown, and choose a flat, flexible clip rather than a rigid, chunky one. Done this way, the twist lies flat enough to be comfortable on the mat, and the clip keeps the whole length contained through rolling and inversions.
Pros and cons: it is gentle on the hair, fast, and easy to redo mid-class if it loosens — but a single clip is one point of failure, so keep a spare tie in your bag. Best for: medium to long hair, and anyone whose scalp is sore from tight elastics.
20. The Low Twisted Chignon
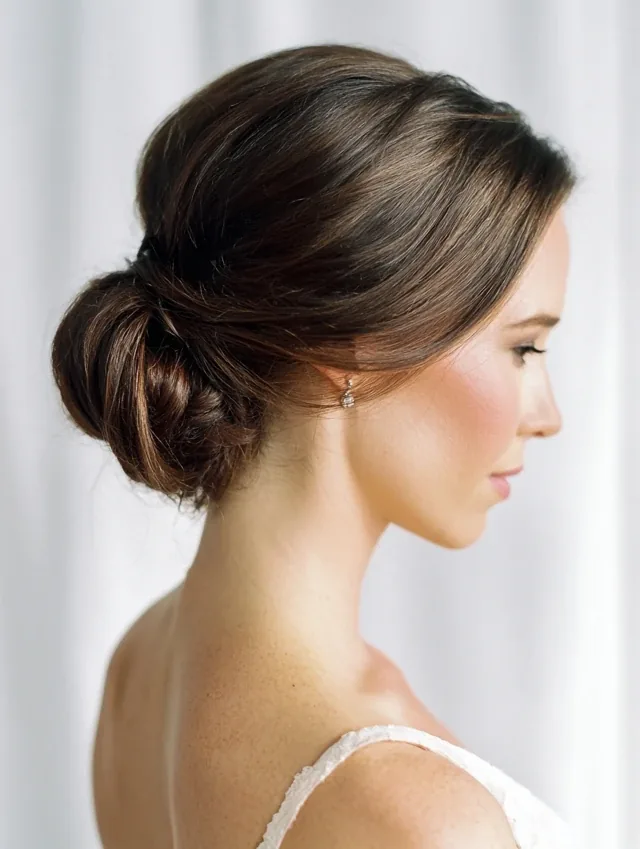
The low twisted chignon is the elegant end of the pilates spectrum: the hair is parted, twisted from each side toward the nape, and coiled into a flat, neat roll that sits low at the back of the head. It looks like a style you would wear to a wedding, but it behaves like a workout style — it lies completely flat on the mat, it has no bulk to press into the head, and the two twists anchor it from both sides, so it cannot slide the way a single ponytail can. It also keeps the hairline beautifully smooth, which matters when you are upside down and every loose hair falls toward your face.
How to style it: part the hair in the middle, twist each side back toward the nape, join the twists and coil them into a flat roll, pinning at both ends. Cost and time: about five minutes and four pins.
21. The Slicked-Back Ponytail
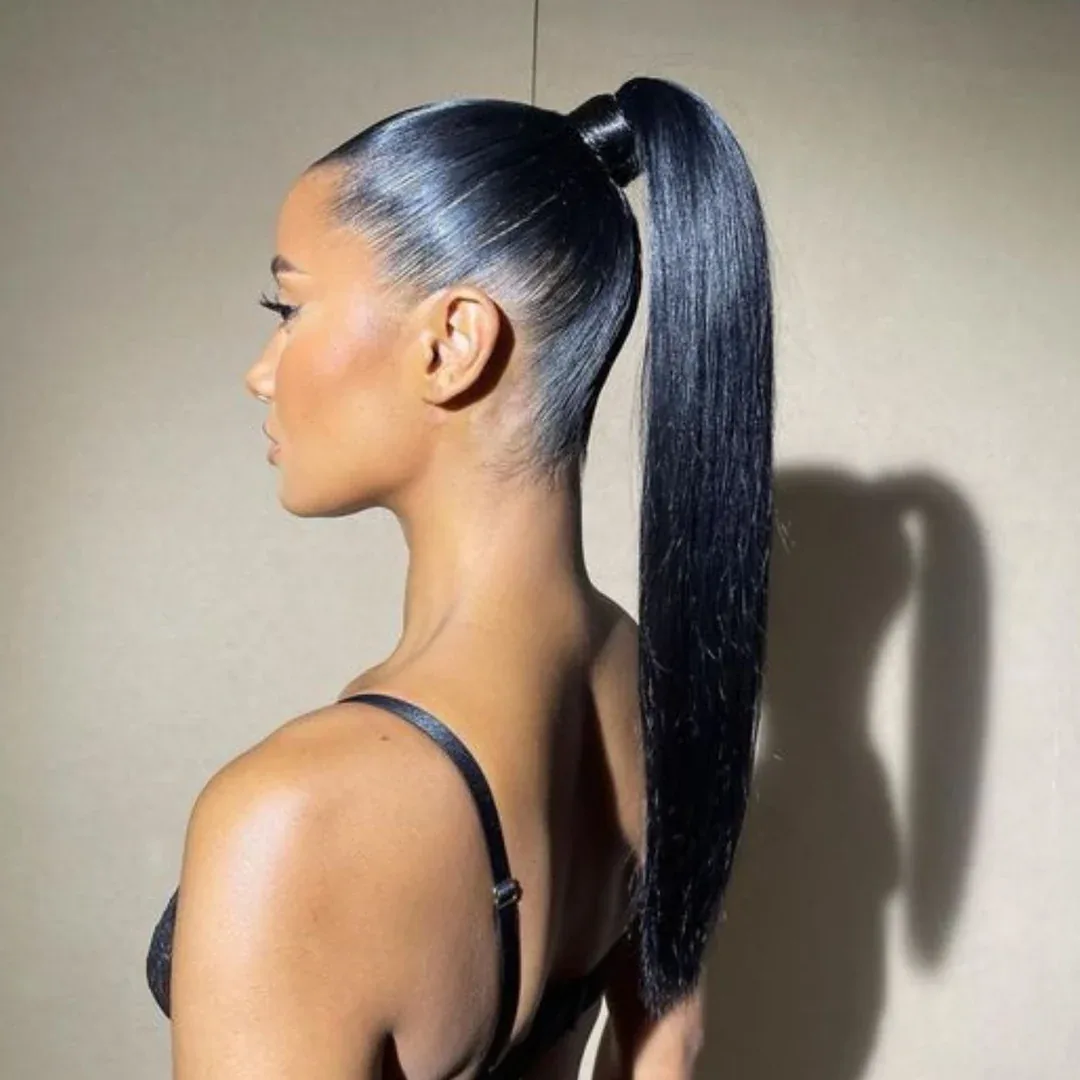
The slicked-back ponytail is the low ponytail taken one step further: every strand is brushed flat and smoothed with gel or cream, so there are no flyaways, no bumps and nothing to drift into your eyes during an inversion. It is the style you see on instructors and dancers, because it is the most reliable way to keep the hairline clean through an hour of sweat and movement. The gel does real work here, not just cosmetic work — it grips the short hairs at the temples and nape that a brush alone cannot hold, and it keeps them down even as you sweat.
How to style it: brush the hair back with a little gel worked through the roots, secure it low, then smooth the surface with a fine-tooth comb. Pros and cons: it is extremely secure and looks polished, but it needs product, and it leaves the hair slightly stiff until you wash it — so it is best for days when a wash follows class.
22. The Slicked-Back Bun With Gel

If the slicked-back ponytail is secure, the slicked-back bun is sealed: the hair is smoothed flat with gel, gathered low, twisted and pinned into a compact bun, and every strand is locked in place. Nothing escapes, nothing swings, nothing falls into the face, and the style is so flat that it is invisible on the mat — you can lie back, roll, invert and stretch without ever feeling it. It is the closest thing to a guarantee in this whole list, and it is the style to choose for the hardest classes: hot pilates, an advanced reformer session, or any class where you know you will be upside down.
How to style it: work gel through the roots, brush everything back smoothly, secure a low ponytail, twist it into a bun and pin it flat. Maintenance: the gel washes out easily with shampoo, so plan a wash after class. Quick verdict: maximum hold, minimum fuss, and the flattest profile of any style here.
23. The Braided Headband: Your Own Hair as the Band
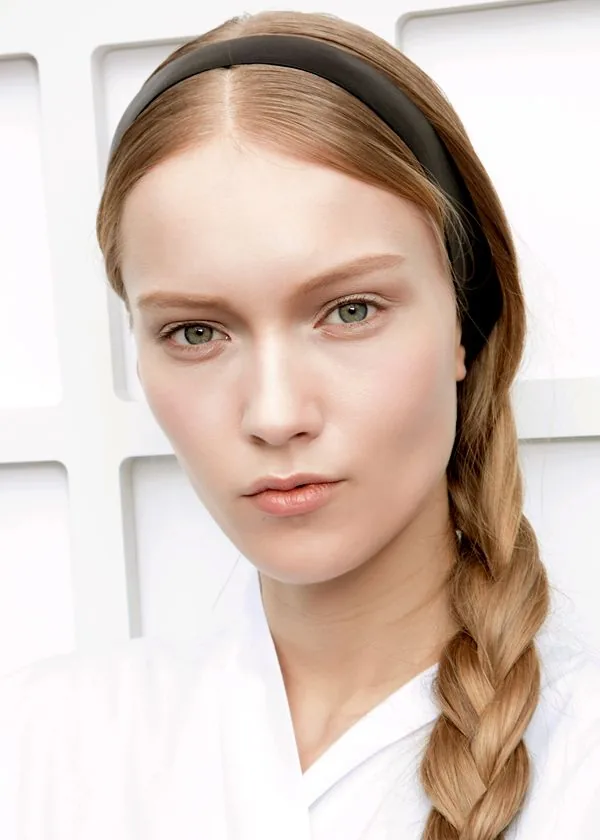
The braided headband uses a thin braid of your own hair as a headband, and it solves the one problem that defeats almost every other pilates style: the short pieces at the temples that refuse to stay back. You take a small section from behind one ear, braid it thinly, and bring it across the hairline to the other side, pinning it in place. It holds the front hair back through inversions, it lies flat enough to be comfortable on the mat, and it does the job of a headband without any extra equipment pressing into your head.
How to style it: braid a thin section from one side, sweep it across the forehead just behind the hairline, and pin it securely behind the opposite ear. Pros and cons: it is elegant and needs no accessories, but it only controls the front hair — pair it with a low bun or a braid at the back for a full class.
24. Headband Plus Low Ponytail
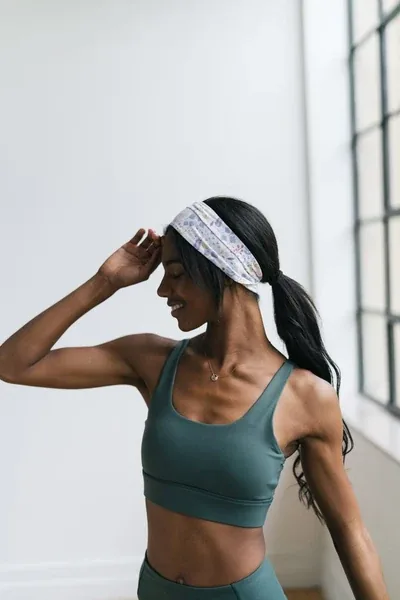
Sometimes the simplest combination is the best one: a low ponytail to hold the length, and a headband to hold the hairline. The headband catches the flyaways and short pieces at the temples that a ponytail cannot reach, and the ponytail keeps the bulk of the hair contained at the nape, so between them, nothing is free to fall into your face. For pilates, choose a soft, stretchy fabric headband rather than a hard plastic one — it lies flat on the mat, it absorbs a little sweat at the hairline, and it will not dig into your head when you lie back.
How to style it: put the headband on first, smooth the hair back over it, then secure the low ponytail. Common mistake: using a hard, narrow headband, which presses into the skull on the mat and can cause a headache by the end of class.
25. The Scarf-Wrapped Bun
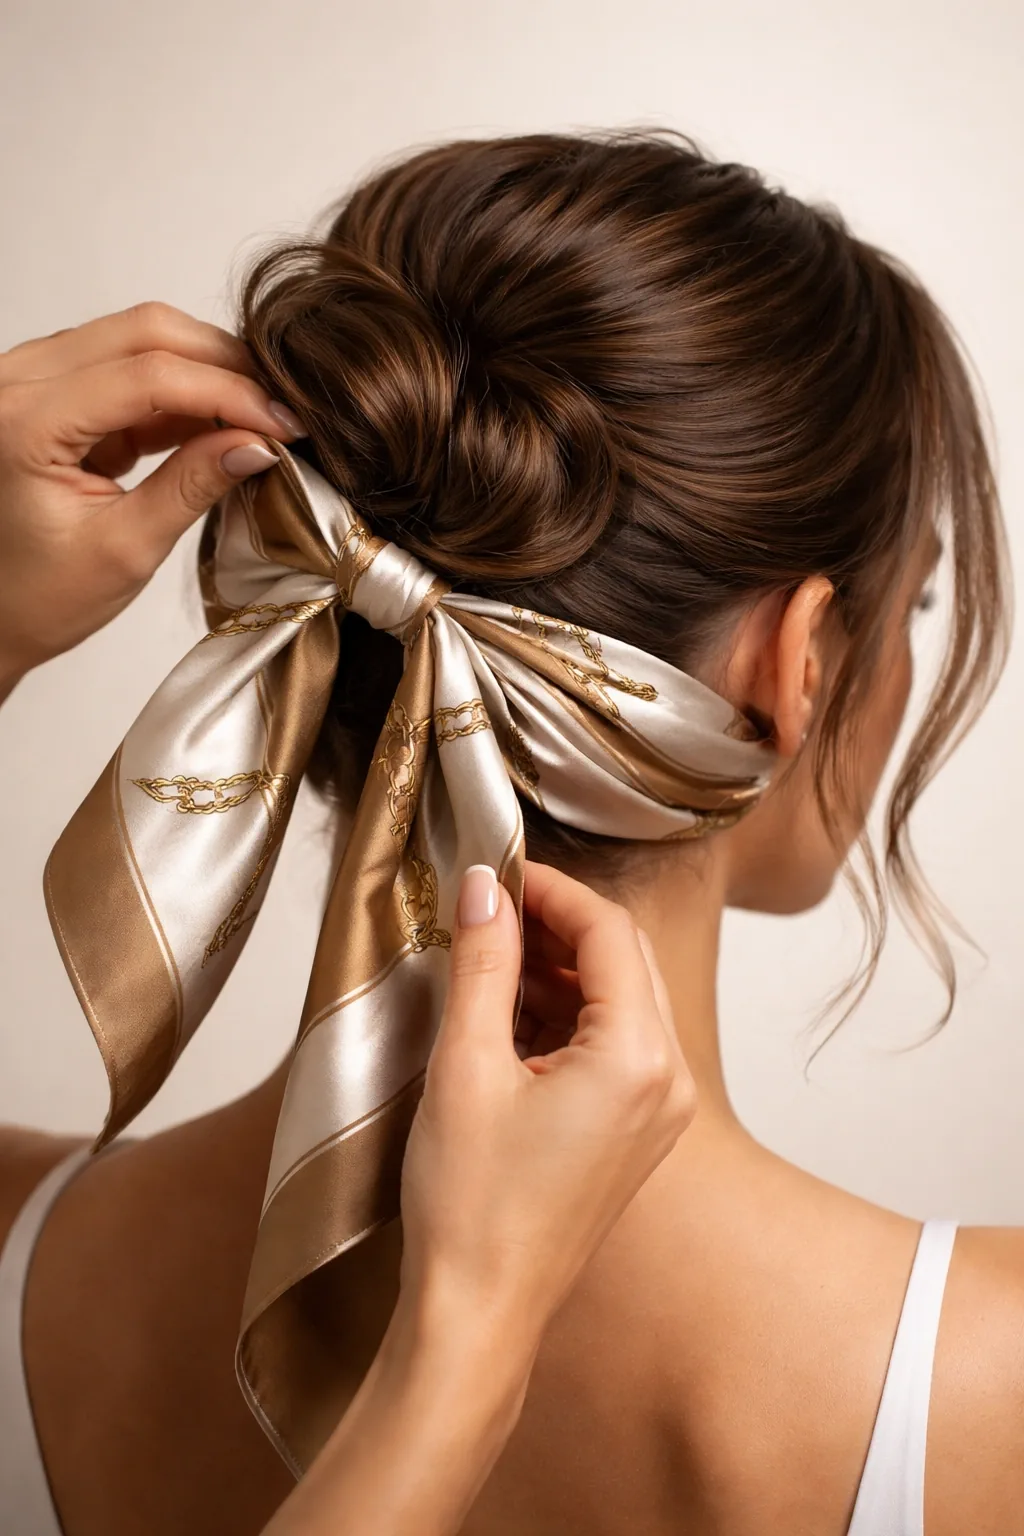
The scarf-wrapped bun wraps a silk or satin scarf around a low bun, and it does two jobs at once: it holds the bun firmly in place, and it protects the hair from friction against the mat. The scarf adds an extra layer of grip that pins alone cannot provide, so the bun cannot loosen or unravel, and the smooth fabric lets the bun slide gently across the mat instead of catching and dragging. It also looks lovely — a small, neat knot of colour at the nape — which makes it a good choice for classes followed by errands or lunch.
How to style it: make a low bun first, then wrap the scarf around its base and tie it in a small knot underneath, tucking the ends in. Pros and cons: it holds beautifully and protects the hair, but the scarf adds a little bulk, so keep the bun itself small and flat.
26. The Silk Scarf Low Ponytail
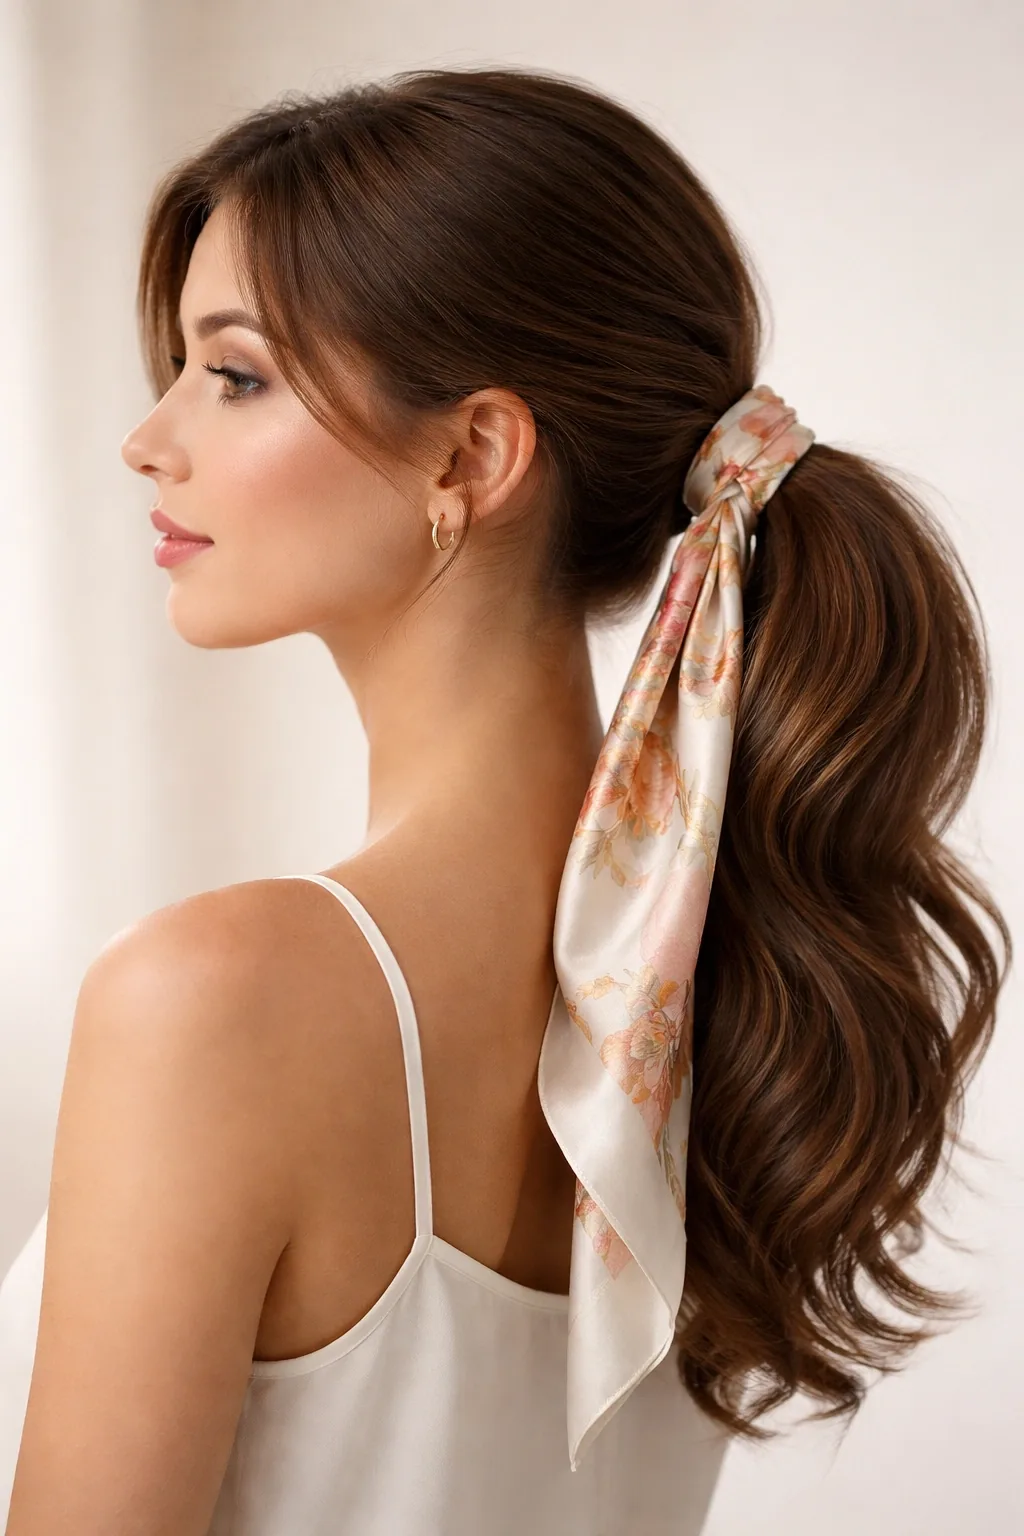
The silk scarf low ponytail is a softer version of the same idea: a low ponytail secured with a scarf instead of an elastic, or with a scarf tied over the elastic. The scarf grips without pulling, so it is kinder to the hairline than a tight elastic, and it keeps the ponytail from sliding as you sweat, because fabric holds better on damp hair than a smooth elastic does. It also catches the short hairs at the nape that usually escape a ponytail, since the scarf wraps around the whole base of the style rather than just cinching one point.
How to style it: secure a low ponytail, fold a small silk scarf into a band, wrap it around the base and tie it underneath. Maintenance: the scarf washes easily and packs flat in a gym bag. Quick verdict: a gentle, secure hold that is kinder to fine or fragile hair than an elastic alone.
27. The Pineapple for Curly Hair
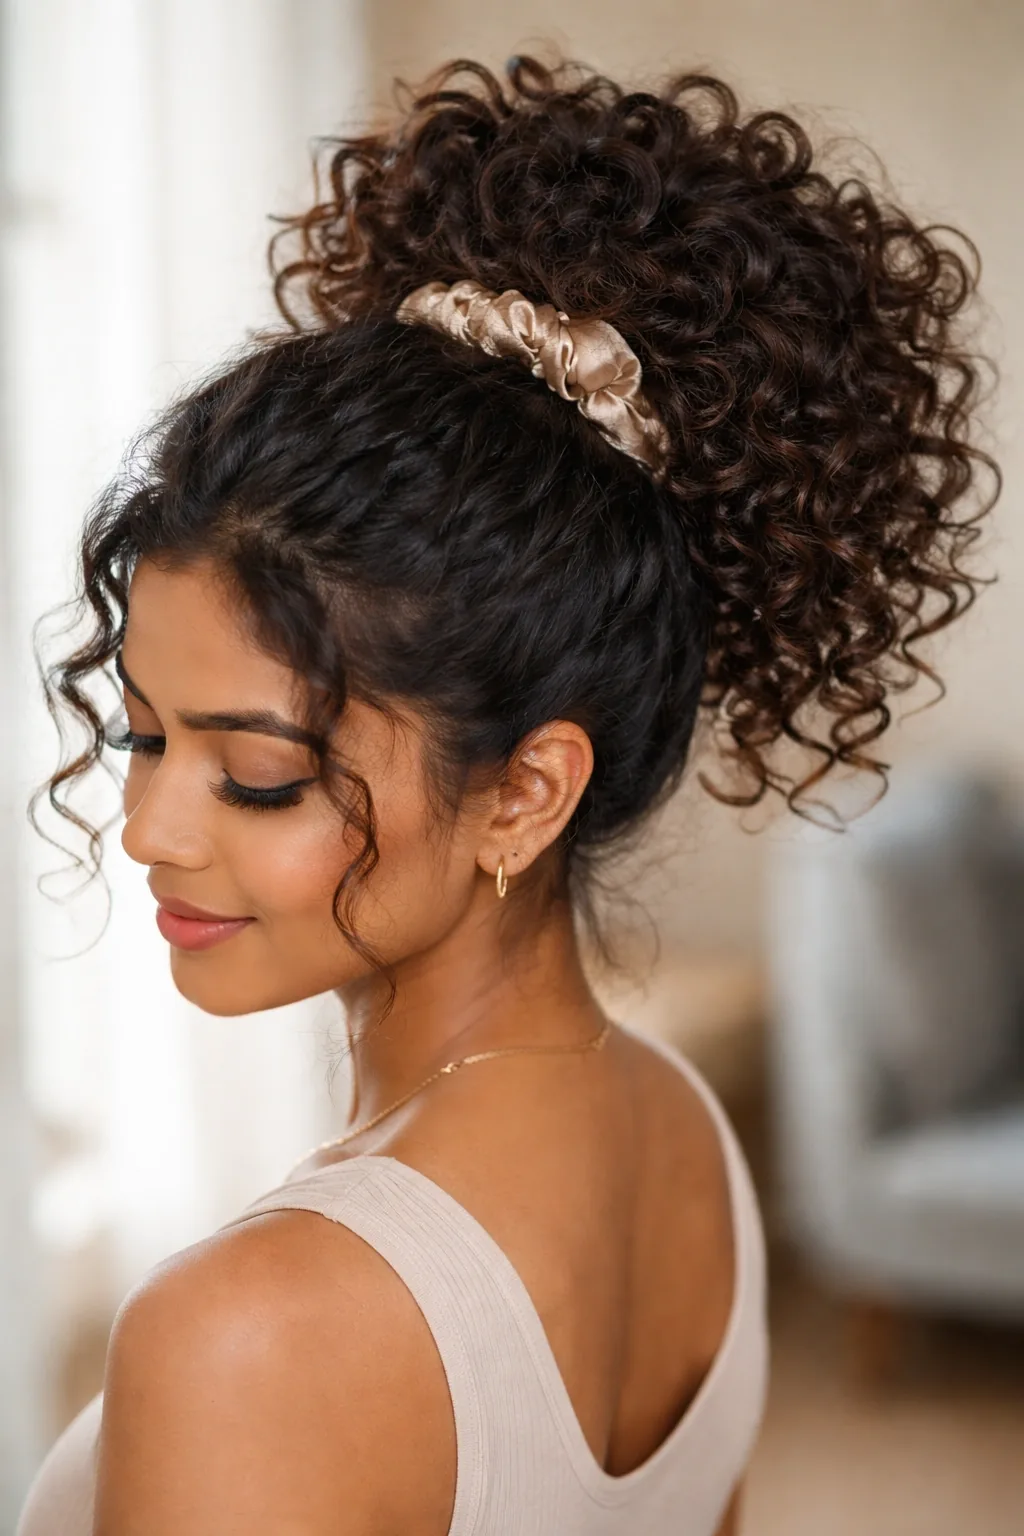
The pineapple is the classic protective style for curly hair, and with one adjustment it works well for pilates too. Normally the curls are gathered loosely high on the head, which keeps the curl pattern intact — but a high pineapple is wrong for the mat, so the pilates version gathers the curls low and loose at the nape, or in two low pineapples, one on each side. The curls stay clumped together in their natural pattern instead of being stretched out by a tight tie, which means less frizz, less breakage, and curls that still look good after class.
How to style it: gather the curls loosely with a satin scrunchie, low at the nape, and leave the curl clumps intact rather than brushing them out. Pros and cons: it protects the curl pattern and is gentle on the hair, but it is looser than a braid or a bun, so it suits a gentle mat class better than a fast reformer session.
28. The Pineapple Puff
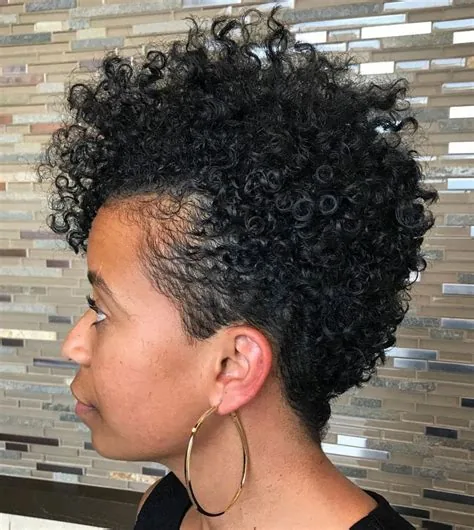
The pineapple puff is a close cousin of the pineapple, designed for shorter curly hair that cannot quite reach a ponytail: the curls are gathered into a soft puff at the front or the crown, held with a satin scrunchie or a stretchy headband, and the puff itself sits clear of the face. For pilates, wear the puff low and to the side rather than high on the crown, so it lies beside the head on the mat instead of underneath it. The puff keeps the curls contained and the hairline clear, and because the hold is soft, it does not crush the curl pattern the way a tight elastic would.
How to style it: use a satin scrunchie, gather the curls gently without brushing, and position the puff low at the back or to one side. Maintenance: a little curl cream on the ends before class keeps the puff defined, and a quick shake after class revives the shape without a full restyle.
29. Flat Twists: The Braid Alternative for Textured Hair
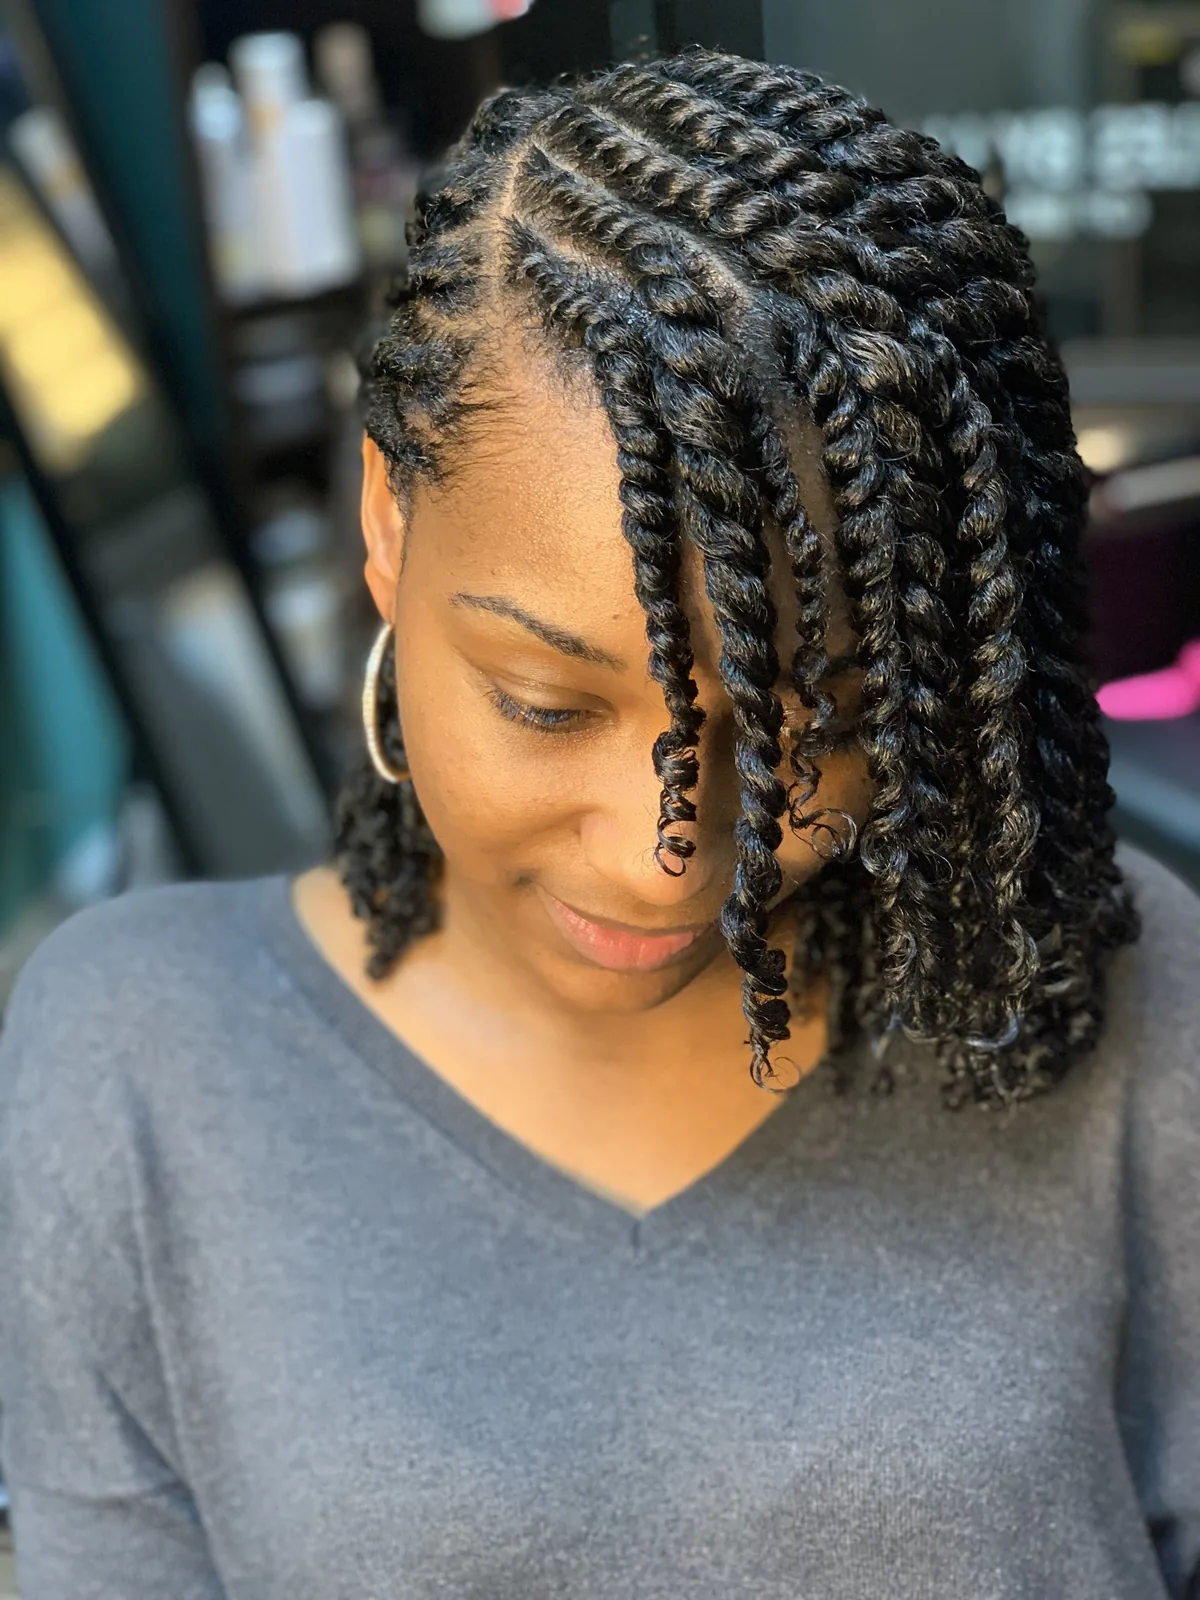
Flat twists are the answer for textured hair when braiding feels too fiddly: two strands are twisted flat against the scalp, picking up more hair as they go, in the same way a French braid does. They lie completely flat, which makes them supremely comfortable on the mat, they hold through sweat and movement without loosening, and they protect the hair from friction against the mat at the same time. A few flat twists at the front can hold the hairline back on their own, or a full head of them can be gathered into a low bun or a ponytail for a style that will not move all class.
How to style it: part the hair into sections, twist two strands flat against the scalp, adding hair as you go, and secure the ends at the nape. Cost and time: ten to fifteen minutes for a full head, or three minutes for two front twists.
30. Cornrows Pulled Back
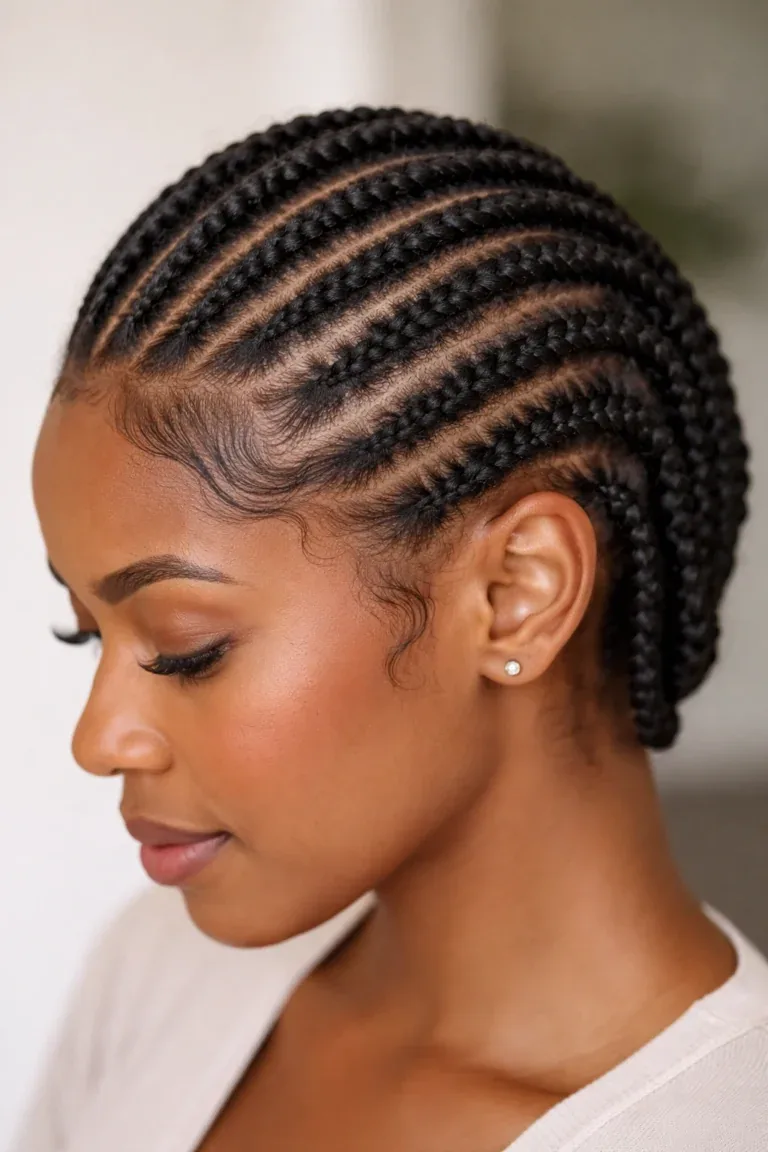
Cornrows are the most secure of all pilates hairstyles for textured hair, and arguably the most secure style on this entire list. Braided tight to the scalp in neat rows from the hairline to the nape, they cannot slip, loosen or fall into the face, whatever the class throws at them — rolling, inversions, reformer work, sweat, all of it. They lie completely flat, so they are comfortable in every mat position, and they protect the hair from friction and breakage at the same time. For anyone who takes pilates several times a week, they are also the lowest-maintenance option: the style is done once and lasts for days or weeks.
How to style it: braid in rows from the front hairline back, keeping the tension even, and gather the ends into a low bun or leave them in a short tail at the nape. Maintenance: keep the scalp moisturised, wear a silk scarf at night, and the style will carry you through a whole week of classes.
31. Box Braids Pulled Back
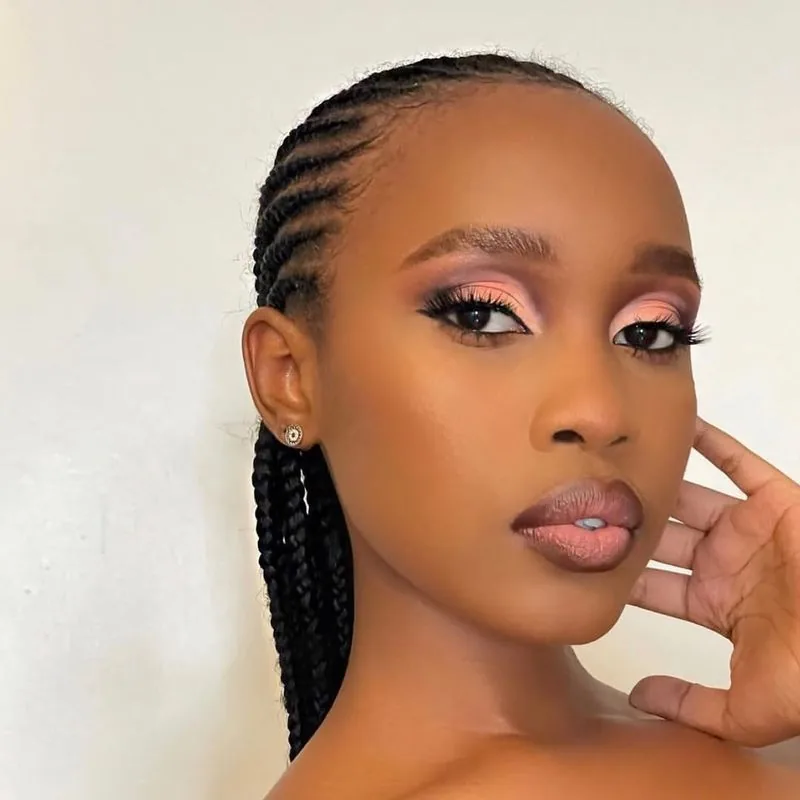
Box braids are already a protective style, and pulling them back for pilates is simply a matter of gathering them low and securing them so they cannot swing or catch. The braids themselves will not unravel, which removes the biggest worry in class, and because the weight is spread across dozens of braids, a low ponytail or a low bun made from them holds easily. The key adjustment for pilates is the position: gather the braids low at the nape, not high, so the bundle lies flat on the mat, and if the braids are long, loop or braid the tail so it does not trail across the mat or catch on reformer straps.
How to style it: gather all the braids into a low ponytail with a large, snag-free elastic, then twist the tail into a loose bun and pin it, or braid the tail into one big plait. Pros and cons: extremely secure and protective, but the bundle can be heavy, so a low position matters — a high bundle will pull at the hairline all class.
32. Braided Pigtails: Two Plaits, Zero Distraction
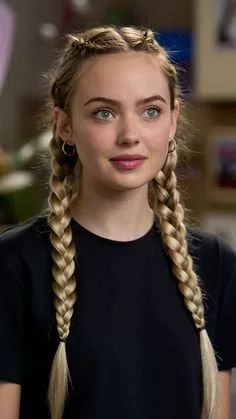
Braided pigtails — two simple plaits, one on each side — are the easiest secure style on this list, and they are underrated for pilates. You part the hair down the middle, braid each side from the nape down, and secure the ends; the whole thing takes about three minutes, needs no pins, and holds through rolling, inversions and sweat because each plait is anchored low and the weight is split in half. The plaits hang over the shoulders rather than down the back, so they lie beside you on the mat, and there is nothing at the back of the head to press into the mat or catch on equipment.
Pros and cons: fast, comfortable and very secure, but the front hairline is only held by the part, so short layers at the temples may still escape — pin them back first if that is a problem for you. Best for: medium to long hair, and anyone who wants a no-fuss style that works on the first try.
33. The Low Loop Bun
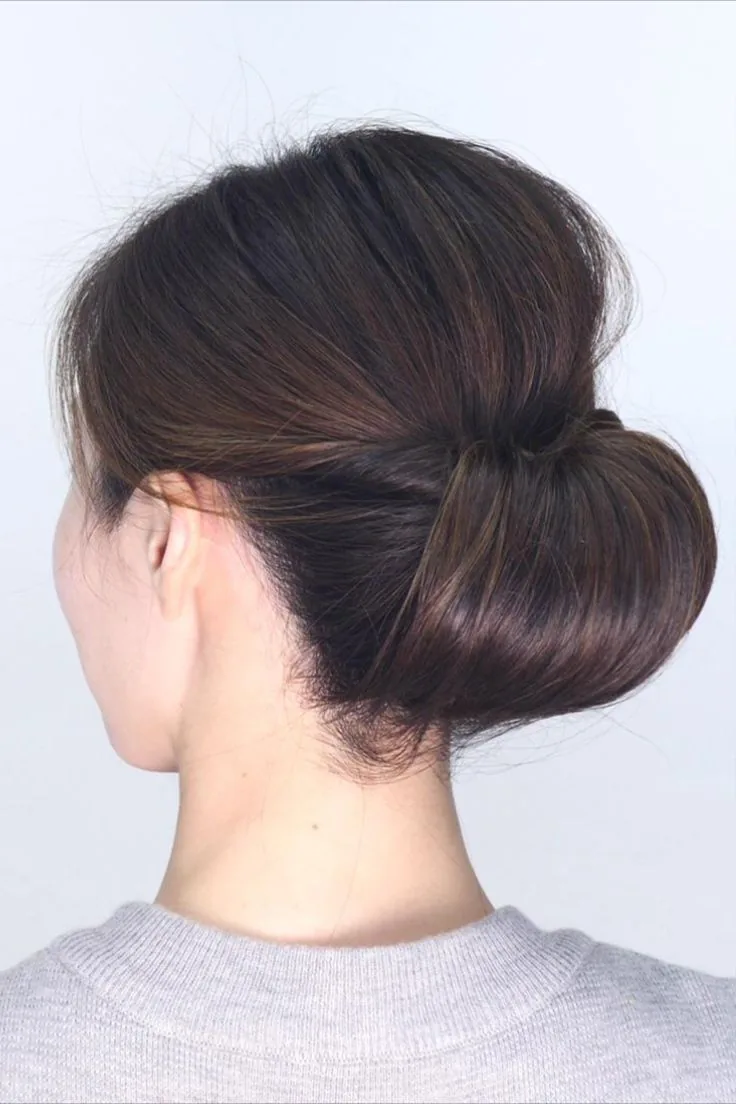
The low loop bun is the laziest good style in this guide: instead of wrapping the hair all the way around into a coil, you pull it only halfway through the elastic on the last pass, leaving a small loop at the nape with the ends tucked underneath. It takes about twenty seconds, it lies completely flat on the mat, and the loop shape is naturally compact, so there is nothing to swing, catch or unravel. It is not the prettiest style here, but it is one of the most honest — it does exactly what a pilates hairstyle needs to do, and it does it with one elastic and no pins at all.
How to style it: gather the hair low, pull it through the elastic twice, and on the third pass pull it only halfway through, then tuck the loose ends around the base. Maintenance: if it loosens, just redo it — it takes seconds, which makes it a good mid-class rescue style as well.
34. The Figure-Eight Bun

The figure-eight bun is a small variation on the ordinary bun that makes a real difference for thick hair: instead of coiling the hair in a circle, you loop it into a figure eight, crossing the hair over itself before pinning it flat. The crossing creates two anchor points instead of one, so the bun cannot rotate or slide the way a simple coil sometimes does, and the shape spreads the bulk out flatter against the head, which makes it more comfortable on the mat. It looks a little more interesting than a plain bun, too, with a neat, woven texture that reads as deliberate rather than thrown together.
How to style it: make a low ponytail, split the tail in two, loop each half around the base in opposite directions, cross them in the middle and pin at the crossing point. Cost and time: about three minutes and three or four pins.
35. The French Twist, Worn Low
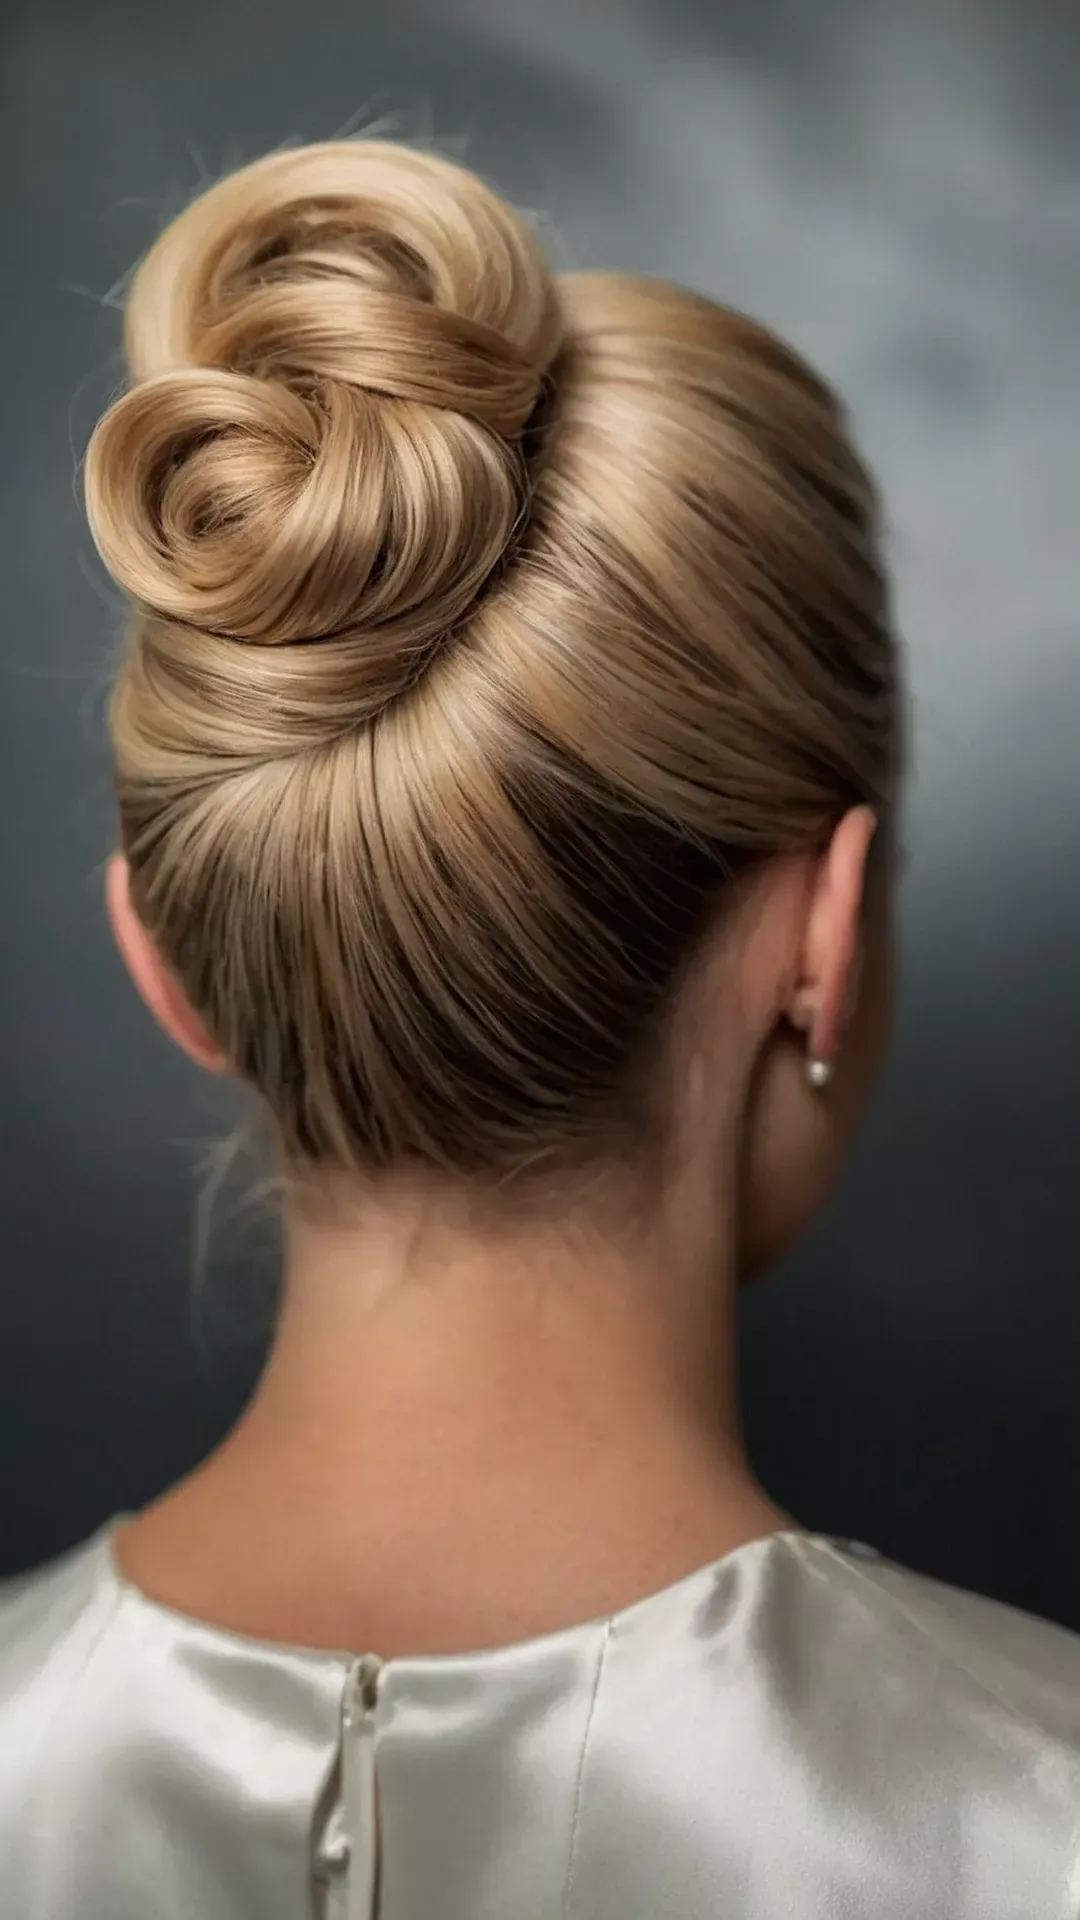
The French twist is a classic for a reason: the hair is swept up, folded over itself and pinned into a vertical roll that holds its shape for hours. For pilates, the twist needs one change — wear it low, at the nape rather than high on the back of the head, so the roll lies flat against the mat instead of sticking out. Done low, it is one of the flattest and most secure styles in this list: the fold locks the hair in place, the pins hold the roll from both sides, and there are no loose ends anywhere to catch on equipment or fall into your face.
How to style it: gather the hair low, twist it upward into a roll, tuck the ends in at the top, and pin along the fold with bobby pins placed vertically. Pros and cons: it is elegant, flat and very secure, but it takes practice to get the roll even, so try it at home before you rely on it for a class.
36. The Gibson Tuck: The Flattest Style on This List
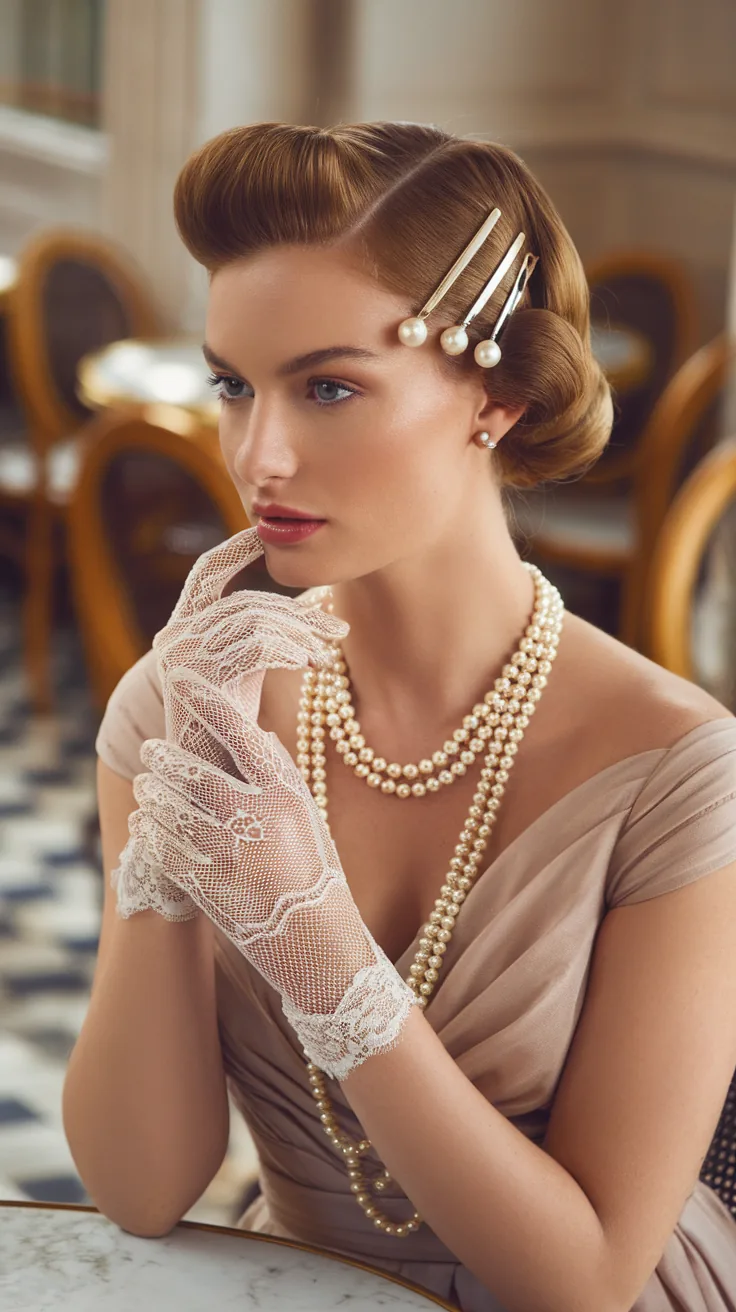
The Gibson tuck is the flattest hairstyle in this entire guide, and that makes it almost perfect for pilates. The hair is gathered into a low ponytail, the ponytail is looped up and tucked into a pocket made by splitting the hair above the elastic, and the ends disappear inside the roll. The result is a smooth, flat roll at the nape with nothing sticking out at all — no bun, no tail, no clip, nothing to press into the head on the mat or catch on a reformer strap. It is comfortable in every position, including lying flat on your back, and it holds through rolling and inversions because the tuck locks the hair in place.
How to style it: make a low, loose ponytail, split the hair above the elastic, flip the tail up and through the gap, and pin the roll flat. Cost and time: two minutes, one elastic and two pins. Common mistake: making the ponytail too tight, which leaves no room for the tuck — keep it loose enough to flip through easily.
37. The Knotted Ponytail
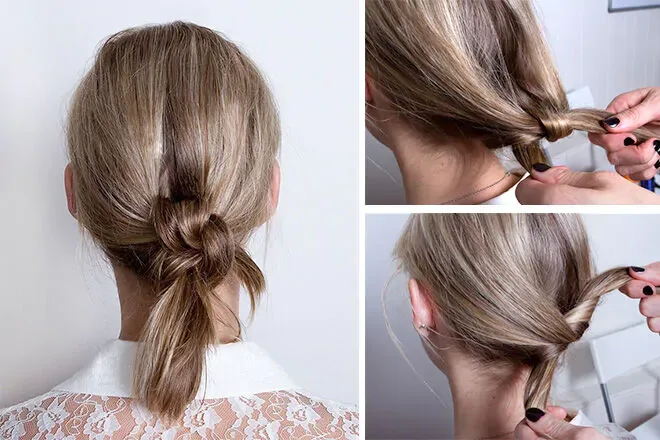
The knotted ponytail replaces the elastic with the hair itself: you split a low ponytail into two sections, tie them in a simple knot, and secure the knot with a pin or a small elastic hidden underneath. The knot grips the hair more firmly than an elastic alone, because the hair holds itself, and it cannot slide down as you sweat — which is the usual failure of a plain ponytail in pilates. It also lies flat, since the knot sits low at the nape, and it has a neat, knotted texture that looks intentional rather than improvised.
How to style it: gather the hair low, split the tail in two, tie one simple overhand knot, and pin the knot in place, leaving the ends to hang or tucking them under. Pros and cons: it holds better than a plain ponytail and needs no special tools, but the knot works best on medium to long hair — short hair does not have enough length to tie.
38. The Rope Braid Ponytail
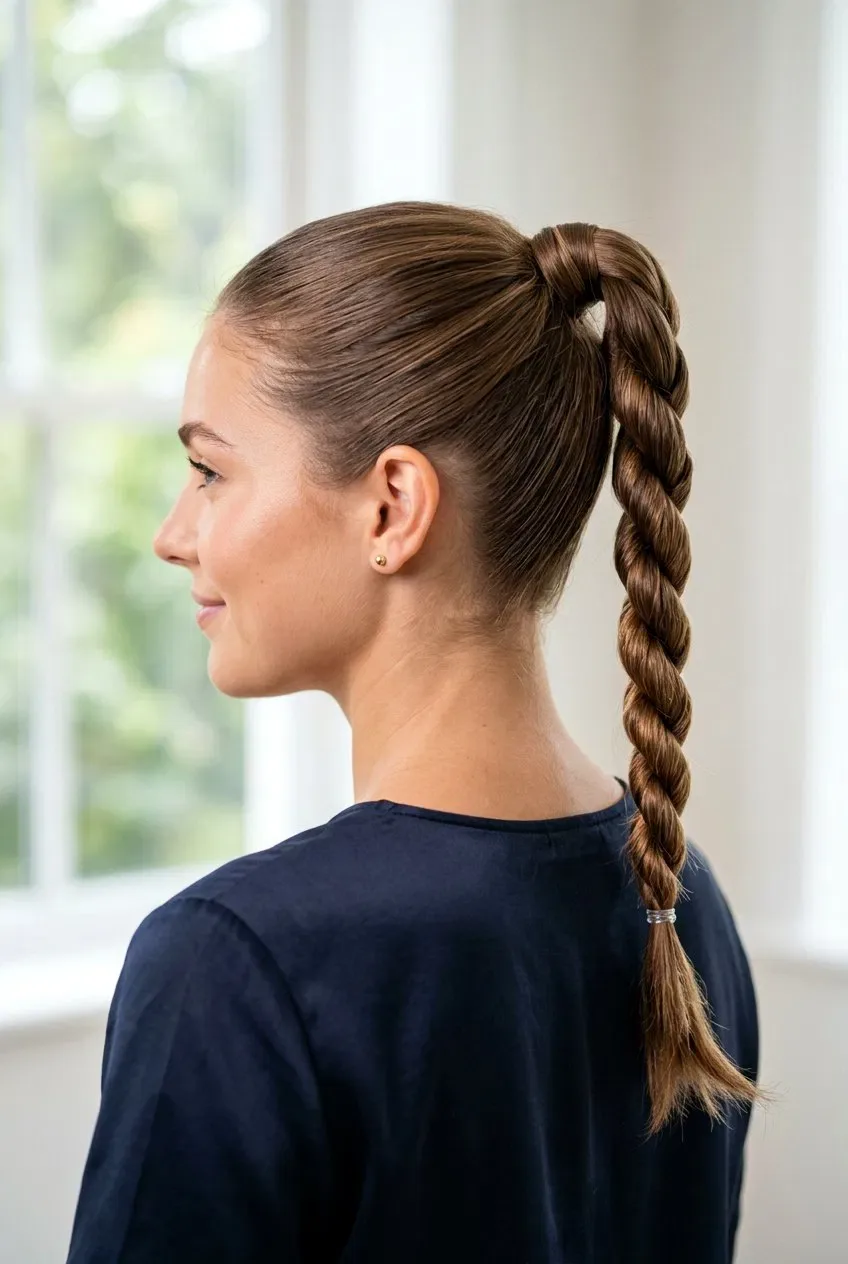
The rope braid ponytail is a low ponytail with the tail twisted into a rope: split the tail in two, twist each half in the same direction, then twist the two halves around each other in the opposite direction, and secure the end. The opposing twists lock each other in place, so the rope cannot unravel the way a loose ponytail tail can, and the tail stays in one neat, contained length that does not whip across your face during roll-ups or catch on equipment. It is quick — about two minutes once you know the motion — and it works on any hair long enough for a ponytail.
How to style it: secure a low ponytail first, then twist and counter-twist the tail, keeping the tension even all the way down. Maintenance: the rope holds its shape through the whole class and leaves soft, even waves when you take it out. Quick verdict: a two-minute upgrade that turns an ordinary ponytail into a style that actually stays put.
39. Short Hair: The Slicked Pixie With Clips
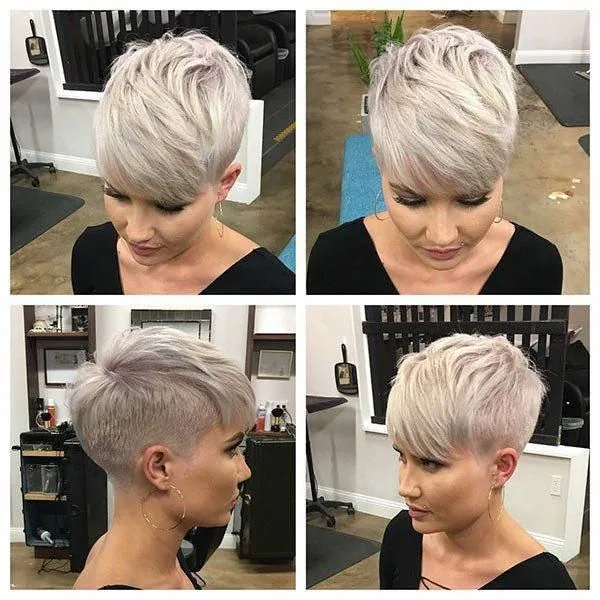
Short hair and pixie cuts present a different problem in pilates: there is not enough length to tie back, so the hair falls into the face every time you invert or roll. The answer is not a tie but a combination of product and clips. Work a little styling cream or gel through the hair, sweep it back from the face, and pin the front sections flat with two or three small, flat bobby pins placed behind the hairline. The gel holds the shape, the pins hold the pieces that would otherwise escape, and the whole style lies flat enough to be comfortable on the mat in any position.
How to style it: apply cream to damp or dry hair, comb it back smoothly, and place flat pins at the temples and above the ears. Pros and cons: it is fast and genuinely effective, but it depends on product and pins — without them, short hair will not stay back on its own. Best for: pixie cuts, short bobs and anyone growing out a short cut.
40. Short Hair: Mini Buns and the Pinned-Back Bob
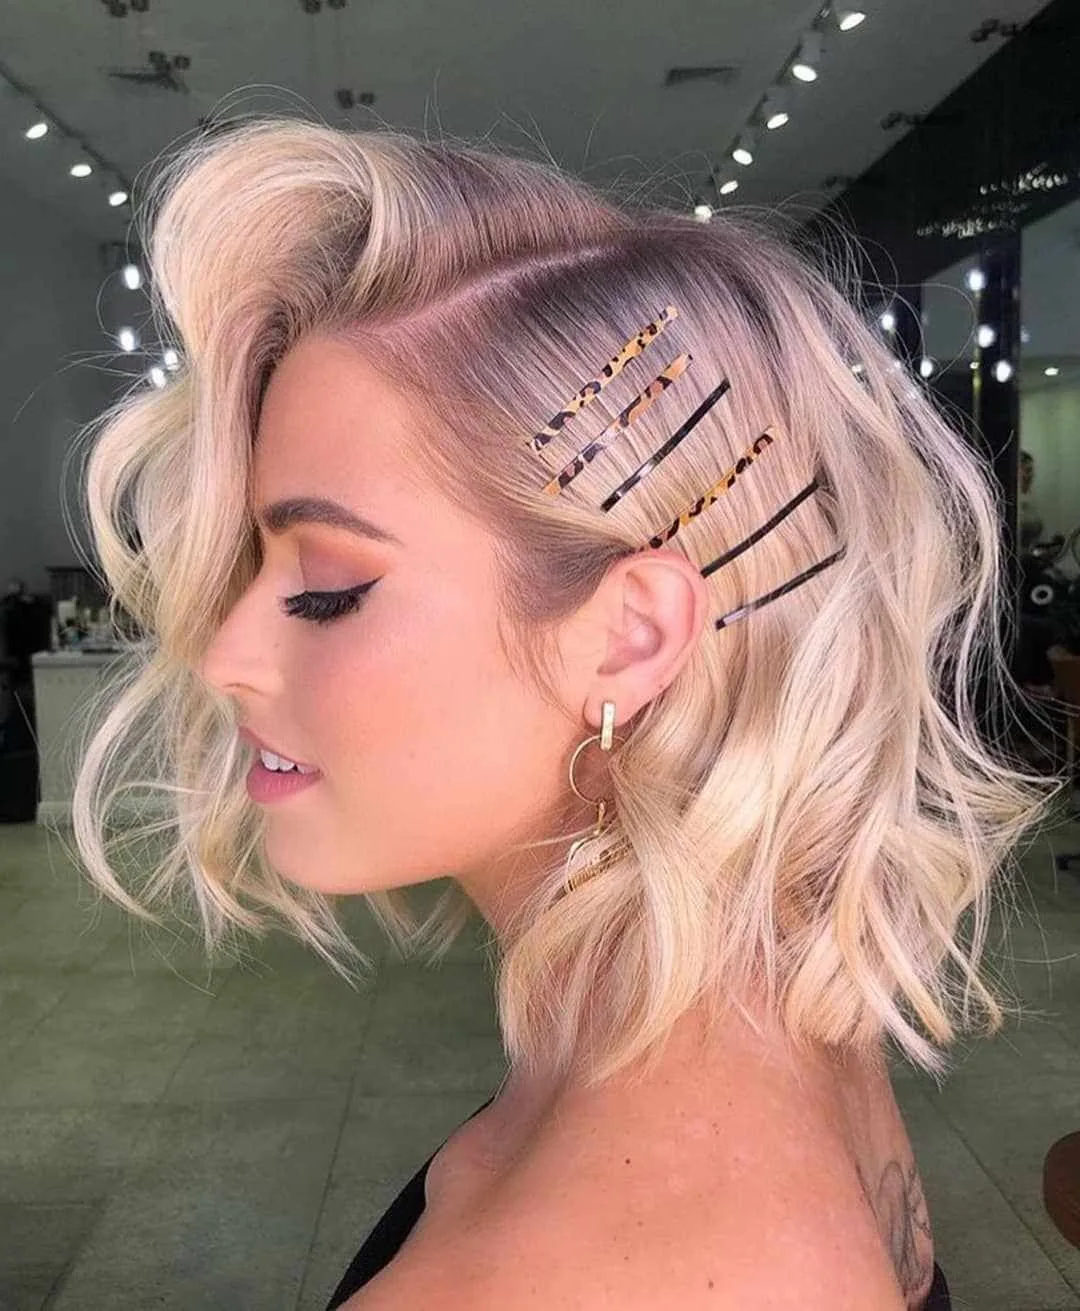
If your bob is just long enough to gather, mini buns and pinning are your best friends in a pilates class. Split the hair into two small sections at the back, twist each into a tiny bun and pin it flat, or gather the top half into a small low bun and pin the rest back at the nape. The pieces that are too short to reach the bun get pinned individually with flat bobby pins, so nothing is left free to fall into your face during inversions. The result is a style that is fully contained, completely flat on the mat, and achievable on hair that is barely shoulder-length.
How to style it: work in small sections, pin as you go, and use pins that match your hair colour so they disappear. Maintenance: keep a few spare pins in your gym bag, because short pieces are the first to escape if a pin loosens mid-class. Quick verdict: short hair needs pins, not ties — accept that, pin generously, and your bob will stay out of your face for the whole class.
What is the best hairstyle for a pilates class?
The best hairstyle for a pilates class is a low bun or a French braid, because both lie flat on the mat, hold through rolling and inversions, and keep every strand out of your face for the full hour. A low ponytail is a good simpler option, and boxer braids are the most secure choice for long or thick hair. Whatever you choose, keep it low and flat — anything high or bulky at the back of the head will press into your skull when you lie down.
How do I stop my hair falling in my face during pilates?
Choose a style that anchors the hair at the hairline, not just at the back — a French or Dutch braid, a crown braid, or a slicked-back style with gel will hold the front pieces that a ponytail misses. Pin back any short layers at the temples with flat bobby pins, and add a soft fabric headband if your studio allows it. The pieces that fall into your face during inversions are almost always the short ones at the front, so control the hairline first and the rest of the style second.
Can I wear my hair down for pilates?
You can, but it is not a good idea for most classes. Loose hair falls into your face during inversions, trails across the mat when you lie down, catches on reformer straps, and gets sweaty and tangled by the end of the session. If you really prefer your hair down, at least clip the front sections back and tie the rest loosely at the nape for the floor work.
What hairstyle works for short hair in pilates?
For short hair, the best pilates styles use product and pins rather than ties: slick the hair back with styling cream or gel and pin the front sections flat with small bobby pins, or gather what you can into low mini buns and pin the remaining pieces at the nape. A soft fabric headband also helps, because it holds the hairline back without needing any length to tie. Avoid chunky clips at the back of the head, which dig in on the mat — flat pins are the right tool for short hair in pilates.
How do I keep my hair from getting sweaty and frizzy in pilates?
Keep the hair contained in a braid or a low bun so sweat at the hairline cannot loosen it, and use a little styling cream or gel at the roots before class to smooth frizz before it starts. A sweat-wicking fabric headband helps by absorbing moisture at the hairline.
Should I wash my hair after pilates?
You do not have to wash your hair after every pilates class, especially if the session was gentle and you did not sweat much — dry shampoo at the roots and a quick brush are often enough. If you sweated heavily, did hot pilates, or your scalp feels itchy or damp, a wash is worth it, because sweat and salt left on the scalp can cause irritation and dull the hair over time.
What hair ties are best for pilates?
The best hair ties for pilates are snag-free elastics with no metal join, because metal joins snag and snap the hair, and they can also catch on reformer straps. Thick, soft fabric-covered elastics grip well without pulling, and spiral telephone-cord ties hold securely while leaving less of a kink in the hair. Avoid thin rubber bands, which break and damage the hair, and avoid a single tie doing all the work — use a tie plus pins, or two ties, so the style has a backup if one loosens mid-class.
How do I keep a bun from hurting when I lie on my back?
Place the bun low, at the nape or just above it, so it lies flat beside the mat rather than underneath your head — a high bun is the usual cause of the pain. Keep the bun small and flat by braiding the hair first or twisting it tightly, and avoid chunky clips or knots that add bulk. If your hair is very thick, split it into two smaller low buns instead of one large one, which spreads the weight and removes the pressure point entirely. If a bun still hurts, switch to a braid, which lies flatter than any bun can.
Can I wear a headband or a hat to pilates?
A soft, stretchy fabric headband is fine for pilates and genuinely useful — it holds back flyaways, absorbs sweat at the hairline, and lies flat on the mat. A hard plastic headband is less suitable, because it presses into the head when you lie back and can slip as you sweat. A hat is not a good idea: it traps heat, slides around during inversions, and gets in the way of the head and neck alignment that pilates depends on. If you want extra hold, a fabric headband plus a low bun is a better combination than a hat.
What hairstyles work for curly hair in pilates?
For curly hair, the best pilates styles protect the curl pattern while keeping the hair contained: a low pineapple gathered loosely with a satin scrunchie, flat twists, cornrows, or a braided bun all work well. Braids are the most secure option, because they hold through inversions and sweat without loosening, while a pineapple is gentler but looser, so it suits a gentle mat class better than a fast reformer session. Use a little curl cream before class, avoid brushing the curls out, and apply dry shampoo at the roots afterwards rather than washing every time.
Conclusion: Low, Flat and Pinned Twice
The best hairstyles for a pilates class all follow the same simple rule: low, flat and pinned twice. A low bun, a French braid, boxer braids or a Gibson tuck will each carry you through a full hour of rolling, inverting and reformer work without a single adjustment, while a high ponytail or a loose, romantic style will fight you from the first roll-up.
Start with the five-minute routine — low ponytail, twist or braid, two crossed pins — and work your way through the 40 styles until you find the two or three that suit your hair length, your texture and your class. Keep a couple of spare ties and pins in your gym bag, wash on the days that suit your schedule rather than after every class, and remember that the goal is not a perfect hairstyle. The goal is an hour in which your hair never once gets in the way of the work — and with the right style, that is exactly what you get.

