
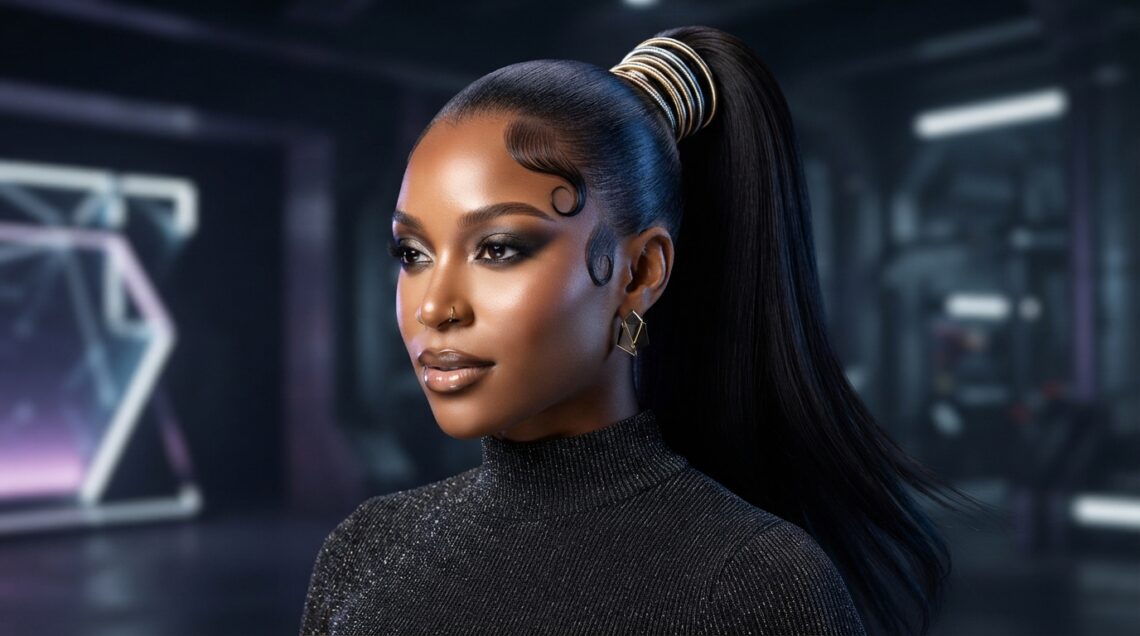
There is something about a sleek high ponytail that instantly makes you look like you have your life together. Hair up, edges clean, chin lifted. Done.
I used to think it took a stylist, a team, and forty-five minutes. It doesn’t. It takes five steps and about ten minutes once you know the right order of operations.
This is the exact routine I use on my own hair, and the one I walk friends through over FaceTime. No salon chair, no ten-product shelf, no complicated tools.
By the end you’ll know how to get that mirror-shine finish, how to keep it up all day, and how to take it down without wrecking your hair.
What a Sleek High Ponytail Really Is
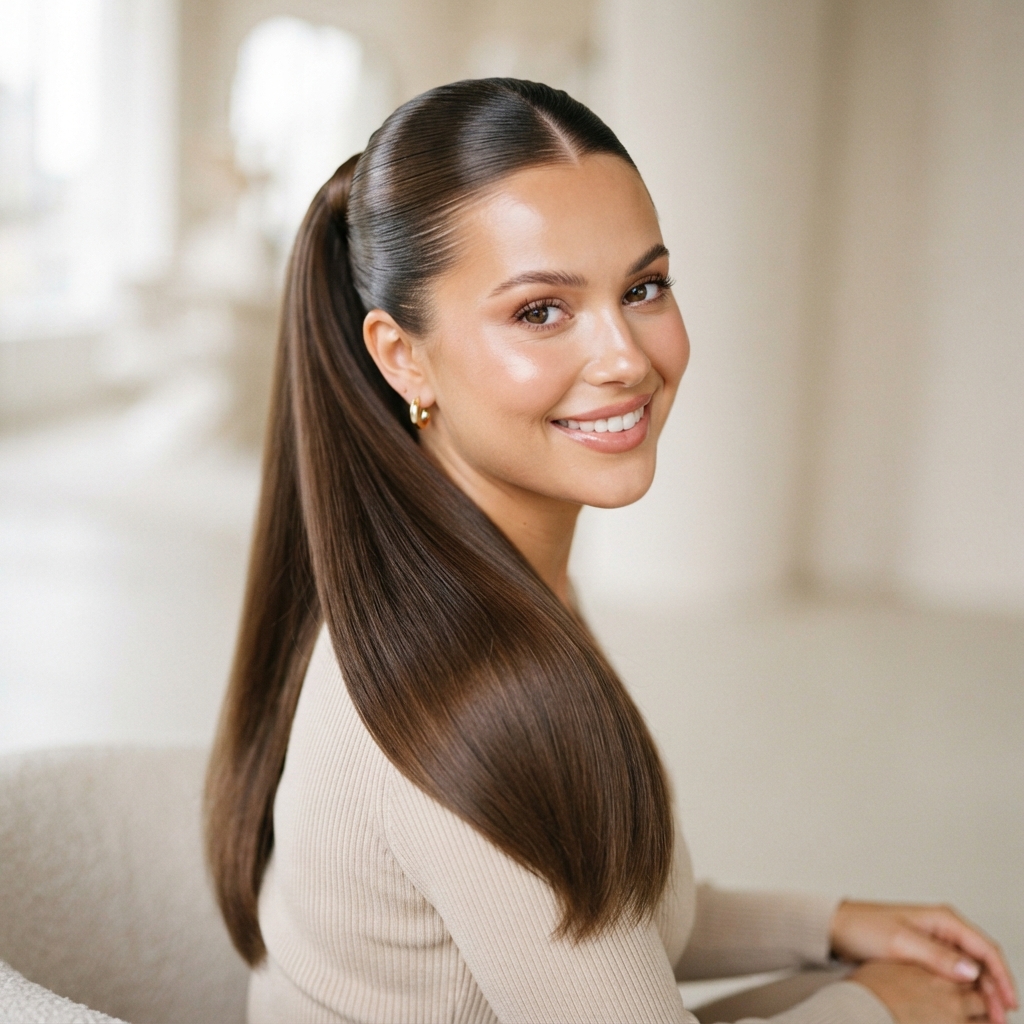
A sleek high ponytail is not just hair pulled back. It’s tension in all the right places and zero bumps in the wrong ones. The crown looks smooth, the base looks wrapped, and the tail actually moves when you turn your head.
Here’s what separates a sleek pony from a lazy one:
- A smooth, bump-free front with no visible part line
- A base that sits high but isn’t tight enough to hurt
- A strand of hair wrapped around the elastic
- A tail with a little body instead of a flat rope
Get those four things right and you’re basically done.
Why This Style Is Everywhere in 2026

The 2026 hairstyles mood is simple: look expensive, but effortless. The sleek high ponytail nails both. It reads as old money hair without the blowout, and it works with a blazer, a slip dress, or your favorite hoodie.
It’s also the fastest way to look polished on a bad hair day, a greasy hair day, or a “I have four minutes” day. That’s why it keeps showing up on runways, wedding guest lists, and in my own mirror.
Trendy without trying. That’s the whole appeal.
Step 1: Start With Second-Day Hair
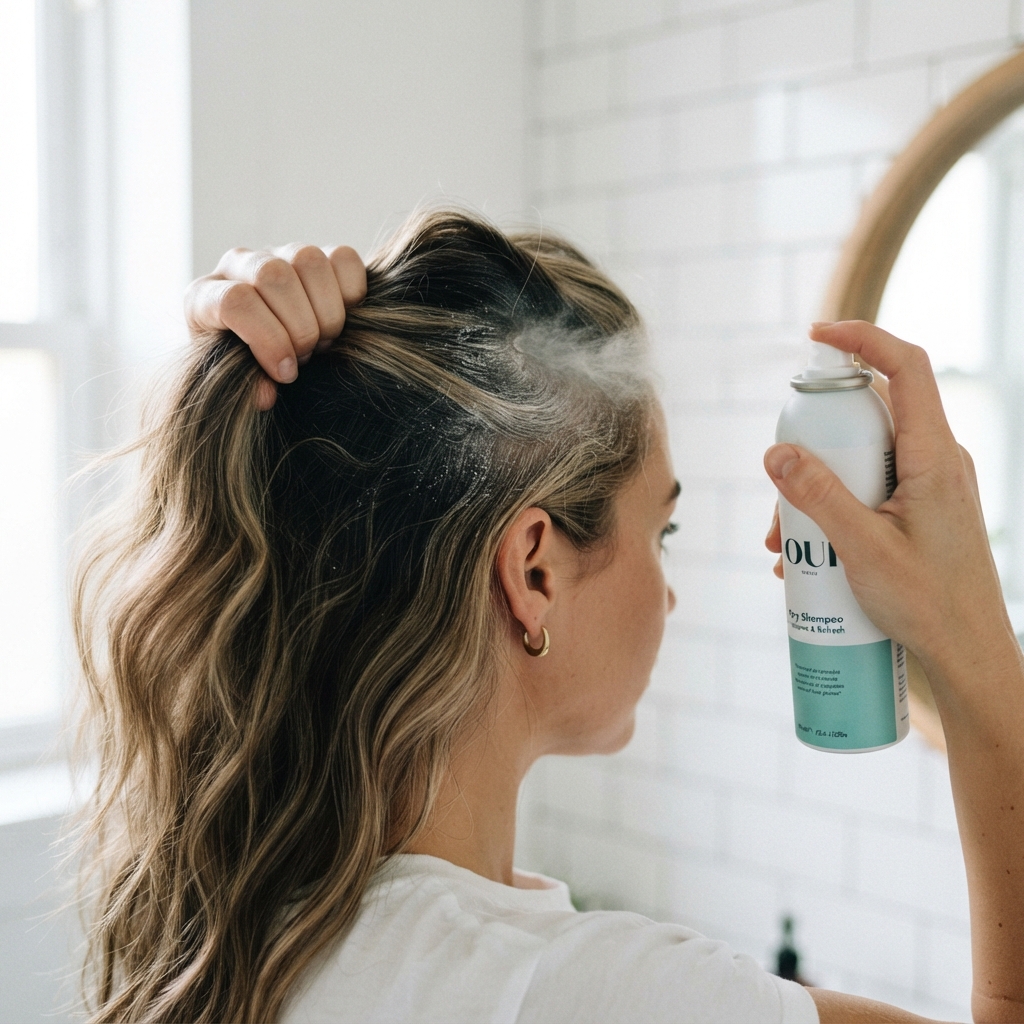
Freshly washed hair is slippery and soft, which sounds nice until your ponytail slides down by noon. Day-two hair has grip, and grip is what keeps a high ponytail high.
If you just washed, do this:
- Spray a little texturizing spray or dry shampoo at the roots
- Skip heavy conditioner near the scalp
- Let hair air dry completely, or rough dry it all the way
Dry hair holds shape. Damp hair fights you the entire time.
Step 2: Prep With Two Products, Not Five
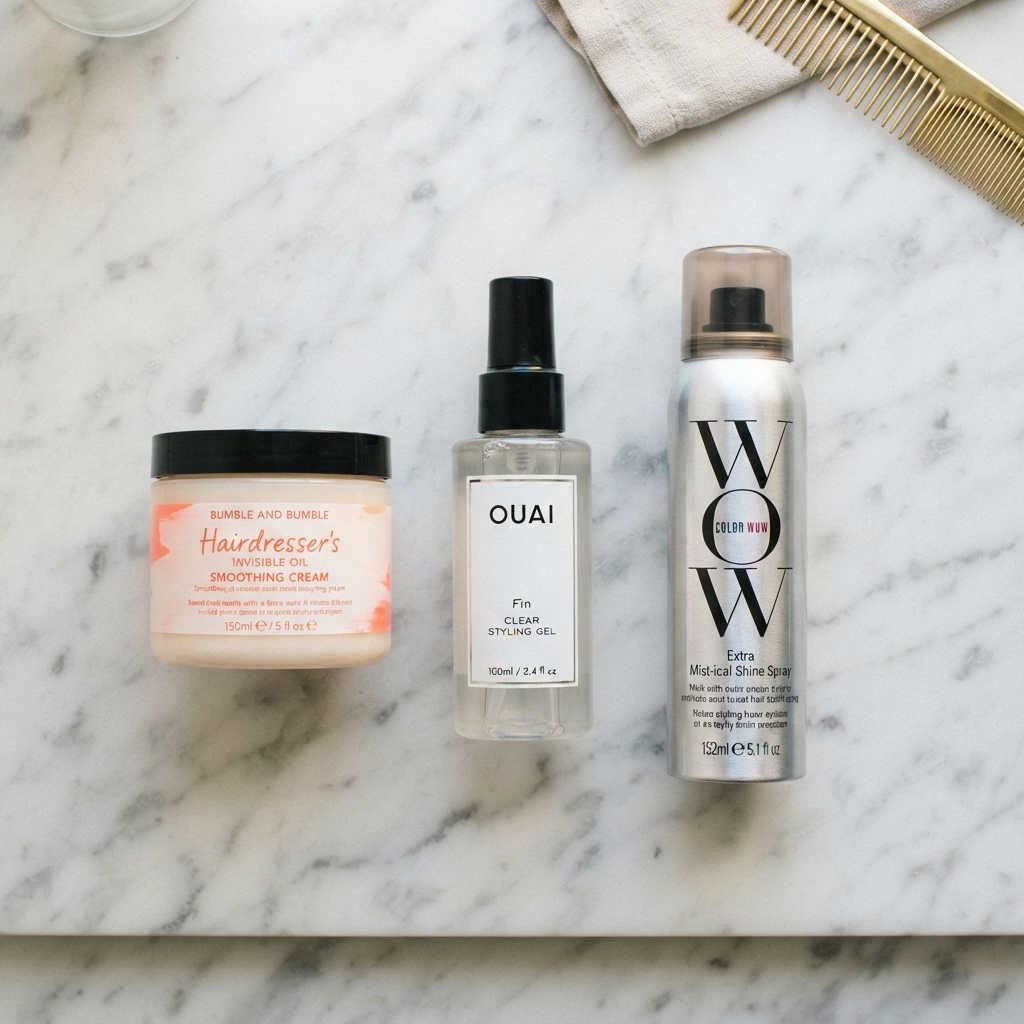
You need a smoothing cream and a shine spray. That’s genuinely it. Everything else is extra.
- Smoothing cream on dry mid-lengths and ends to tame flyaways
- Light gel or pomade only on the front edges, where you want structure
- Shine spray at the very end for that glass finish
Skip heavy oil at the roots. It kills volume and makes the crown look flat and greasy by lunch. Two products, applied in the right places, beat five applied everywhere.
Step 3: Brush Everything Upward
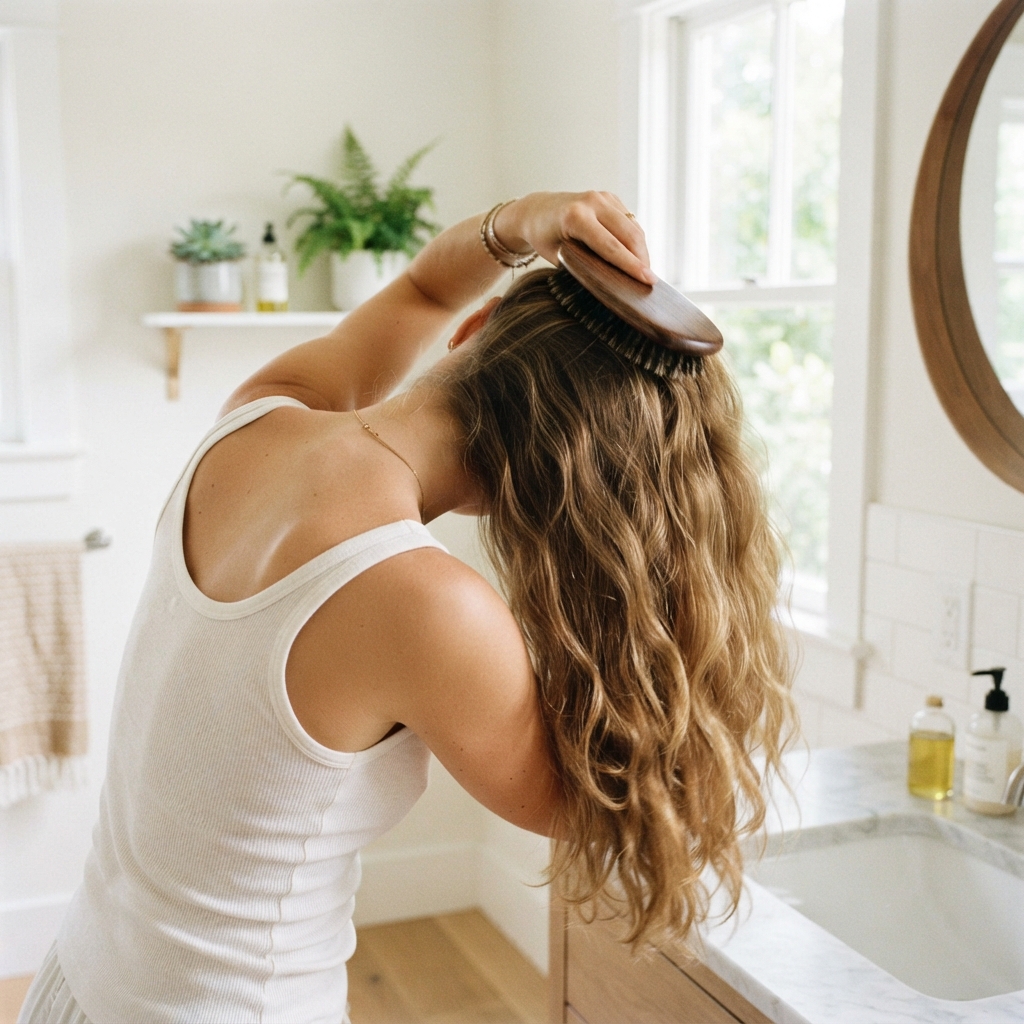
Tip your head forward, then brush all your hair up toward your crown in one direction. Keep going until there are no lumps left.
- Start at the nape and work your way up
- Use a soft boar bristle brush for the surface
- Follow with a fine-tooth comb along the hairline
This part is the whole game. If the crown looks smooth, people assume the rest of it does too. Take an extra thirty seconds here and the finished ponytail will look twice as polished.
Step 4: Place and Secure the Band
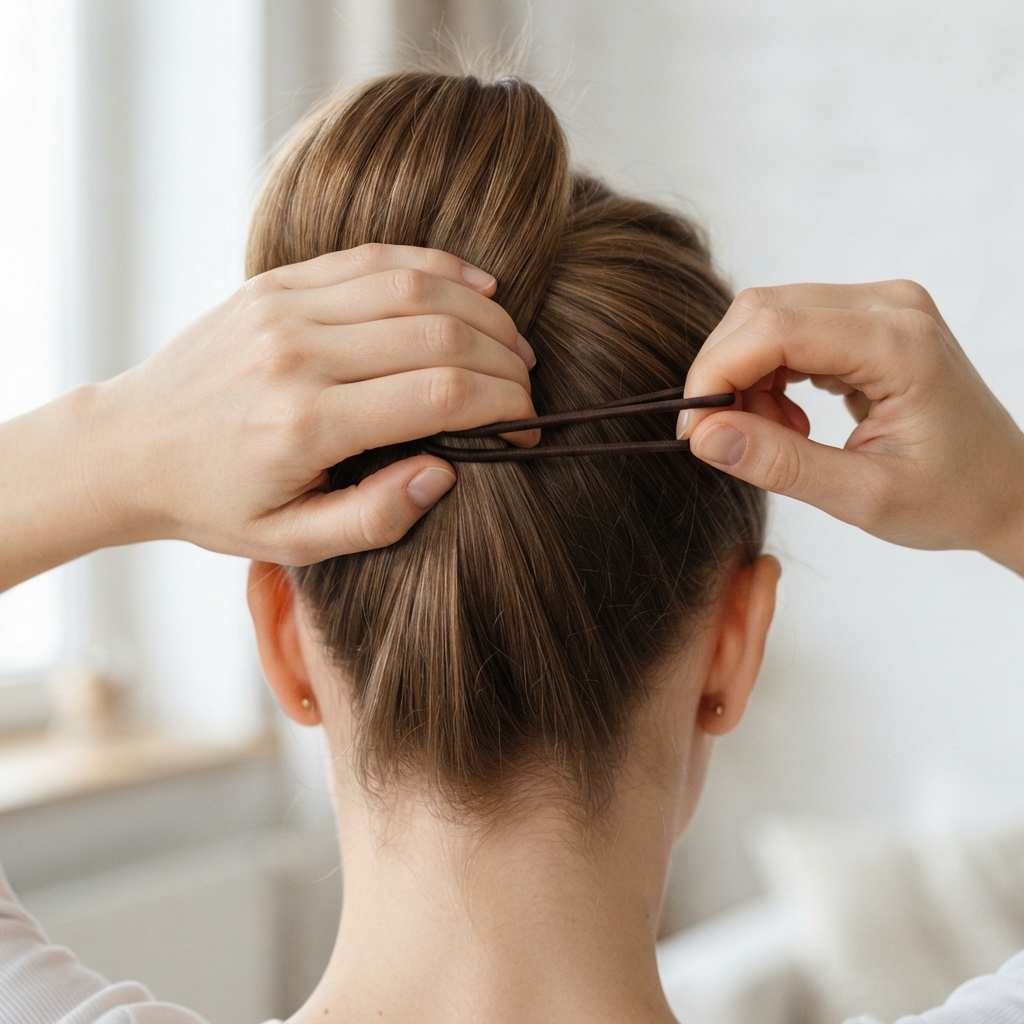
Decide exactly where you want the tail to sit, then hold it there with one hand while you slide the band on with the other. Don’t guess. Place it on purpose.
- Use a seamless or spiral elastic, never a rubber band
- Wrap it twice for hold, three times only if you truly need it
- Stop tightening before your scalp starts to sting
Now bounce your head once. If the tail barely moves, you’re locked in for the day.
Step 5: Wrap a Strand Around the Base
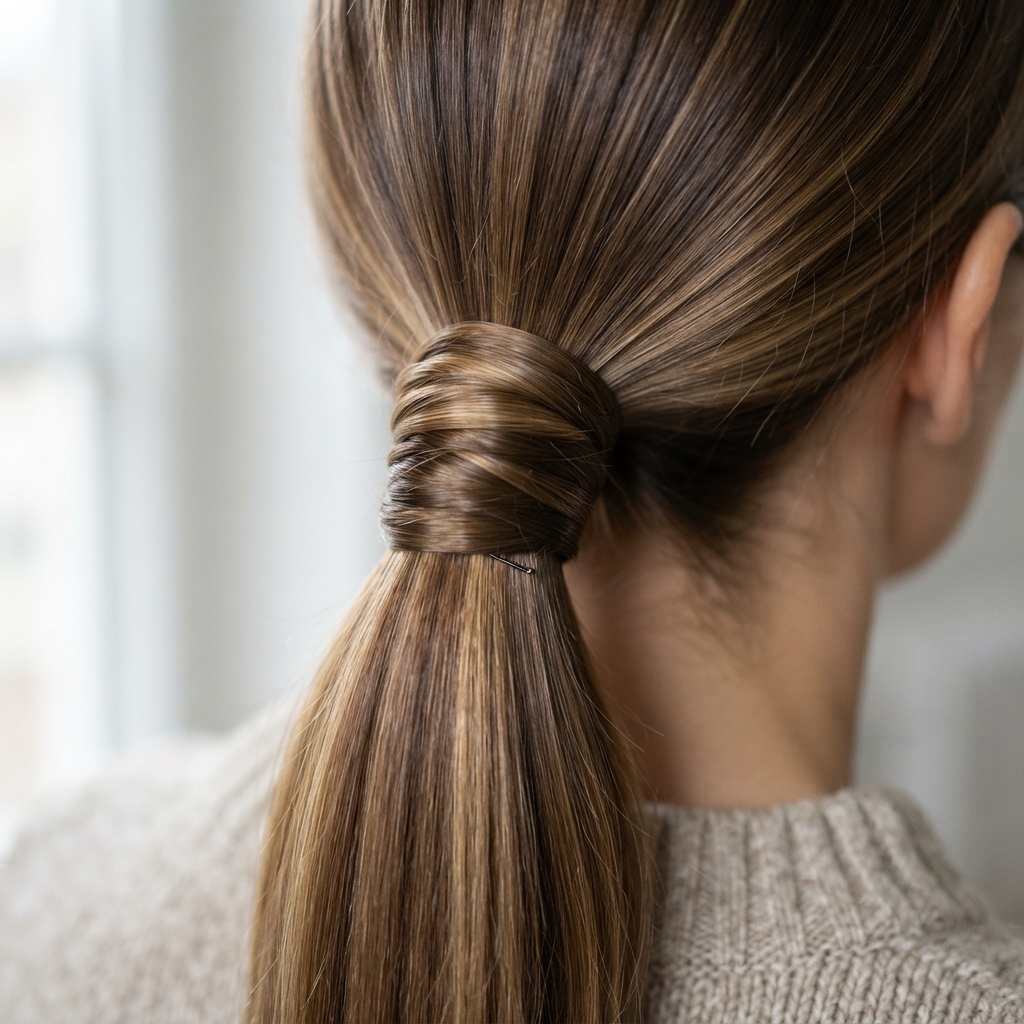
This is the one step that makes it look professional instead of gym-ready.
- Pull a half-inch strand from underneath the tail
- Wrap it around the elastic until the band disappears
- Pin the end underneath with a bobby pin
If your hair is too short, use a small piece from the tail itself. Nobody can tell, I promise. This tiny detail is the difference between “I threw my hair up” and “I know exactly what I’m doing.”
How to Get That Glass Shine
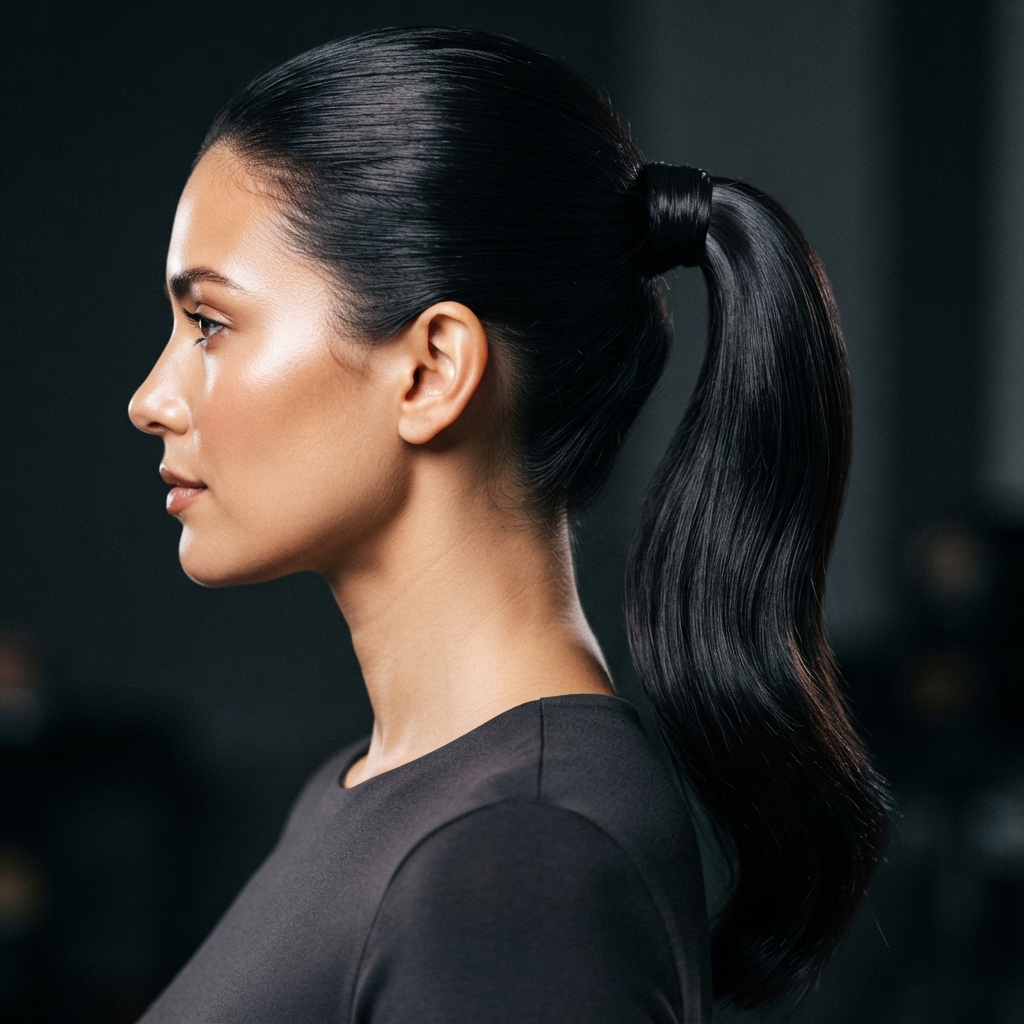
Shine is about flat, smooth surfaces, not product overload. The more you pile on, the heavier and greasier it looks.
- Finish with a light mist of shine spray held six inches away
- Press flyaways down with a clean, dry toothbrush
- Add one single drop of serum over the tail only
Then leave it alone. Touching your hair adds oil and breaks up the surface you just created. Hands off is the secret to a lasting glass finish.
The Crown Volume Trick
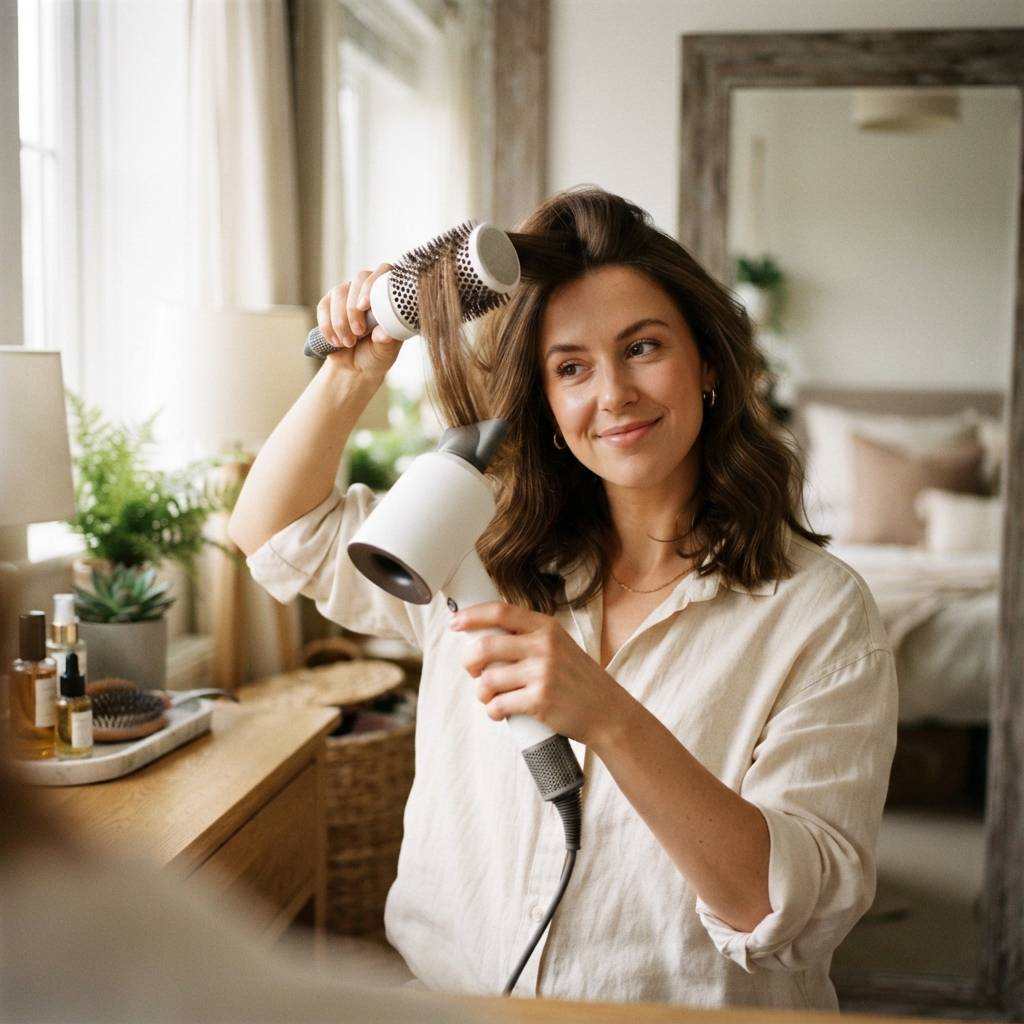
Flat crown, sad ponytail. Fix the lift before you secure anything, because you can’t add it afterward.
- Lift the front section with your brush and hit the roots with warm air for three seconds
- Hold it up and let it cool completely
- Then brush it back into place
Cooling is what sets the lift. Skip teasing if you can, since it damages hair and shows through thin sections. This gives you height without the crunch or the breakage.
How High Should It Sit?
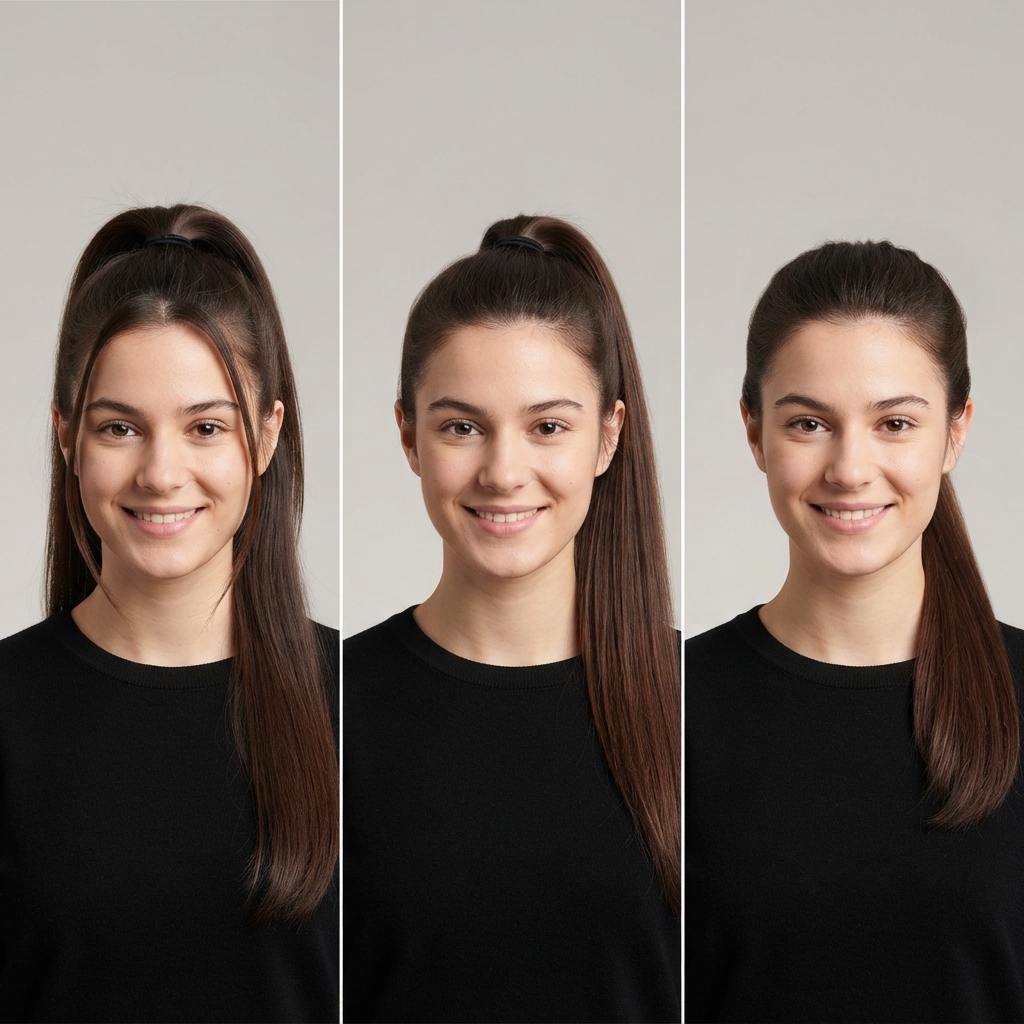
There’s a sweet spot for every face, and it’s worth testing all three once.
- High: sits at the top of the head, lifts the face, great for round and square shapes
- Mid-high: the safe everyday choice that flatters almost everyone
- Mid: softer and better for long faces and fine hair
Try each one, take a photo, and compare. You’ll know in about ten seconds which one is yours.
How to Make It Last All Day
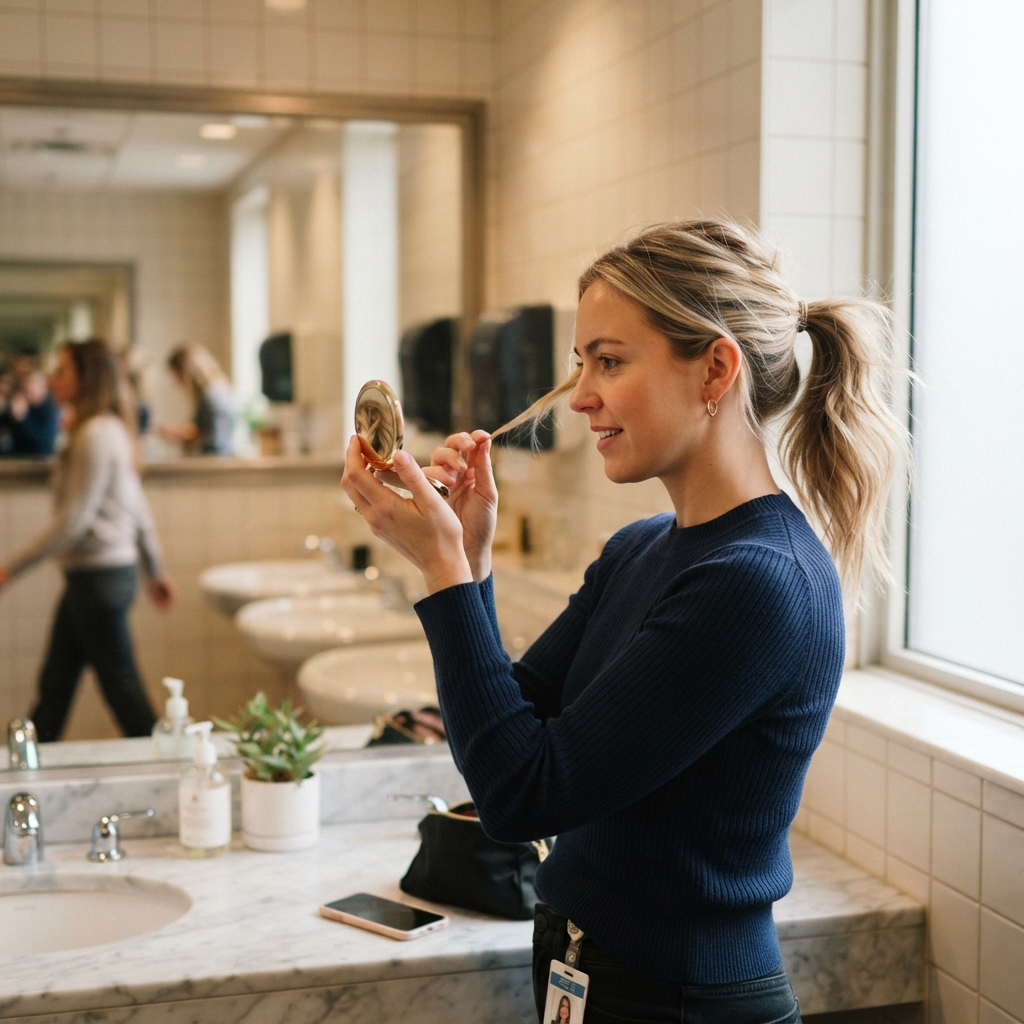
Hair slips because of oil and movement, not bad luck.
- Spray a little dry shampoo at the base before you tie it
- Keep a clear elastic in your bag for a quick midday redo
- Don’t touch it, because your hands add oil every time
If you have a really long day ahead, do the wrap-around step and pin it. That locks things down far better than the elastic alone, and it survives humidity, car rides, and dancing.
Sleek Ponytail for Fine or Thin Hair

Fine hair can absolutely do this look. You just have to fake the density a little.
- Use dry shampoo at the roots for grip and texture
- Take your wrap strand from the underside, where hair is denser
- Gently pull the tail into two halves to widen it
Skip heavy creams at the root, since they flatten everything. And choose a thin, seamless band so the base looks smaller and your hair looks fuller. Small tweaks, big difference.
For Thick, Curly, or Coily Hair
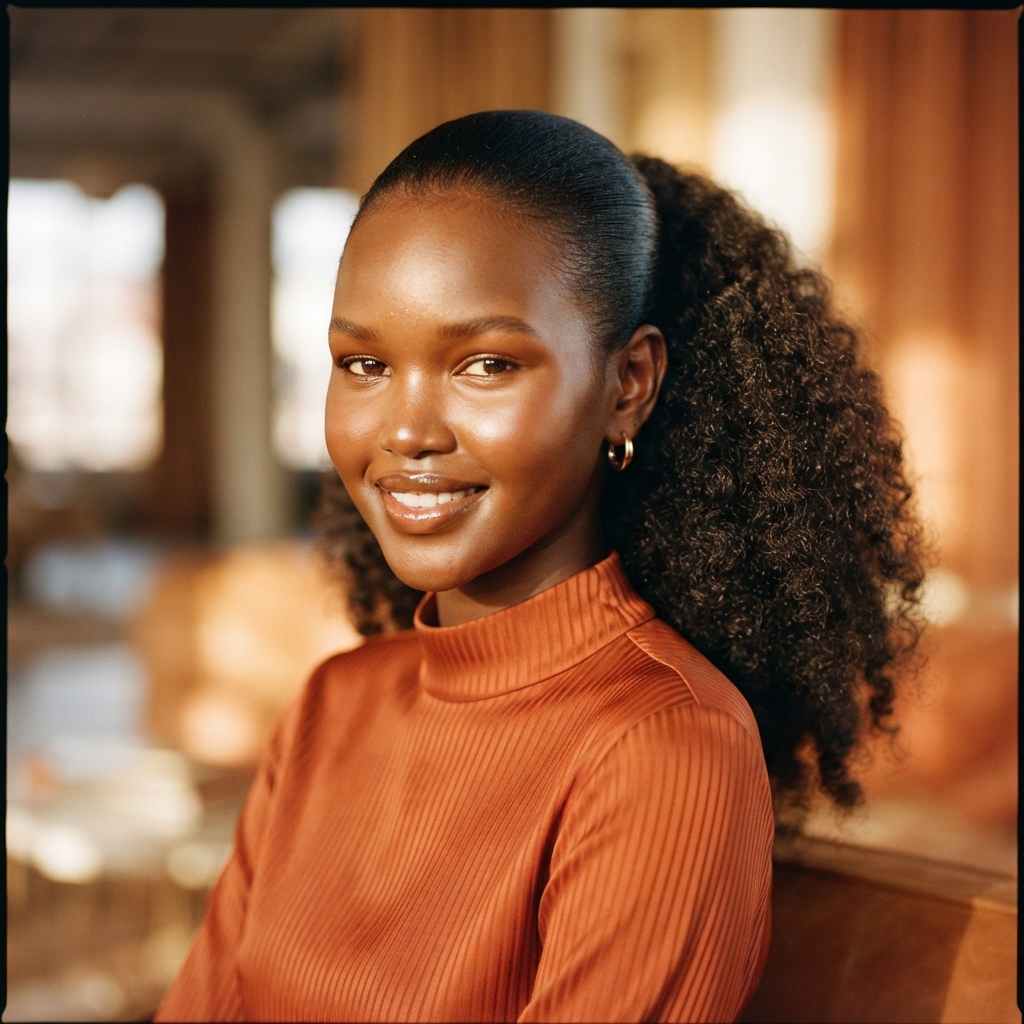
Thick hair needs more control and a lot more patience. Don’t rush it.
- Work in sections and smooth each one before moving on
- Use a gel with real hold that dries clear
- Wrap the base with a wide section so it actually covers the band
If you’re going from natural texture to sleek, blow it out first or apply strong-hold gel to damp hair and let it fully set. Rushing this part always shows in the finished look, and you’ll feel it all day.
Edges: Slick Them or Let Them Breathe?
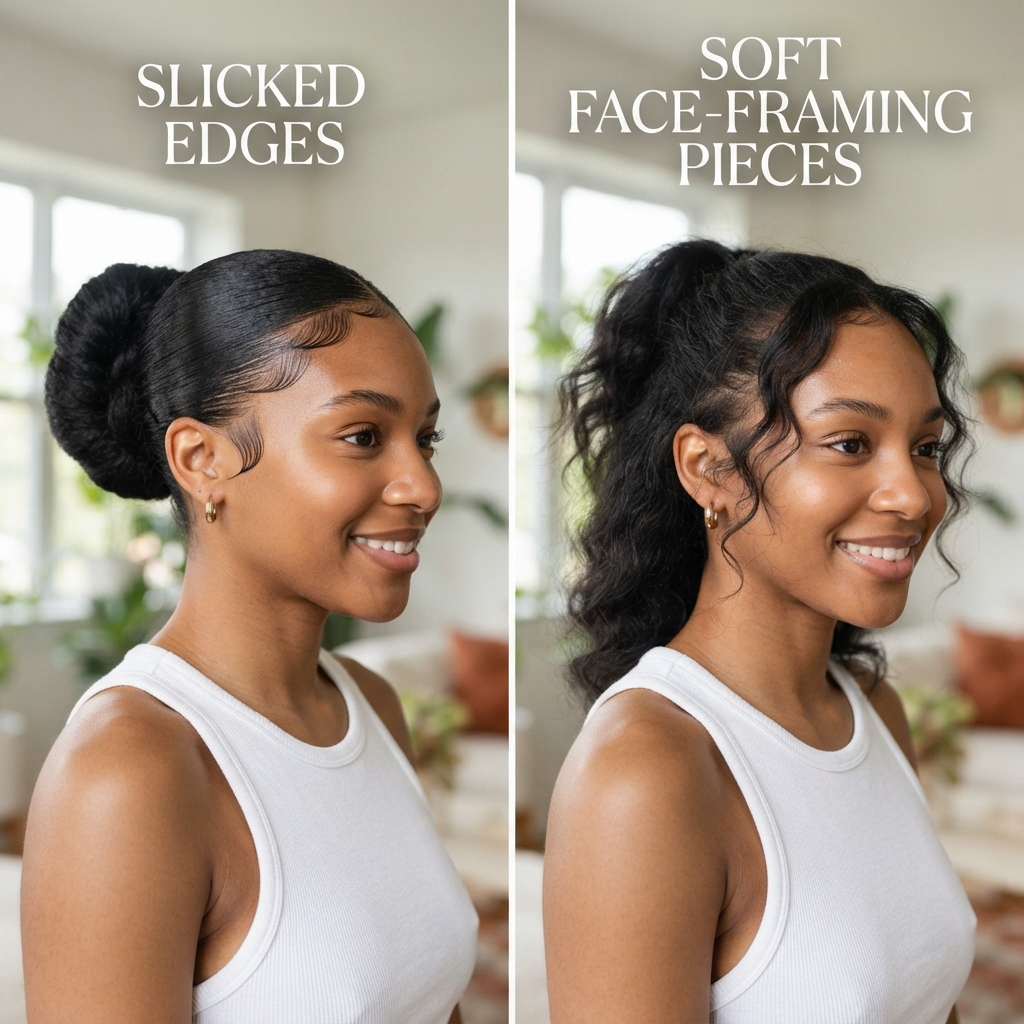
Both are valid, and honestly it depends on the day and your mood.
- Slicked: sharper, more formal, very editorial
- Soft: a couple of loose pieces around the face feels younger and easier
My rule: slick it if you’re going somewhere important, soften it if you’re heading to brunch. Either way, go gentle on your edges. They’re fragile, and pulling them tight every single day is how you lose them over time.
Tools That Actually Earn Their Spot
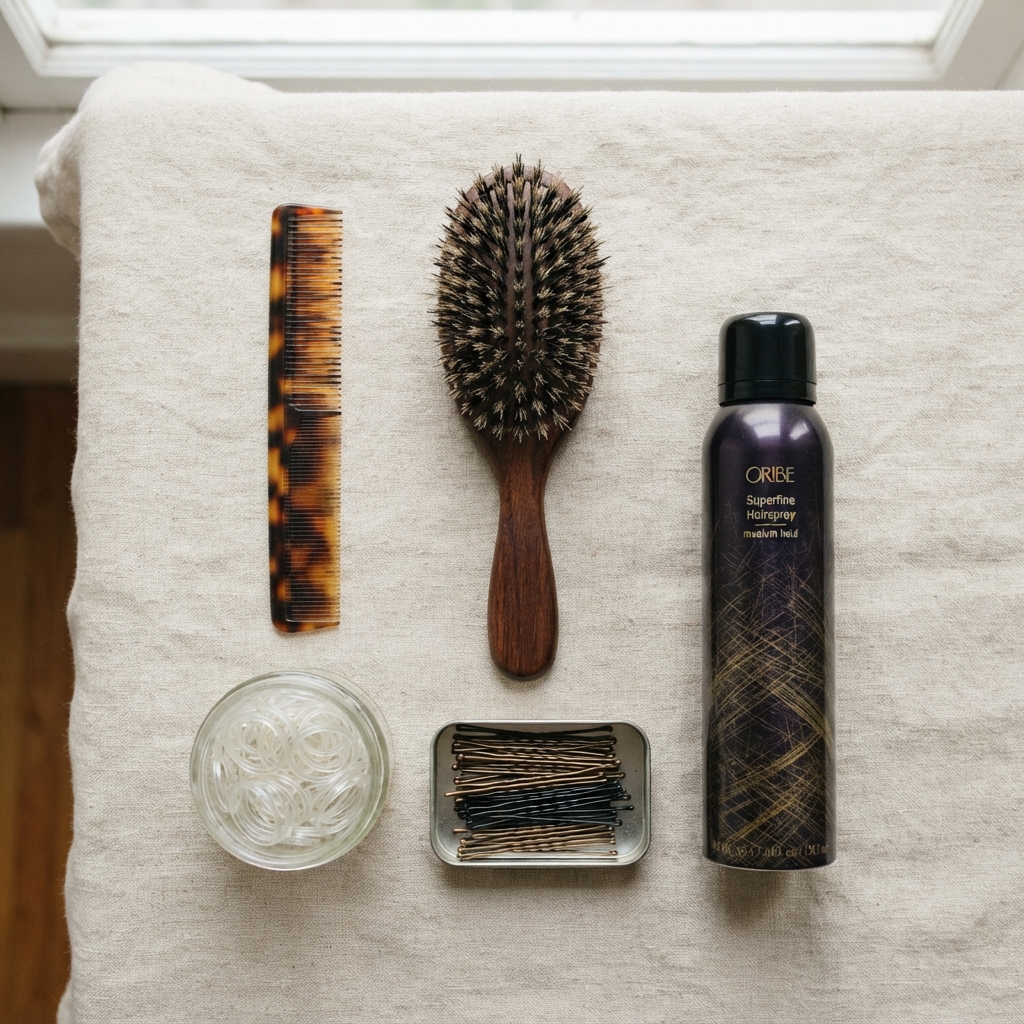
You do not need a drawer full of gadgets for this. Here’s the whole kit:
- A soft boar bristle brush
- A fine-tooth comb
- Seamless elastics
- Two bobby pins
- A light-hold hairspray
That’s it. Everything else is optional. Skip the metal-bar elastics and the crunchy gel unless your hair genuinely needs the extra grip. Simple tools used well beat expensive tools used randomly.
The Old Money Hair Version

Old money hair is quiet, polished, and never looks like it’s trying. The sleek high ponytail is basically that entire aesthetic in ten minutes.
To lean into it:
- Keep the finish smooth but not shiny-wet
- Leave one or two soft face-framing pieces out
- Pair it with simple gold hoops or pearl studs
No visible product, no visible effort. That’s the whole energy, and it works for weddings, dinners, and Tuesday mornings alike.
Grew Out Your Quiet Luxury Bob? Try This

If you had a quiet luxury bob last year and it’s now brushing your shoulders, congratulations. That length is perfect for a high ponytail.
You get enough length for a swingy tail and enough short pieces around the face to keep things soft. Use the wrap-around trick, then let a few layers fall forward on purpose.
It’s the easiest transition style while you figure out what cut comes next. No salon appointment required.
Glitchy Glam Hair, Ponytail Edition

Glitchy glam hair is all about sleek surfaces with something slightly off. A high ponytail is the perfect base for it.
- Add a sleek, straight baby hair swoop at the front
- Thread a thin metallic cord through your wrap strand
- Keep the tail glassy and the front razor clean
It’s sleek with a wink. Great for a concert, a party, or any night you want to look a little futuristic without committing to a whole new cut.
Romantic Goth Hairstyles, Sleek Spin
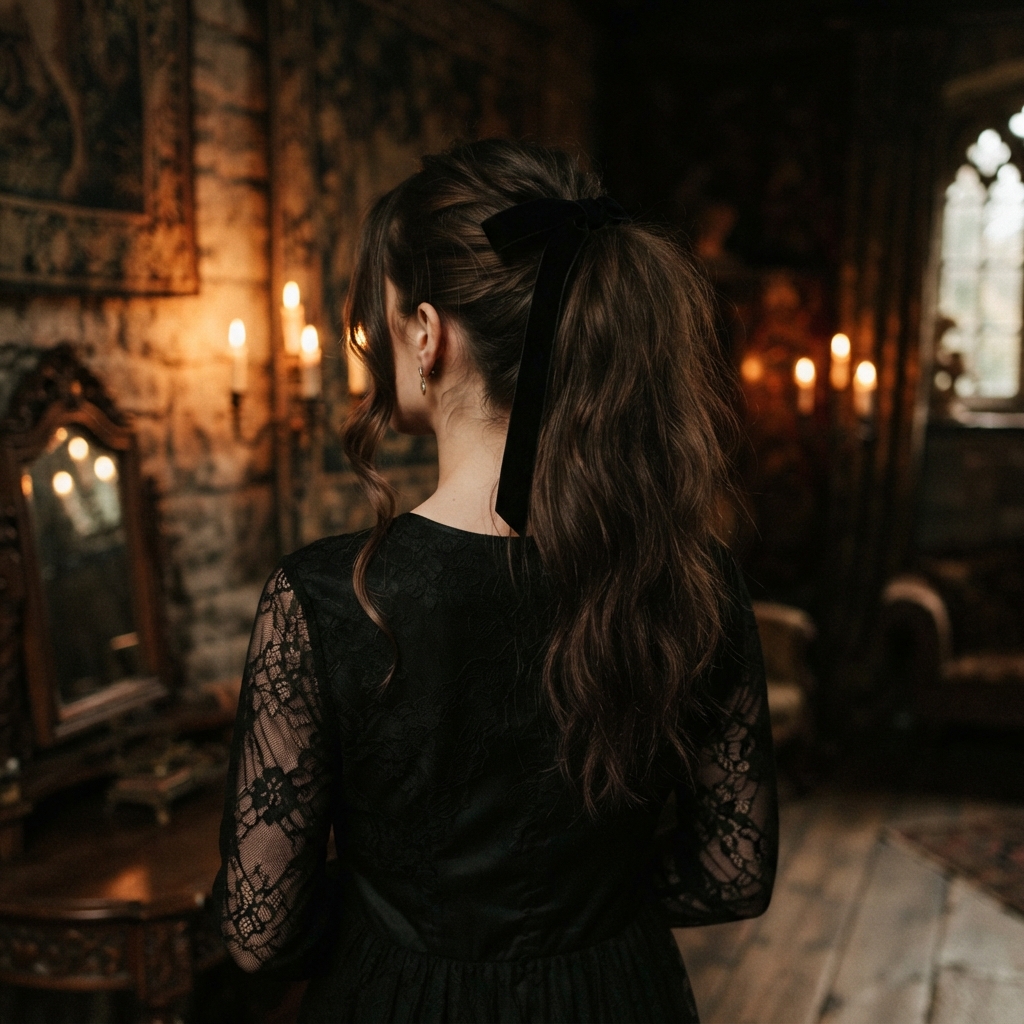
Romantic goth hairstyles are soft, dark, and a little moody. Pair that energy with a high ponytail and you get drama without the fuss.
- Pull the pony high and smooth, then let two long tendrils fall
- Swap the wrapped strand for a black velvet ribbon
- Finish with a dewy shine spray, never a matte one
It reads romantic, not costume, especially with a dark lip. Dinner, concert, date night. All of it works.
Ponytail vs. Asymmetrical Lob, Vampire Haircut, and Hime Cut
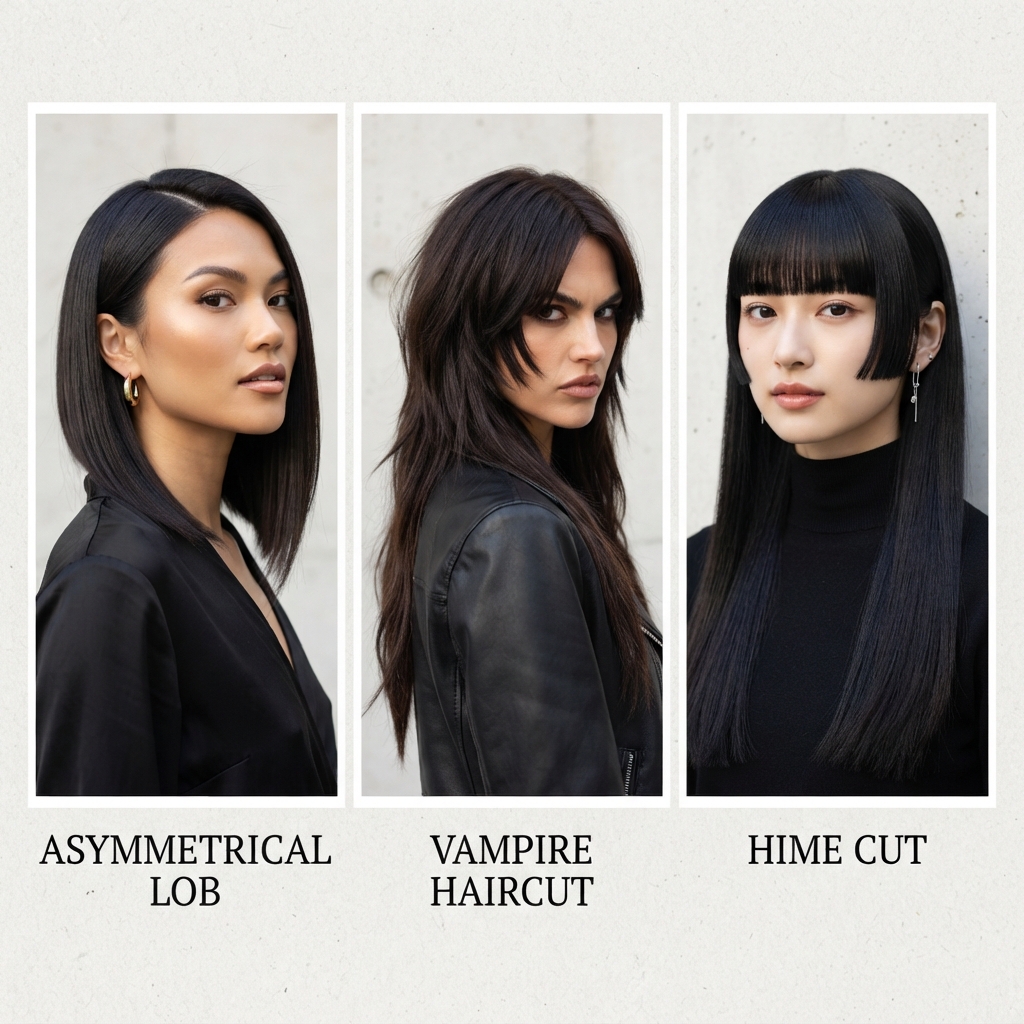
Sometimes you want it up, sometimes you want a whole new cut. Quick guide:
- Asymmetrical lob: best when you want edge and movement worn down
- Vampire haircut: sharp layers and a strong fringe, very dramatic
- Hime cut: straight back with blunt side pieces, clean and graphic
The sleek ponytail is the low-commitment option. No cut, no appointment, no grow-out phase. Just ten minutes and a hair tie on the days you can’t decide.
Work, Weddings, and Gym: Three Quick Versions
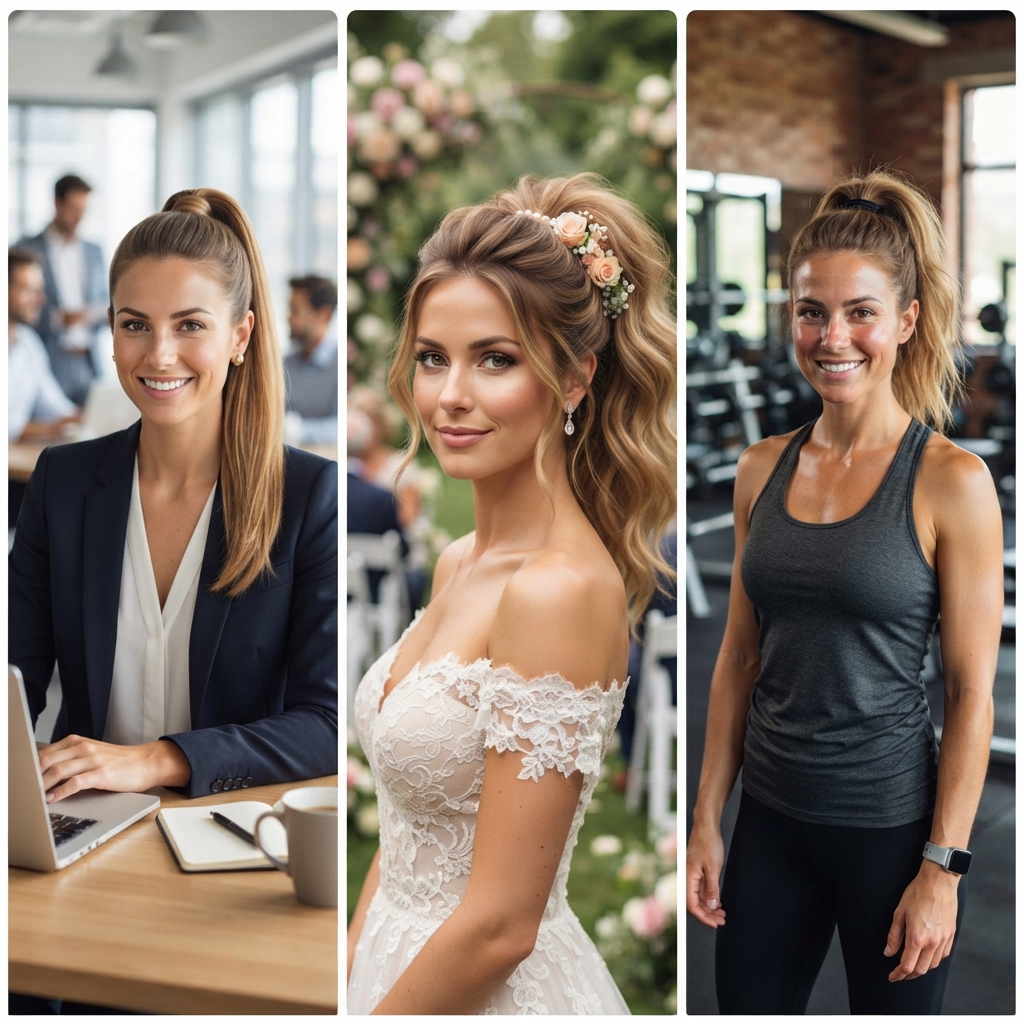
Same five steps, three completely different finishes.
- Work: mid-high, soft edges, skip the shine spray
- Wedding: high and smooth, wrapped base, one sparkly pin tucked in
- Gym: high and secure, no product, braid the tail so it stays out of your face
One style, three moods. That’s the real beauty of it, and why it never gets old.
Taking It Down Without Breakage
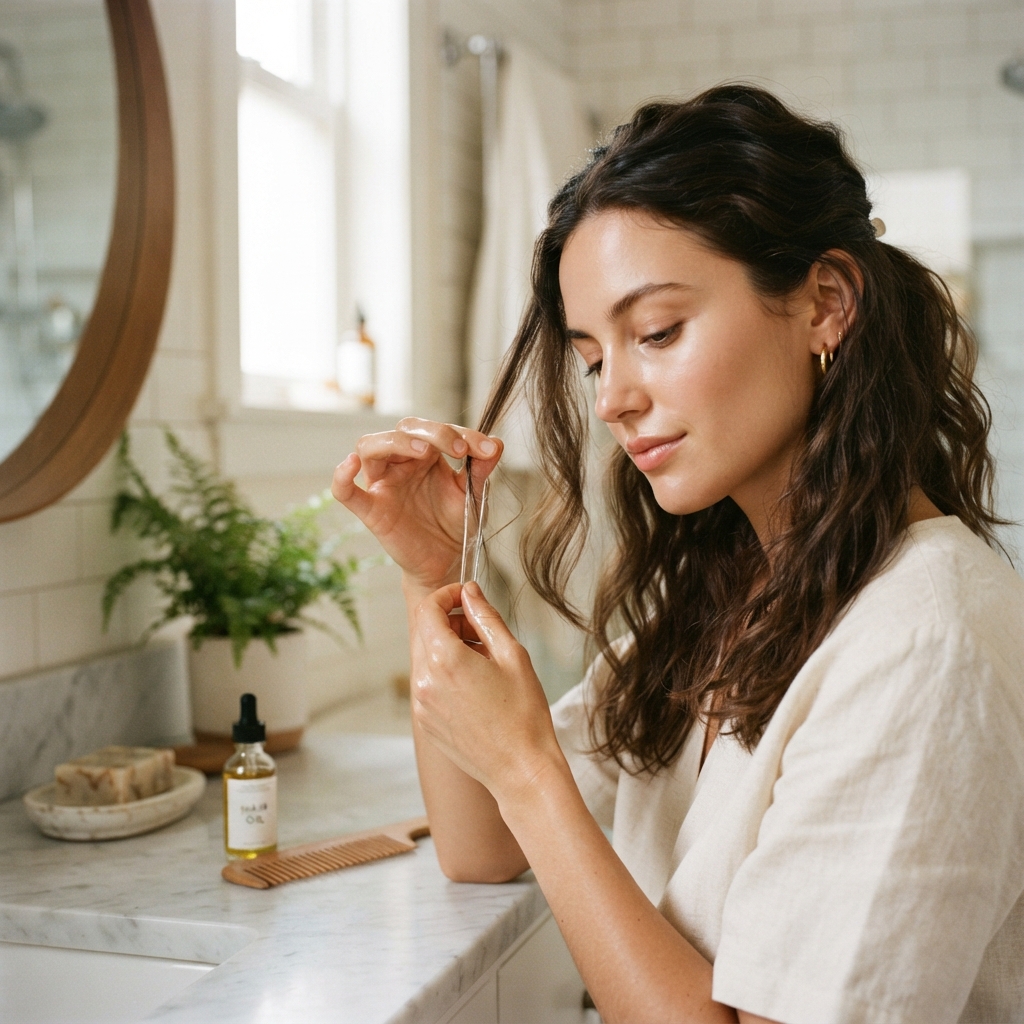
This part matters more than the styling, honestly. Never rip an elastic out.
- Slide a little oil or conditioner onto the band first
- Ease the elastic down instead of pulling it off
- Comb the tail out gently, starting at the ends
Then let your scalp breathe for a bit. If you wear a tight high pony every single day, switch up the placement sometimes. Your hairline will thank you in ten years.
Mistakes That Ruin the Sleek Look
Most ponytails fail for the same five reasons. Check yours against this list.
- Bumps in the crown you brushed over too fast
- A visible elastic with no wrap strand
- Too much product piled at the roots
- Tension that’s too tight at the temples
- Rubber bands, always rubber bands
Fix those five and you’re already ahead of most people walking around today.
The 60-Second Cheat Version

Running late? Do this and go.
- Dry shampoo at the roots
- Brush up with your hands, then smooth the surface with a comb
- Elastic on, wrap strand only if you have ten extra seconds
- One quick mist of shine spray, done
It won’t be red-carpet perfect, but it’ll look clean and put together. Most days, that’s genuinely all you need, and nobody will know the difference.
Before You Go
The sleek high ponytail is one of those rare styles that looks expensive and takes almost no time. Five steps, two products, one elastic. That’s the whole thing.
Practice it twice this week and it becomes automatic. Then you’ll have a go-to for every morning you wake up late, every event you forgot to plan for, and every day you just want to feel put together.
Save this post to Pinterest so you can find it the next time you’re standing in front of the mirror with four minutes to spare. And tell me in the comments: are you team slicked edges or soft face-framing pieces?

