
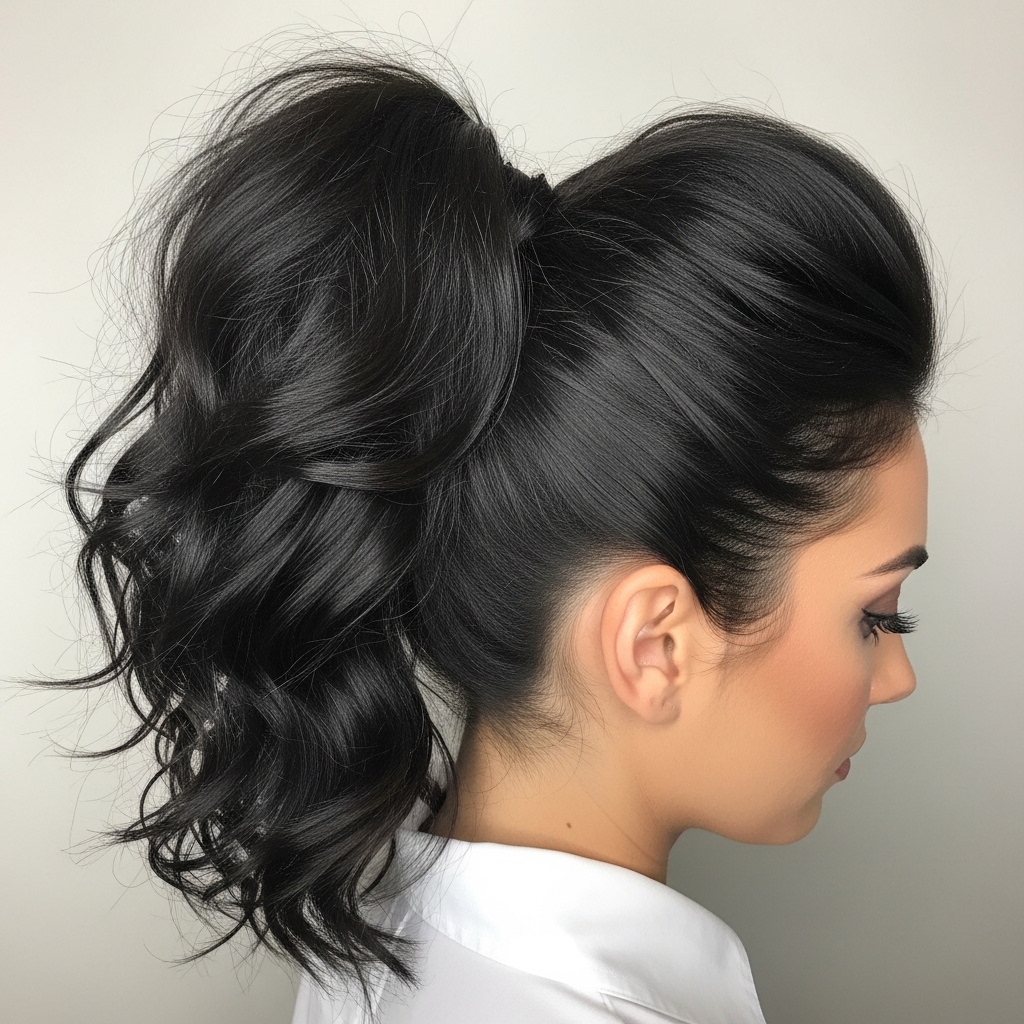
Hey friend. Let’s talk about that elusive, healthy shine. You know the one. It’s not a greasy gloss or a flat, product-heavy shell. It’s that quiet, lit-from-within glow that makes people ask, “What do you *do* to your hair?”
It’s the foundation of every great look, from an old money hair wave to a sleek asymmetrical lob. That shine is health, plain and simple. And the secret weapon? A consistent, thoughtful hair oil routine.
Forget complicated 10-step rituals. This is about quiet luxury for your strands. It’s practical, it’s quick, and it delivers serious results. I’m breaking down the exact routine my team and I use for that coveted healthy shine, no matter your cut or style.
Let’s get into it. Your best hair starts now.
1. The Mindset Shift: Oil is a Treatment, Not Just a Styler
First things first. We need to reframe how we see hair oil. It’s not just a finisher to tame flyaways (though it’s great for that). Think of it like a serum for your face—a concentrated treatment that nourishes from the mid-lengths to ends.
This shift changes everything. You’ll start using it proactively for protection and repair, not just reactively for styling. This is the core philosophy behind that effortless, quiet luxury look. It’s health-first.
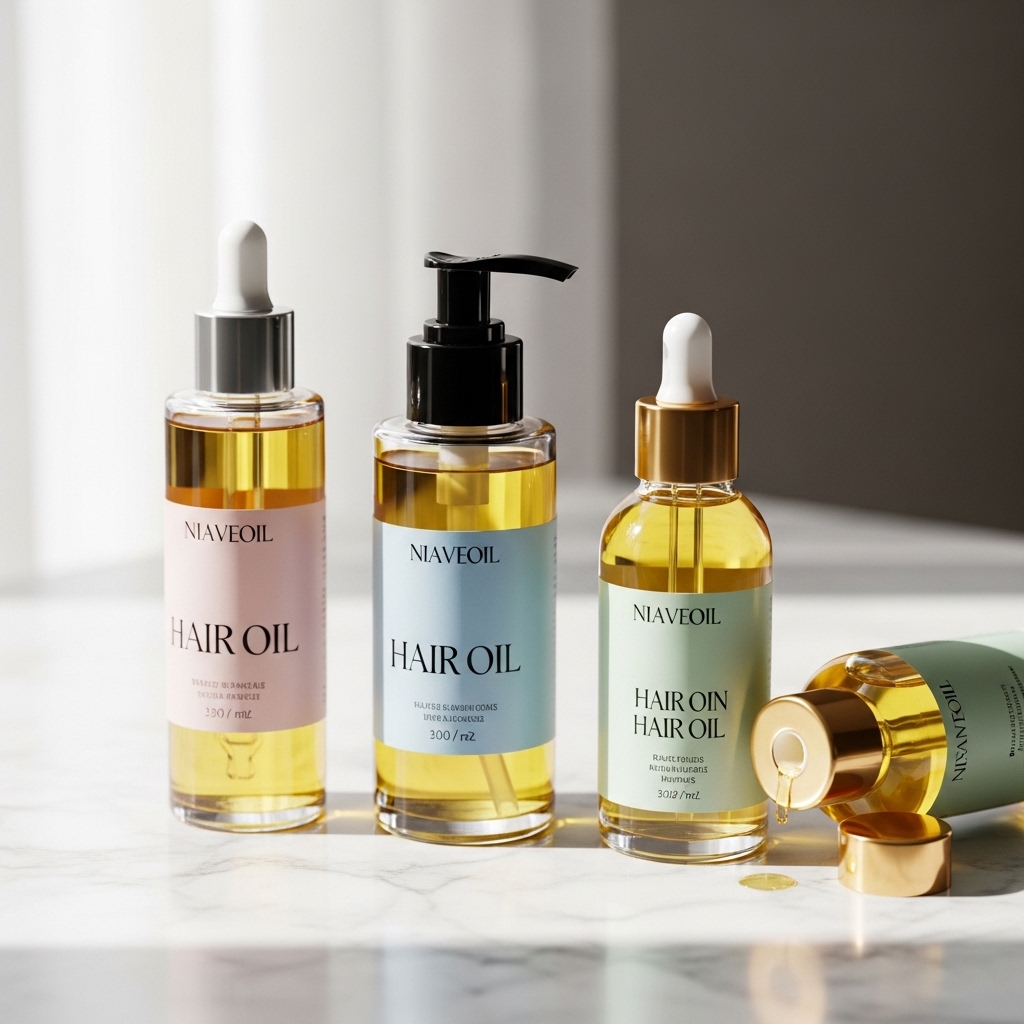
2. Find Your Holy Grail Oil: A Simple Guide
Not all oils are created equal. The right one feels lightweight, absorbs well, and doesn’t leave a residue. Here’s a quick cheat sheet:
- Fine Hair: Look for argan or grapeseed oil. They’re light and won’t weigh you down.
- Thick/Coarse Hair: You can handle richer oils like avocado or marula oil for deep nourishment.
- All Hair: Jojoba oil is a superstar—it mimics your scalp’s natural sebum.
Smell and texture matter, too. Find one you love using.
3. The Golden Rule: Apply to DAMP Hair
This is the #1 game-changer. Applying oil to soaking wet hair helps lock in that moisture. After you gently towel-dry, hair should be about 70% dry. This is your moment.
Your hair cuticle is slightly open from the water, allowing the oil to penetrate more effectively. It creates a protective barrier that seals in hydration as your hair dries. This step alone prevents so much frizz and boosts shine dramatically.

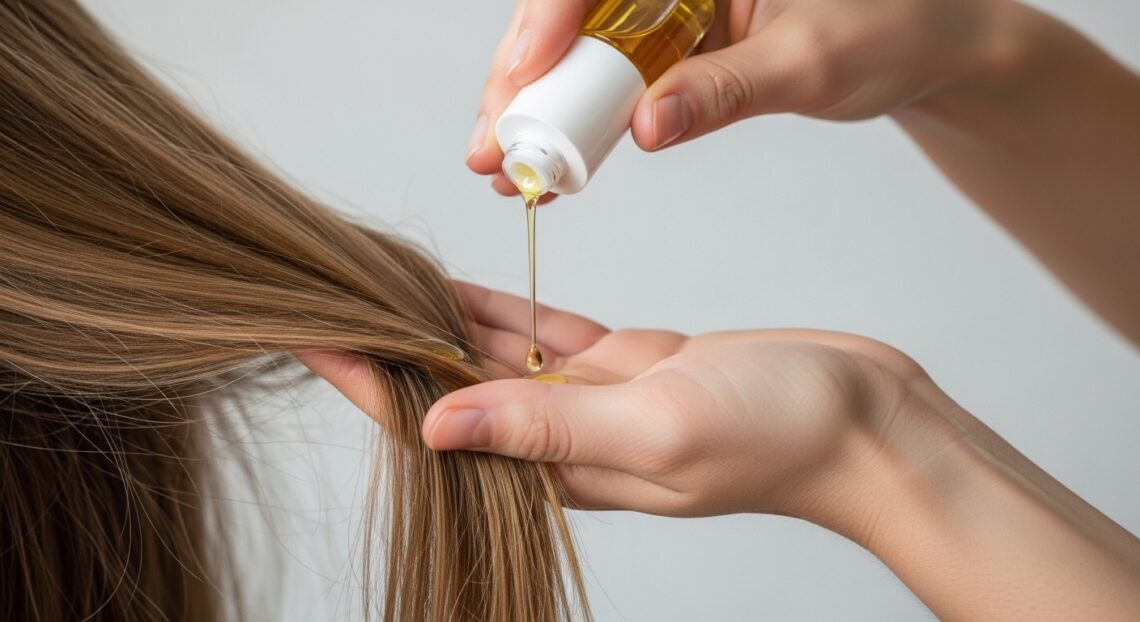
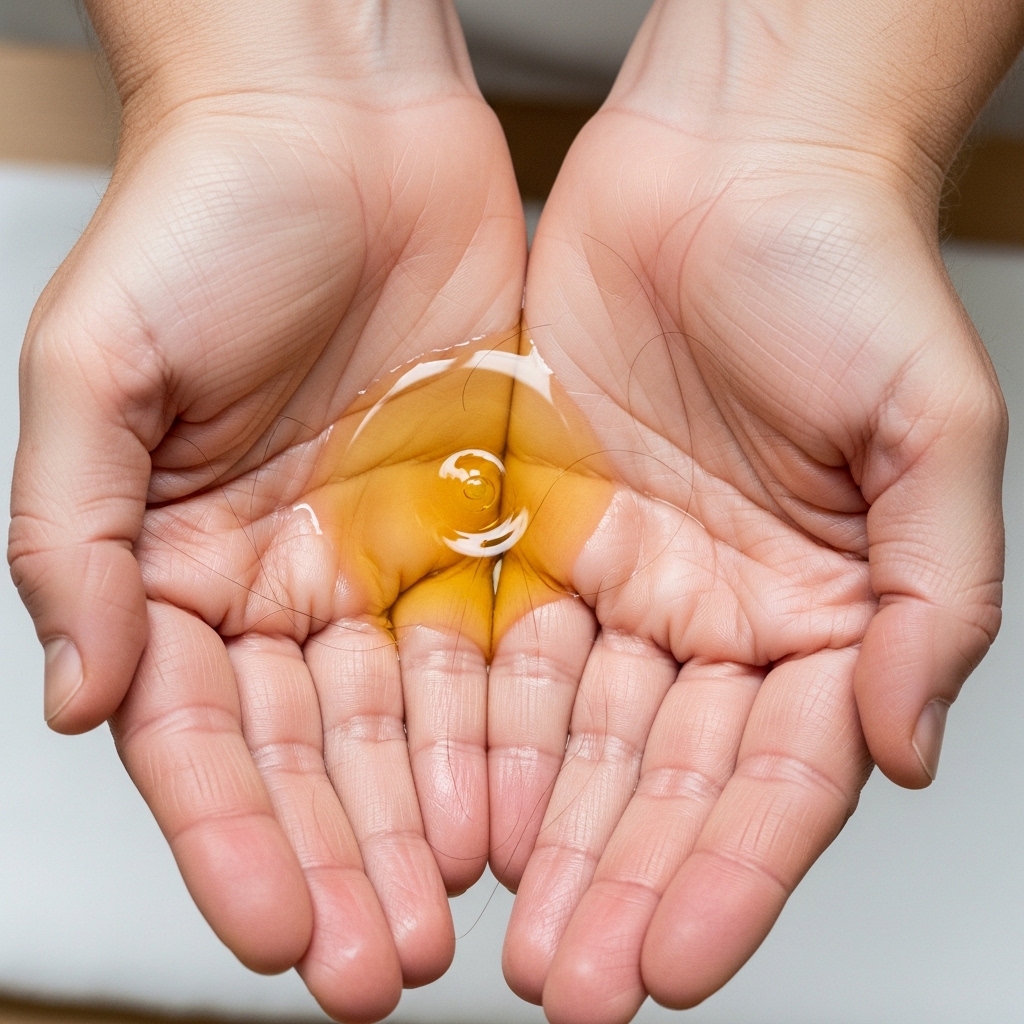
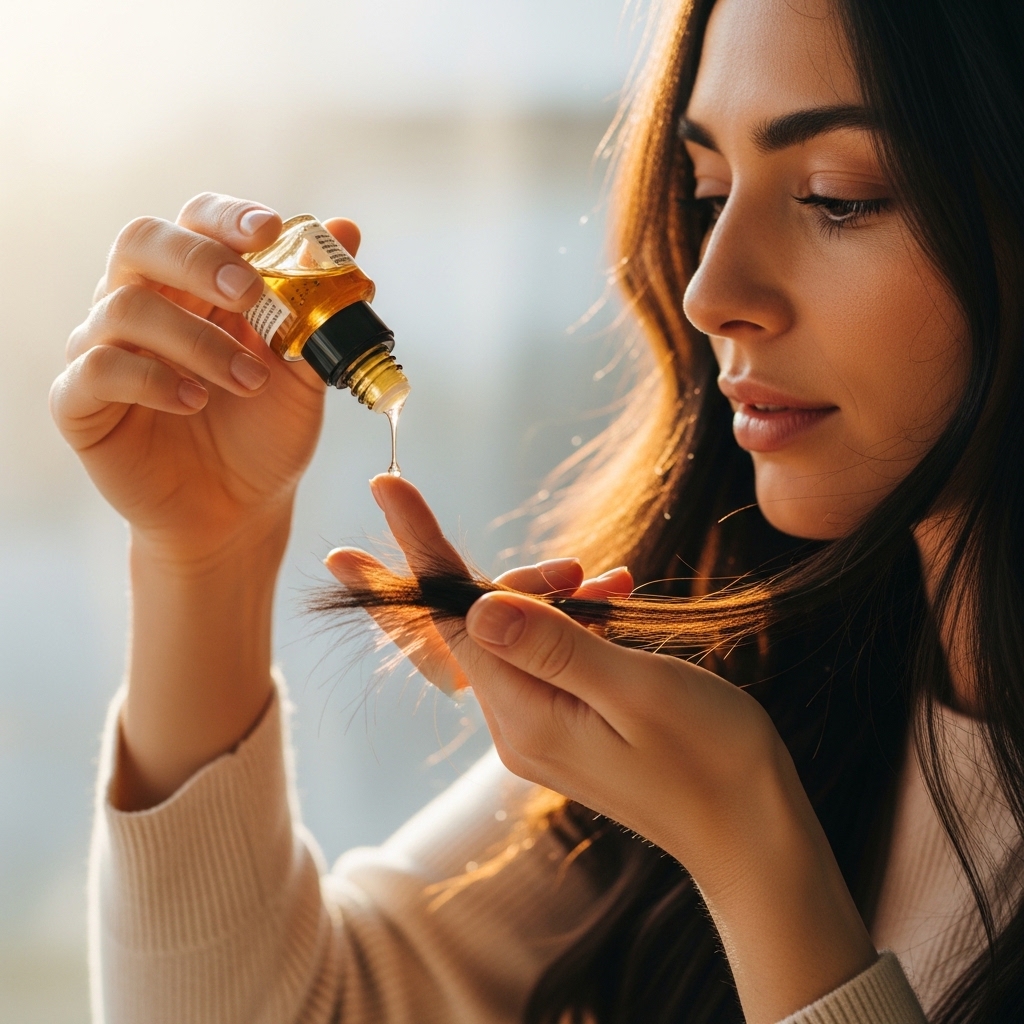
4. The “Pinky Promise” Amount: Less is More
Start small. You can always add more. For most medium-length hair, a drop the size of a dime is perfect. Warm it between your palms first.
My trick? Use your pinky finger to scoop from the bottle. It naturally takes a small amount. Too much oil can make hair look stringy. The goal is nourishment, not grease. Remember, we’re going for that soft old money hair vibe, not a slicked-back look.
5. Palm-Warming is Non-Negotiable
Don’t skip this! Rubbing the oil between your palms for 3-5 seconds warms it up, making it more fluid and easier to distribute evenly. It also helps you apply it more precisely.
Think of it like warming up a moisturizer before putting it on your face. It just works better. This tiny habit makes a huge difference in avoiding those random, oily patches.
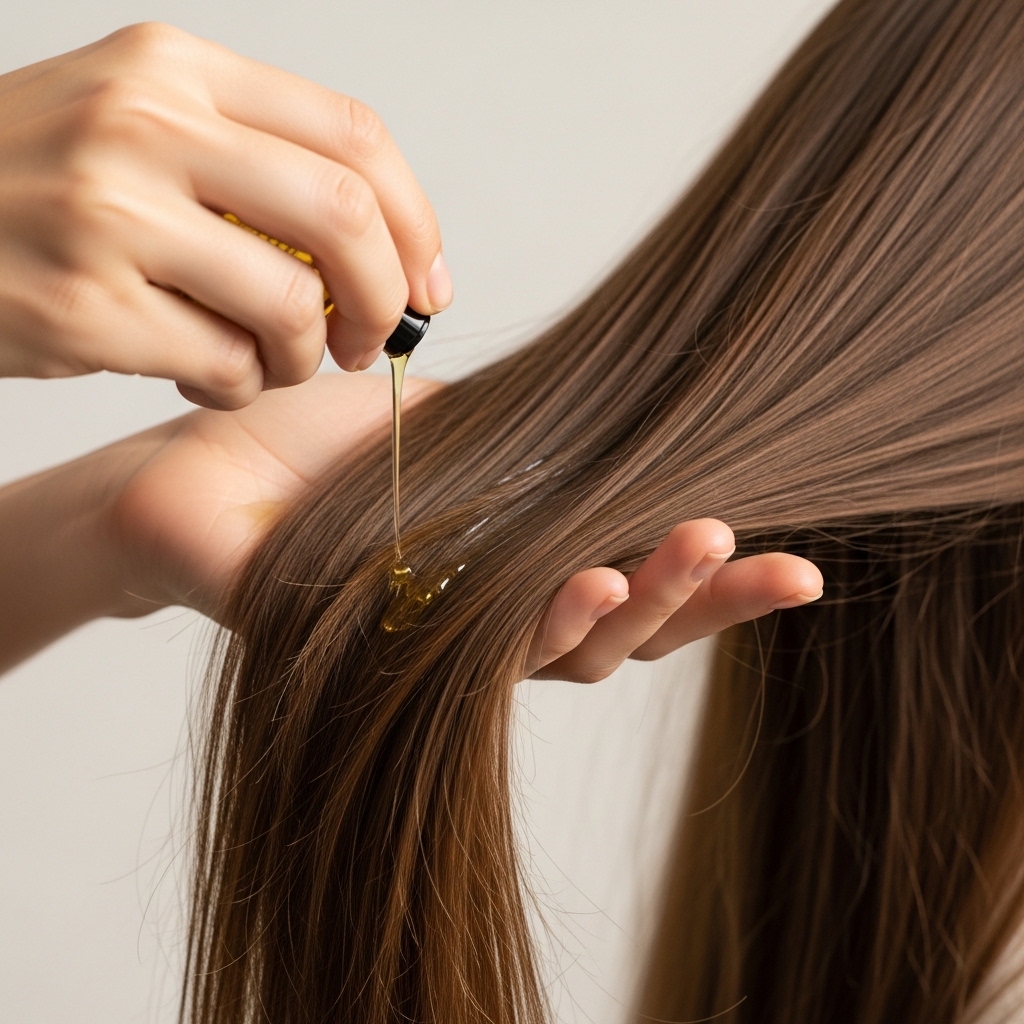
6. The Application Map: Where to Put It
Never, ever apply oil directly to your roots or scalp (unless it’s a specific scalp treatment). Start two inches from your scalp. Focus on the areas that see the most damage:
- Your ends (the oldest part of your hair)
- The mid-lengths (where friction from clothes happens)
- Any areas with previous highlights or color
This targets the need without flattening your roots.

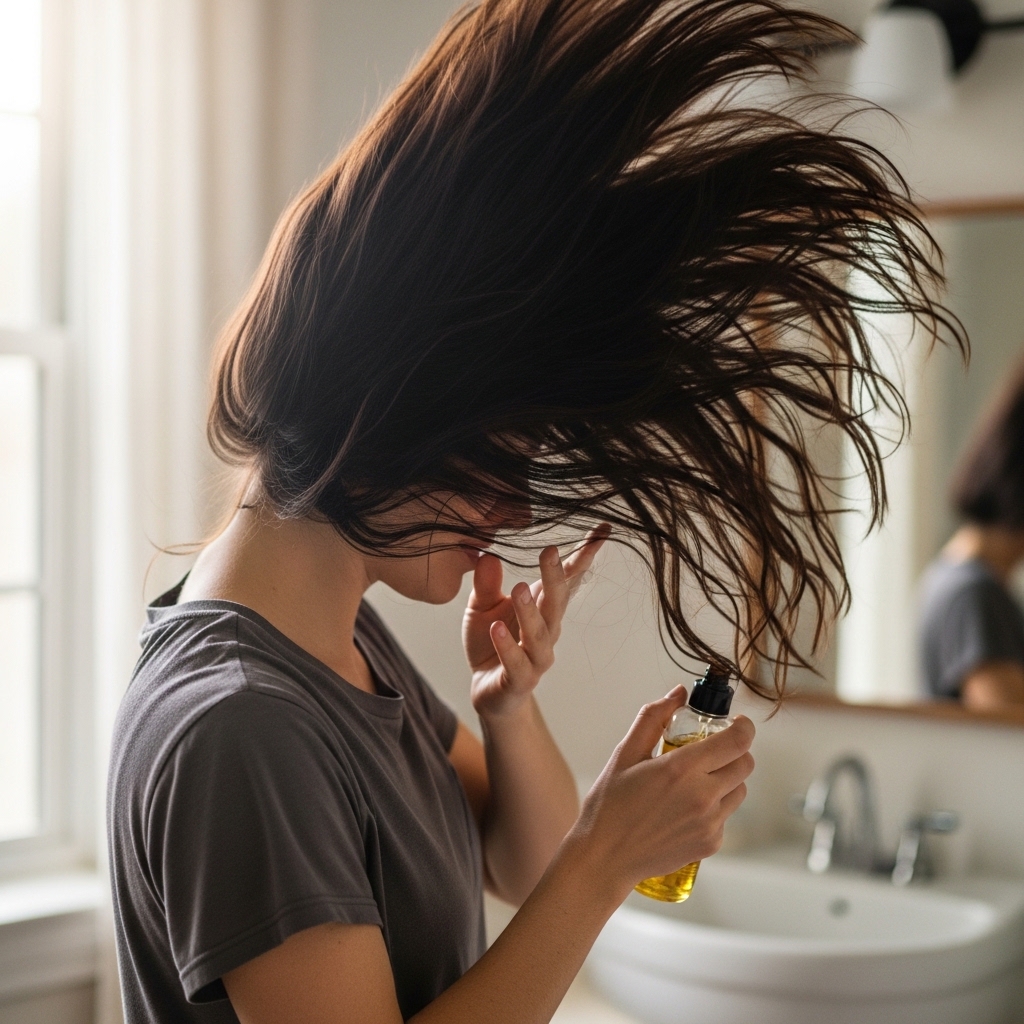
7. The Distribution Technique: “Praying Hands”
Use the “praying hands” method for even distribution. After warming the oil, glide your hands down the sides of your hair, as if you’re smoothing it. Do this 2-3 times.
Then, gently scrunch the ends upward into your palms to make sure they’re fully coated. This technique is perfect for enhancing natural waves or keeping a quiet luxury bob sleek and defined.

8. Don’t Forget Your Hair’s “Back”
It’s easy to only oil the front and sides we see in the mirror. Flip your head over and run your oiled hands through the under-layers at the back of your head.
This hair rubs against our clothes and chairs all day and needs love too! A quick pass ensures all your hair gets the benefit, giving you 360-degree shine.
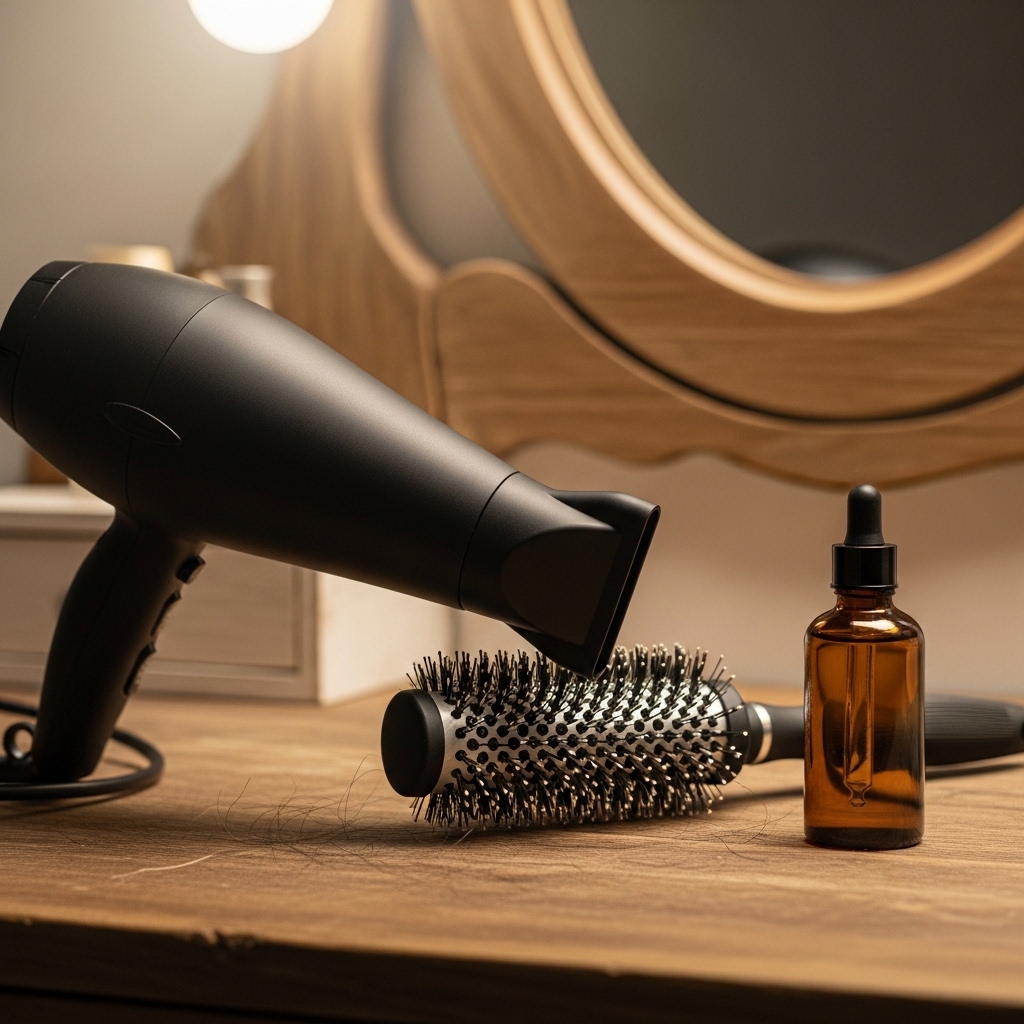
9. The Pre-Blow-Dry Shield
Using oil before heat styling is a protective must. That thin layer acts as a barrier against the high heat of your dryer or iron, reducing damage and breakage.
It helps your style last longer and look smoother. Whether you’re blowing out a voluminous style or going for a pin-straight asymmetrical lob, this step is your best friend.
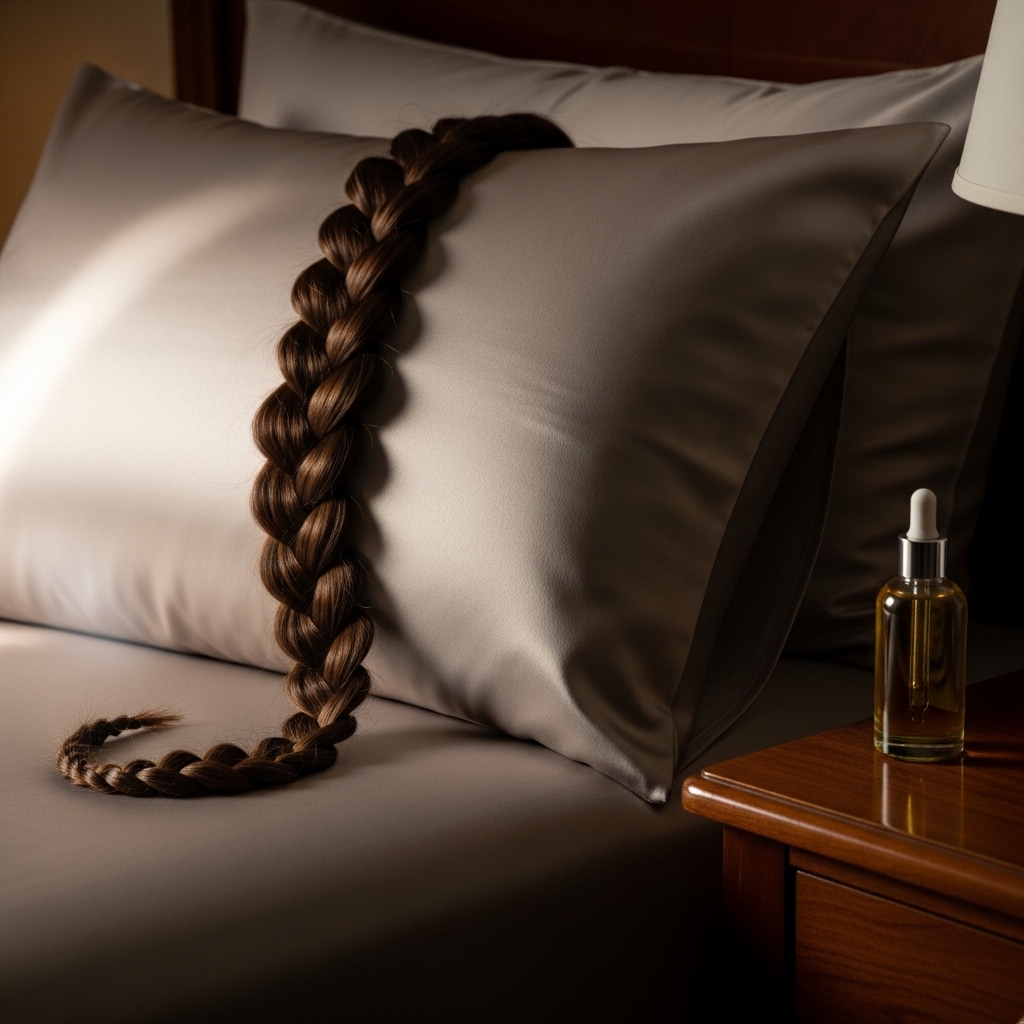
10. The Overnight Repair Treatment
Once a week, for a deep treatment, apply a slightly larger amount to your ends before bed. Braid your hair or put it in a loose bun. The oil works while you sleep.
You’ll wake up to incredibly soft, revived hair. This is a savior for dry ends and will make any 2026 hairstyles you try look their absolute best.
11. Taming Flyaways for a Polished Finish
For a perfectly polished look, take a single drop of oil, rub it fiercely between your fingertips until it’s almost invisible, then gently glide it over your hairline and any flyaways.
This tames without adding weight or grease. It’s the final touch for that sleek, expensive-looking finish, essential for a clean quiet luxury bob or old money hair updo.
12. Mixing Oil With Your Leave-In
For a supercharged hydrating cocktail, mix 1-2 drops of oil with your regular leave-in conditioner in your palm before applying. This combines moisture and sealing in one step.
It’s a huge time-saver and ensures the products work together seamlessly. Perfect for low-maintenance days when you still want that healthy shine.

13. Protecting Your Ends Between Washes
On day 2 or 3 hair, your ends might start to look dry again. Freshen them up with a single tiny drop of oil, applied only to the very tips.
This revives the style and adds a touch of fresh shine without needing to wash or fully restyle. It breathes new life into your vampire haircut or hime cut between salon visits.
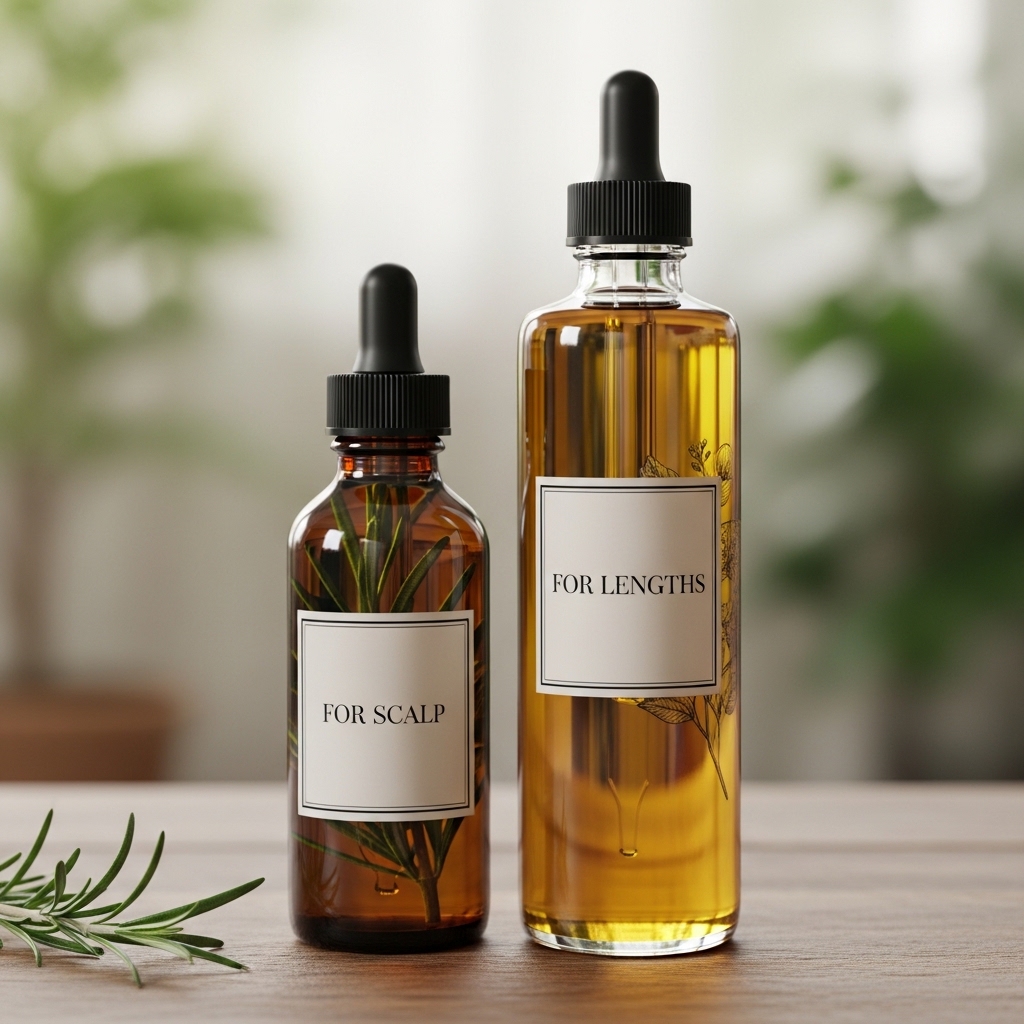
14. Scalp Oil? A Separate Ritual.
Remember, this routine is for length. Scalp oiling is a different, dedicated practice for dryness or flakiness. Use lighter oils like jojoba or rosemary, massage in, and always shampoo out.
Don’t use your regular hair oil on your scalp unless it’s specifically designed for it. Keeping these routines separate keeps your roots fresh and your lengths nourished.
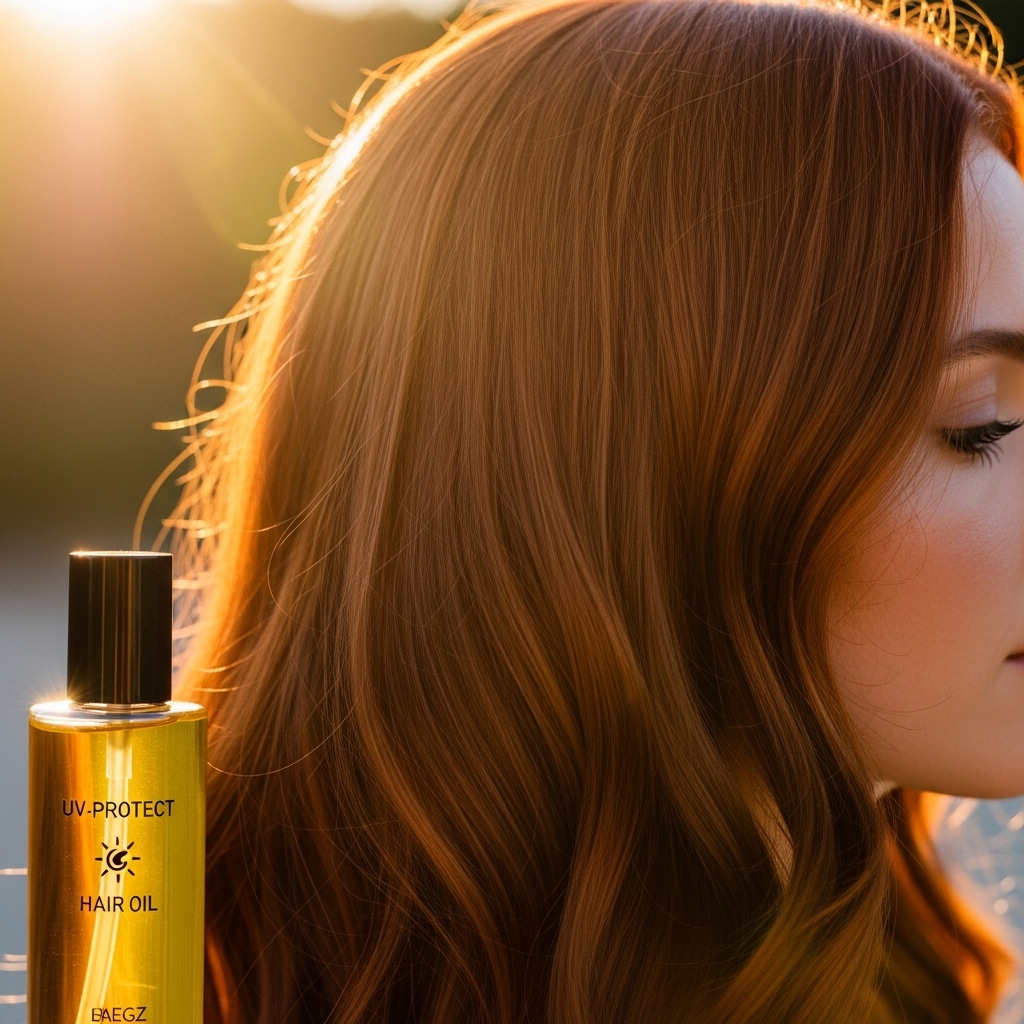
15. How to Choose an Oil for Your Color
If you have color-treated hair, look for oils labeled as “color-safe” or “UV-protecting.” These are formulated to be non-stripping and help protect your investment from the sun.
They prevent brassiness and fading, keeping your color vibrant longer. This is key for maintaining the rich tones in romantic goth hairstyles or the perfect shade for a glitchy glam hair look.
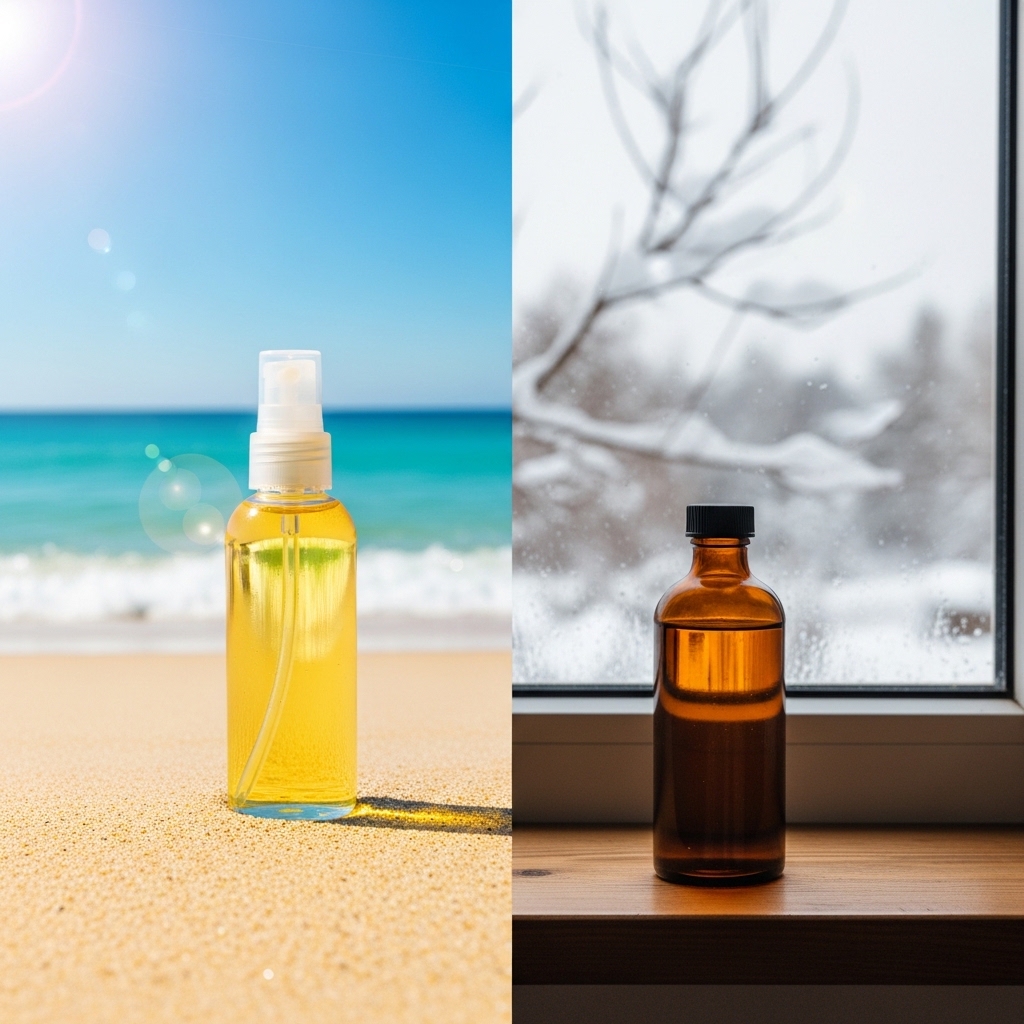
16. The Summer vs. Winter Adjustment
Your hair’s needs change with the weather. In humid summer, use a lighter oil to combat frizz. In dry winter, you might need a richer oil or an extra drop to fight static and dryness.
Listen to your hair. If it feels straw-like, add a bit more. If it feels limp, use less. This adaptability is the heart of a good routine.
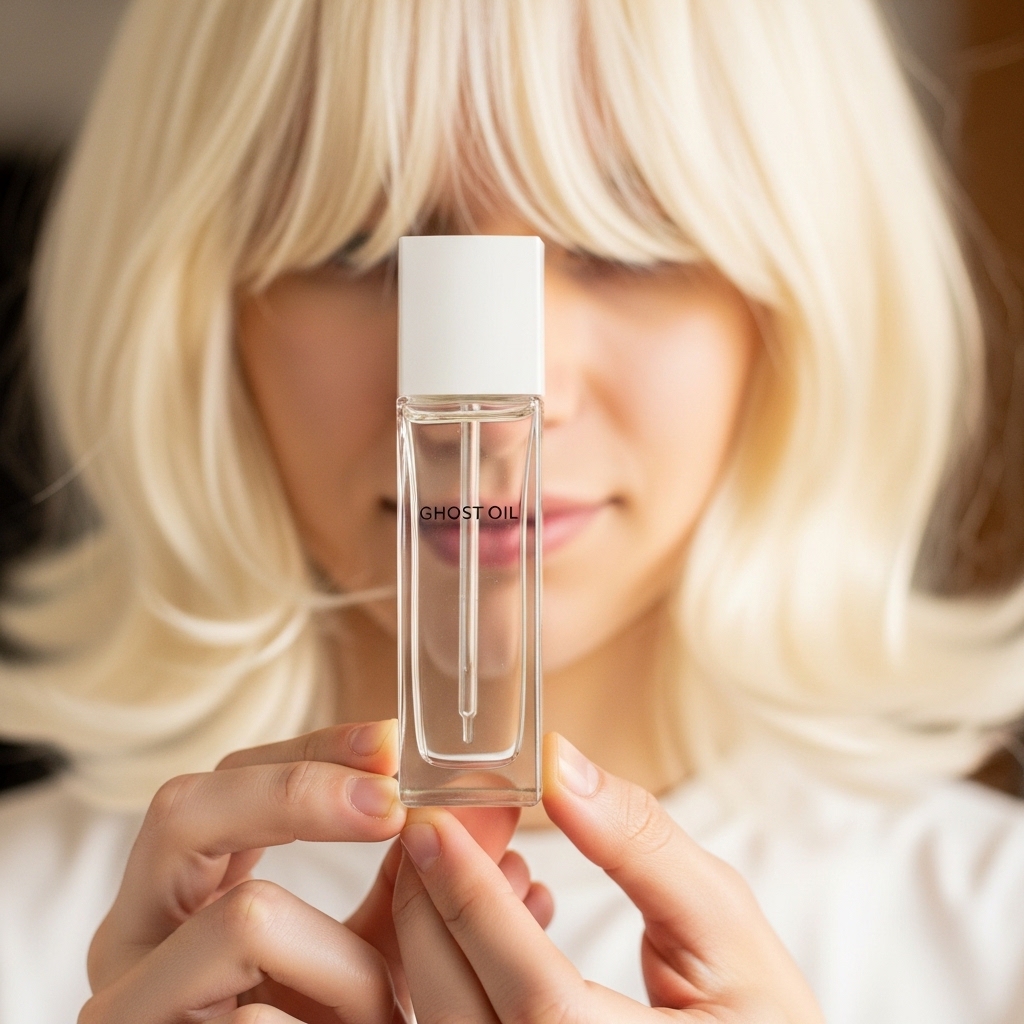
17. For Super Fine Hair: The “Ghost Oil” Method
If you have fine hair and are scared of oil, try a “ghost oil” formula—they’re designed to be ultra-lightweight and virtually undetectable.
Apply just half a drop, focusing only on the very ends. The goal is to get the benefit without any feeling of product. This can add shine to fine hime cut bangs or wispy layers.
18. Creating Texture and Separation
For textured styles like beach waves or a piecey vampire haircut, apply a tiny bit of oil *after* curling or waving. Rub it just on your fingertips and gently pinch and separate the waves.
This breaks up the curl, adds a lived-in, soft texture, and gives a cool, piecey shine—far from a crunchy, uniform look.

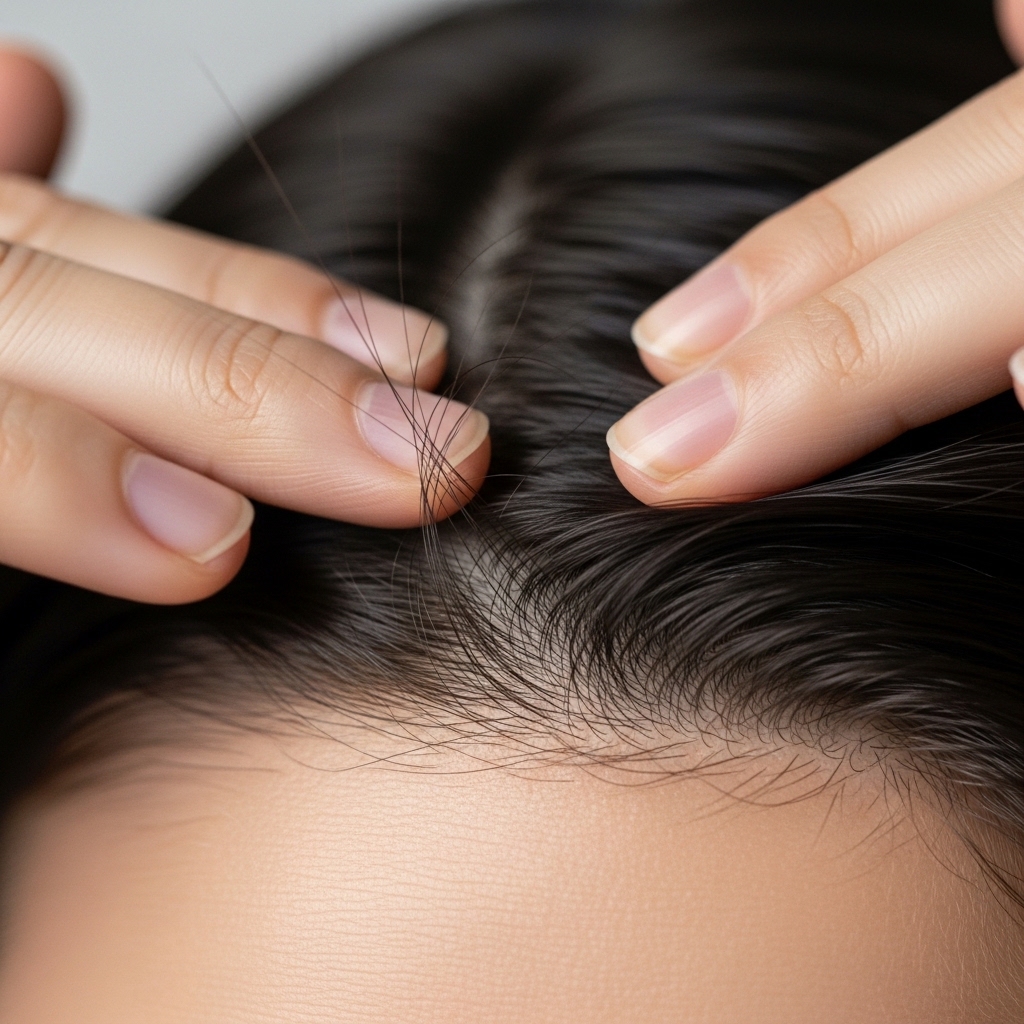
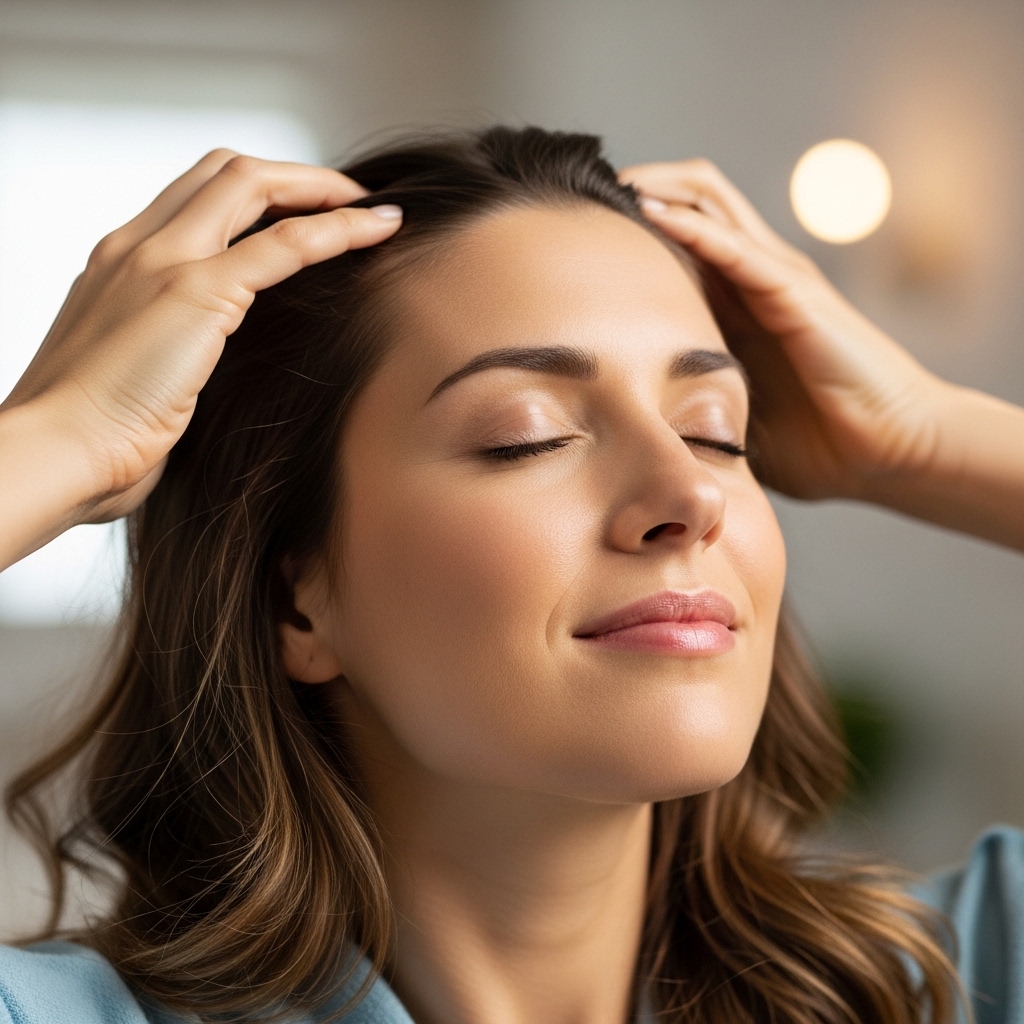
19. The 60-Second Scalp Massage (Bonus!)
While your oil is on your lengths, use your fingertips (without extra oil) to give yourself a gentle 60-second scalp massage. This stimulates blood flow, which can promote healthier growth.
It also feels amazing and is a great moment of self-care. Healthy growth starts at the root, after all.
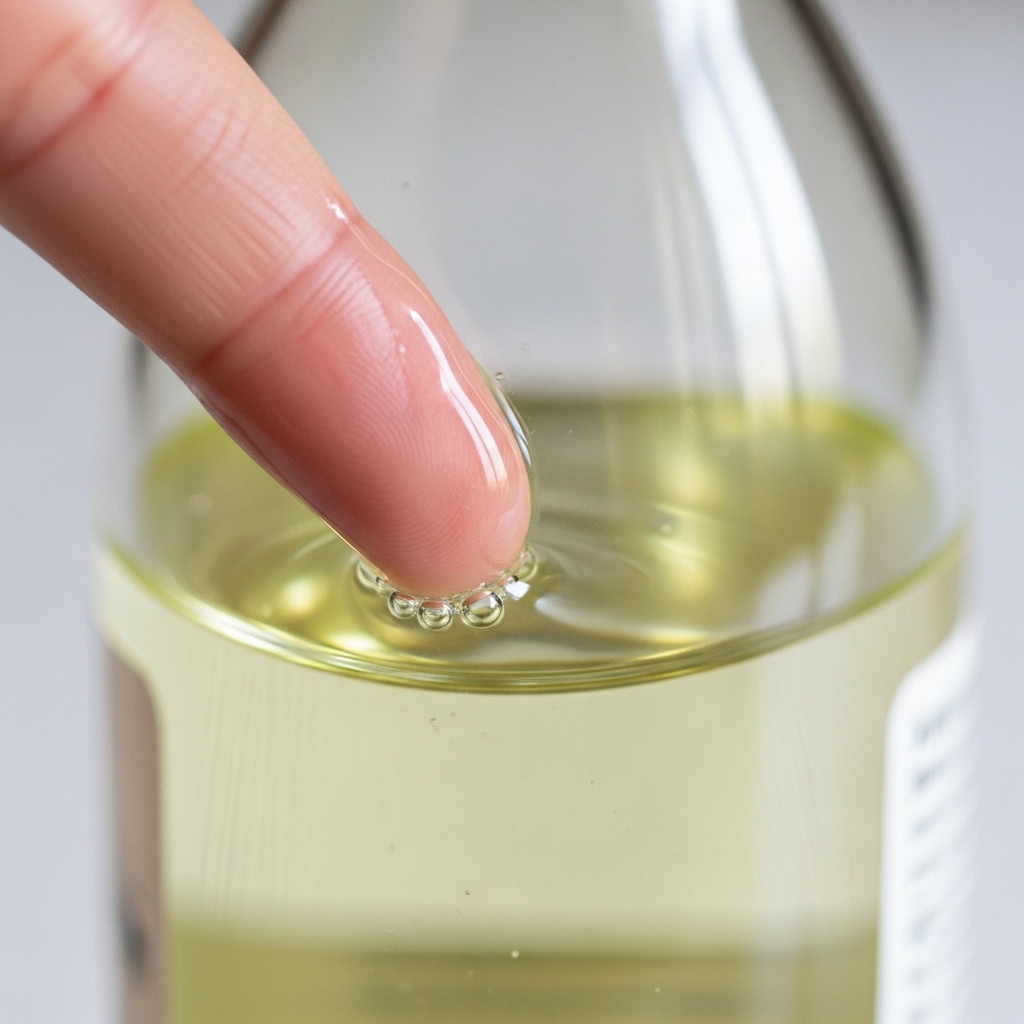
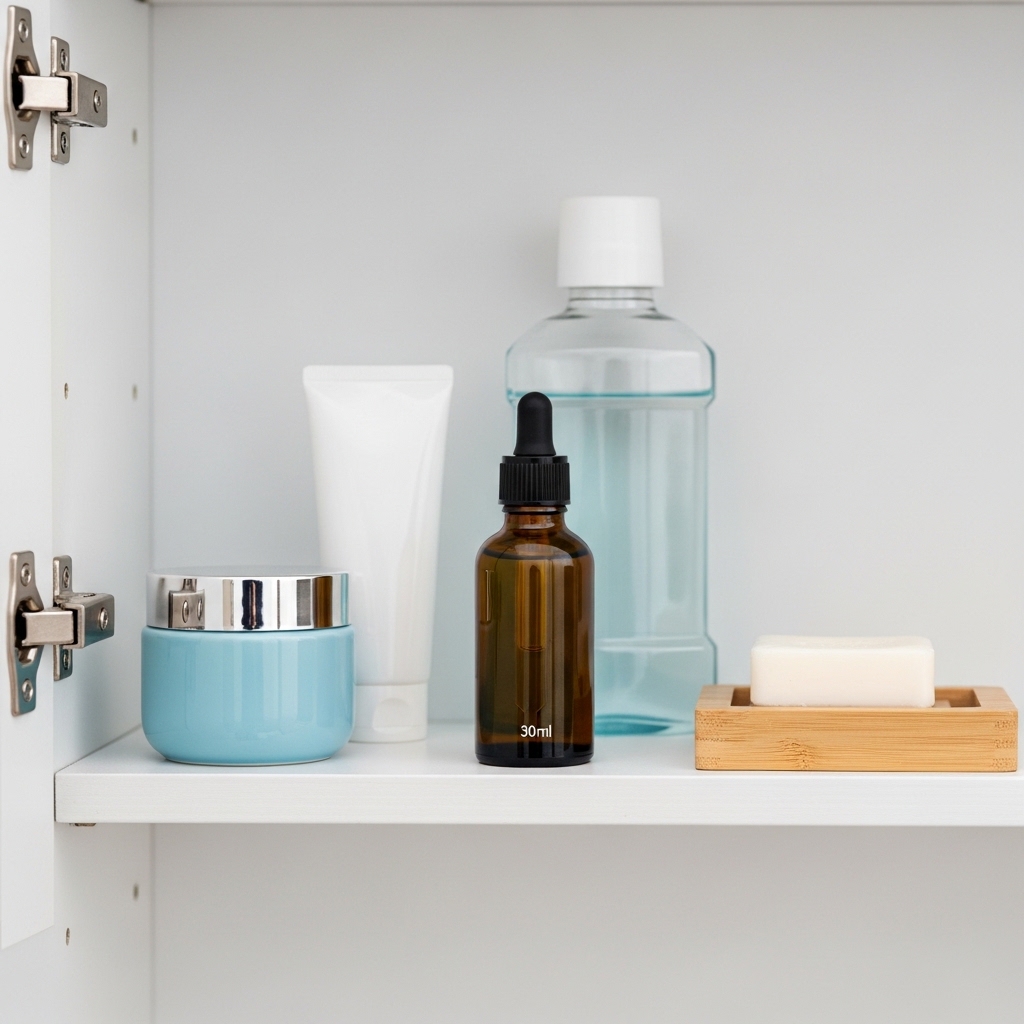
20. Storing Your Oil Properly
Keep your oil in a cool, dark place, not in your direct shower steam or on a sunny windowsill. Heat and light can degrade the quality of the oils over time.
Your bathroom cabinet is perfect. Proper storage means your oil stays effective and fresh for longer, protecting your investment.
21. When to Skip the Oil
There are days to skip. If your hair already feels heavy or you’re going for maximum volume at the roots, just focus the oil on the very ends only.
Or, if you’re using a heavy styling cream, you might not need oil at all. The routine should serve you, not rule you. Adapt it.
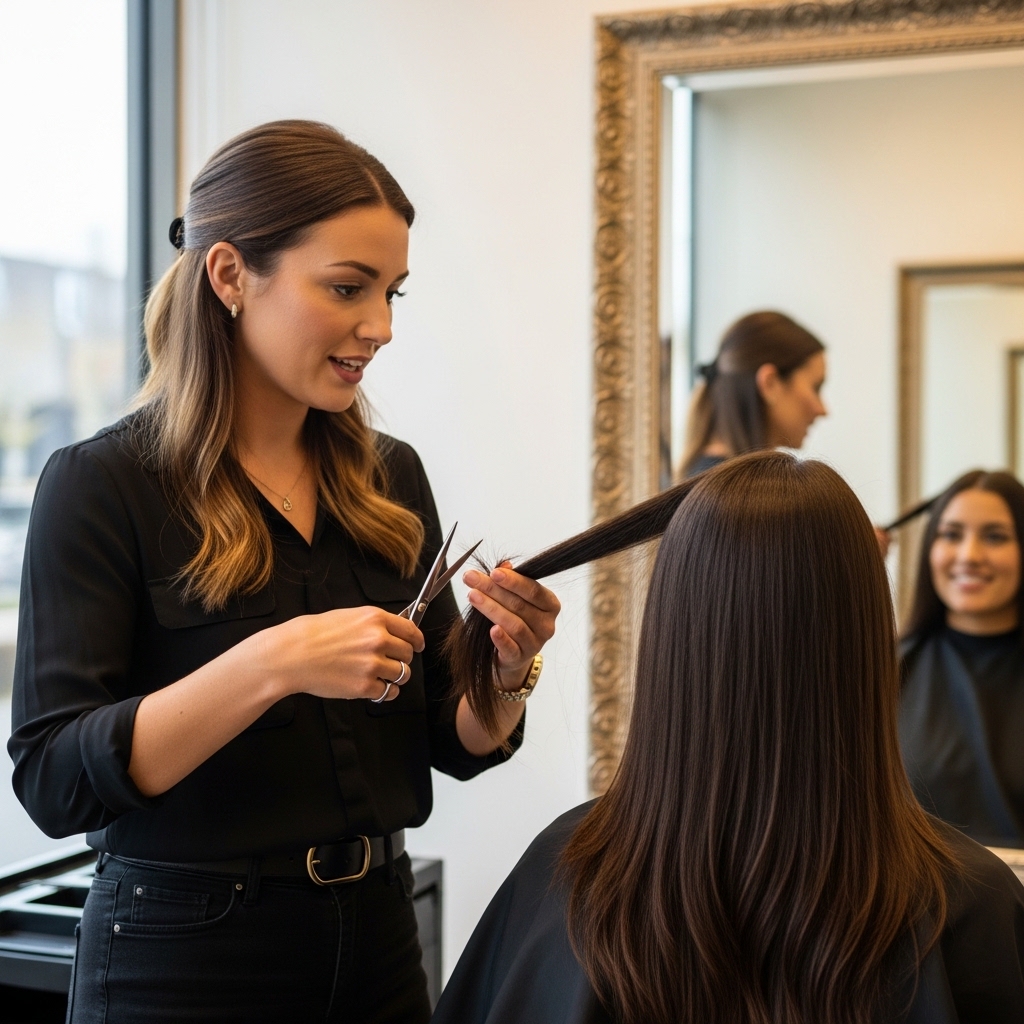
22. Pairing Oil With Your Haircut
Your cut informs your application. A sharp asymmetrical lob might need more focus on the longest front pieces. A full hime cut needs care on those blunt bangs and ends.
Talk to your stylist about how you use oil. They can tailor your cut to work with your routine for the best possible shape and movement.
23. Consistency Beats Perfection
The magic isn’t in doing it perfectly once. It’s in doing it consistently, even imperfectly, over weeks and months. That’s how you build true, lasting health and shine.
Miss a day? No big deal. Just pick it back up at your next wash. This routine is a gentle practice, not a strict rule. Your hair will thank you for the steady love.
And that’s it, friend. The real quiet luxury isn’t about the price tag on the bottle—it’s about the consistent, loving care you give yourself. It’s the ritual. That’s what translates into that undeniable, healthy glow.
When your hair is healthy and shining, every style feels better. Whether you’re rocking a classic wave, experimenting with glitchy glam hair, or keeping it simple, this foundation makes all the difference.
So, give it a try. Start with just one or two of these steps. See how your hair responds. I have a feeling you’re going to love the results.
Save this post to Pinterest to keep this routine handy! And tell me in the comments—what’s your number one hair goal right now? Is it more shine, less frizz, or just feeling healthier overall? Let’s chat below.

