
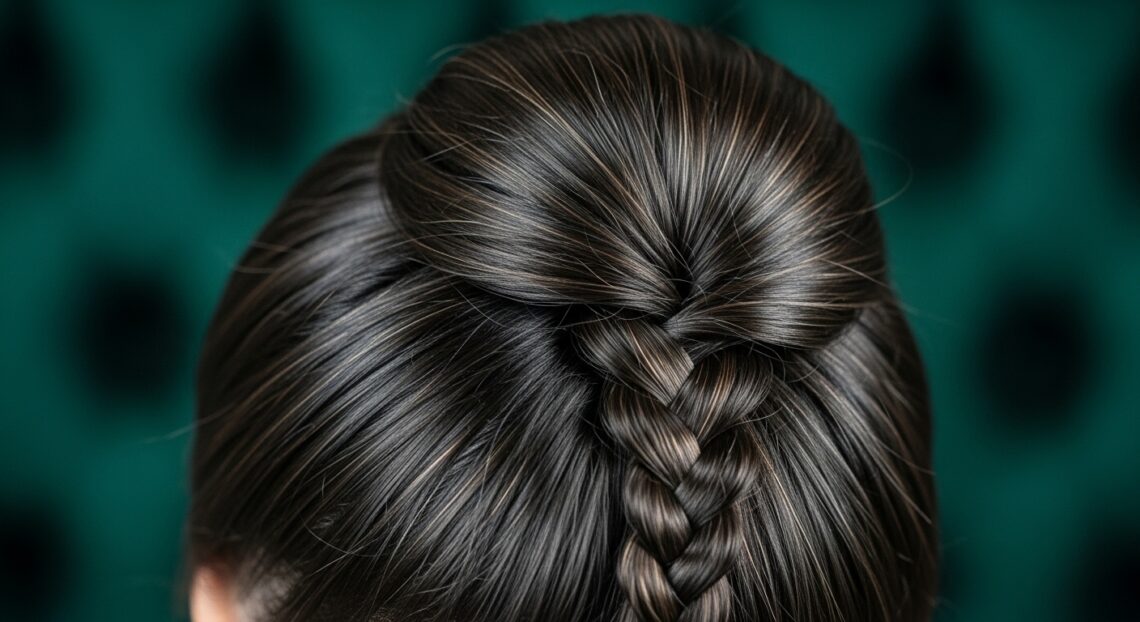
Okay, let’s be real. Date night is the perfect excuse to go all out with your look, and if you’re into the romantic goth vibe, you know hair is half the battle. You want something that feels darkly elegant, a little undone, and totally you—not like you’re trying too hard.
Maybe you’ve scrolled through endless pics of romantic goth hairstyles but thought, “I could never do that myself.” I get it. Some of those updos look like they require a professional stylist and three hours.
But guess what? You can totally do this. I’ve broken down the most gorgeous, date-night-worthy looks into simple, doable steps. We’re talking soft, touchable texture, strategic pieces left out, and an overall vibe that says “mysterious” not “messy.”
This is your ultimate guide to creating that perfect, romantic updo at home. Let’s get into it and find your signature look.
1. What Makes an Updo “Romantic Goth”?
It’s all about the balance. Romantic goth isn’t harsh or severe. It blends dark elegance with soft, feminine touches. Think less “spooky” and more “tragic Victorian heroine taking a moonlit stroll.”
The key elements are texture, asymmetry, and strategic looseness. We’re aiming for hair that looks artfully tousled, with pieces framing the face to soften the look. It’s a vibe that pairs perfectly with both a little black dress and your favorite band tee.
2. The Essential Tools You’ll Need
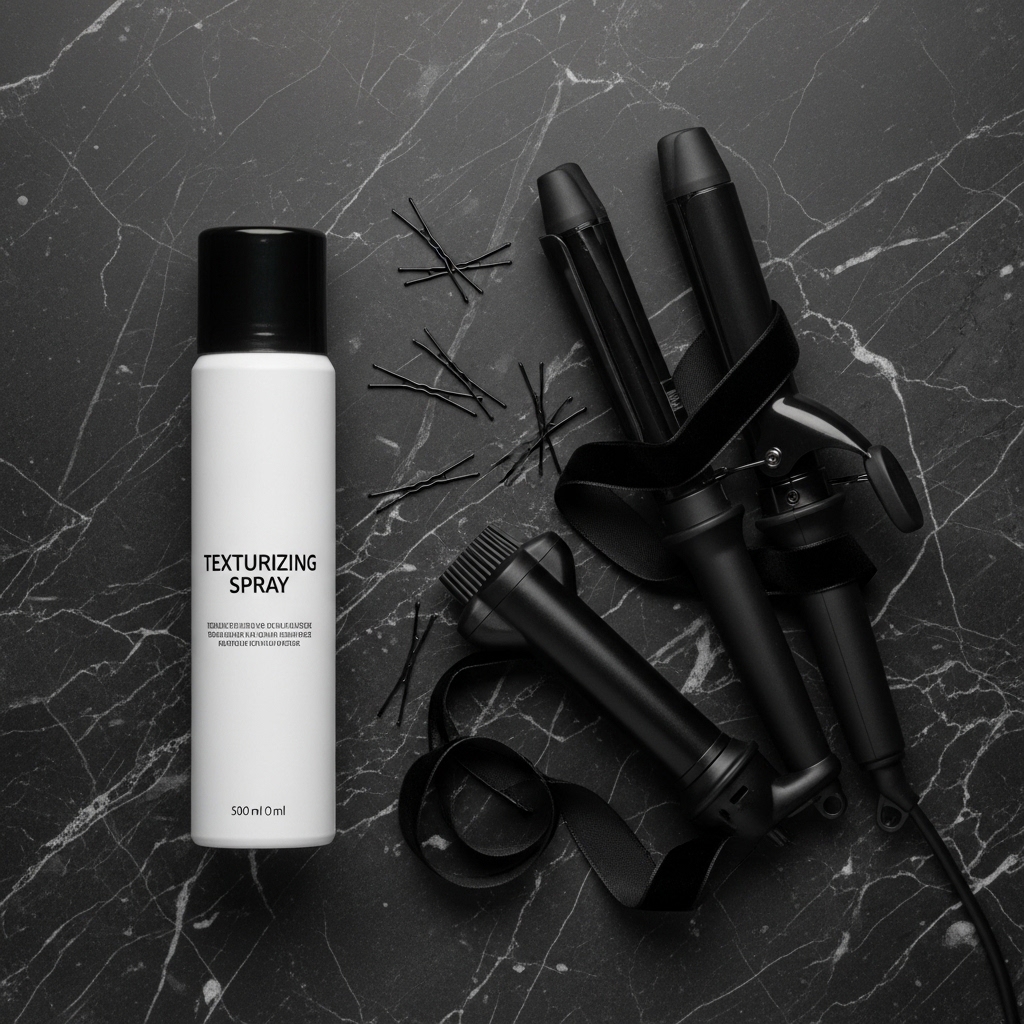
Don’t worry, you don’t need a salon’s worth of equipment. A few basics will get you there. First, a good texturizing spray or dry shampoo is non-negotiable for creating that lived-in, glitchy glam hair texture.
You’ll also want strong-hold hairspray, bobby pins (the matte black ones are invisible in dark hair!), clear elastics, and a teasing comb. A curling wand or iron can help add waves before you start, especially if your hair is very straight.
3. Start With Day-Old Hair
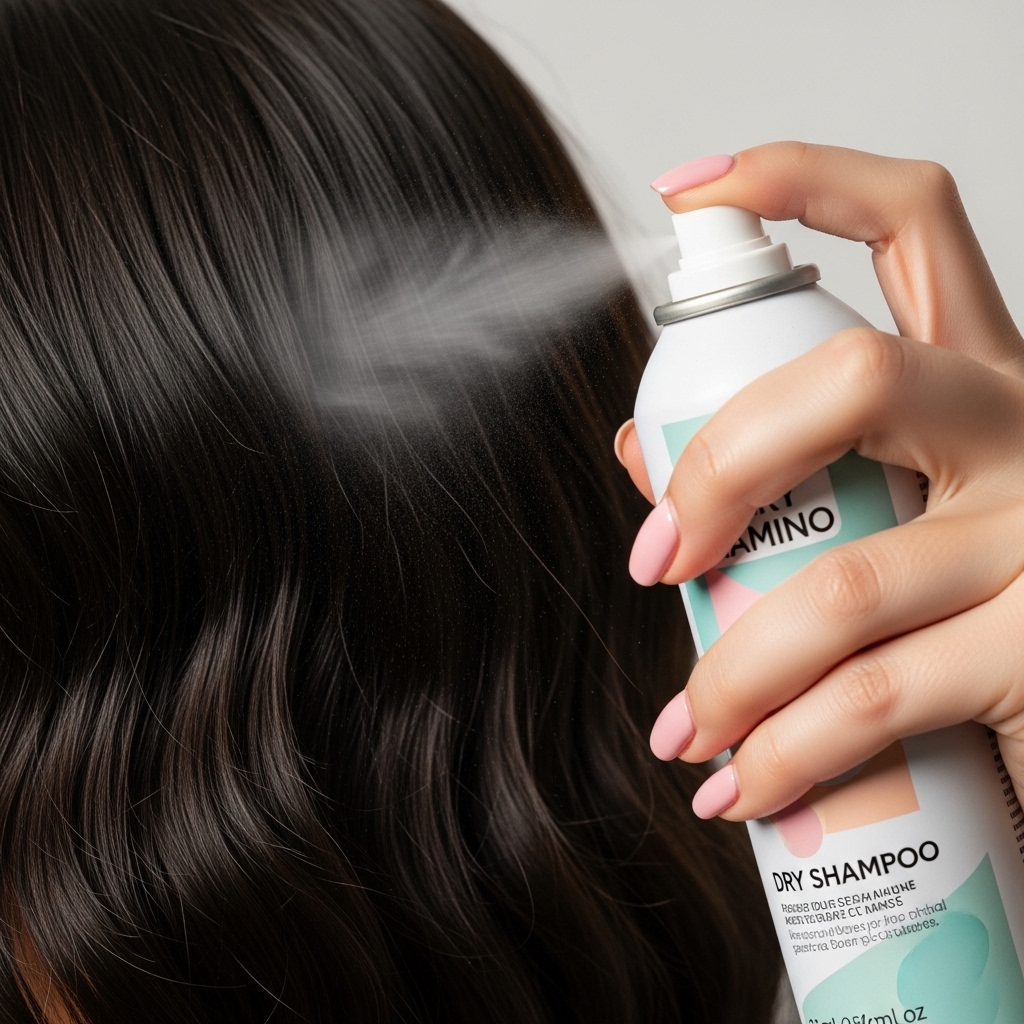
This is the oldest trick in the book, but it’s true: second-day hair has the perfect amount of natural grit and hold. If your hair is freshly washed, it can be too slippery for pins and styles to stay put.
If you must wash, spray some dry shampoo at the roots and mid-lengths before you begin styling. This gives your hair some “grip” and helps create that volume and texture that’s essential for these looks. Trust me on this one.
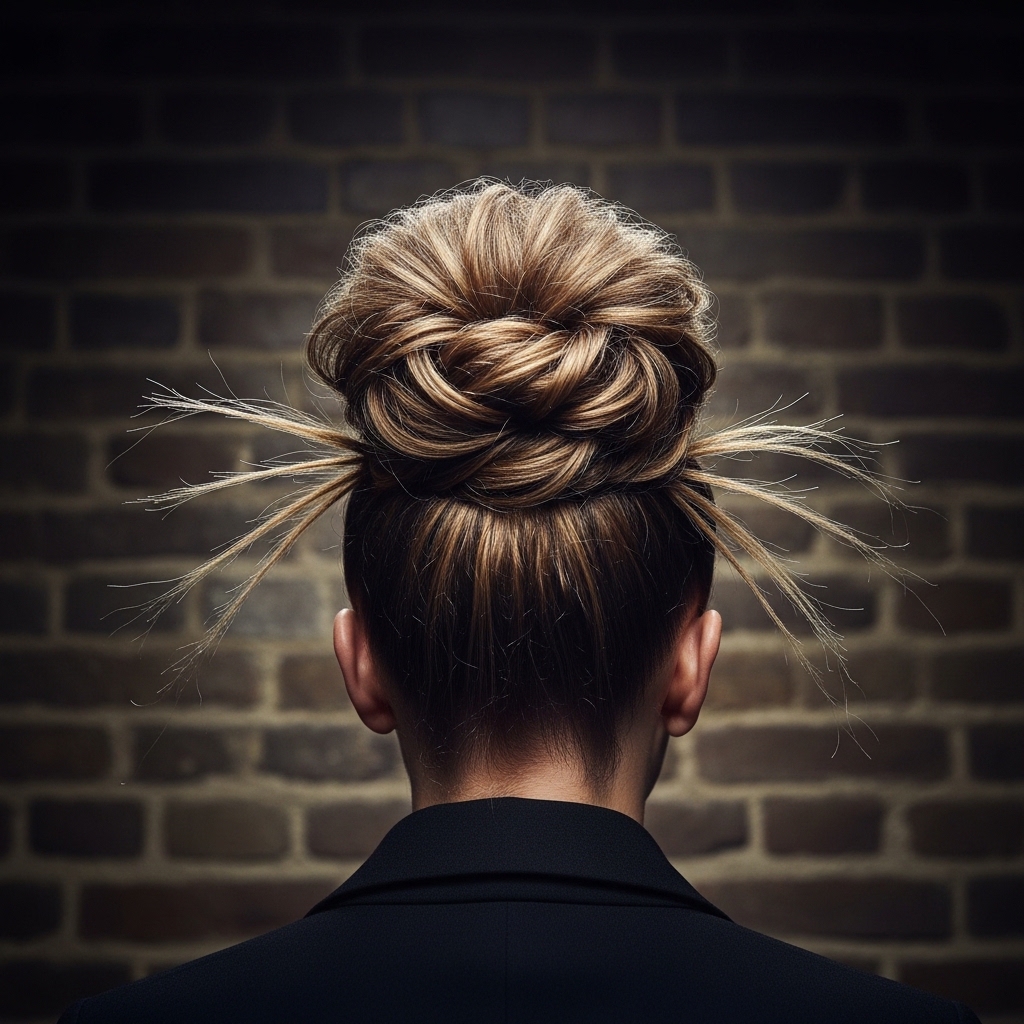
4. The Effortless Textured Bun
This is your go-to, five-minute wonder. Pull your hair into a high, loose ponytail but don’t pull the last loop of the elastic all the way through—you’ll create a bun-like shape. Then, gently pull at the sides to loosen it.
- Twist the “tail” of the ponytail around the base.
- Secure with bobby pins, tucking the end under.
- Pull out face-framing pieces and a few wispy bits at the nape of your neck.
- Mist with texturizing spray and gently tousle.
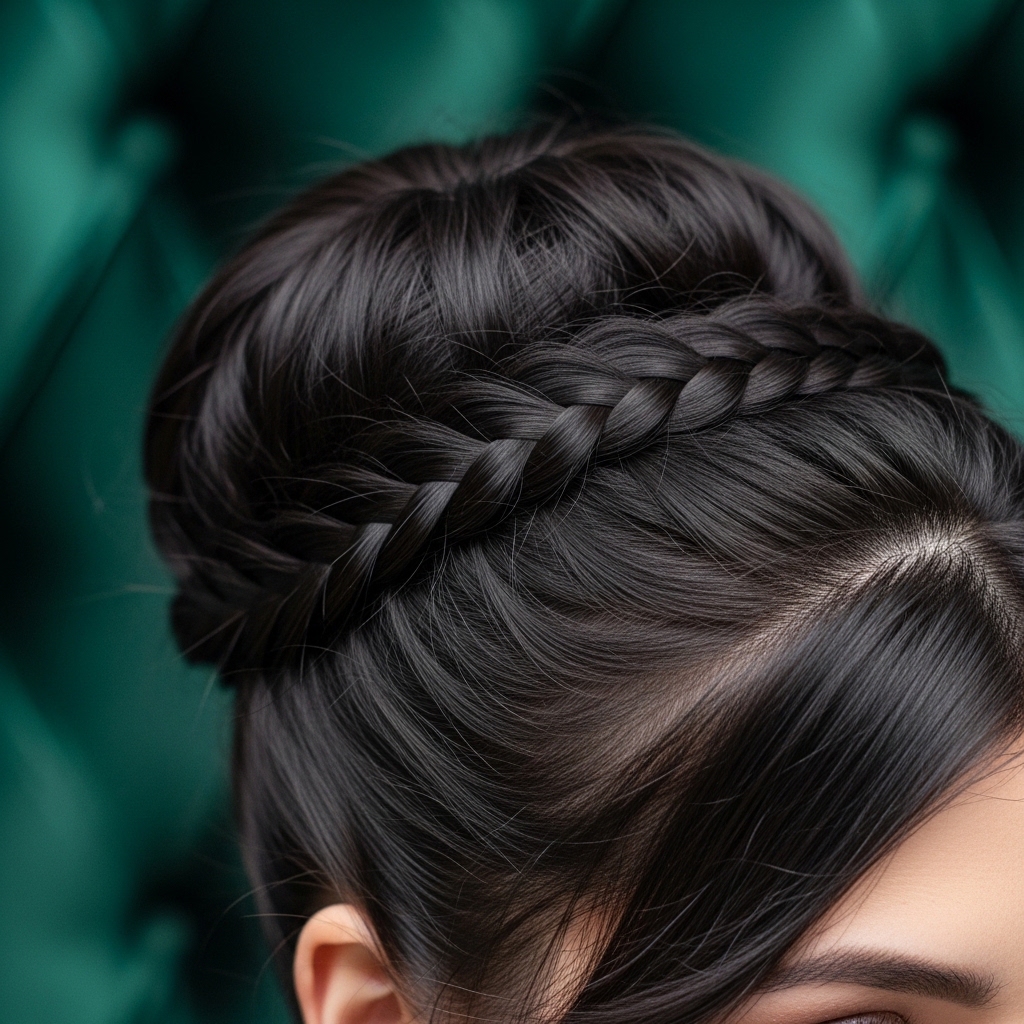
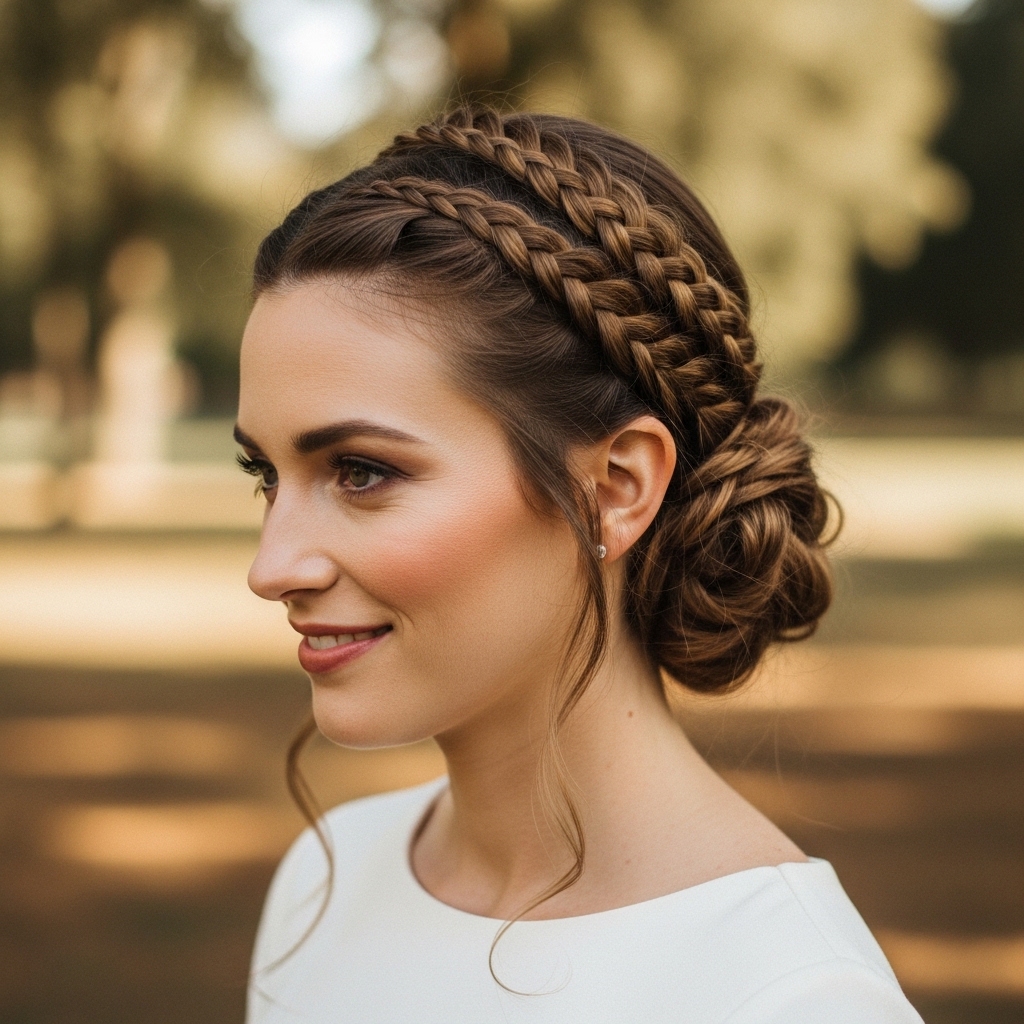
5. The Braided Crown with a Twist
This sounds complicated but is surprisingly simple. It gives major romantic, ethereal energy. Part your hair down the middle. On one side, take a section from the front and create a simple three-strand braid.
Repeat on the other side. Then, take each braid and pull it across the top of your head, pinning it just behind the opposite ear. Let the ends blend with the rest of your hair, which you can leave down or twist into a low bun.
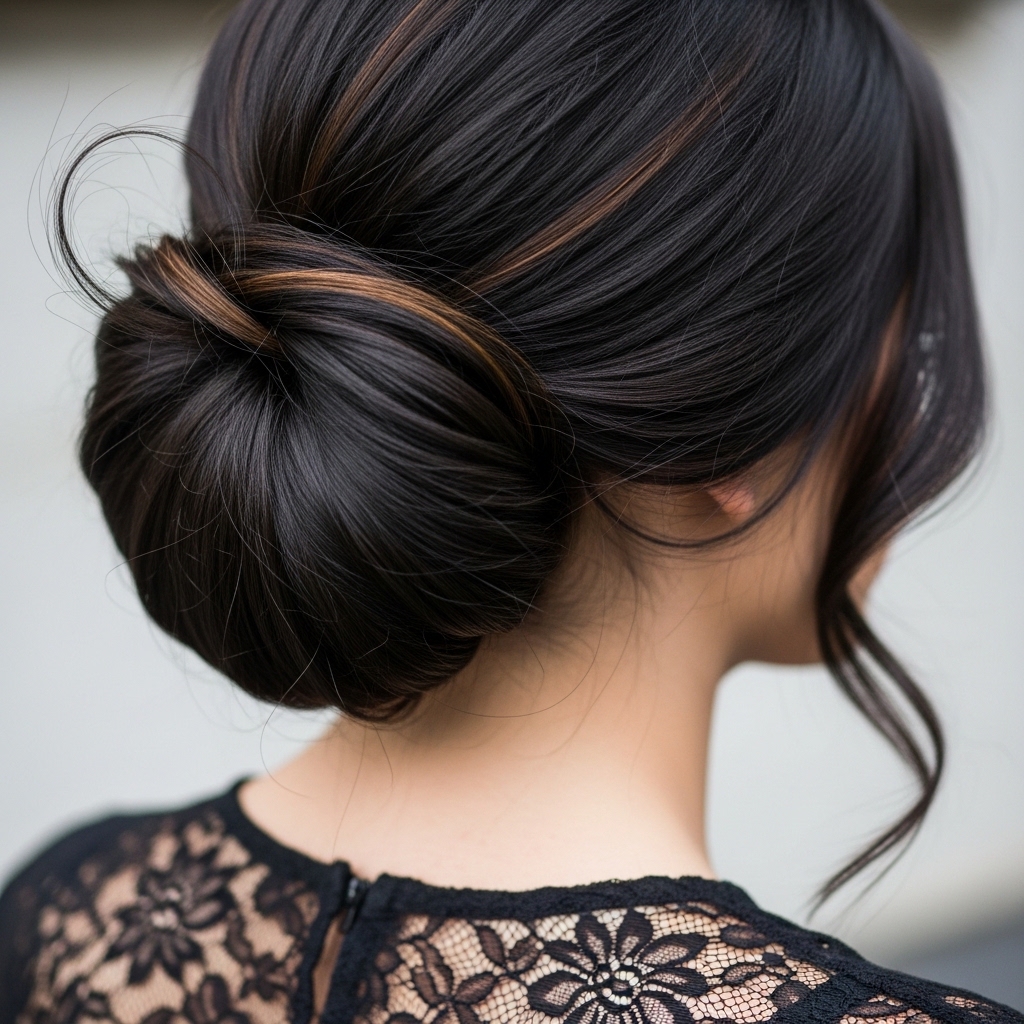
6. The “Vampire Haircut” Inspired Low Updo
If you have a vampire haircut (those gorgeous, heavy face-framing layers), this is for you. Gather your hair at the nape of your neck as if for a low ponytail, but only secure it with a clear elastic about halfway down the length.
Flip the tail up and over the elastic, creating a soft, rolled shape. Pin it in place. The key is to let all those beautiful layers and pieces around your face stay free to create a dramatic, framing effect.
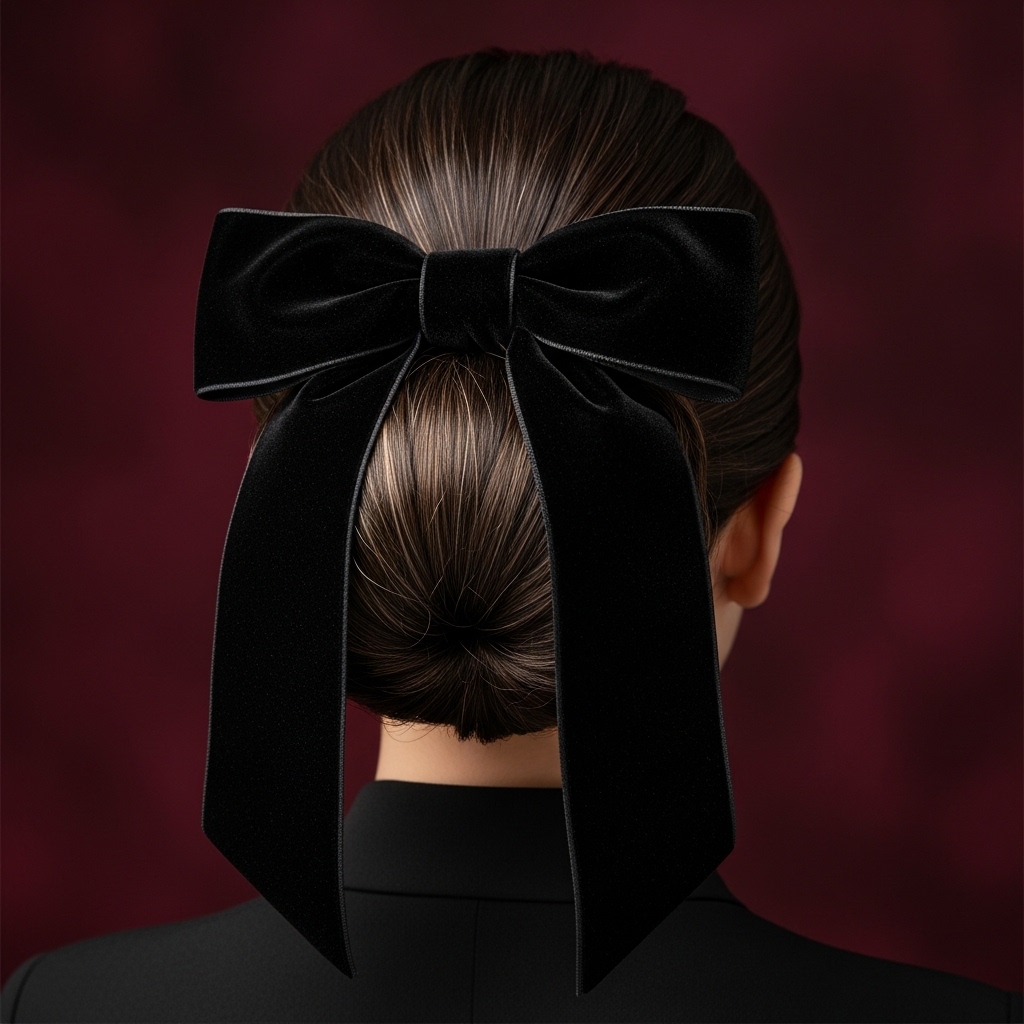
7. Incorporating Ribbons & Velvet
Accessories elevate any look instantly. A simple black satin or velvet ribbon can be woven into a braid, tied around a low ponytail, or used as the band for your bun. It adds that touch of quiet luxury and vintage romance.
For an updo, try tying your hair in a low ponytail with a ribbon, then twisting the ponytail into a bun and letting the ribbon ends hang down. It’s simple, elegant, and perfectly on-theme.
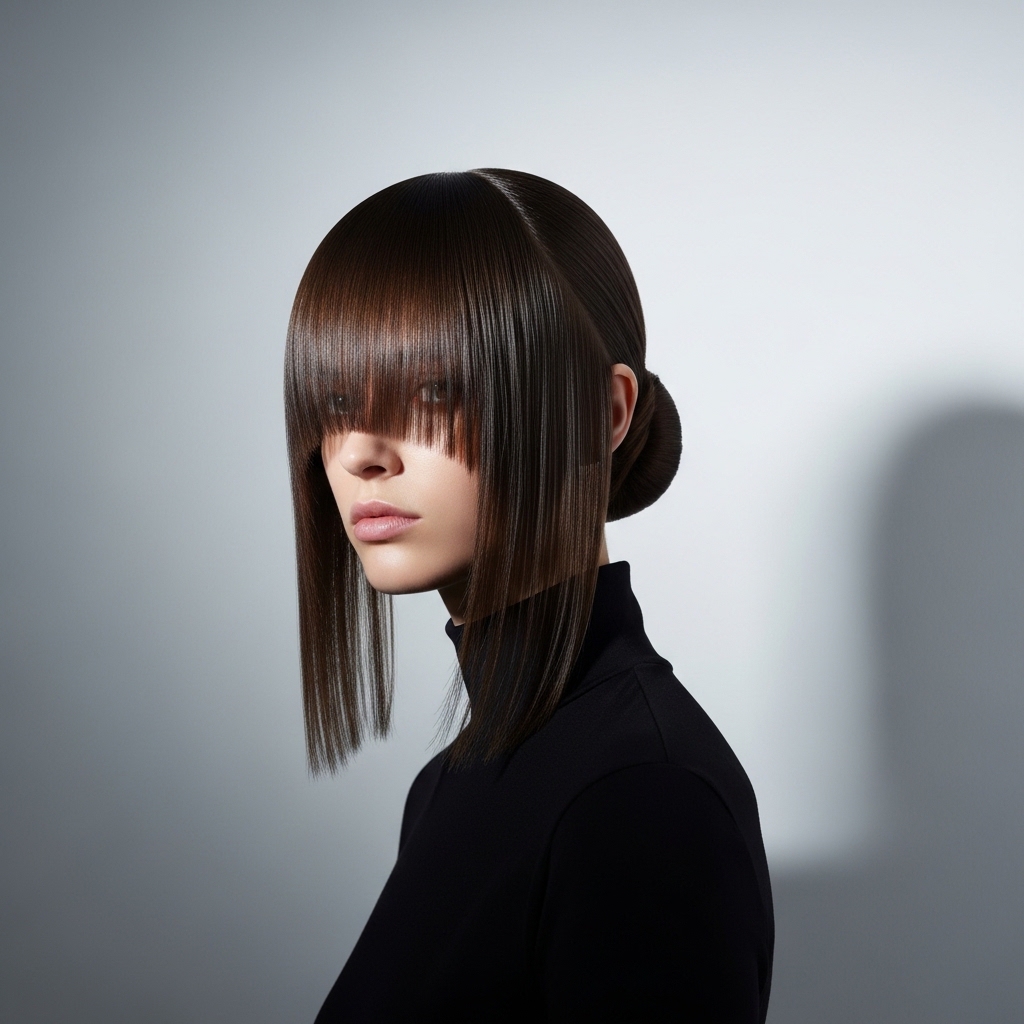
8. The Modern Hime Cut Updo
The hime cut—with its straight-across fringe and long, straight sides—creates a stunning graphic base. To style, pull the long back section into a sleek, low bun or chignon at the nape of your neck.
Keep the front “hime” sections completely down and sleek. You can use a flat iron to ensure they’re perfectly straight and sharp, creating a beautiful contrast with the softness of the bun. This look is striking and modern.
9. Soft Teased Volume at the Crown
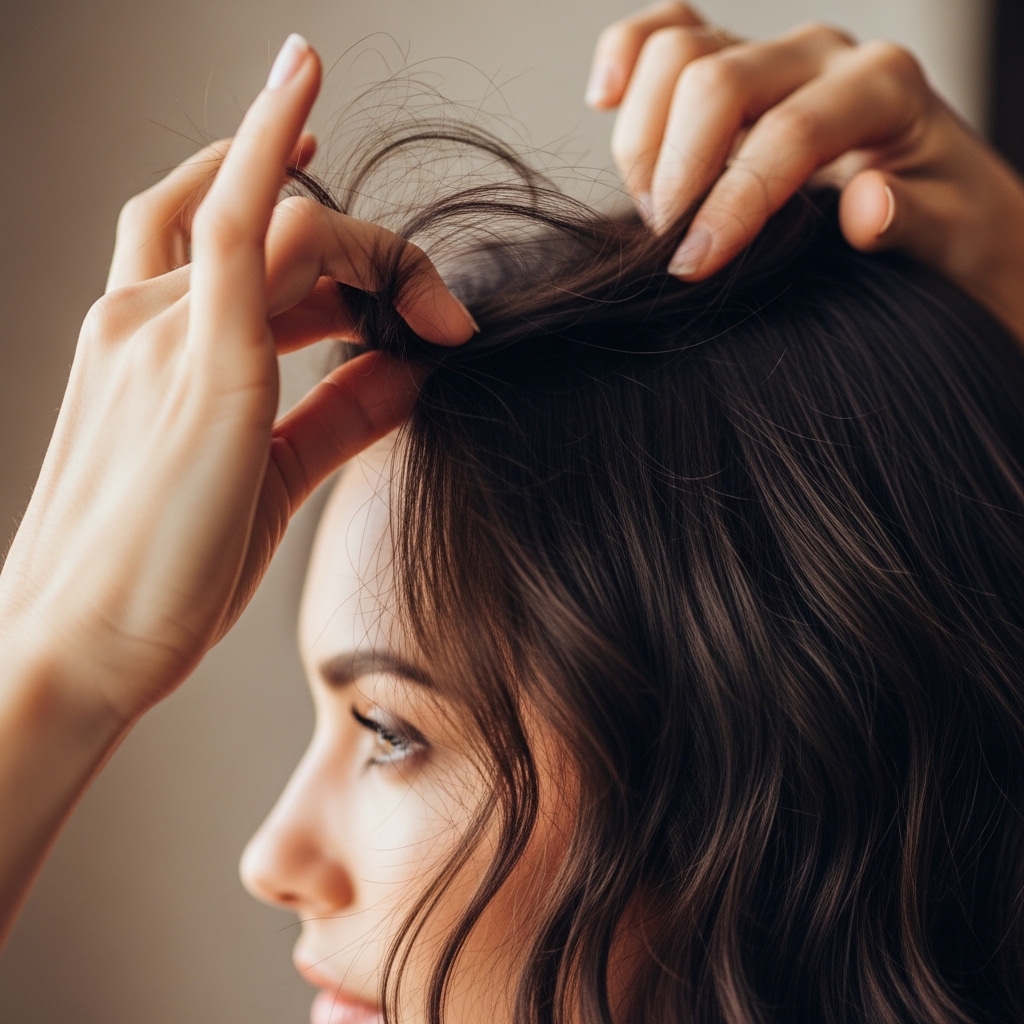
Volume is your best friend for romantic goth looks. It keeps things from looking flat or too severe. Before you start any updo, take a section of hair at the crown of your head and gently backcomb it at the roots.
Be gentle—you’re teasing for grip, not 80s hair. Then, lightly smooth the top layer over the teased section. This creates instant lift and makes your updo look fuller and more balanced.
10. The Asymmetrical Lob Twist
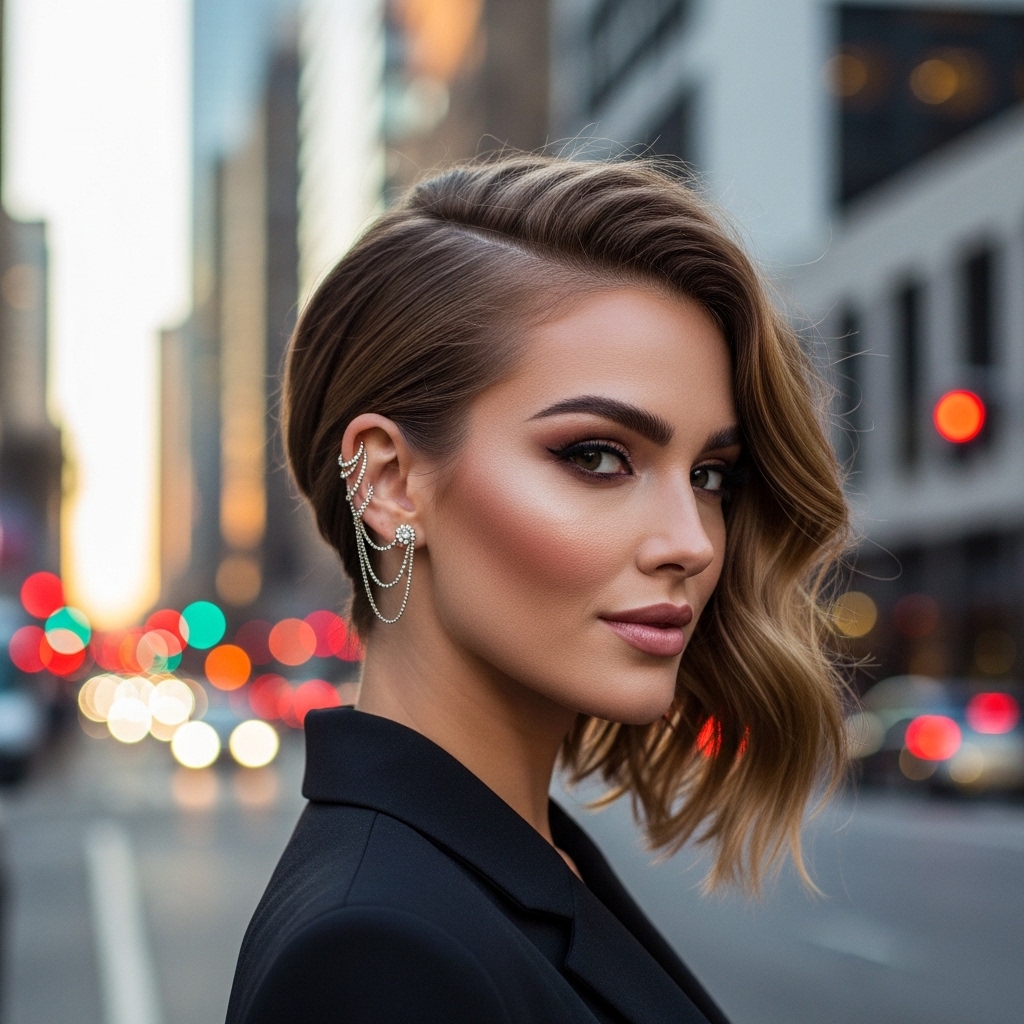
If you have an asymmetrical lob, you can create a gorgeous mini-updo on the longer side. Take the longer section of your lob and twist it back, pinning it just behind your ear.
You can leave the twist sleek or gently pull it apart for texture. Let the shorter side do its thing. This look is cool, effortless, and perfect for showing off that fantastic cut. It’s one of those 2026 hairstyles that feels fresh now.
11. Leaving Out Strategic Pieces
Never pull every single hair into your updo. The magic is in what you leave out. Always leave out:
- Your baby hairs and wispy bits around the hairline.
- At least two face-framing pieces near the front.
- A few pieces at the nape of your neck.
These pieces soften the entire look, frame your face, and make the style feel intentional, not perfect.
12. The “Old Money Hair” Chignon
Think of this as the old money hair take on goth. It’s polished but not stiff. Create a low ponytail. Twist the length and wrap it around the base to form a neat, compact bun.
Secure it with pins. The goal is sleekness, but not helmet-head. Use a soft-bristle brush and a little hair serum to smooth flyaways, but allow a tiny bit of texture to show through for that lived-in elegance.
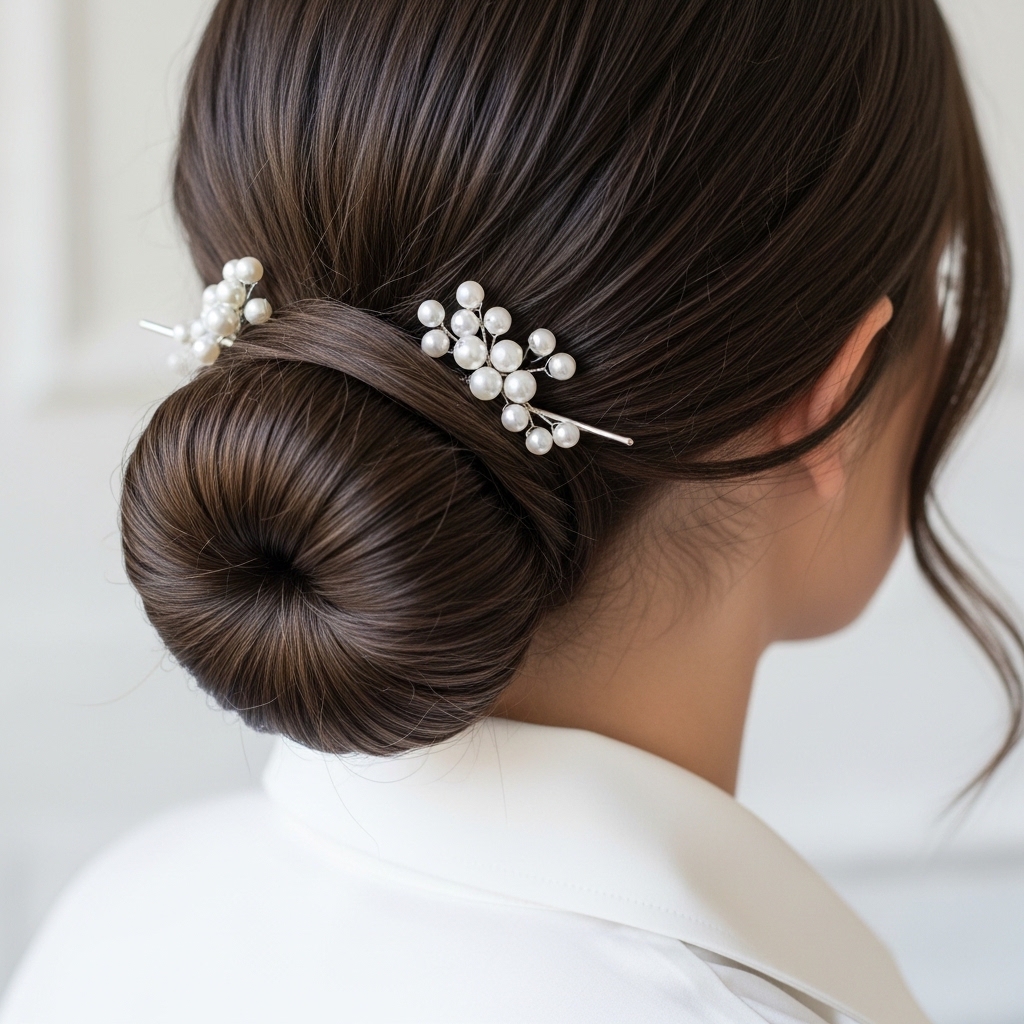
13. Using Hair Jewelry & Pins
Delicate hair jewelry like silver vine pins, moon-shaped barrettes, or tiny black star clips add instant fantasy elements. After you’ve created your updo, strategically place a few pins.
Don’t overdo it. One or two statement pieces, or a scattering of three tiny ones, is enough. Tuck them into the side of a bun, along a braid, or to secure a loose twist. It’s the perfect finishing touch.
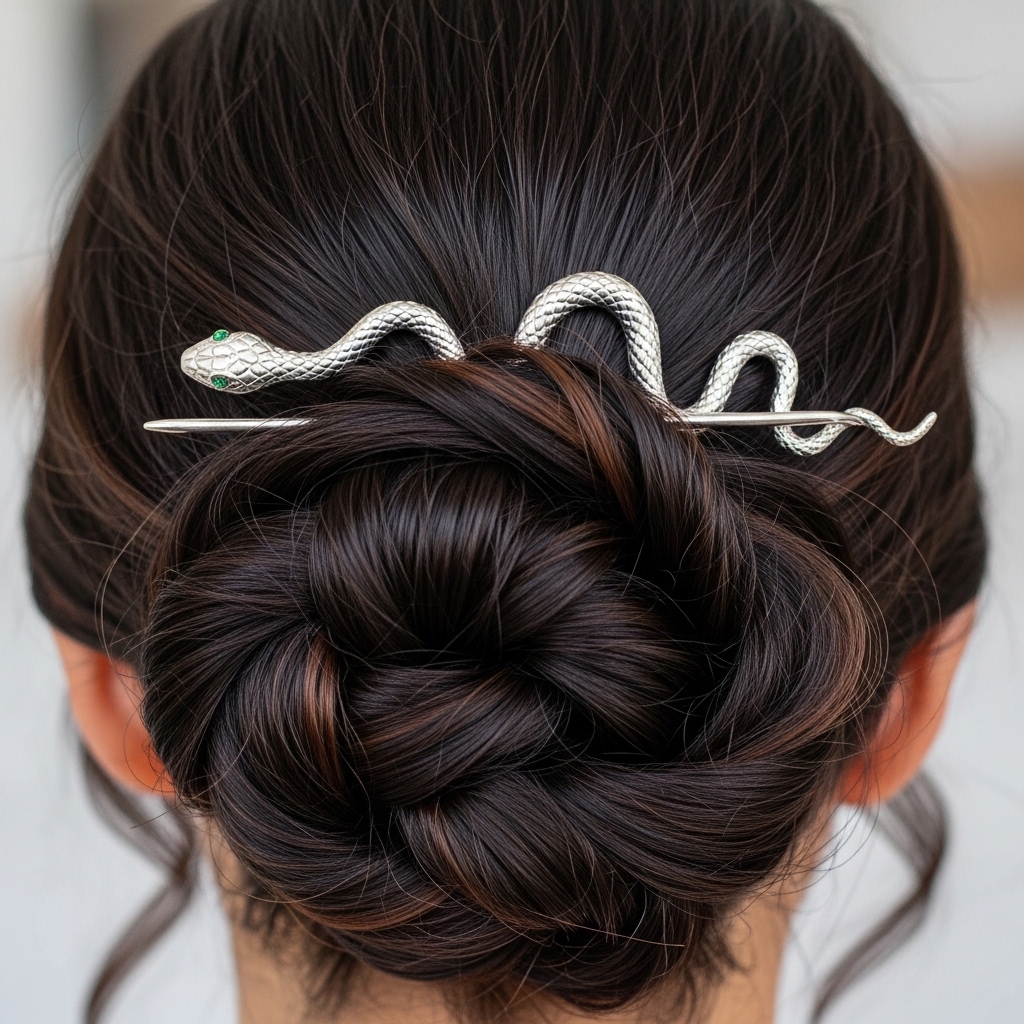
14. The Messy Twist & Pin Method
This is the ultimate “I just threw this together” look that actually takes two minutes. Gather your hair at your desired height. Give it a single, loose twist, then start coiling it randomly against your head.
As you coil, use bobby pins to secure sections in place. There’s no wrong way. The more random the pins and the direction of the coil, the better. Pull it all apart gently when you’re done for maximum texture.
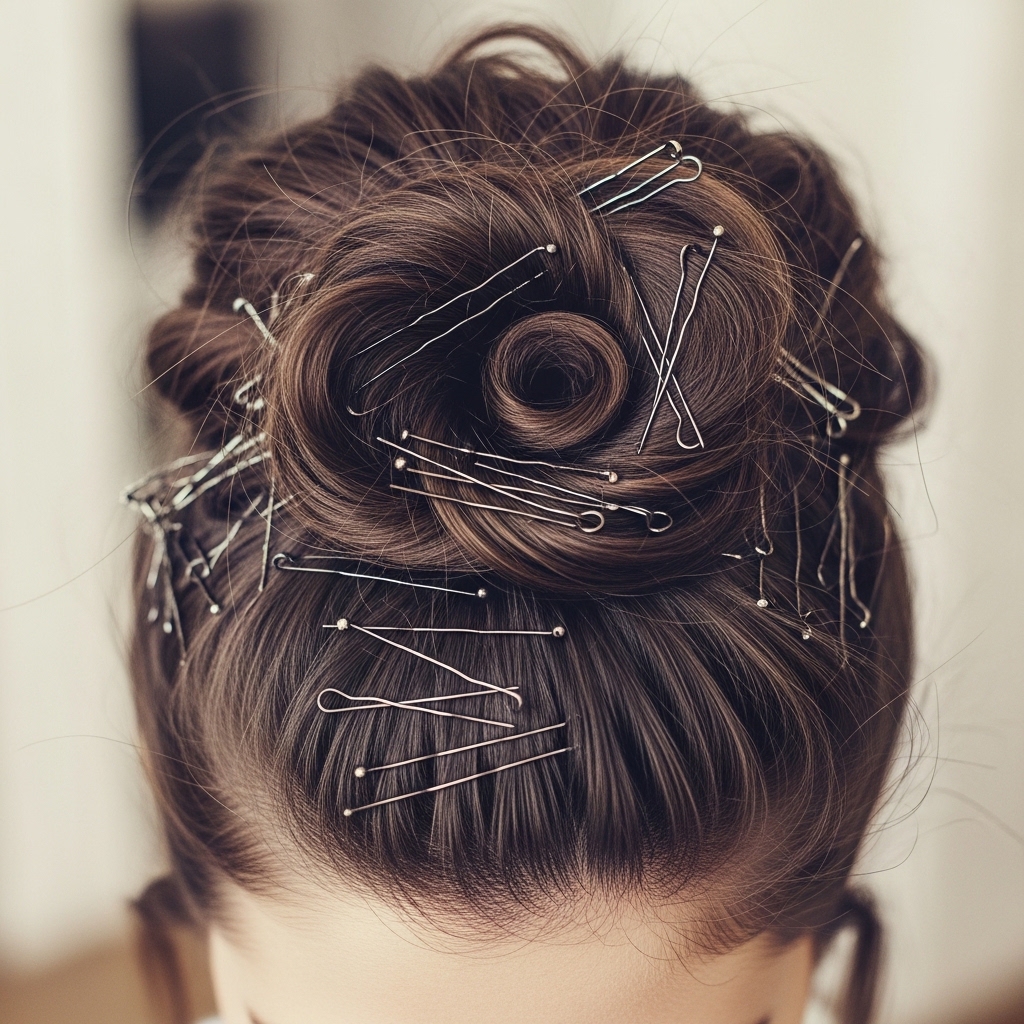
15. Setting Your Style for All Night
You want this look to last from appetizers to dessert. After you’ve finished pinning, hold a can of strong-hold hairspray about 10 inches away and give it a light, all-over mist.
Then, specifically target the areas where you placed most of your pins with a slightly closer spray. Let it dry for a minute before touching it. This locks in the style without making it crunchy.
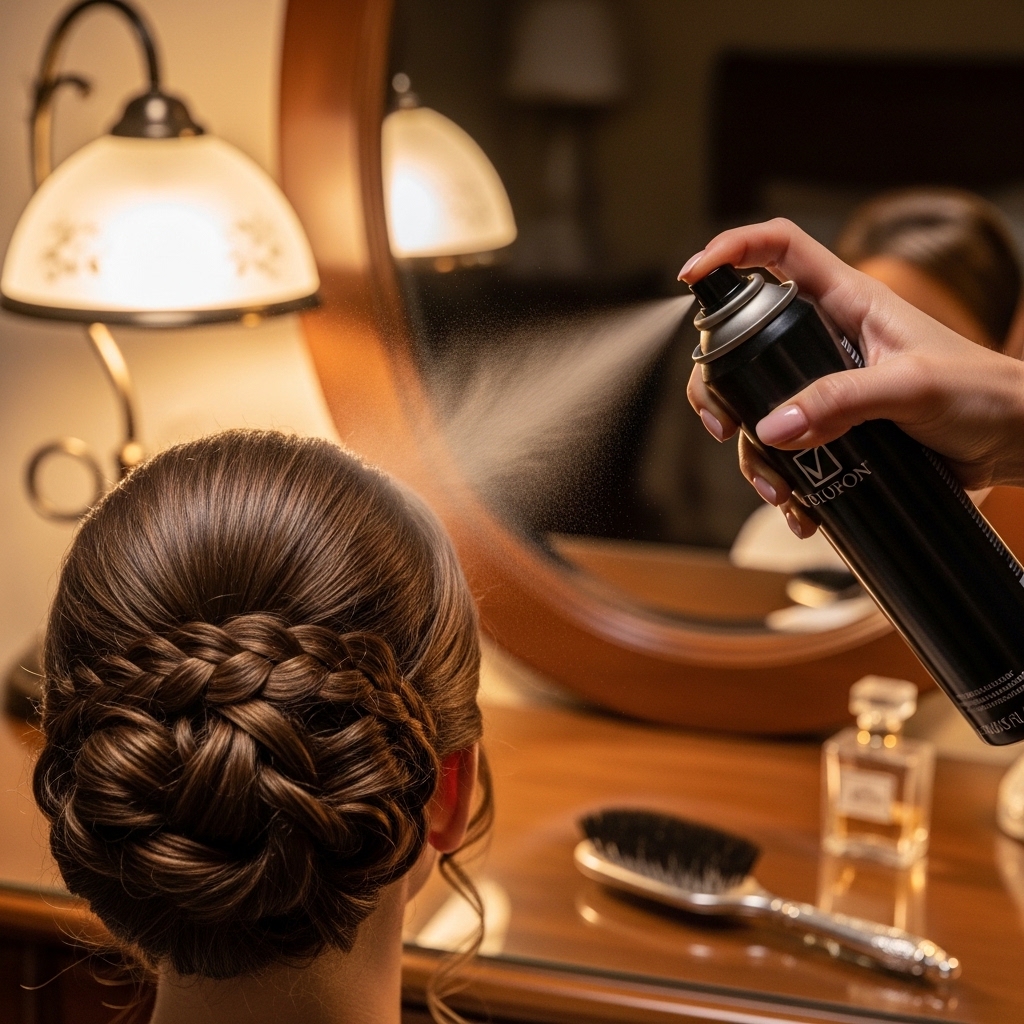
16. Adapting for Fine or Thin Hair
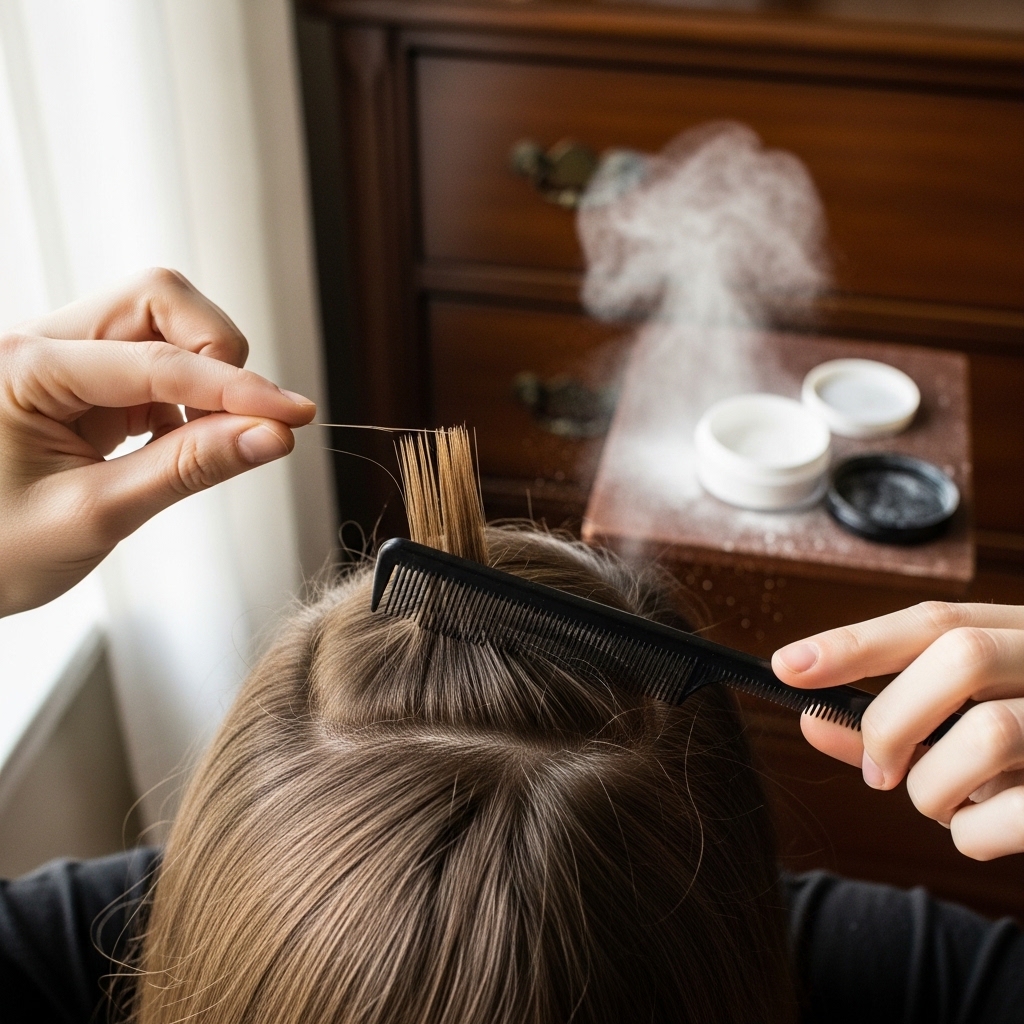
Fine hair can feel challenging, but texture is your ally. Use volumizing powder or mousse at the roots before you start. When creating your updo, make smaller, looser sections instead of one tight twist or bun.
Teasing at the crown is crucial. Also, try using a bun form or a sock bun (in a matching hair color) to create the illusion of more volume before you wrap and pin your own hair around it.
17. Adapting for Thick or Curly Hair
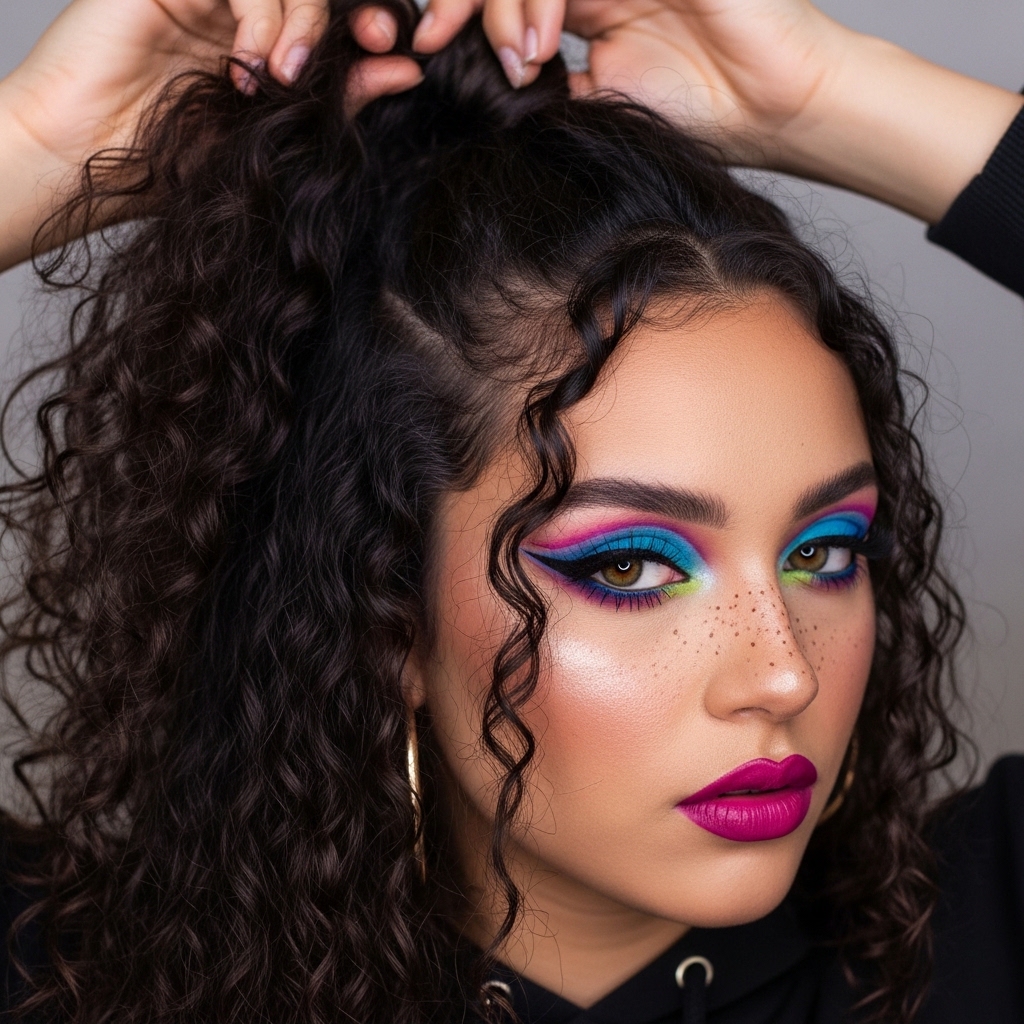
Your challenge is weight management. Use the strongest hold products you can find. Section your hair when styling—work on the top half first, pin it, then incorporate the bottom.
Braids are your best friend for managing bulk in a stylish way. A few well-placed, smaller braids woven into an updo can look incredible and help distribute the volume evenly. Don’t fight your texture—enhance it.
18. The Half-Up, Half-Down Hero
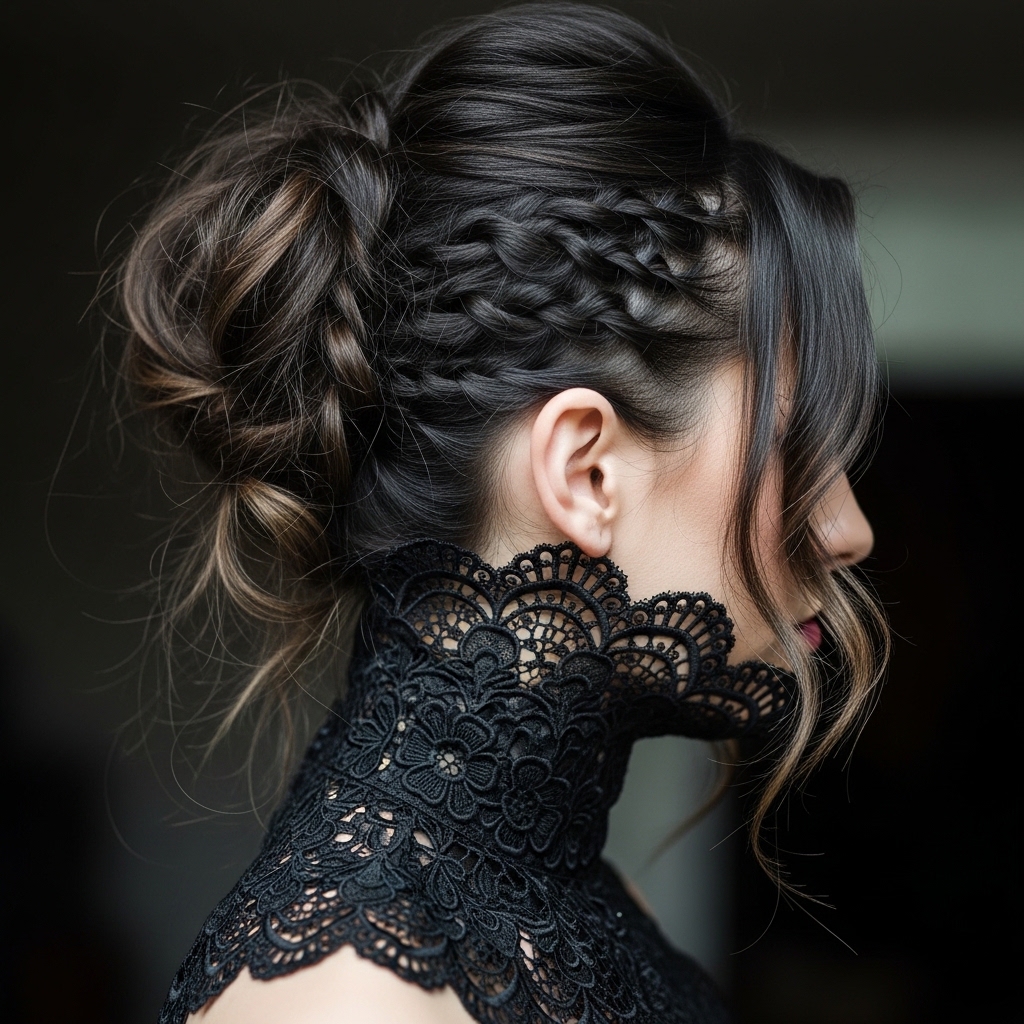
Not feeling a full updo? The romantic goth half-updo is a classic. Take a section of hair from your temples back, as if you’re making a very deep half-up ponytail, but stop before you pull it all the way through the last loop of the elastic.
You’ll create a small, poufy twist. Gently pull it apart for volume, and let the rest of your hair flow down. It keeps hair off your face while showing off your length.
19. Fixing Common Problems Mid-Night
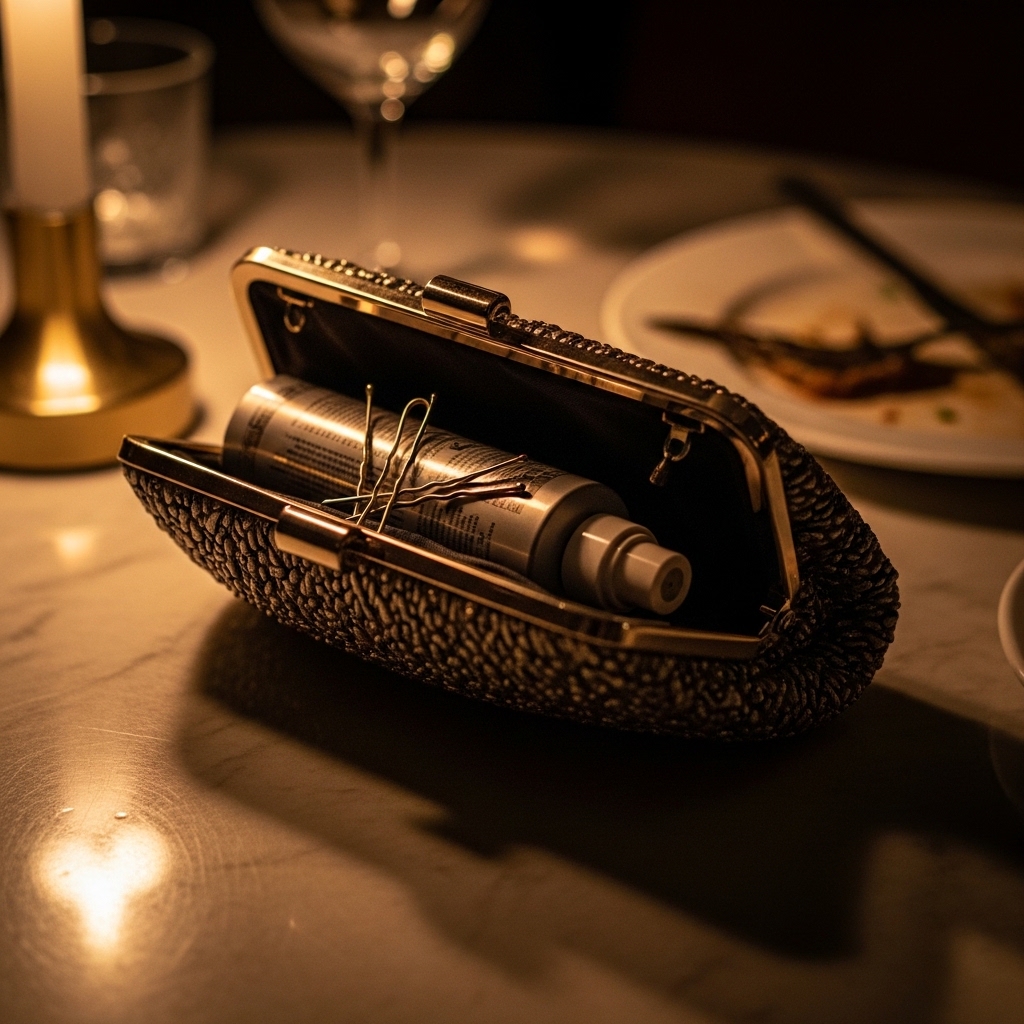
A pin slipping? A piece going flat? Carry a few extra bobby pins and a travel hairspray in your clutch. If a section falls, don’t try to redo the whole style. Simply twist the loose piece and pin it back in a way that looks intentional.
If volume deflates, flip your head over, give your roots a quick shake, and spray a bit of dry shampoo or texturizer at the crown before standing back up. Quick fixes save the night.
20. Final Touches: Makeup & Vibe
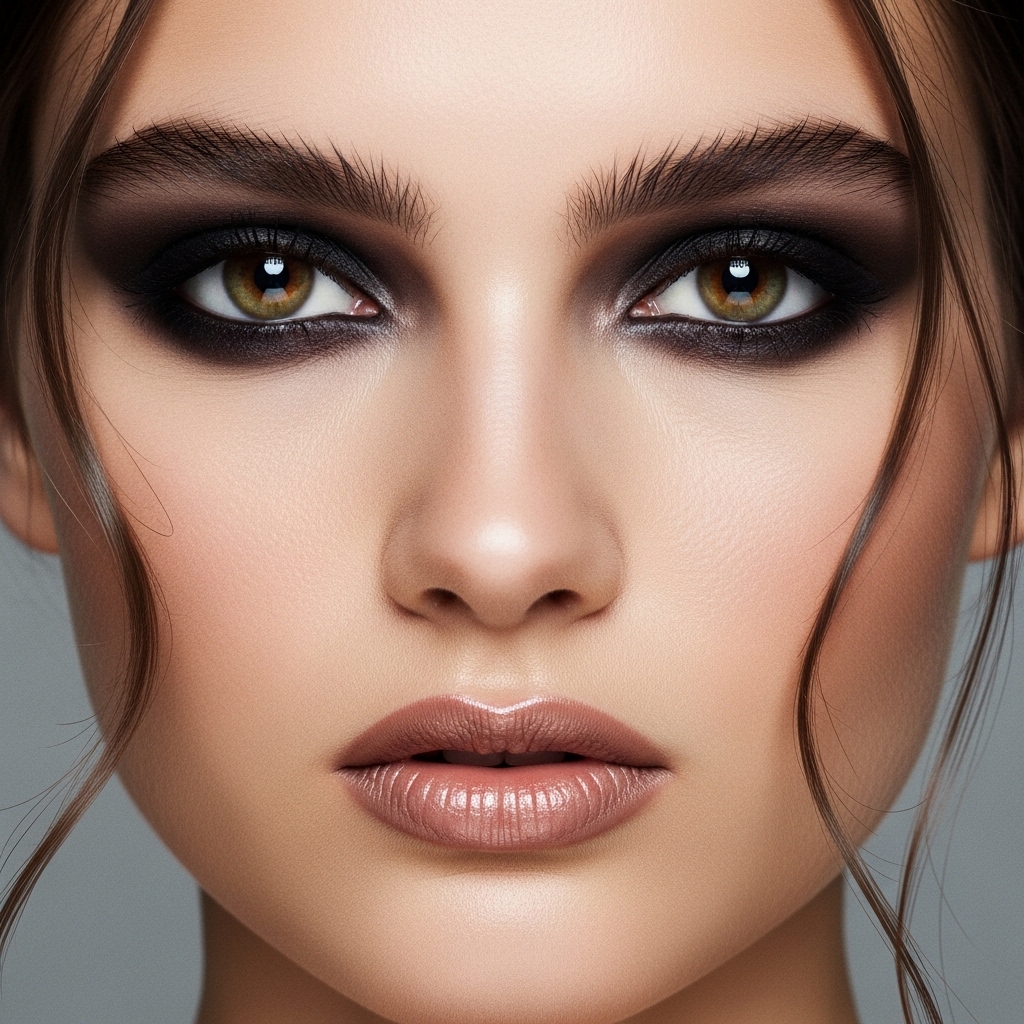
Your hair sets the stage. Pair it with makeup that enhances the romantic goth aesthetic—think a bold lip in a deep berry or blackened red, softly smoked eyes, and luminous skin. Keep jewelry elegant: think silver, pearls with a twist, or raw crystals.
Most importantly, wear it with confidence. This look is about expressing a darkly romantic, elegant side of you. Own it, and you’ll shine all night.
And there you have it! Every tool, trick, and step you need to create a show-stopping romantic goth updo for your next date night. Remember, the goal isn’t perfection—it’s that effortless, “I woke up like this” kind of dark elegance.
The best part about these styles is that they become easier and faster every time you try them. Before you know it, you’ll have your own signature twist on one of these looks that you can whip up in minutes.
I’d love to hear which style you’re trying first! Did you go for the textured bun or the braided crown? Tag me in your pics or send me a message—I want to see your gorgeous creations.
Save this post to Pinterest so you always have this guide handy for your next night out. Happy styling!

