
Okay, let’s talk about the bob. It’s the haircut we all come back to, right? It’s chic, it’s classic, it feels like a fresh start. But if you have fine or thin hair like me, you’ve probably had that moment of panic in the chair. Will it just… lie flat? Will it look sad by 10 AM?
I get it. I’ve lived it. The dream of a full, bouncy, sculpted bob can feel out of reach when your hair is on the finer side. You see those gorgeous 2026 hairstyles or that perfect quiet luxury bob and think, “My hair could never.”
Well, I’m here to tell you it absolutely can. The secret isn’t just in the cut—it’s in a few game-changing tricks. This isn’t about magic potions. It’s about smart, practical steps that actually work. Let’s get into how to make your bob hold its shape and volume all day, every day.
Why Thin Hair Needs a Different Blueprint
Thin hair isn’t less-than, it’s just different. It needs a haircut that’s designed to build volume from the ground up, not one that weighs it down. A great stylist knows this.
Think of it like architecture. We’re building a foundation for height and movement. The wrong cut—like one that’s too heavy or all one length—will work against us. The right cut creates the illusion of thickness and gives your hair something to hold onto.
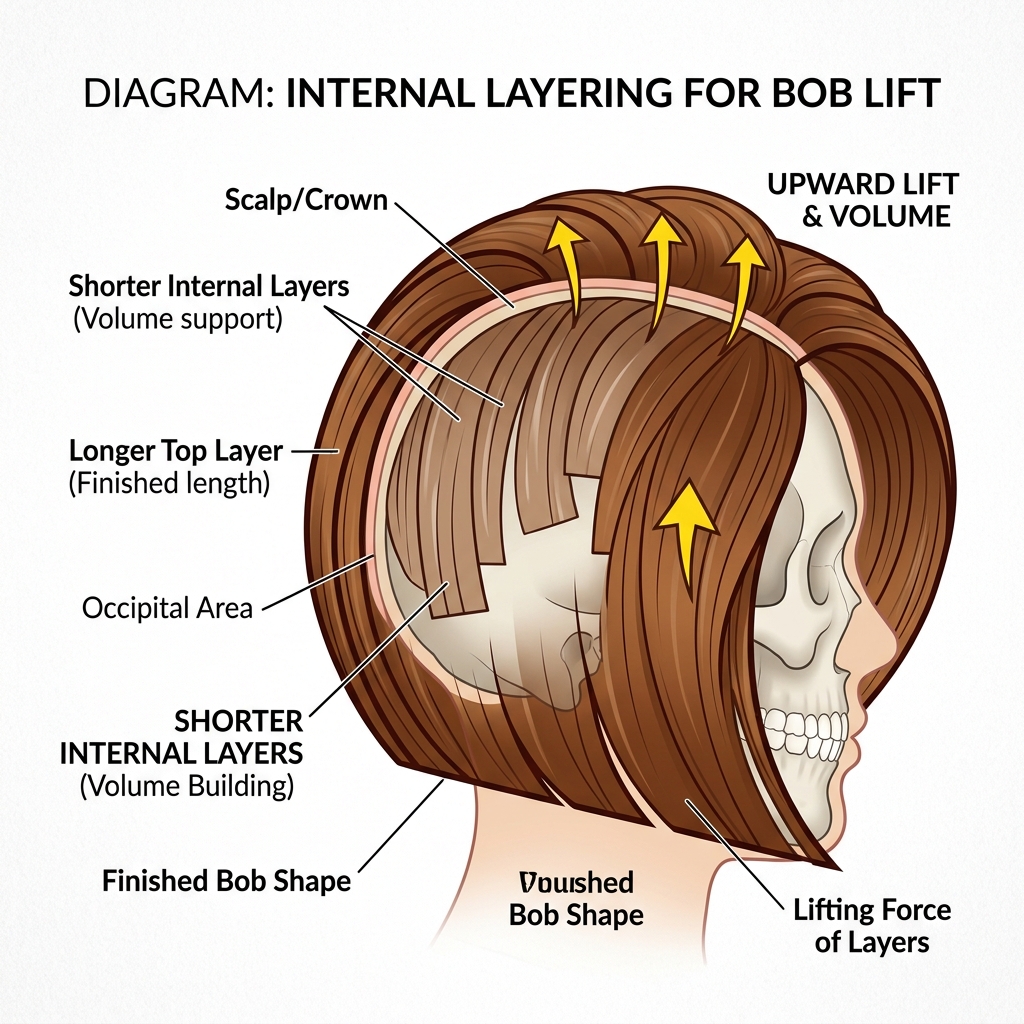
The Magic of Internal Layers (Not What You Think)
Hearing “layers” might make you nervous. We think of 80s shags or wispy, flyaway ends. But modern internal layering is a secret weapon. We’re not talking about visible, choppy layers on the surface.
These are shorter pieces cut underneath the top layer of hair. They act like little pillars, lifting the hair from within. This creates body without making your hair look thin or sparse. It’s the hidden structure for that perfect, bouncy shape.
Blunt is Your Best Friend for the Perimeter
While the inside gets layered for lift, the outside perimeter should stay beautifully blunt. A crisp, clean line around the edges gives the illusion of density and health. It makes your hair look like one solid, lush piece.
This blunt line is a hallmark of that old money hair aesthetic—polished, timeless, and incredibly chic. It’s the perfect balance to the internal texture, giving you volume with sophistication.
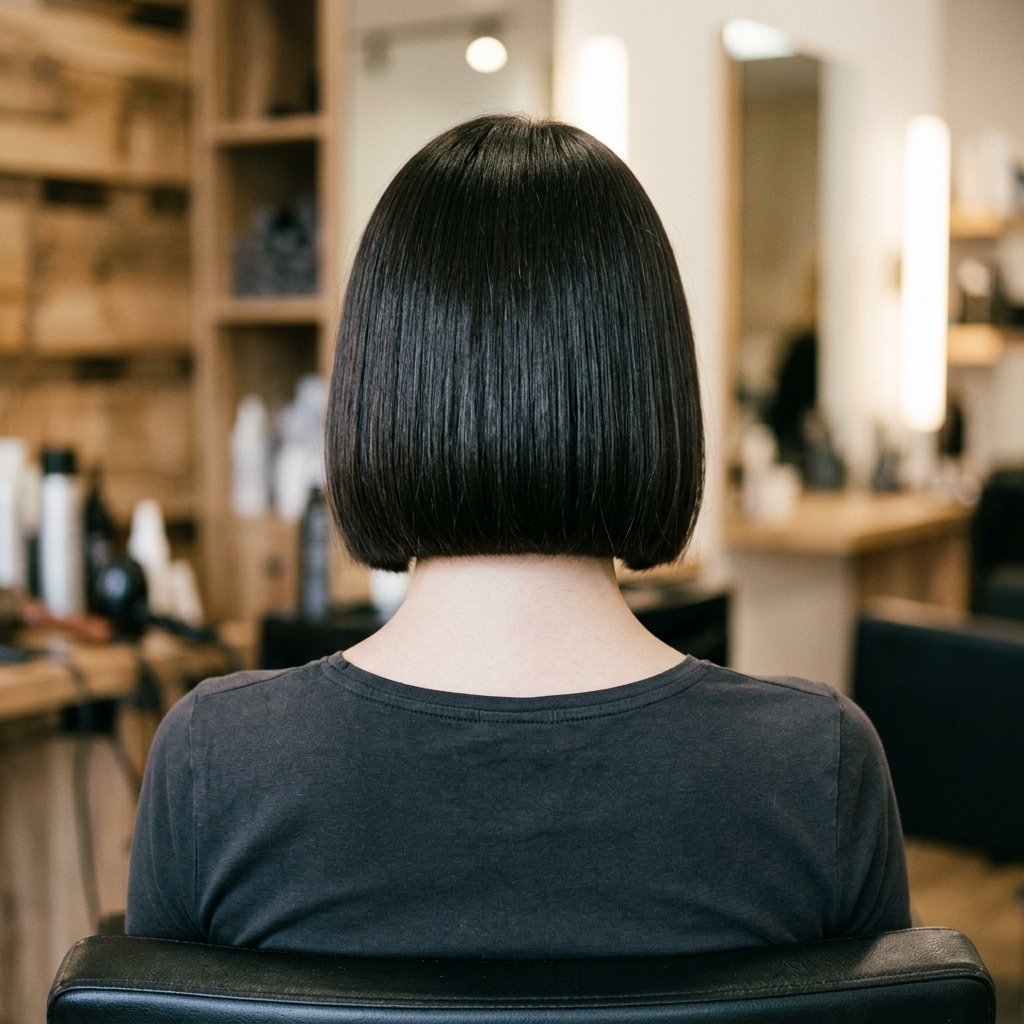
The Power of the “Shorter-in-Back” Shape
This is a non-negotiable tip for volume. A bob that’s slightly shorter in the back than the front does two amazing things. First, it naturally pushes the hair forward, creating lift at the roots in the crown area where we need it most.
Second, it creates a beautiful, rounded shape from the side profile. Instead of a flat shelf, you get a sculpted, rounded look. It’s a subtle asymmetrical lob effect that does all the heavy lifting for you.

Texture Over Thickness: The Real Goal
We’re not trying to turn fine hair into thick hair. That’s a losing battle. Our goal is to create texture—little variations in the hair that catch the light and create the illusion of fullness.
This texture is what gives a bob its modern, lived-in feel. It’s the difference between a stiff, helmet-like bob and a soft, touchable, movable one. Texture is the key to modern styles like glitchy glam hair—lived-in but luxurious.

Your Wash Day Routine: The Foundation
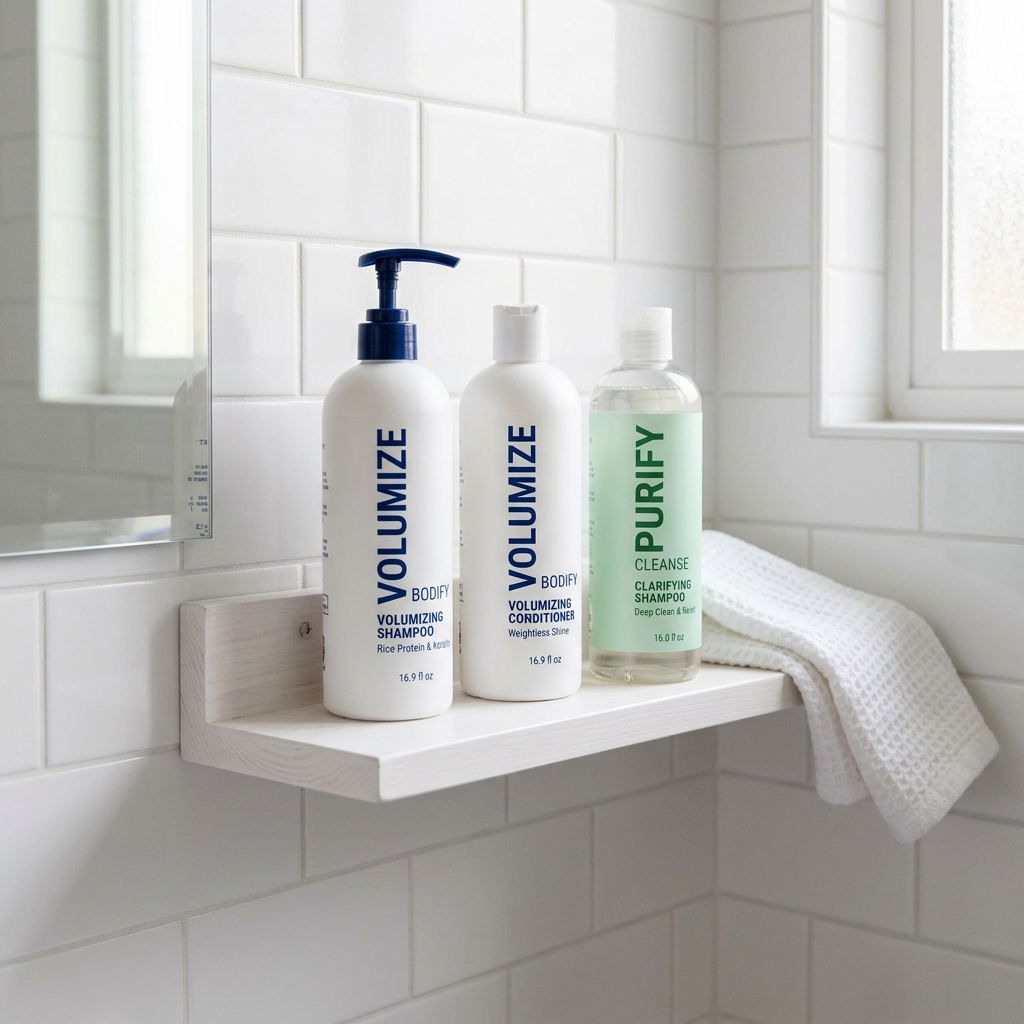
Everything starts in the shower. For volume that lasts, you need the right base. This means a clarifying shampoo once a week to remove any product buildup that weighs hair down. Follow with a volumizing shampoo and conditioner.
Big rule: only apply conditioner from the mid-lengths to the ends. Avoid the roots at all costs. Rinse with cool water to seal the hair cuticle, which adds shine and helps hair lie smoother and fuller.
How to Dry for Maximum Lift
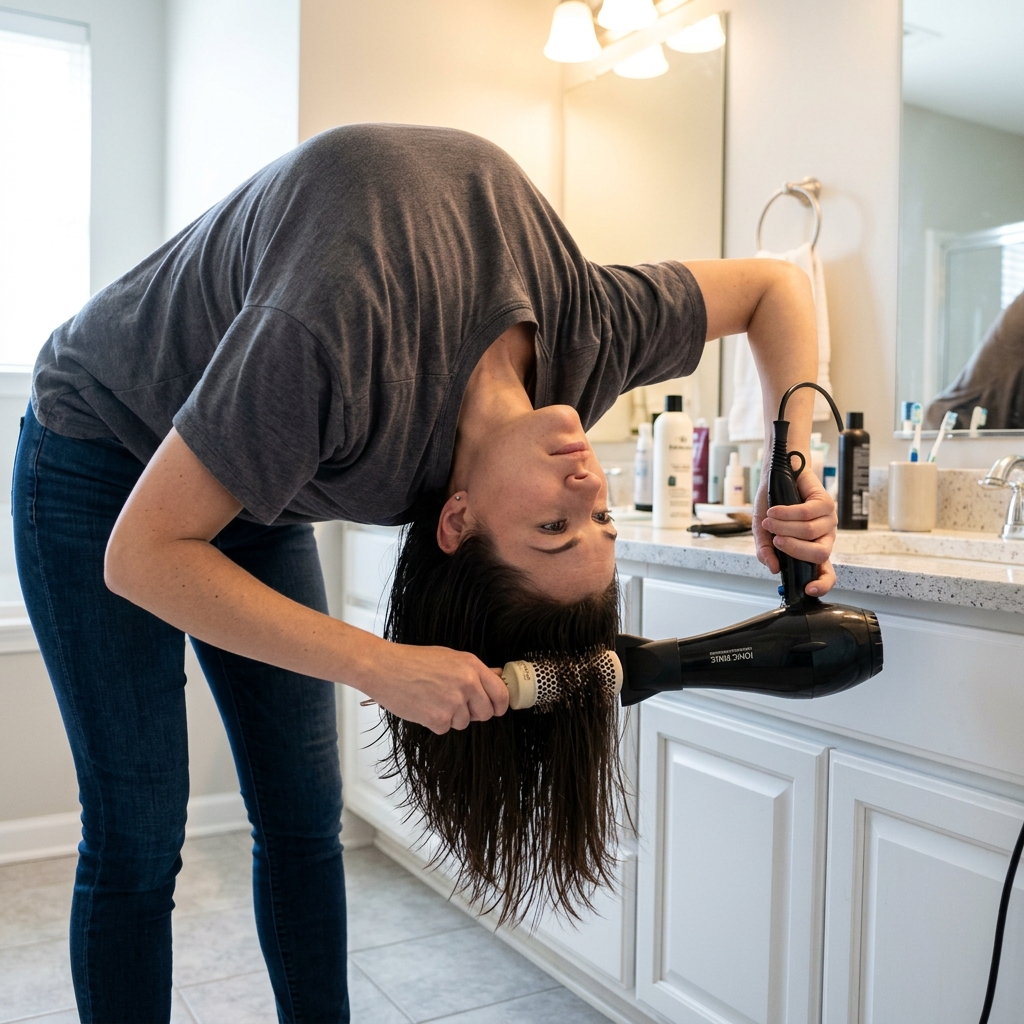
Never, ever air-dry if you want a sculpted bob. Wet hair falls flat. You need to “set” the volume in with heat. After washing, towel-dry gently and apply a heat protectant and a volumizing mousse or root-lift spray.
Then, use a round brush. Flip your head upside down and dry the roots at the crown first. This is the most important step. Use tension with the brush to really lift the root away from your scalp as you dry.
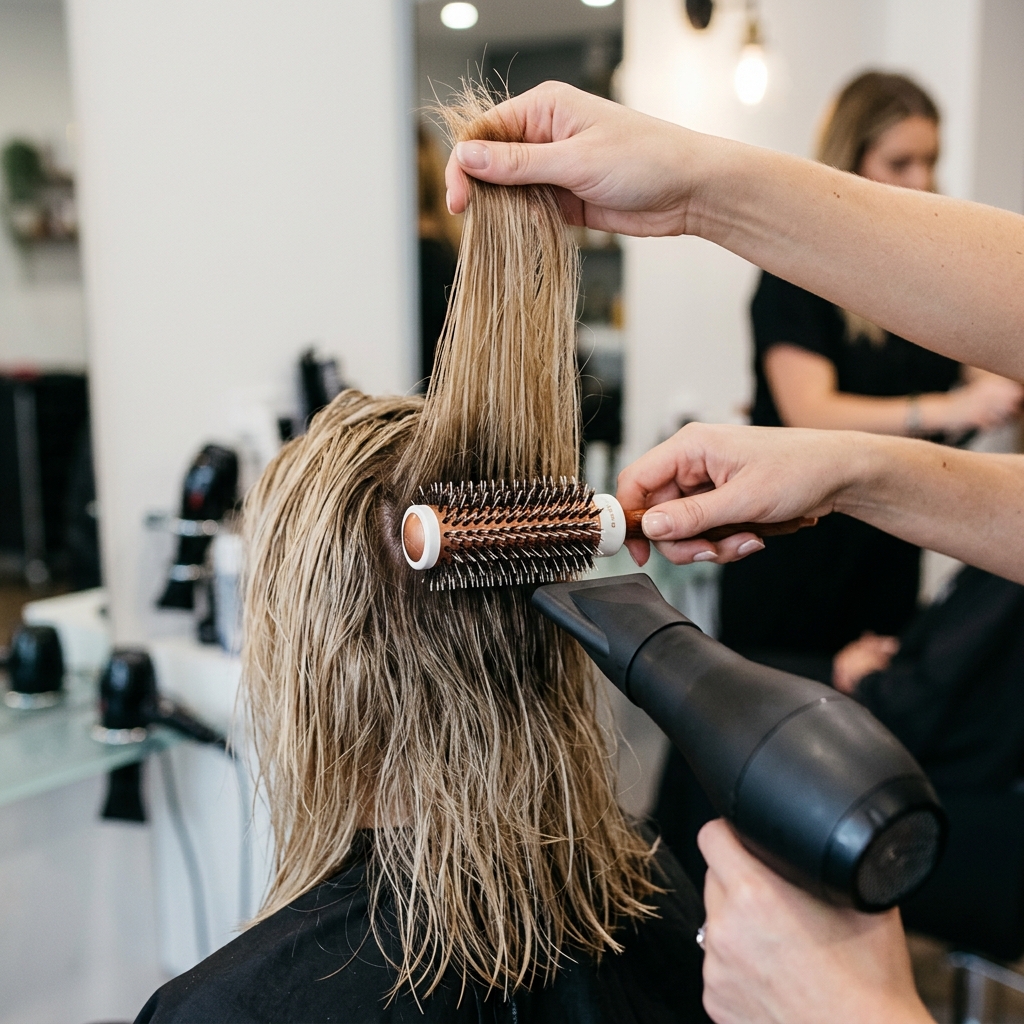
The Round Brush Technique You Must Master
The round brush is not optional. It’s your sculpting tool. Start with a medium-sized brush for the main body. For the final crown section, switch to a smaller, barrel brush for more intense lift.
- Take a section of hair.
- Place the brush under the hair, close to the root.
- Pull the brush up and out, directing the heat from the dryer down the hair shaft.
- Let the section cool on the brush before releasing.
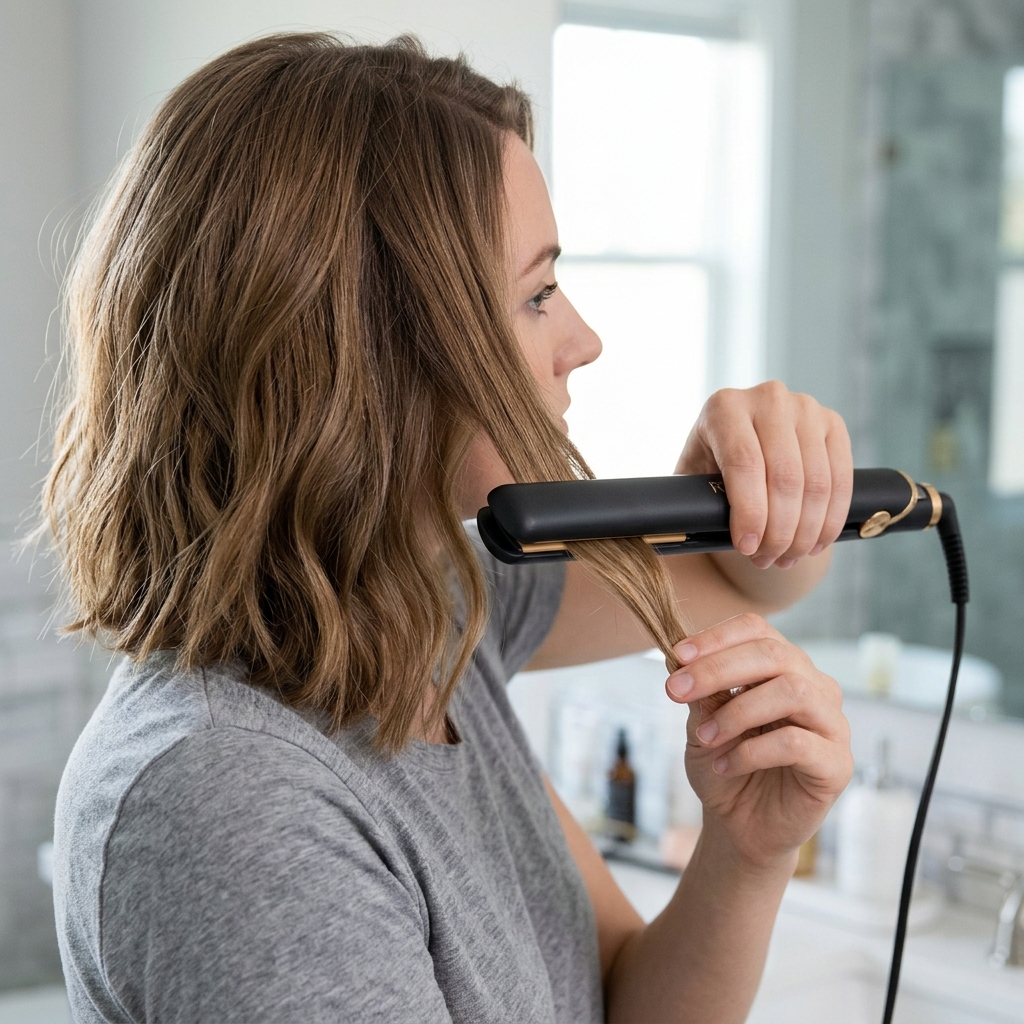
Hot Tools: Curling Irons & Flat Irons for Volume
Even after blow-drying, you can add more oomph. A large-barrel curling iron (1.25 inches or more) is perfect. Wrap vertical sections of hair around it, away from your face, for loose waves that add body.
Alternatively, use a flat iron to create bends. Clamp a section, twist the iron 180 degrees, and pull down slowly. This creates a soft, piecey wave. These methods add that extra “oomph” you see in romantic goth hairstyles—soft volume with structure.
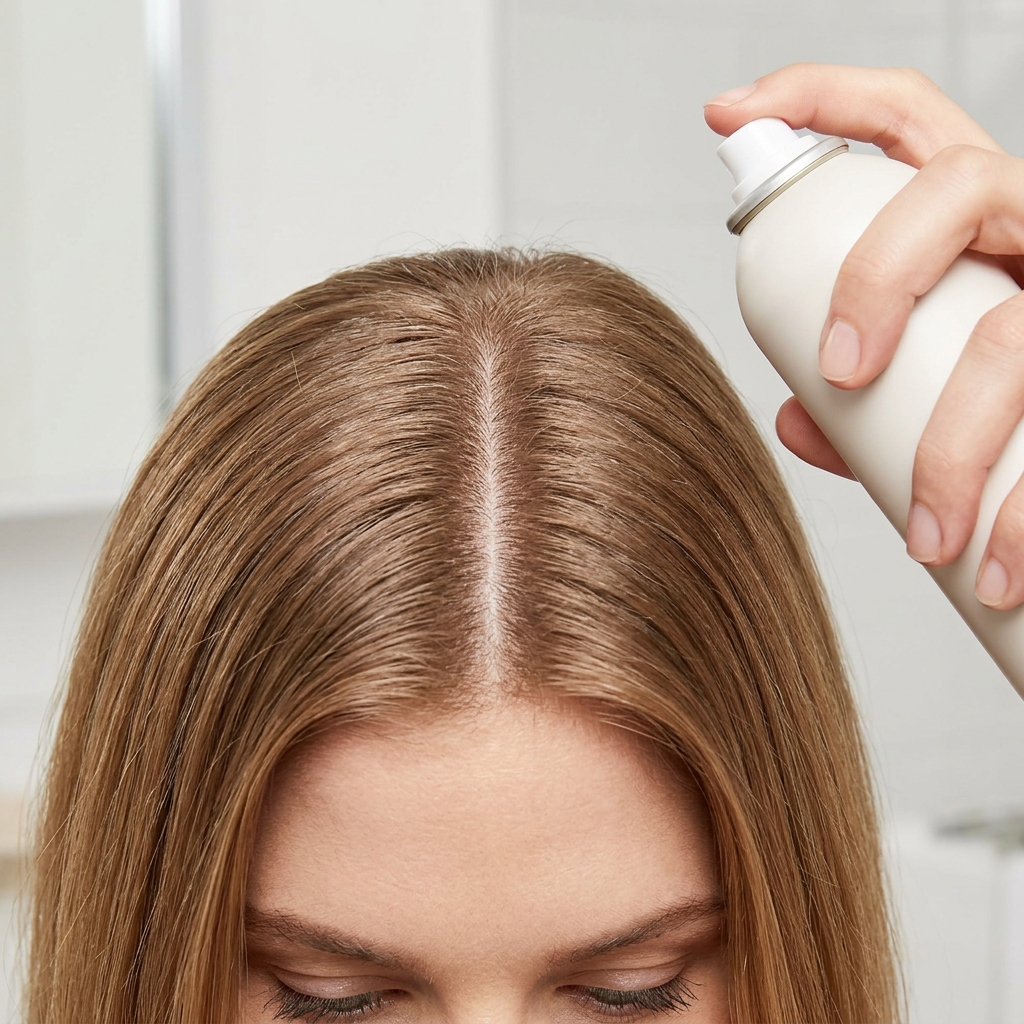
Root-Lifting Sprays: The Invisible Helper
This is a pre-styler you apply to damp roots before blow-drying. It’s like a tiny cushion for your hair. Look for formulas that offer memory hold. They react to the heat of your dryer, setting the lift in place.
Spray it directly onto the root area, massage it in, and then blow-dry as directed. It makes a dramatic difference in how long your volume lasts. It’s the secret behind many red-carpet looks.
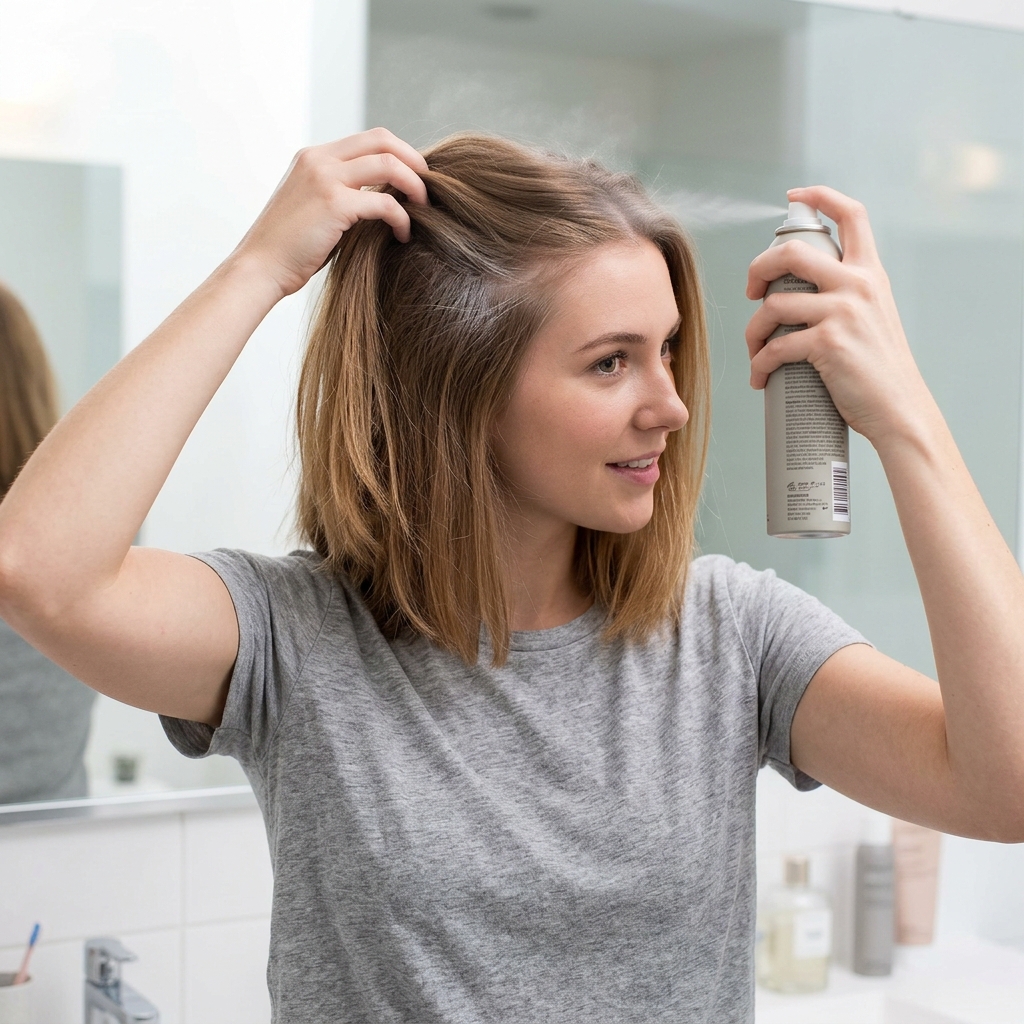
Dry Shampoo: Not Just for Dirty Hair
Use dry shampoo on clean, dry hair. I know it sounds weird, but it’s a pro trick. A light dusting at the roots on day-one hair gives instant grit and texture for your style to grip onto.
It also absorbs any tiny bit of natural oil that might appear, preventing that day-two weighed-down feeling before it even starts. It’s your preventative volume weapon.
Volumizing Powder: The Game Changer
If you need serious, salon-level lift, this is it. Volumizing powder is a fine, silica-based powder you sprinkle directly onto the root. It creates instant separation and unbelievable hold.
Just lift a section, sprinkle a tiny amount at the root, and massage it in. The hair will literally stand up. Then, style as usual. A little goes a very long way. This is a must-try.

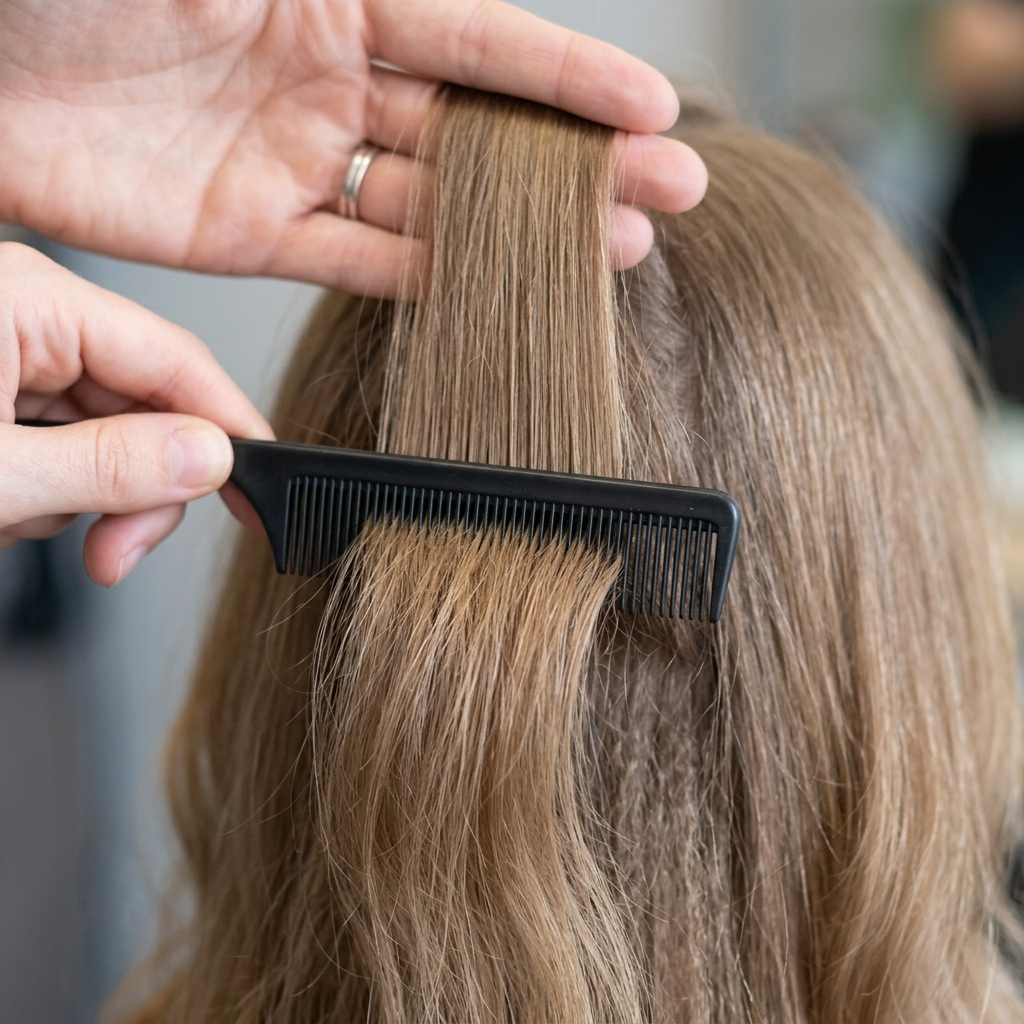
How to Tease (Backcomb) the Right Way
Teasing has a bad rap, but done gently, it’s effective. Always work on dry hair. Take a small section. Hold it straight up. Using a fine-tooth comb, make a few gentle strokes downward toward the root.
- Be gentle to avoid breakage.
- Only tease the under-layers, never the top canopy.
- Always smooth the top layer back over to conceal.
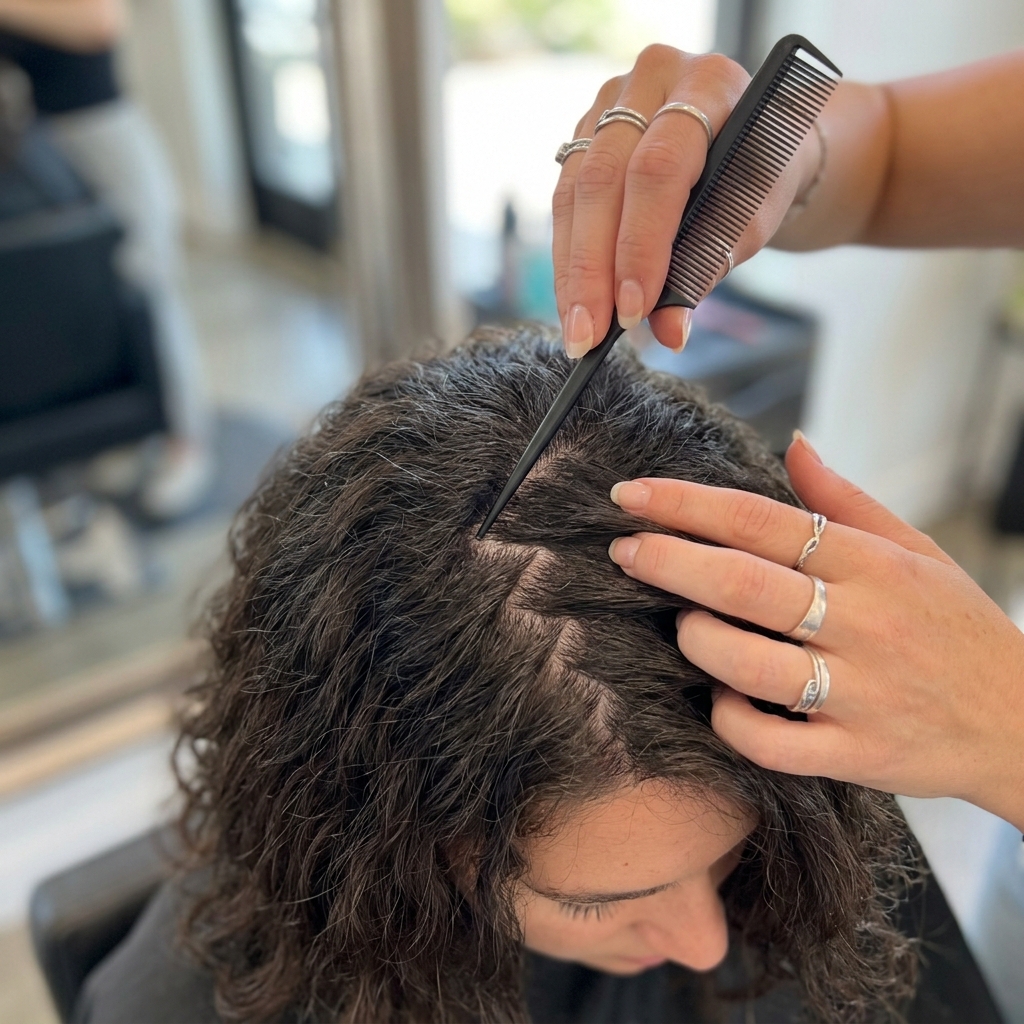
The Perfect Part for a Full Look
Changing your part is the fastest volume trick in the book. If you usually wear a center part, try a deep side part. The hair naturally falls higher on the side with more volume. Zig-zag parts also create great texture.
For a modern twist, try the “broken” part seen in some vampire haircut styles—slightly uneven and piecey for an edgy, voluminous look. Play with it!
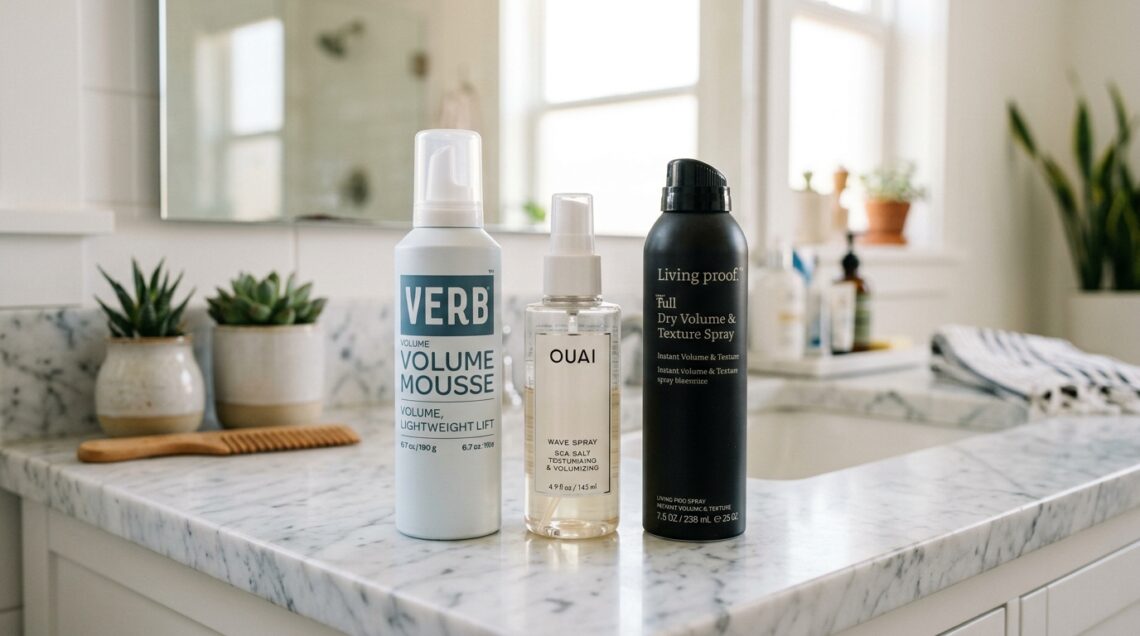
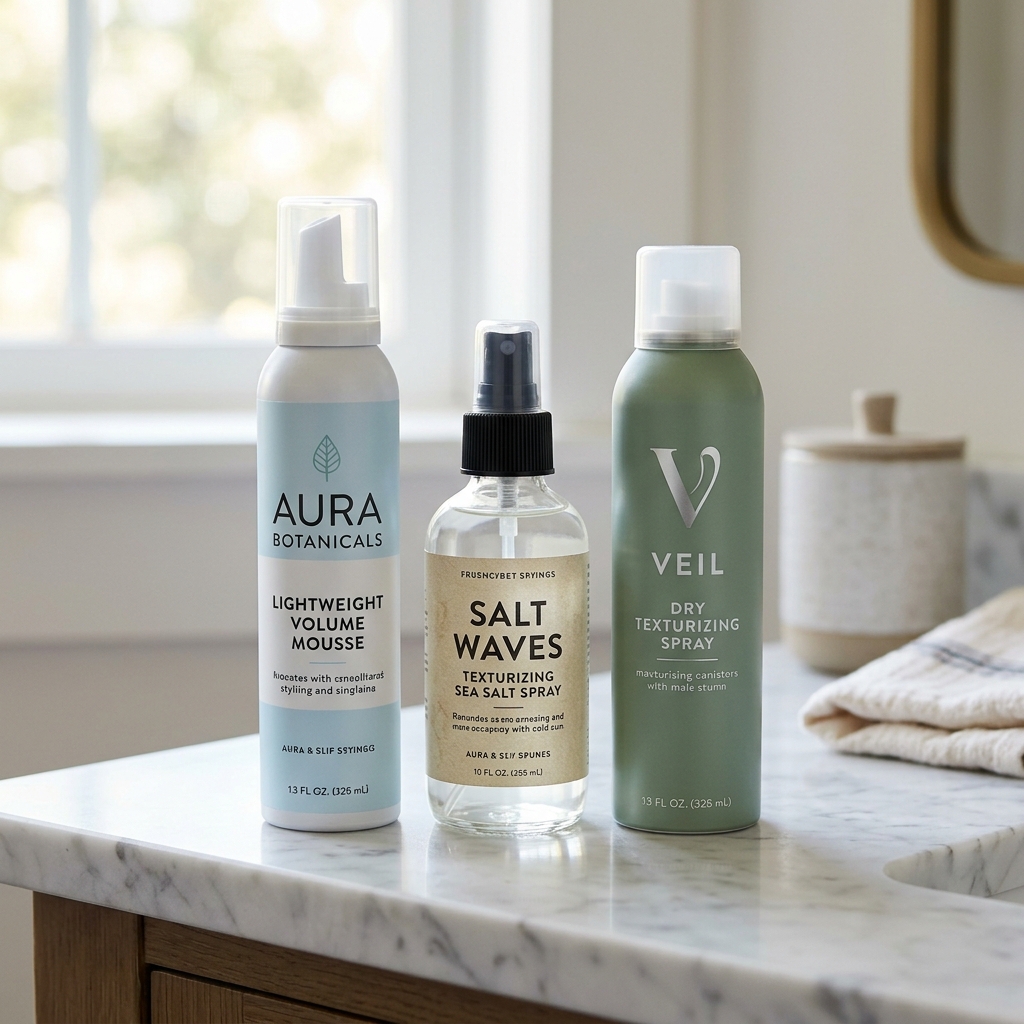
Styling Products That Won’t Weigh You Down
Avoid heavy creams, oils, and pomades on your roots. Stick to lightweight, spray-based formulas. Volumizing mousses, sea salt sprays, and texturizing sprays are your best friends.
Apply them to damp hair for overall body, or to dry hair for piecey definition. The goal is to add grip and separation without any sticky or greasy residue.
Nighttime Routine to Preserve Your Style
Don’t just sleep on it! To save your volume, try a loose, high ponytail or bun on the very top of your head with a soft scrunchie. This prevents the roots from getting smashed flat.
You can also use a silk or satin scarf tied over your hair. Or, simply sleep on a silk pillowcase. It creates less friction, so your style stays put and your hair slides around less.

Refreshing Your Bob on Day Two and Three
Day-two hair is often the best for volume! Start with dry shampoo at the roots. Then, use a curling iron or flat iron to touch up any waves that fell.
Focus on the face-framing pieces and the crown. Sometimes, just re-drying the crown section with a round brush and your dryer’s cool shot is enough to revive the whole look.

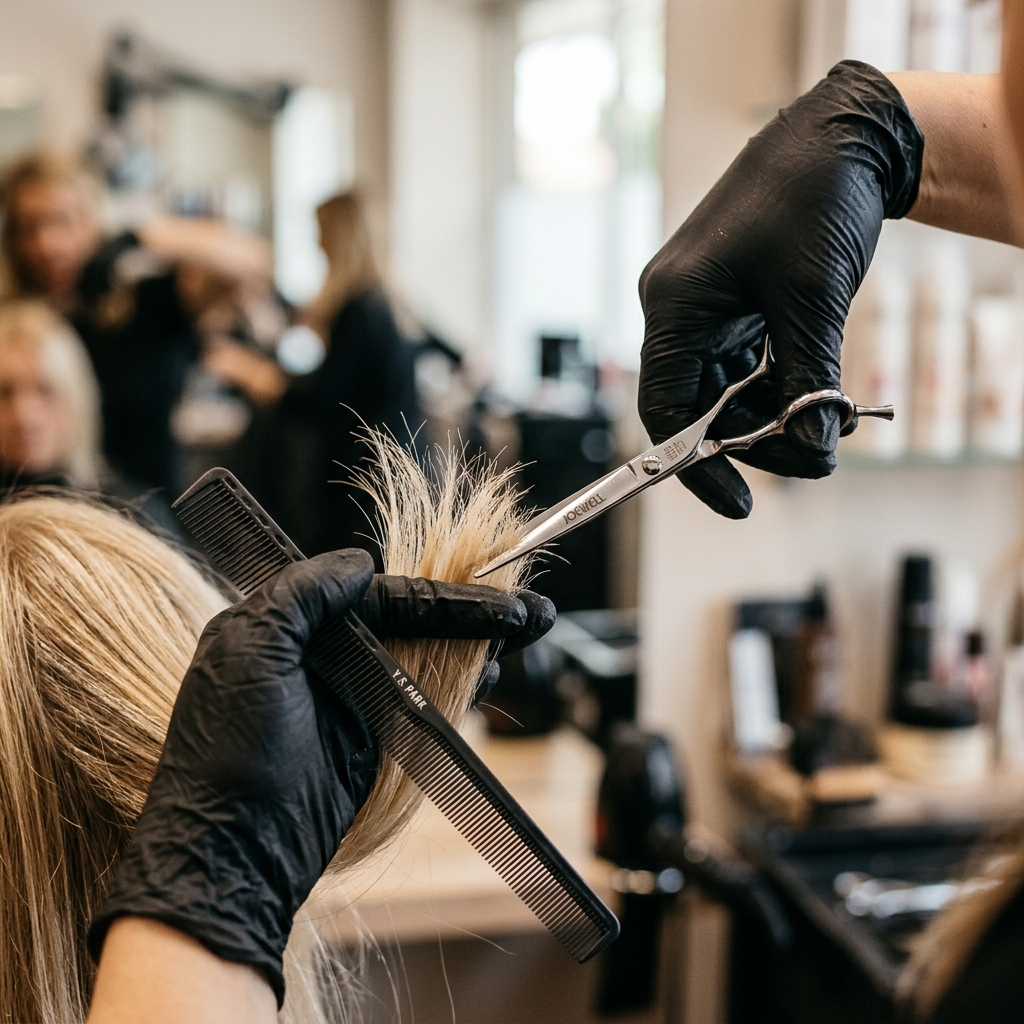
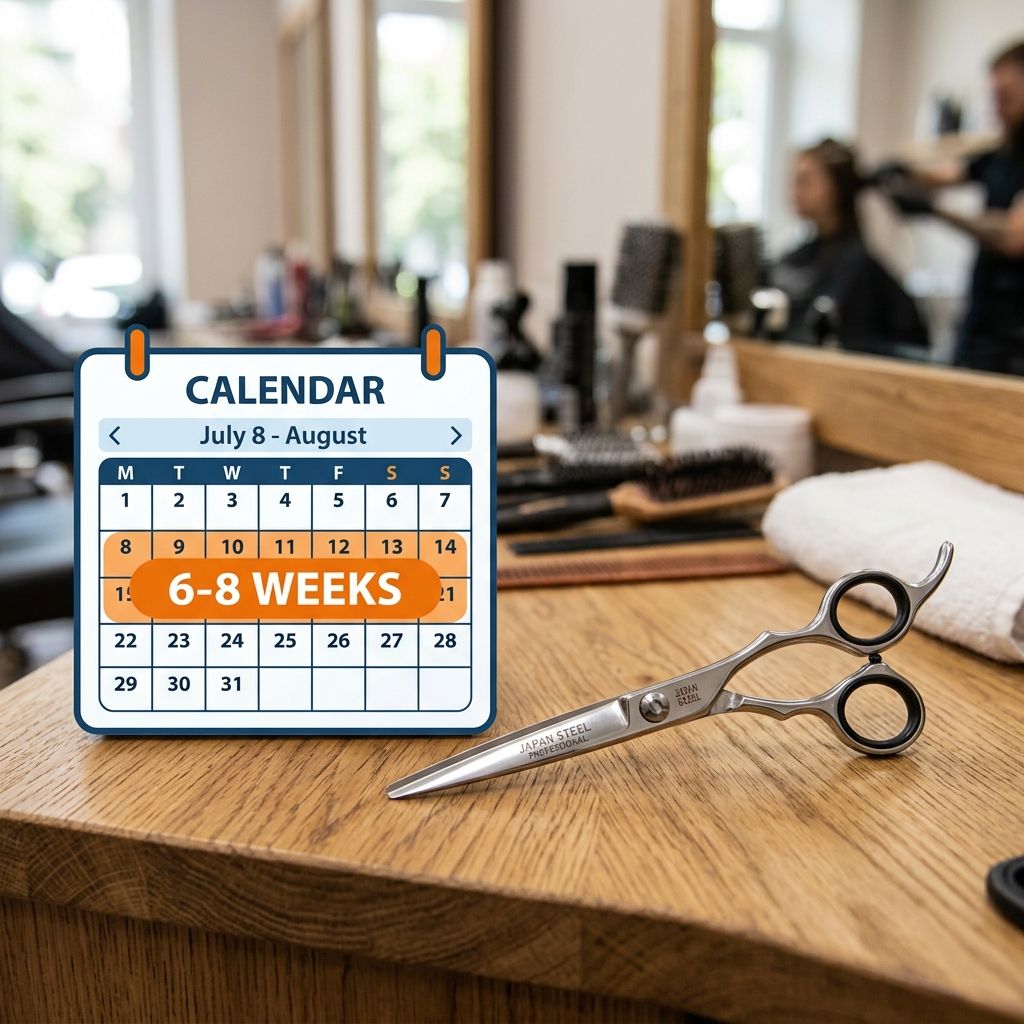
When to Get a Trim (The Real Schedule)
For a sculpted bob on thin hair, trims are non-negotiable. Every 6-8 weeks is ideal. Fine hair shows split ends and bluntness faster than thick hair. A slight loss of shape means a major loss of volume.
Regular trims keep the internal layers doing their job and the perimeter line sharp. This is what maintains that expensive, quiet luxury bob look long-term.
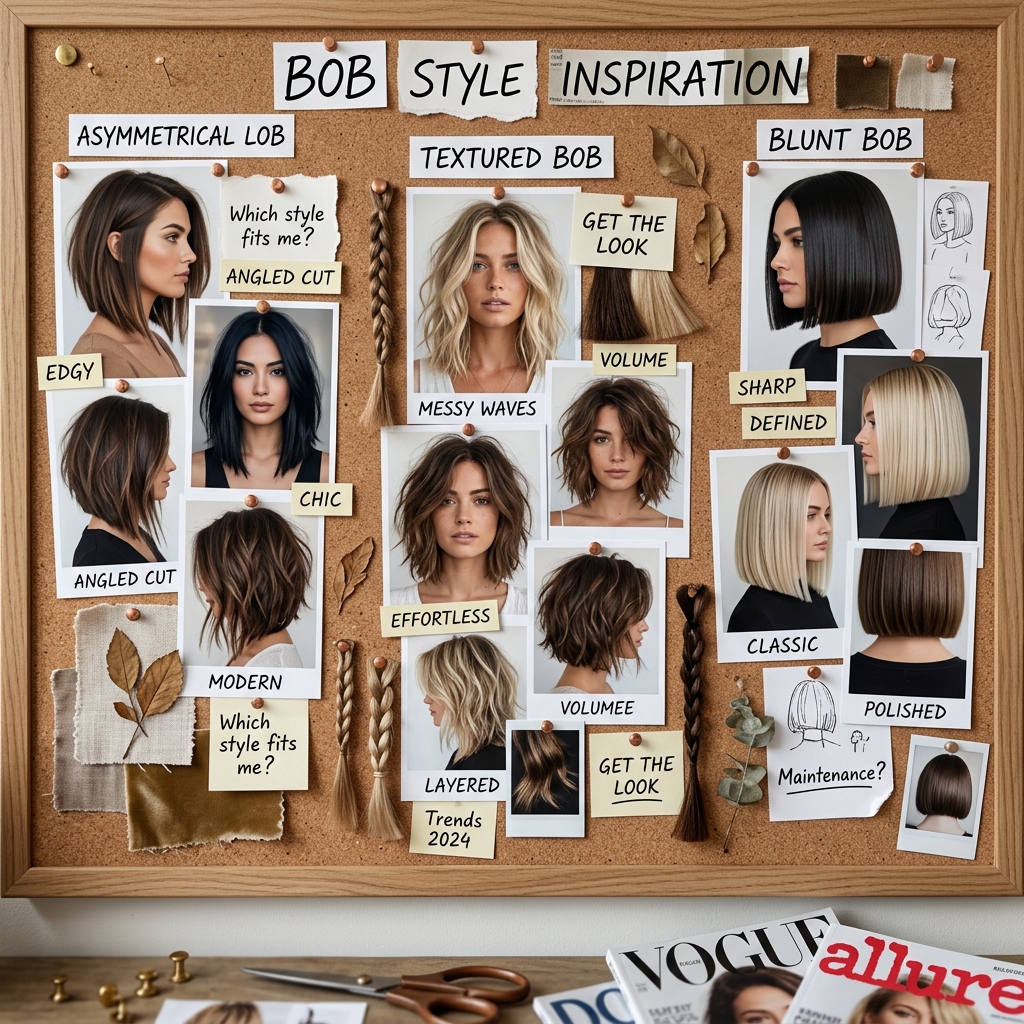
Inspiration: Bobs That Work for Fine Hair
Look for styles that prioritize shape over length. The asymmetrical lob (longer in front) is fantastic. The classic hime cut with its blunt, face-framing pieces can also be adapted to add volume.
Even the piece-y, textured elements of romantic goth hairstyles or the sleekness of old money hair can be achieved with the right cut and these volume techniques.
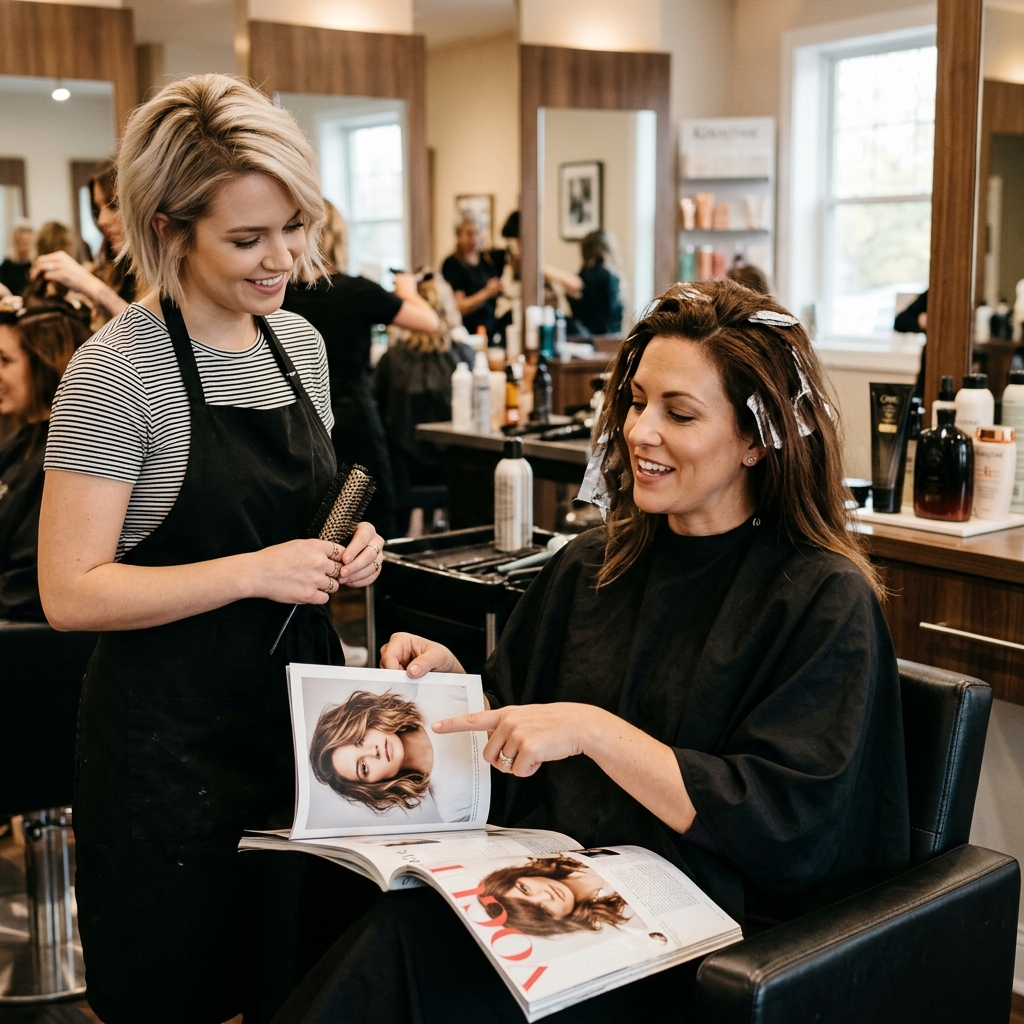
What to Tell Your Stylist (Script Included)
Walking into the salon confident is key. Here’s exactly what to say: “I want a bob that adds volume to my fine hair. I’d love internal layers for lift, but keep the perimeter blunt. Can we make it slightly shorter in the back than the front to push volume forward? I’m open to texture but want to avoid anything wispy.”
This tells them you understand the architecture needed. Bringing a few photos that show the shape you like always helps, too.
Your Mindset: Confidence is the Best Accessory
Finally, wear your hair with confidence. A sculpted bob is a statement. It says you’re put-together and know your style. When you feel good about your hair, it shows.
Own the look. The right cut and these simple tricks will give you the foundation. The rest is about stepping out the door and rocking it. You’ve got this.
So, there you have it. The full blueprint to a bob that doesn’t just sit there, but one that moves, bounces, and makes you feel incredible. It’s not about having more hair—it’s about styling the hair you have in a smarter way.
Remember, great hair is a combination of a great cut, the right products, and a few minutes of intentional styling. It doesn’t have to be complicated. It just has to work for you.
I hope these steps give you the same confidence they’ve given me. Now, go book that haircut and have fun with it!
Save this post to Pinterest to keep all these tips handy for your next salon visit! And tell me in the comments—what’s your biggest hair volume struggle? I read every one and love helping out.

