
Okay, let’s talk about the haircut that’s basically a magic trick. You know that feeling when you want a change, but you’re not ready for something super drastic? Or when you see all the 2026 hairstyle forecasts and feel a little overwhelmed? I’ve been there.
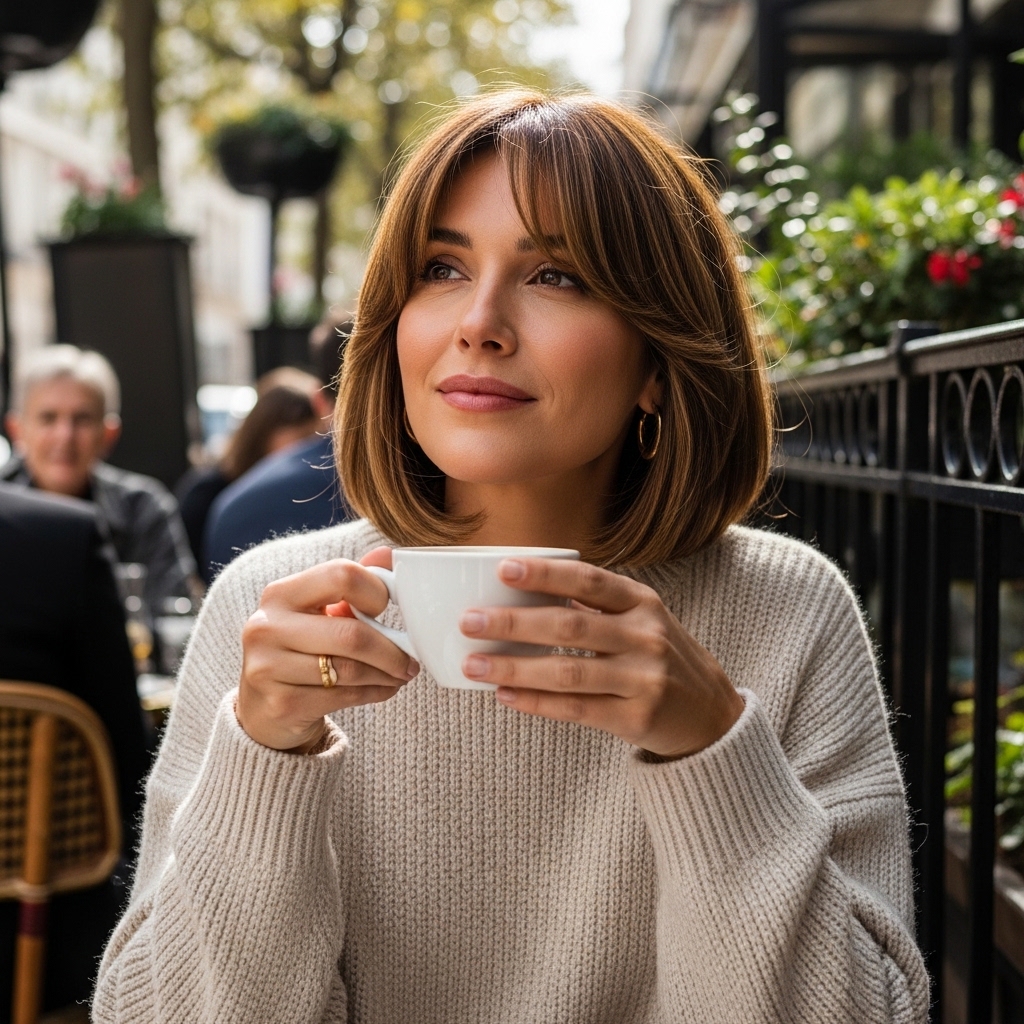
That’s exactly why I’m obsessed with the rounded lob with face-framing layers. It’s the perfect middle ground. It gives you that fresh, polished look without the commitment of a super short cut.
Think of it as the ultimate “my hair but better” style. It works for almost every face shape and hair type, and the best part? It’s incredibly low-maintenance. This is the one haircut you can show your stylist and know you’ll walk out feeling like a new person.
Let’s break down everything you need to know, from describing it to your hairdresser to styling it in five minutes flat.
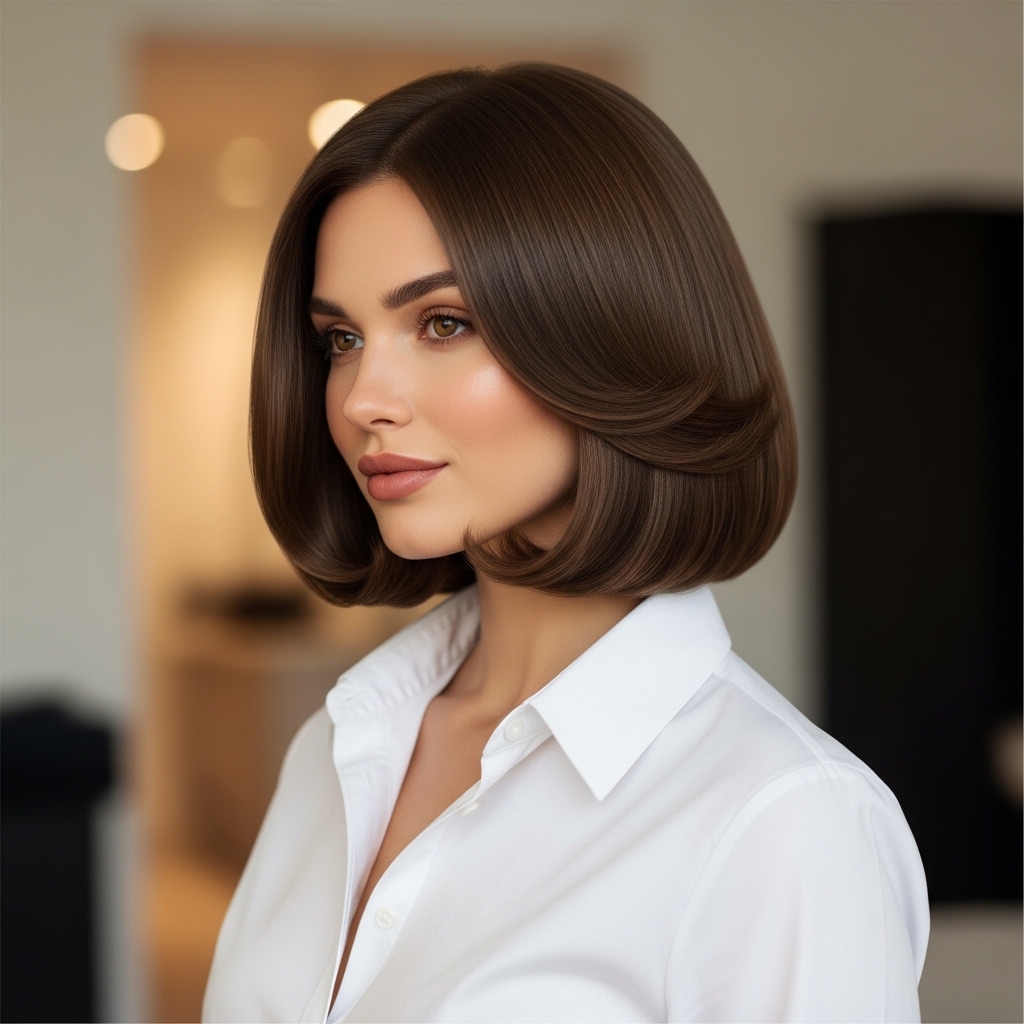
What Is a Rounded Lob, Exactly?
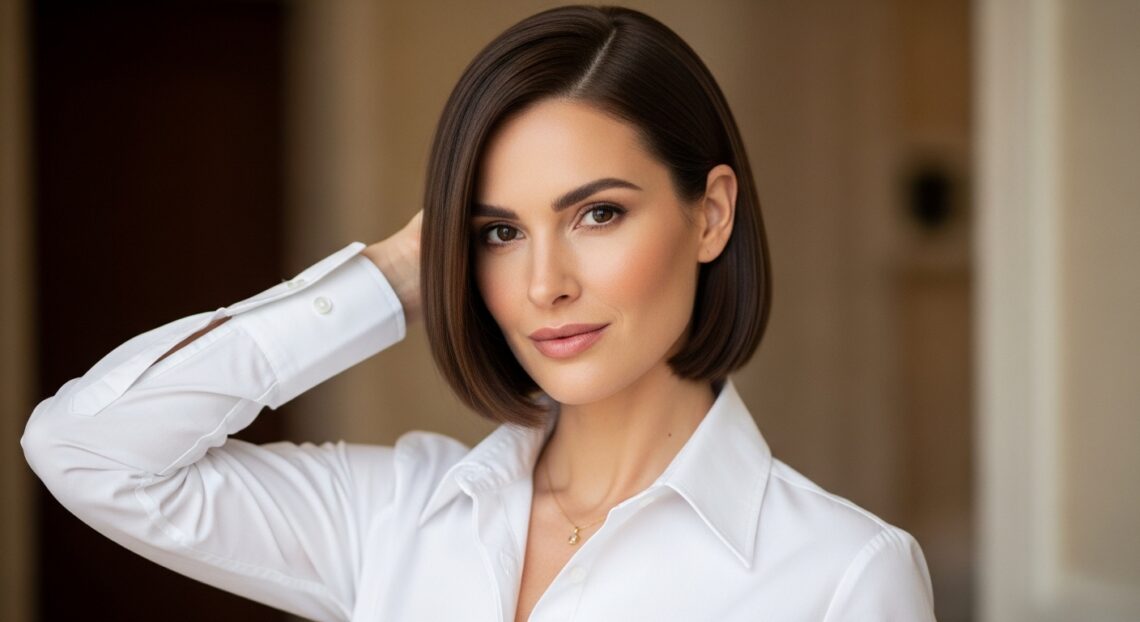
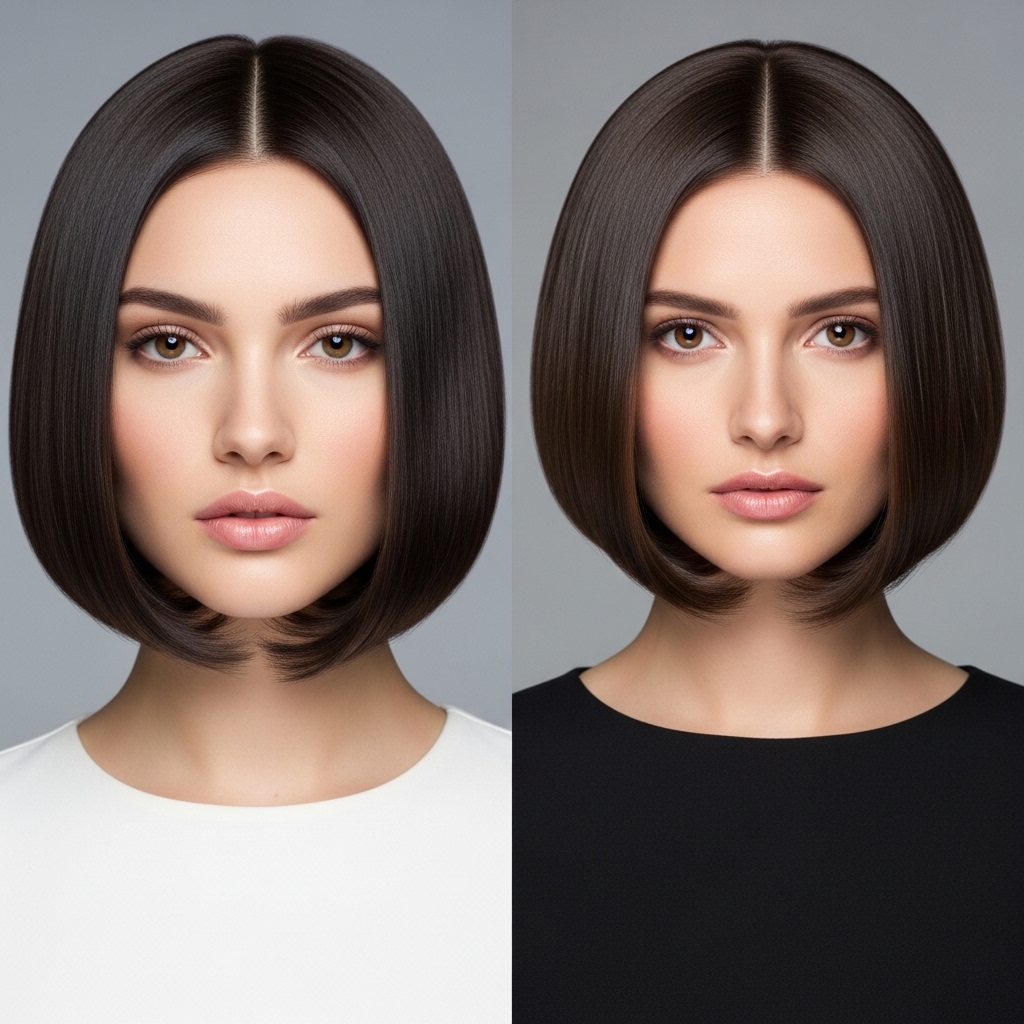
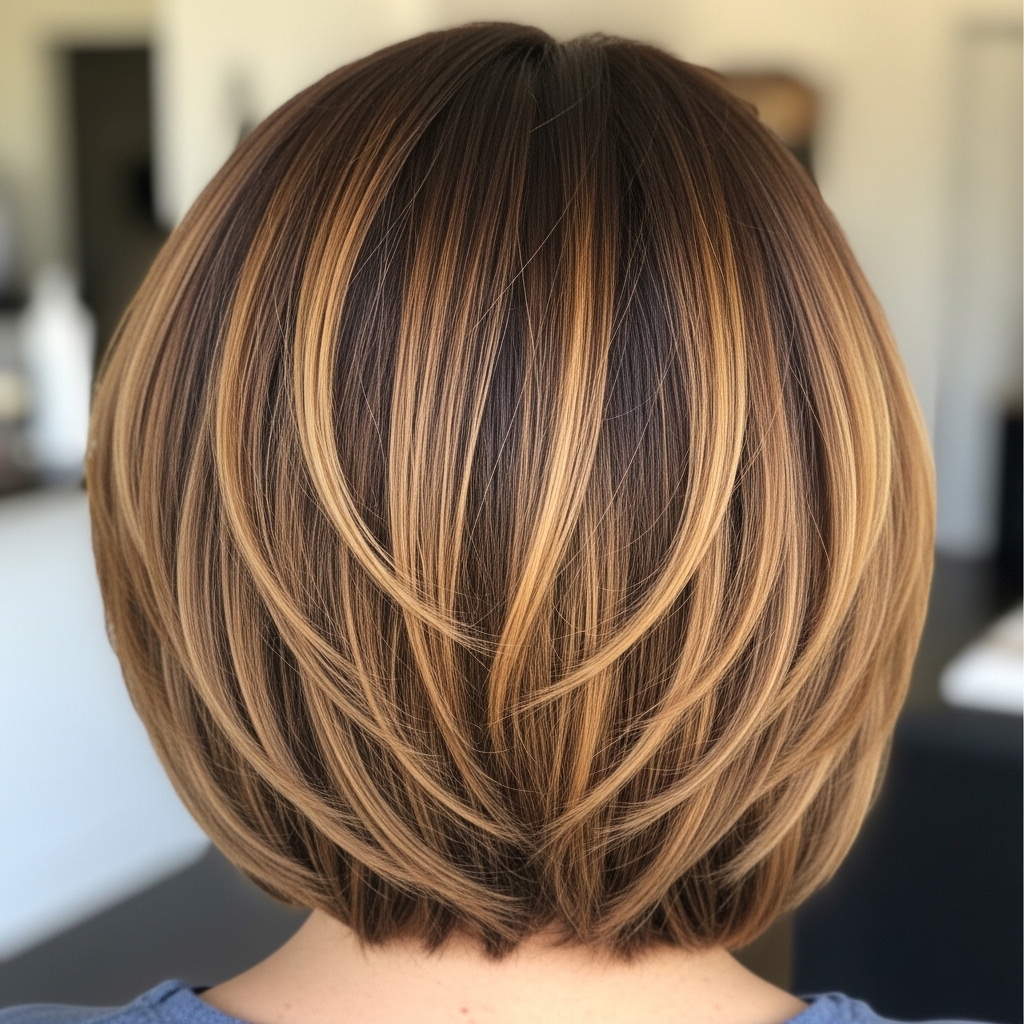
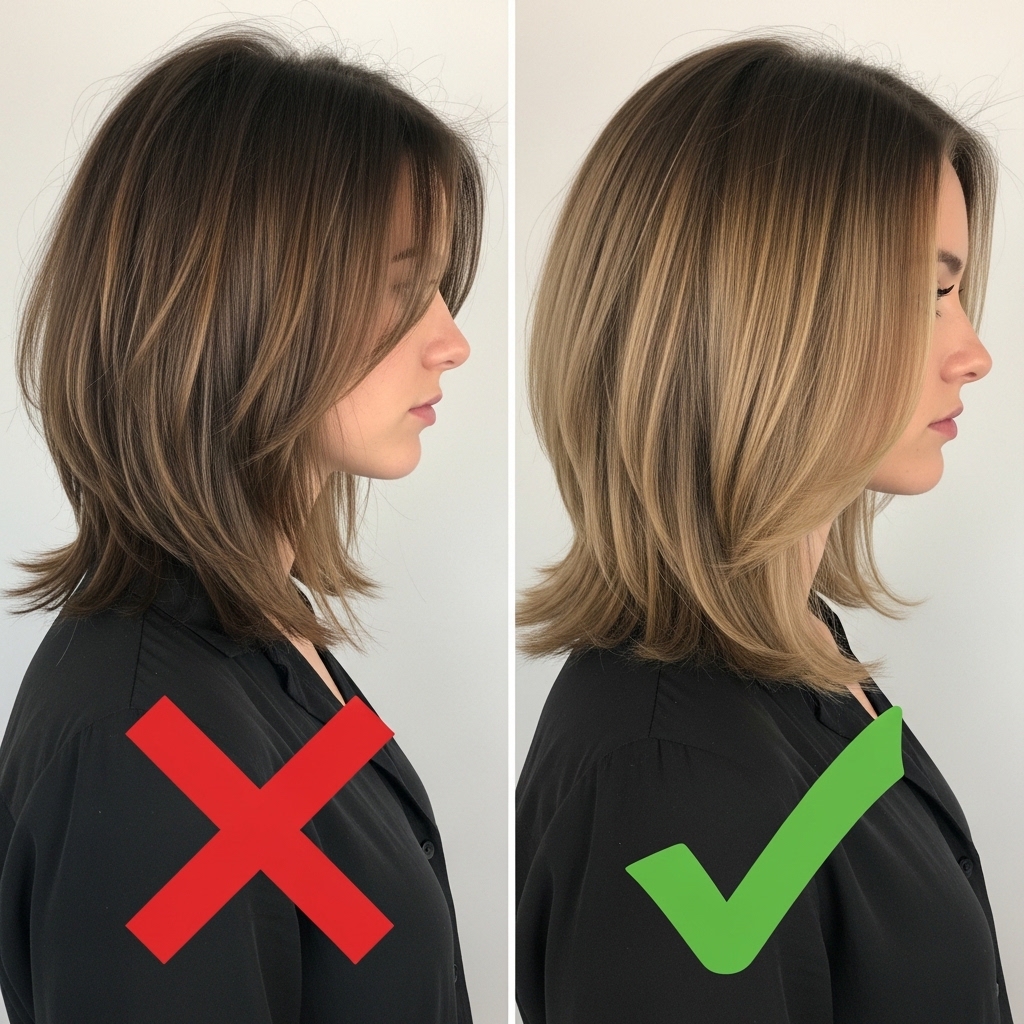
First, let’s clear up the name. “Lob” is just a cute way of saying “long bob.” It typically falls somewhere between your chin and your collarbone. The “rounded” part is the secret sauce.
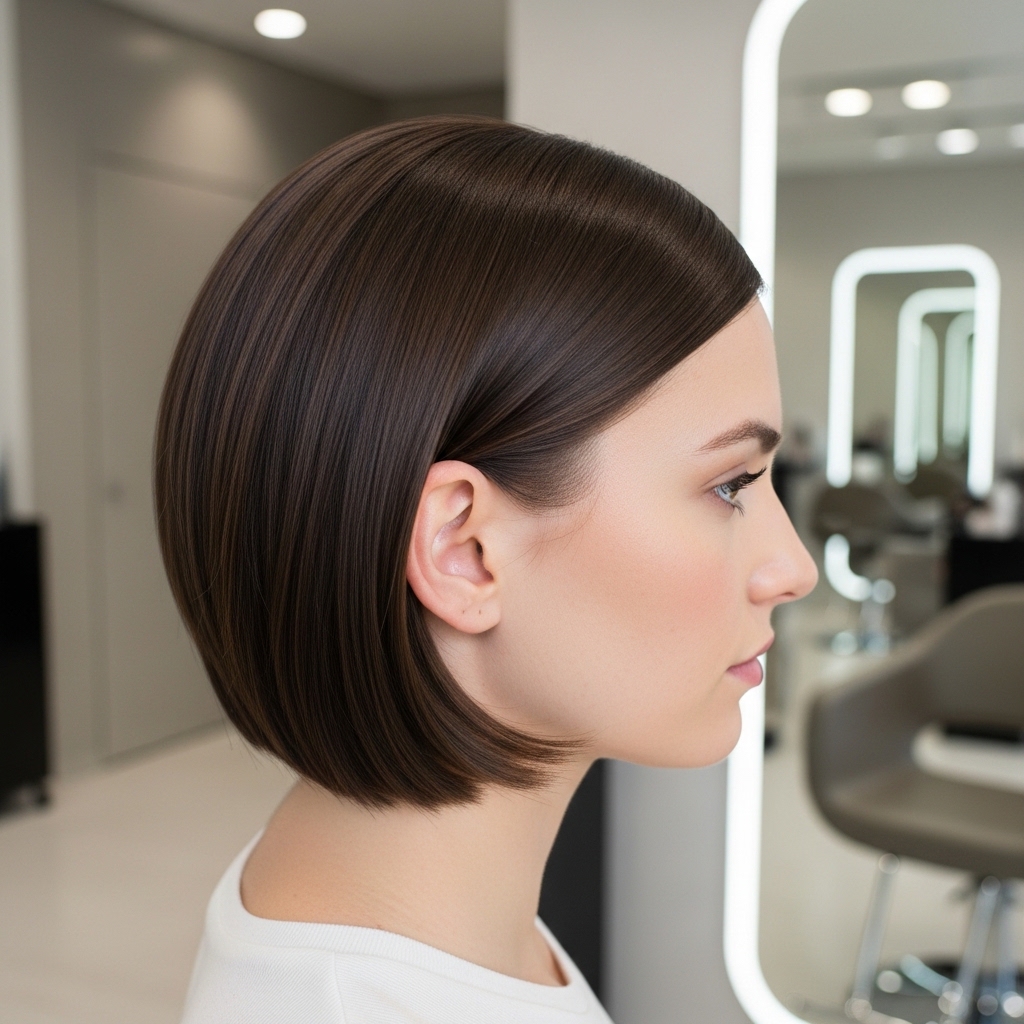
Instead of a blunt, straight-across cut, the back is subtly cut shorter and curves gently around your head, creating a beautiful, rounded shape from the side view. It’s soft, it’s feminine, and it has incredible movement.
The Magic of Face-Framing Layers
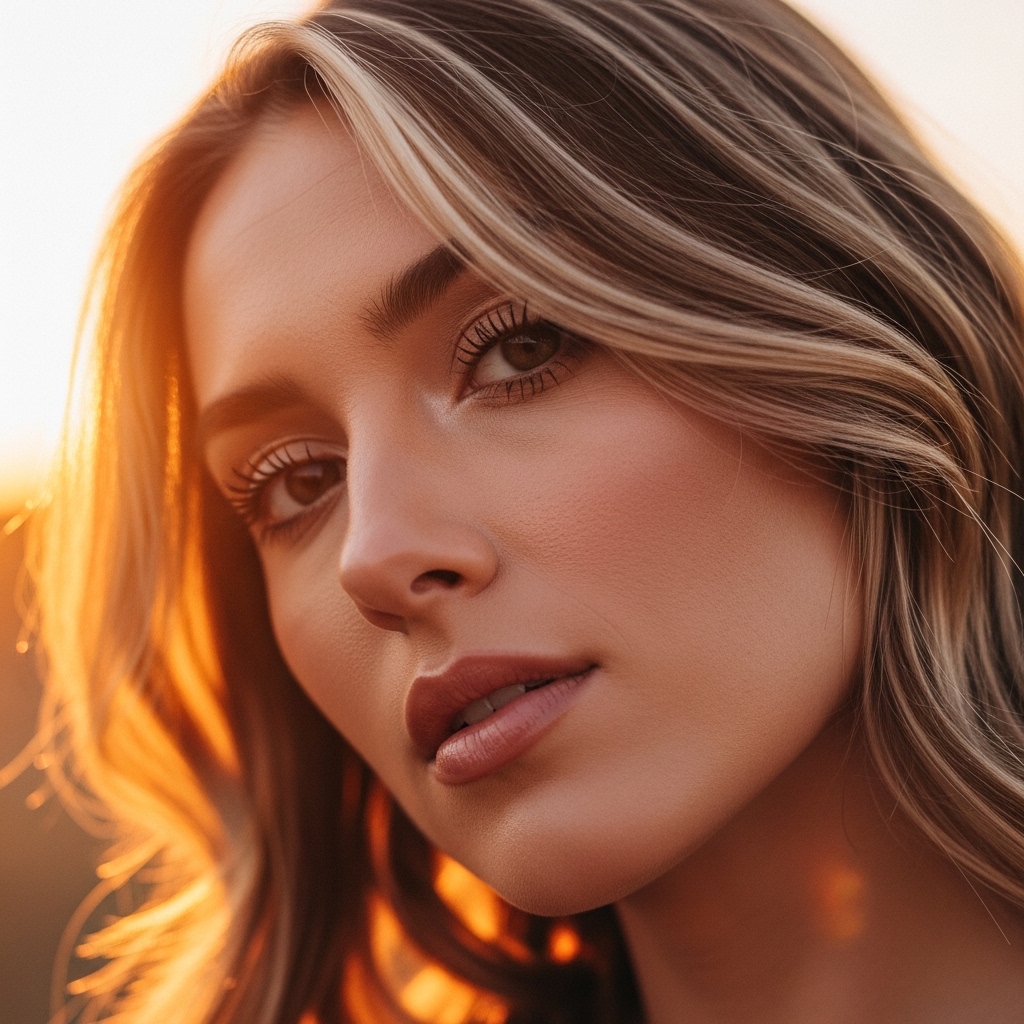
This is the element that makes the haircut personal. Face-framing layers are precisely what they sound like: shorter layers cut around the front of your face.
They’re not chunky or heavy. They’re soft, wispy pieces that blend seamlessly into the rest of your lob. Their job is to highlight your best features—your cheekbones, your jawline, your eyes—and add a touch of effortless softness.
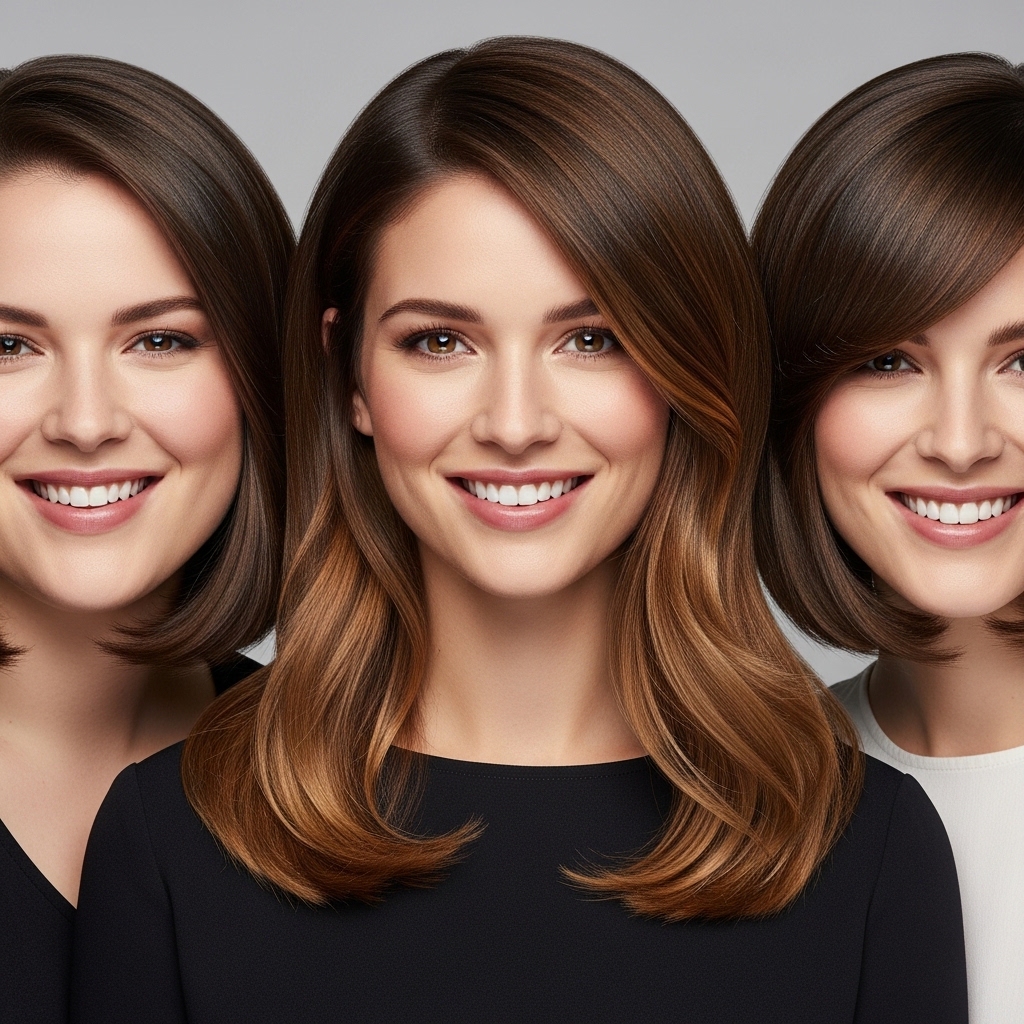
Why This Cut is So Universally Flattering
The combination of the rounded shape and strategic layers is a winner for a reason. The rounded back adds volume and shape at the nape of your neck, which balances out wider cheekbones or a stronger jaw.
Meanwhile, the face-framing pieces draw the eye inward and upward, creating a natural contouring effect. It’s a cut that works with your bone structure, not against it. It’s the definition of a quiet luxury bob—understated but deeply chic.
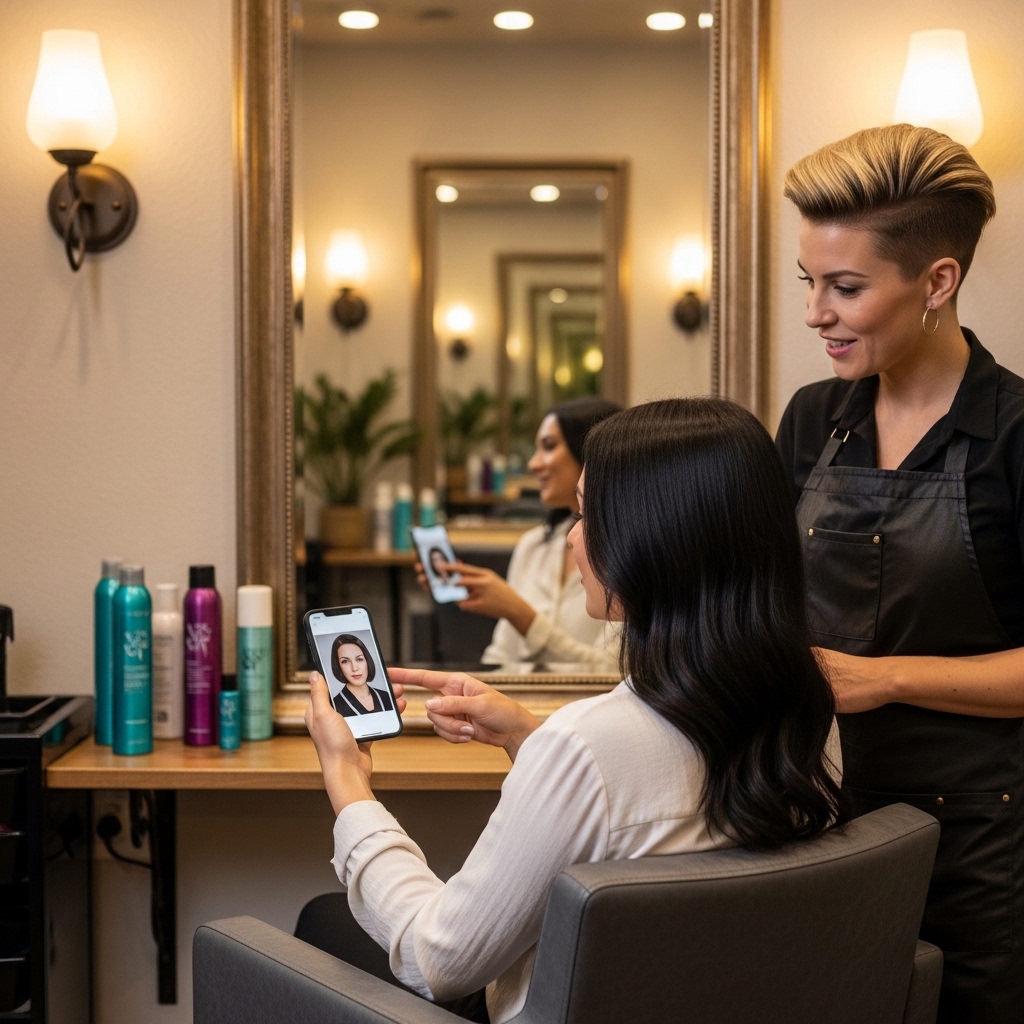
How to Describe It to Your Stylist (The Right Way)
Walking into the salon and just saying “a lob” can lead to mixed results. You need to be specific. Here’s the exact phrasing I use:
- “I’d like a lob that hits right at my collarbone.”
- “Please cut it with a rounded shape in the back, so it’s slightly shorter there.”
- “I want soft, face-framing layers starting at my chin to blend into the rest.”
Bringing a few photos always helps, but these keywords will get you on the same page instantly.
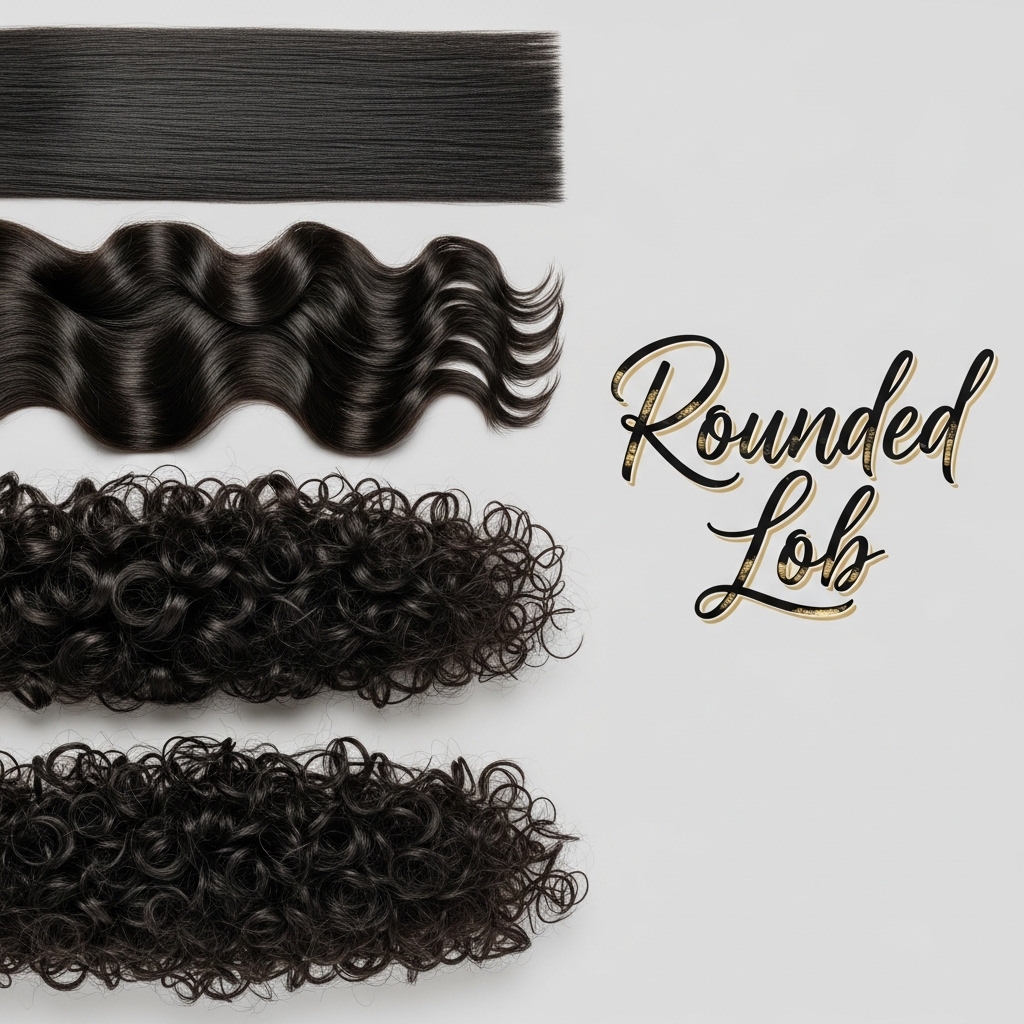
The Best Hair Texture for This Cut
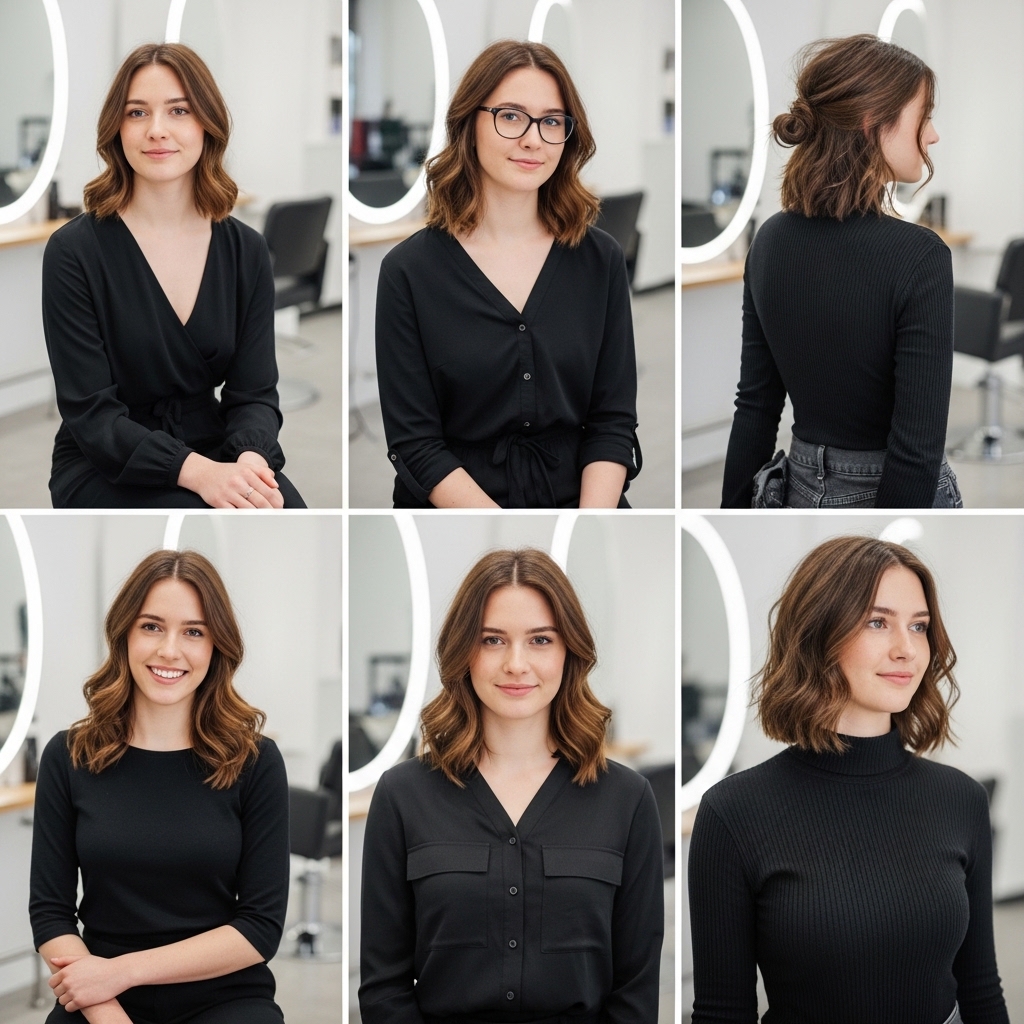
Good news: this cut is a chameleon. If you have straight or wavy hair, it will look beautifully sleek or have a natural, piecey texture. For thicker hair, it removes weight without losing shape.
If your hair is fine or thin, this is your dream cut. The layers and rounded shape create the illusion of tons of volume and body. It truly is a one-style-fits-most situation, which is rare in the hair world.
Low-Maintenance Styling: Your 5-Minute Routine
This is where the cut really shines. You don’t need to be a styling pro. For everyday, I just towel-dry my hair, run a curl cream or mousse through it, and let it air dry.
The cut does the work. The layers naturally fall into place. To boost the rounded shape, I might blow-dry the under-layers at the back with a round brush for 60 seconds. That’s it. Seriously.

Dress It Up: The Blowout Look
For a more polished, “old money hair” vibe, a smooth blowout is stunning. Focus on using that round brush to curl the ends under, following the natural rounded shape of the cut.
Keep the front framing pieces slightly curved away from your face. This look is all about sleek, healthy-looking shine and perfect curves. It feels expensive without being over-the-top.
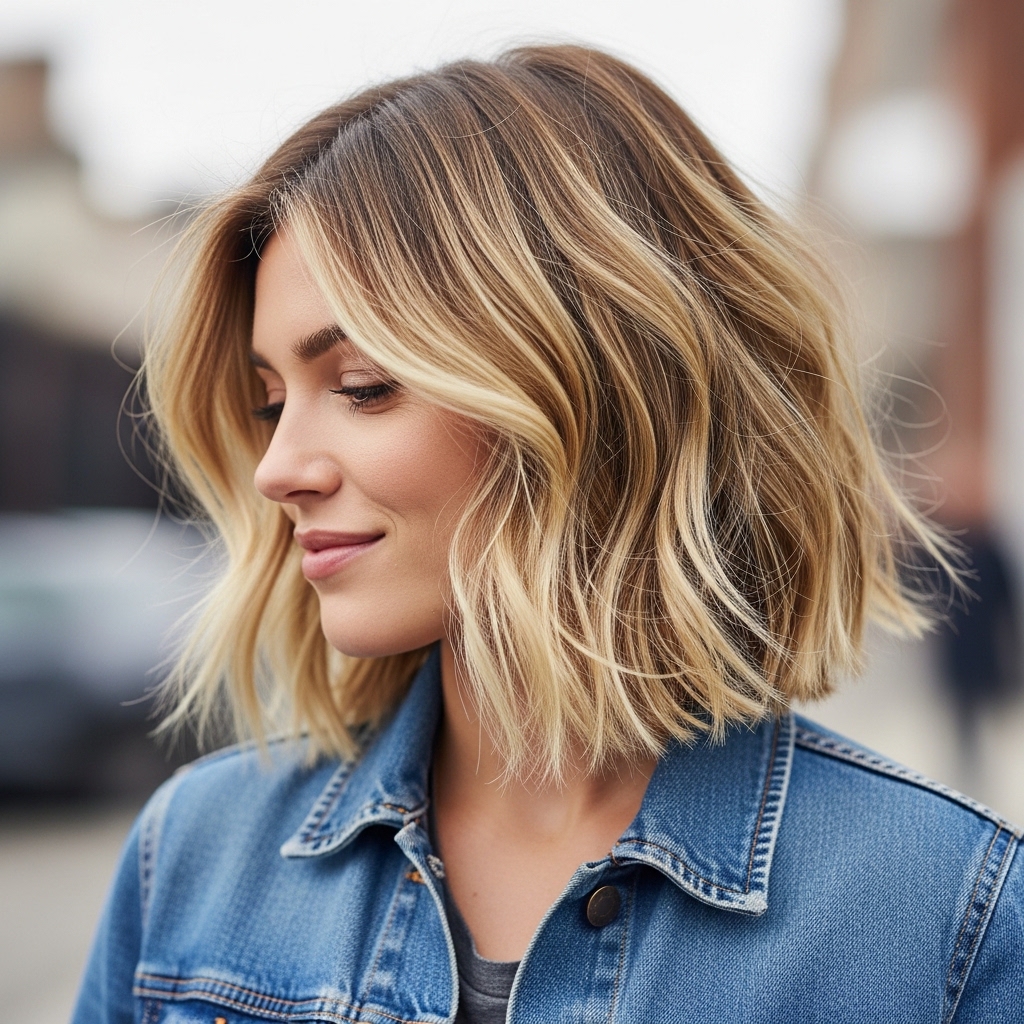
Effortless Texture: The “Lived-In” Method
My personal favorite way to wear it is with a bit of undone texture. After your hair is dry, wrap medium-sized sections around a curling wand, but don’t curl all the way to the roots.
Just curl the mid-lengths to ends. Then, run your fingers through it to break up the curls. Finish with a light-hold texturizing spray. This adds a cool, modern edge that’s perfect for everyday.
Where It Fits in the 2026 Trend Landscape
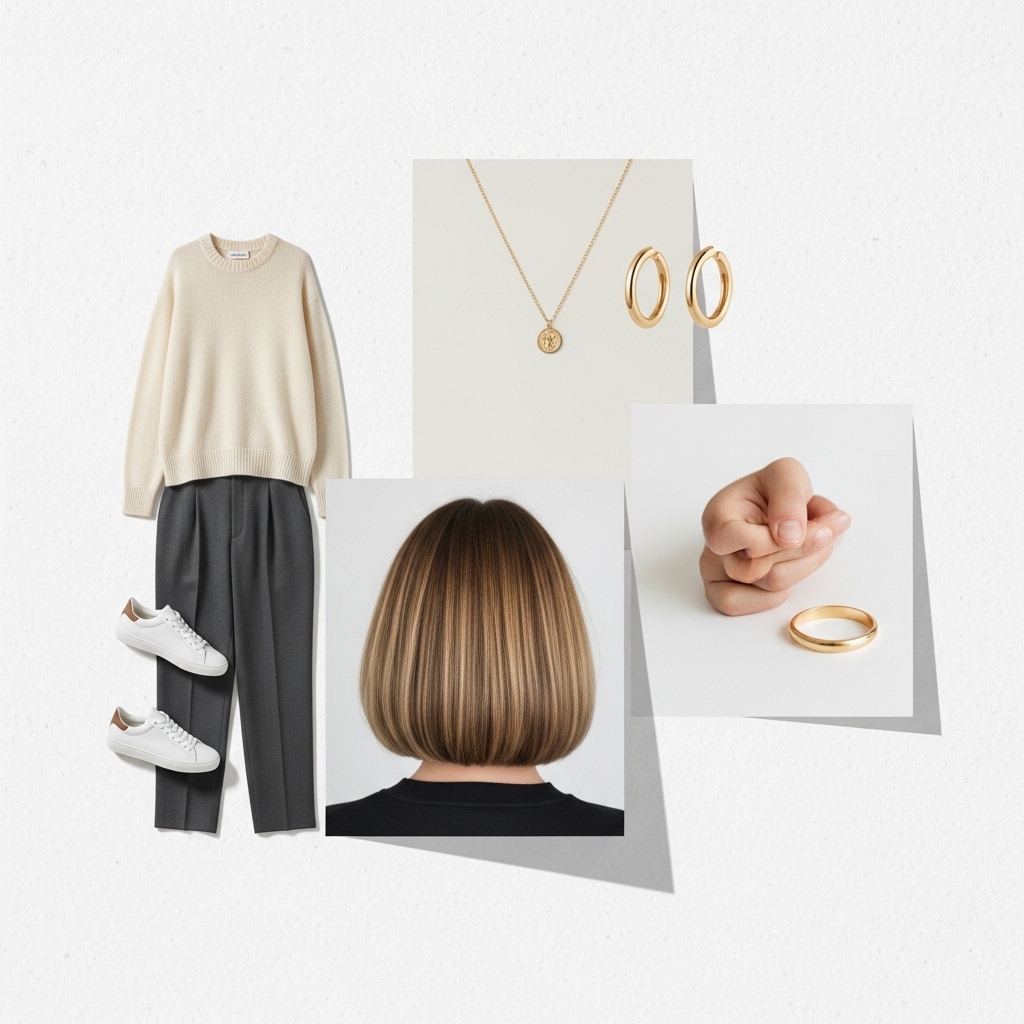
While we’re seeing extremes like the glitchy glam hair or dramatic hime cut on runways, this rounded lob is the wearable, timeless counterpart. It has the elegance of the quiet luxury trend and the softness of romantic styles.
It’s a trend that doesn’t feel trendy. It’s a foundation cut you can adapt—add a deeper side part for a vampiric feel, or keep it glossy and clean. It’s your canvas.
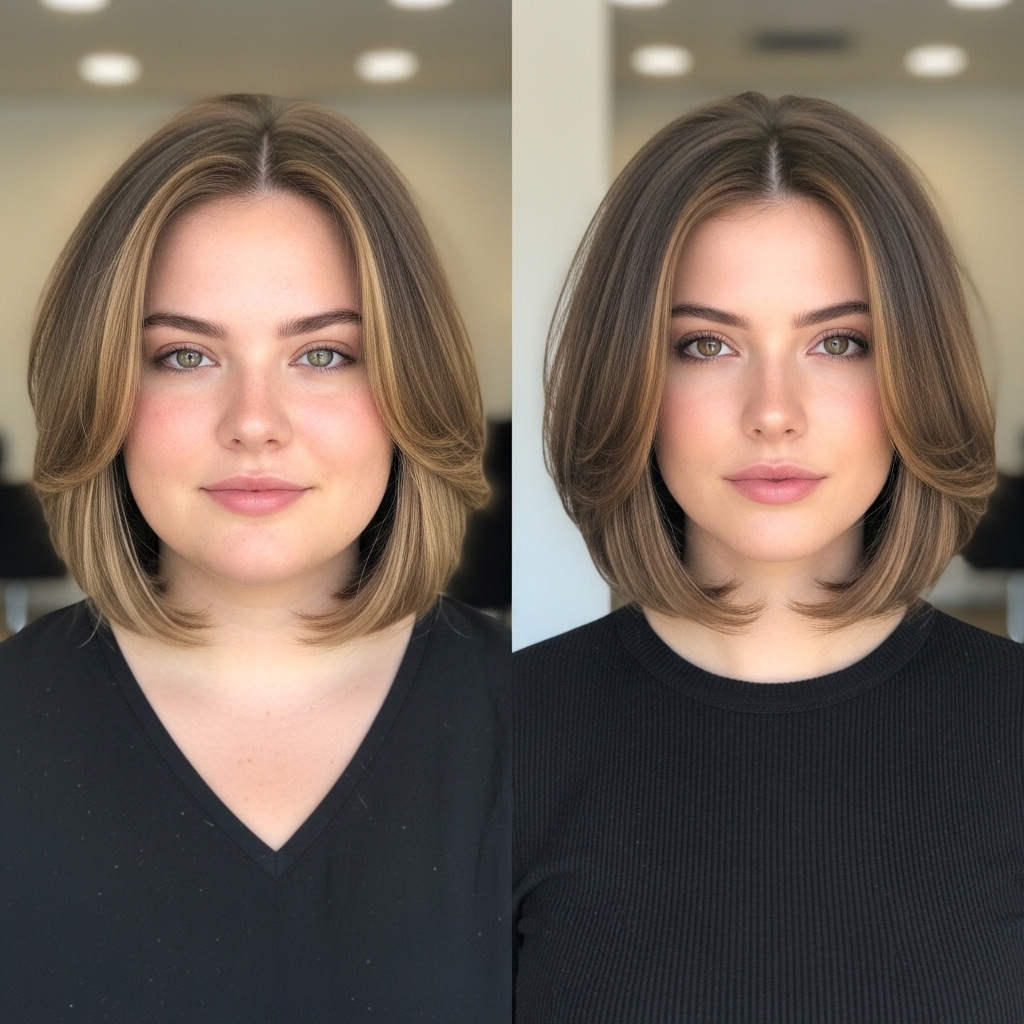
Face Shape Adjustments: Round & Square
For rounder faces, ask your stylist to start the face-framing layers a bit higher, at the top of your cheekbones. This helps elongate your face. Keep the length at the collarbone or longer.
For square jawlines, longer, softer layers that start below the chin are perfect. They soften the angles beautifully. The rounded back also balances a stronger jaw.
Face Shape Adjustments: Heart & Oval
If you have a heart-shaped face (wider forehead, narrower chin), you’re in luck. This cut was made for you. The layers naturally fill in around your chin, creating balance.
Oval faces can pull off anything, so have fun! Try a more asymmetrical lob variation with the rounded shape, or keep it classic. You really can’t go wrong.
The “Asymmetrical Lob” Cousin
Love this idea but want something edgier? Ask for an asymmetrical lob. This version keeps the rounded back but cuts the front significantly longer on one side.
It still has face-framing layers, but the dramatic difference in length adds a cool, fashion-forward twist. It’s a great way to dip your toes into more dramatic styles without a full commitment.
Adding Bangs: Yes or No?
Absolutely yes, if you want them! Curtain bangs are the dream pairing with this cut. They’re essentially just extended face-framing layers.
They blend right into the rest of your hair and add that extra touch of romance and softness. It’s a very French-girl, effortless combination that feels fresh.
Color Ideas to Elevate the Cut
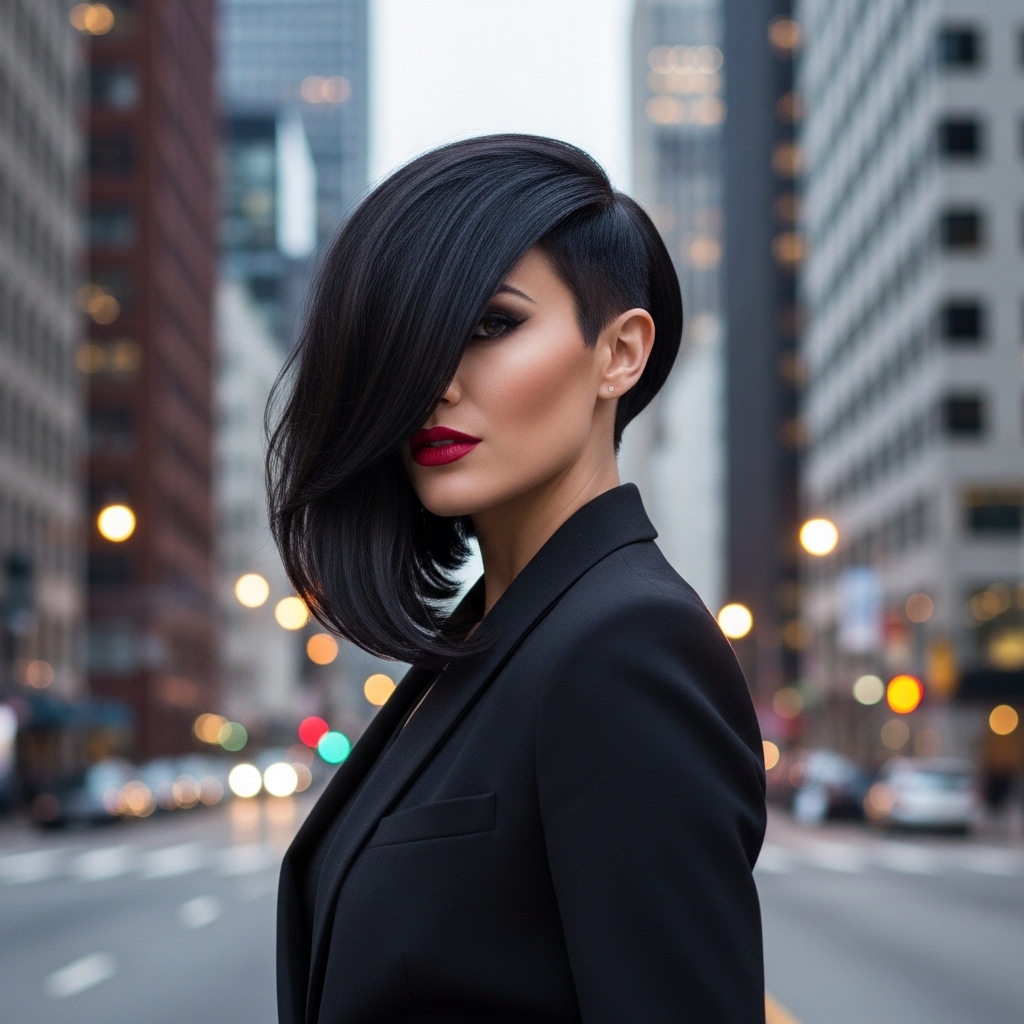
A simple, lived-in balayage looks incredible with this cut. The waves of color highlight the movement of the layers. For a bolder look, think of rich, dark shades—this can lean into that romantic goth hairstyles aesthetic.
A deep espresso or black with subtle face-framing highlights creates a modern vampire haircut feel that’s sophisticated, not costume-y.
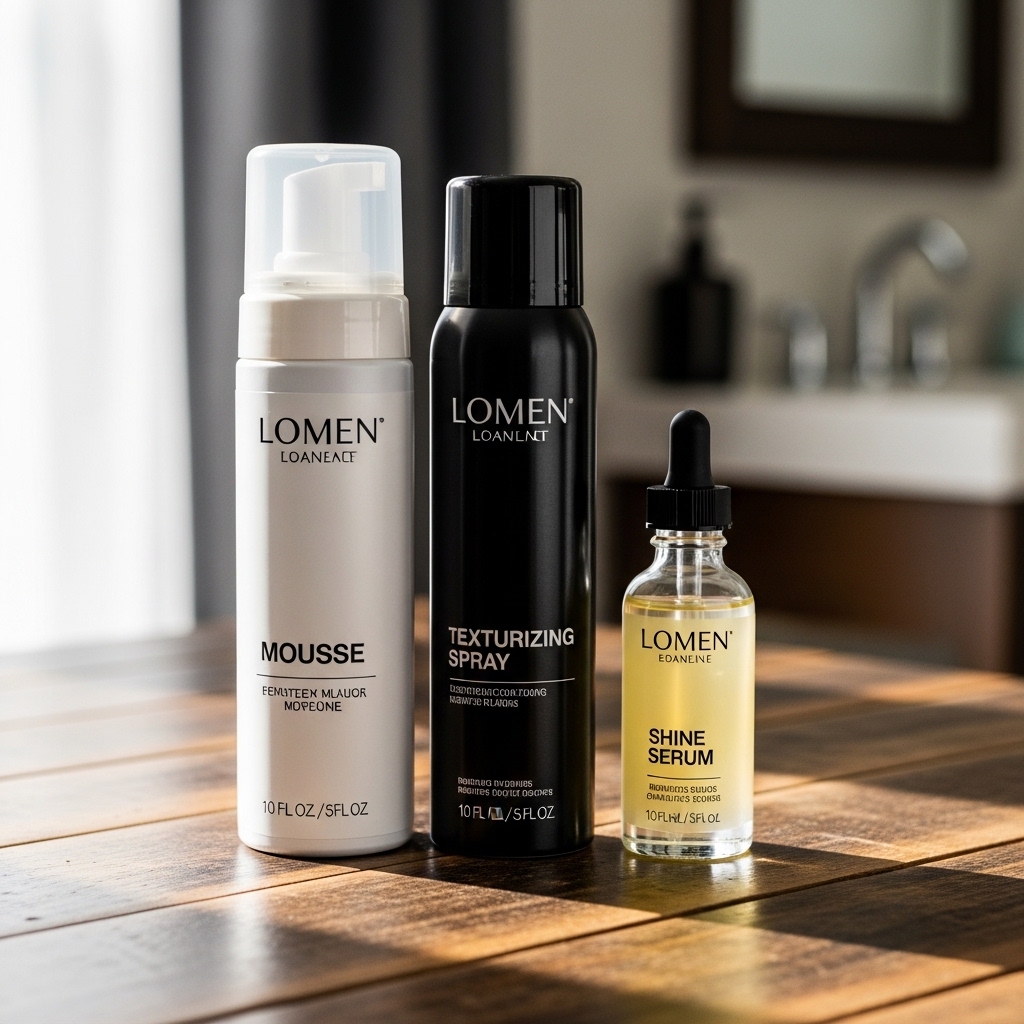
Products You Actually Need
You don’t need a shelf full of stuff. Here are my three essentials:
- A Volumizing Mousse: Applied to damp roots for lift.
- A Texturizing Spray: For that piecey, lived-in finish.
- A Shine Serum: A tiny drop on the ends for health and polish.
That’s your core toolkit. Keep it simple and let the haircut do the talking.
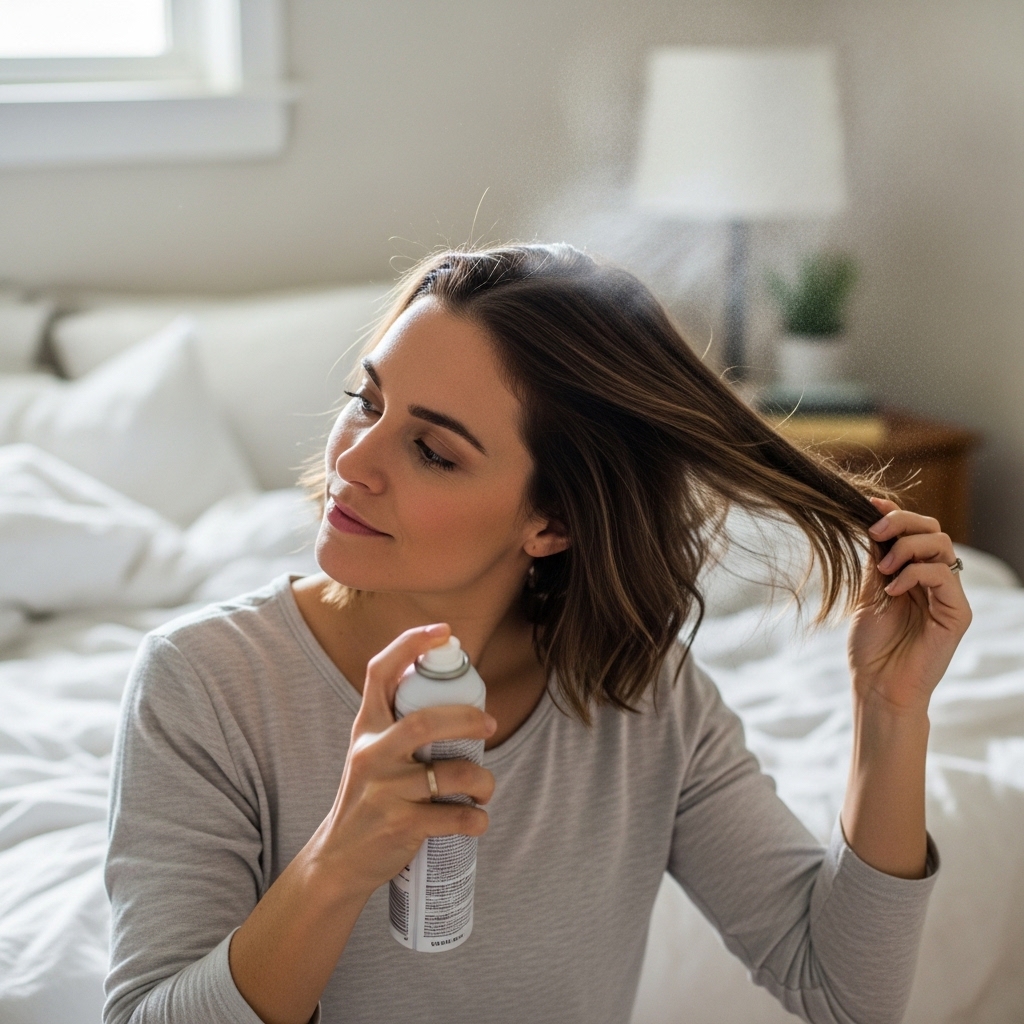
How to Refresh It Between Washes
Day two or three hair is often the best with this cut! To revive it, just flip your head over and massage some dry shampoo at the roots.
Flip back, and use your fingers to reshape the layers around your face. Sometimes, I lightly re-dampen the face-framing pieces and twist them to re-form the waves. Easy.
Common Mistakes to Avoid
The only way this cut goes wrong is if the layers are cut too short or too chunky. The face-framing pieces should blend, not look like disconnected chunks.
Also, avoid going too short in the back if you have a longer neck—you want balance. Communication with your stylist is key to avoiding these easy fixes.
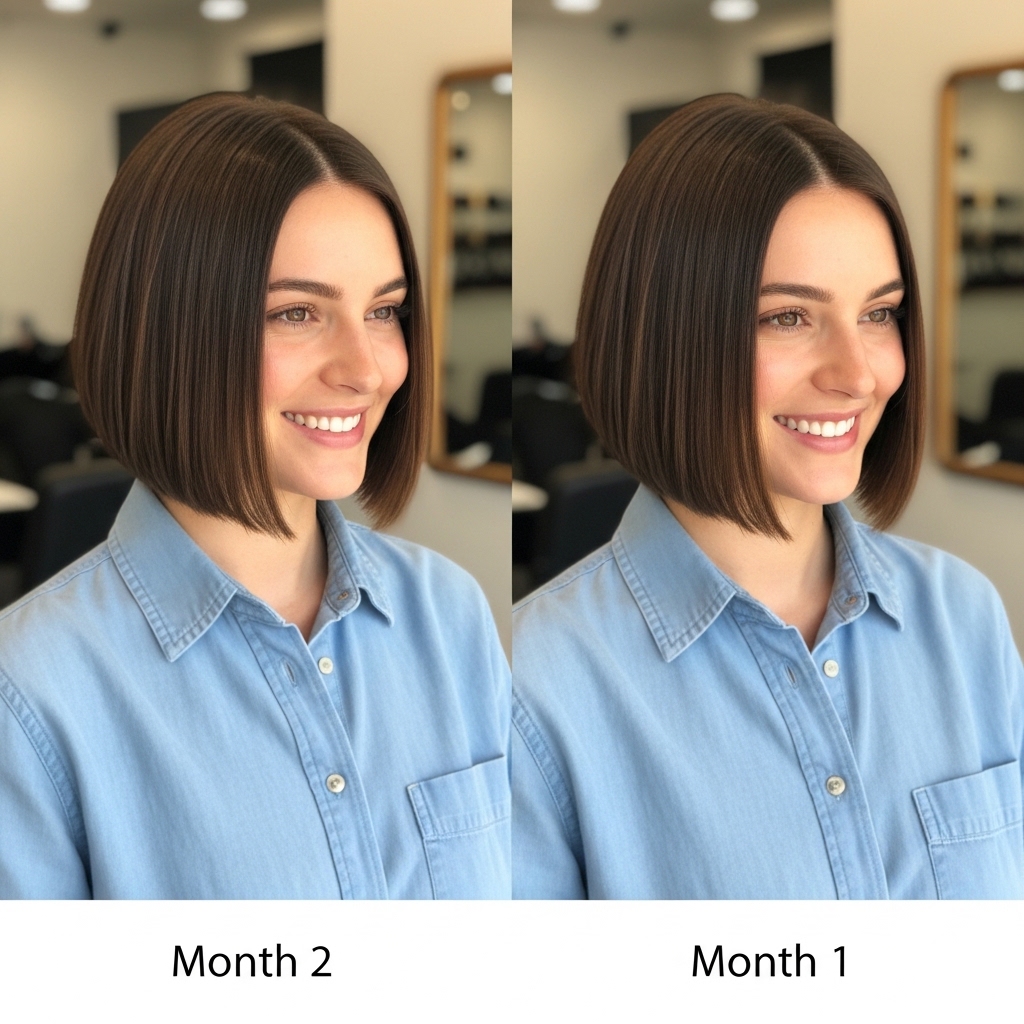
Growing It Out Gracefully
The best part? This cut grows out beautifully. As it gets longer, the rounded shape softens into a more standard lob, and the layers just add movement.
You’ll need fewer trims to maintain the shape than with a super blunt cut. It’s the gift that keeps on giving, making your grow-out phase actually look intentional.
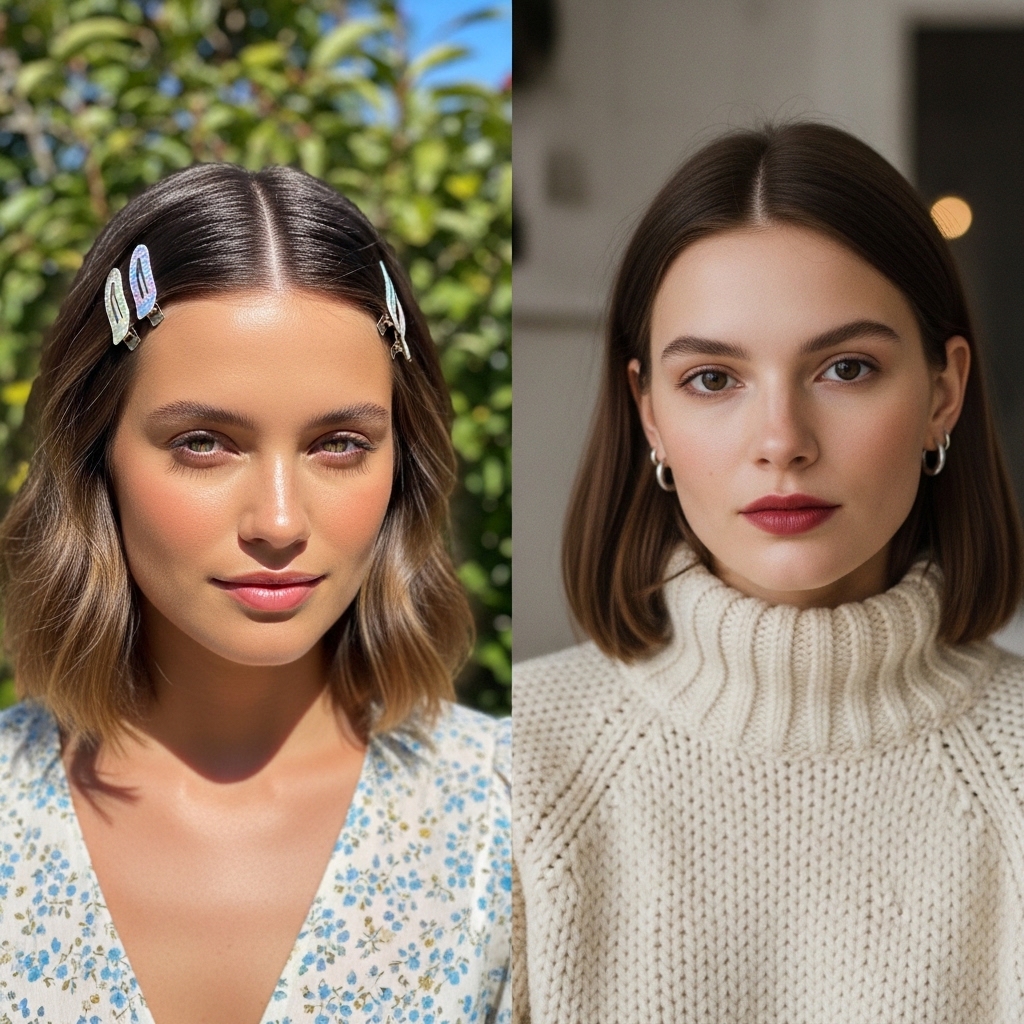
Seasonal Adaptations: Summer vs. Winter
In summer, I love pulling the front pieces back with two small clips for a cute, half-up look that’s still off my face. The cut looks great with hats, too.
In winter, the length is perfect for tucking behind your ears with a cozy sweater. The layers prevent it from looking bulky under scarves. It’s a true four-season style.
Celebrity Inspiration to Show Your Stylist
Look to stars like Lily Collins, Zoe Kravitz, and J.Lo for modern, flawless examples. They often wear variations of this cut—sometimes smoother, sometimes more textured.
Each one shows how adaptable and personal it can be. Having a celebrity photo is the fastest way to align your vision with your stylist’s.
Your Final Checklist Before the Chop
Ready to book the appointment? Do this first:
- Collect 3-5 photos you love.
- Practice the description phrases from section 4.
- Make sure your stylist has experience with layered bobs.
- Wash your hair the night before (stylists prefer day-old hair).
Walk in confident, knowing you’re about to get your best haircut yet.
My Personal Verdict After a Year
I’ve had this cut for over a year now, and it’s the longest I’ve gone without a major style change. Why? Because it always looks good.
It works for school runs, client meetings, and date nights. It makes me feel put-together with minimal effort. It’s the most practical, flattering, and confidence-boosting cut I’ve ever tried.
So, there you have it—the complete guide to the haircut that feels like a secret weapon. It’s more than just a style; it’s a way to simplify your routine while looking incredibly polished.
It bridges the gap between classic elegance and modern texture, which is why I think it’s going to stay popular long past any fleeting trend. It just makes sense for real life.
Save this post to Pinterest so you have it ready for your next salon visit! And I’d love to know—are you thinking of trying it? Or do you already have a lob you love? Tell me everything in the comments below!

