
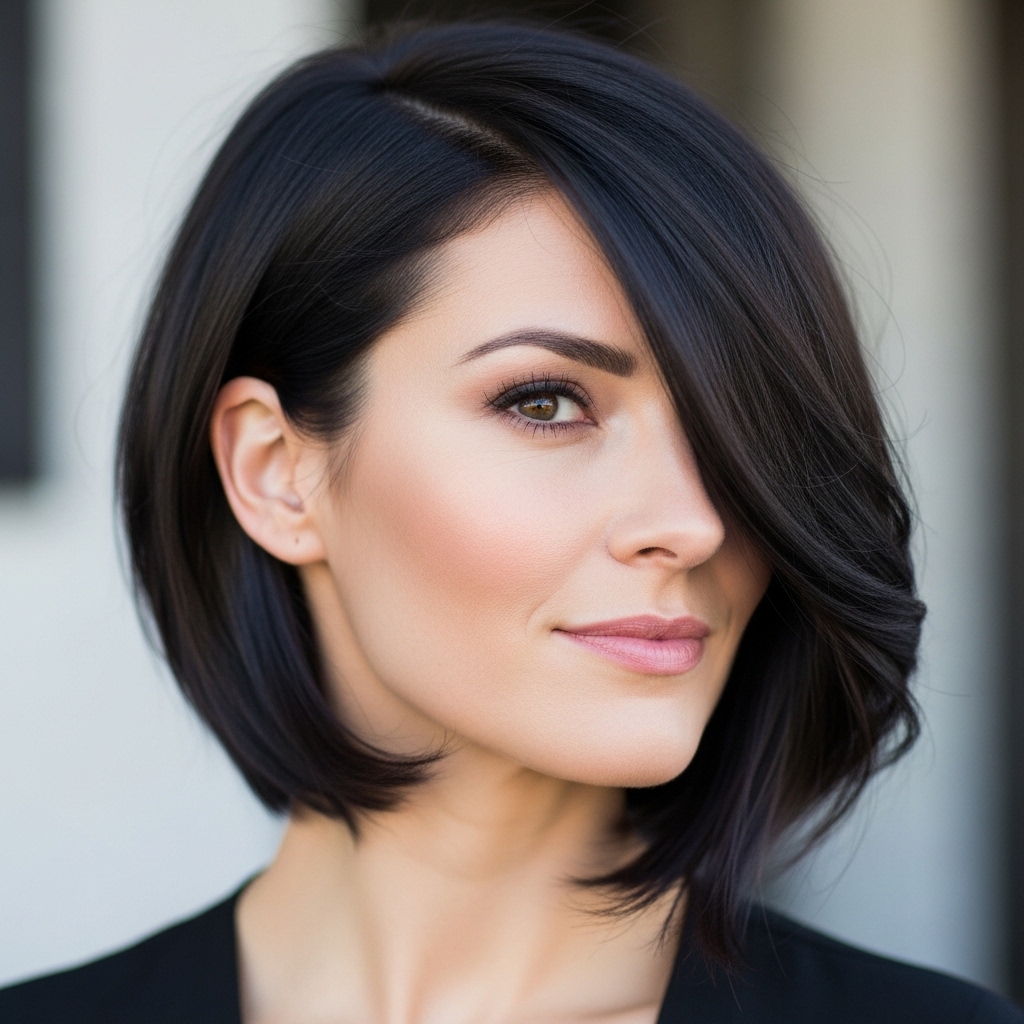
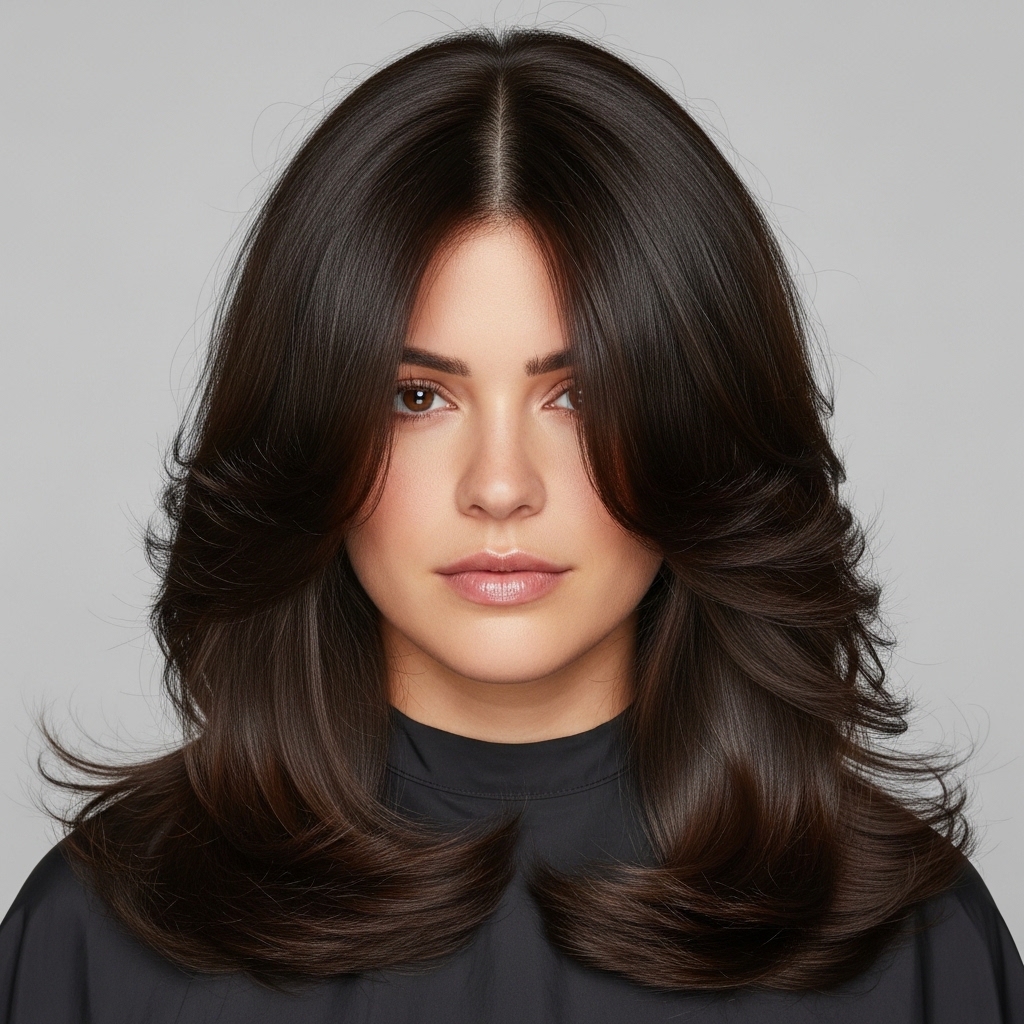
Okay, let’s talk about the haircut that’s absolutely everywhere right now. You’ve seen it on your feed, right? That perfect mix of edgy and elegant, sharp but soft. It’s the vampire haircut, and I’m obsessed.
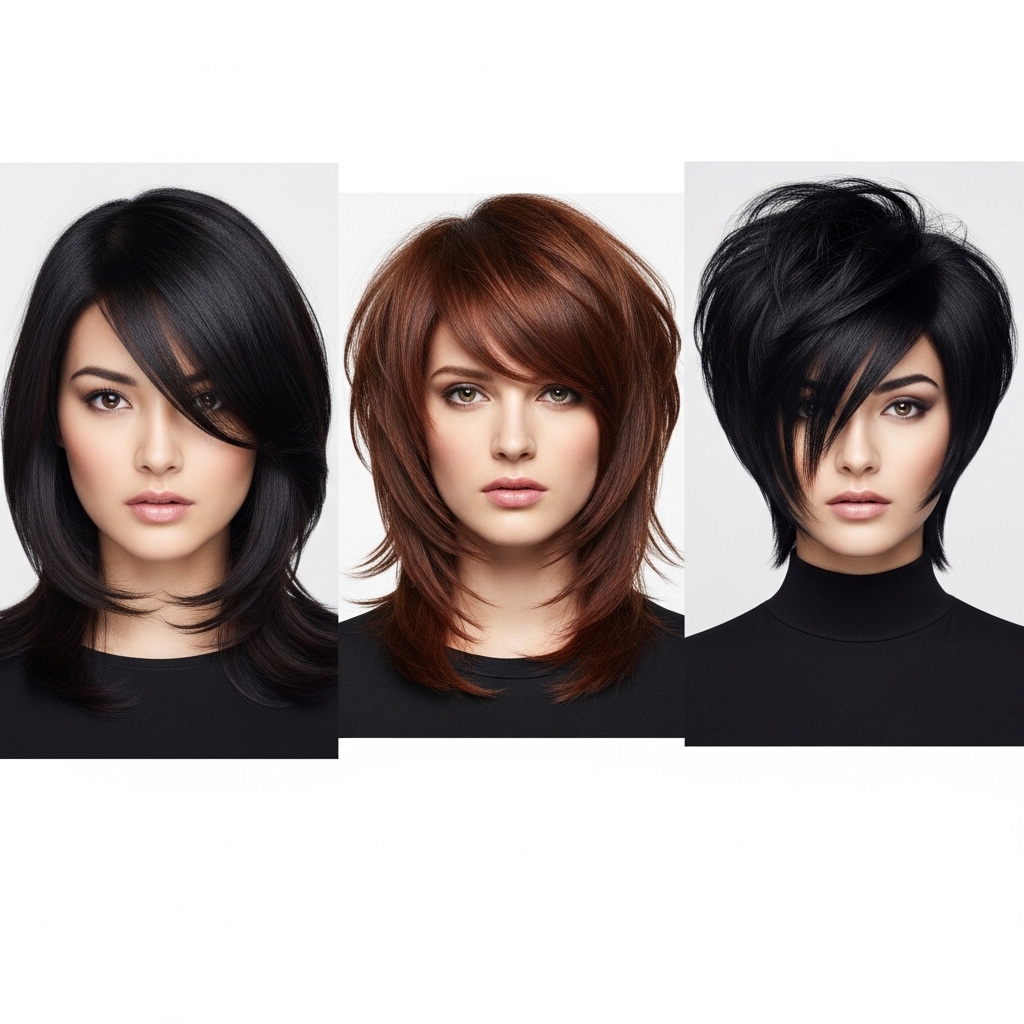
It sounds intense, but I promise it’s one of the most wearable, face-framing cuts out there. It’s the star of all the 2026 hairstyle forecasts for a reason. Think of it as a mix between a hime cut, an asymmetrical lob, and romantic goth hairstyles.
The best part? You don’t need a salon trip to get the vibe. Today, I’m walking you through the easy, at-home way to fake this look and get that iconic glossy, “just bit into a black cherry” finish. No fangs required.
What Is a Vampire Haircut, Really?
Let’s clear up the mystery. The vampire haircut isn’t one single style. It’s a mood. It blends a few key elements that create that darkly romantic feel.
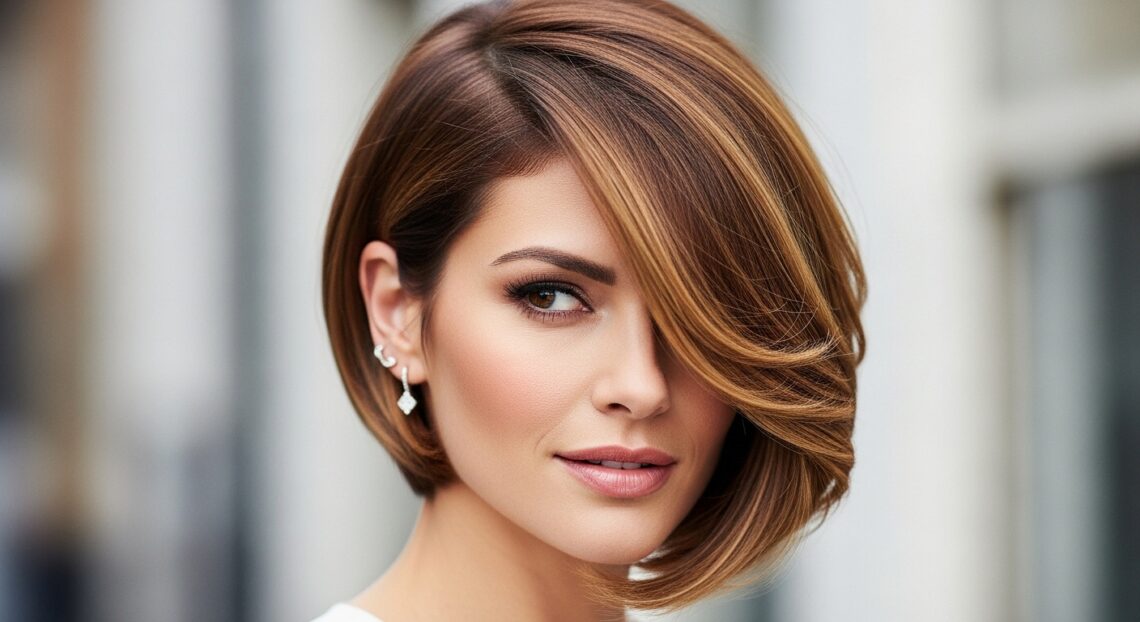
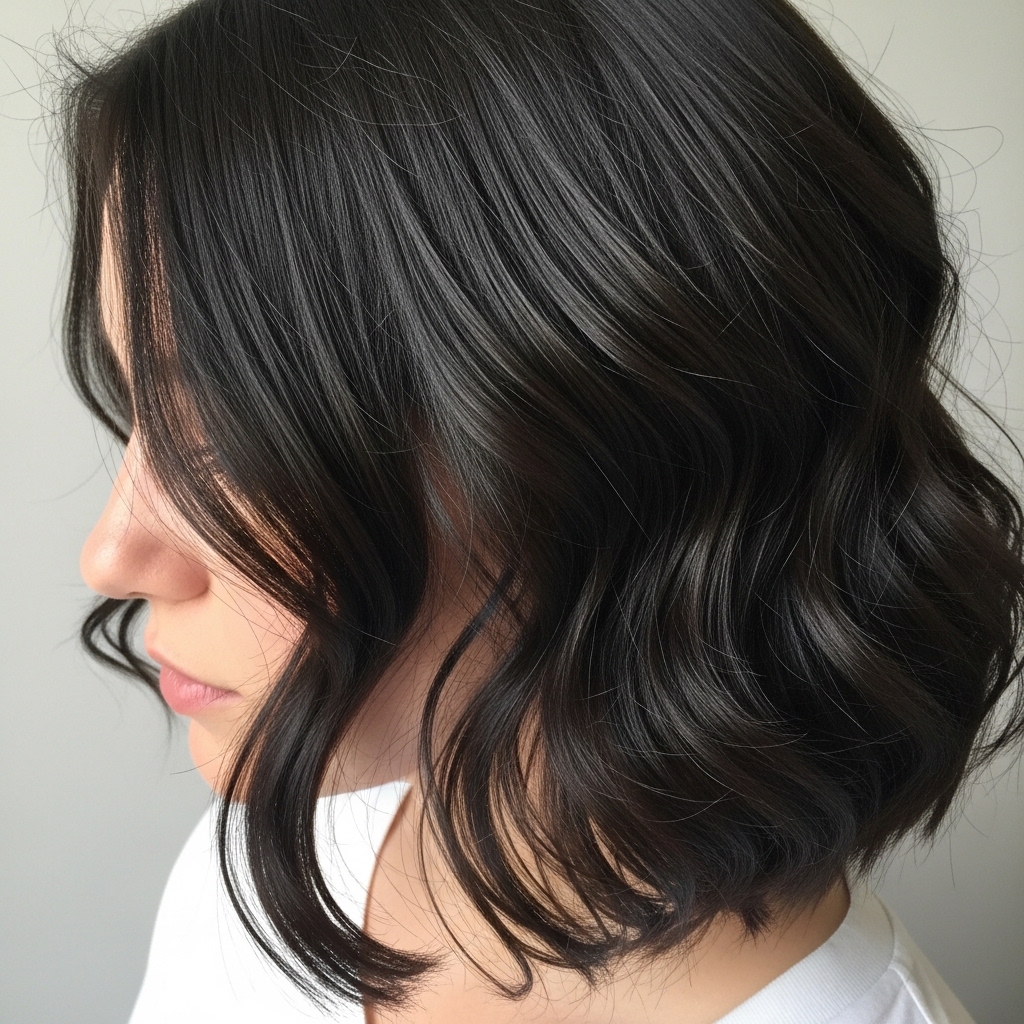
We’re talking sharp, defined layers, especially around the face. Often, it has a heavy, blunt fringe or curtain bangs. The length is usually between a bob and long layers—that perfect asymmetrical lob length is a great starting point.
It takes inspiration from the hime cut’s structured front pieces and mixes it with the undone texture of glitchy glam hair. The result is modern, a little dramatic, and incredibly chic.
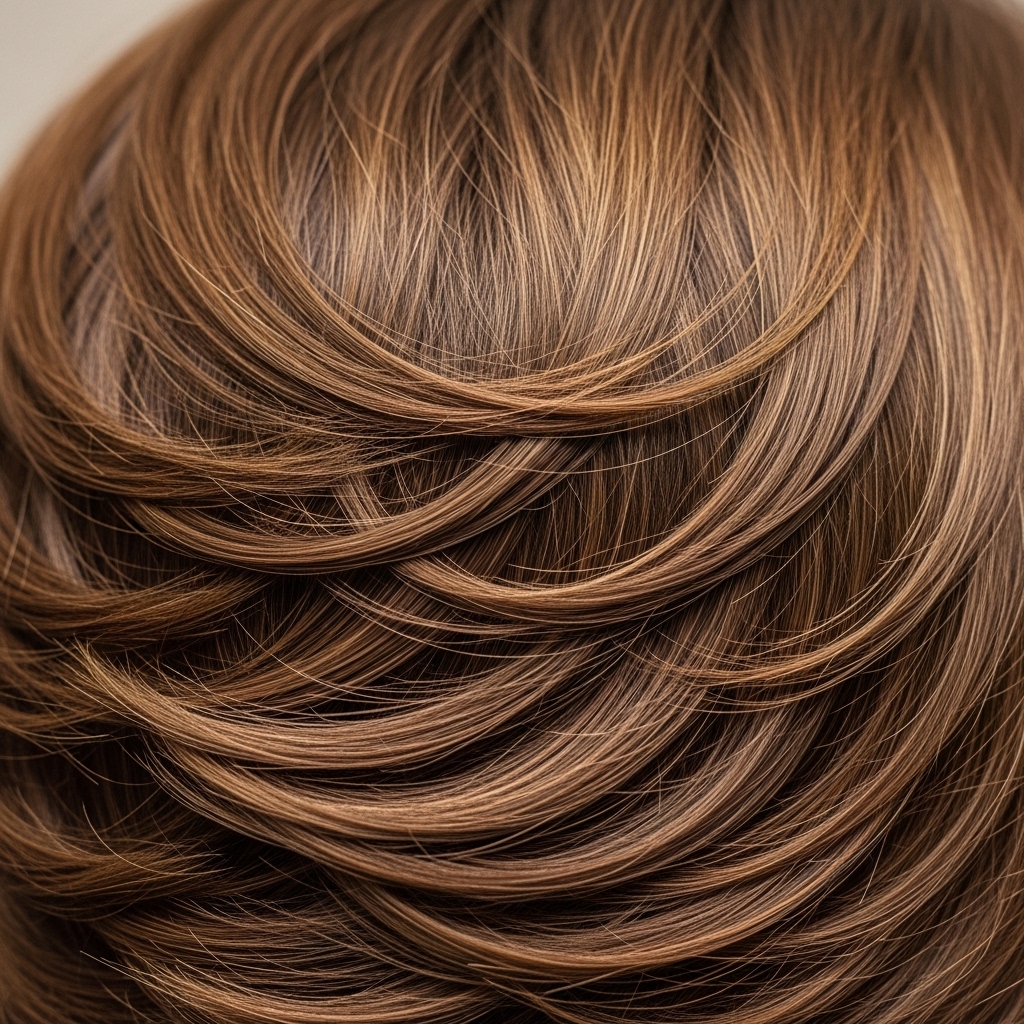
Why the Glossy Finish is Everything
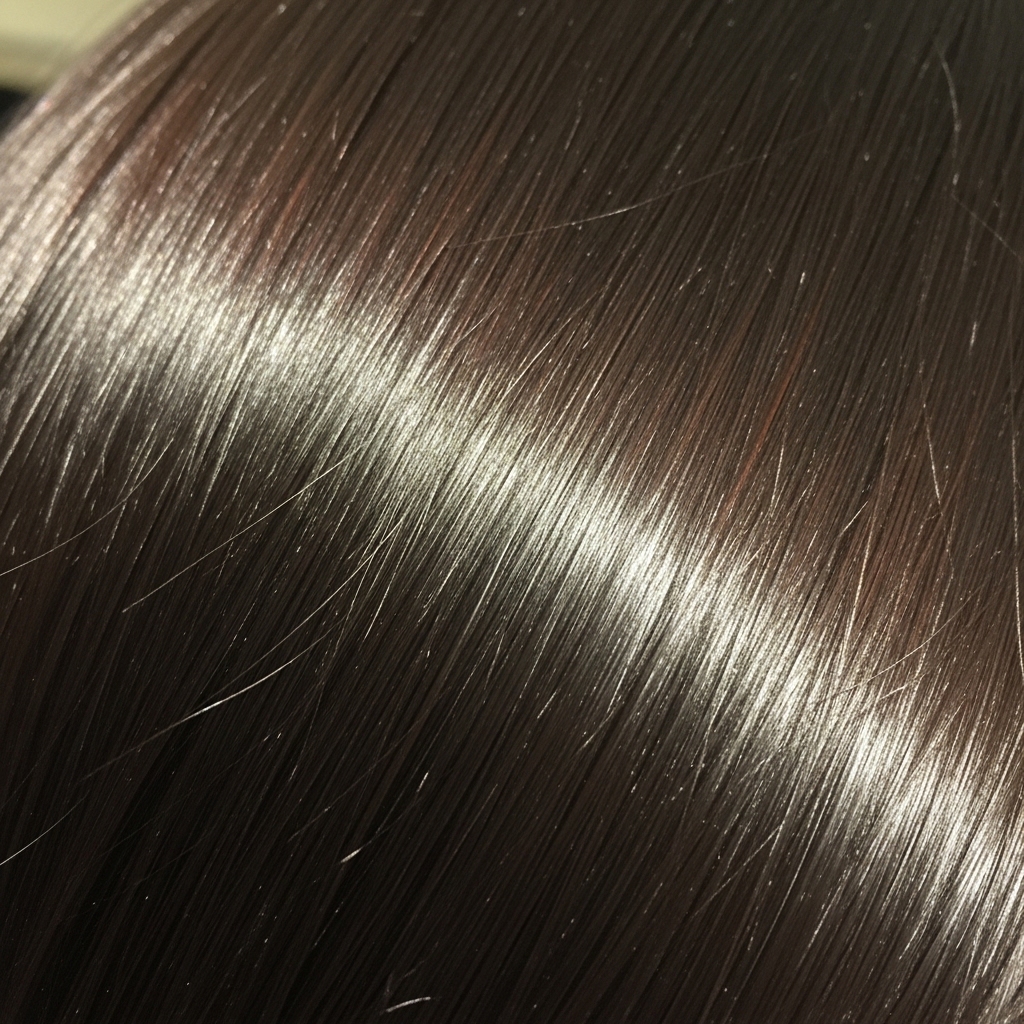
Matte hair can look cool, but for this look? Shine is non-negotiable. That glossy finish is what turns “just got a haircut” into “old money hair” with a dark twist.
Think about vampire lore—their skin always has that luminous, almost otherworldly glow. Your hair needs to mimic that. The gloss reflects light, making the sharp lines of the cut look intentional and expensive.
It’s the difference between looking edgy and looking elegant. That high-shine is the quiet luxury bob element peeking through. It says you know exactly what you’re doing.
Tools You’ll Need to Fake It at Home

You don’t need a pro kit. You likely have most of this already. First, a good hair dryer. A round brush is key for building volume and smoothing. A flat iron with rounded edges will help create bends, not sharp angles.
For the finish, gather a heat protectant, a smoothing serum, and a super-hold shine spray. The secret weapon? A clear hair gloss treatment. They’re cheap and work miracles.
If you have fine hair, a texturizing spray will help the layers hold. For thick hair, a strong-hold cream will tame and define. Now, let’s get your hair ready.
Start With Super Clean, Cool Hair
This style works best on day-old hair, but we’re starting fresh. Wash with a clarifying shampoo to remove any buildup. This gives the gloss something pure to adhere to.
Condition well, but focus on the mid-lengths to ends. You want the roots to have some grip. Rinse with cool water for an extra dose of shine. It seals the hair cuticle.
Gently towel-dry. Don’t rub! Just squeeze out the excess water. We’re going to blow-dry next, and starting with smooth, not frizzy, hair is the goal.
The Blow-Dry: Building Volume & Smoothness
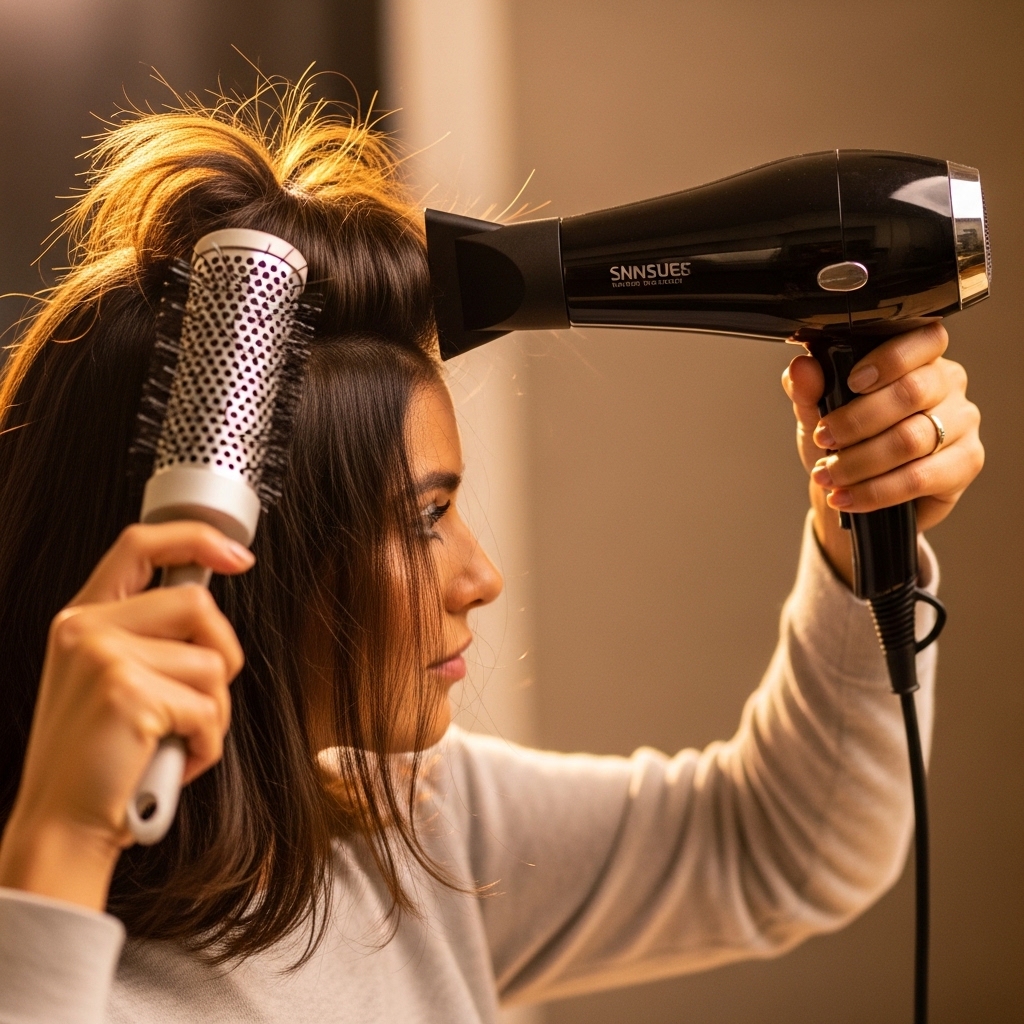
Apply a heat protectant and a pea-sized amount of smoothing serum. Section your hair. Start at the back, using your round brush to pull each section up and out.
Direct the dryer nozzle down the hair shaft. This is what creates that sleek, smooth base. Pay extra attention to the roots. Lift them with the brush to get that coveted volume.
You don’t need it pin-straight. You just want it about 90% dry and very smooth. The flat iron will do the final shaping. The blow-dry sets the stage for a polished look.
Creating the Signature Sharp Layers
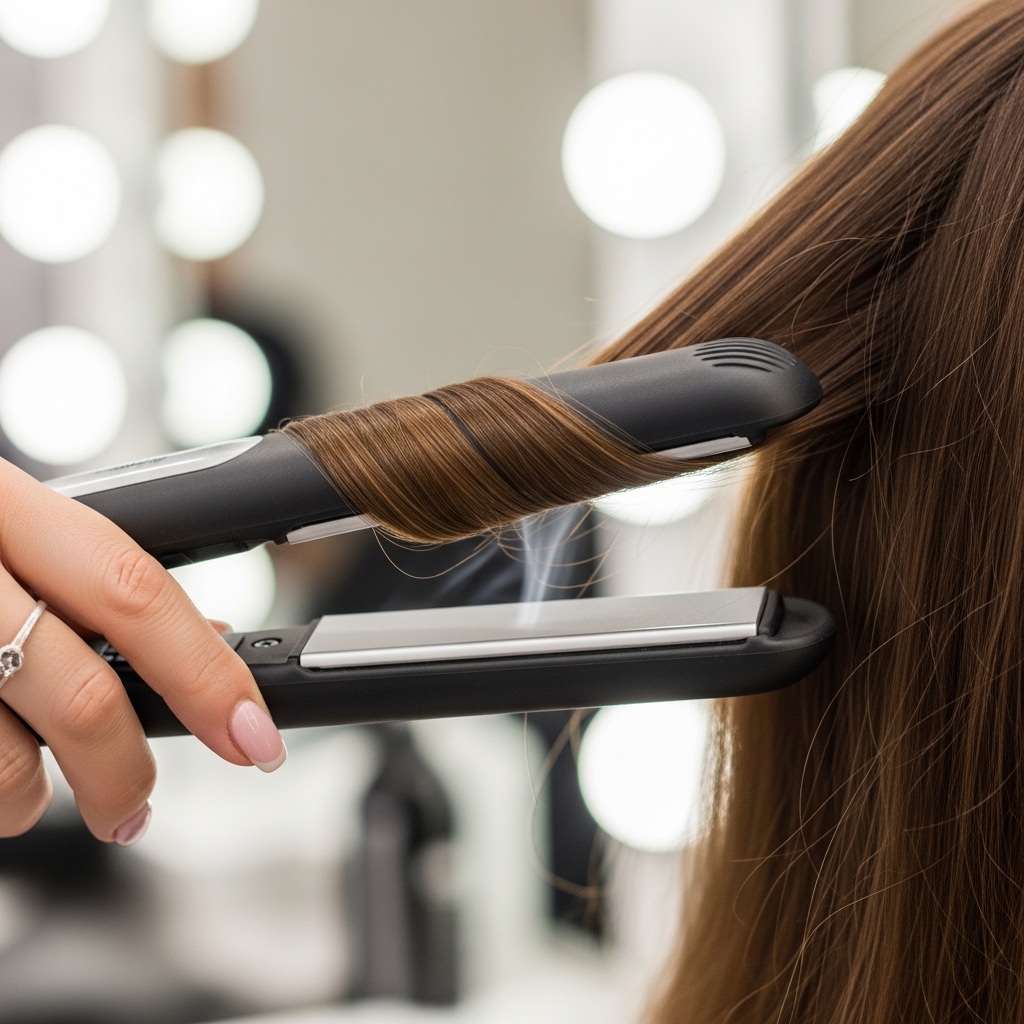
If you have layers, great. If not, we fake them. Take the front sections of your hair. These are your “money pieces.” Use your flat iron to create a deep bend inward, right at chin level.
For a more dramatic look, create an outward flick instead. The point is to define that section from the rest of your hair. It should frame your face sharply.
On the rest of your hair, use the iron to smooth and add a very slight, irregular bend at the ends. This avoids a helmet-head look and adds that glitchy glam hair texture.
Mastering the Heavy, Blunt Fringe

This is a hallmark of the cut. If you have bangs, perfect. Dry them first, straight down. Use the flat iron, clamping at the root and pulling slowly down to keep them blunt and heavy.
No bangs? Use the front-most pieces of your hair. Isolate two small sections near your part. Iron them straight and let them fall forward, trimming the mental image of a fringe.
The key is weight. They should look like a solid, glossy curtain. You can pin them back lightly if it feels too intense, but let them make a statement first.
The Magic of a Clear Hair Gloss Treatment
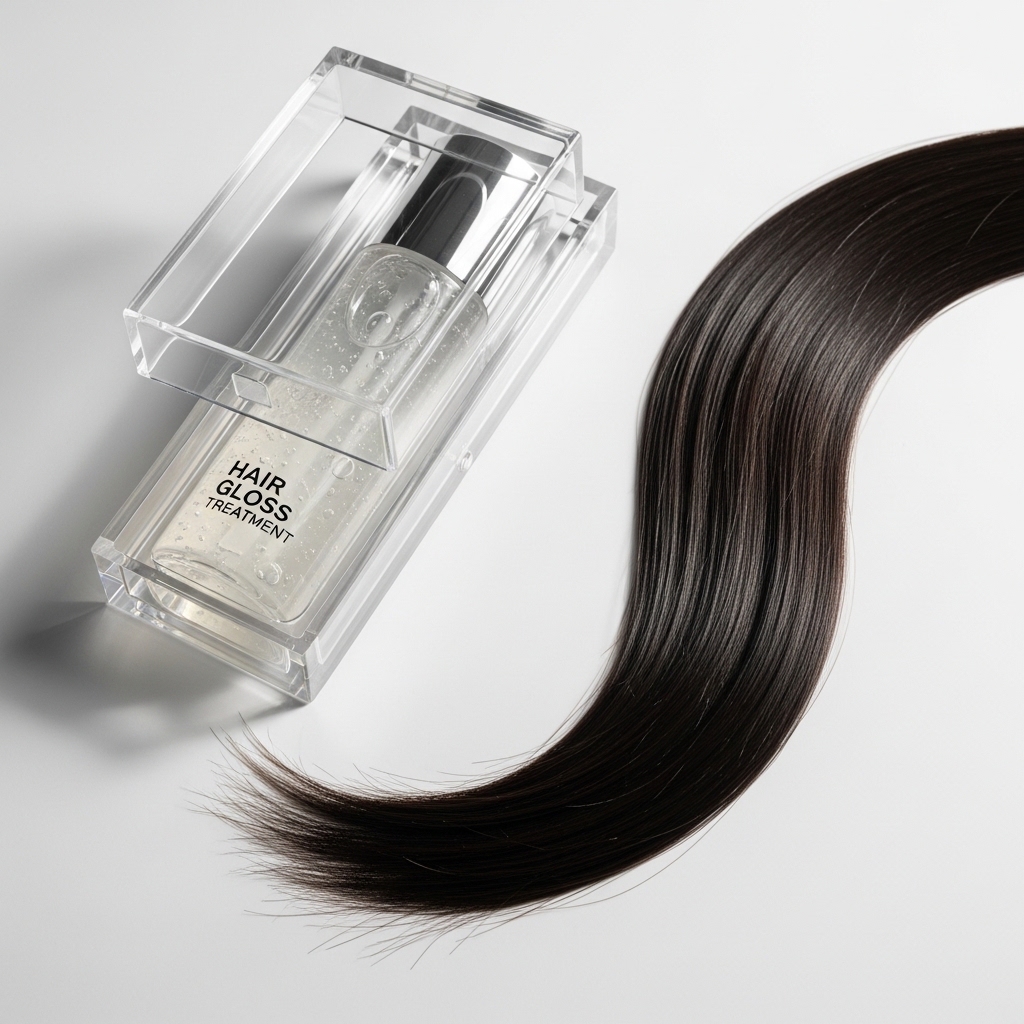
This is the step you cannot skip. A clear gloss treatment is like a topcoat for your hair. It adds incredible shine, smooths frizz, and boosts color depth.
You can buy a single-use treatment at any drugstore. Apply it to your dry, styled hair as directed—usually you leave it on for 5-20 minutes.
It’s not a dye. It’s a conditioner on steroids. When you rinse it out, your hair will feel silkier and look exponentially glossier. It’s the instant quiet luxury bob upgrade.
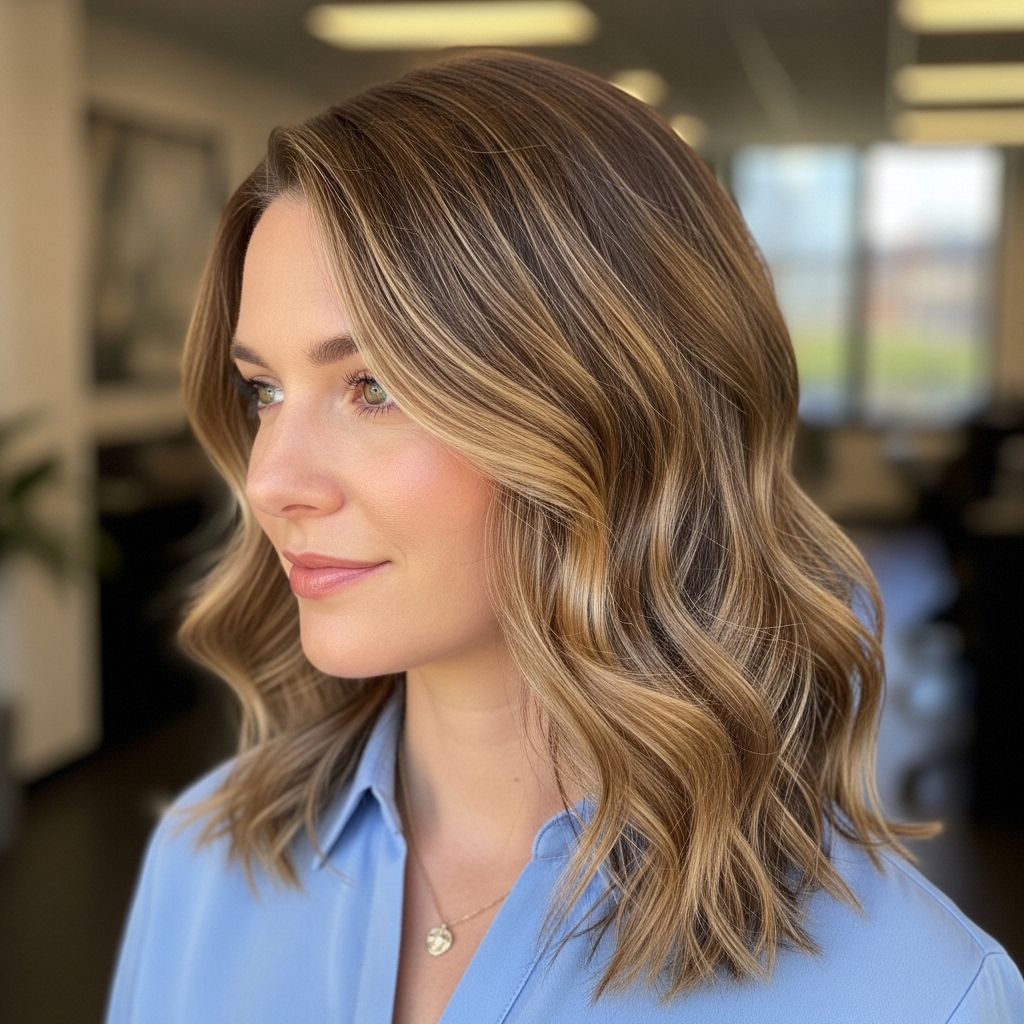
Styling for an Asymmetrical Lob Vibe
The vampire haircut often lives in lob length. To emphasize this, create a deep side part. It instantly adds asymmetry and drama.
Tuck one side firmly behind your ear. Let the other side fall freely, with that defined face-framing layer leading the way. This breaks up the shape beautifully.
Use a tiny bit of pomade on your fingertips to slick back the tucked side for a cleaner look. This contrast—one side sleek, one side soft—is very modern.
Adding “Romantic Goth” Texture
We don’t want it too perfect. Romantic goth hairstyles are soft and undone. After everything is smooth and shiny, take random, small sections of hair.
Twist them lightly and then gently pinch them with the flat iron. Don’t clamp and pull. Just a quick pinch to create a slight bend or wave.
This breaks the sleekness in a strategic way. It looks like you ran your fingers through it or just woke up like this. It’s the softness that balances the sharp cut.
The Final Shine Spray Lock
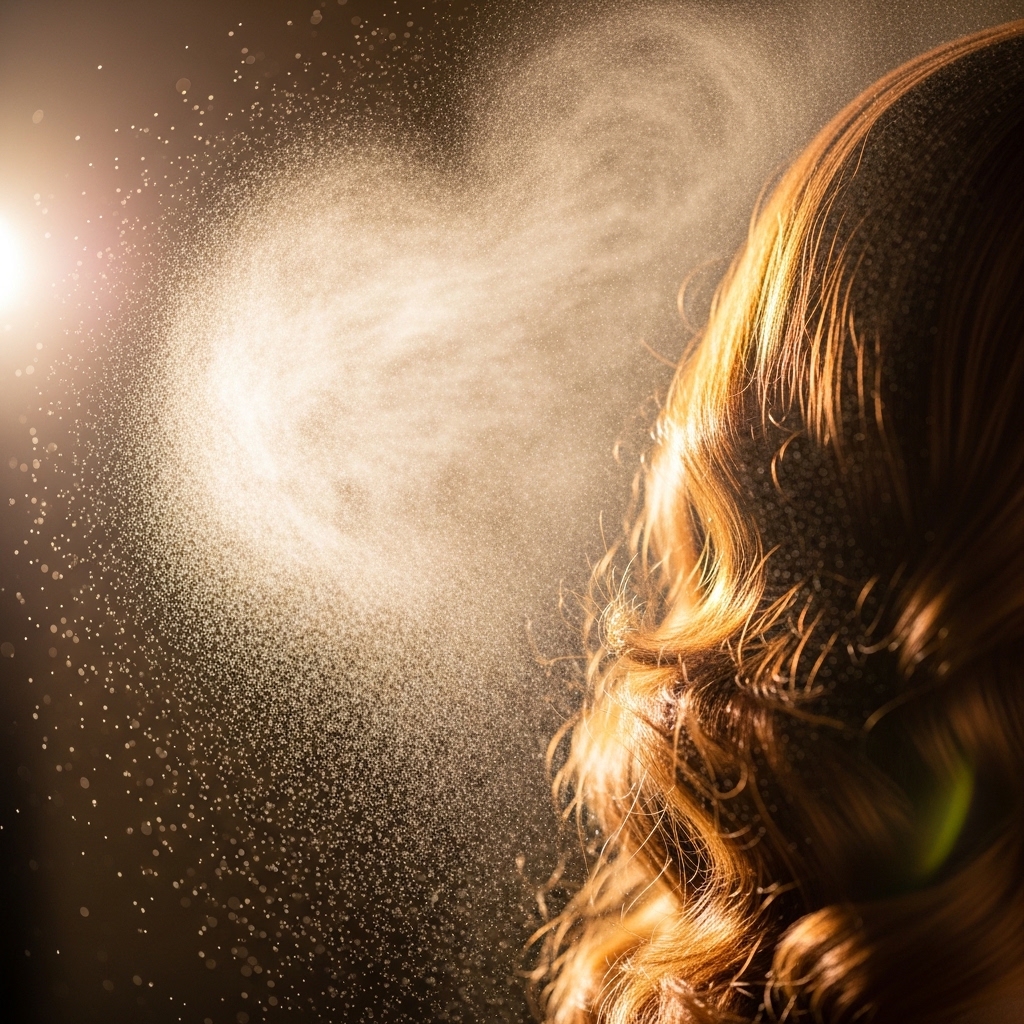
You’ve got the gloss, now seal it. Hold a shine spray about 10 inches from your head. Mist it lightly over your entire style, focusing on the mid-lengths and ends.
Do not soak your hair. We’re adding a final layer of light-reflecting particles, not hairspray crunch. Give it a second to dry.
Then, gently run your hands over the surface of your hair to distribute the spray evenly. This is the final step for that iconic, glass-like finish.
Nighttime Version: Extra Drama
Going out? Amp it up. Take a small, strong-hold wax or pomade. Rub it just on your fingertips.
Scrunch it very lightly into the very ends of your hair and those face-framing pieces. This gives a slightly separated, piece-y look with even more hold.
You can also deepen your part and make the “tuck behind the ear” more severe. The goal is sharper lines and more defined texture for a true vampire haircut moment.
Daytime Version: Soft & Wearable
For daytime, soften the edges. Use a wider, softer part. Instead of tucking one side, maybe sweep both sides back loosely with two clips.
Skip the heavy wax. Use a light texturizing mist instead to keep the softness. The look should feel more like an old money hair variation—polished but not costumey.
The glossy finish keeps it looking done, but the softer styling makes it approachable. It’s all about balancing the edge with elegance.
Adapting the Look for Fine Hair
Fine hair can rock this. The key is volume at the roots and avoiding heavy products. Use a volumizing mousse before blow-drying.
When you use the gloss treatment, only apply it from the ears down. Keep it off your roots to prevent weighing them down. Dry shampoo is your friend for extra grit.
For texture, use a dry texturizing spray. It adds grip without oiliness. The sharp layers will actually make your hair look thicker.
Adapting the Look for Thick Hair
Your challenge is control and definition. Use a strong smoothing cream before blow-drying to tame bulk. Take smaller sections when flat-ironing to ensure every piece gets sleek.
You can handle a heavier gloss treatment. Focus on using your flat iron to really define those layer ends—don’t just smooth, shape.
A firm-hold hairspray on the interior layers can help maintain the shape without making the top crunchy. Embrace the weight—it creates that dramatic, heavy fringe perfectly.
Quick Refresh for Day 2 & 3 Hair
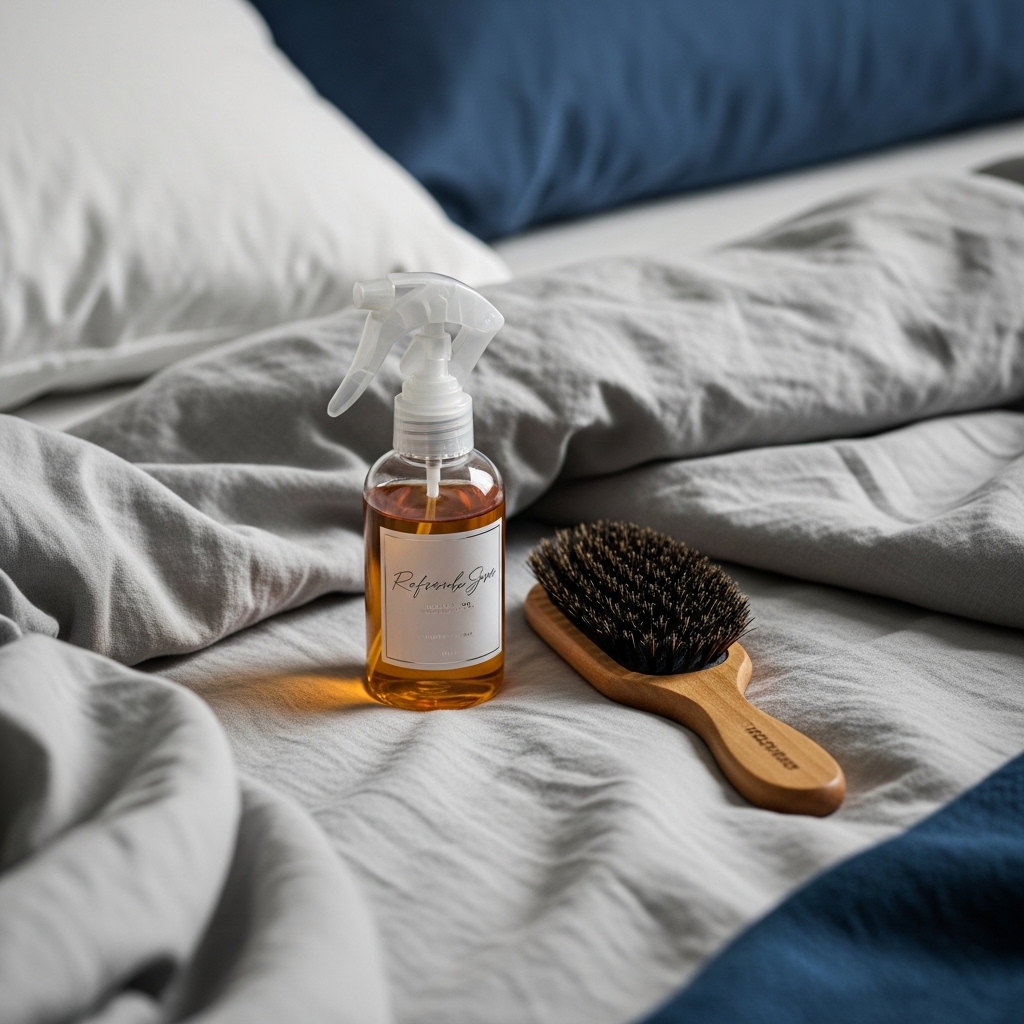
You won’t want to wash this style daily. On day two, hit the roots with dry shampoo to absorb oil and add volume.
Use a boar bristle brush to redistribute the natural oils from your scalp down the hair shaft. This actually boosts shine.
Then, just re-tame any frizz or flyaways with a quick pass of the flat iron on the surface layers only. A light mist of shine spray brings it all back to life.
Accessories That Elevate the Vibe
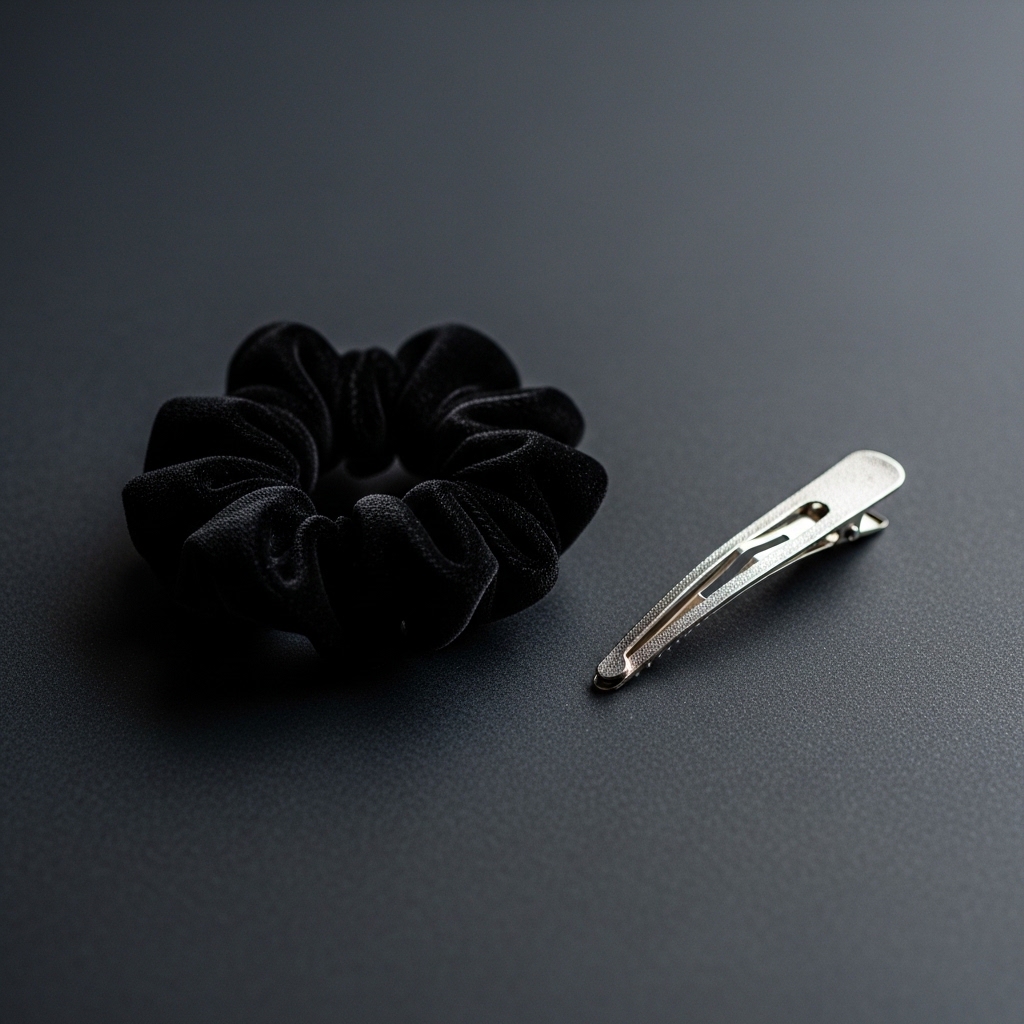
Keep accessories minimal and dark. A thin black velvet scrunchie for a low pony or bun is perfect. It lets the front layers shine.
Delicate silver or pewter hair clips, like a single claw clip holding back one side, add a mystical touch. Think jewelry for your hair.
Avoid bright colors or busy patterns. The hair is the star. Accessories should complement the romantic goth hairstyles aesthetic, not compete with it.
Common Mistakes to Avoid
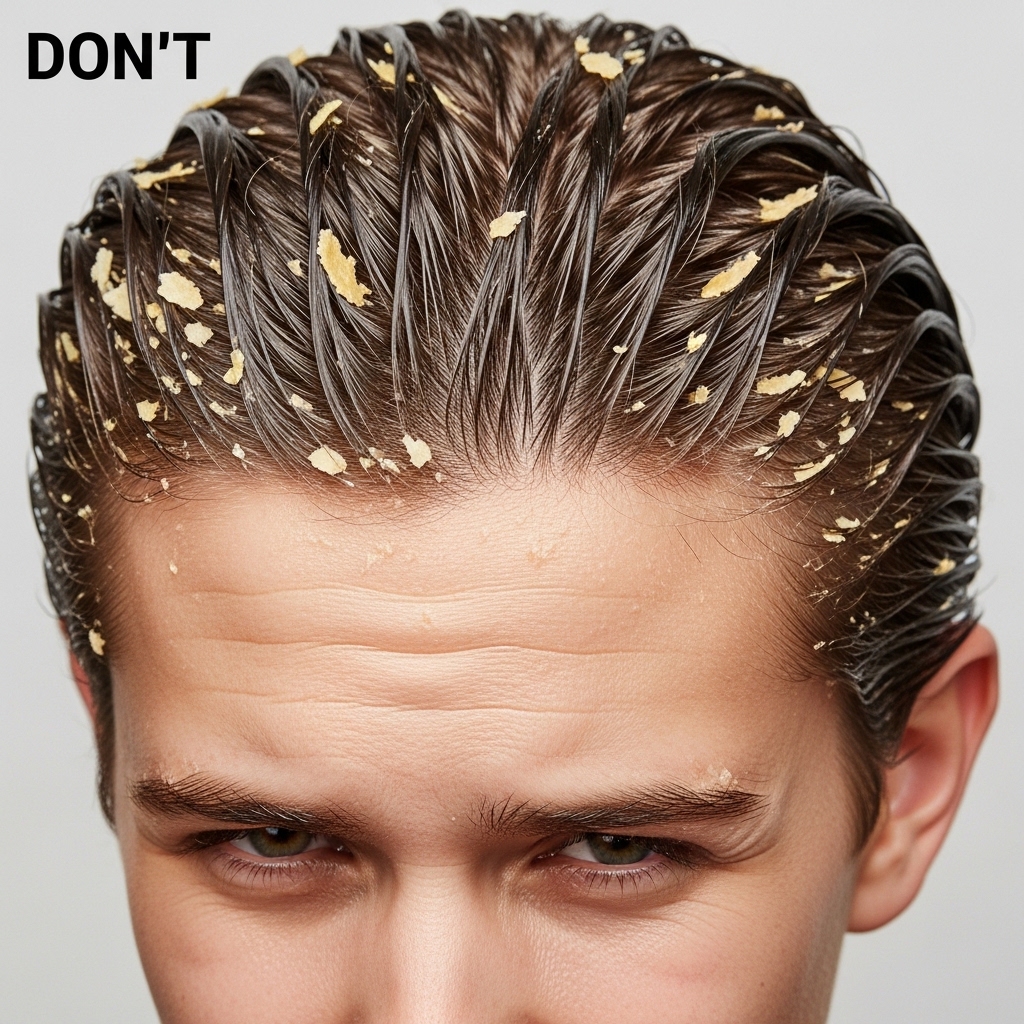
Too much product is the biggest mistake. Start with less. You can always add more. Greasy roots or crunchy ends ruin the ethereal vibe.
Don’t make every layer perfect. The “glitch” in glitchy glam hair is intentional imperfection. Let a few pieces fall naturally.
Avoid a center part unless you’re going for a very strict hime cut look. A deep side part adds instant asymmetry and is more flattering for most.
How to Talk to Your Stylist About It
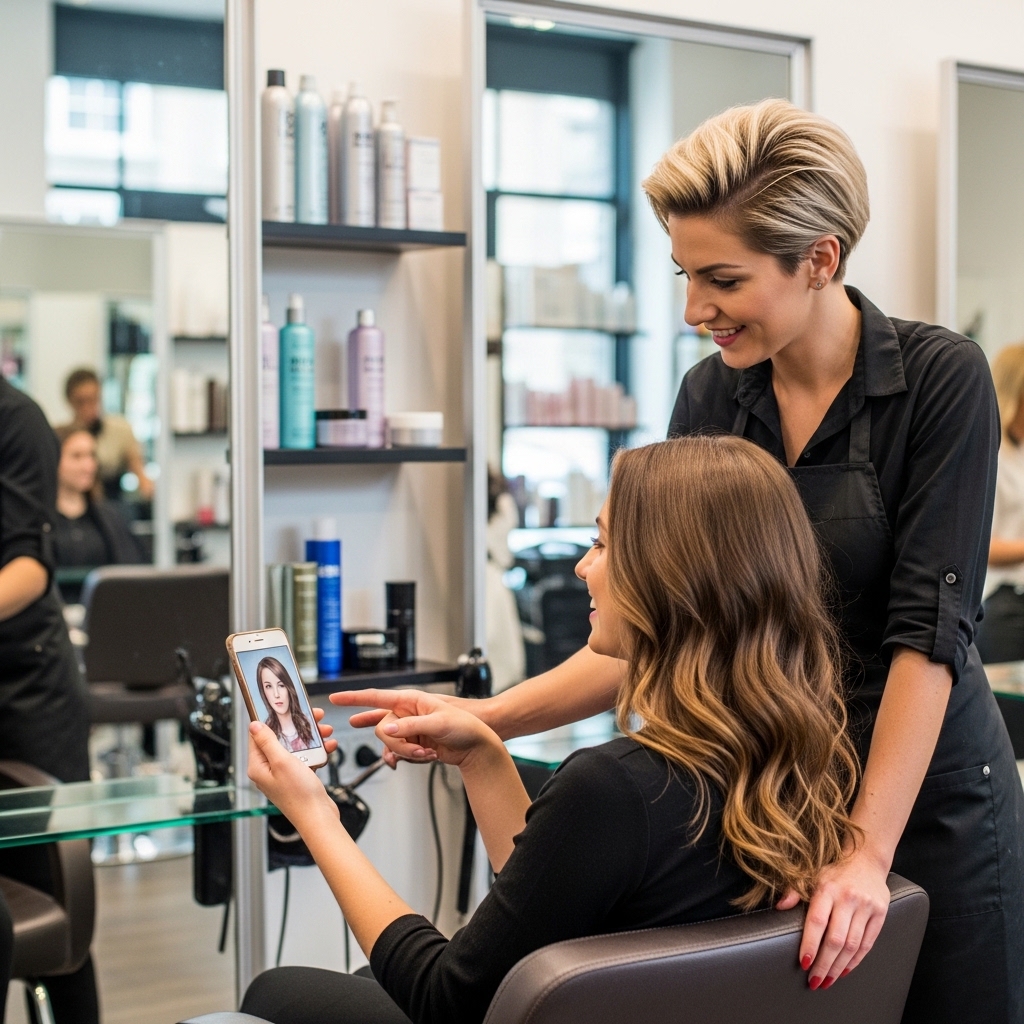
Bring pictures! Say you want a mix: “I love the sharp, face-framing layers of a hime cut, but at a lob length. Very asymmetrical with a heavy fringe.”
Use the terms “vampire haircut” or “romantic goth” as a vibe reference. Ask for lots of texture and movement within a blunt structure.
Most importantly, ask for a haircut that will air-dry well. The best 2026 hairstyles are low-maintenance. You want a shape that works even when you don’t style it perfectly.
Maintaining Your Color for Maximum Gloss
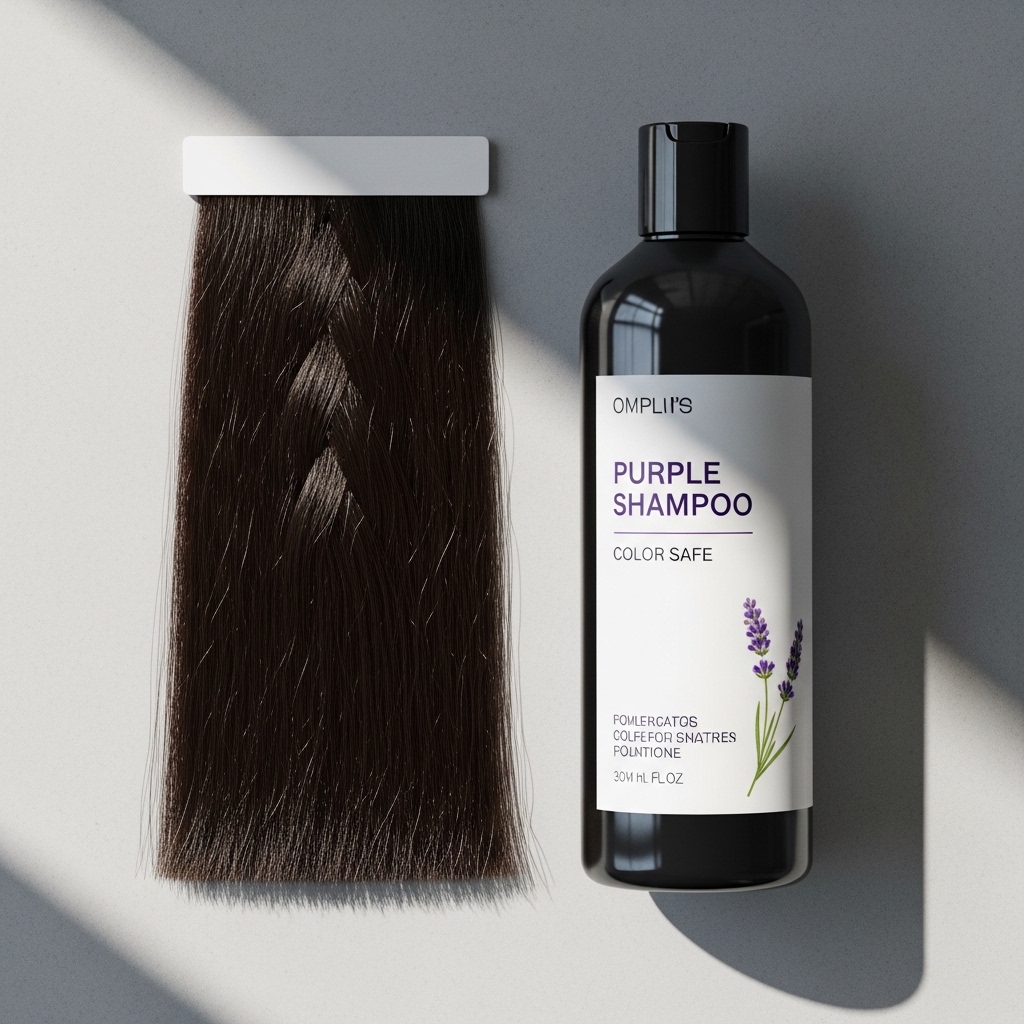
This look sings with rich, cool-toned colors. If you color your hair, use a color-safe, sulfate-free shampoo to prevent fading.
For brunettes, a blue shampoo keeps brassiness away. For black hair, a clear gloss treatment is enough. The healthier your color, the more light it reflects.
Schedule a gloss treatment at the salon every 6-8 weeks, or keep up with your at-home ones. It’s the easiest way to maintain that expensive-looking shine between cuts.
Your At-Home Maintenance Routine
Keep it simple. Wash with a hydrating shampoo and conditioner. Once a week, use a clarifying shampoo to reset, followed by a deep conditioner.
Heat protectant is non-negotiable every single time you use hot tools. It preserves your hair’s health, and healthy hair shines.
Do a clear gloss treatment every 3-4 weeks. That’s it. Consistent, simple care will keep your vampire haircut looking fresh and glossy with minimal effort.
And there you have it—your complete guide to living that darkly glossy hair fantasy without any salon drama. It’s really about embracing sharp shape and supreme shine.
This look is so fun to play with because it’s both a statement and surprisingly wearable. It takes the quiet luxury bob and gives it a story. Remember, the best part of any trend is making it your own.
So, did you try it? I want to see your glossy, face-framing layers! Save this post to Pinterest to keep the steps handy, and drop a comment below telling me which part you’re most excited to try—the sharp layers or that insane gloss?

