

If your hair is dry, brittle, or breaking, the last thing you think you need is layers. But hear me out: the layered shag might actually be the most forgiving cut for damaged hair. It removes weight, hides raggedy ends, and gives you instant volume without heat styling.
This is your no-judgment, no-fuss guide to getting a shag that works with your damage — not against it. Whether you want something soft and feminine or dark and edgy, I’ve got you.
We’re talking exactly what to say to your stylist, how to style it in minutes, and which 2026 trends you can borrow. Let’s dive in, friend.
Why the Layered Shag Is Saving Damaged Hair
When hair is damaged, every split end feels personal. But the layered shag is different because it works by removing the weakest, oldest parts of your hair while keeping the overall length. That means you get a fresh look without saying goodbye to all your length.
It’s also low-commitment on the daily maintenance side. Your natural texture, even frizz, becomes part of the style. This is a cut that meets you where you are.
- Hides thin, scraggly ends
- Adds instant movement and body
- Makes air-drying your best friend

What Makes a Shag Different From Other Cuts
A shag is all about layers — lots of them. But not the kind that leave your ends fanned out like a broom. The classic shag has shorter pieces at the crown and longer pieces around the face, creating that effortless, lived-in shape.
Unlike a blunt bob or a one-length lob, a shag doesn’t require perfect smoothness. It actually looks better when your hair has a little texture or wave. So if your damaged hair has turned wavy or curly, you’re already halfway there.
- Lots of layers, especially around the crown
- Face-framing pieces
- Little to no blunt lines

The Best Shag Length for Damaged Strands
If your hair is damaged, keep the shag at collarbone length or slightly longer. This gives you the freedom to trim off split ends as needed without losing the whole style. Shoulder-length is the sweet spot for most people.
Shorter shags, like chin-length, can feel cute but require more frequent trims. Longer shags can make the damage more visible at the ends. A collarbone or mid-neck length balances both.
- Collarbone: safe, versatile, classic
- Mid-neck: edgy, playful, easy
- Shoulder: best of both worlds

How to Talk to Your Stylist About Damage
You don’t need to feel embarrassed about your hair’s condition. Stylists see everything. But being clear about what you want will make the appointment way better. Tell them your hair is damaged and you need a cut that hides it.
Ask for “invisible layers” or “internal shaping” — these are techniques that blend layers so there’s no harsh line. Also ask them to avoid texture razors, since those can shred already fragile ends even more.
- Say “I need to keep length but lose damage”
- Request point-cutting instead of razor cutting
- Ask for minimal thinning near the ends
The 2026 Take on the Classic Shag
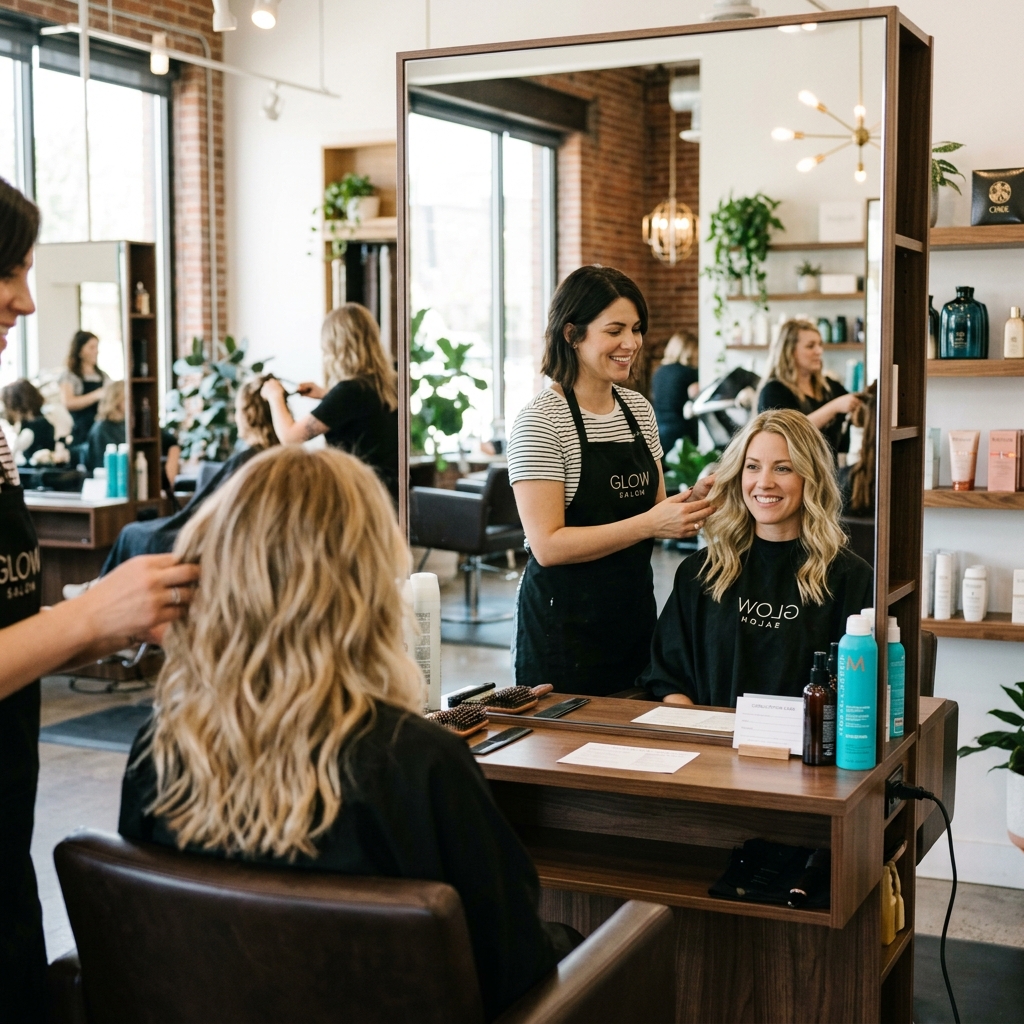
2026 hairstyles are all about softness and smarts. The new shag doesn’t have that heavy, crunchy texture from the early 2000s. Instead, it’s airy and feather-light, with softer movement and less visual weight.
Think of it as the quiet version of a rock star’s hair. It still has attitude, but it’s polished enough for brunch or a board meeting. The best part? It works beautifully on damaged hair because it doesn’t need harsh styling.
- Softer edges, longer face pieces
- Low-maintenance air-dry finish
- Blends naturally with grays or regrowth

Layered Shag vs. Old Money Hair: Which Is Right?
Old money hair is sleek, glossy, and expensive-looking. It’s often blunt, with minimal layers and a very polished finish. If your hair is damaged, that sleek look might be hard to pull off because it highlights every dry strand.
The layered shag, on the other hand, hides damage while still looking intentional. But if you love old money vibes, you can blend both: ask for a shag with longer, softer layers and wear it with a center part. You get the prestige, minus the pressure.
- Old money hair = shiny, blunt, smooth
- Layered shag = textured, airy, lived-in
- Best combo: low-key shag with rich gloss treatment

The Quiet Luxury Bob: A Shaggy Cousin
The quiet luxury bob is everywhere, and it’s easy to see why. It’s simple, expensive-looking, and doesn’t scream for attention. But a classic bob can be tricky for damaged hair because it needs to look ultra-smooth.
Enter the shaggy quiet luxury bob — a bob with soft, invisible layers. You get the polished silhouette of a bob, but with enough texture to hide breakage and split ends. It’s a total win-win for damaged hair.
- Choose a chin- or jaw-length cut
- Ask for feathery internal layers
- Keep the back slightly longer for movement

Romantic Goth Hairstyles: Shag Meets Edge
Romantic goth hairstyles are having a major moment. Think dark, moody, and a little mysterious — but with softness and vintage romance. A layered shag fits right in, especially when you add deep, dark color or a wispy fringe.
Damaged hair actually suits the romantic goth vibe because the texture adds drama. You can tousle your shag, add some mousse, and let it air-dry. Add dark lipstick and you’re set.
- Dark chocolate, deep plum, or black-brown tones
- Curtain bangs with wispy ends
- Messy texture is welcome here

Glitchy Glam Hair: The Shag’s Cooler Sister
Glitchy glam hair is a new trend in 2026 hairstyles that plays with broken, sweeping highlights and low-contrast streaks. It’s a digital-age twist on old-school dimension. The layered shag is the perfect canvas for it.
Because the shag has so many different lengths, the color glitch effect shows up everywhere. The best part? This style is low-maintenance and totally fine with slightly dry ends. It’s born to look imperfect.
- Ask for face-framing light pieces
- Keep shadow roots for depth
- Use color-safe dry oil for shine

The Asymmetrical Lob: Shaggy but Polished
If you want something a little more tailored, consider an asymmetrical lob — one side slightly longer than the other — with shag layers on top. This gives a chic, intentional shape while keeping the easy-going shag texture.
It works especially well for damaged hair because your stylist can keep the longest part the healthiest, and use the shorter side to hide breakage. It’s stylish without being fussy.
- One side longer, one side shorter
- Shaggy texture at the crown
- Works straight, wavy, or curly

The Vampire Haircut: Dark Layers for Damaged Hair
The vampire haircut is one of the biggest 2026 hairstyles. It’s a long, layered cut with heavy face-framing pieces, inspired by gothic romance and fantasy movies. And if your hair is damaged, it’s surprisingly smart.
Because the layers are focused toward the face, the back can stay fuller and less textured. The length gives you options, while the shorter pieces around your face hide breakage and create an instant lift.
- Long-ish face-framing layers
- Keep the overall length mid-back
- Add airy texture, avoid blunt ends

The Hime Cut and the Shag: A Surprising Mix
The hime cut is famously straight-sided with blunt bangs. It’s cute, but not friendly to damaged hair in its pure form. However, a hime-inspired shag is a fun twist that adds structure without the damage stress.
Keep the cheek-length pieces soft and slightly layered, then let the rest of the shag do its thing. You get the bold, graphic feel of a hime cut, but with the forgiving texture of a shag.
- Soft, rounded side pieces
- Wispy bangs instead of blunt
- Lots of internal movement

Pre-Wash Care: Protecting Weak Strands
Before you even touch shampoo, think of your hair like delicate fabric. Detangling with a wide-tooth comb before washing can prevent breakage. Also try a pre-shampoo oil treatment on your ends once a week — it adds a protective slip.
If your hair is colored or bleached, this step is extra helpful. Let the oil sit for 10–15 minutes, then wash as usual. Your shag will feel softer and look less frizzy.
- Brush gently with a wide-tooth comb
- Apply argan or coconut oil to ends
- Let it absorb before the shower

Washing and Drying Tips for Shaggy Layers
Washing your shag is all about technique. Use lukewarm water, not scalding hot. Hot water strips natural oils, leaving damaged hair even drier. Wash only the scalp and let the suds rinse through the lengths.
When drying, skip the rough towel rub. Instead, squeeze out the water with a microfiber towel or an old cotton tee. Then either let it air-dry or use a diffuser on low heat. The shag will do the styling for you.
- Use a sulfate free shampoo
- Apply conditioner to mid-lengths and ends
- Never rub hair with a towel

Styling Without Heat: Easy Waves
Heat styling is the enemy of damaged hair. But you don’t need a curling wand to make a shag look amazing. Just dampen your hair slightly, add a little mousse, and twist sections around your fingers as it dries.
That gives you soft, ragged waves that look completely effortless. Another trick: braid your hair in two loose braids before bed, then undo them in the morning for gentle waves.
- Finger-twist small sections
- Use foam rollers for more curl
- Sleep in loose braids overnight

The 10-Minute Shag Routine for Busy Days
Some mornings you only have ten minutes, and that’s okay. Start by spritzing your hair with water until it’s slightly damp, then add a dime-size amount of leave-in cream. Scrunch it upward with your hands.
Now flip your head upside down and give your roots a quick shake. Let it dry while you get dressed. That’s it. Your shag was made to air-dry into something good, even when you feel rushed.
- Step 1: Dampen with water
- Step 2: Apply leave-in cream
- Step 3: Scrunch and shake

Products That Help (Not Hurt) Damaged Hair
Damaged hair needs products that add moisture and seal split ends without feeling greasy. Skip products with drying alcohols and heavy sulfates. Look for words like “repairing,” “bond building,” or “moisture milk.”
A lightweight mousse is great for volume. A drop of hair oil on the ends keeps them soft and helps prevent future breaking. And a weekly protein mask can do wonders to strengthen the hair that’s still growing.
- Leave-in conditioner
- Volumizing mousse (for air-dry)
- Argan oil or a bond-building serum

How Often to Trim a Shag on Damaged Hair
Most people hear “layers” and think they need trims every four weeks. But for a shag, especially on damaged hair, you can stretch it a little. Every eight to ten weeks is perfect to keep the shape without stressing about losing length.
If you’re actively growing out damage, wait until your hair feels healthy enough. Let your stylist know you want to preserve length and only cut what’s necessary.
- Every 8–10 weeks for shape
- Every 12 weeks if growing out
- Always ask for dusting, not full trims
Growing Out a Shag: What to Expect
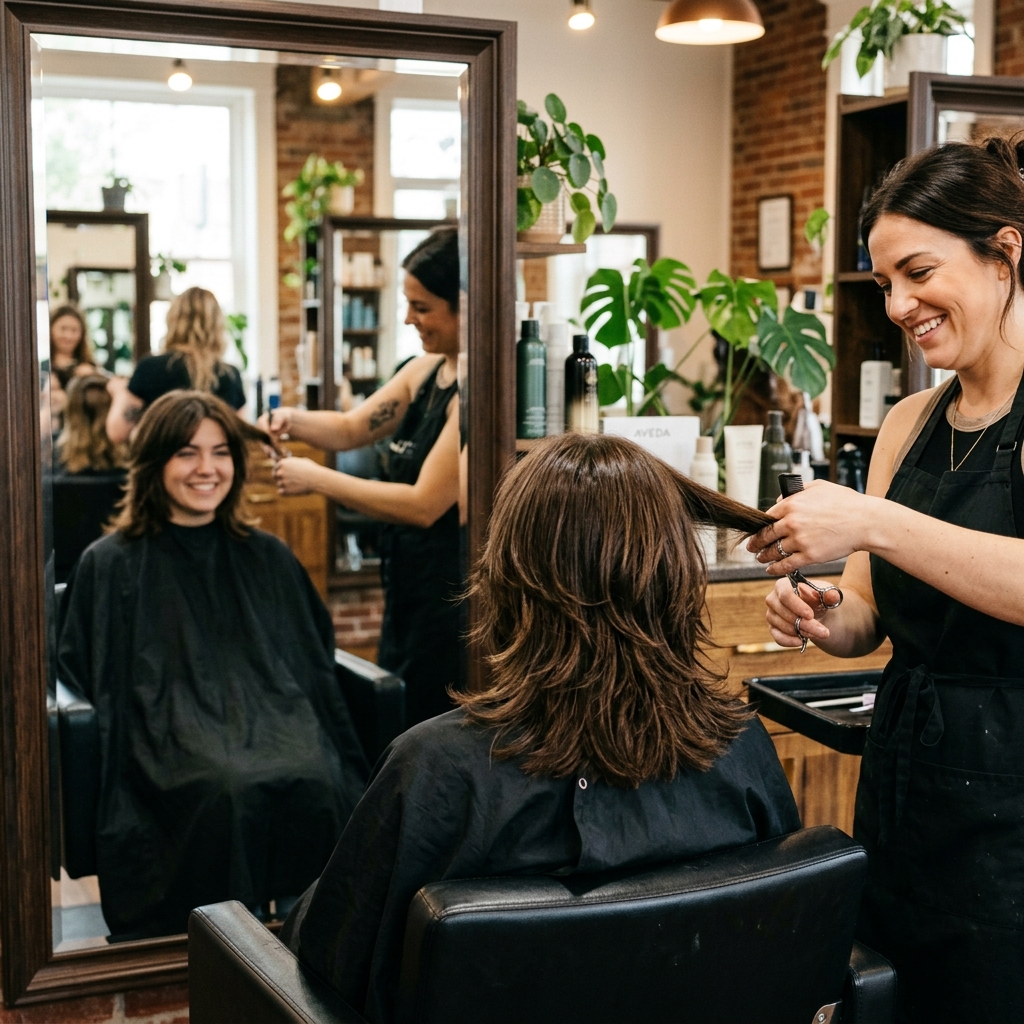
Growing out a shag is easier than growing out a blunt bob. Because the layers are so integrated, there’s much less of that awkward “helmet head” stage. It just gets softer and longer, like a grown-out wave.
During the transition, you can use texturizing spray or sea salt spray to keep the style interesting. Your hair will probably look shaggy — but in a good way.
- Schedule a light trim every 3 months
- Use dry texture spray to refresh old layers
- Be patient — it looks intentional, we promise

Final Thoughts: Embrace the Mess, Beautiful
Your damaged hair doesn’t mean you’re limited. It just means you need a cut and routine that are flexible, forgiving, and fun. The layered shag gives you that graceful freedom.
You can lean into the quiet luxury vibes or go fully romantic goth. With the right shape, a little moisture, and zero heat stress, your hair will start to feel lighter and healthier every week. You deserve that.
So if you’ve been hiding your hair under a bun, maybe it’s time to let the shag breathe. It’ll meet you right where you are.
Save this post to Pinterest so you can show your stylist later. And tell me below — which shag-style are you trying first? I’d love to hear your hair story.

