
Hey friend. Let’s talk about that elusive feeling. You know the one: you look put-together, but you didn’t spend an hour wrestling with a curling iron. You feel polished, but you’re also ready to run errands or hop on a Zoom. That’s the magic of quiet luxury hair.
It’s not about being fussy. It’s about looking expensive, not expensive-looking. It’s the hair version of a perfect white tee and great jeans. And the best gateway to this vibe? An everyday bun.
Today, I’m breaking down the exact “Practical Luxe” bun I wear almost daily. It takes two minutes, works on second-day hair, and gives off major “old money hair” energy without the effort. No fancy tools needed, I promise.
Let’s get into the simple steps and the mindset that makes this look so special.
What Is “Quiet Luxury” Hair, Really?
It’s a feeling, not a trend. Think less about specific 2026 hairstyles and more about an overall aura. The hair is healthy, touchable, and perfectly suited to you. It’s not screaming for attention.
It’s the opposite of glitchy glam hair. Where glitchy glam is bold and intentionally “broken,” quiet luxury is seamless and effortlessly whole. The color looks natural, the cut is impeccable, and the style is undone-on-purpose.
Why The Bun Is The Ultimate Practical Luxe Style
It’s the quickest route to looking polished. A bun says you have things to do, but you care about doing them with grace. It keeps hair off your face and neck, which instantly feels more elegant.
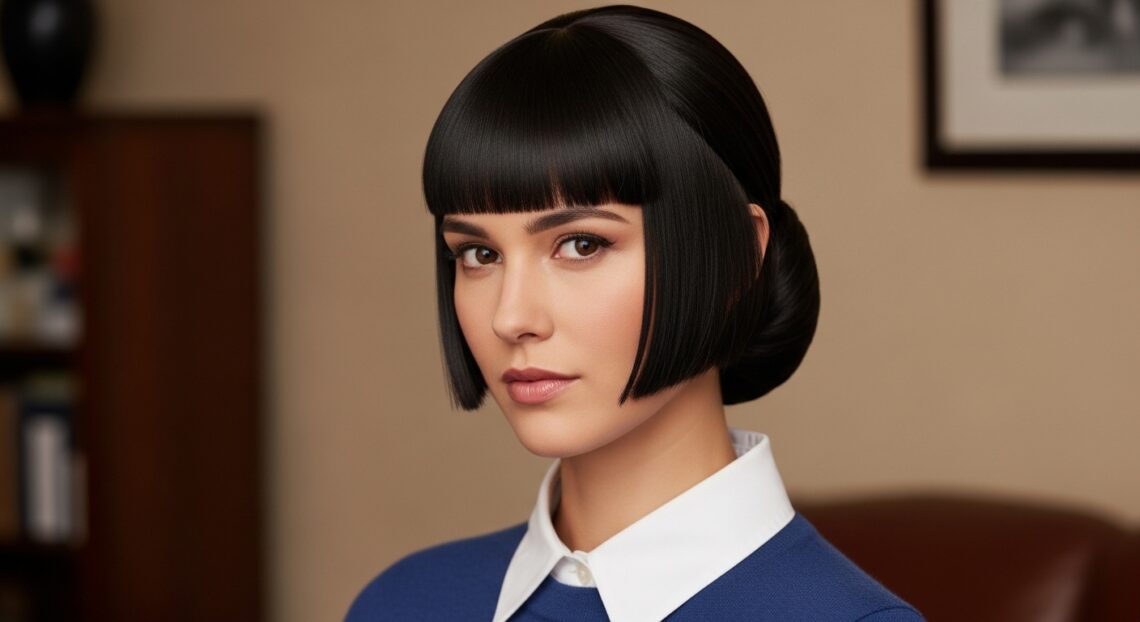
It works with almost every hair trend. Whether you have a quiet luxury bob, an asymmetrical lob, or long layers, a bun adapts. It showcases your haircut’s shape when you take it down, too.
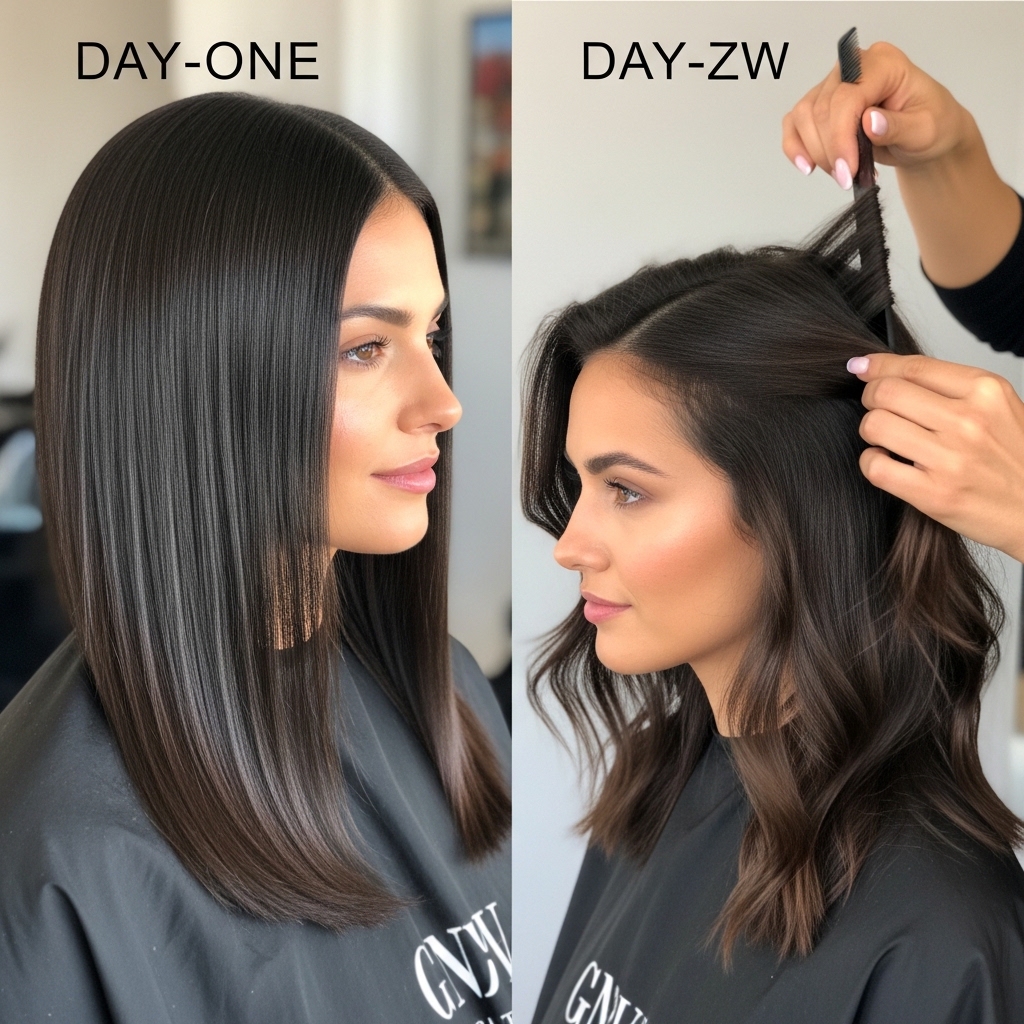
The Non-Negotiable: Second-Day Hair Is Your Friend
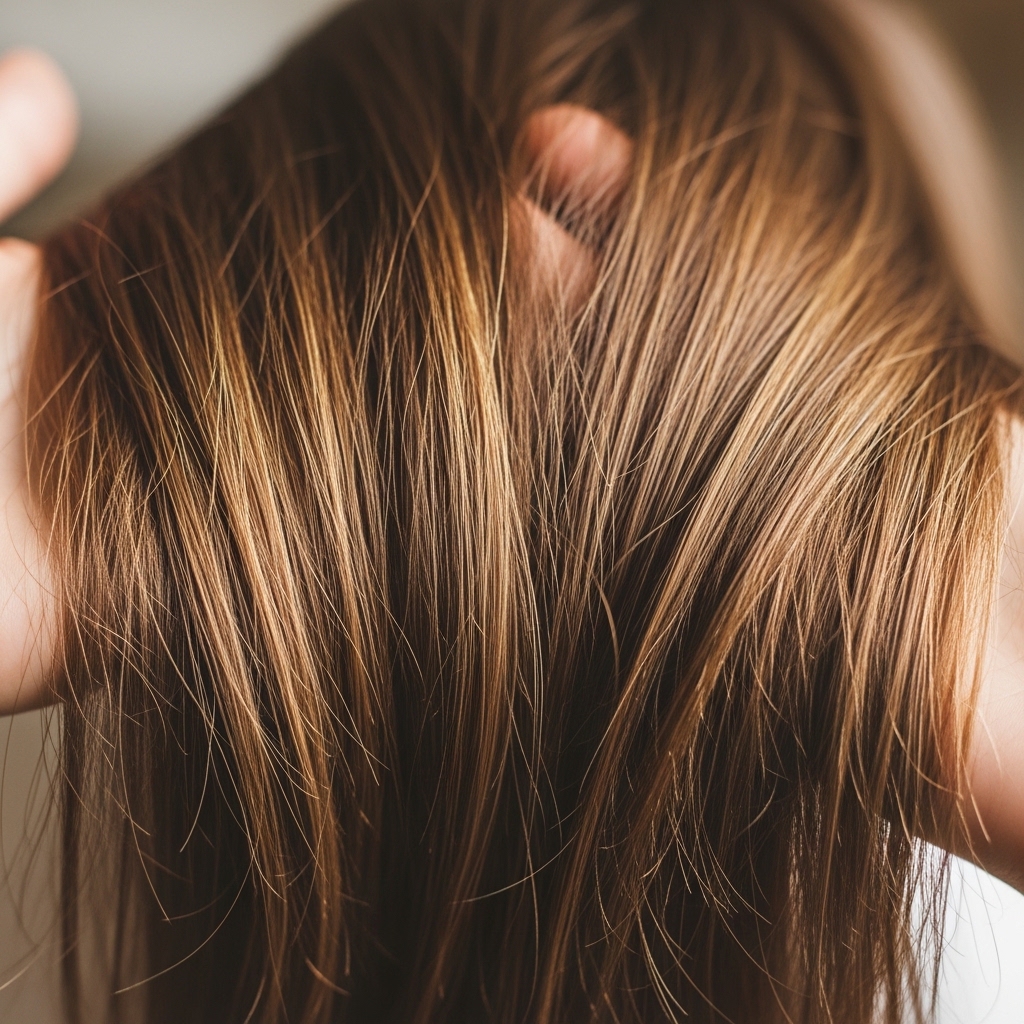
Please, do not start with freshly washed hair. That slippery, clean texture is the enemy of a good, lived-in bun. Day two or three hair has the perfect amount of natural texture and grip.
If you must wash, spray a texturizing spray at the roots and lengths. This gives your hair something to hold onto. It creates that slight volume and separation that makes the bun look soft, not severe.
- Dry shampoo at the roots for lift
- A light sea salt spray on the ends
- A tiny bit of pomade for flyaways
Step 1: The Perfect Prep (It Takes 30 Seconds)
Start with brushed hair. I use a boar bristle brush to distribute oils and smooth things lightly. You don’t want it plastered down, just tangle-free.
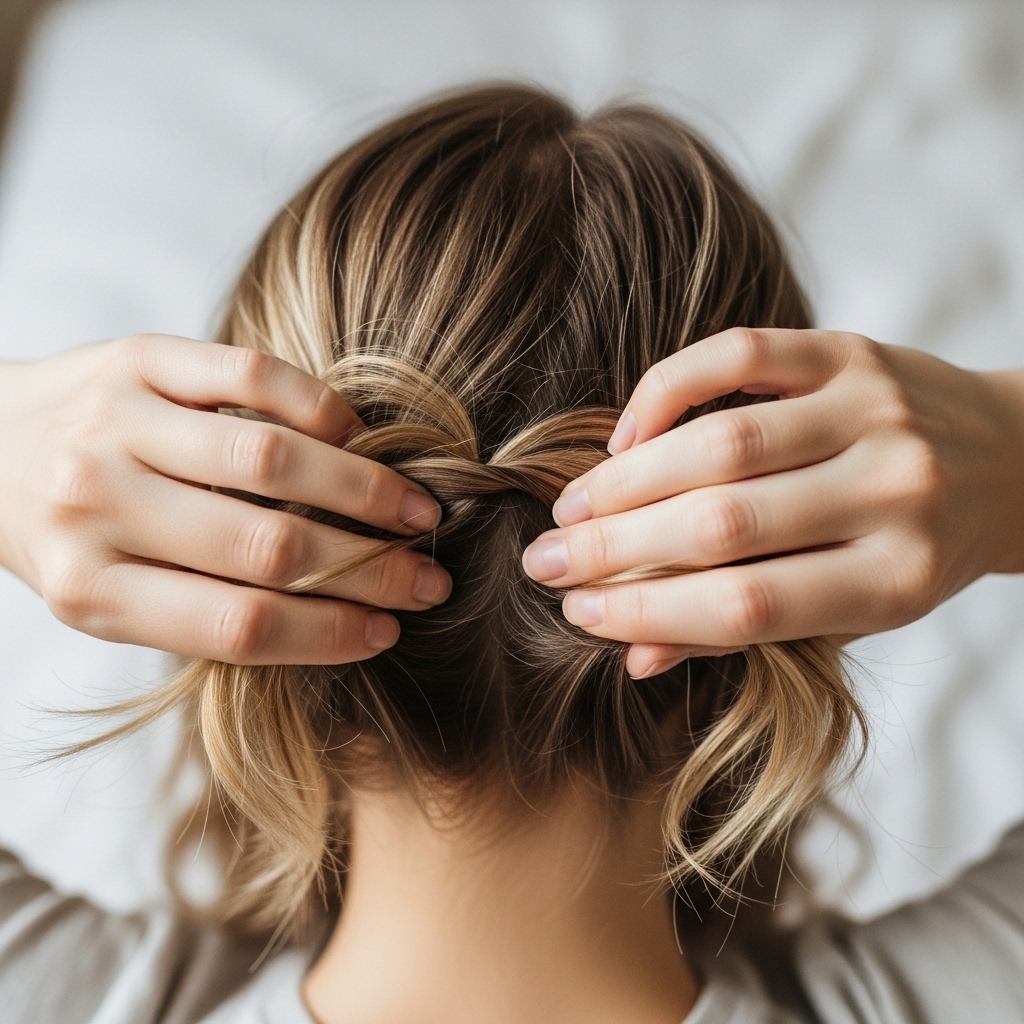
Then, flip your head over. Gather all your hair at the nape of your neck as if for a low ponytail. Don’t pull it through the holder on the last loop. Stop when it’s a loose, folded loop.
This is your base. The looseness here is key. Pull out a few face-framing pieces immediately. Two or three on each side.
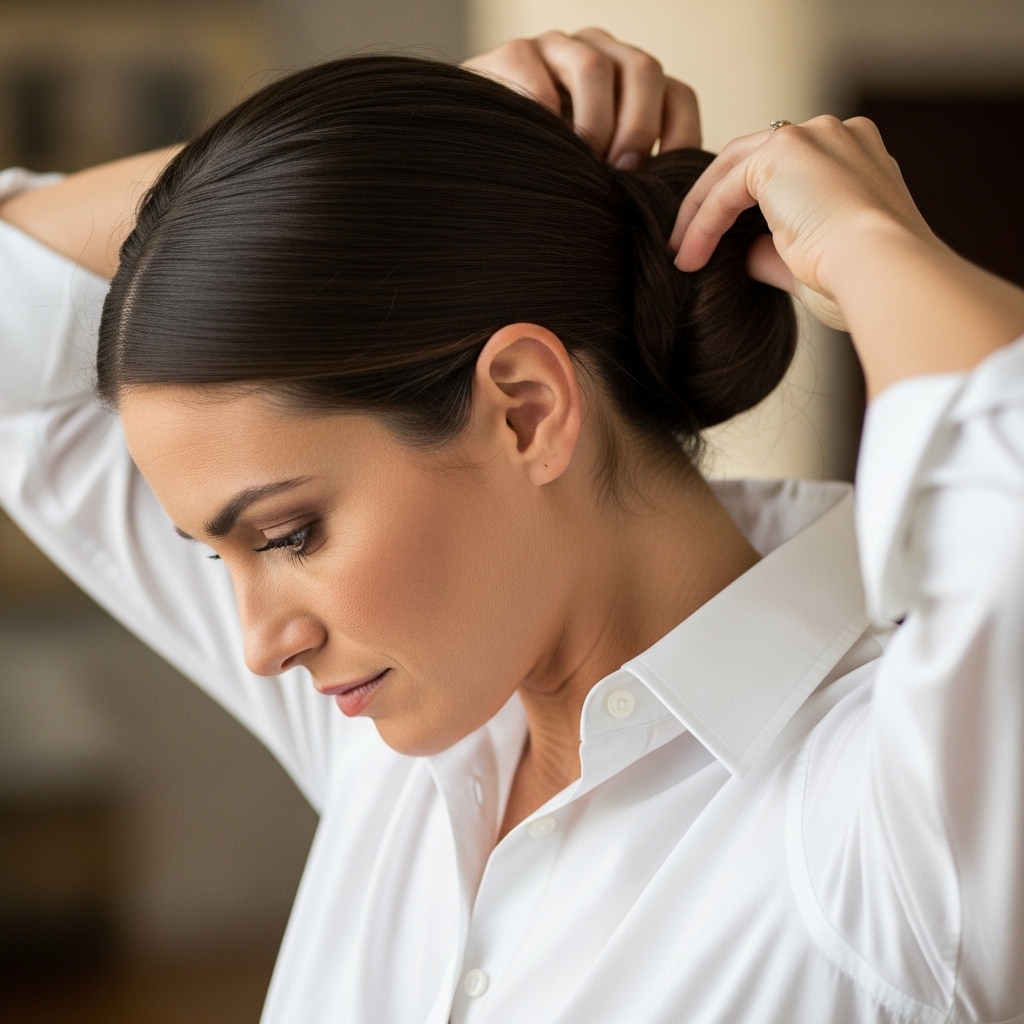
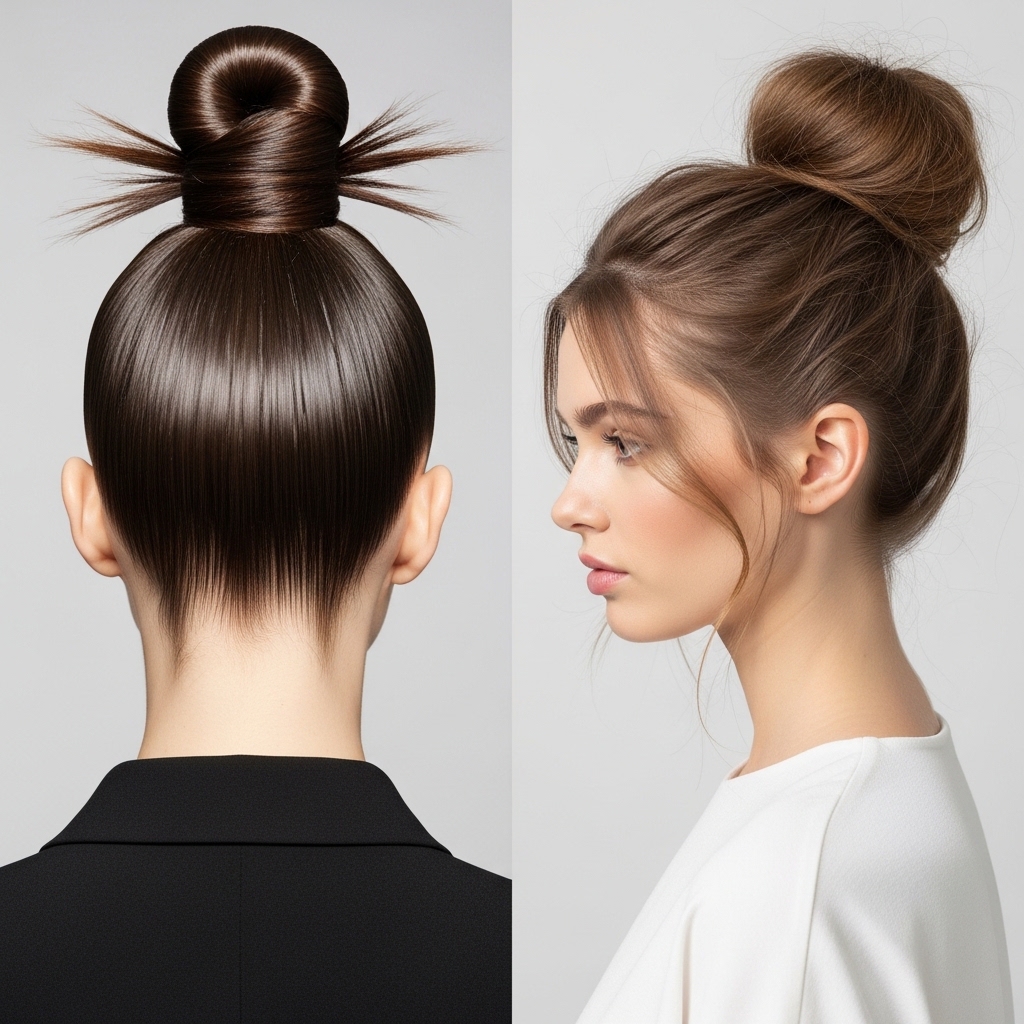
Step 2: The Twist & Pin Technique
Now, take that loop and gently twist it clockwise. Don’t twist it tightly like a rope. Just one or two casual turns to organize the hair.
Wrap the twisted loop around the base of the ponytail. You’re creating the bun shape now. Let the ends kind of fall where they want. We’re not tucking them in neatly.
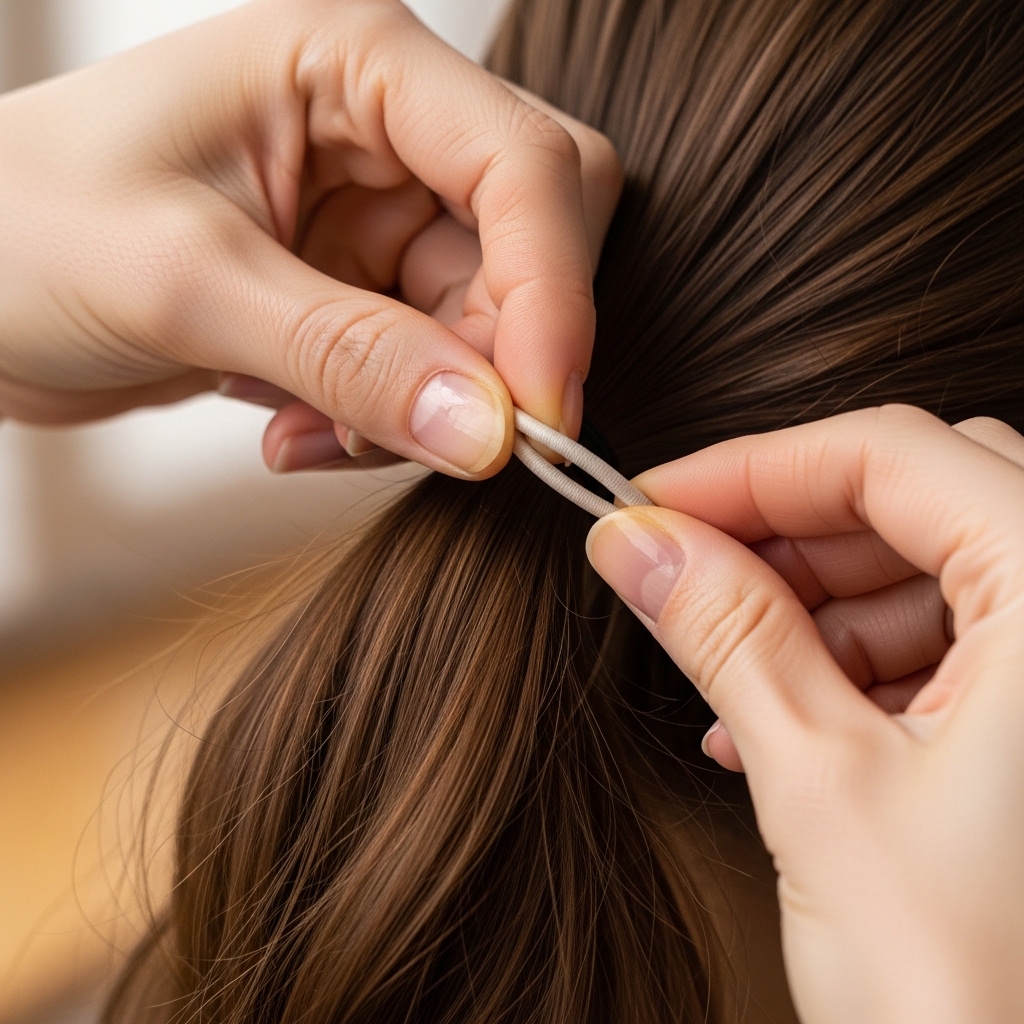
Secure it with a second elastic or, my favorite, two large bobby pins. Criss-cross them through the center of the bun for an invisible hold.
Step 3: The Art of The “Undone” Pull
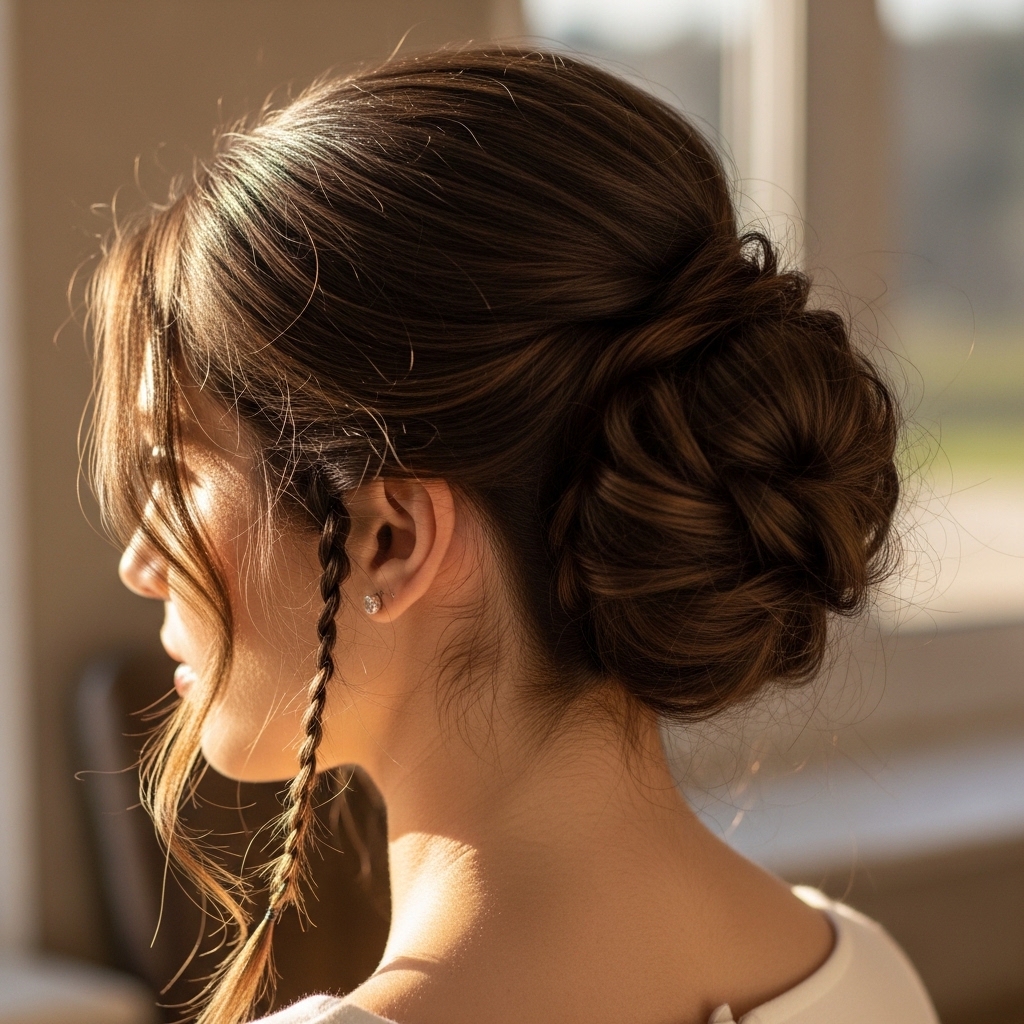
This is the magic step. After it’s pinned, gently pull at the sides of the bun. Loosen small sections. You want it to look a little cloud-like, not like a hard ball.
Then, pull lightly at the hair above the bun. Create a little puff of volume at the crown. This prevents that “too slick” look and adds a romantic, soft feel.
Think of it as deconstructing what you just built. The goal is controlled messiness.
Step 4: Face-Framing Pieces Are Everything
Go back to those pieces you pulled out. Are they looking good? Maybe pull out one or two more tiny hairs near your temples.
Use a small-barrel curling iron or even your finger to give them a very soft bend. Not a curl—just a bend away from your face. This frames your features and adds that intentional touch.
This detail is what separates a “mom bun” from a “quiet luxury bun.” It’s all in the details.
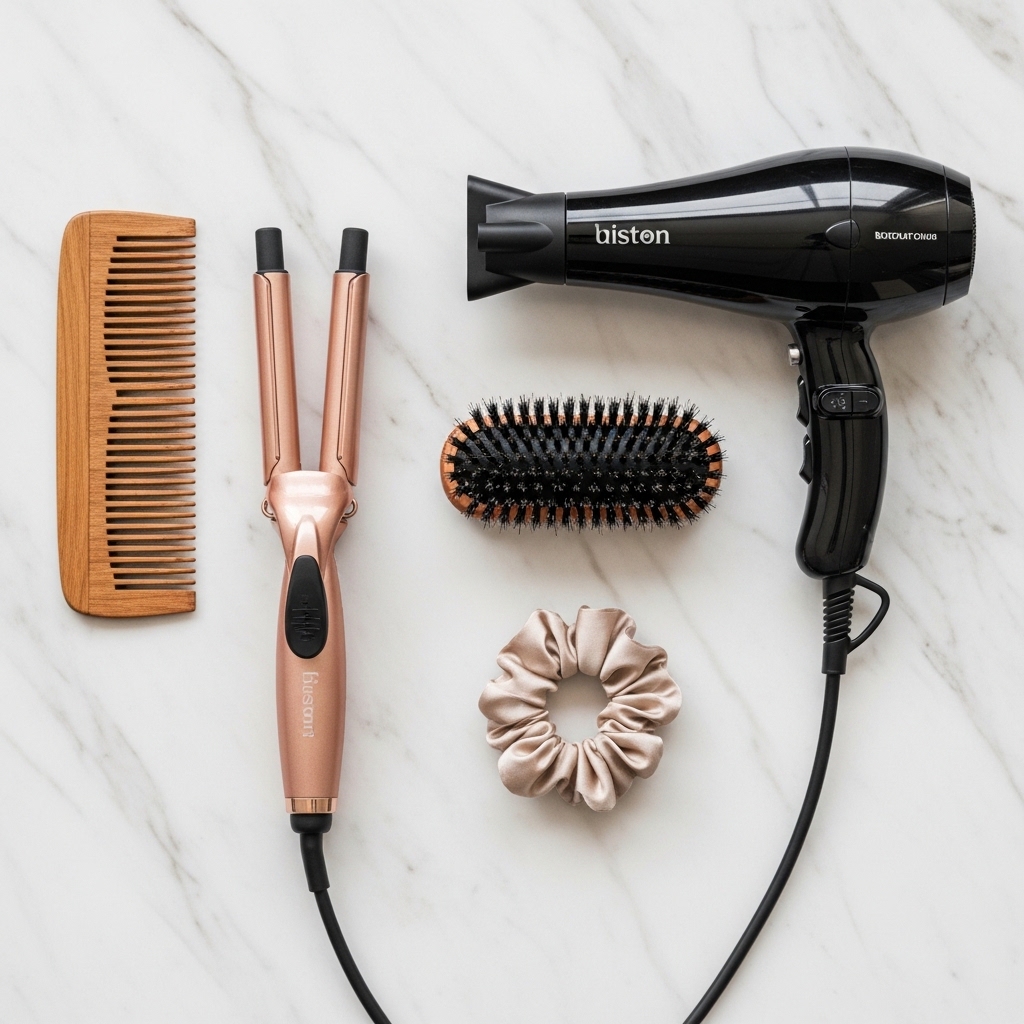
The Right Tools For A Luxe Feel
Your tools matter. A snaggy elastic will break your hair. Flimsy pins will fail. Invest in a few good basics.
- Coiled Hair Ties: They don’t leave dents and are gentle.
- Large, Good-Quality Bobby Pins: The matte kind that actually hold.
- A Fine Mist Spray Bottle: For lightly dampening hair if it’s too frizzy.
- A Boar Bristle Brush: For smoothing without static.
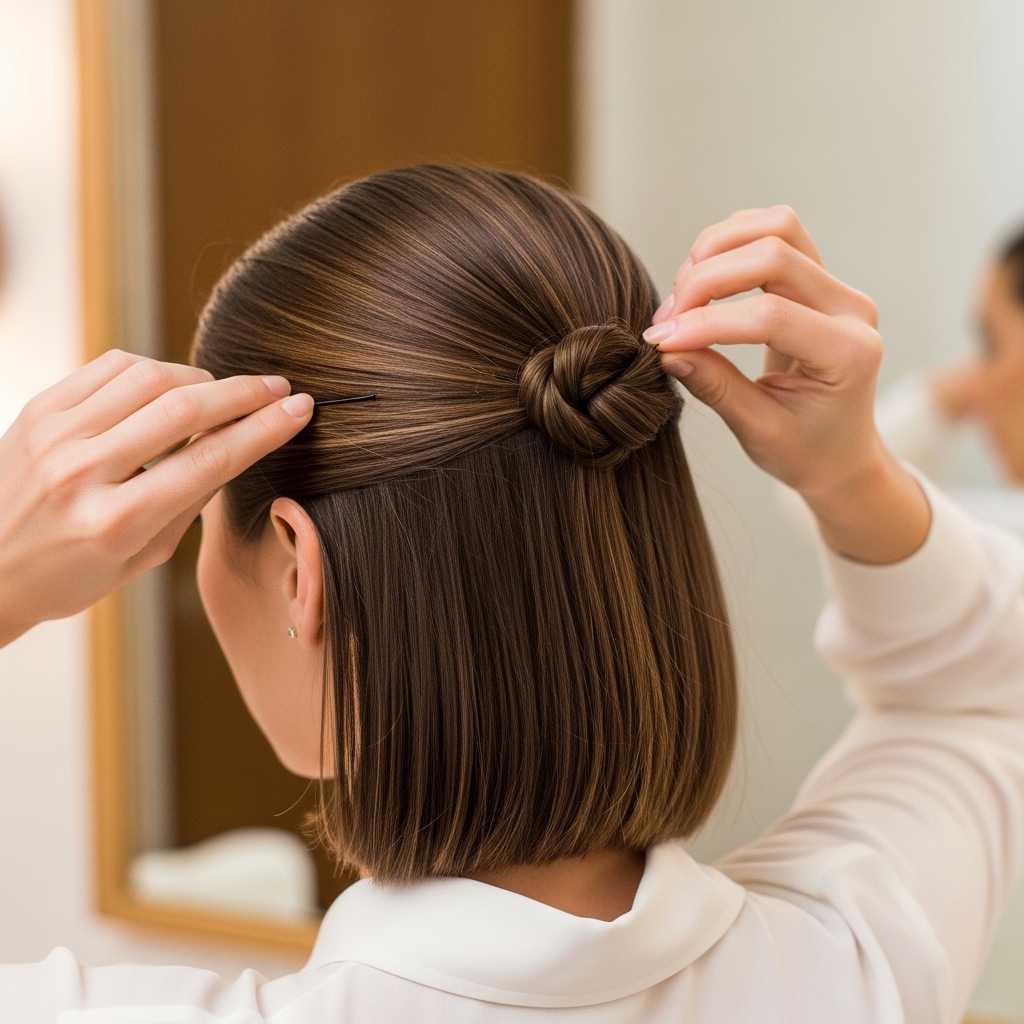
How To Adapt This For A Bob Or Lob
Short hair friends, you can do this! If you have a quiet luxury bob or asymmetrical lob, the method changes slightly.
Follow the same prep. When you gather, you’ll have a shorter “tail.” Twist it and pin it flat against your head, more like a twisted knot. Use more pins to secure the ends.
Embrace the pieces that fall out. The goal is a chic, half-up knot look. It’s actually easier and gives that cool-girl vibe instantly.
Making It Last All Day & Night
To fight sagging, criss-cross those bobby pins. They grip better. A light spray of flexible-hold hairspray on the bun, not the roots, helps.
If you’re going out after work, this is your perfect base. Gently remove the pins, shake your hair out. You’ll have beautiful, soft waves from the bun.
Then, you can re-do it, or leave it down for a different kind of luxe look. The texture is already there.

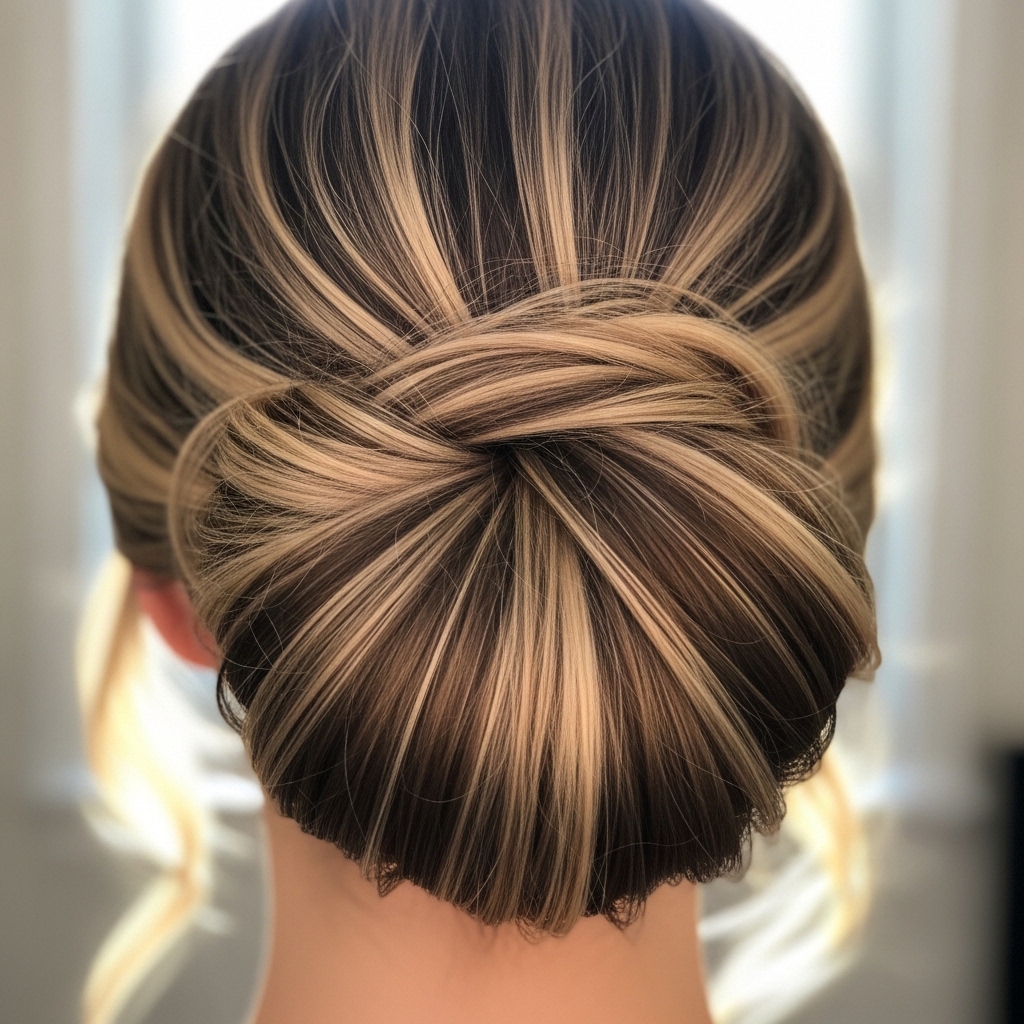
The Quiet Luxury Color Connection
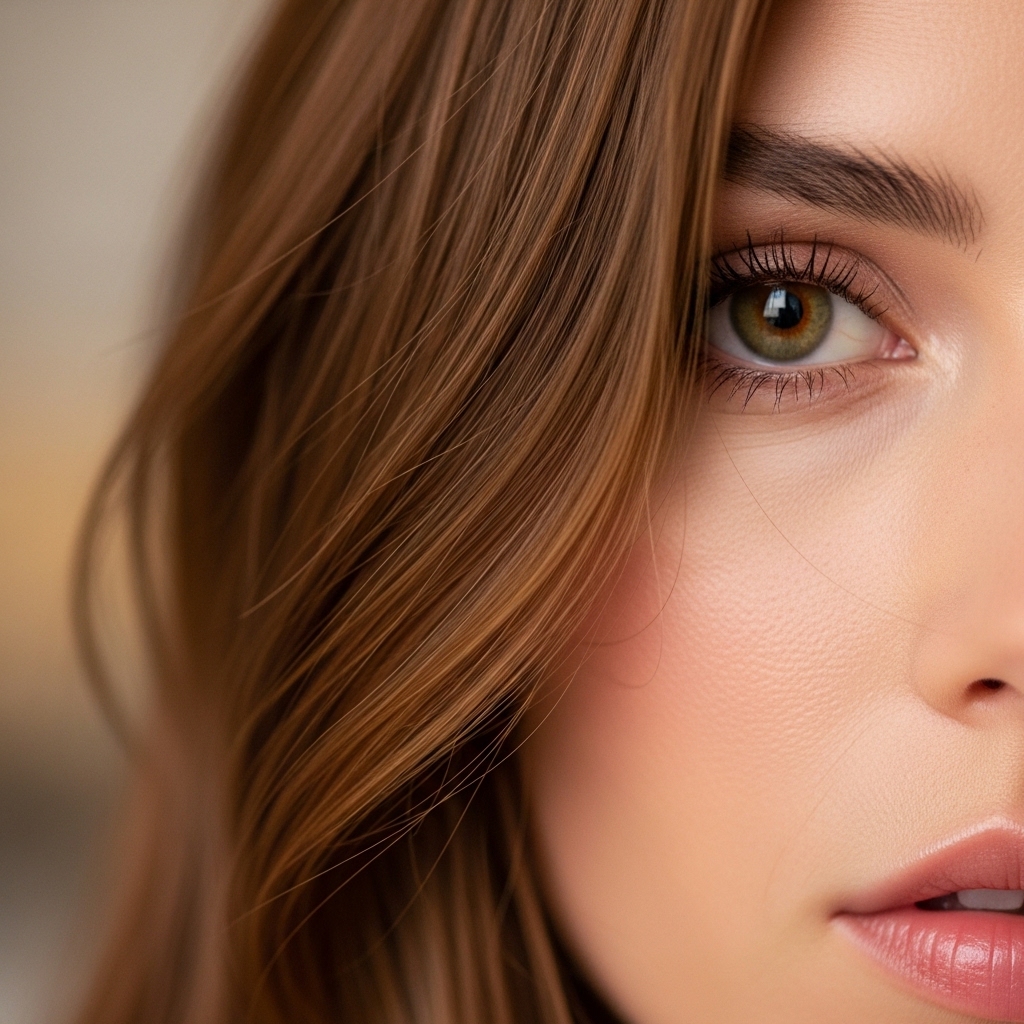
This style shines with lived-in color. Think soft balayage, babylights, or rich, single-process color that grows out gracefully. It’s not about stark roots or bold money pieces.
The color has depth and dimension, but it looks sun-kissed, not salon-fought. When you put it in a bun, those subtle highlights create movement and interest in a simple shape.
It complements the “old money hair” aesthetic perfectly—nothing too trendy or harsh.
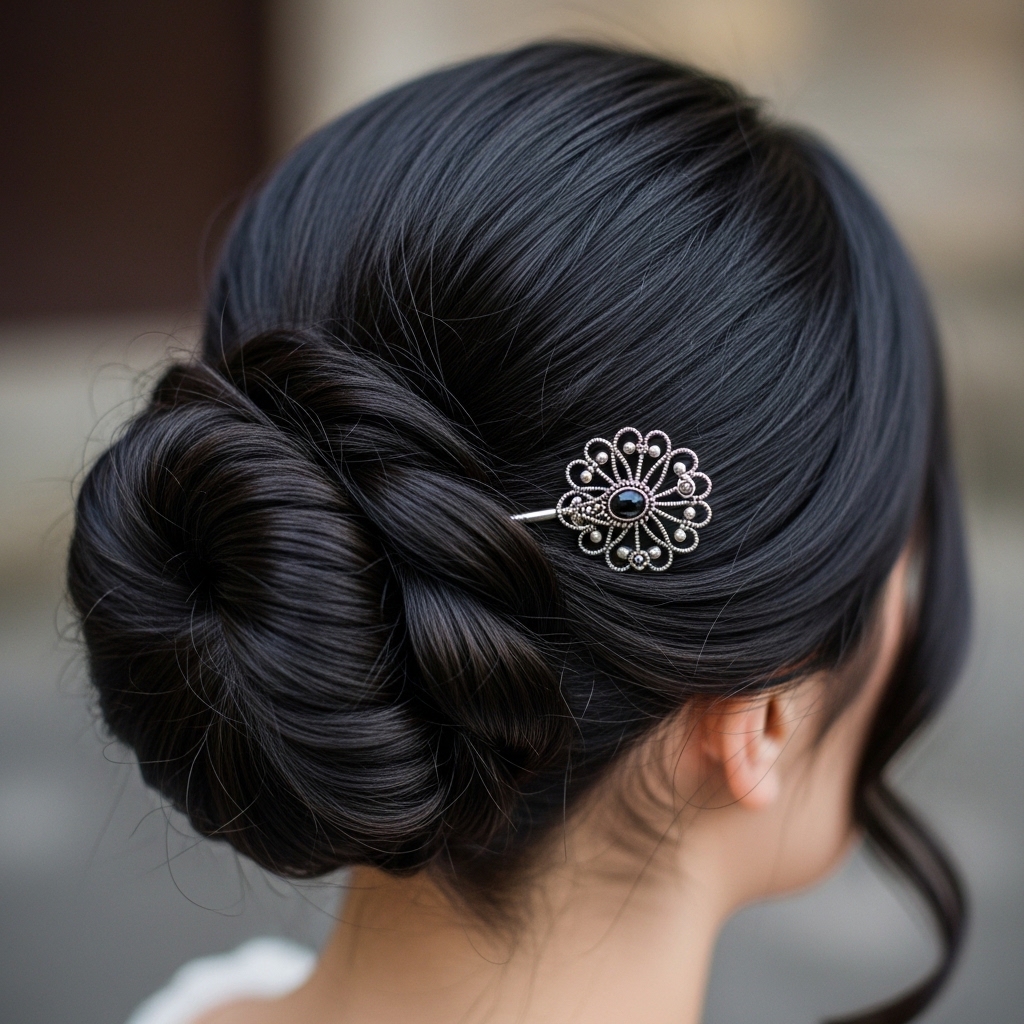
When You Want A Different Vibe: The Romantic Goth Twist
Quiet luxury’s moodier cousin is romantic goth hairstyles. The bun is a perfect base for this, too.
After styling, pull out a few more pieces. Make them longer, more dramatic. Use a stronger-hold product to define those curls.
Add a single, elegant accessory—a dark velvet scrunchie at the base, or a delicate silver hairpin. It’s about one statement piece, not many.
Or, Try The “Glitchy Glam” Edge
Love the idea of glitchy glam hair but need it to be wearable? Use this bun as your canvas.
Before making the bun, braid a small section near your temple and leave it out. Wrap the rest into the bun, then let the braid hang loose.
Or, pin your bun slightly off-center and pull out more strategic, jagged pieces. It’s about one intentional “glitch” in an otherwise polished look.
Inspiration From Other Trends: The Vampire Haircut
The vampire haircut is all about sharp, dramatic layers. If you have this cut, your bun will be incredible.
Those long, face-framing layers are built-in. Let them all fall out naturally when you make your bun. Don’t fight them.
The result is a bun with a lot of dynamic, pointed pieces framing your face. It’s edgy but still sleek—a perfect mix.

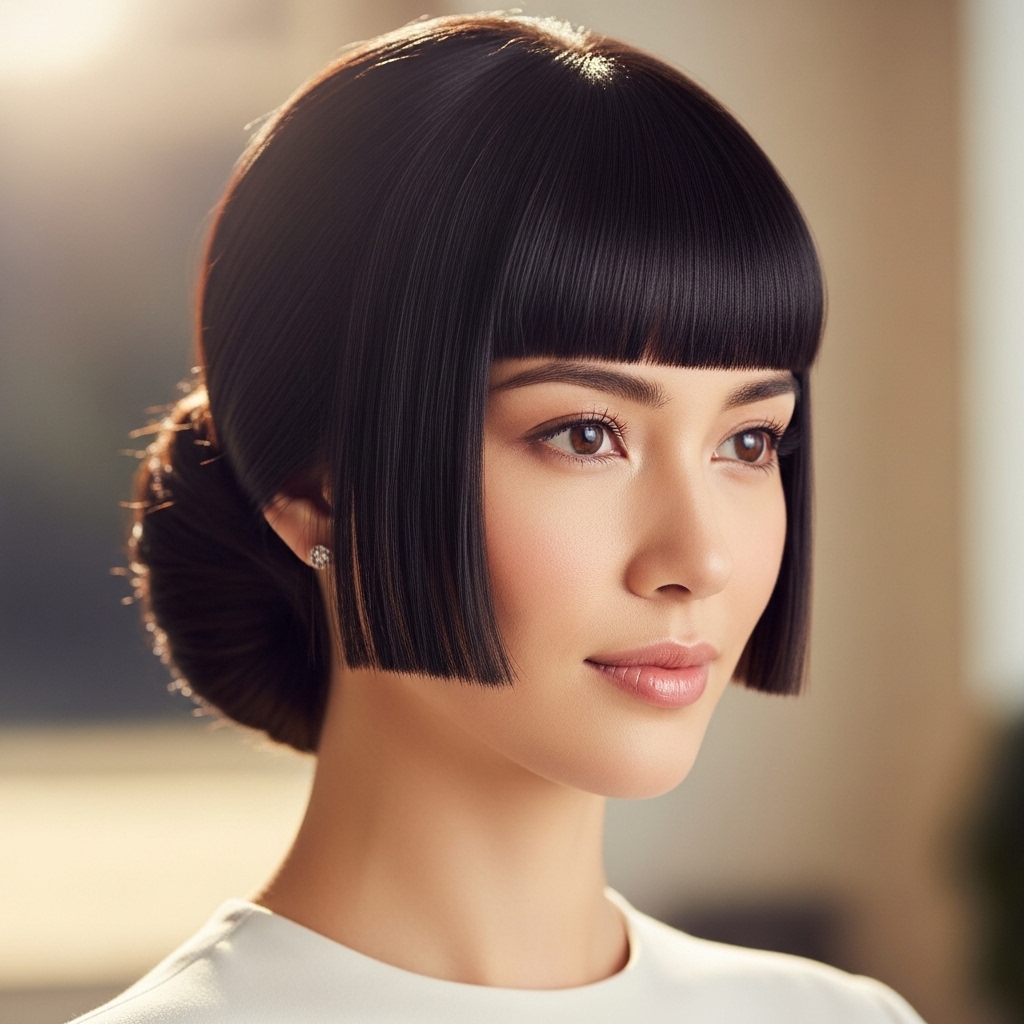
And The Elegant Hime Cut
The hime cut, with its straight-across front pieces and layered back, is literally made for this style.
The blunt front pieces become your perfect, built-in face framers. The layered back creates a bun with beautiful, feathery texture.
You barely need to style. Just put it up and let the cut do all the work for a uniquely elegant look.
What To Avoid: The “Too Tight” Trap
A luxe bun is not a gymnast’s bun. Avoid pulling every hair tightly back. It can look severe and give you a headache.
Avoid over-gelling or spraying. You want movement, not helmet-head. If you have flyaways, a tiny bit of hair balm on your fingertips can tame them without stiffness.
Skip the super-shiny hairsprays. A matte or natural finish is more modern and touchable.
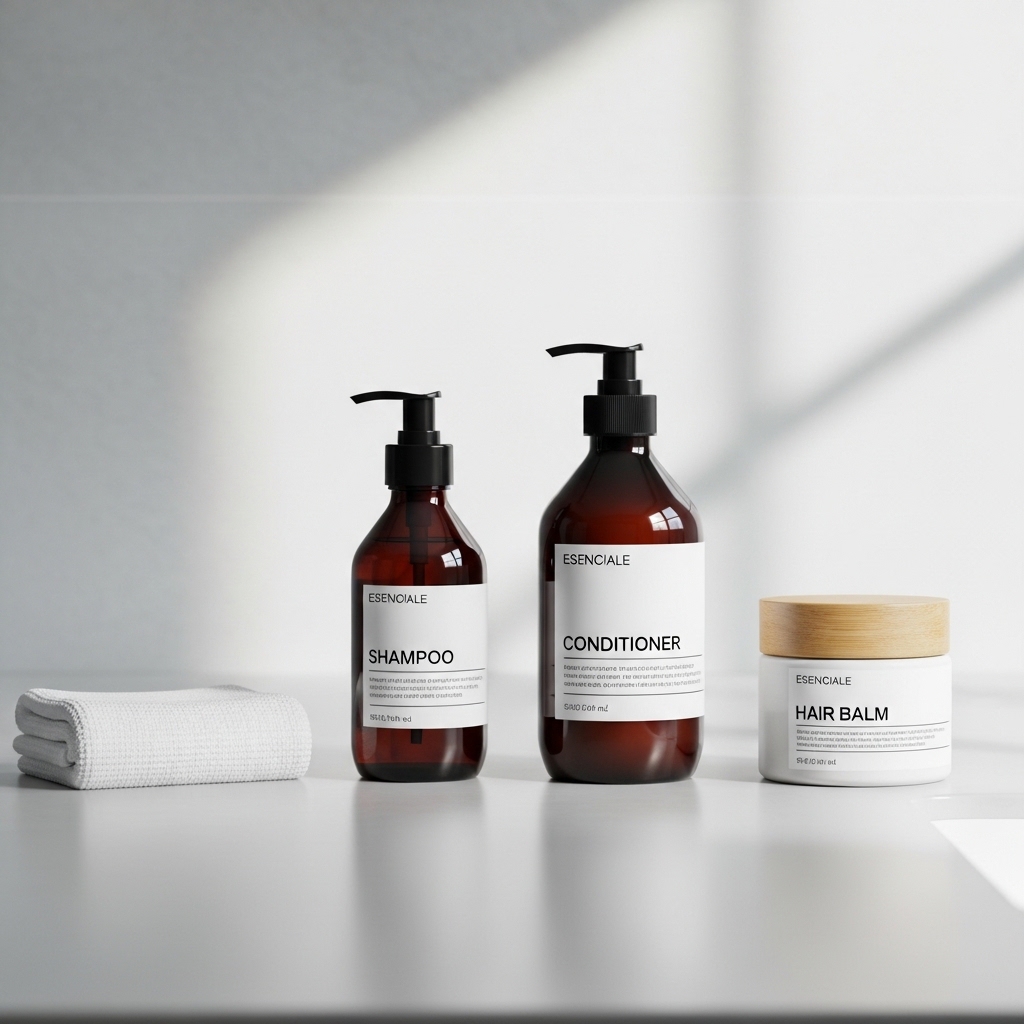
My Favorite Products For This Look
I keep it simple. A good texturizing spray is my hero. I also love a light hair oil for the ends of my face-framing pieces to add shine and fight frizz.
- Texturizing Spray: For grip and volume.
- Lightweight Hair Oil: For shine on ends only.
- Matte Pomade: To tame baby hairs invisibly.
- Flexible Hold Hairspray: For a light, final hold.
How This Fits Into A “Practical Luxe” Lifestyle
This isn’t just a hairstyle. It’s a shortcut to a feeling. It lets you focus on your work, your kids, your life, without worrying about your hair.
It looks professional on camera, elegant at dinner, and easy at the grocery store. That versatility is true luxury. It’s about owning your time and energy.
Your hair becomes a reliable part of your style, not a source of stress. And that confidence is the most luxurious thing of all.
Your Quick-Start Cheat Sheet
- Start with day-two hair.
- Brush, then gather a low, loose loop.
- Pull out face-framing pieces.
- Give the loop one soft twist.
- Wrap it around the base and pin.
- Pull the bun and crown apart for volume.
- Style face-framing pieces with a bend.
- Check for looseness and adjust.
Common Problems & Easy Fixes
Bun too small? Pull it apart more! Or, back-comb the ponytail lightly before twisting.
Bun sagging? Use more pins in a criss-cross pattern. Or, try a bun form or sock for extra volume and support.
Hair too slippery? Texturizing spray is your best friend. Dry shampoo at the roots also adds grip.
Too many flyaways? Smooth them with a toothbrush sprayed with a tiny bit of hairspray.
Final Thought: It’s About Mindset
At the end of the day, quiet luxury hair is a choice. It’s choosing the slightly imperfect, softer, more personal version of polished.
It’s rejecting the idea that beauty has to be difficult or time-consuming. This bun is a tool for that. It gives you back your time and gives you a consistent, confident look.
Master this, and you’ll have a go-to style that works for 90% of your life. And that’s a win in my book.
So, that’s my not-so-secret secret. A two-minute bun that does most of the heavy lifting in the “looking put-together” department. I hope it becomes a trusty part of your routine like it is for mine.
Remember, the goal isn’t perfection. It’s ease. It’s that feeling of walking out the door knowing one less thing you have to worry about. Your hair looks good, you feel good, and you can get on with your amazing, busy life.
Save this post to Pinterest so you always have the steps handy! And tell me in the comments—what’s your go-to quick hairstyle when you need to feel polished in a pinch?

