
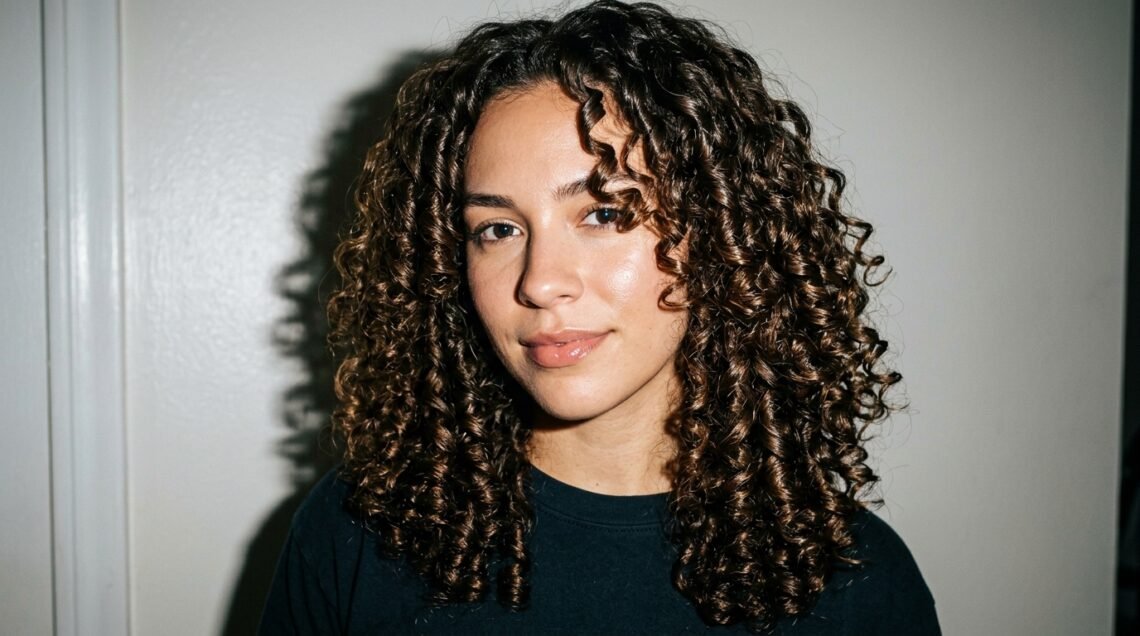
Picture day has a reputation. One shot, fluorescent lights, and a photographer saying “just smile” while you quietly panic about frizz. If you have curly hair, it can feel like the odds are stacked against you.
Good news: curls are actually the most photogenic texture out there. They hold shape, they catch light, and they add volume that straight hair needs ten minutes of teasing to fake.
The trick is keeping that definition from 8 a.m. until your name gets called. Not just in your bathroom mirror.
So here are the styles and small habits that actually work. Simple, doable, and quick enough for a school-morning rush. Let’s get your curls camera-ready.
Why Picture Day Is Made for Curly Hair
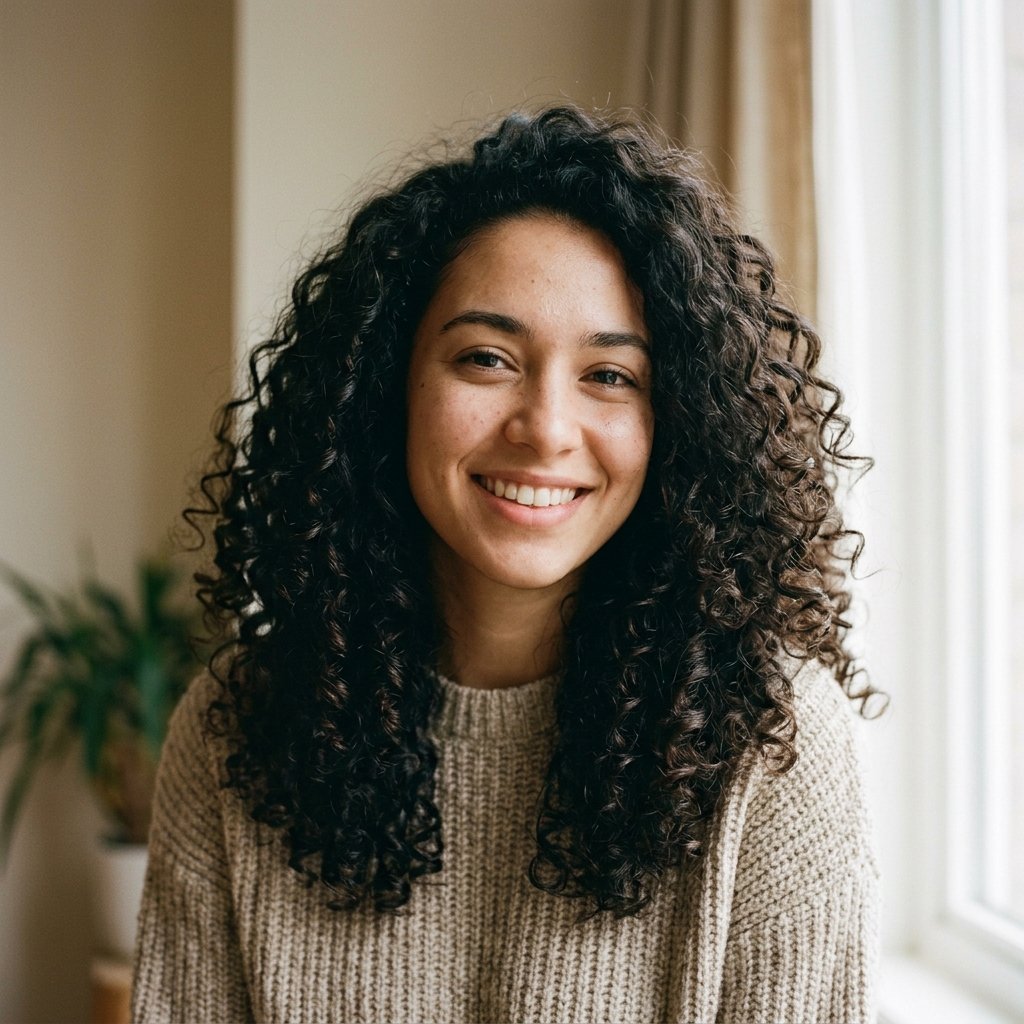
Here’s what nobody tells you: curls need less work in photos than straight hair does. They already come with volume, texture, and movement built in.
Straight hair goes flat by third period. Curls hold their shape for hours, sometimes days, if you set them right.
So stop fighting your texture on picture day. Work with it. Your pattern is the advantage here.
Start With Wash Day Timing
The biggest mistake is washing your hair the morning of. Freshly washed curls are soft, slippery, and quick to fall.
Wash the night before, or even two nights before if your curls hold well. That gives your pattern time to settle into itself.
- Best: two days after wash day
- Good: the night before
- Risky: the same morning
If your roots get greasy fast, tap dry shampoo at the scalp only. Never the ends.
The Refresh Trick That Saves Second-Day Curls
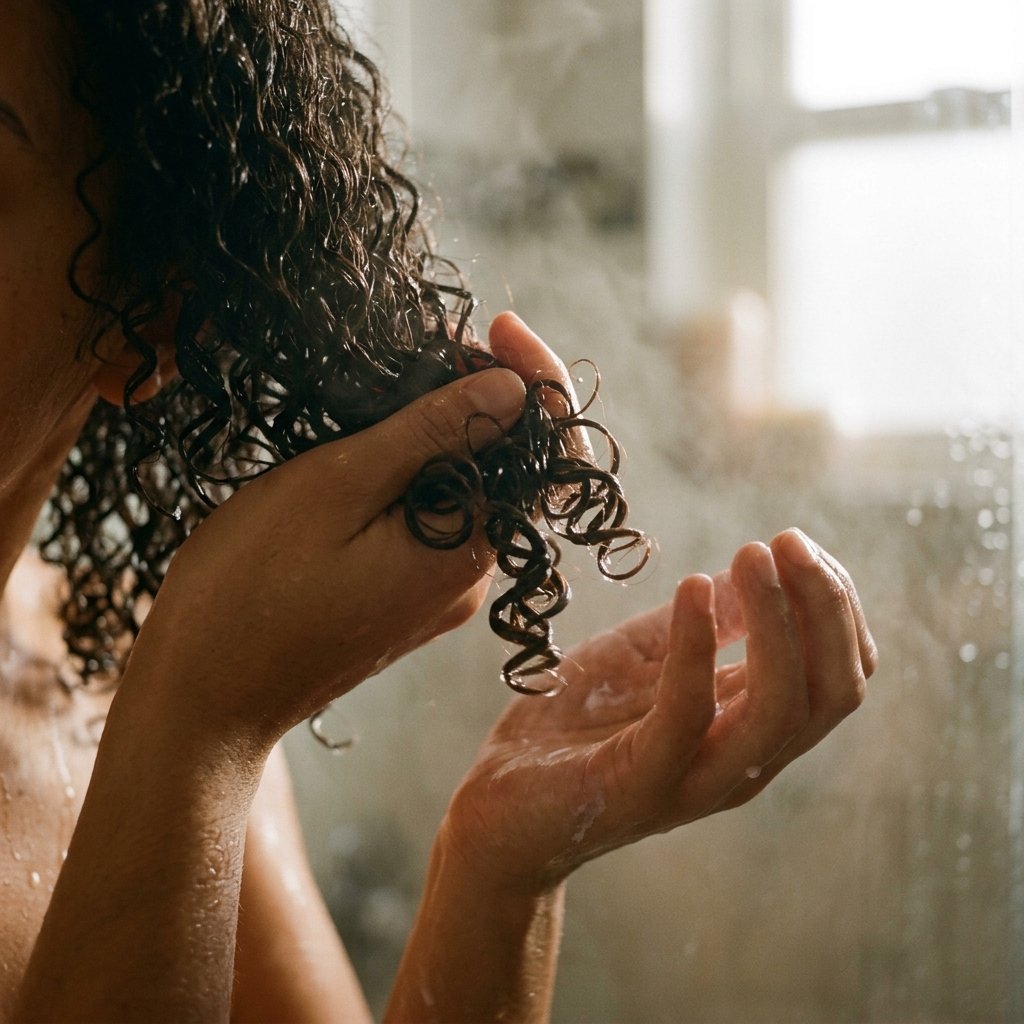
Second-day curls just need water. Not a full soak, just a light mist.
- Spray with water until damp, not dripping
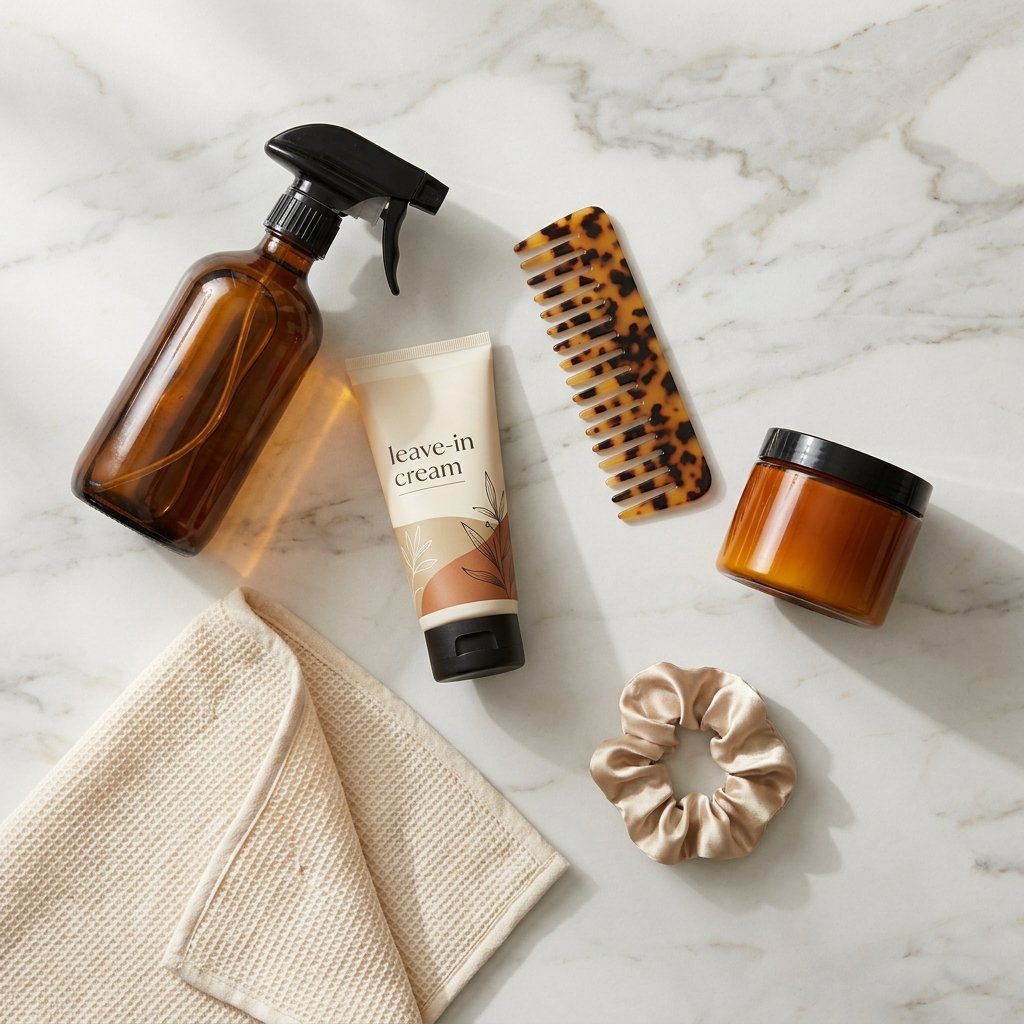
- Add a pea-sized drop of leave-in
- Scrunch upward with your palms
- Air dry or diffuse on low
Do not brush. Brushing dry curls is exactly how frizz happens. Use your fingers to shake the roots loose instead.
Leave-In First, Always
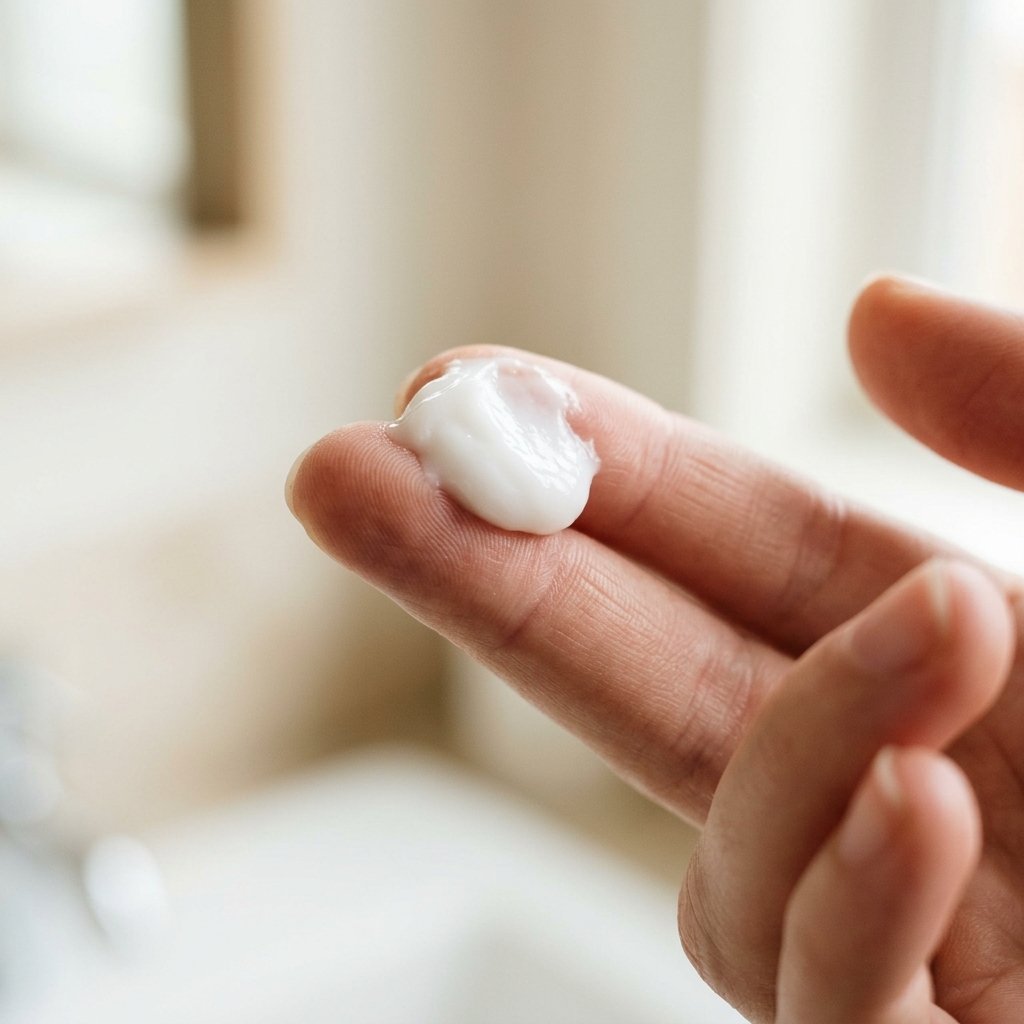
Leave-in conditioner is the base of every good curly style. It goes on before anything else, while your hair is still wet.
Take a small amount, rub it between your palms, and rake it through from mid-length to ends. Then scrunch.
- Too much: curls look greasy and heavy
- Too little: frizz shows up by lunch
- Just right: curls spring back when you squeeze them
Curl Cream vs. Gel, Settled
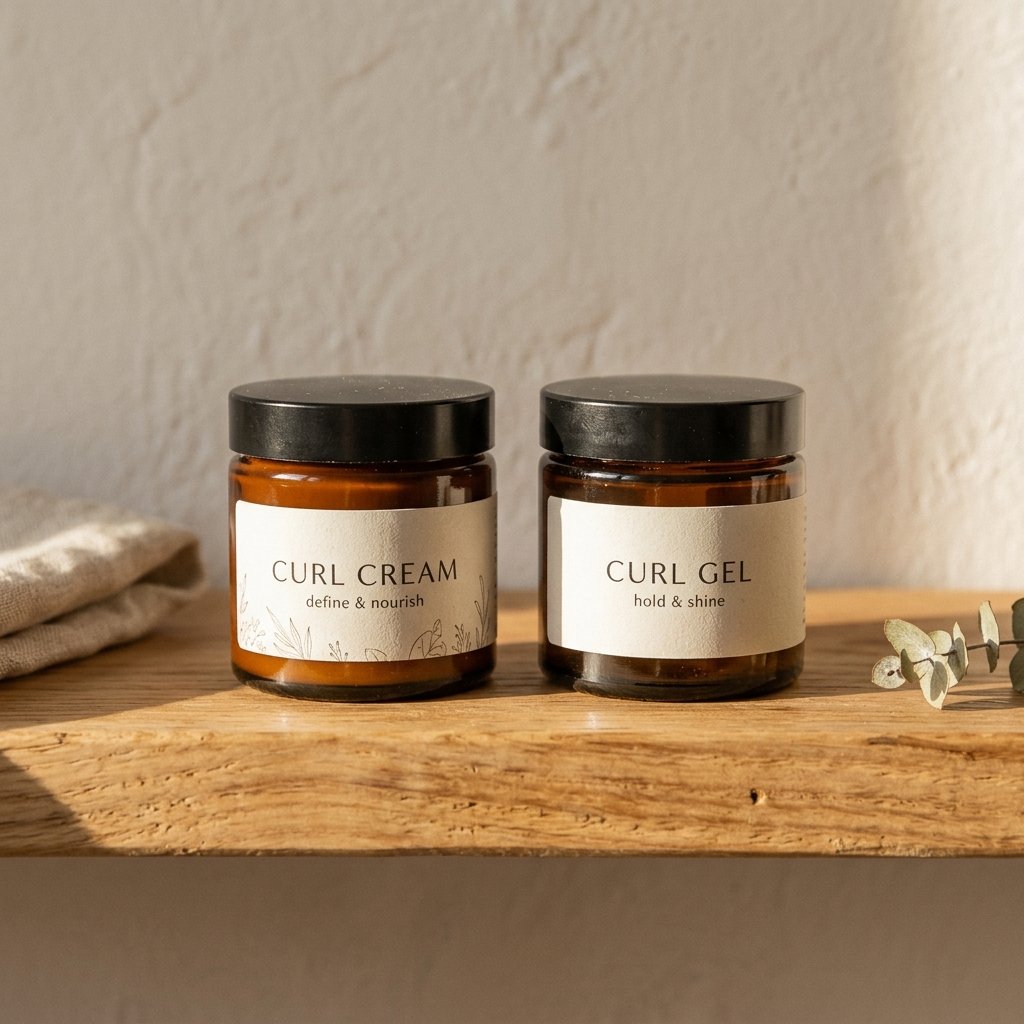
Use both. Curl cream adds moisture and softness. Gel locks the shape in place.
Cream first, then gel on top. That order matters. Gel over cream is what keeps your curls defined through the whole day.
- Cream alone: soft but drops fast
- Gel alone: defined but can feel crunchy
- Both together: defined and still touchable
Once your hair is fully dry, scrunch out the gel cast with dry hands. That is the crunch-free secret.
Diffusing Without the Frizz
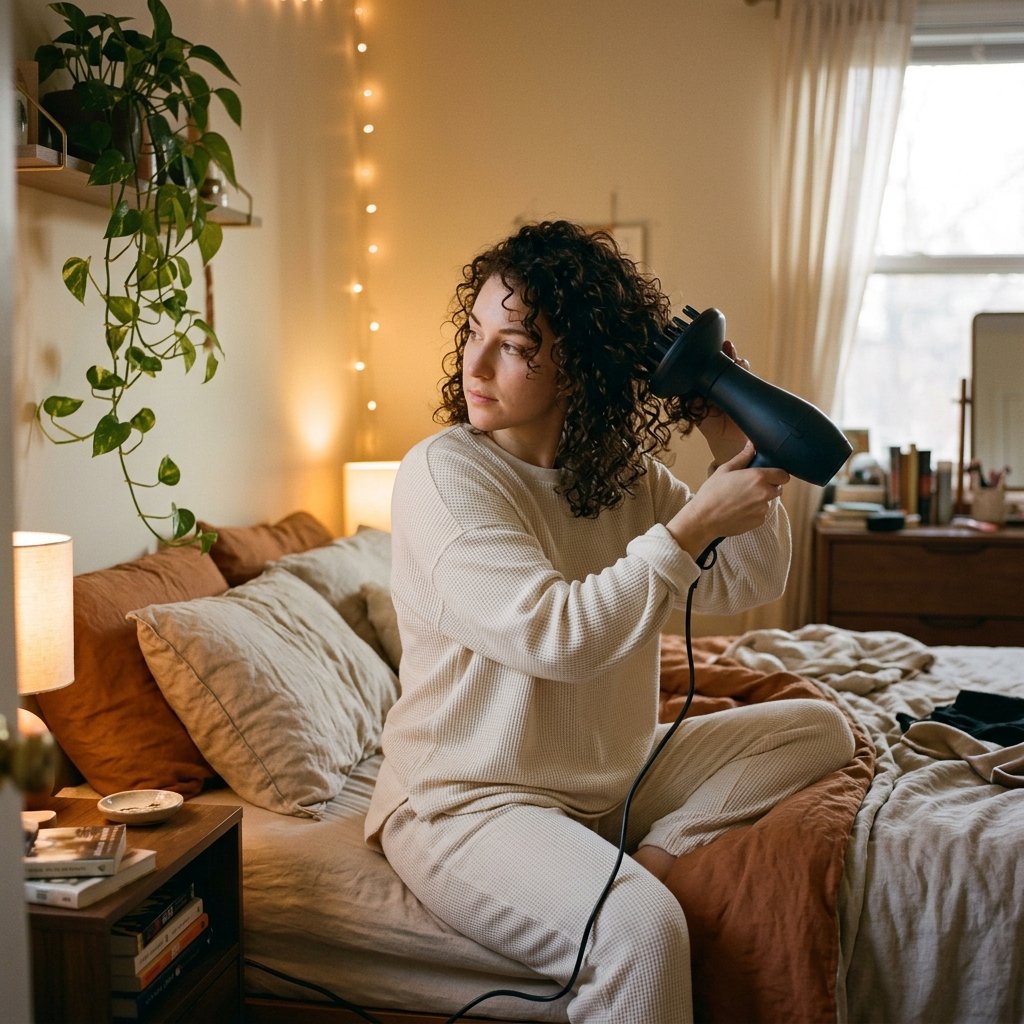
Diffusing is your friend, but only if you do it right. The wrong technique puffs curls into a cloud.
- Flip your head upside down first
- Use low heat and low speed
- Hover near the roots, don’t touch the ends
- Cup curls in the diffuser bowl and push up
- Stop at 90 percent dry, air dry the rest
Never rub the diffuser against your head. That fluffs the cuticle and creates frizz you cannot fix later.
The Half-Up, Half-Down Classic
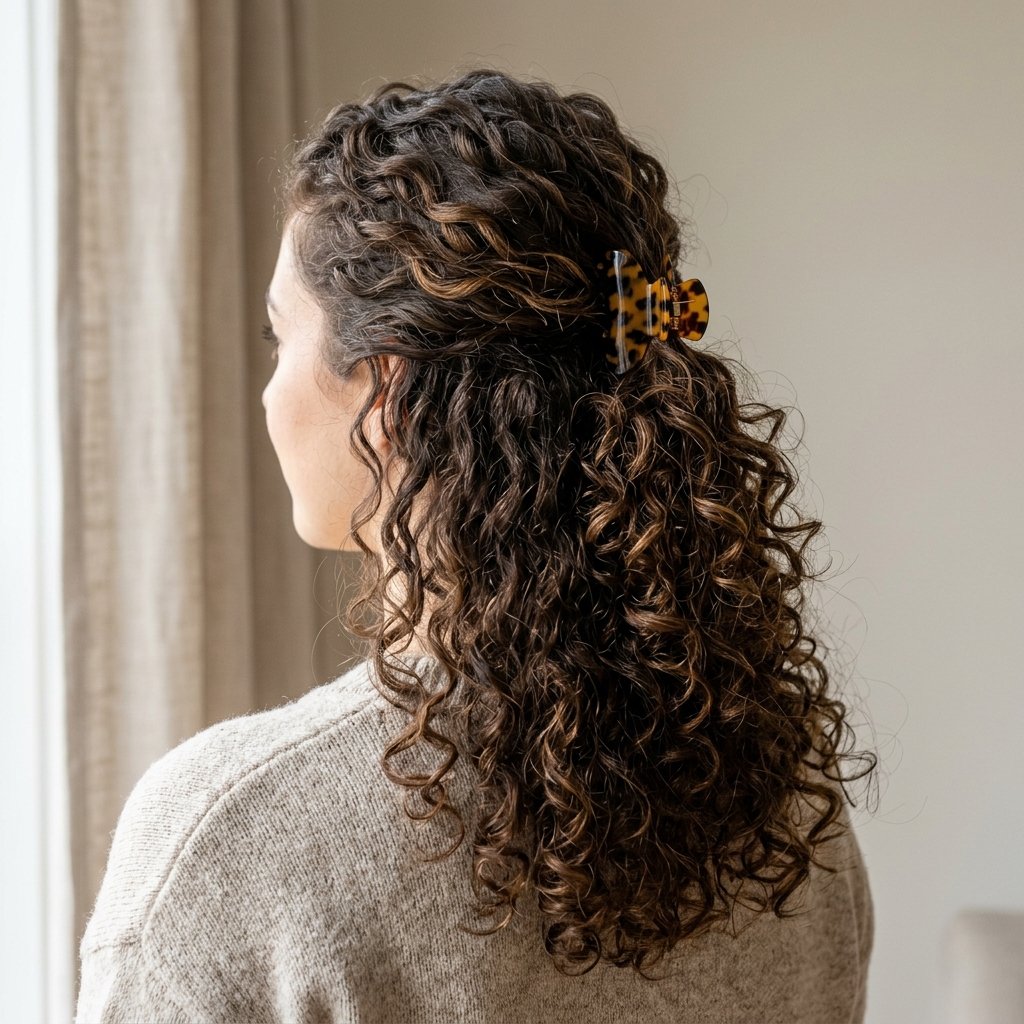
This is the safest curly style for photos, and it works on almost every length. It shows off your curls while keeping hair off your face.
Pull the top section back loosely. Do not drag it tight, or you will flatten the curls underneath.
- Use a small claw clip or a soft scrunchie
- Leave two face-framing curls out
- Lift the roots at the crown with your fingers
Simple, soft, and it never looks like you tried too hard.
Two Flat Twists, Big Payoff
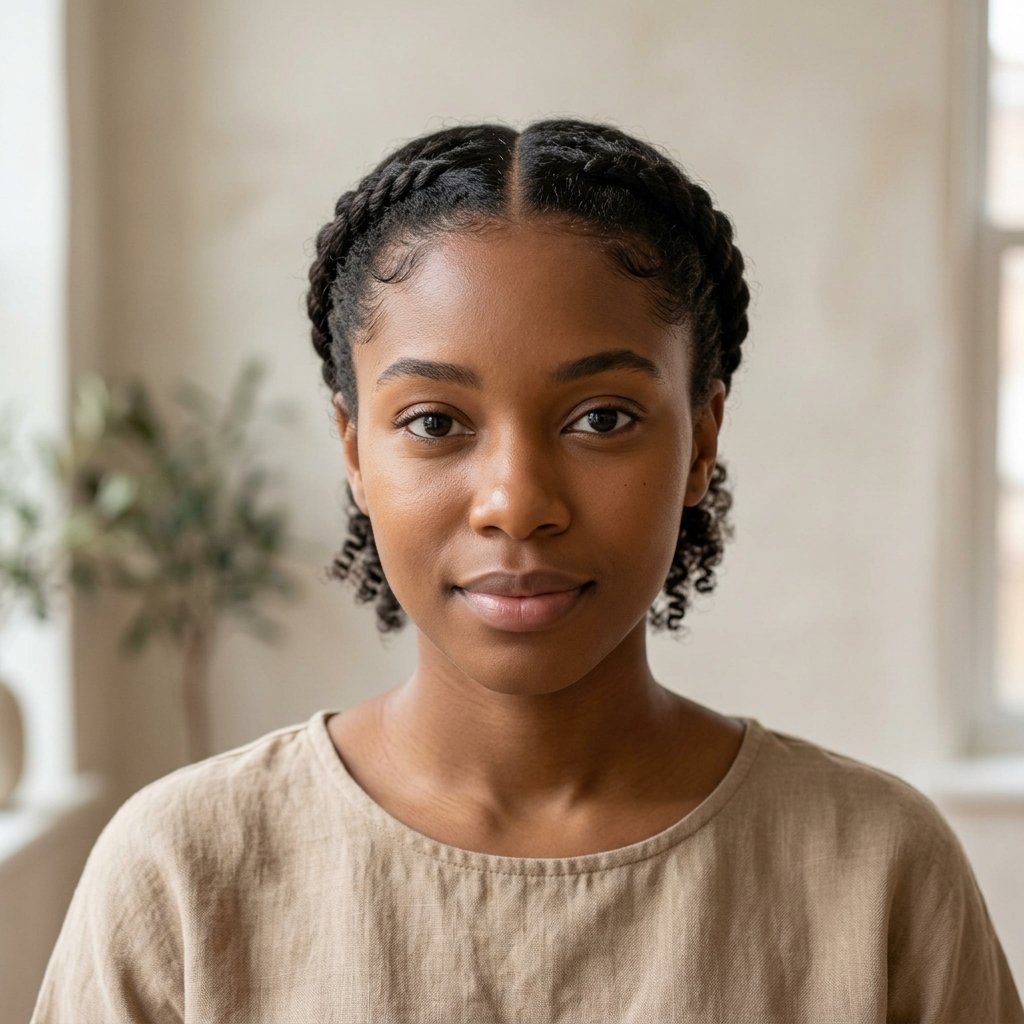
Flat twists give you control at the front of your hair, which is the part the camera actually sees.
- Part your hair down the middle
- Take a small section near the hairline
- Twist it flat along the scalp toward the back
- Pin or tuck the ends, then fluff the rest of your curls
You can do these the night before and sleep in a scarf. In the morning, they are still neat. That is a win.
The High Puff That Photographs Beautifully
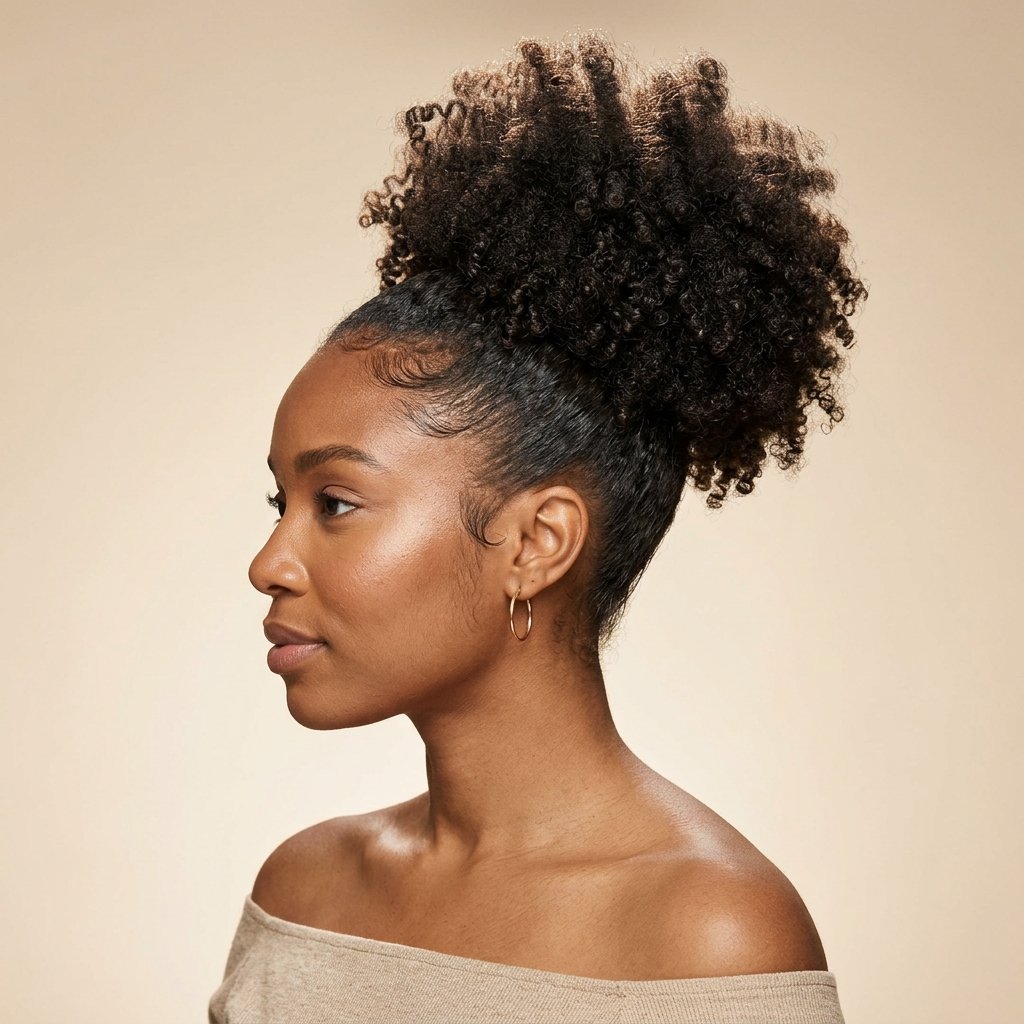
A high puff is fast, flattering, and it lifts your whole face. It also stretches the curls so they look longer and fuller.
Smooth the edges with a soft brush and a little edge control. Not too much, just enough to look tidy.
- Position the puff high, near the crown
- Use a wide headband or a thick scrunchie
- Pull a few tiny curls loose at the temples
Pair it with a simple earring and you are done in five minutes.
Soft Space Buns for Curly Hair
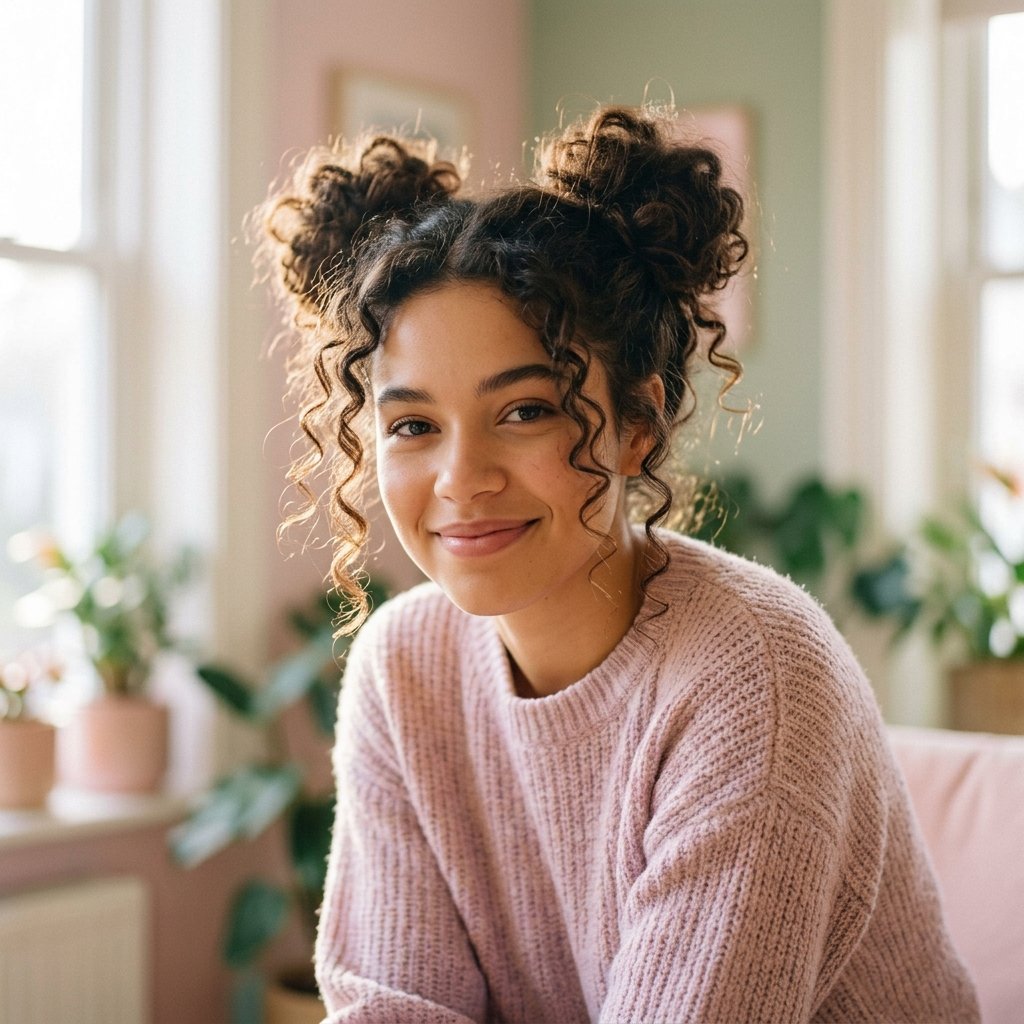
Space buns are fun but they can go too tight and too childish. On curls, keep them soft and a little undone.
- Part hair down the middle
- Pull each side into a high pigtail
- Wrap loosely into a bun and pin
- Pull small curls out around each bun
Soft edges make it look effortless instead of severe. Add a ribbon if you want a romantic goth hairstyles vibe.
The Pineapple Trick the Night Before
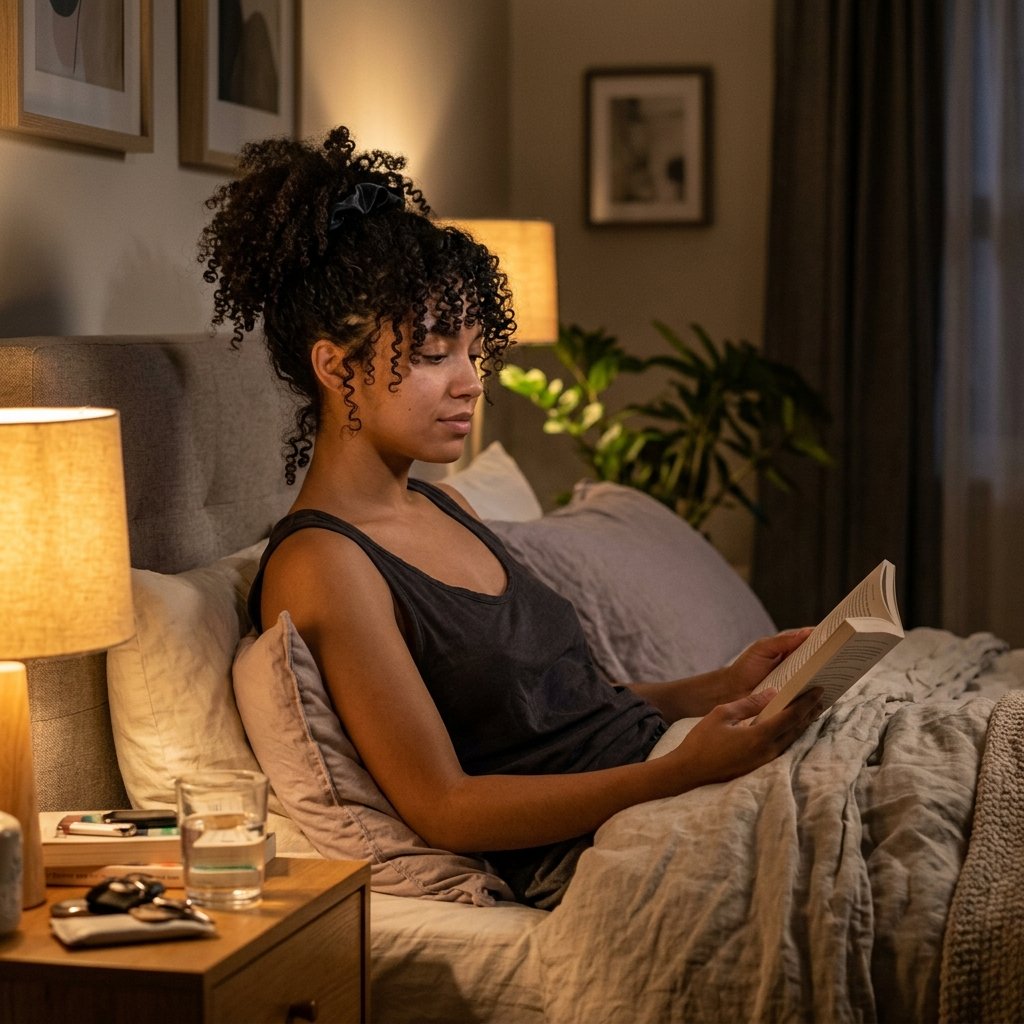
If you want great curls on picture day, the work starts the night before. The pineapple is the easiest way to protect them while you sleep.
Flip your head over and gather all your curls into one very loose, very high ponytail on top of your head. Use a soft scrunchie, never a tight elastic.
- Keeps curls on top, so they don’t flatten
- Prevents frizz from tossing and turning
- Add a silk scarf or bonnet on top
Curly Side Part With Height
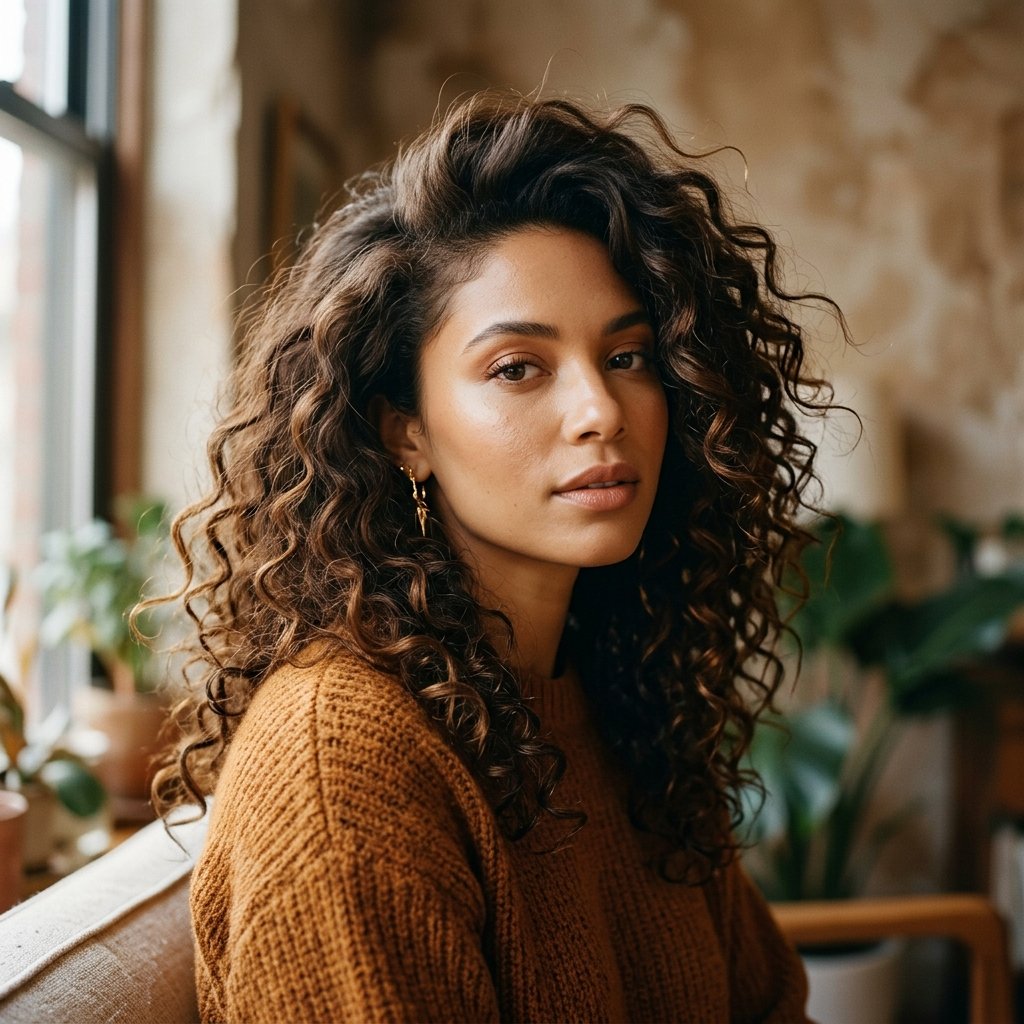
A side part adds instant polish. On curly hair, it also creates height at the crown, which photographs so well.
Part while your hair is wet, then set the roots with your diffuser. Lift them with your fingers as they dry.
- Deep part for drama, middle part for softness
- Pin the heavier side back if it falls forward
- Keep one or two curls loose near the cheek
This is classic and works with almost any outfit.
The Asymmetrical Lob for Curls
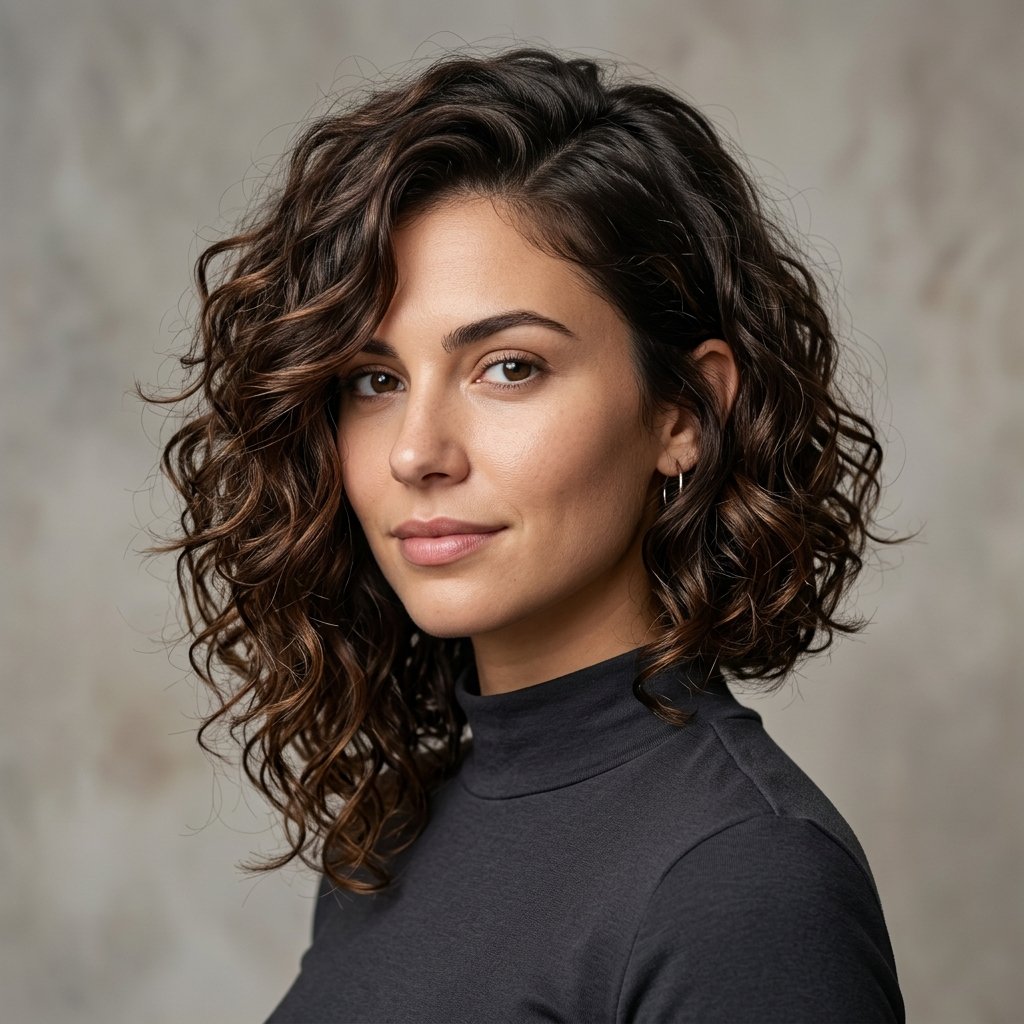
An asymmetrical lob is a haircut, but you can fake the look for one day without picking up scissors.
Part your curls deep on one side. Let one side fall forward and sweep the other back behind your ear.
- Go for an 80/20 part
- Tuck the shorter side behind your ear
- Pin a small hidden section if it will not stay
The result is that angled, longer-on-one-side silhouette. It reads polished and grown-up in photos.
A Quiet Luxury Bob on Curly Hair
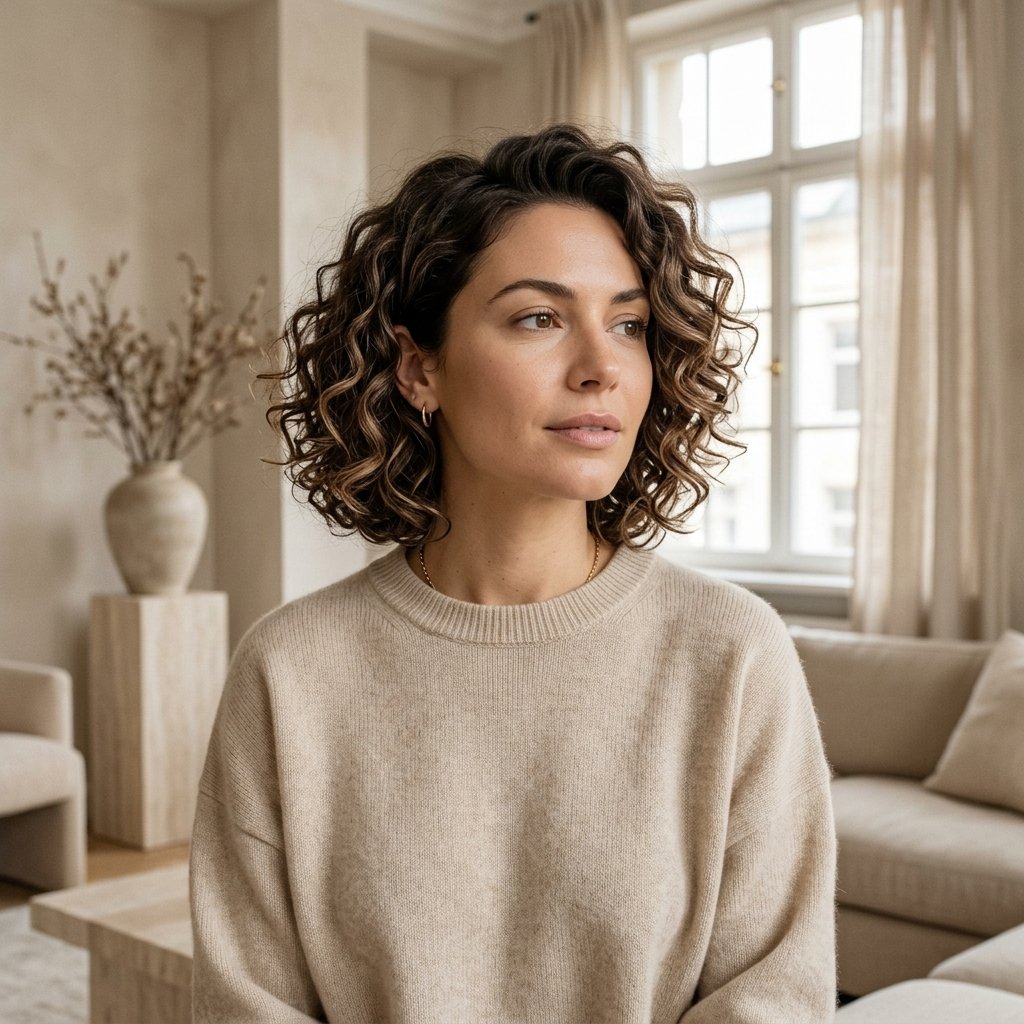
A quiet luxury bob is smooth, glossy, and effortless looking. On curls, you get the same feeling by keeping your shape round and your ends neat.
Finger coil the front pieces so they look intentional. Add a tiny drop of oil to the ends for shine.
Skip the crunchy cast on picture day. Soft, touchable curls photograph richer than stiff ones.
Finish with a fine gold hoop or a simple clip. Understated always wins here.
Hime Cut Curls: Sleek Front, Curly Back
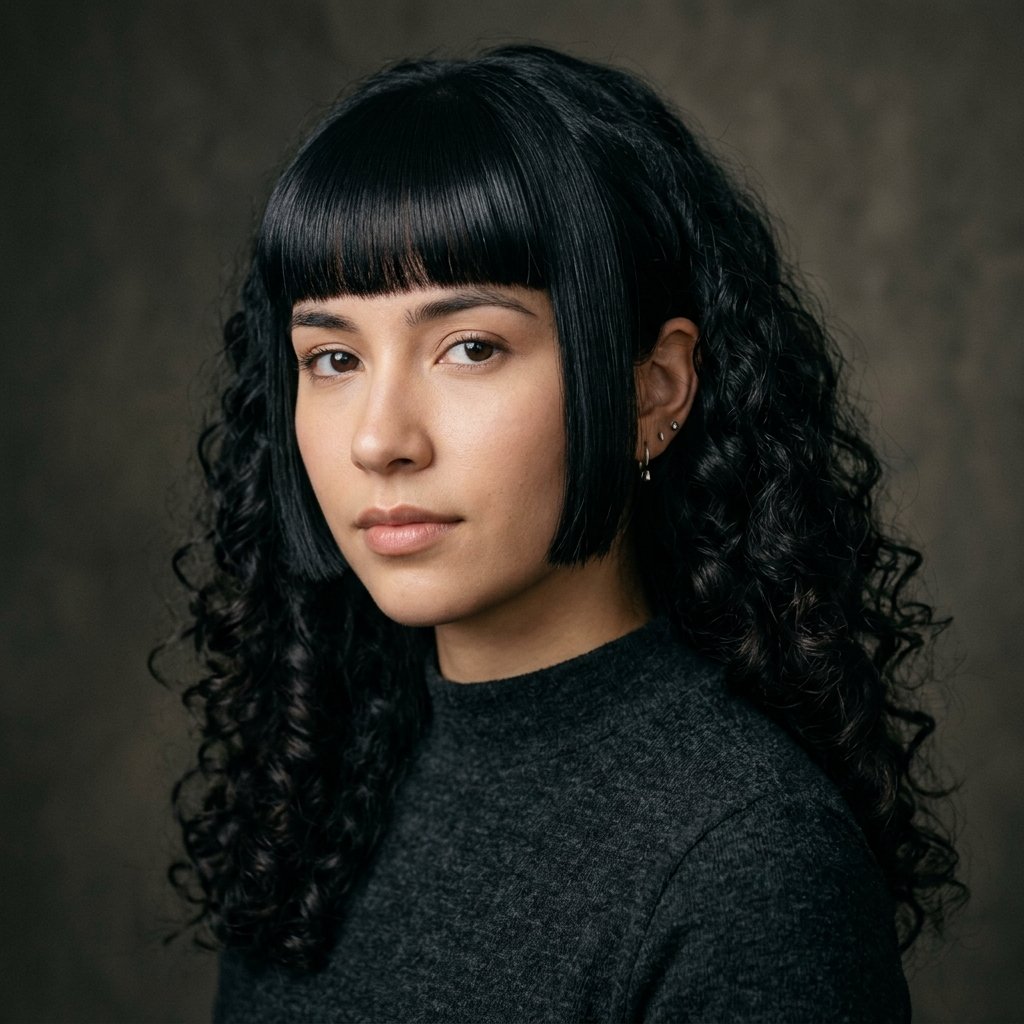
The hime cut is straight, blunt side pieces framing the face while the rest stays long. On curly hair, you borrow just the front.
- Pull out two even sections near your temples
- Add heat protectant
- Flat iron on low, straight down
- Leave the rest of your curls completely alone
That contrast of sleek front and curly back is one of the most striking things you can do in a photo.
Old Money Hair, Curly Version
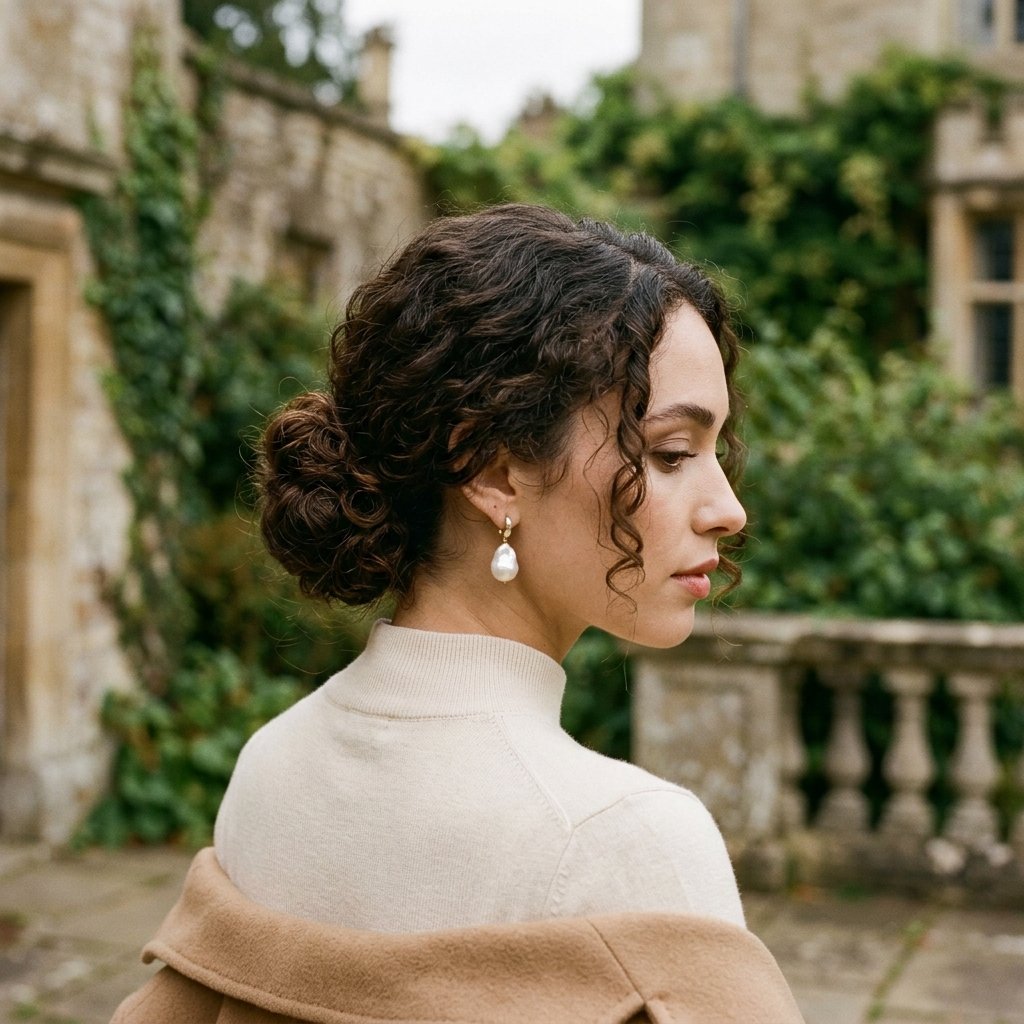
Old money hair is polished, glossy, and quietly expensive looking. Curls fit right in with the right shape.
Try a low curly bun with a clean middle part. Smooth the top section just slightly, and let the curls do their thing around it.
- Add a silk ribbon or velvet band
- Keep the shine high and the flyaways low
- Pearls or small gold studs finish the look
It looks like you woke up like this, even if you did not.
Romantic Goth Hairstyles for a Moody Photo
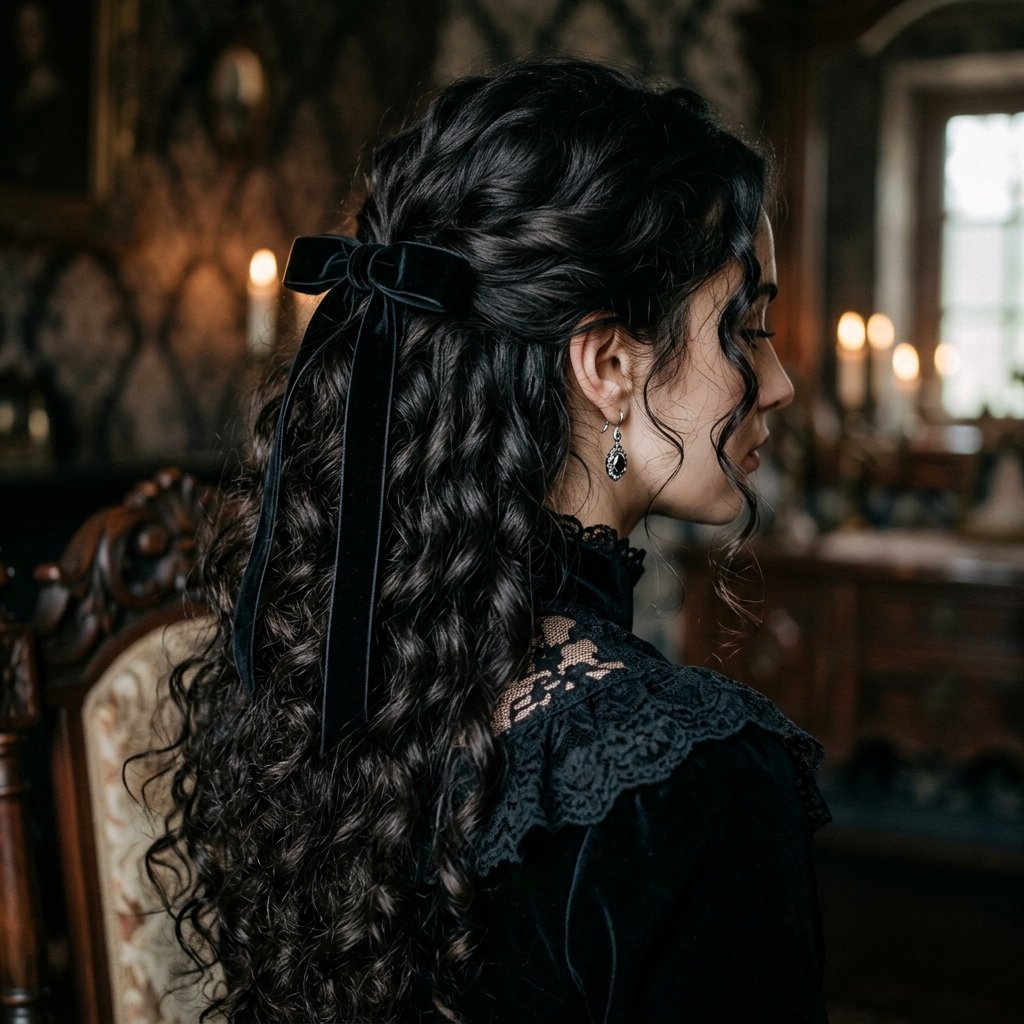
Romantic goth hairstyles are soft, moody, and a little dramatic. Think dark, defined curls with a velvet ribbon or a lace headband.
Keep the curls tight and glossy. Add a deep side part and let a few tendrils fall loose around your face.
- Black or burgundy ribbon
- Tiny dark pins scattered through the back
- A lace or velvet headband across the crown
It feels romantic without tipping into costume.
Glitchy Glam Hair With Curls
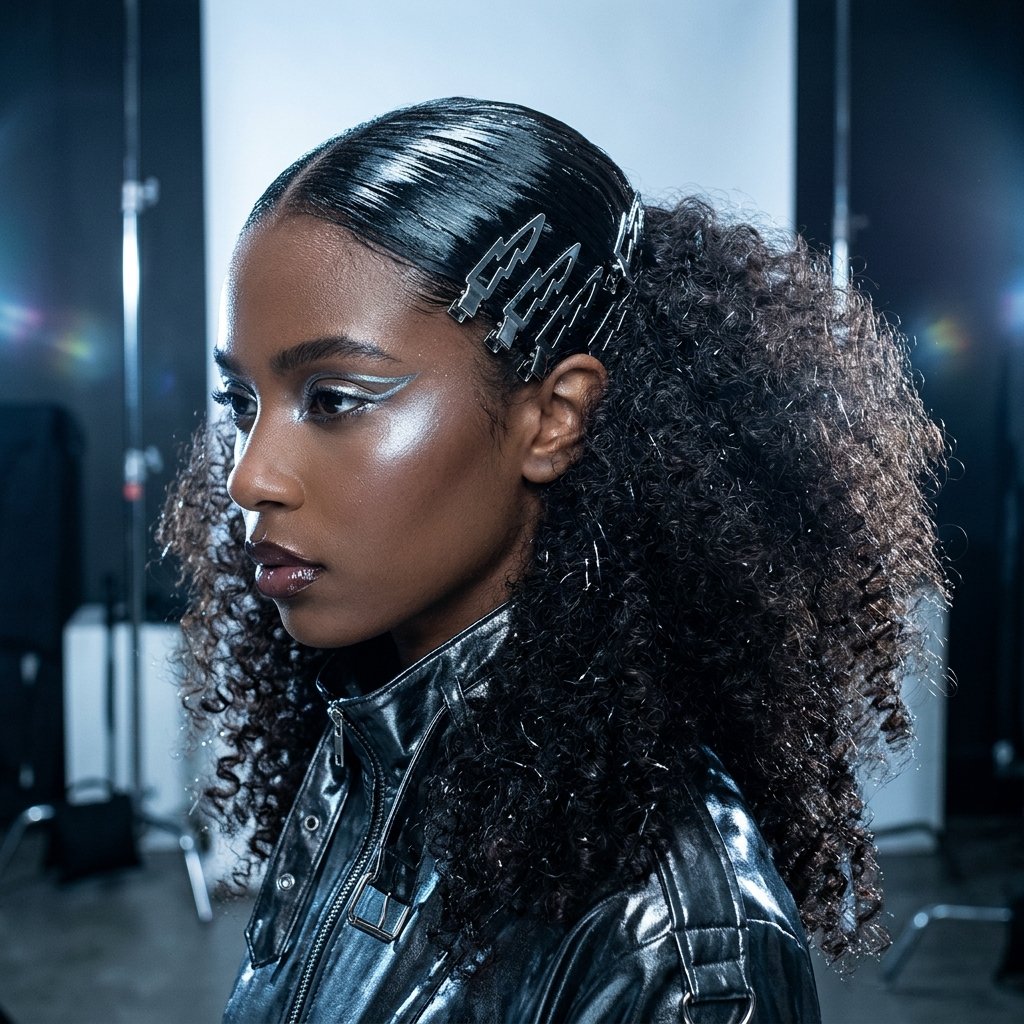
Glitchy glam hair is sleek, sharp, and a little futuristic. You can absolutely do it with curls.
Slick the top and sides back with gel while your hair is wet. Leave the ends out so your curls still show.
- Wet-look high ponytail with curly ends
- Slicked back with a deep middle part
- Add a silver or chrome clip for that glitchy edge
It is bold, and it photographs amazing under studio lights.
The Vampire Haircut, Curl Edition
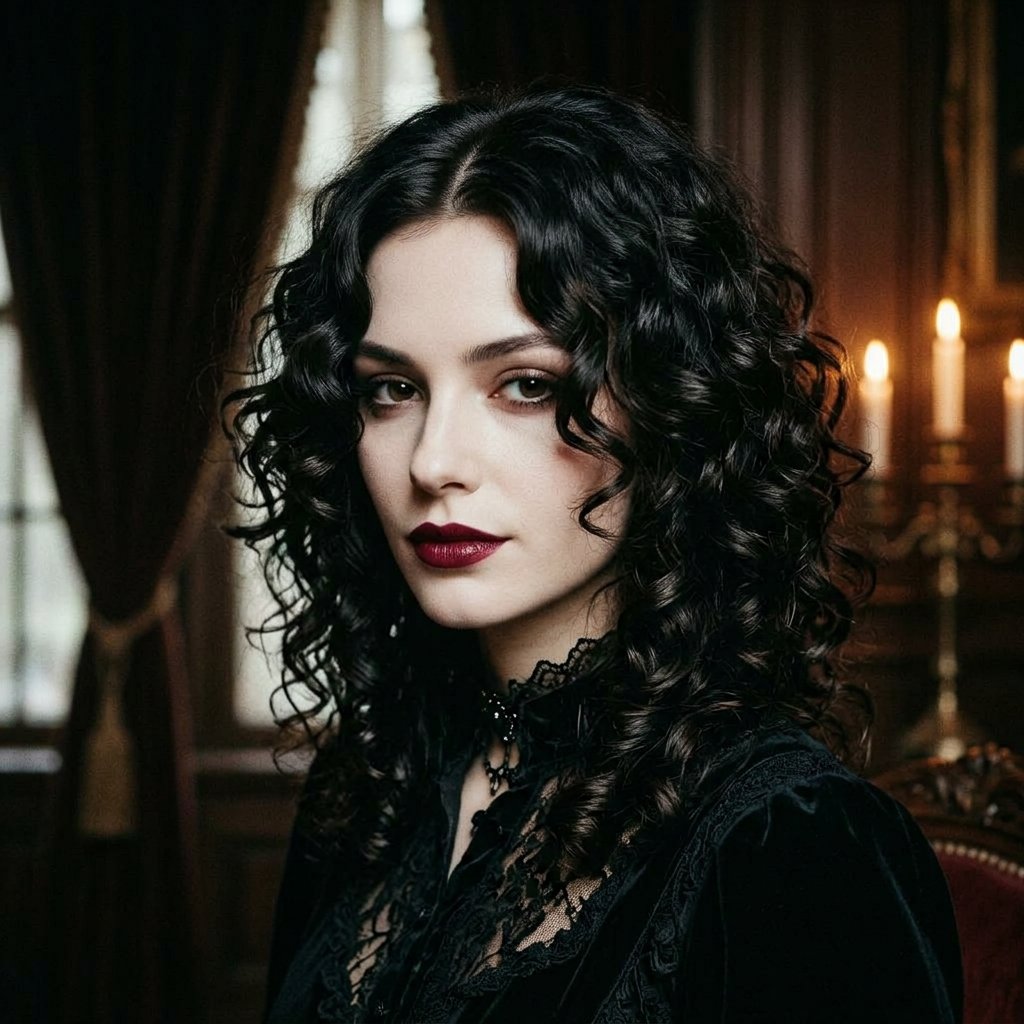
The vampire haircut is sharp, collarbone length, blunt, with a middle part and pieces framing the face. On curls, you get a rounder, softer version.
Keep your cut around the collarbone. Middle part, front pieces defined, back left natural.
- Define the two front curls with extra gel
- Keep the shape even on both sides
- Go glossy, not dry
Dramatic, timeless, and weirdly flattering on everyone.
2026 Hairstyles Trending for Curly Photo Day
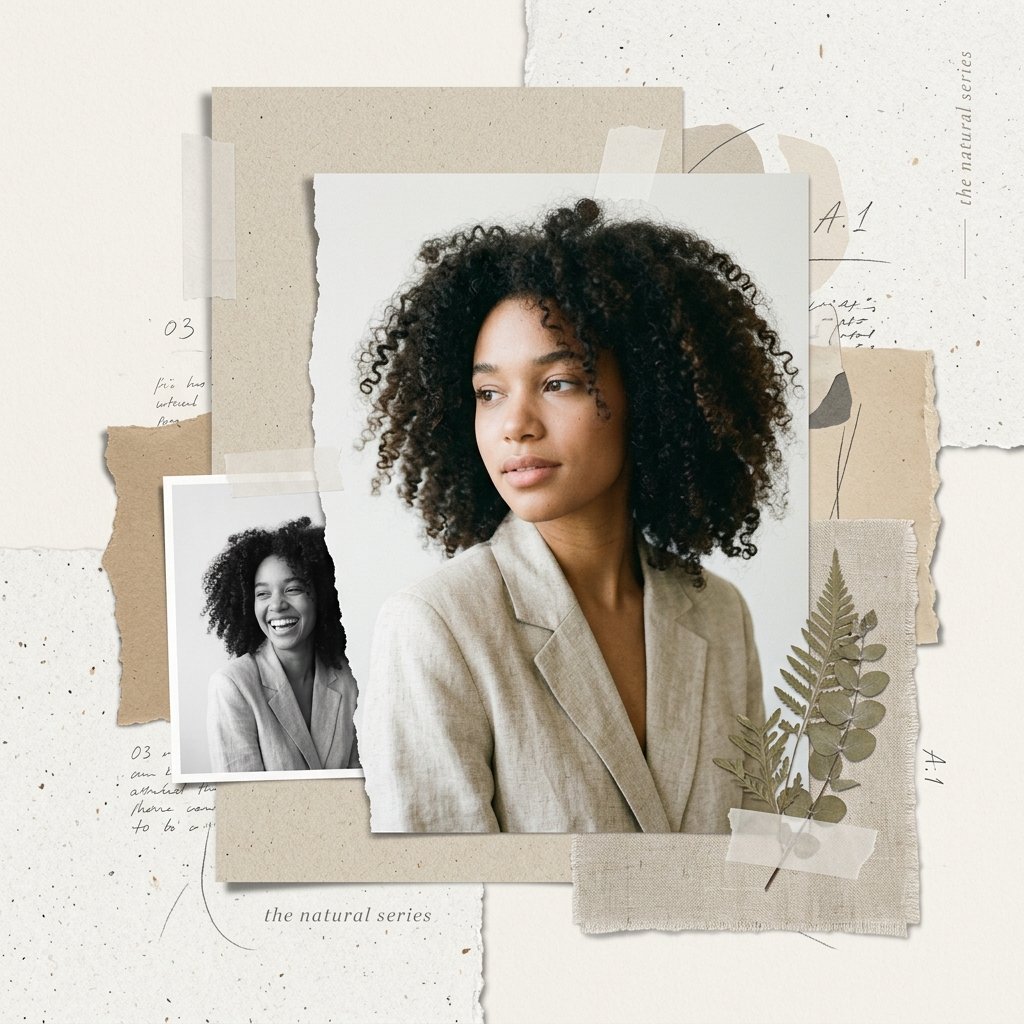
If you want your photo to look current, these are the 2026 hairstyles showing up everywhere right now.
- Asymmetrical lob, worn curly and angled
- Hime cut with straight front pieces
- Vampire haircut at the collarbone
- Quiet luxury bob, smooth and shiny
- Soft romantic goth curls with ribbon
- Glitchy glam slicked tops
Pick one and keep the rest of your look simple. Trends work best when they are not competing with each other.
Bangs and Curls: What Actually Works
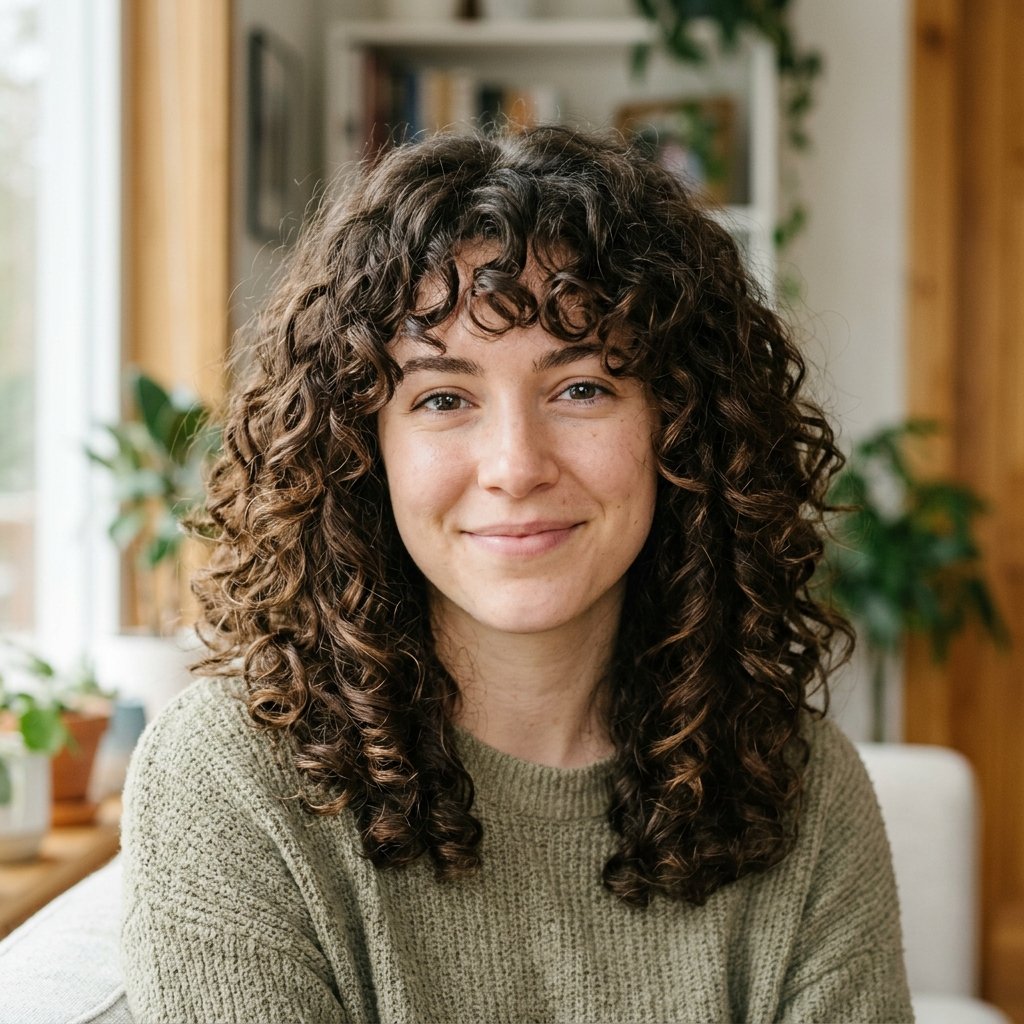
Curly bangs are great in photos, but only if you style them on purpose. They will not behave on their own.
Spray them damp, finger coil them, and let them dry completely before you touch them.
- Curly bangs: soft and playful
- Side swept: easiest to maintain
- Blunt straight bangs: skip, they fight curls
Pin them to the side while you do your makeup, then release at the last second.
Clips, Pins, and Accessories That Read on Camera
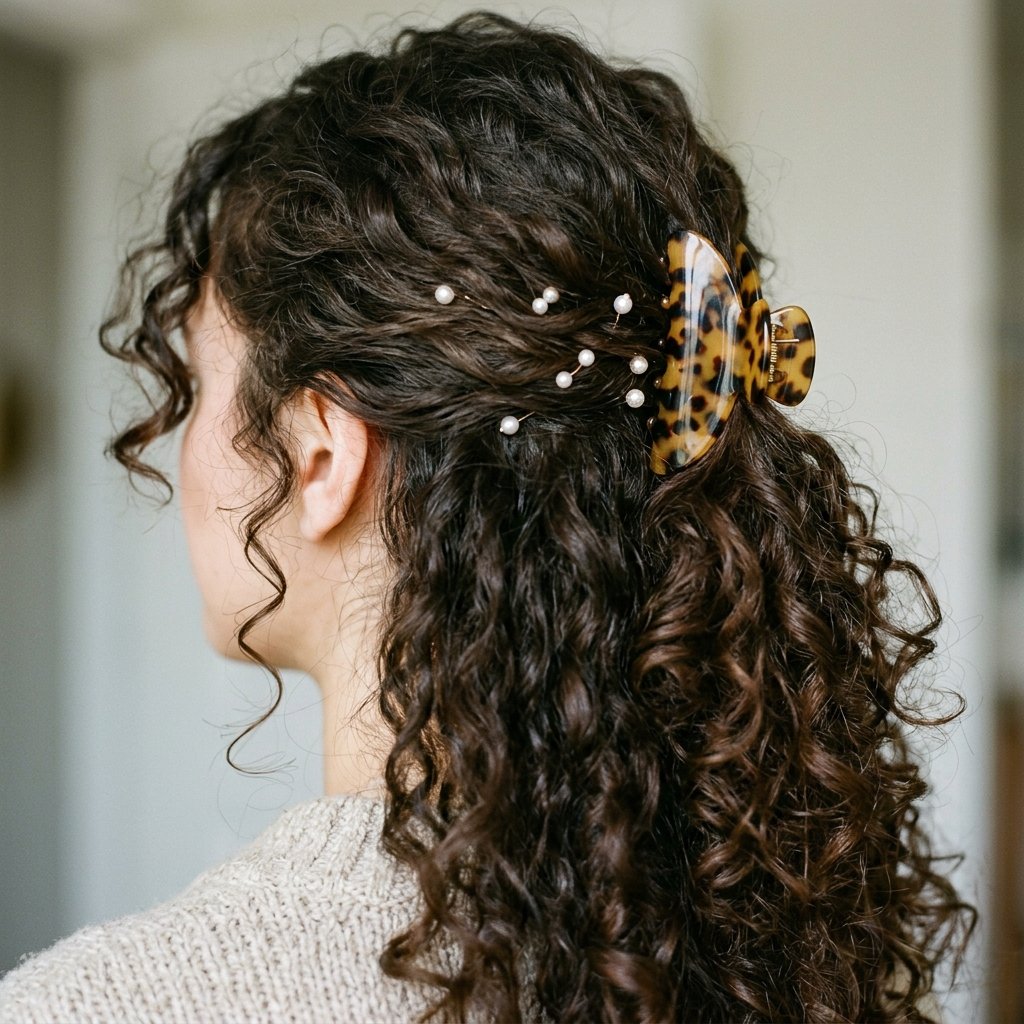
Small accessories are your secret weapon. They add polish and hold curls exactly where you want them.
- Pearl or gold pins for a quiet luxury feel
- Tortoiseshell claw clips for everyday softness
- Velvet ribbon for romantic goth hairstyles
- Chrome clips for glitchy glam hair
Match metal to your jewelry. It is a tiny detail that makes photos look intentional.
Frizz Control in Flash Photography
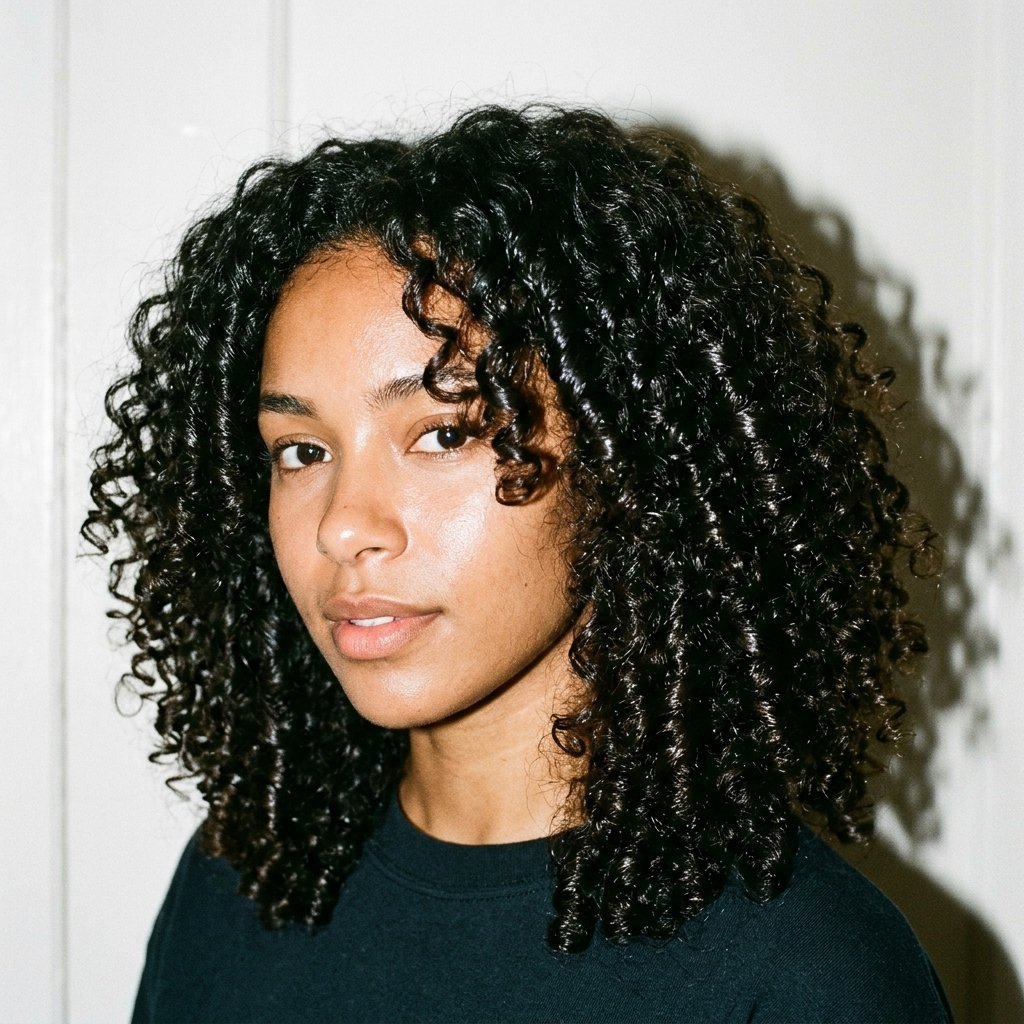
Frizz shows up more in photos than it does in the mirror. Flash light catches every flyaway.
Smooth a tiny amount of light oil over the top layer before you leave. Just a drop, rubbed between your palms first.
- Never touch your hair once it is set
- Avoid humidity-heavy products
- Use a light hold spray, not a heavy one
Also, keep your hands out of your hair in line. Touching is what creates frizz.
Shine Without the Grease
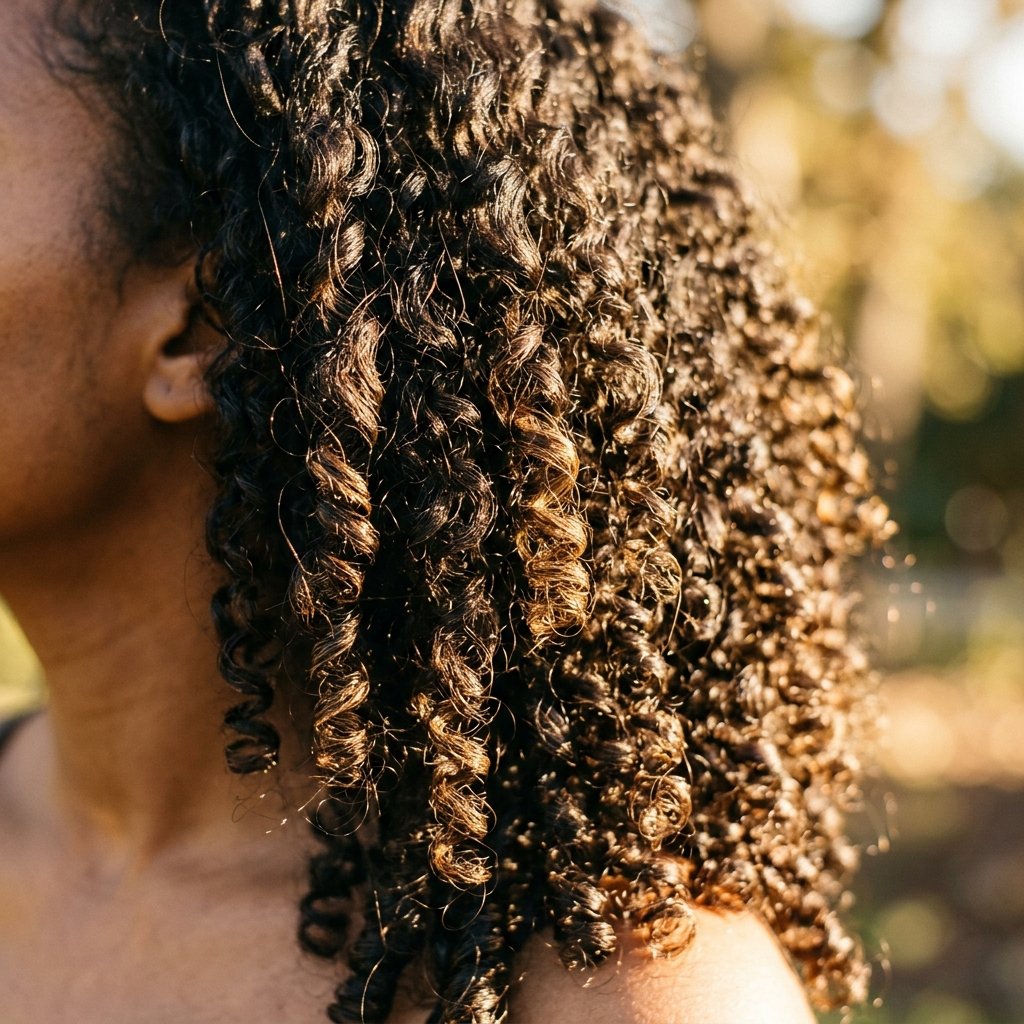
Shine is what makes curls look healthy in photos. But there is a fine line between glossy and greasy.
Use a lightweight oil on your ends only. Never near the roots.
- One or two drops maximum
- Warm it between your palms first
- Focus on the last two inches
If you overdo it, blot with a tissue and move on. Nobody will notice.
The 5-Minute Touch-Up Between Classes
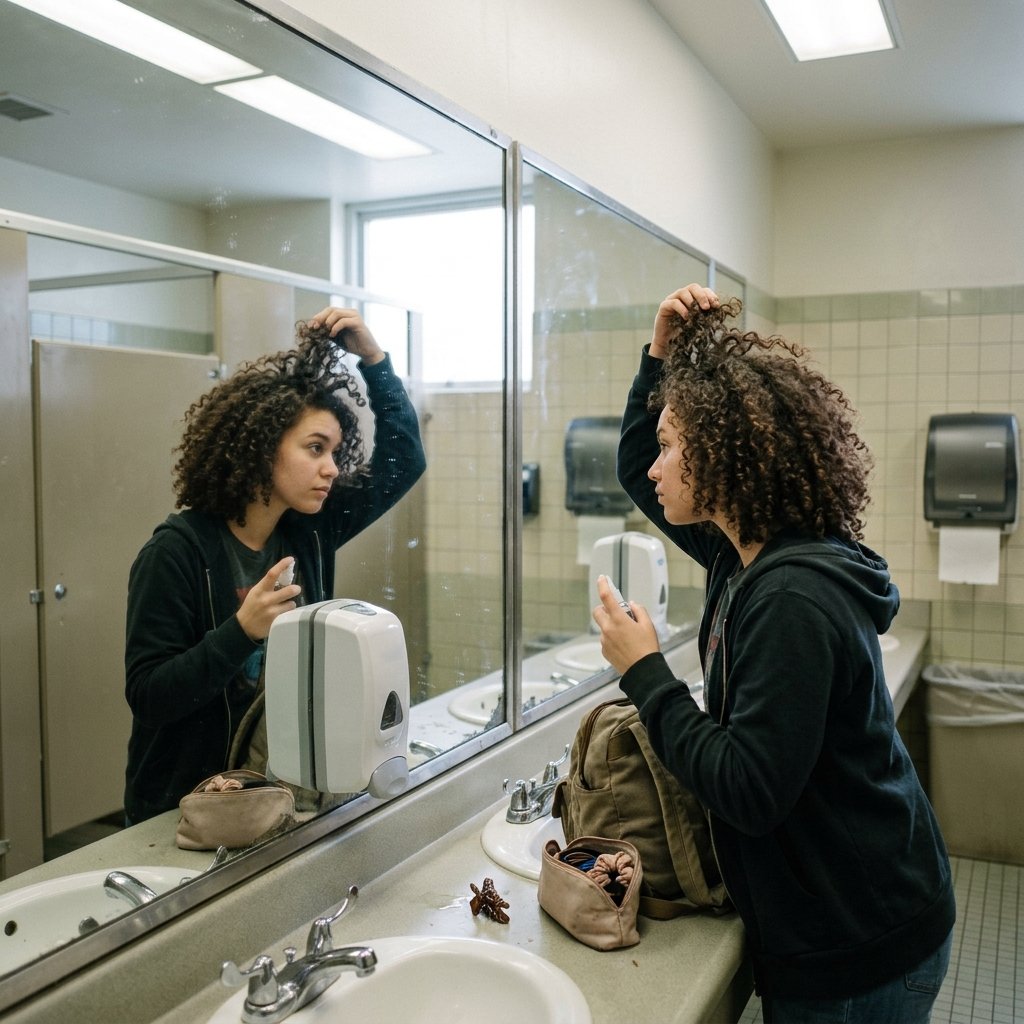
Photos usually happen mid-day, not first thing. So here is your quick fix if curls have dropped.
- Wet your hands slightly
- Scrunch the ends upward
- Fix any flat spots at the crown with your fingers
- Pin one loose piece back if needed
That is it. Do not re-wet your whole head. Just revive the shape and go.
The Night-Before Checklist
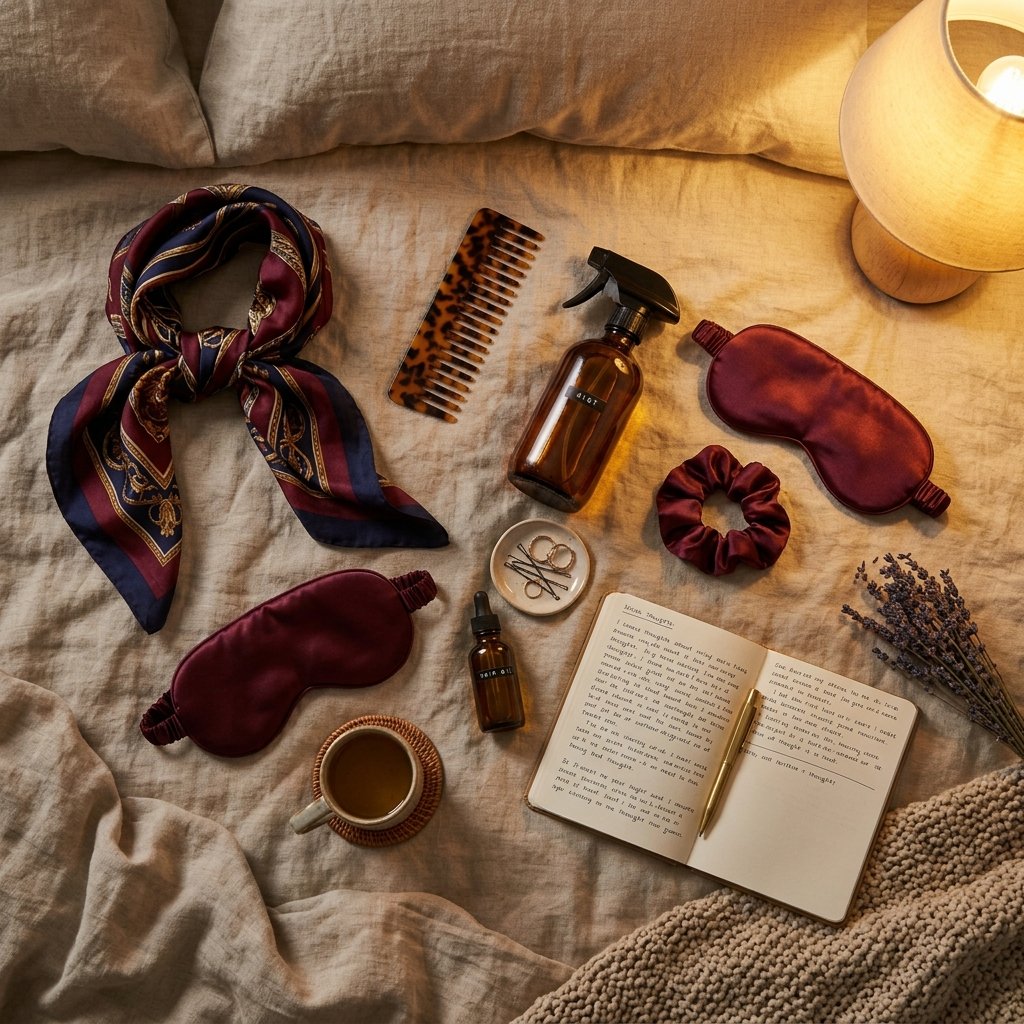
Do these five things the night before, and picture day morning gets much easier.
- Refresh curls and let them dry fully
- Pineapple your hair with a soft scrunchie
- Sleep on a silk pillowcase or in a bonnet
- Lay out your outfit and any clips
- Set your alarm ten minutes early for a touch-up
Small prep, big payoff. Your curls will thank you.
Your Quick Curly Picture Day Checklist
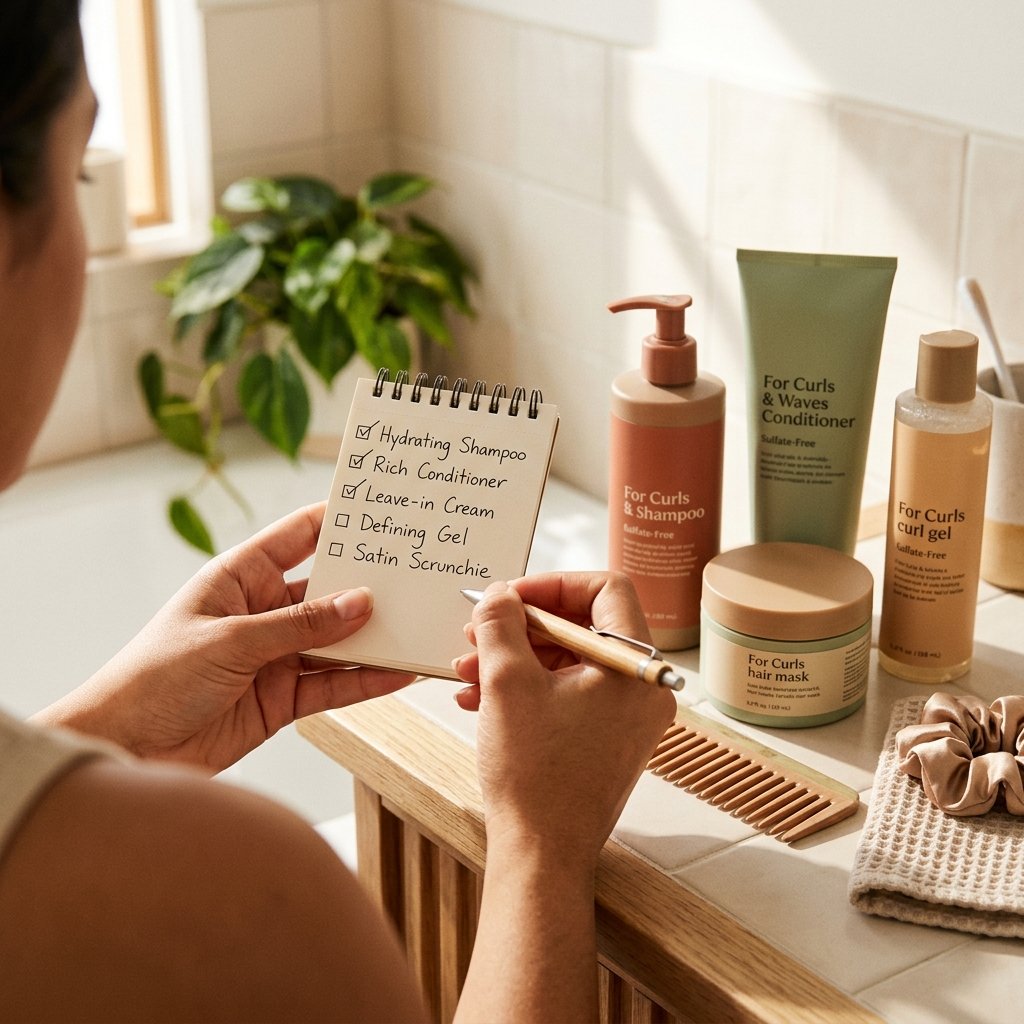
Save this list and run through it before you walk out the door.
- Leave-in applied to wet hair
- Curl cream, then gel
- Diffused to 90 percent dry
- Gel cast scrunched out
- Edges and flyaways smoothed
- One accessory that matches your outfit
That is a defined, photo-ready head of curls in under twenty minutes.
A Few Last Thoughts
Picture day is one photo. It is not a measure of anything. But it is nice to look back and love what you see.
Your curls are already beautiful. All these styles do is help them show up the way they deserve on camera.
Pick one option, prep the night before, and trust your texture. You have got this, friend.
Save this post to Pinterest so you can find it next picture day, and drop a comment telling me which style you are trying. I read every single one, and I love hearing what worked for your curls. — Hailey & Team

