
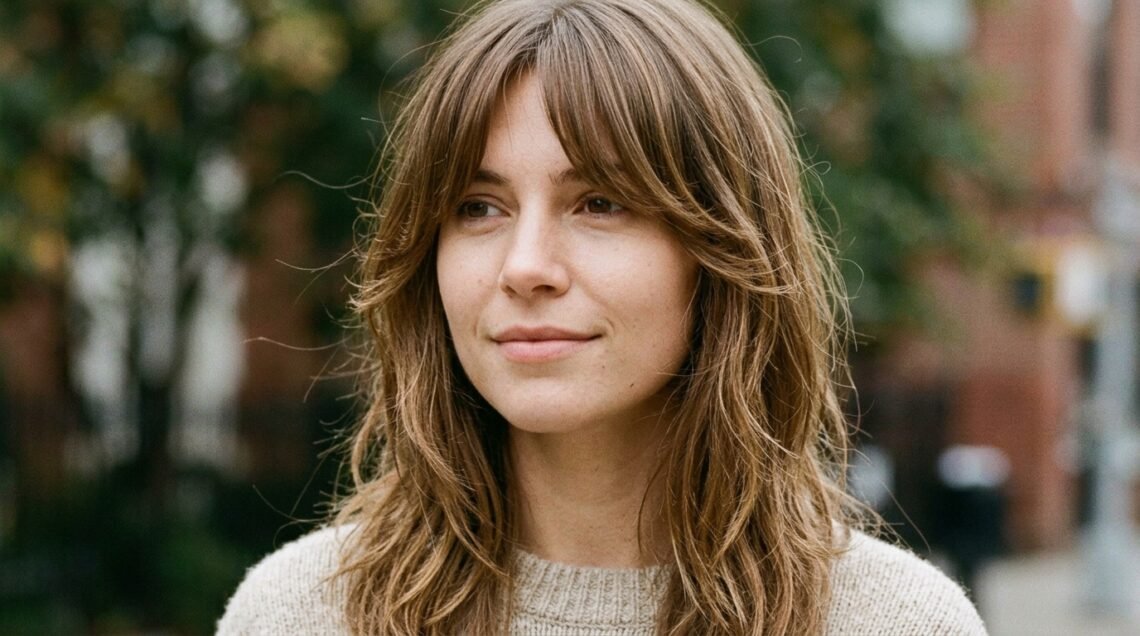
Picture day sneaks up every single year. One day you’re fine, the next there’s a note in the backpack and you’re standing in the bathroom at 7 a.m. wondering what to do with medium-length hair that refuses to cooperate.
Good news: medium hair is honestly the best length for picture day. It’s long enough to braid, curl, or pull back, and short enough that it doesn’t eat your whole morning.
I rounded up the ideas that actually hold up under school lighting and last through the last bell. Most take ten minutes or less, and a few are so easy you could do them in the car mirror.
Pick one, practice it once, and you’re set.
Know Your Hair’s Natural Texture First
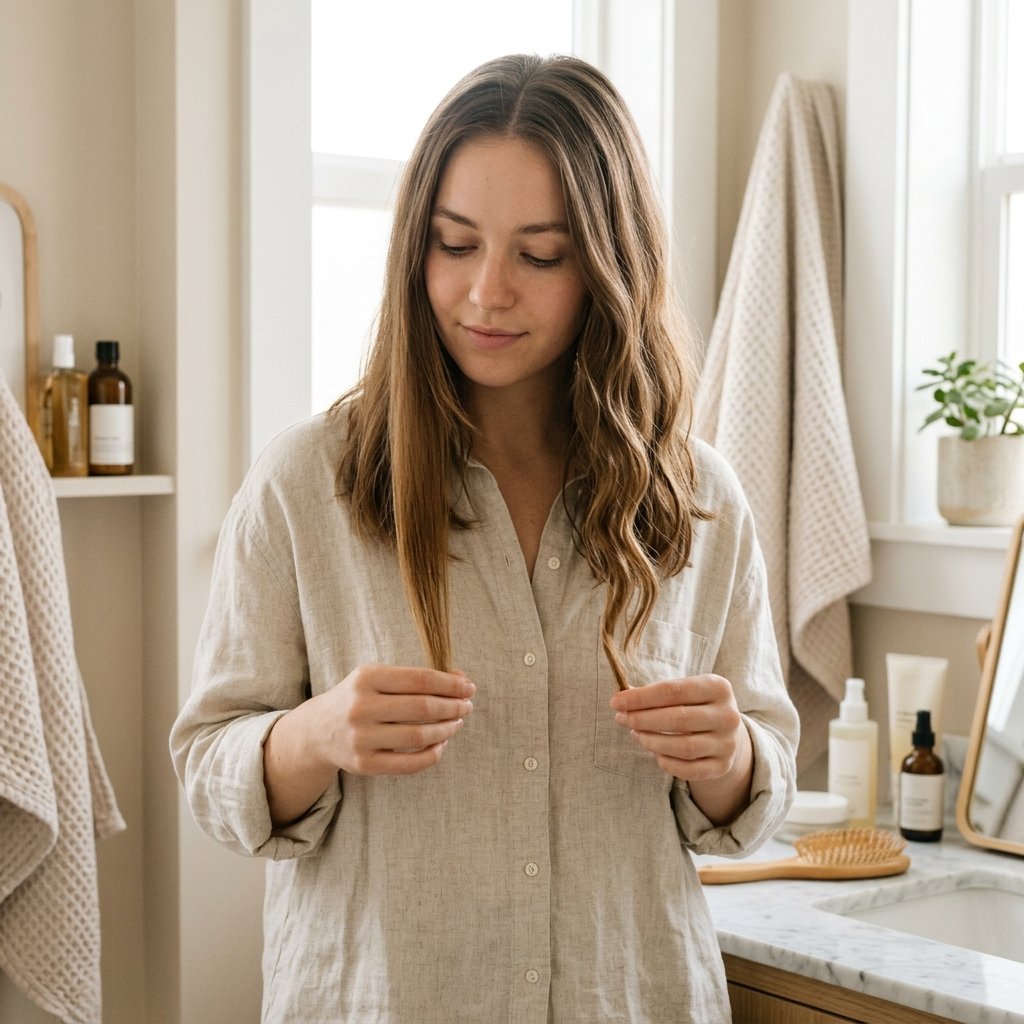
Before you pick a style, look at what your hair already wants to do. Fighting your texture on a rushed morning never ends well.
- Straight hair: shine and sleek styles are your best friend
- Wavy hair: work with the wave, add a little cream and scrunch
- Curly hair: define what’s already there instead of flattening it
- Fine hair: texture spray is your secret weapon for volume
I always tell friends to choose a style that matches their natural pattern, not fights it. That’s the difference between a look that lasts until lunch and one that lasts all day.
The Soft Blowout That Never Fails
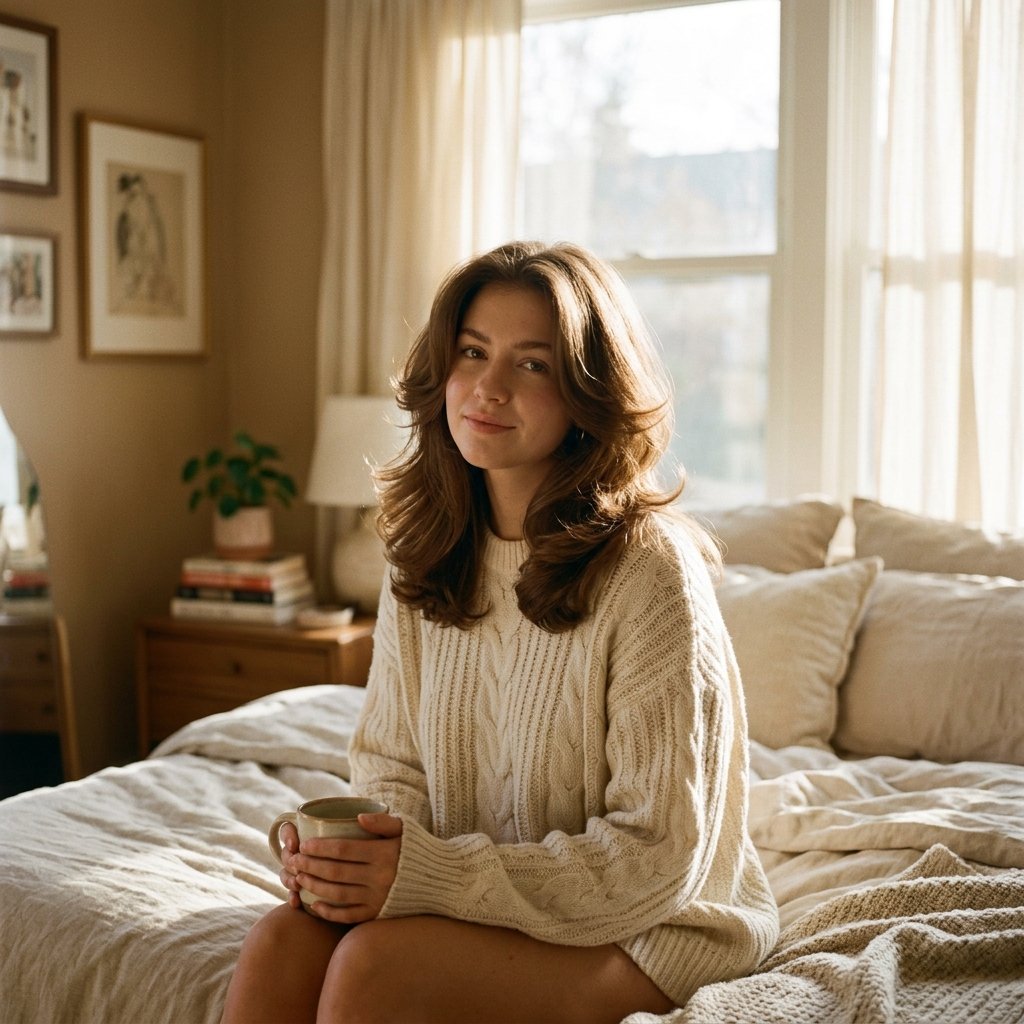
Nothing beats a soft blowout for picture day. It’s classic, flattering in photos, and works on almost every face shape.
- Rough dry hair until it’s about 80 percent dry
- Wrap sections around a round brush, pointing the nozzle down
- Finish with a light mist of flexible hold spray
- Flip hair over, shake it out, and use fingers to break up the curls
The trick is keeping it bouncy, not stiff. Big, soft volume reads beautifully on camera. If your hair is medium length, the ends should curve slightly toward your face or away. Either one looks intentional.
Old Money Hair: Polished and Effortless
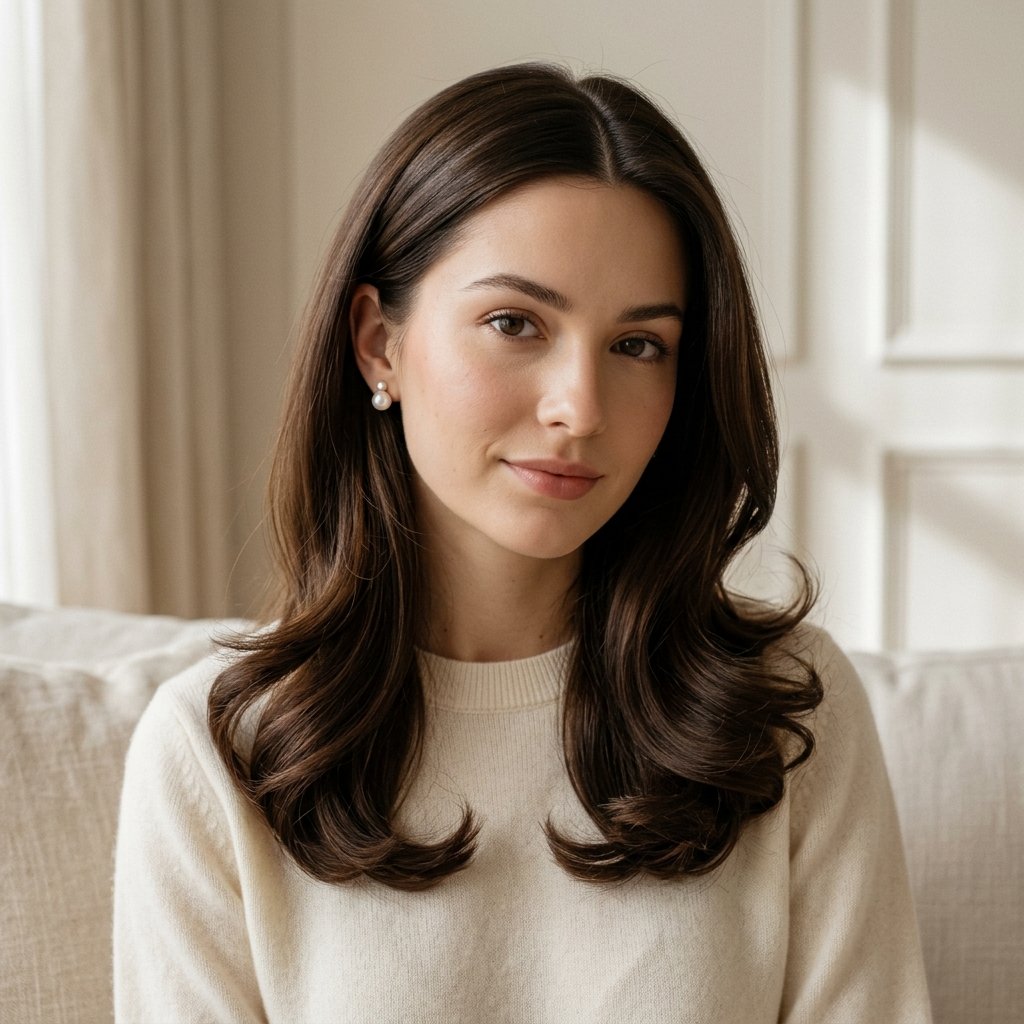
Old money hair is everywhere in 2026 hairstyles, and it’s perfect for picture day because it looks expensive without trying hard.
- Smooth, glossy texture
- A clean middle or slightly off-center part
- Ends that curve softly inward
- Zero visible crunch or heavy hairspray
I like to use a tiny drop of hair oil on the ends and a smoothing brush through the top layers. That’s it. No teasing, no heavy products.
If you have medium hair, this is your moment. It’s clean enough for a formal photo, but it still looks like you, which matters more than anything.
The Quiet Luxury Bob for Medium Length Hair
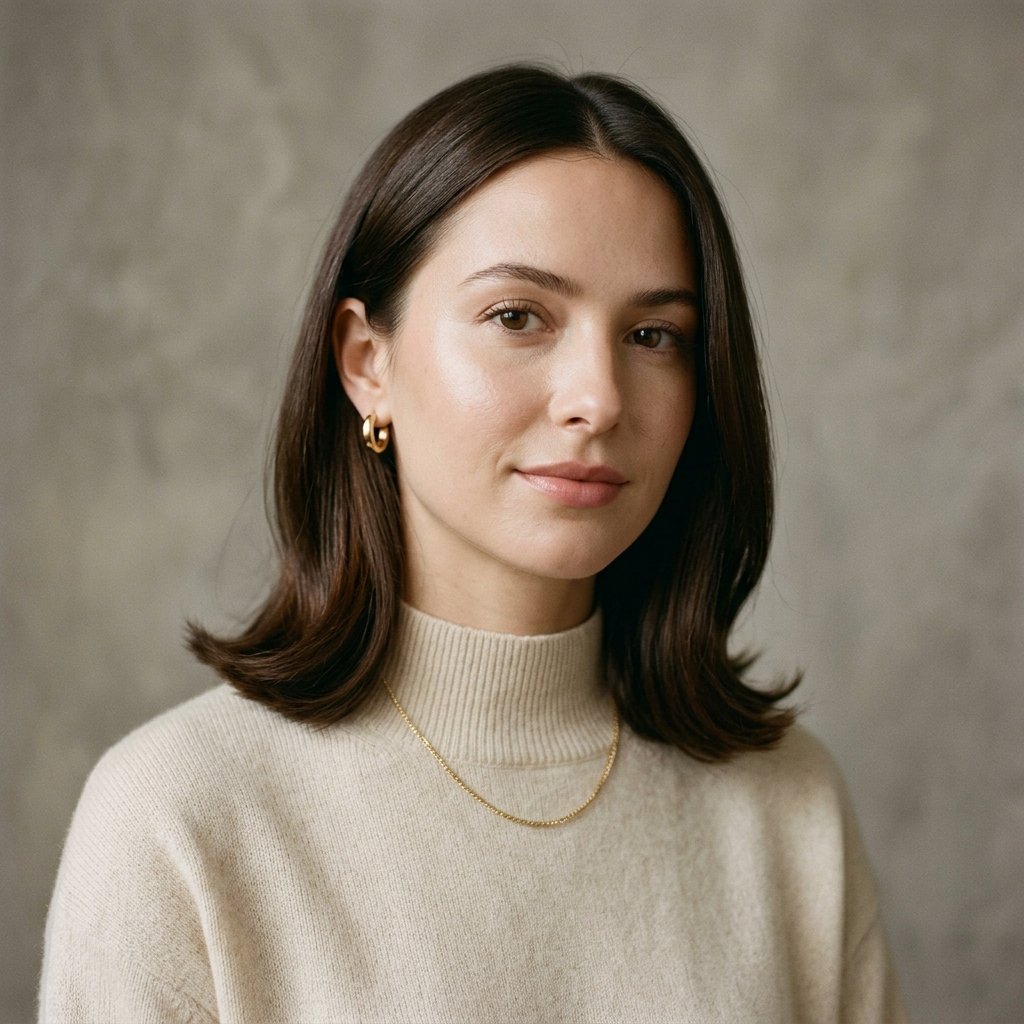
The quiet luxury bob is basically the softer cousin of a blunt bob. On medium hair, it usually means collarbone length with a smooth, clean finish.
- Blow-dry with a round brush, curling the ends under
- Add a middle part for that clean, expensive line
- Tuck one side behind your ear for a little asymmetry
- Smooth flyaways with a touch of pomade on a clean toothbrush
I love this one because it looks intentional from the front and the side. Photos get taken at every angle, so a style that works all the way around is a win.
Half-Up, Half-Down With a Twist
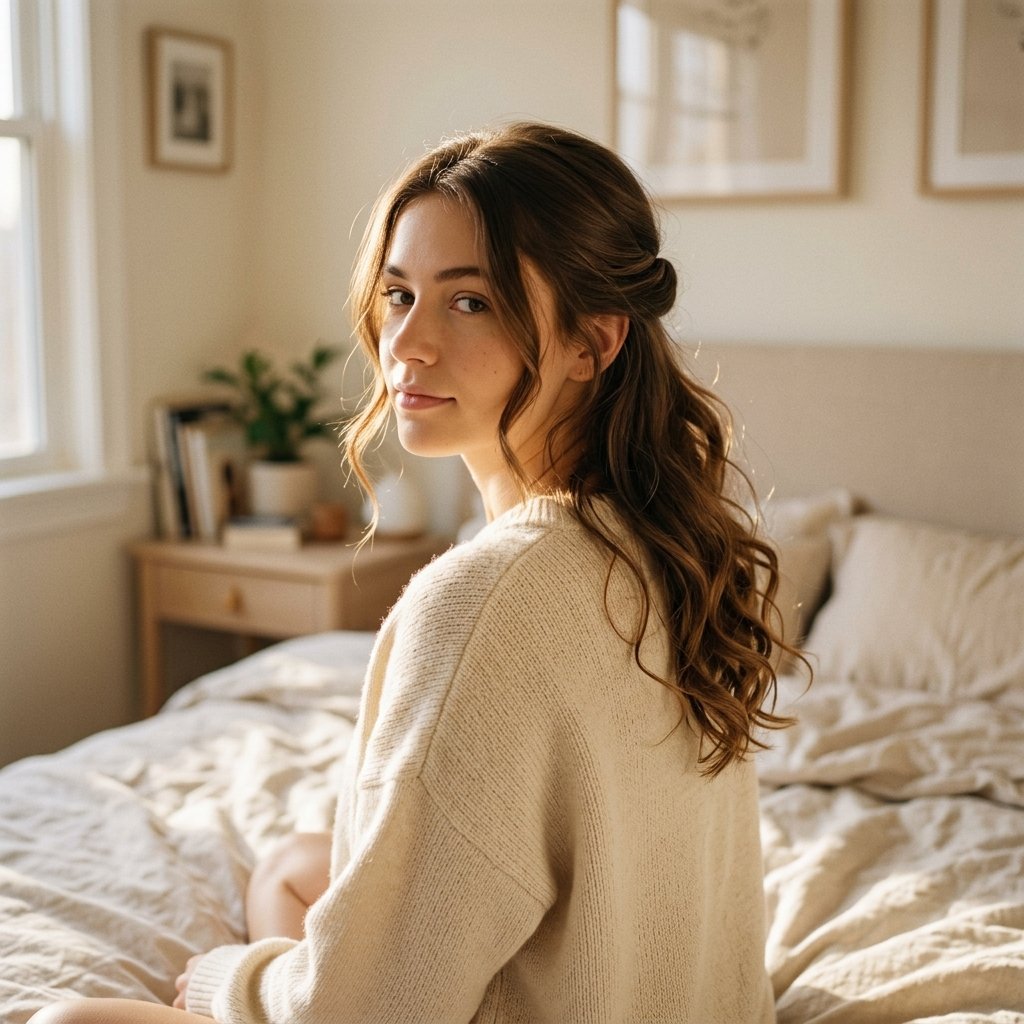
Half-up, half-down is the picture day classic for a reason. It shows your face, keeps hair out of your eyes, and still looks soft.
- Take a section from each side of your part
- Cross them over each other twice at the back of your head
- Pin with two bobby pins that match your hair color
- Gently pull the top for volume
- Curl the loose ends for a little polish
Keep the pins hidden and the twist loose. Tight twists look stiff in photos. A soft, slightly imperfect version reads as romantic and relaxed.
Sleek Low Ponytail With a Center Part
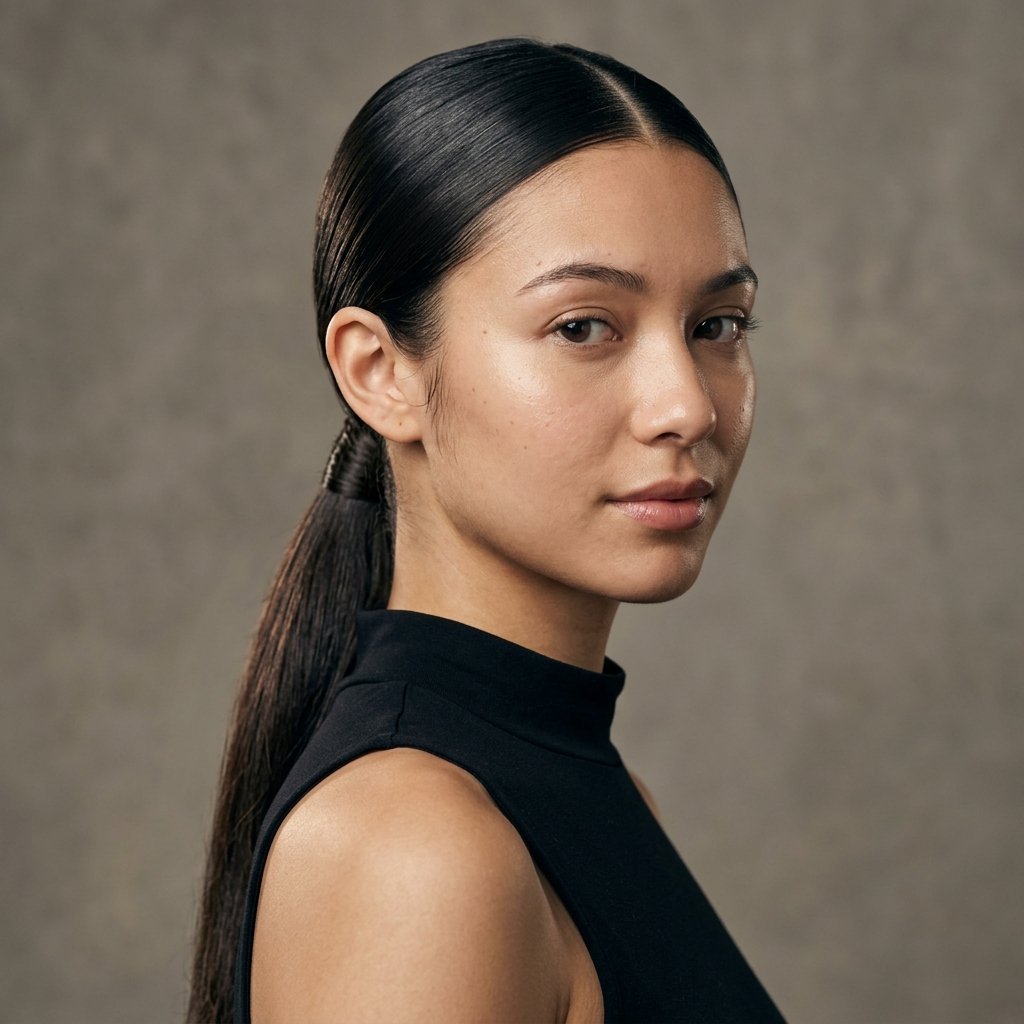
A sleek low ponytail is the fastest way to look put together in five minutes flat.
- Brush hair back with a little gel on the front pieces
- Gather at the nape of your neck
- Secure with a clear elastic
- Wrap a small strand around the elastic to hide it
- Smooth the top with a soft brush and light hairspray
This is my go-to when nothing else is working. It’s clean, it photographs well, and it never looks messy. Add a tiny bit of shine spray at the end if your hair tends to look dull under bright lights.
Asymmetrical Lob With a Deep Side Part
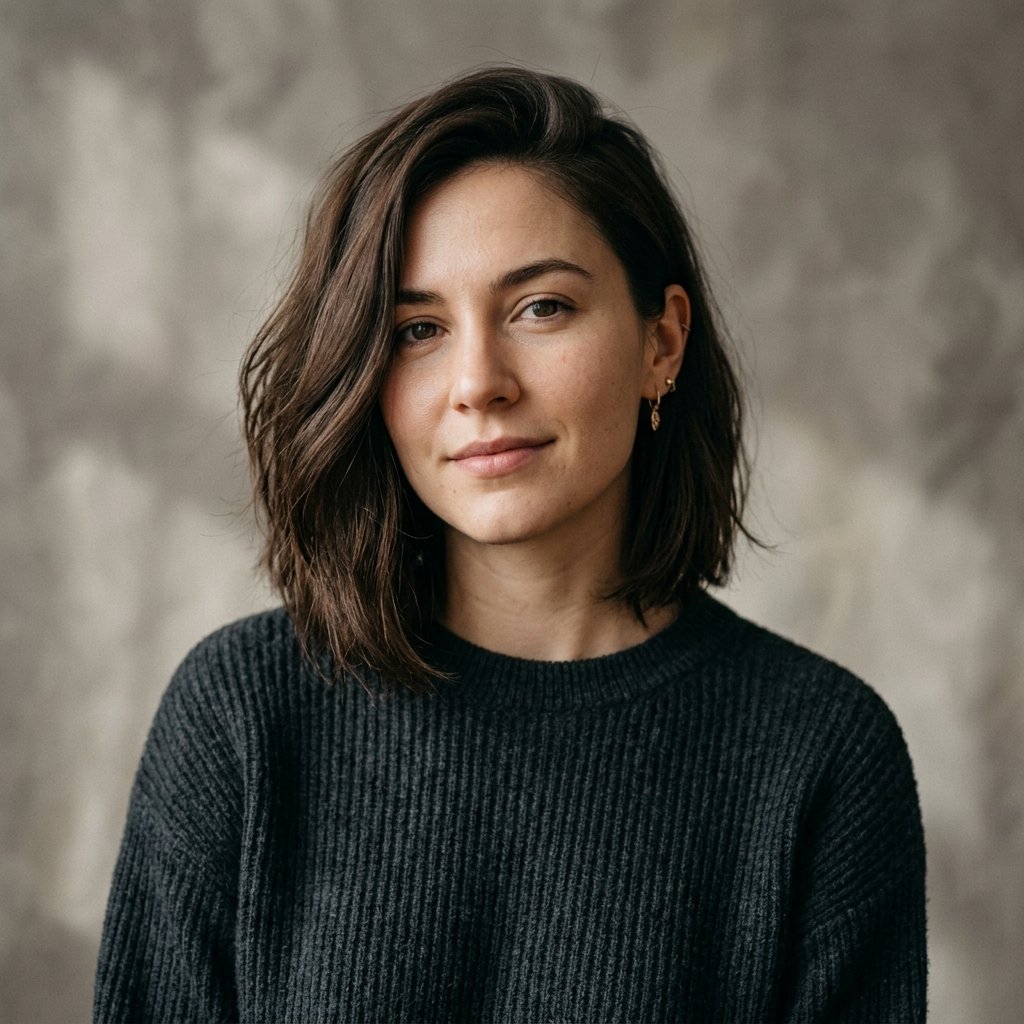
The asymmetrical lob is a medium-length dream. One side hits around the jaw, the other rests near the collarbone, and the deep side part does most of the work for you.
- Adds instant angles to round faces
- Makes fine hair look fuller on one side
- Works with straight, wavy, or lightly curled hair
I like to blow-dry the longer side forward so it frames the cheek. If you already have an asymmetrical lob, just add a little texture spray and you’re done. If not, fake the shape by parting deep and tucking one side behind your ear.
Loose Romantic Waves
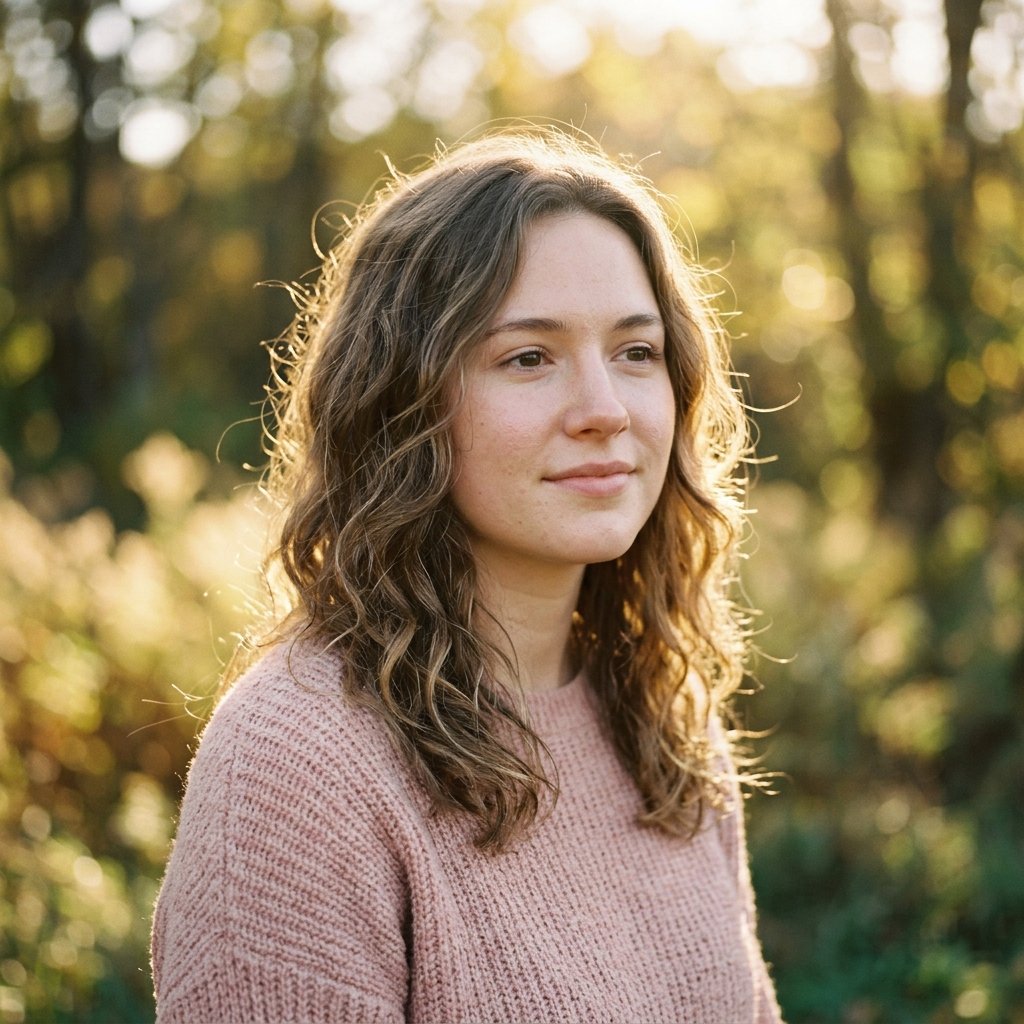
Loose waves are the safest bet if you want soft, pretty, and timeless. They work on almost any medium-length cut.
- Spray dry hair with heat protectant
- Wrap one-inch sections around a curling iron, leaving the ends out
- Let the curls cool completely before touching them
- Run fingers through, then brush lightly with a wide-tooth comb
- Set with a light mist of flexible hold spray
The key is leaving the last inch of hair out of the iron. Straight ends make waves look relaxed instead of pageant-y.
Braided Crown for a Sweet Touch
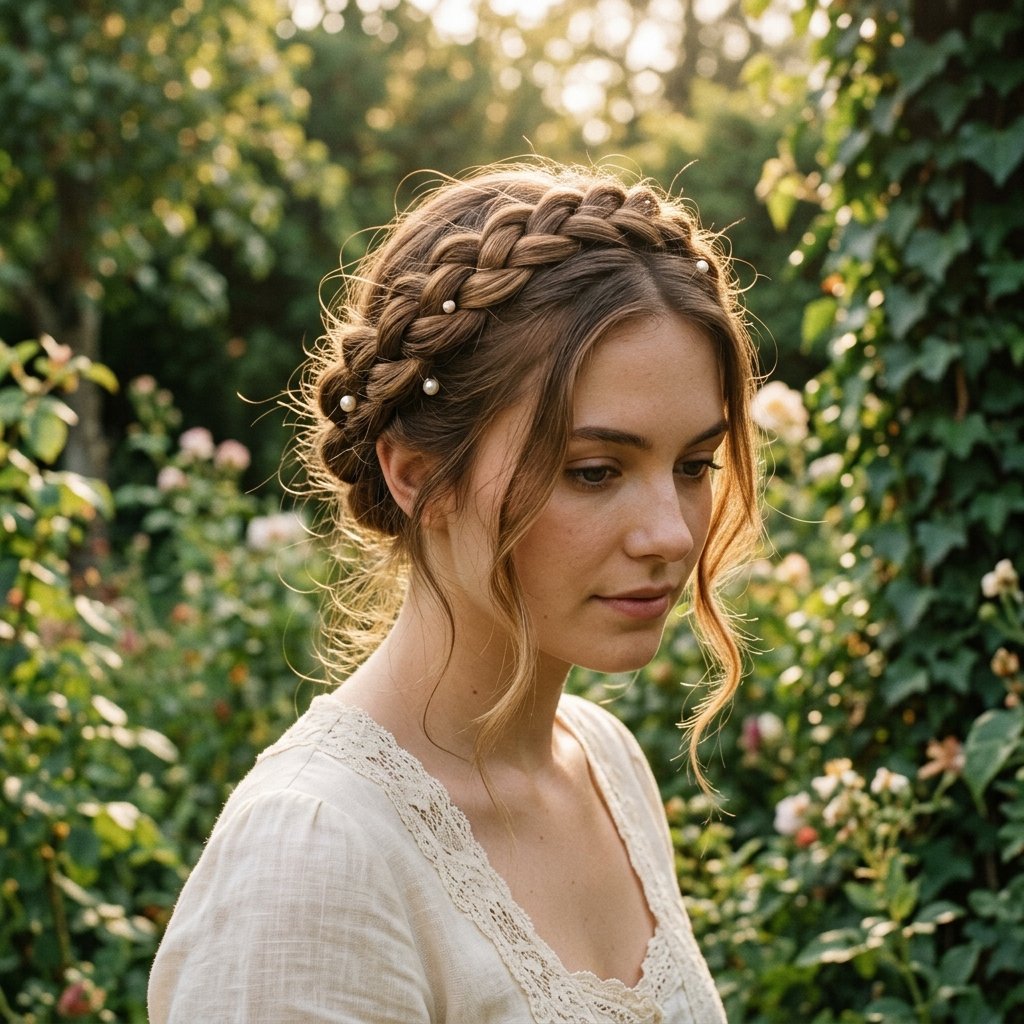
A braided crown looks fancy but takes about eight minutes once you get the hang of it.
- Part hair down the middle
- Braid each side into a regular three-strand braid
- Pull the braids up and across the top of your head
- Pin them where they meet
- Gently pull the braid edges for a fuller look
Medium hair is honestly the perfect length for this. Any longer and the braids get heavy. Add small pearl pins if you want a little something extra. It’s sweet, it’s photo-friendly, and it keeps every strand in place.
Hime Cut Vibes for Straight Hair
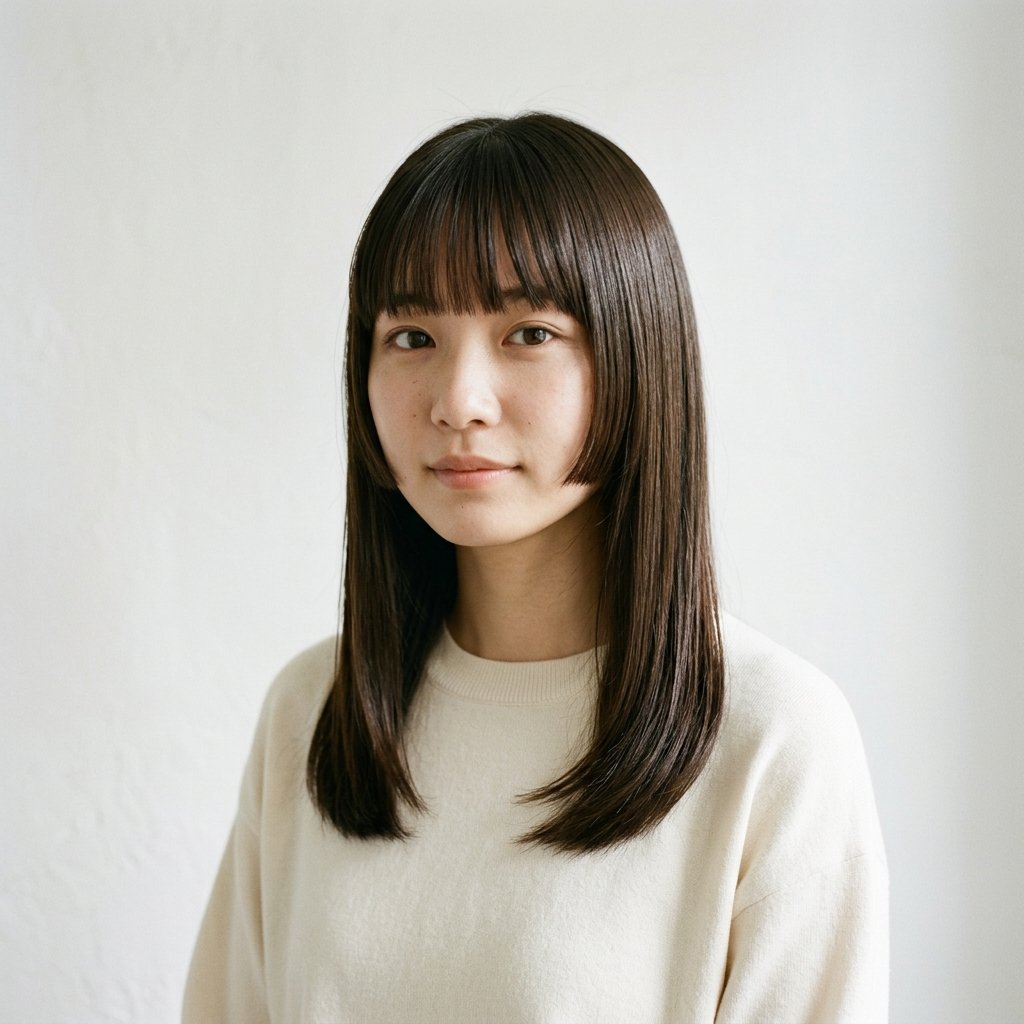
The hime cut is a Japanese style with blunt side pieces and a longer back. On medium hair, you can borrow the vibe without the full commitment.
- Part hair straight down the middle
- Smooth the front sections with a flat iron
- Keep the side pieces blunt and cheekbone length if you can
- Leave the back straight and glossy
Bonus: it works beautifully with a soft blowout on the back layers. It reads as polished and a little bit cool. If you have fine or straight medium hair, this is one of the easiest statement looks you can pull off.
A Sleek Vampire Haircut Inspired Look
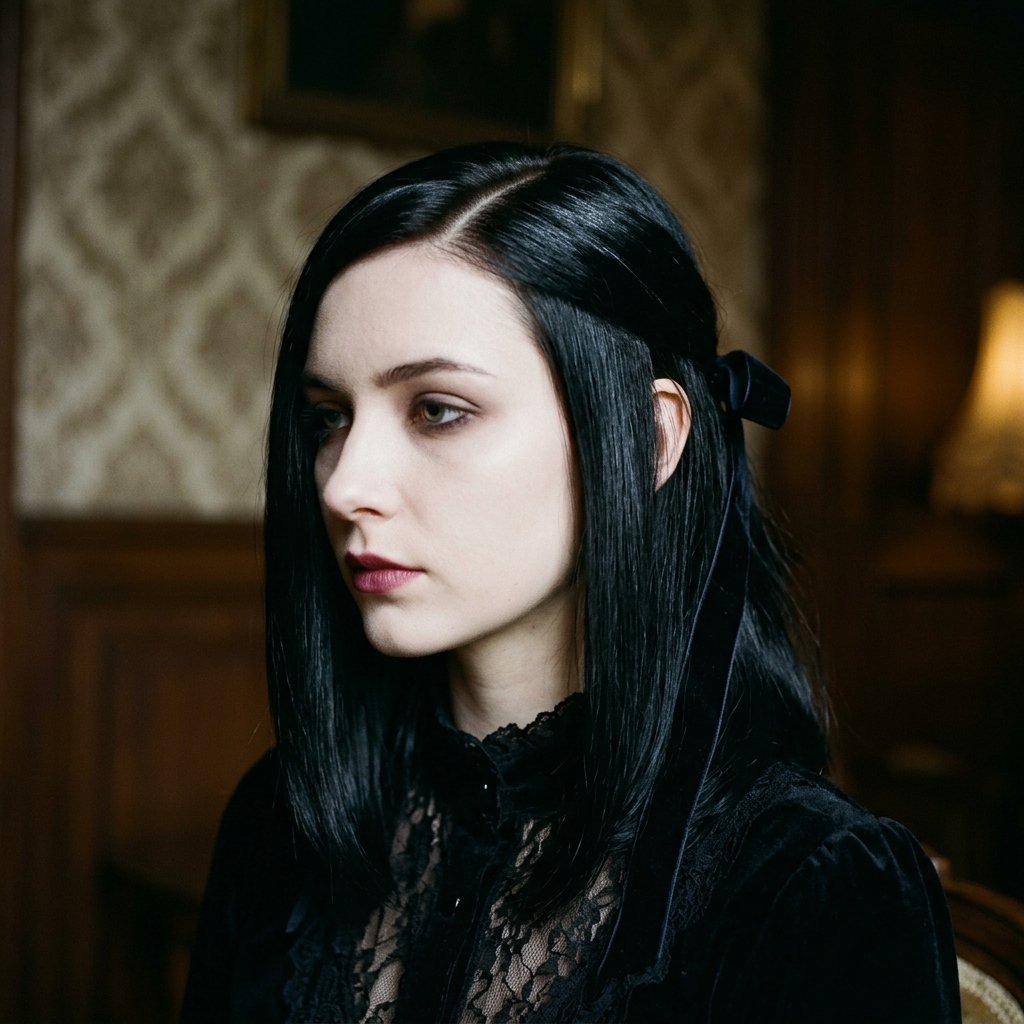
The vampire haircut is having a moment, and it translates perfectly to picture day if you keep it clean rather than costumey.
- Slicked back or side-parted front
- Sharp, deep side part
- Smooth, glossy length
- Slight inward curve at the ends
I’d pair it with a dark hair accessory or a black velvet ribbon to lean into the mood. Keep your makeup subtle so the hair does the talking. It’s dramatic in the best way, and it photographs beautifully with strong contrast.
Romantic Goth Hairstyles With Soft Curls
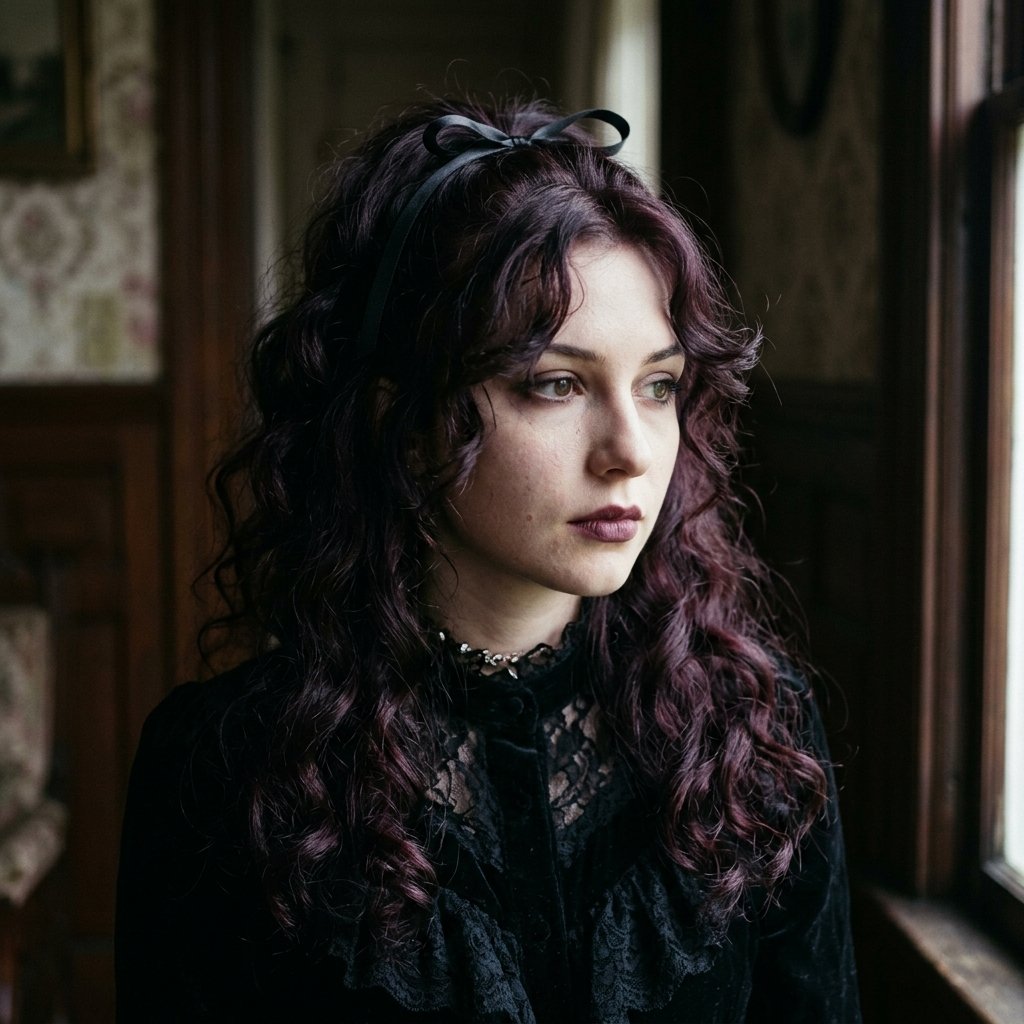
Romantic goth hairstyles are softer than full-on goth, and they’re surprisingly flattering in school photos.
- Loose, brushed-out curls
- Middle part with two face-framing pieces
- Small braids or ribbon woven in
- Matte texture instead of high shine
I love this look because it’s moody without being dark and heavy. Add a thin black ribbon tied at the crown, or a couple of tiny braids near the temples. Keep the curls soft and separated so it looks romantic rather than rigid.
Glitchy Glam Hair With Tinsel or Gel
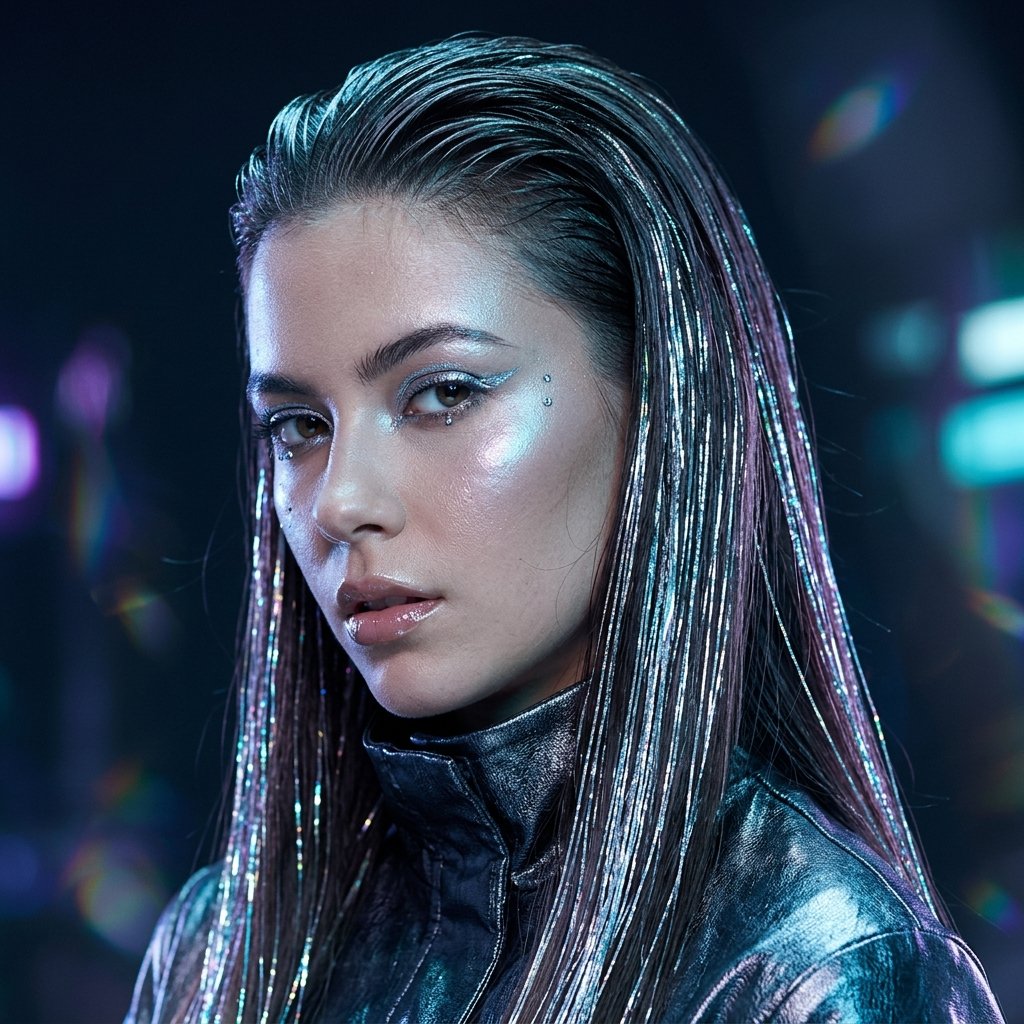
Glitchy glam hair is fun, a little futuristic, and honestly so good for a photo you’ll actually want to keep.
- Slick the top back with gel, then leave the ends straight and shiny
- Or add a few strands of silver or holographic tinsel through the length
The contrast between the wet-looking top and the dry, flowing ends is what makes it feel glitchy. Keep the gel on the top third only so it doesn’t look greasy. This one is great if you want something different from the usual curls.
Space Buns With Face-Framing Pieces
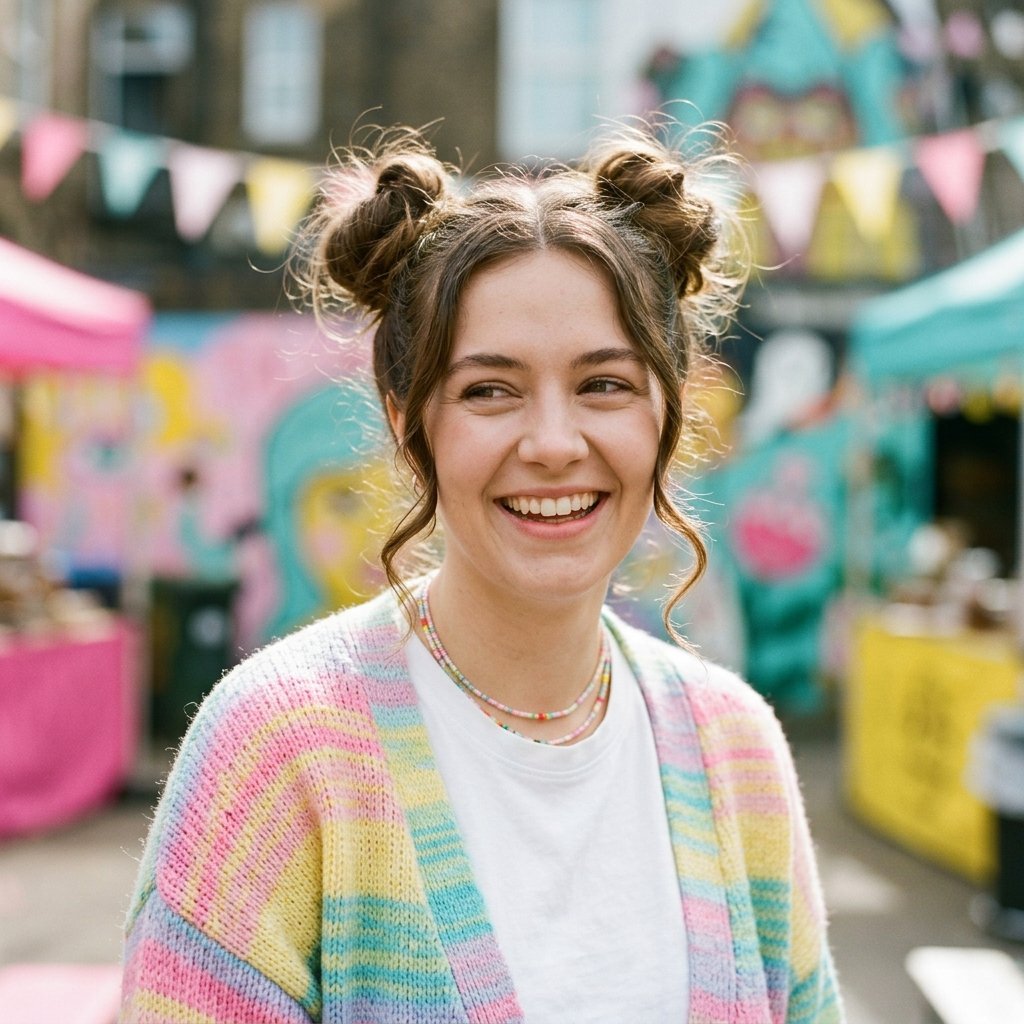
Space buns are cute, quick, and they keep hair completely out of your face.
- Part hair down the middle
- Pull each side into a high pigtail
- Twist each pigtail into a bun and pin it
- Pull out two small pieces at the front
- Curl those pieces away from your face
Medium hair makes the perfect size buns. Too long and they get heavy, too short and they look like little knobs. Finish with a light hold spray. It’s playful without being childish.
Bubble Braid Ponytail
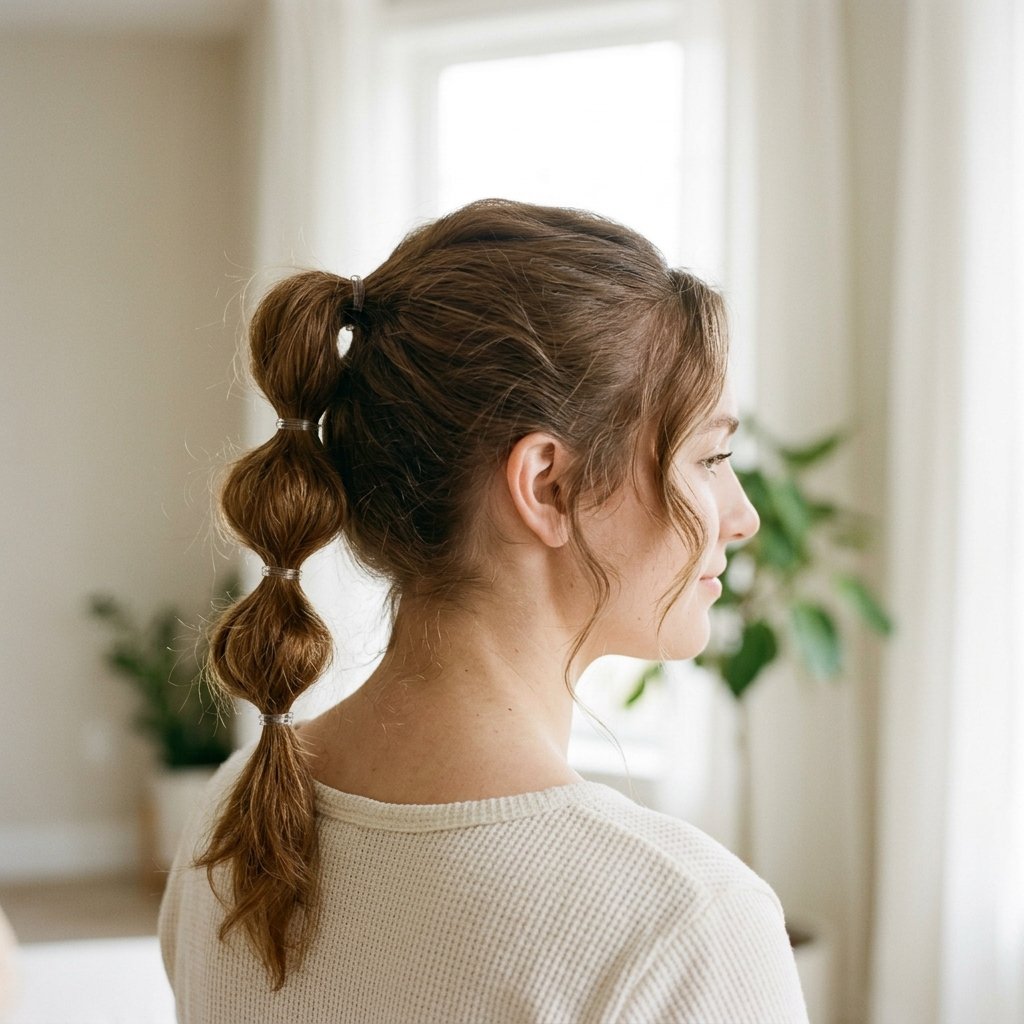
A bubble braid ponytail looks complicated but it’s basically a ponytail with clear elastics every couple of inches.
- Pull hair into a high or mid ponytail
- Add clear elastics down the length, spacing them evenly
- Gently pull each section outward to create the bubble shape
- Smooth the top with a little gel
- Spray lightly to hold
On medium hair you’ll get about four or five bubbles, which is the sweet spot. It’s trendy, it stays put all day, and it looks great from the back and the front.
Curly Hair: A Defined Wash-and-Go
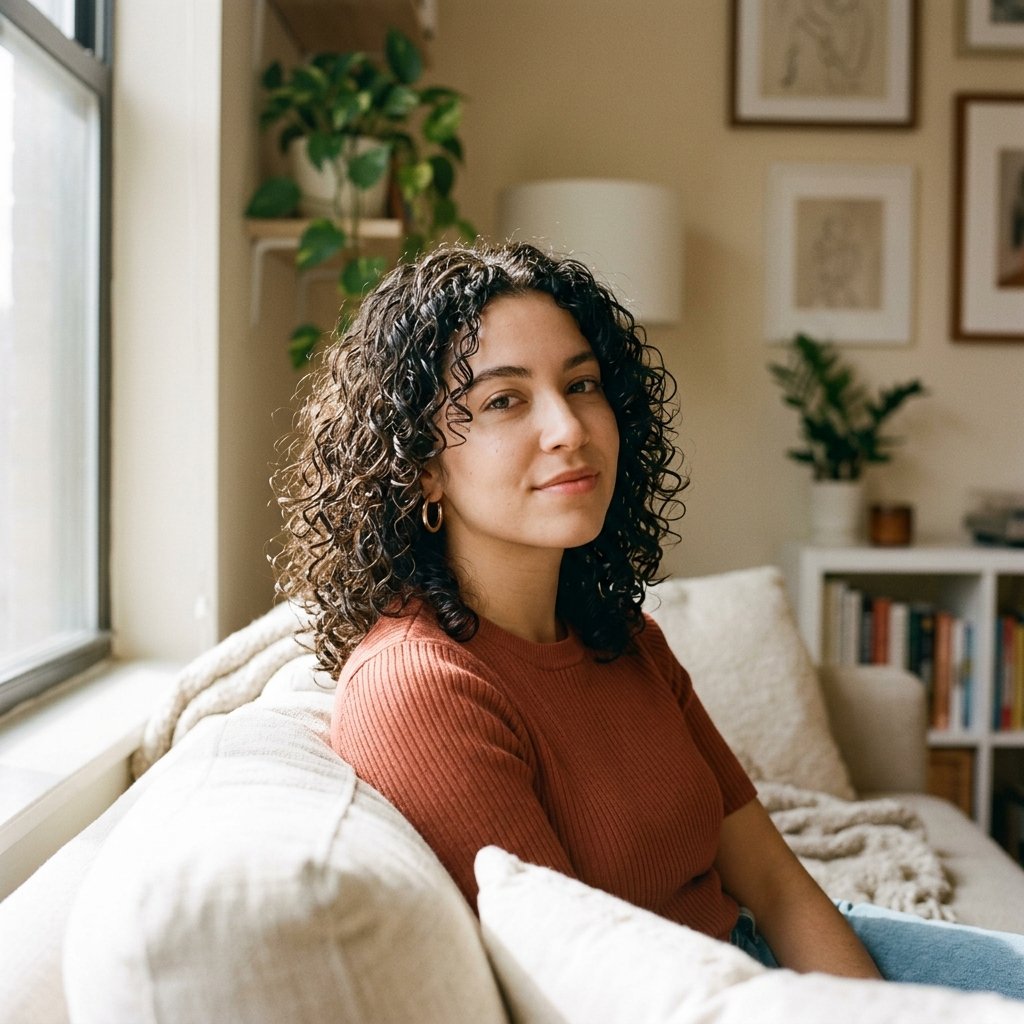
If you have curls, the best picture day move is usually to define what you already have instead of fighting it.
- Wash and condition, then apply leave-in on soaking wet hair
- Rake in a curl cream or gel in sections
- Scrunch upward, then leave it alone
- Air dry or diffuse on low heat
- Break the cast with a tiny bit of oil once fully dry
Do this the night before or early that morning. Curls need time and zero touching. Defined, bouncy curls look incredible in photos, and they hold their shape longer than any heat style.
The 5-Minute Picture Day Fix
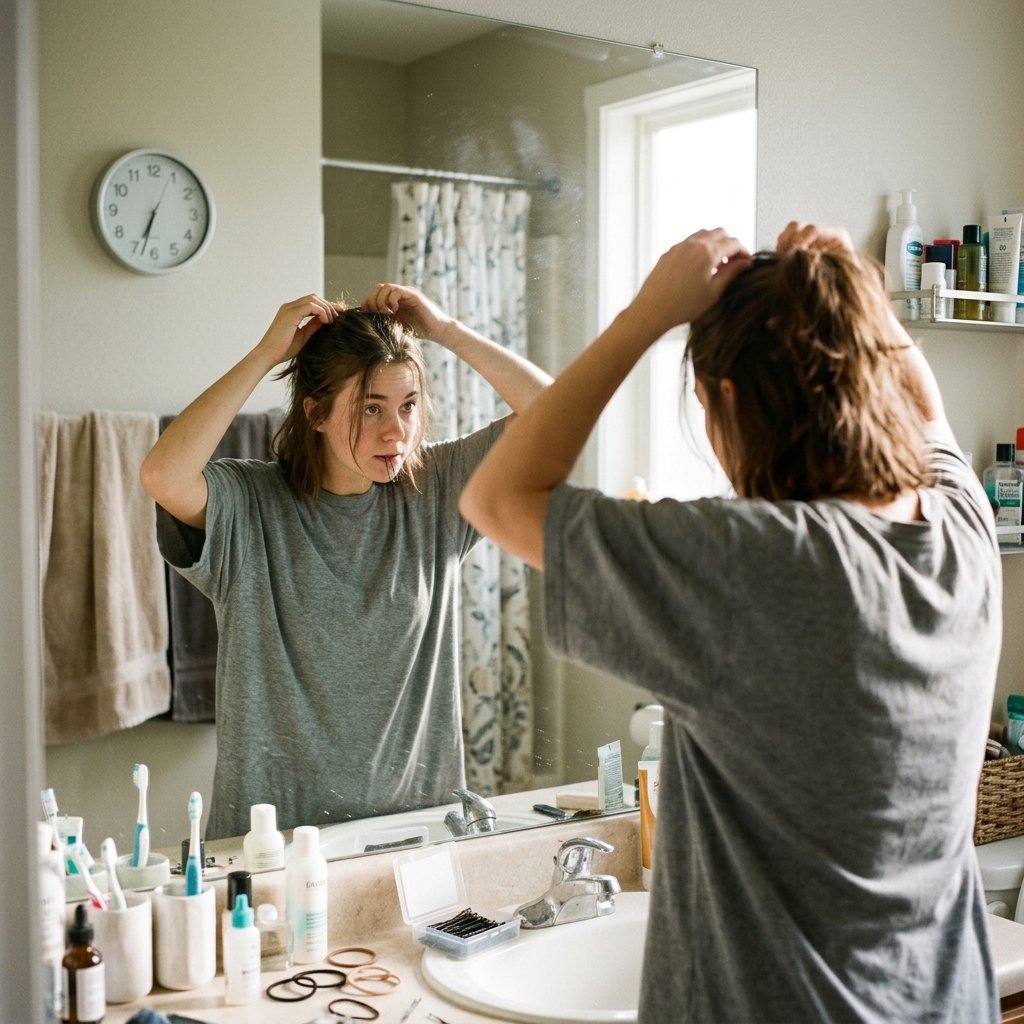
Running late? Here’s the routine I’d use with five minutes on the clock.
- Brush hair and add a little dry shampoo at the roots
- Pull the top half back with two twists and pin
- Smooth flyaways with a damp toothbrush
- Curl only the front two pieces
- Spray and go
That’s it. Nobody at school will know you did it in the car. When you’re short on time, focus on the front of your head, because that’s what shows up in the photo. The back can be simple or pulled into a clip.
Accessories That Do the Heavy Lifting
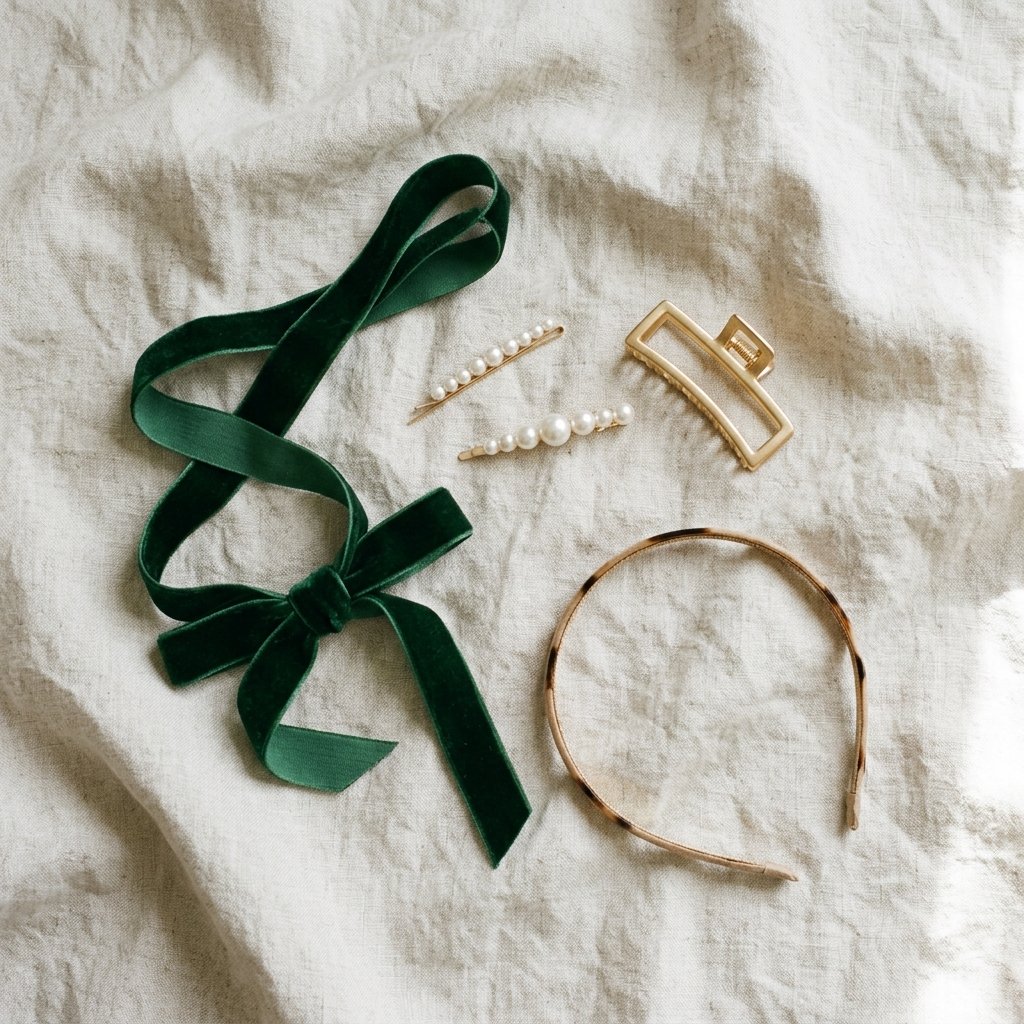
Accessories are the fastest way to make simple hair look styled.
- Velvet ribbons in deep colors
- Small pearl or crystal pins
- A single statement clip on one side
- Thin headbands for a clean, classic line
- Tiny bows near the part
One accessory is usually enough. Two can work if they match. Pick something that fits the mood you’re going for, whether that’s quiet luxury, romantic, or a little edgy. Also, test the clip beforehand. Nothing ruins a photo like a piece of plastic slipping down.
How To Make Your Style Last All Day
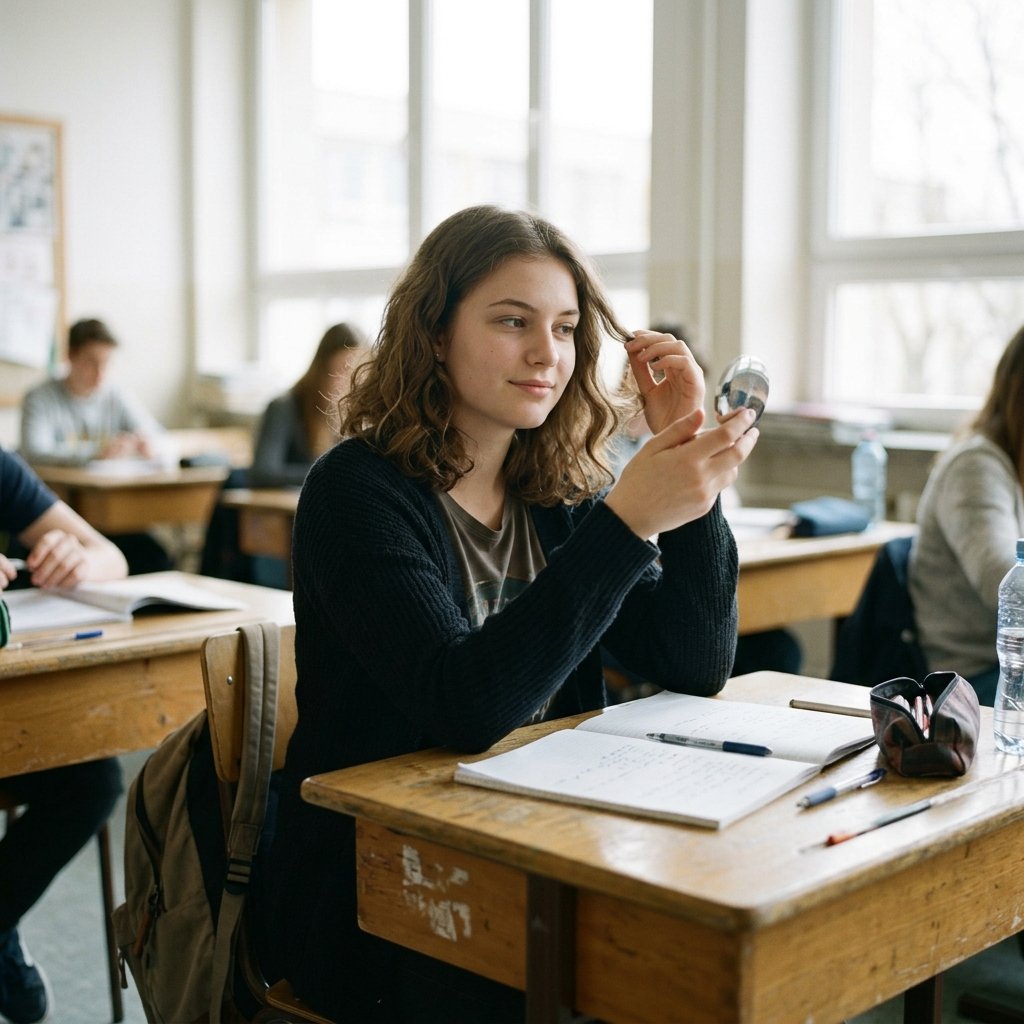
Picture day isn’t just about the five minutes in front of the camera. It’s about how your hair looks at 8 a.m. versus 2 p.m.
- Start with day-old hair, it holds styles better
- Use flexible hold spray, not the crunchy kind
- Avoid touching your hair, hands add oil
- Keep a mini hairspray and two pins in your bag
- If it’s humid, add a light anti-frizz serum before styling
The biggest mistake I see is overloading products in the morning. Hair that’s too stiff falls apart faster. A light hand always wins.
What To Do The Night Before
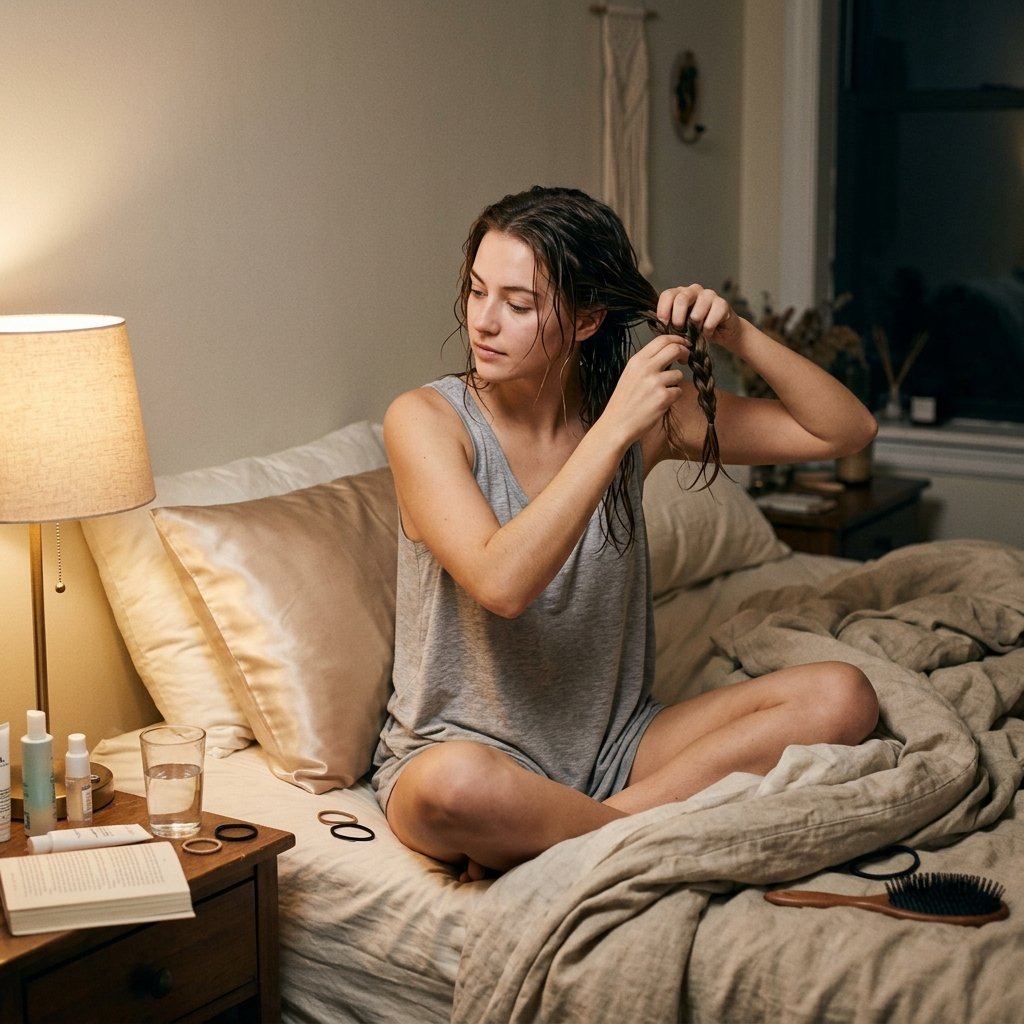
A little prep the night before makes picture day morning so much easier.
- Wash and condition your hair
- Apply a leave-in or heat protectant
- If you want waves, braid damp hair into two loose braids
- Sleep on a silk or satin pillowcase
- Lay out your outfit and any accessories
I can’t stress the braids enough. Take them out in the morning and you have soft, effortless waves with zero heat. It’s the laziest way to look like you tried. Medium hair takes waves really well.
Bangs and Face-Framing Pieces Matter Most
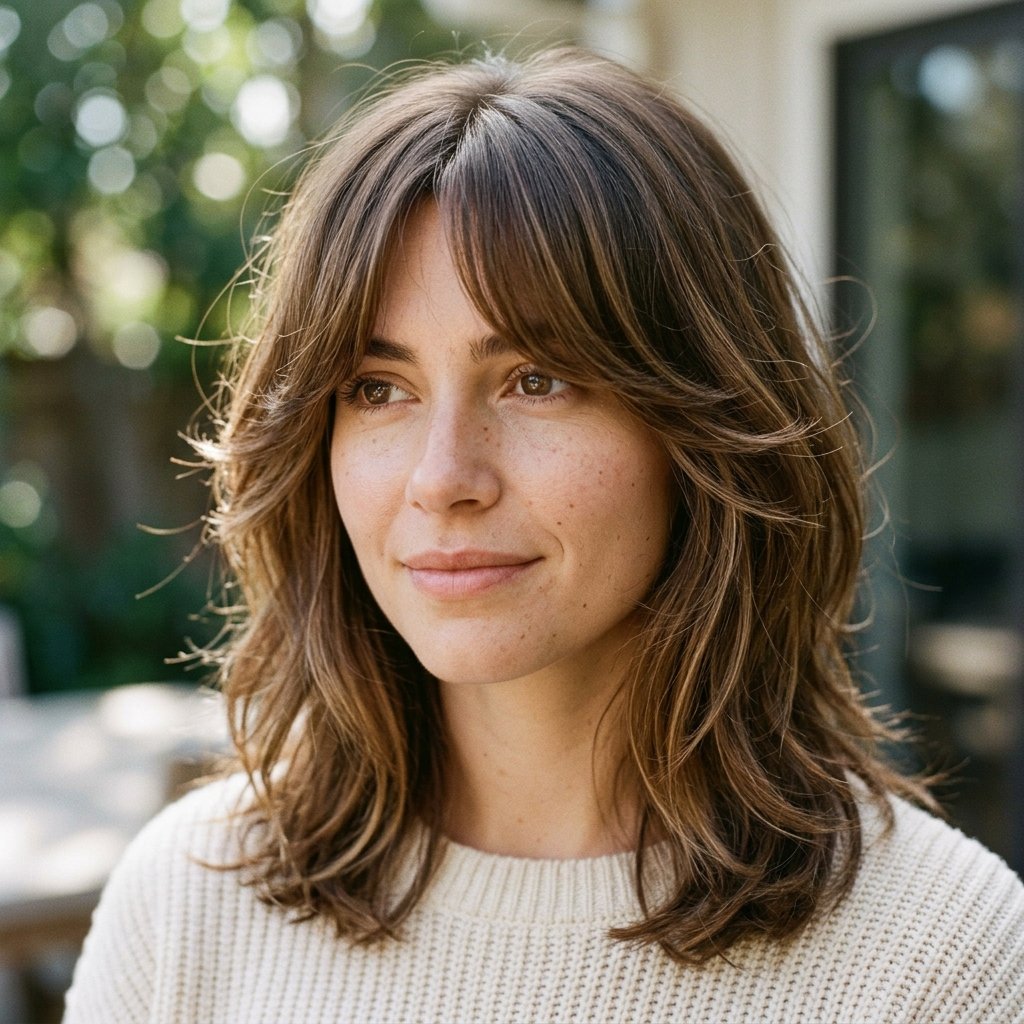
If you only style one part of your hair, make it the front.
- The camera sees your face first
- Face-framing pieces soften every angle
- Bangs hide a rushed hairline or a bad part
For curtain bangs, curl them slightly away from your face. For blunt bangs, smooth them with a flat iron and a tiny bit of pomade. For grown-out bangs, sweep them to one side and pin. Whatever you do, keep them clean and separated. Clumped bangs are the one thing photos never forgive.
Three Fast Options if You’re Really Short on Time
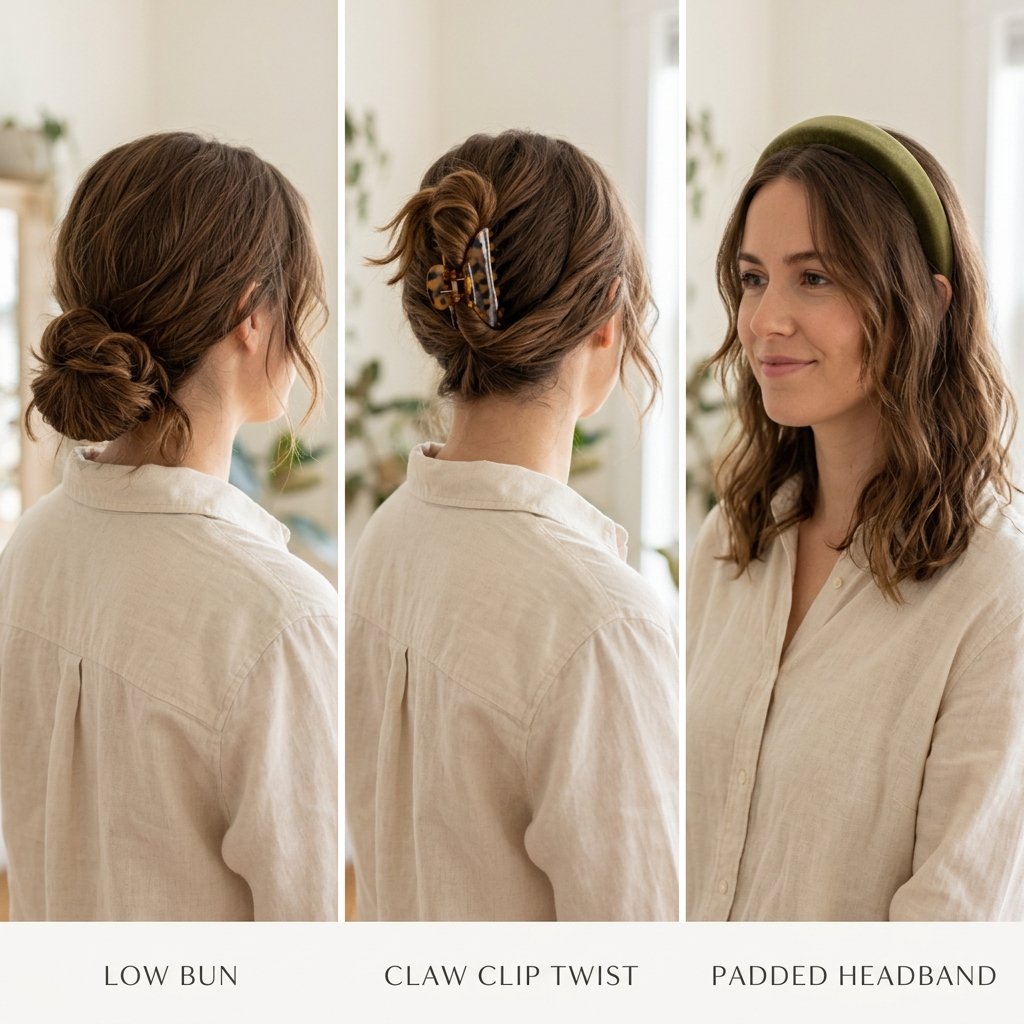
Some mornings are just chaos. Here are three styles that take under three minutes.
- The simple low bun: gather at the nape, twist, wrap, pin
- The claw clip twist: twist hair up, clip it, pull out two front pieces
- The headband look: add a padded headband, smooth the top, done
All three look intentional even when they’re not. Add a little hairspray and you’re out the door. If you have medium hair, the claw clip is probably the easiest of the three because the length holds itself in place without pins.
Photo-Friendly Finishing Touches
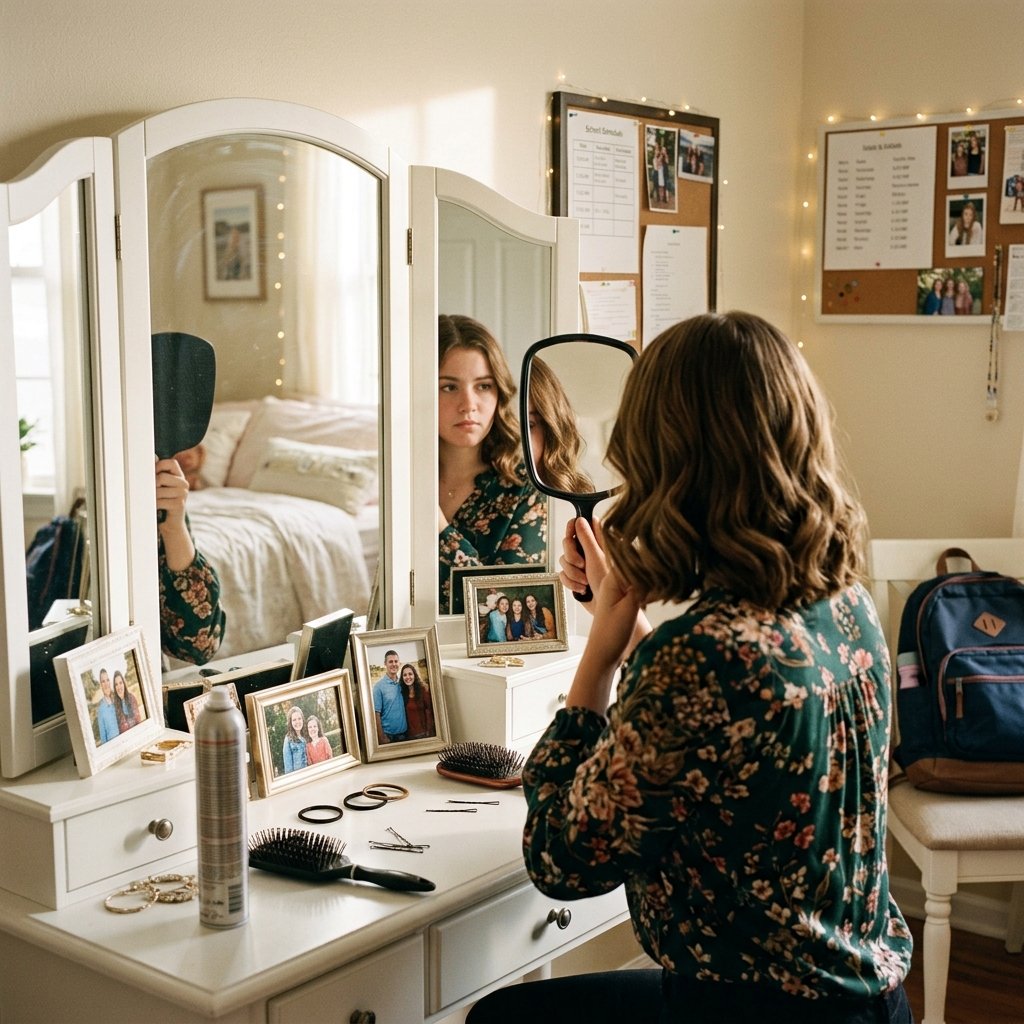
Small details make a big difference in photos.
- Check the back of your head in a mirror
- Look at your hair in bright light, not bathroom lighting
- Fix any visible bobby pins
- Add a tiny bit of shine spray to the ends
- Make sure no elastics are showing
Also, avoid products with heavy SPF or strong shimmer on picture day. They can flash white under studio lights. A clean, natural finish almost always looks better than something overly glossy.
One Last Thing Before You Go
Picture day hair doesn’t need to be complicated. Medium-length hair gives you so many options, and the best style is the one you can actually pull off before the bus comes.
Pick one or two from this list, practice them once, and keep the products light. You’ve got this, and your photos are going to look great.
Now go choose your favorite and tell me which one you’re trying this year.
Save this post to Pinterest so you have it ready the night before picture day. And drop a comment below with your go-to style. I read every single one, and I love hearing what worked for you.

