
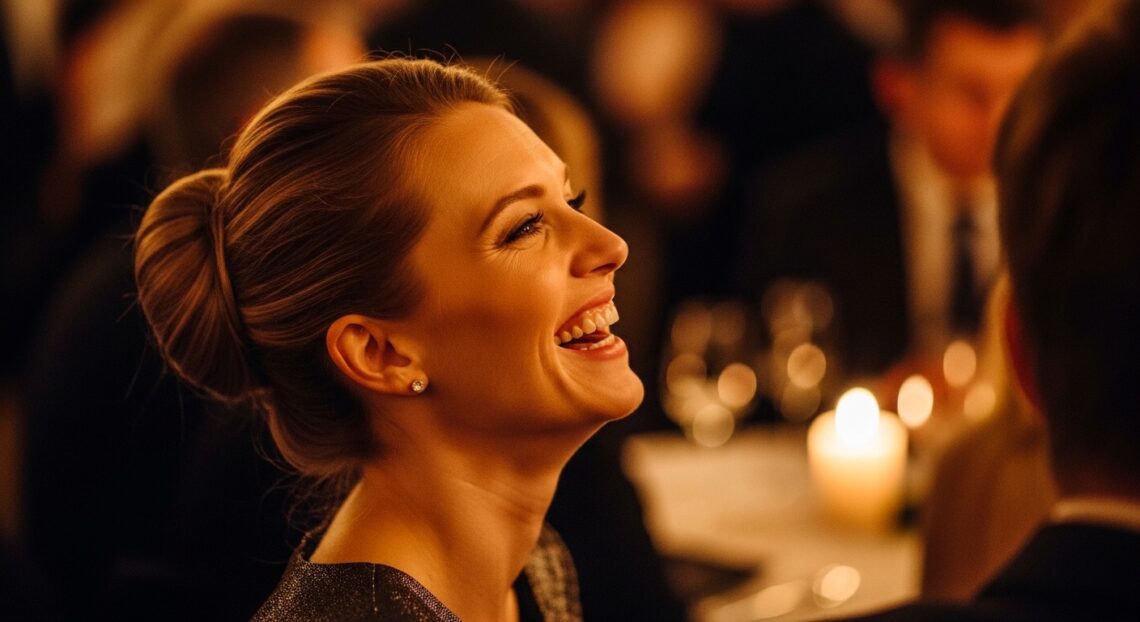
Okay, let’s be real. We’ve all been there. You have a wedding, a fancy dinner, or a big work event, and you need a hairstyle that looks like you didn’t try too hard, but you absolutely did. You want something elegant, timeless, and that won’t fall apart after two glasses of champagne.
That’s where this style comes in. It’s my secret weapon for looking polished in minutes. I’m calling it the Old Money Hair Twisted Low Bun, and it’s perfect for any elegant occasion where you want to feel put-together and classic.
Think of it as the quiet luxury bob of updos—understated but incredibly chic. It works on almost every hair type and length, and the best part? It’s way easier than it looks. Let me walk you through it, step-by-step.
What Is “Old Money Hair” Anyway?
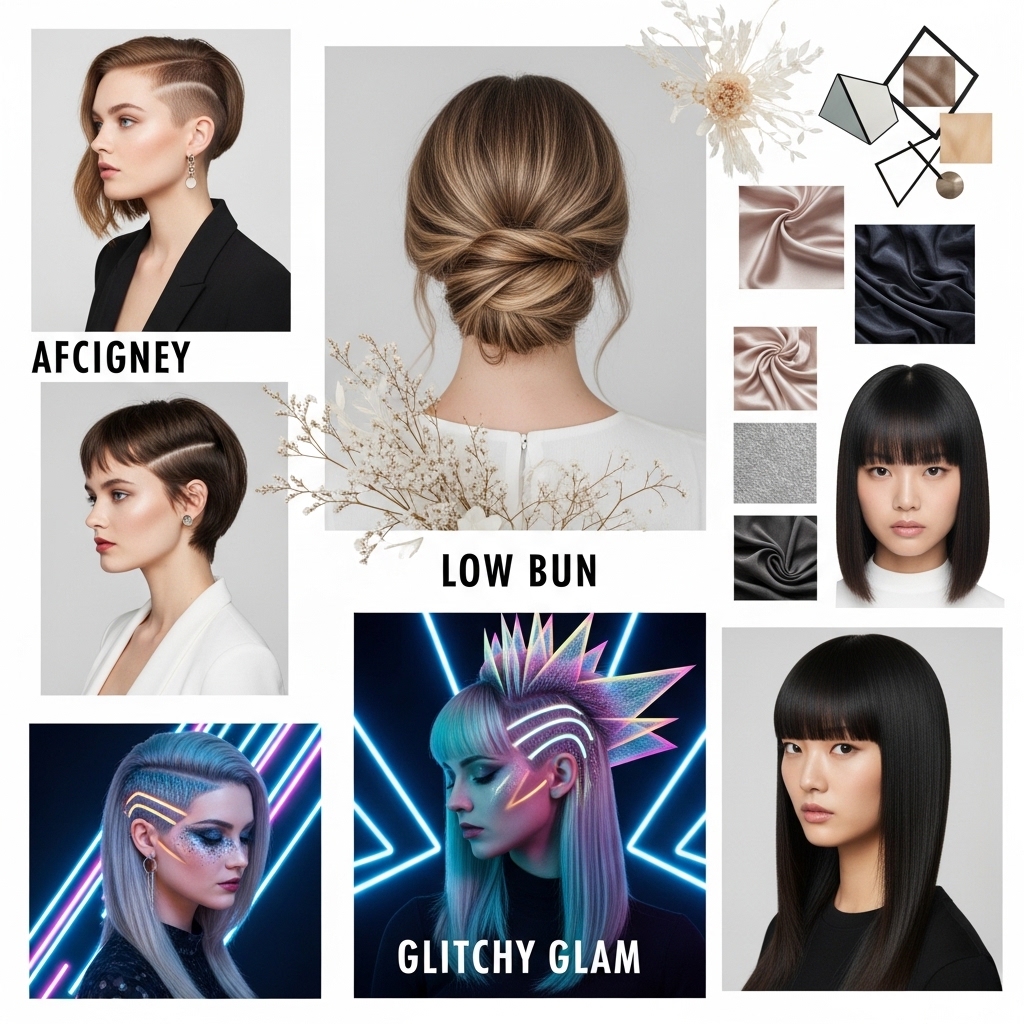
You’ve seen the term everywhere, right? “Old money hair” isn’t about a specific cut, but a vibe. It’s that perfectly groomed, healthy, and timeless look that seems effortless. It’s never overly trendy or fussy.
Think sleek bobs, soft waves, and elegant updos like this bun. It’s the opposite of loud, glitchy glam hair. This aesthetic is all about quality, simplicity, and looking polished without screaming for attention. It pairs perfectly with that quiet luxury wardrobe we all love.
Why This Bun Is a Total Game-Changer
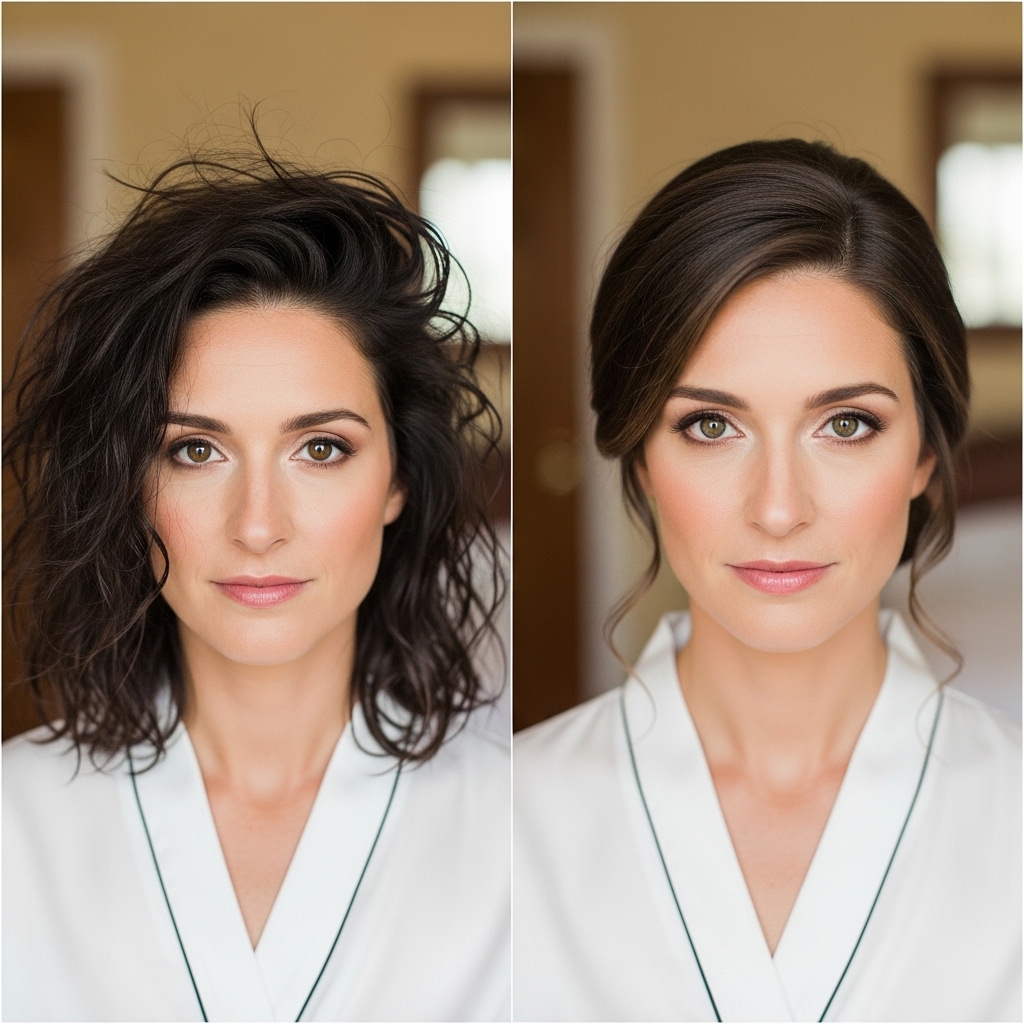
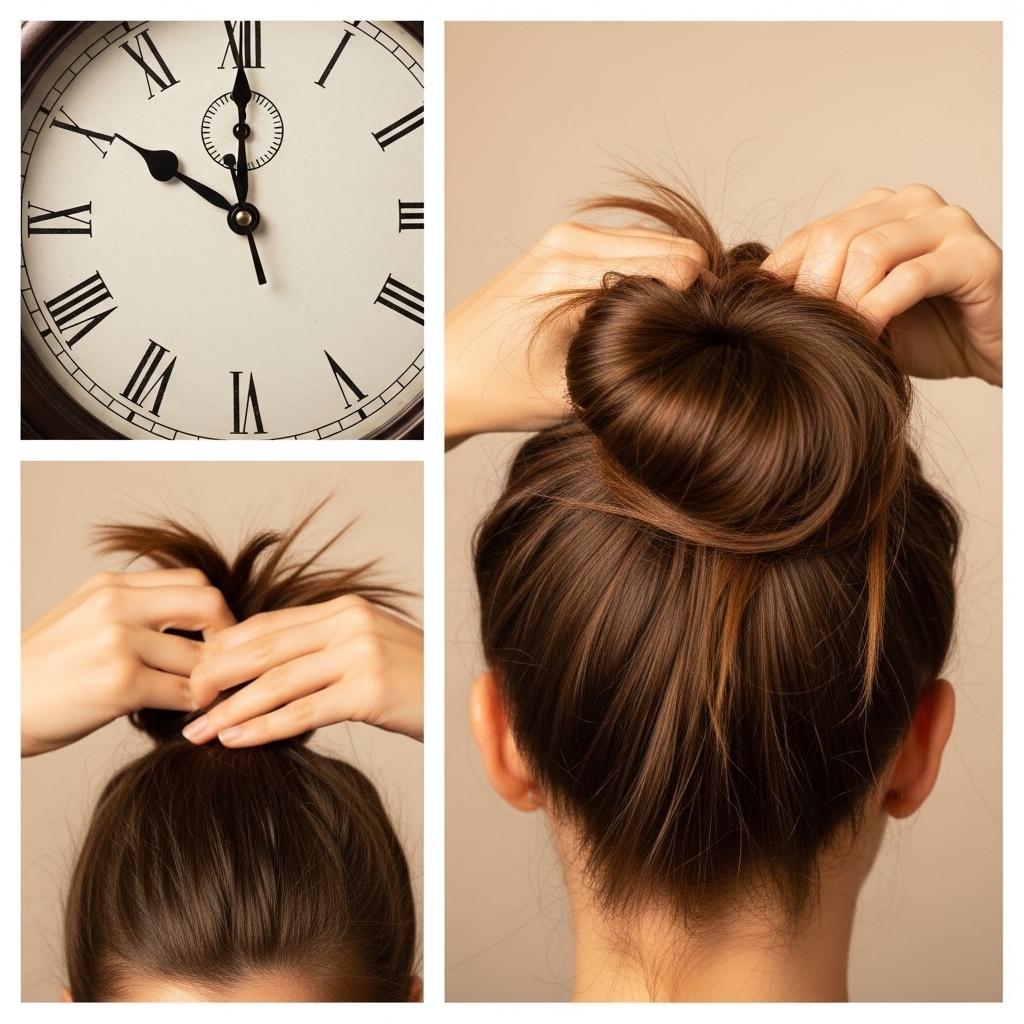
I love this style because it transforms your look instantly. It takes you from “just woke up” to “I have my life together” in about ten minutes. It’s incredibly versatile for different face shapes and hair textures.
Whether your hair is fine and slippery or thick and wavy, a few small tweaks make it work. It also saves you on a bad hair day. This bun is the elegant solution when washing and styling feels like too much. It’s a true classic, unlike more niche 2026 hairstyles like the vampire haircut or hime cut.
Gather Your Simple Tools
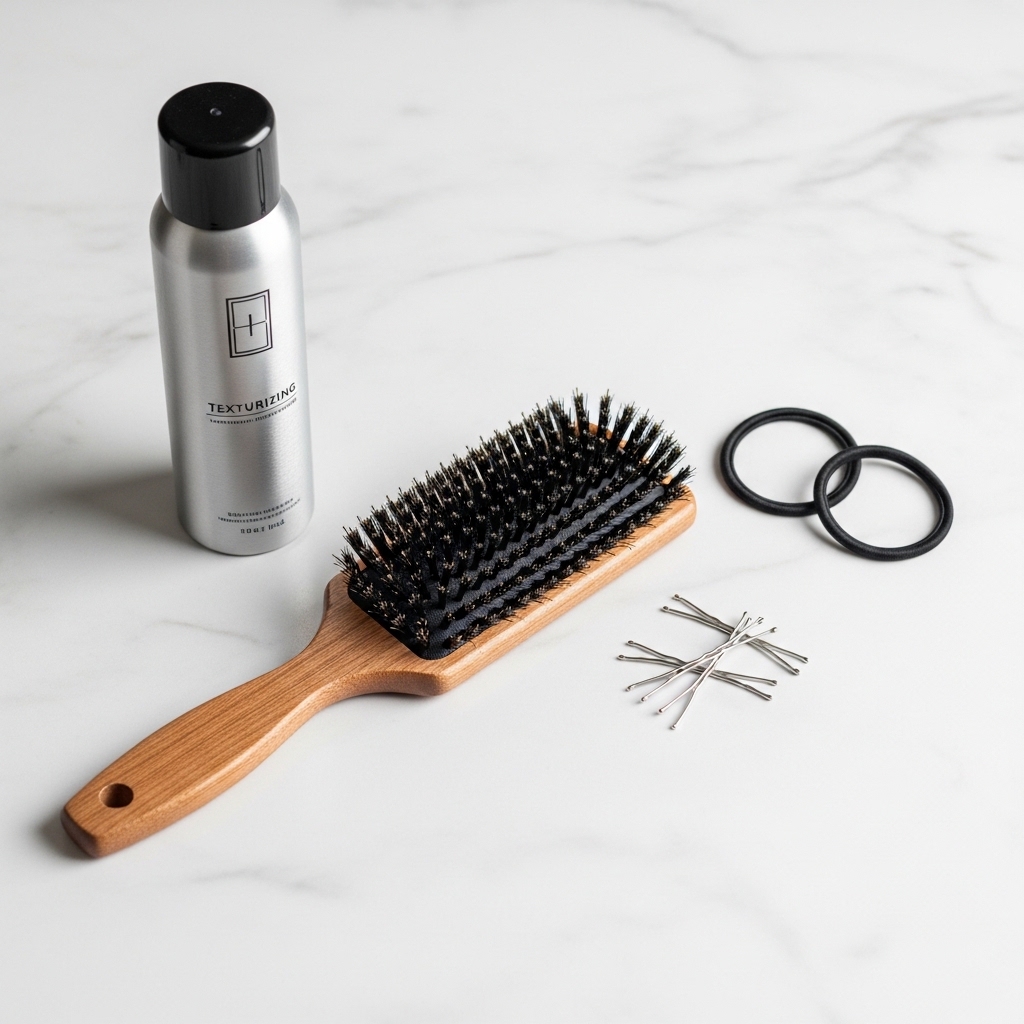
You don’t need a salon worth of products. Keep it simple. Here’s my go-to kit for this look:
- A fine-tooth comb or boar bristle brush for smoothing.
- Two strong, but small, clear elastic bands.
- About 8-10 bobby pins that match your hair color.
- A light-hold hairspray or texturizing spray (optional, but helpful).
That’s really it! The focus is on technique, not product. Having the right pins is key—flimsy ones won’t hold the weight of a bun. Invest in a good pack from the drugstore; it makes all the difference.
Start With the Perfect Base
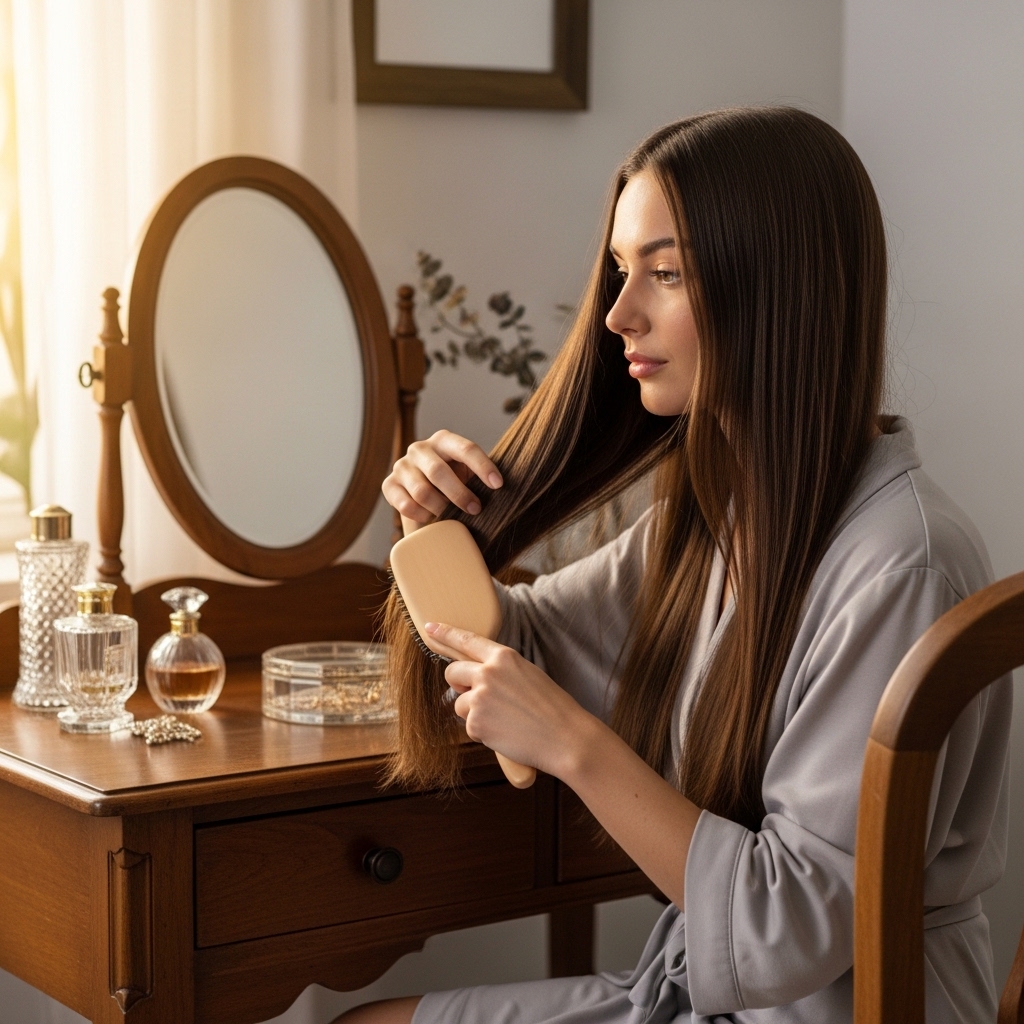
Great hair starts with a great base. For this bun, you don’t need day-old hair. Clean, blow-dried hair works beautifully, especially if you want that sleek look. If your hair is very clean and slippery, a light texturizing spray at the roots can add grip.
Brush through your hair thoroughly to remove any tangles. I like to give my hair a quick brush downward while flipping my head over. This adds a tiny bit of volume at the roots, which prevents the bun from looking too flat and severe against your head.
Step 1: Create a Low, Sleek Ponytail
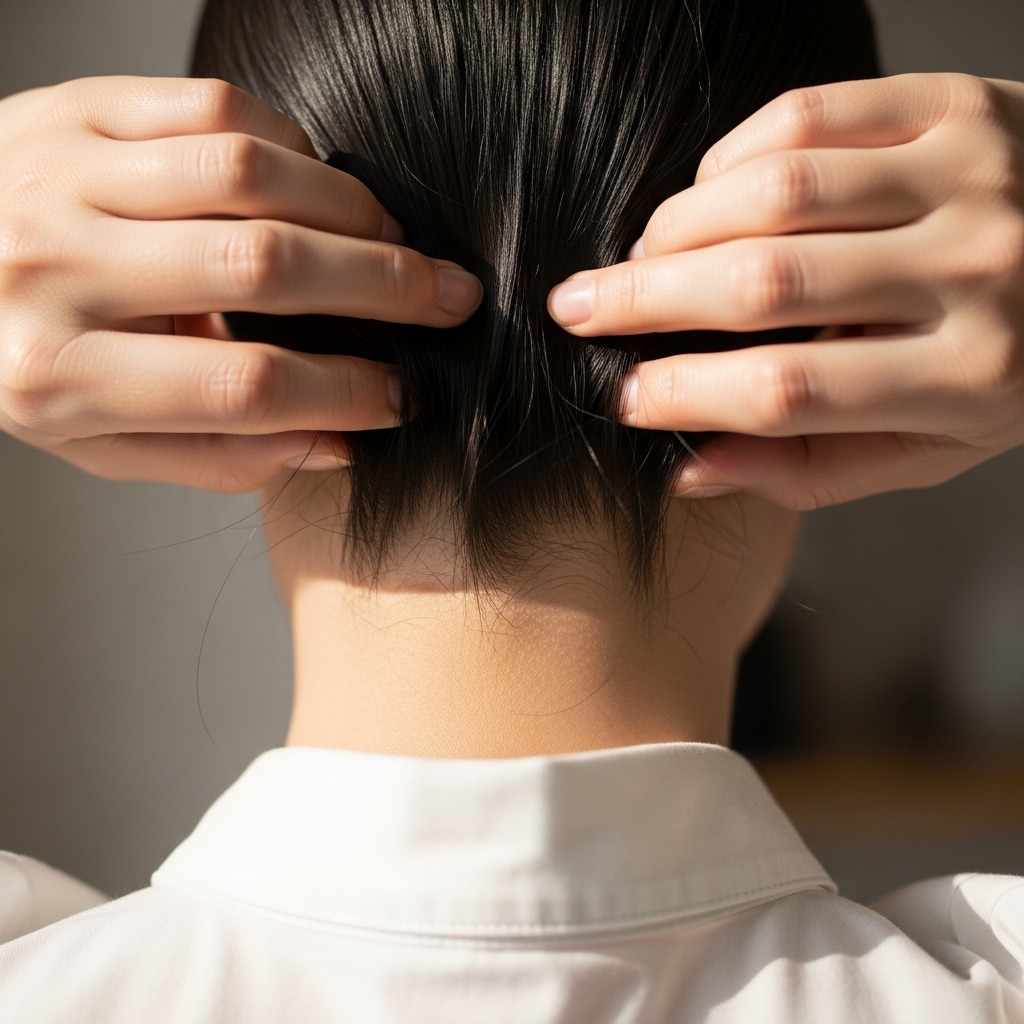
This is the foundation. Gather all your hair at the nape of your neck. Don’t go too high—this isn’t a high pony. Position it where the back of your head naturally curves into your neck.
Use your brush or comb to smooth any bumps as you gather. A trick I use is to hold the hair with one hand and use the other to lightly brush the sides back, catching any flyaways. Secure it tightly with one of your clear elastics. The smoother the ponytail, the more polished the final bun.
Step 2: The Simple Twist Technique
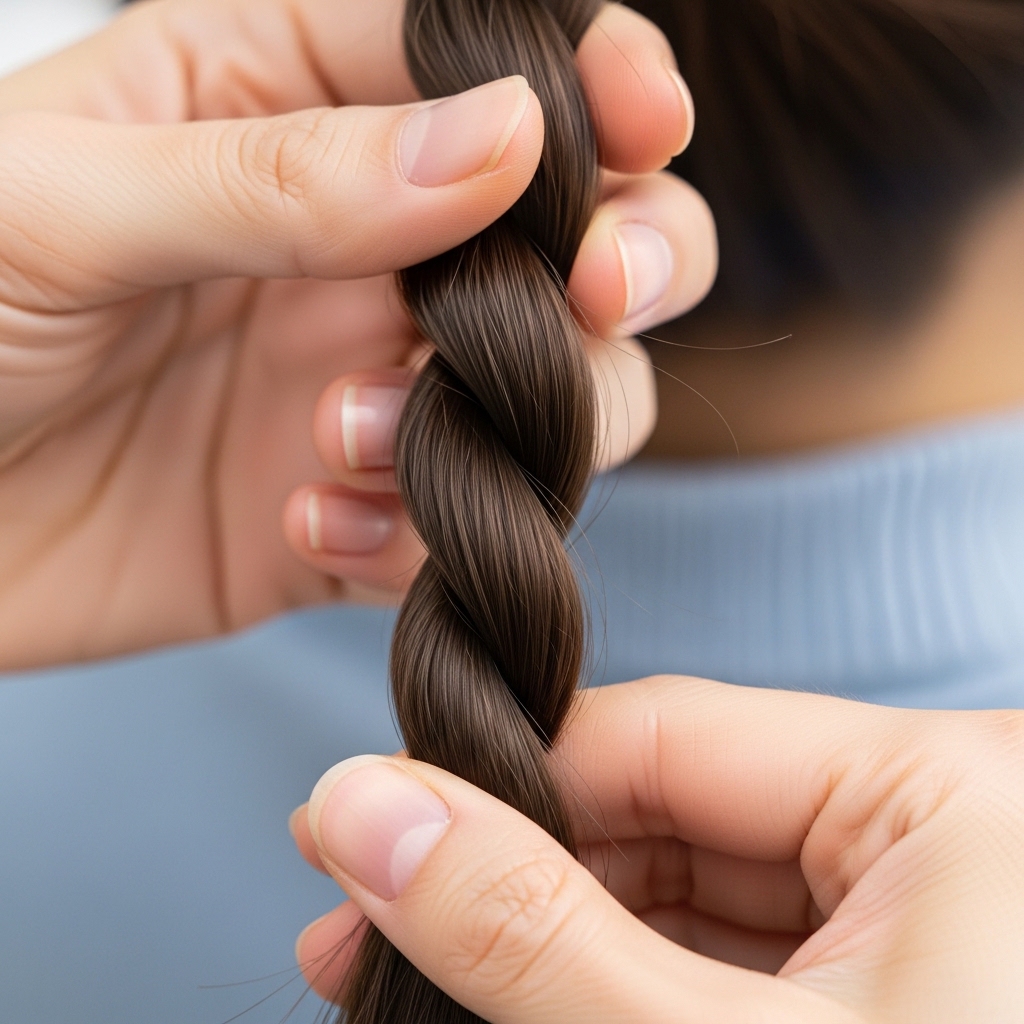
Now, take your ponytail and twist it firmly in one direction—either clockwise or counter-clockwise. Keep twisting until the entire length of hair is a tight, uniform rope. The tension is important here.
As you twist, the hair will naturally start to coil around itself. That’s exactly what we want. If you have layers or shorter pieces, don’t worry if they pop out a little during this step; we’ll pin them later. The twist is what gives the bun its elegant, structured shape.
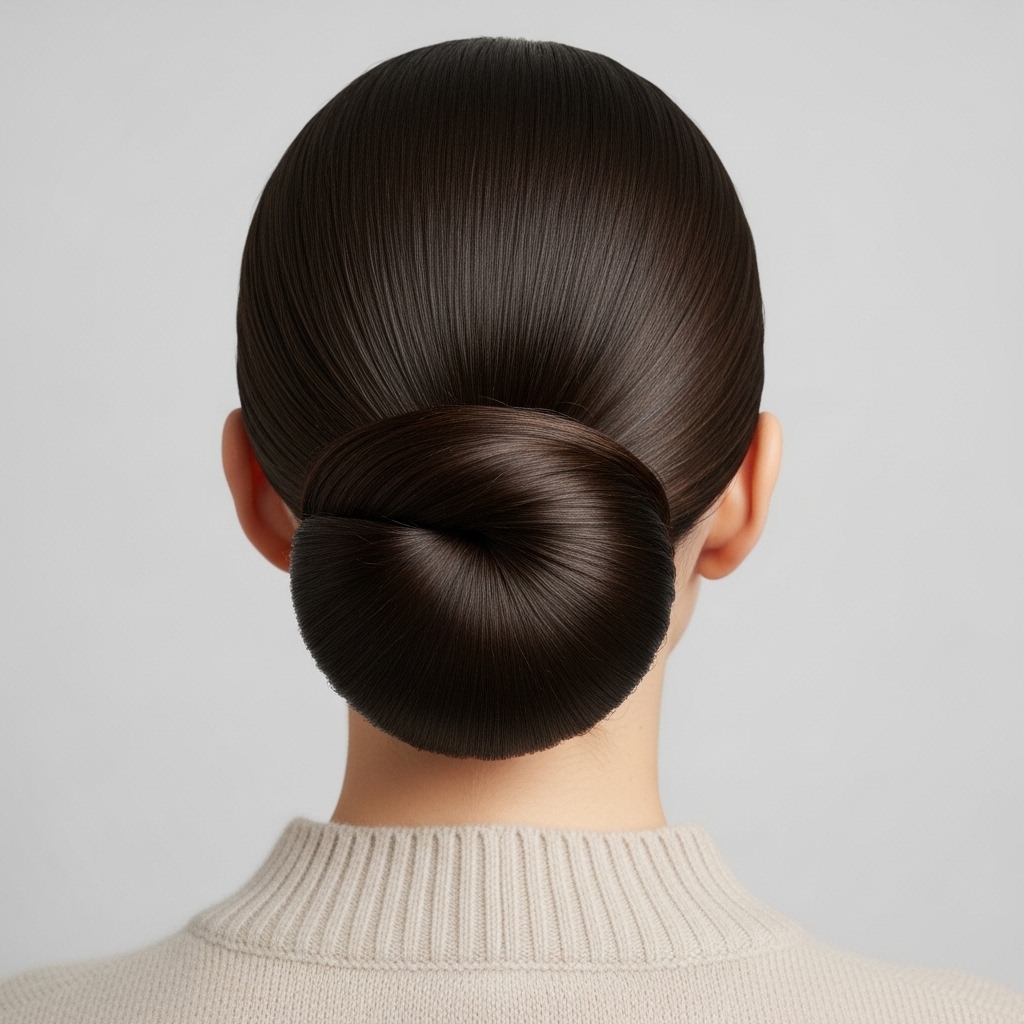
Step 3: Coil It Into a Bun
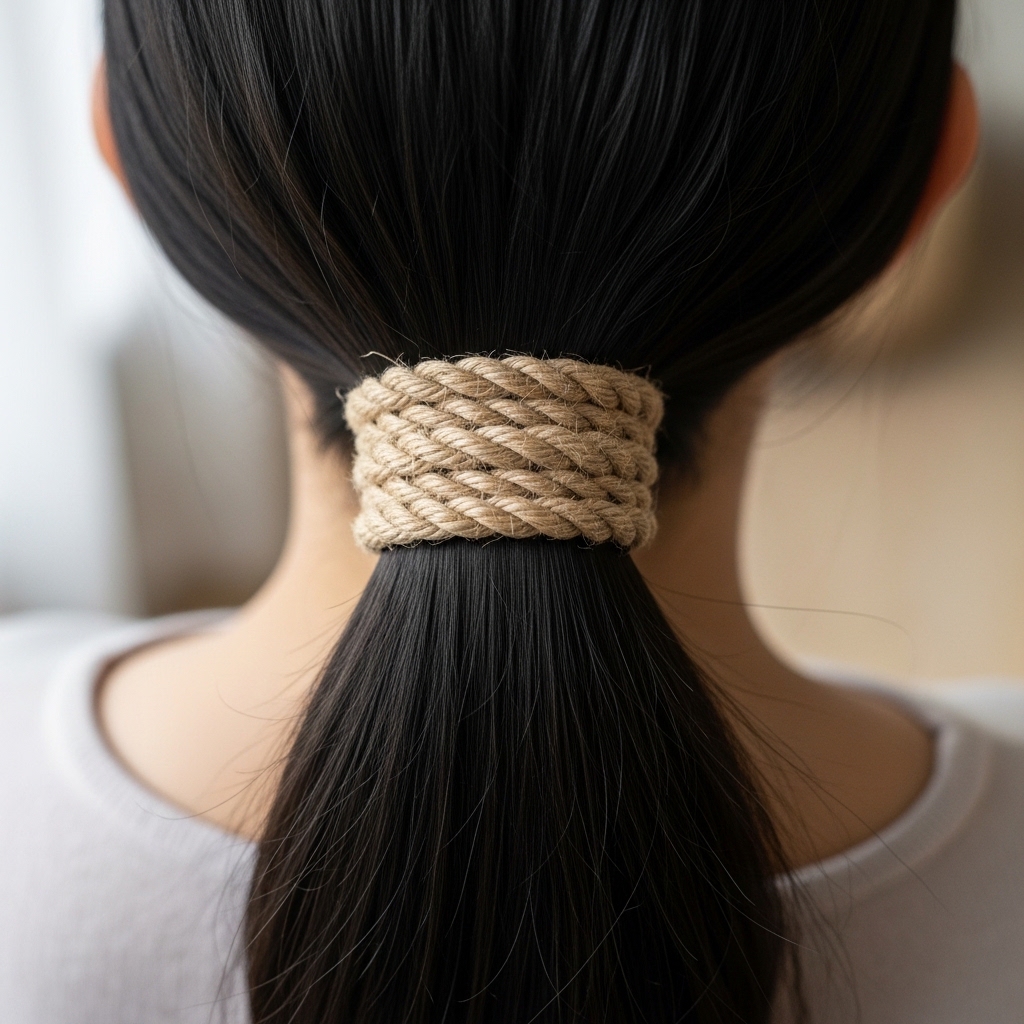
While holding the end of your twisted rope, begin to wrap it around the base of your ponytail. Keep the coil flat and close to your head. Don’t let it puff out; guide it with your fingers to stay neat.
Wrap it all the way until the end of the twist is tucked underneath. You should now see the basic bun shape. It will look a bit like a cinnamon roll. If it feels loose, don’t panic. We’re going to secure it next. The goal is a low, contained coil.
Step 4: Secure It With Bobby Pins
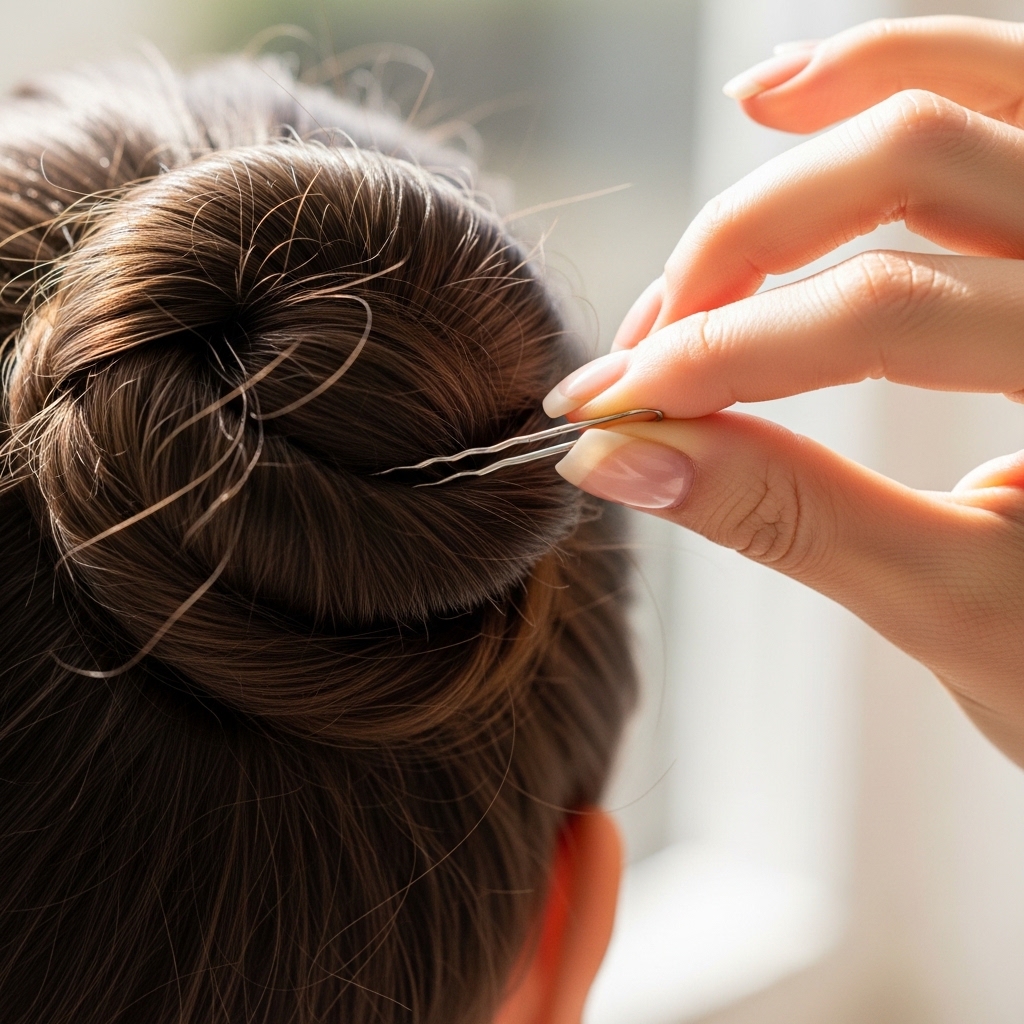
This is the magic step. Take your bobby pins. Open one, and slide it into the underside of the bun, catching hair from the bun and a bit from the scalp beneath. Push it in pointing downward, not straight across.
Use 4-5 pins this way, spacing them around the bun. Always insert them from the underside up so they are invisible from the front and sides. This technique locks the bun in place far better than just stabbing pins in from the top. It will feel incredibly secure.
Step 5: The Final Check & Tidy
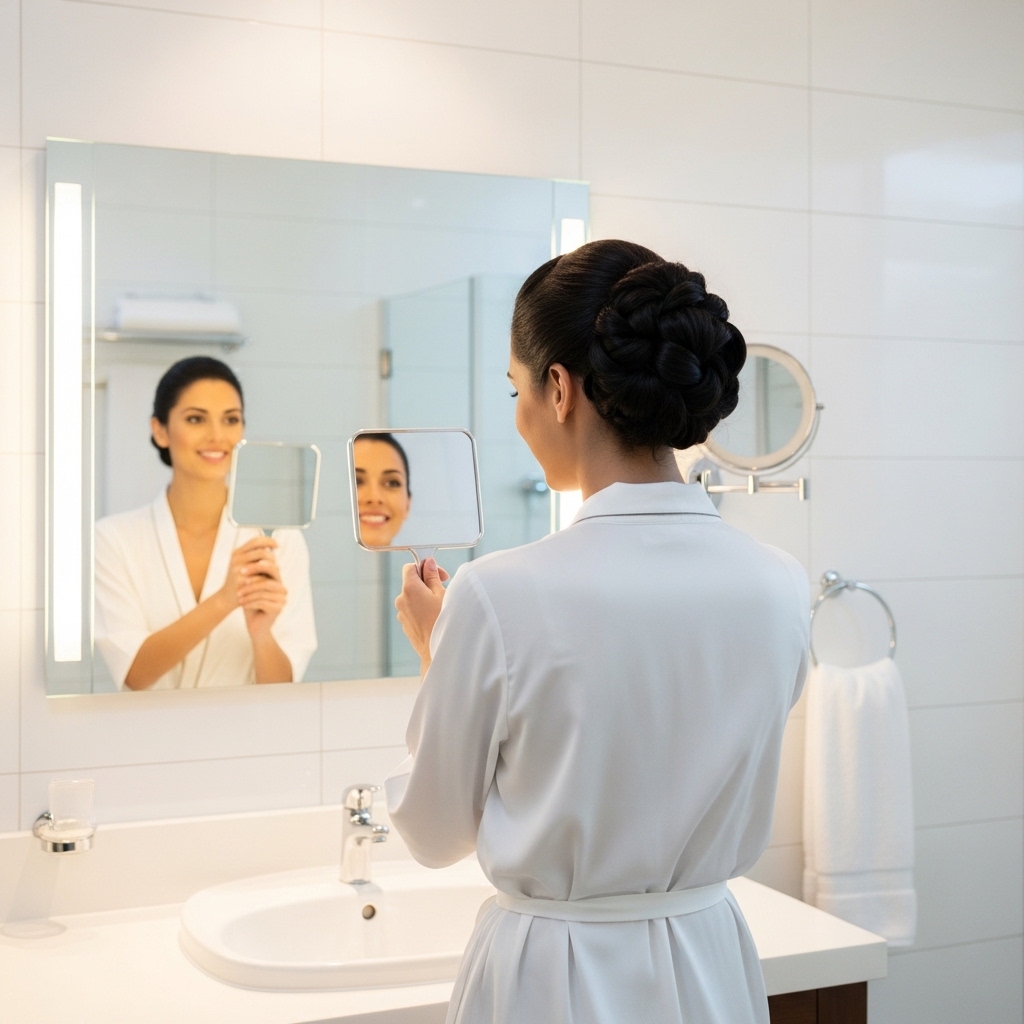
Grab a hand mirror and check the back. Look for any loose loops or ends sticking out. Gently tuck any stray pieces under the bun and secure them with an extra pin if needed.
If you want a softer look, you can gently pull on the very edges of the bun to loosen it slightly. For a super sleek look, use a tiny bit of gel on a toothbrush or a clean mascara wand to smooth down any baby hairs or flyaways around your hairline.
Make It Last All Night Long
To ensure this style survives dancing and dining, a light mist of flexible-hold hairspray is your friend. Hold the can about 10 inches away and give it a quick spray all over, focusing on the bun area.
If you know it’s going to be a long night, throw a few extra bobby pins in your clutch. If you feel a section loosening, you can quickly find a bathroom and discreetly slide another pin in. The great thing about this bun is it’s easy to fix without redoing the whole thing.
Adapt It For Fine or Thin Hair
If you have fine hair, don’t worry! This bun still works. Focus on creating texture before you start. A light texturizing spray or dry shampoo at the roots will add volume and grip, making the bun appear fuller.
You can also try twisting the ponytail a bit looser before coiling. Sometimes over-twisting fine hair can make it look thinner. A small, sleek bun is just as chic. Consider adding a simple hair accessory, like a small pearl clip, to draw the eye and add elegance.
Adapt It For Thick or Curly Hair
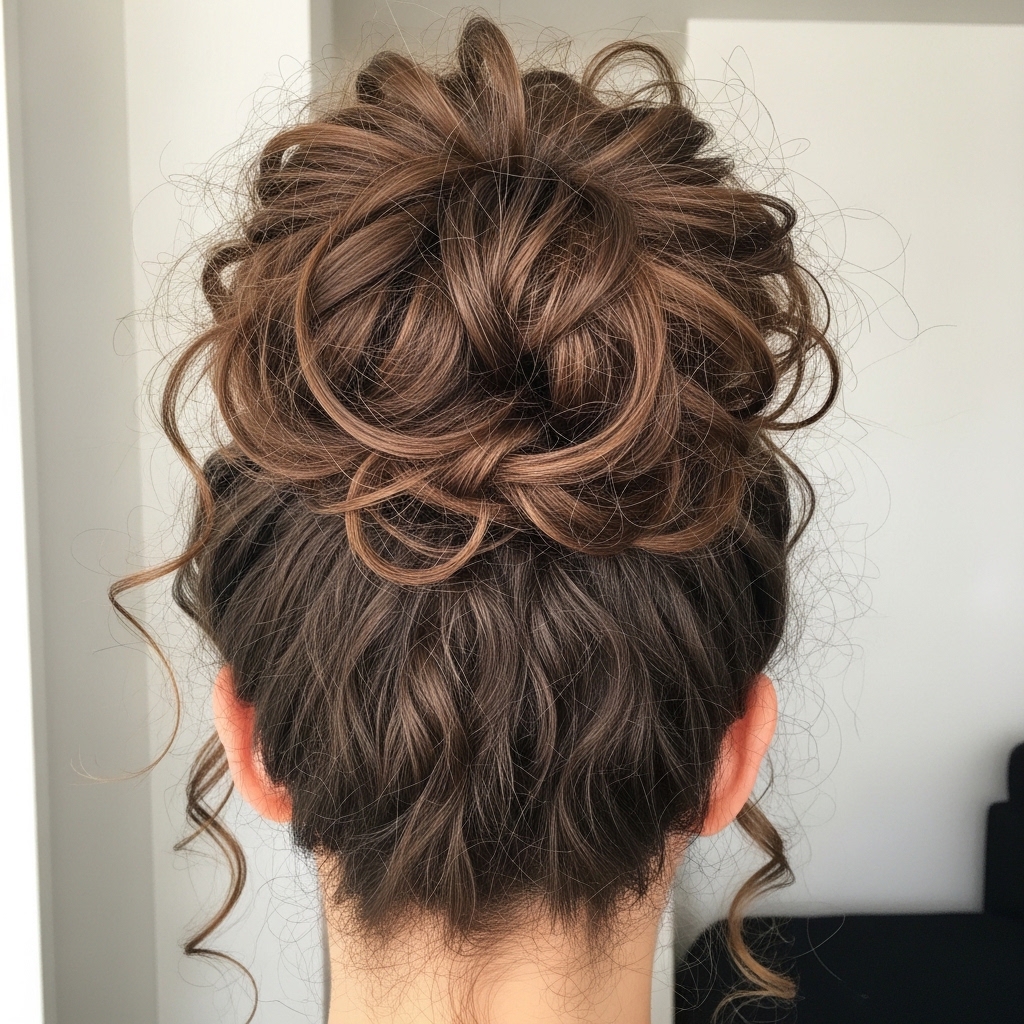
For thick or curly hair, this bun is a gorgeous way to show off your texture. You might need a stronger elastic and a few more bobby pins. Make sure your initial ponytail is very secure to handle the weight.
Embrace the volume! Instead of fighting to make it super sleek, allow your natural texture to create a fuller, more romantic bun. You can twist your hair a little looser to incorporate those beautiful waves or curls. The result is effortlessly glamorous and has so much body.
Add a Romantic Touch
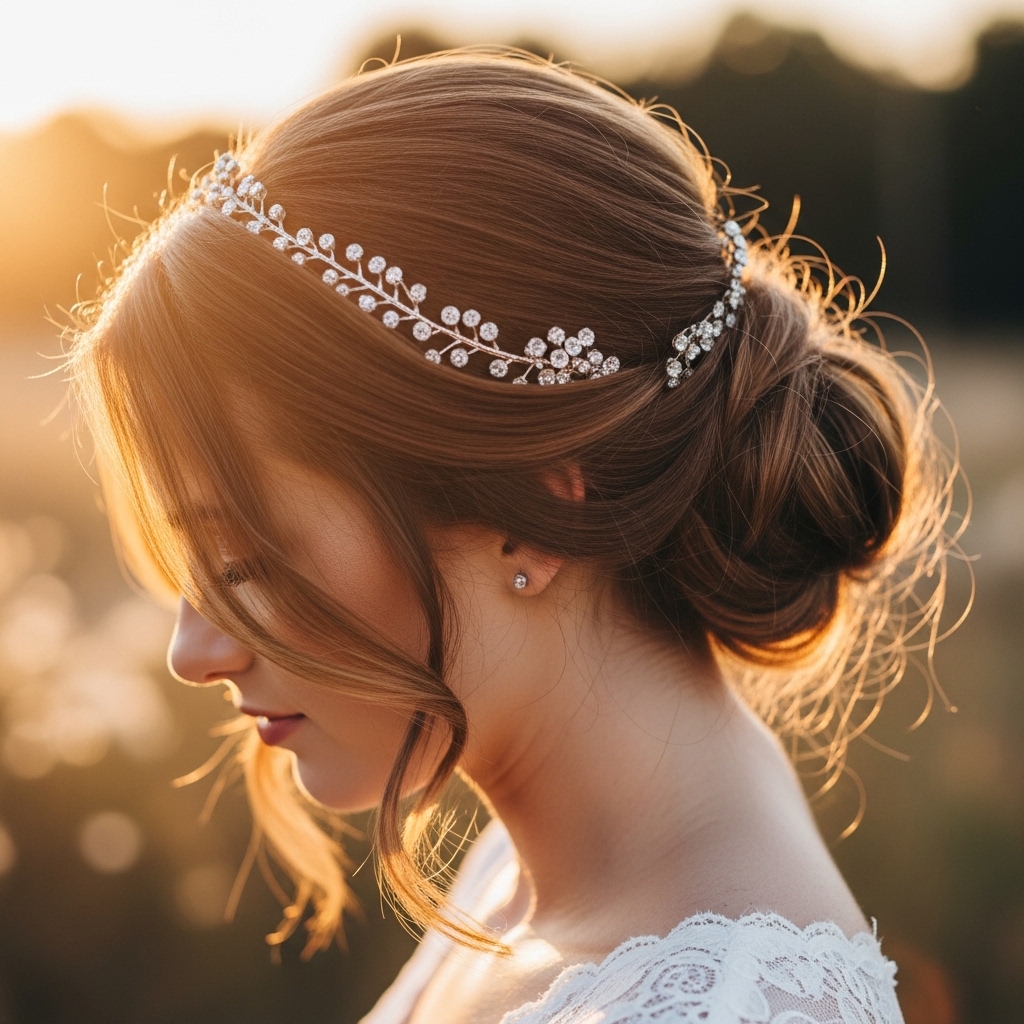
Want to soften the look? It’s easy. Before you make your initial ponytail, pull out a few face-framing pieces. Think small sections near your temples and a wisp or two from the front hairline.
After the bun is secured, you can curl these pieces loosely with a curling iron or just leave them straight for a modern look. This adds a touch of romance and keeps the style from feeling too severe. It’s a beautiful balance between polished and soft.
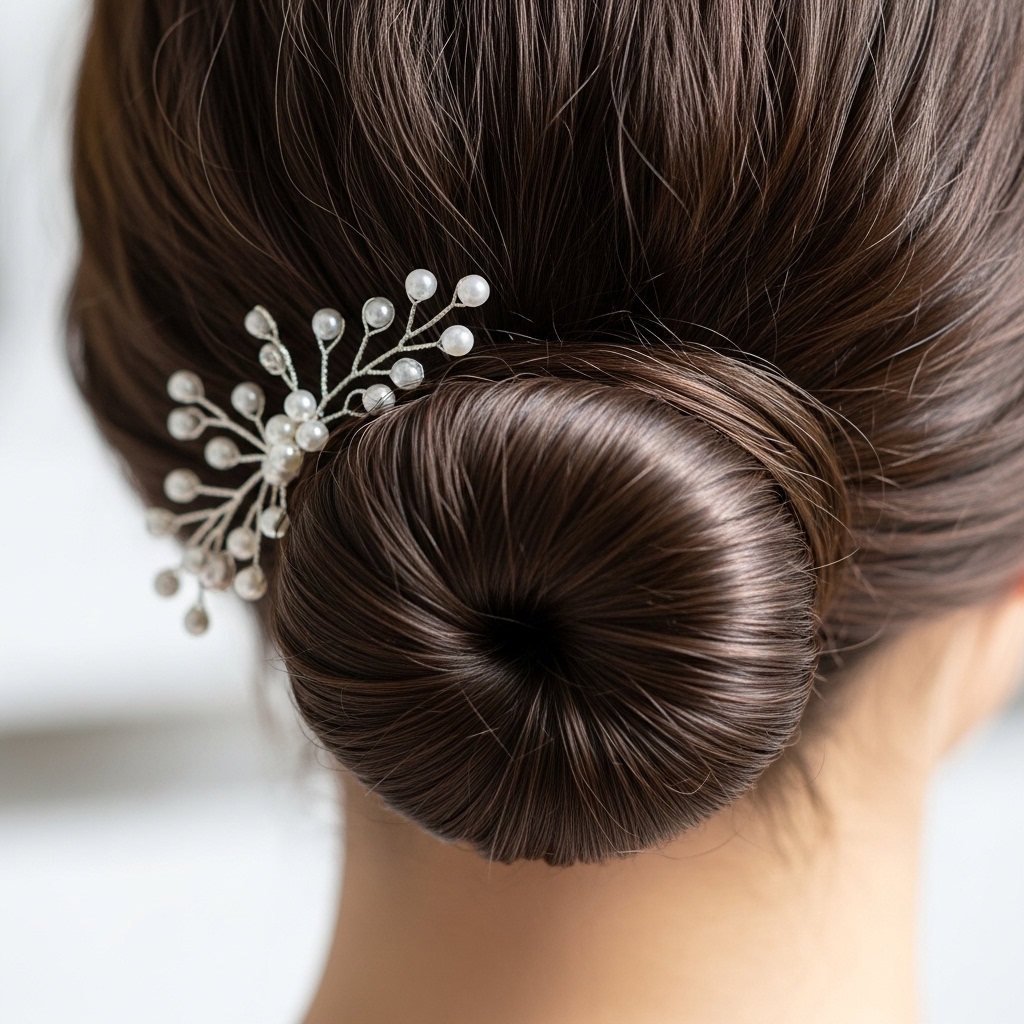
Accessorize Your Elegant Bun

Accessories can elevate this bun in seconds. The key is to keep it subtle, in line with that old money aesthetic. Think about a single, elegant gold hairpin slid diagonally through the bun, or a few tiny pearl-encrusted pins clustered together.
A simple silk scarf tied around the base of the ponytail before you twist is another gorgeous option. Avoid anything too large or glittery. We’re going for quiet luxury, not party glam. The accessory should complement, not overpower, the style.
Pair It With Your Favorite Makeup Look
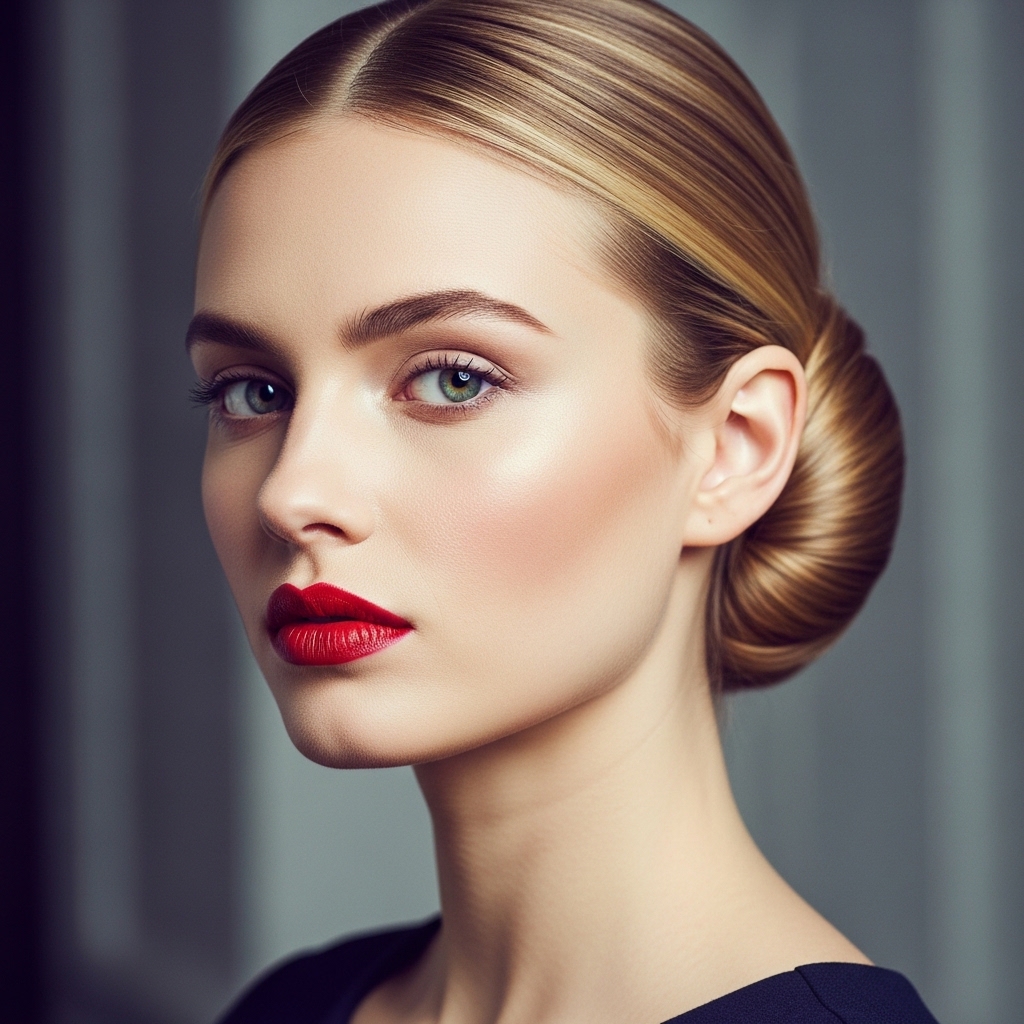
This hairstyle is the perfect canvas for any makeup. For a true old money vibe, pair it with classic, polished makeup. Think flawless skin, a soft blush, and a bold red lip. Keep the eyes simple with just mascara and groomed brows.
If you’re more into the romantic goth hairstyles vibe, you could pair this sleek bun with a smoky eye for a stunning contrast. The bun lets your makeup take center stage, so have fun with it!
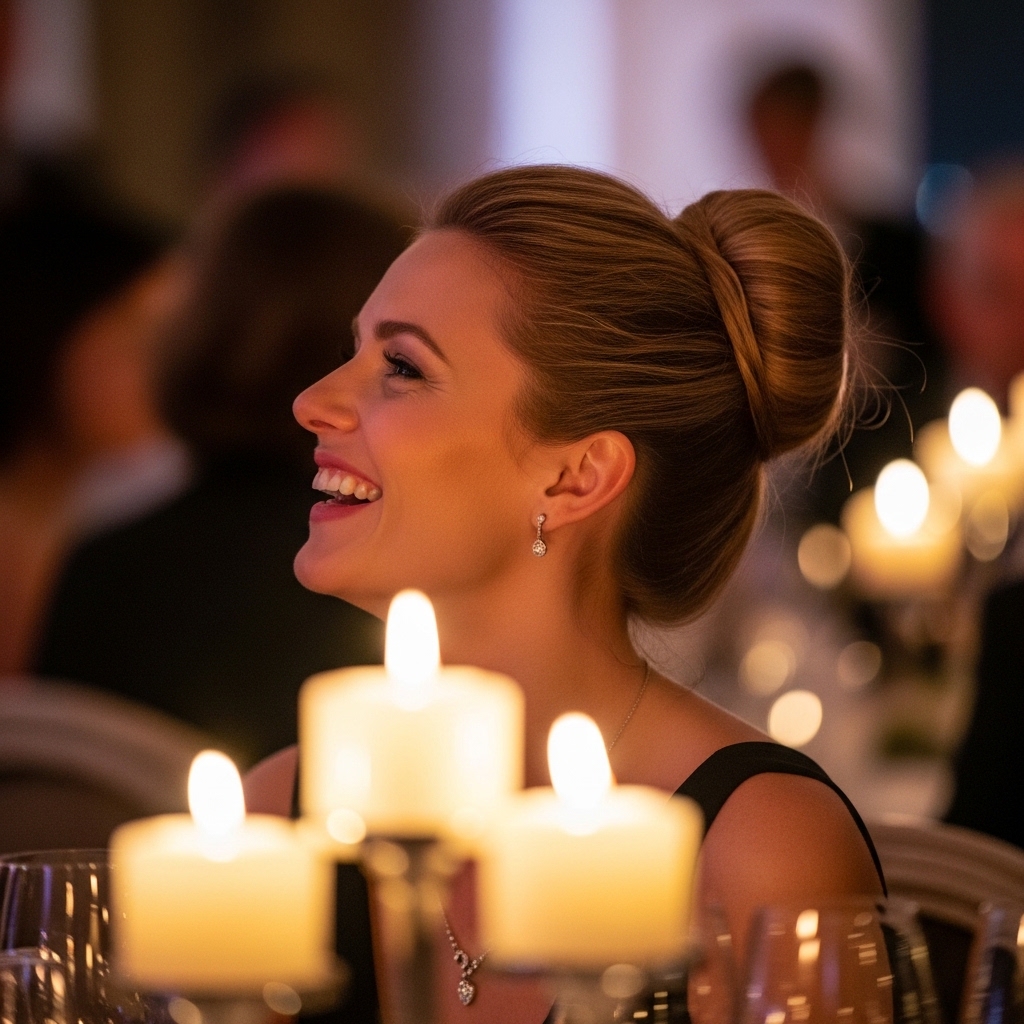
From Day to Night in Seconds
This is my favorite thing about this style. You can wear it to work all day and it still looks event-ready. To transition it for evening, it’s all about the details.
Take out the few face-framing pieces we talked about and curl them. Add your elegant hairpin or swap your stud earrings for something more dramatic. Maybe touch up your lipstick with a deeper shade. The bun itself is perfect as-is, making your life so easy.
Common Mistakes to Avoid
Let’s troubleshoot quickly. First, avoid placing the bun too high. It should sit at the nape of your neck for that relaxed, elegant feel. A bun at the crown of your head gives a very different, more formal vibe.
Second, don’t skip the bobby pin technique. Just wrapping and hoping it stays won’t work. Third, don’t pull every single hair back too tightly. A few soft pieces in the front make it look modern and prevent a “too perfect” look that can feel dated.
How It Compares to Other Trending Styles
While trends like the asymmetrical lob, glitchy glam hair, and the vampire haircut are having a moment, this bun is different. It’s not a haircut; it’s a styling technique. That means anyone can do it, right now, without a salon appointment.
It’s also inherently more timeless. While the hime cut is a bold, specific statement, this bun is a versatile classic. It’s less about making a trendy splash and more about cultivating a personal style that always looks appropriate and chic.
Your Quick 5-Minute Version
Short on time? Here’s the speed-run version. Pull hair into that low ponytail. Twist it tightly and wrap it around the base. Instead of meticulous pinning, just criss-cross 3-4 bobby pins over the center of the bun to hold it.
Pull out a few pieces in the front instantly. It will be slightly messier but still have that elegant, twisted shape. This is my go-to for last-minute Zoom calls or running out the door. It proves that looking put-together doesn’t have to take forever.
Inspiration From the Icons
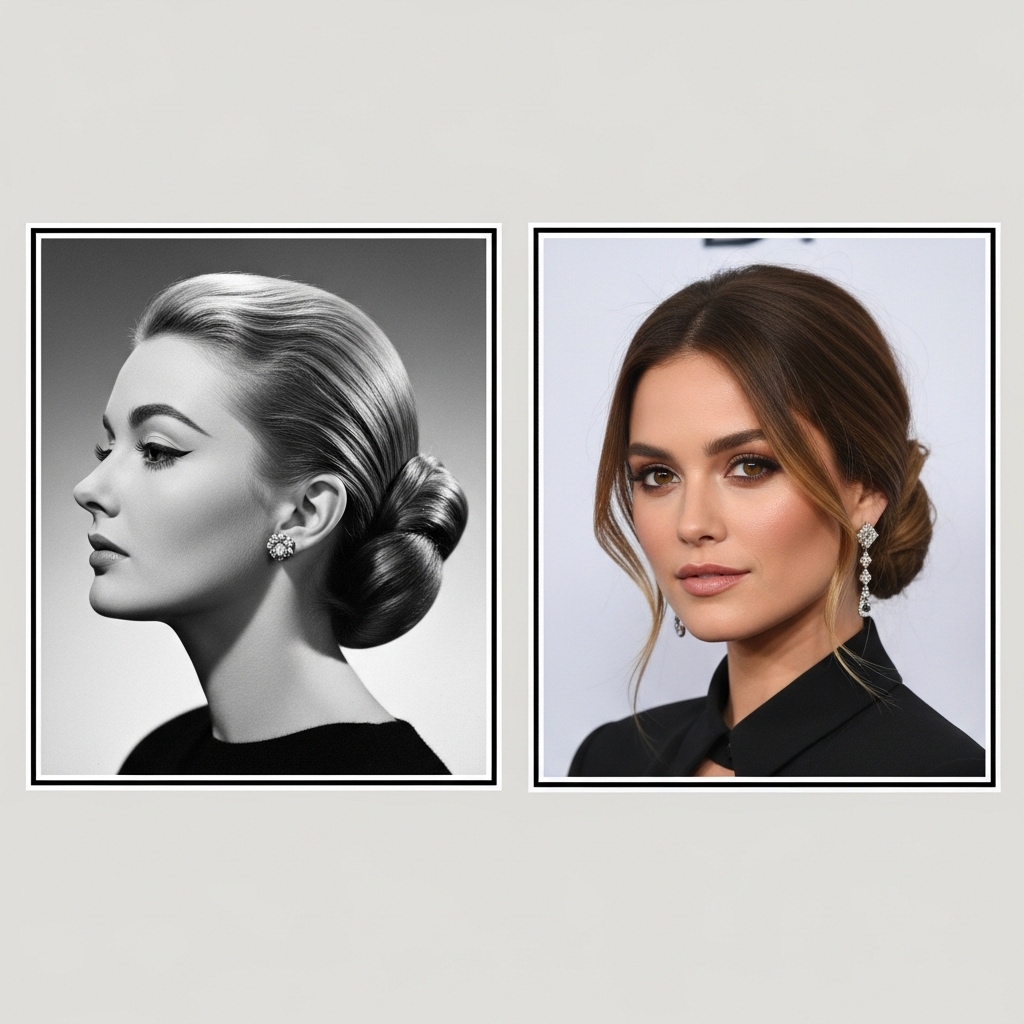
This look has been worn by style icons for decades. Think of Audrey Hepburn’s timeless elegance or the Duchess of Cambridge’s polished appearances. They often choose sleek, low buns for state events and important functions.
It’s a style that conveys confidence and grace. Looking at these icons reminds us that true style isn’t about the loudest trend, but about what makes you feel composed and beautiful. It’s a lesson in quiet luxury we can all apply.
Final Thoughts From My Vanity
I can’t tell you how many times this hairstyle has saved me. It’s become my reliable, elegant friend in the closet. It works when I feel like making an effort and when I don’t, which is the mark of a truly great style.
It makes me feel pulled-together and allows my outfit or makeup to shine. In a world of complicated 2026 hairstyles, sometimes the simplest, most classic techniques are the ones we use again and again. This bun is one of those for me.
And there you have it! My complete guide to the only elegant updo you’ll ever need. It might look fancy, but I promise, once you do it two or three times, it’ll become second nature. You’ll start reaching for it anytime you need a boost of quiet confidence.
Remember, the best part about personal style is making it your own. Play with the tightness, the placement of your face-framing pieces, or your favorite accessory. The goal is to feel amazing.
Save this post to Pinterest so you always have the steps handy for your next big event! Did you try it? Tell me in the comments below—what’s your go-to quick and elegant hairstyle?

