
Hey friend. So you took the plunge and got that gorgeous rounded lob. I love that for you. But now you’re staring in the mirror, brush in hand, thinking, “Wait… how do I actually style this for my square jawline?” I’ve been there.
That sharp, strong bone structure is a total asset—think Angelina Jolie or Keira Knightley. But with the wrong styling, a lob can feel a bit… boxy. The goal? Soften those angles and create beautiful balance.
Good news: your lob is the perfect canvas. This isn’t about hiding your face shape, it’s about celebrating it with the right tricks. I’m breaking down everything from daily waves to special-occasion looks that will make you feel incredible.
Let’s get into the simple, no-fuss ways to style your rounded lob to flatter your square face. You’ll be out the door faster, I promise.
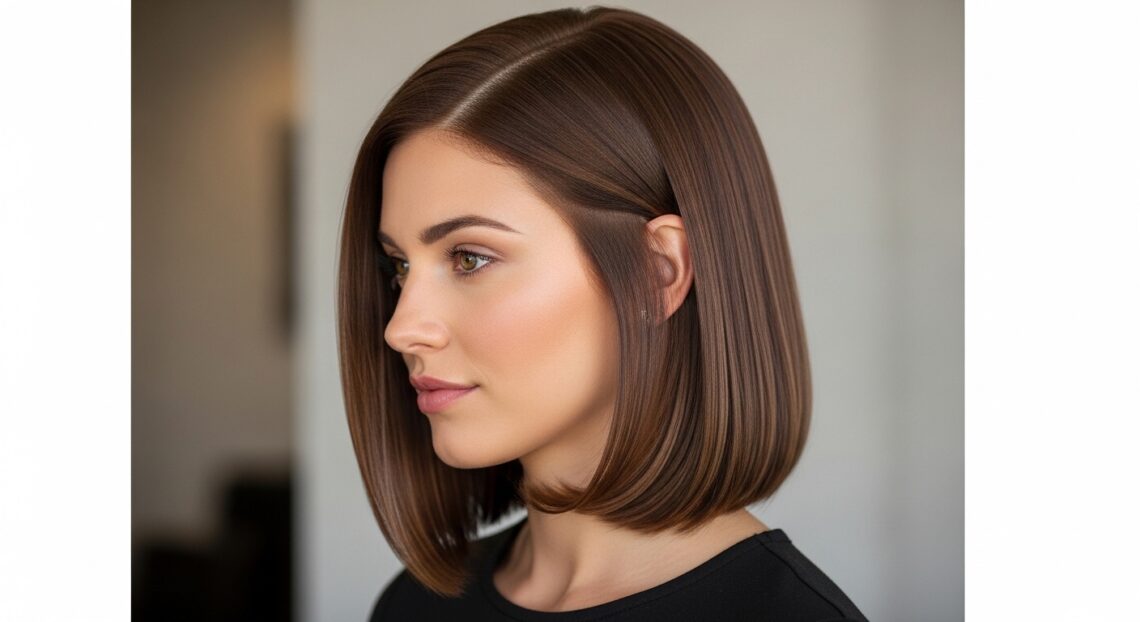
Why a Rounded Lob is Perfect for Square Faces
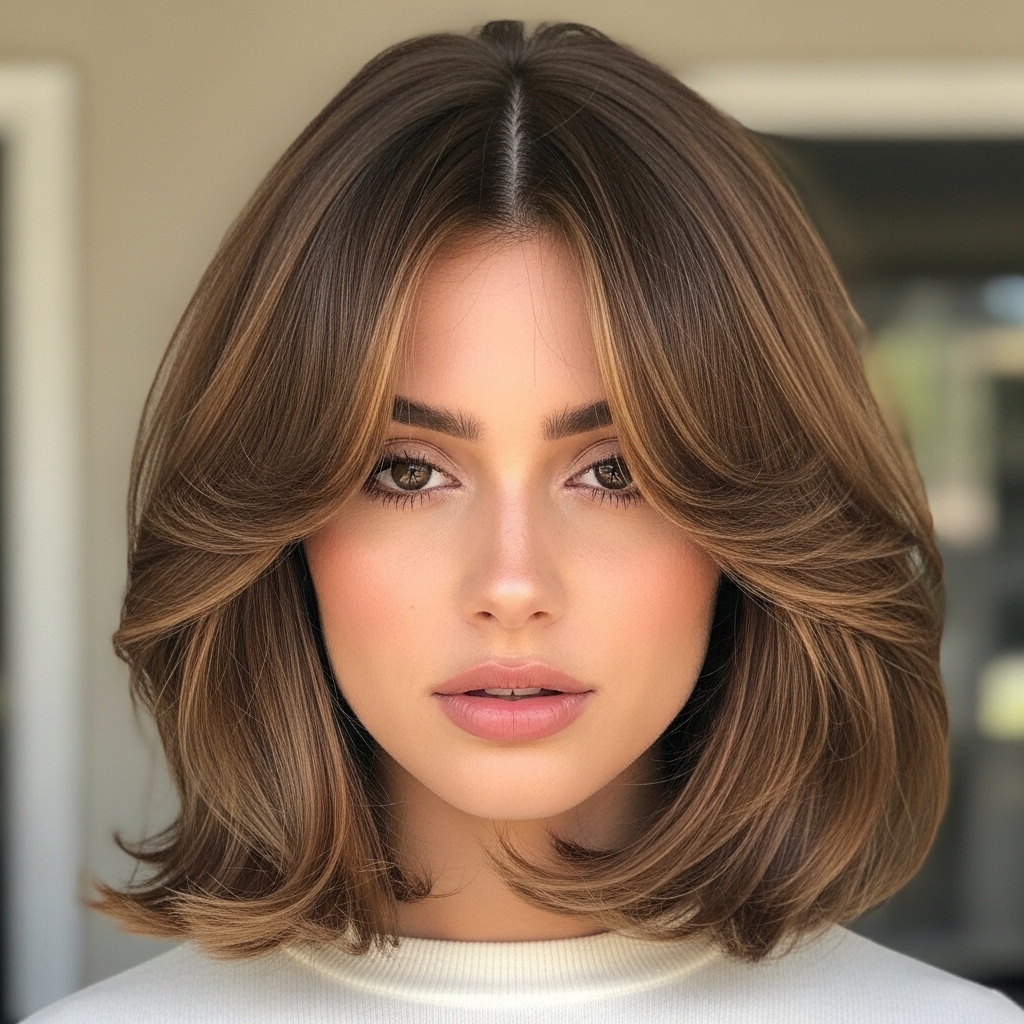
A rounded lob is basically a haircut sent from heaven for square faces. The secret is all in the shape. The rounded ends create a gentle curve that sits right against your jawline.
This softens the strong horizontal line of your jaw. Think of it as adding a frame of curves around a square picture. It brings the eye inward and down, creating a beautiful, balanced oval illusion.
Unlike a blunt cut, which can emphasize width, the rounded layers add movement. This cut works with your features, not against them. It’s the foundation for all the styling we’re about to do.
The Golden Rule: Always Create Movement

For square faces, stillness is the enemy. A stiff, helmet-like bob will highlight every angle. Your new best friend is movement. We want hair that looks lived-in, soft, and like it can swing when you turn your head.
This means waving, curling, or texturizing. The goal is to break up the solid line of the haircut. Even on sleek days, a slight bend at the ends is better than pin-straight.
Movement draws the eye around your face in a flattering way. It adds a touch of that “quiet luxury bob” vibe—effortless but perfectly considered. Remember: messy is better than perfect here.
Toolkit Essentials You Actually Need
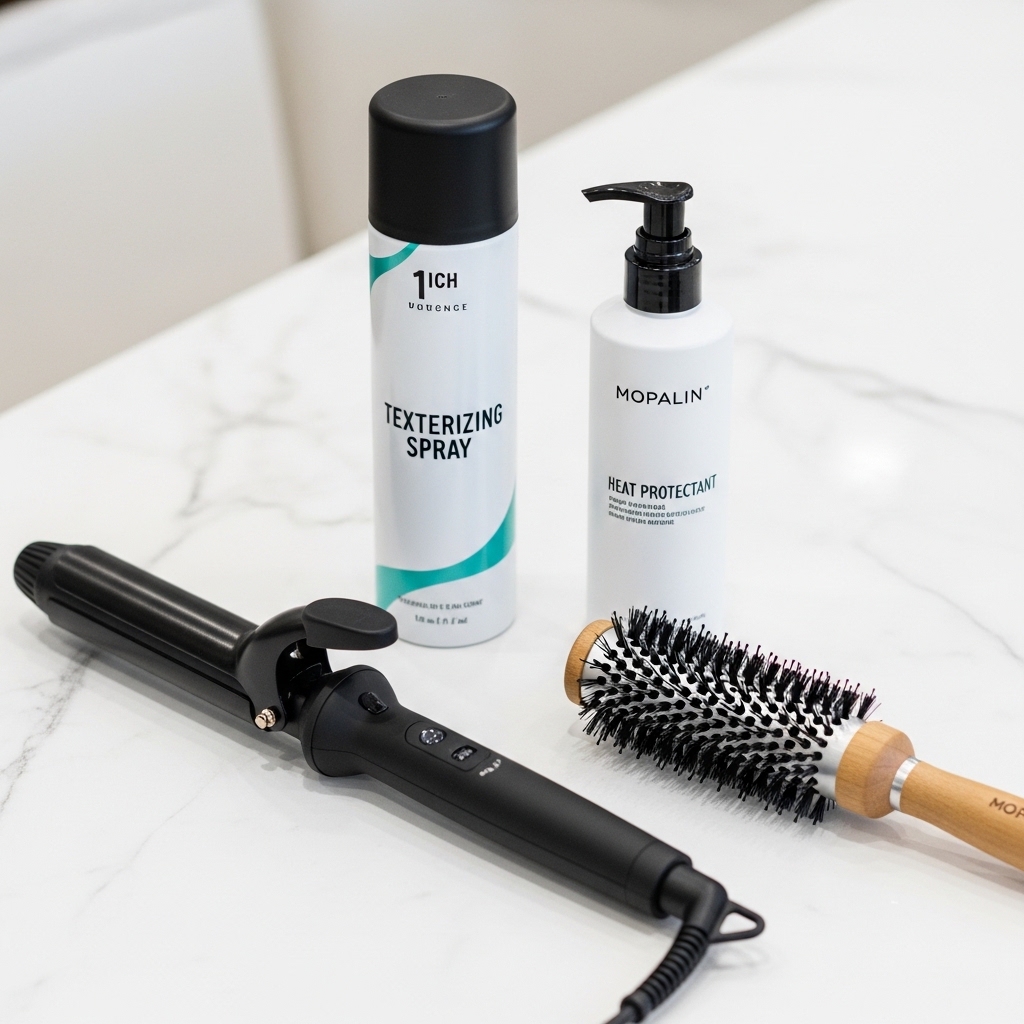
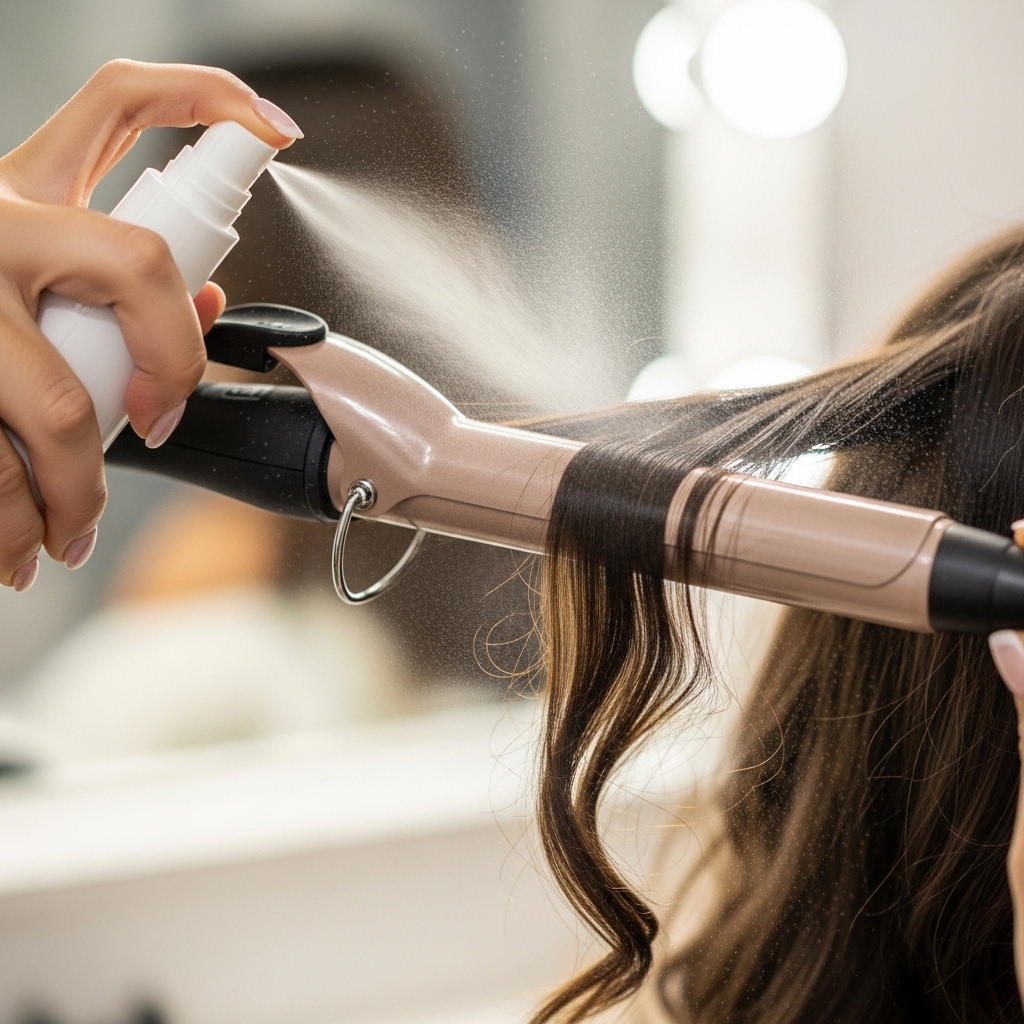
You don’t need a salon’s worth of tools. Just a few key players will get you every look. First, a good 1-inch curling iron or wand. This size gives you the most versatile waves.
A medium-sized round brush for blowouts is a must. Pair it with a strong hold heat protectant spray. For texture, a sea salt spray or a dry texturizing spray is magic.
Finally, get a light-hold hairspray that doesn’t make hair crunchy. That’s it! With these four items, you can create every style in this guide. Invest in quality, but keep it simple.
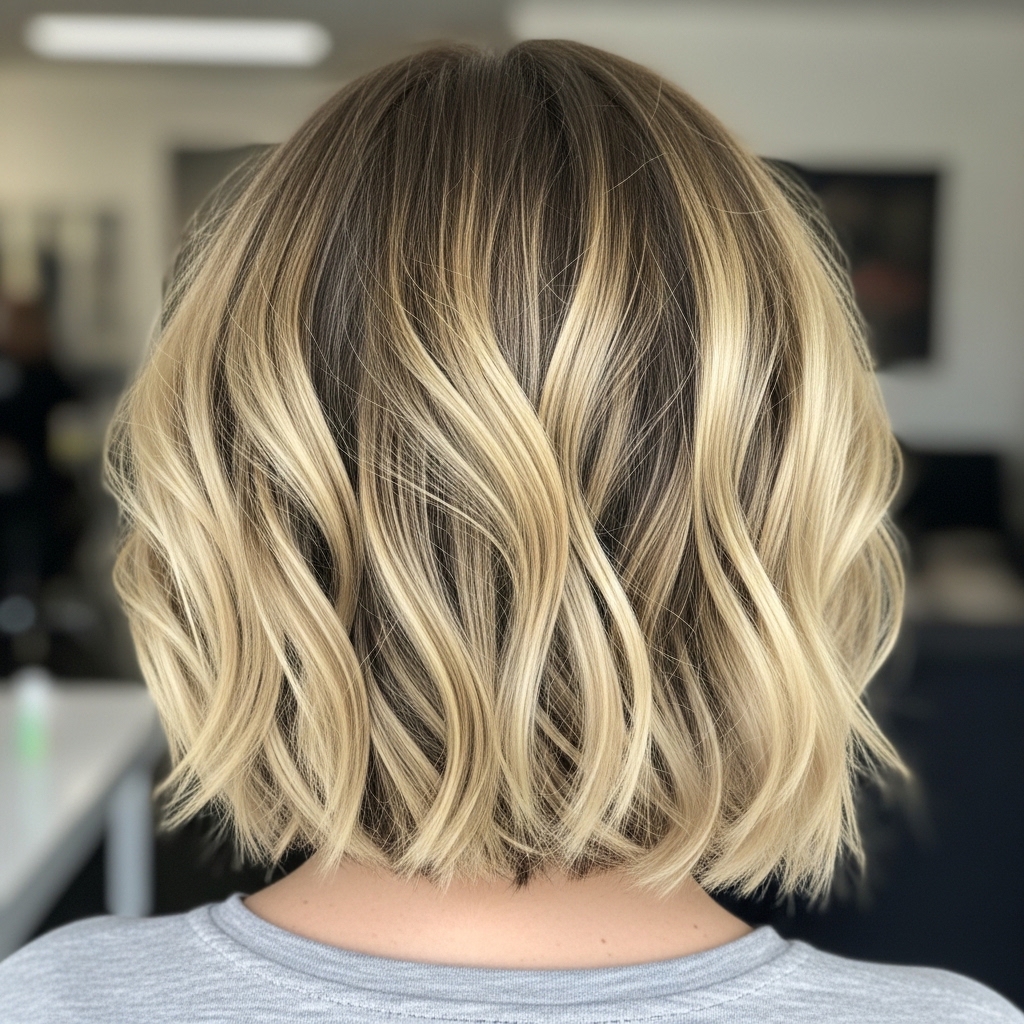
The 5-Minute Morning Wave
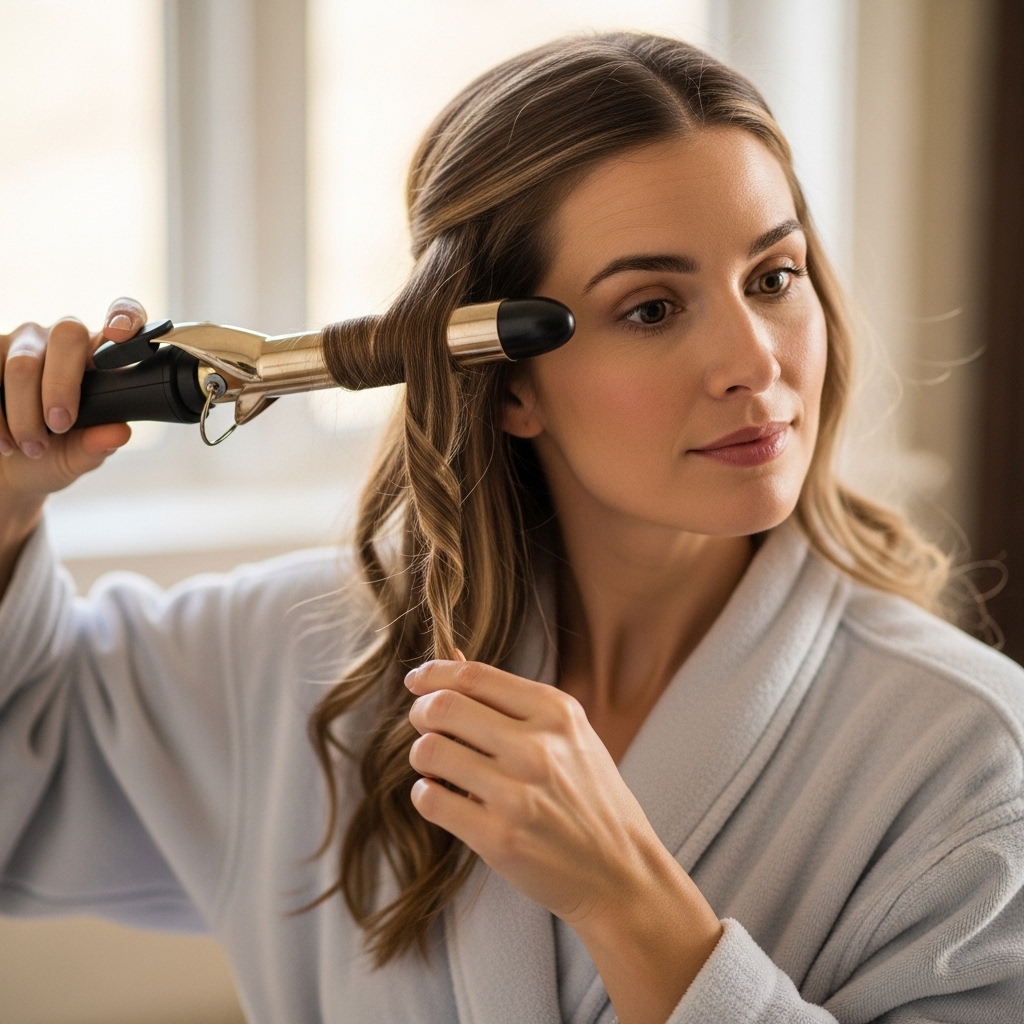
This is my daily go-to. It’s fast and foolproof. Start with day-old hair or add a little dry shampoo at the roots for grip. Section your hair into two layers: top and bottom.
Take 1-inch sections of the bottom layer. Wrap each around your curling wand away from your face. Hold for 8-10 seconds and drop. Don’t curl the very ends tightly.
Repeat with the top layer. Once all hair is waved, run your fingers through it to break up the curls. Finish with a light mist of texturizing spray. You’re done!
The Blowout That Lifts & Softens
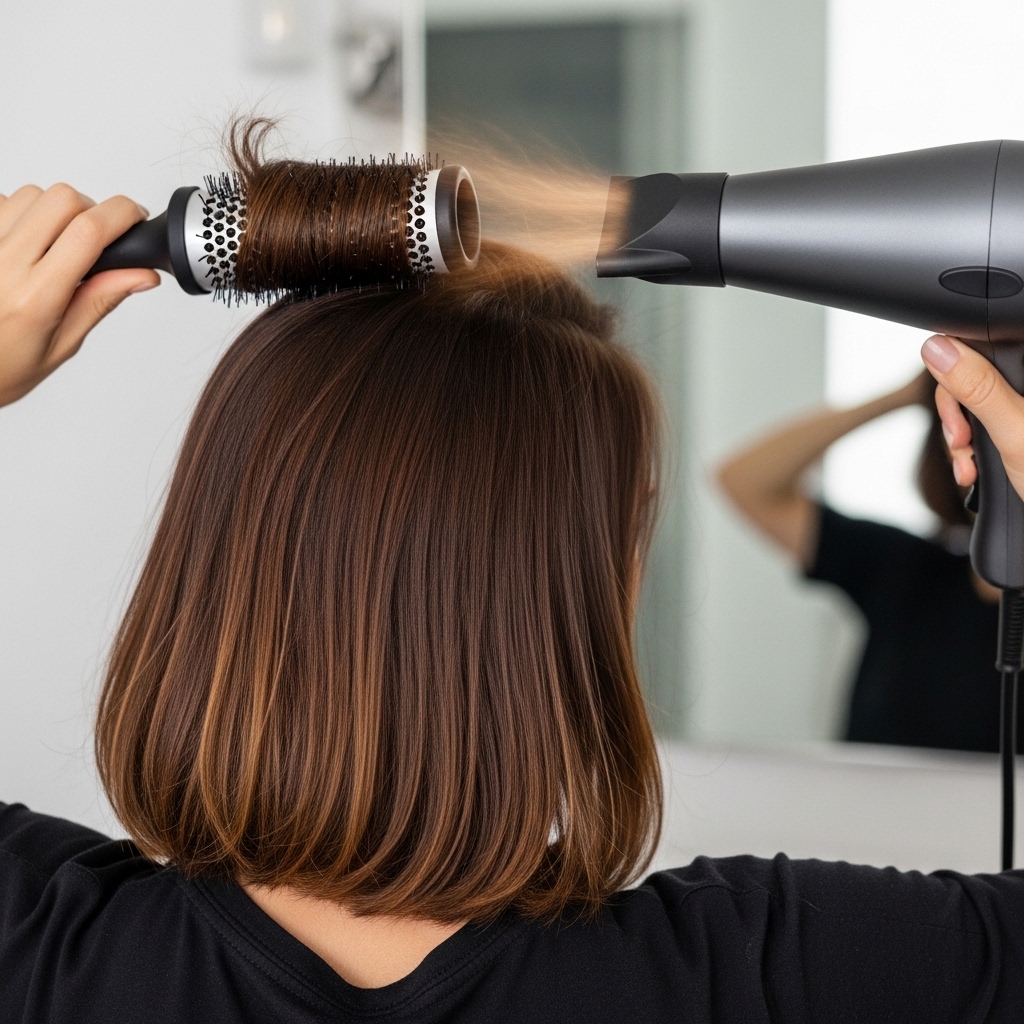
A great blowout can change your life. Start on towel-dried hair with a heat protectant. Use your round brush to lift the roots at the crown as you dry. This adds height on top, which lengthens the face.
As you dry the lengths, roll the ends of your hair under with the brush. This reinforces the rounded shape. Keep the tension gentle—you want a soft curve, not a tight flip.
Once dry, flip your head over and blast the roots with cool air for volume. Stand up, flip back, and gently place any stray pieces. This look screams classic, “old money hair” elegance.
Mastering the “Lived-In” Texture
This is where the magic happens for square faces. After curling or waving, you need to destroy the perfect pattern. Seriously. Run your fingers vigorously through your hair to break every curl apart.
Then, take a tiny bit of texturizing paste or spray on your fingertips. Pinch the ends of your hair to separate them and create those piecey, “glitchy glam hair” finishes.
Focus on the mid-lengths to ends. This creates a shadow and dimension around your jaw, softening it beautifully. The more separated, the better.
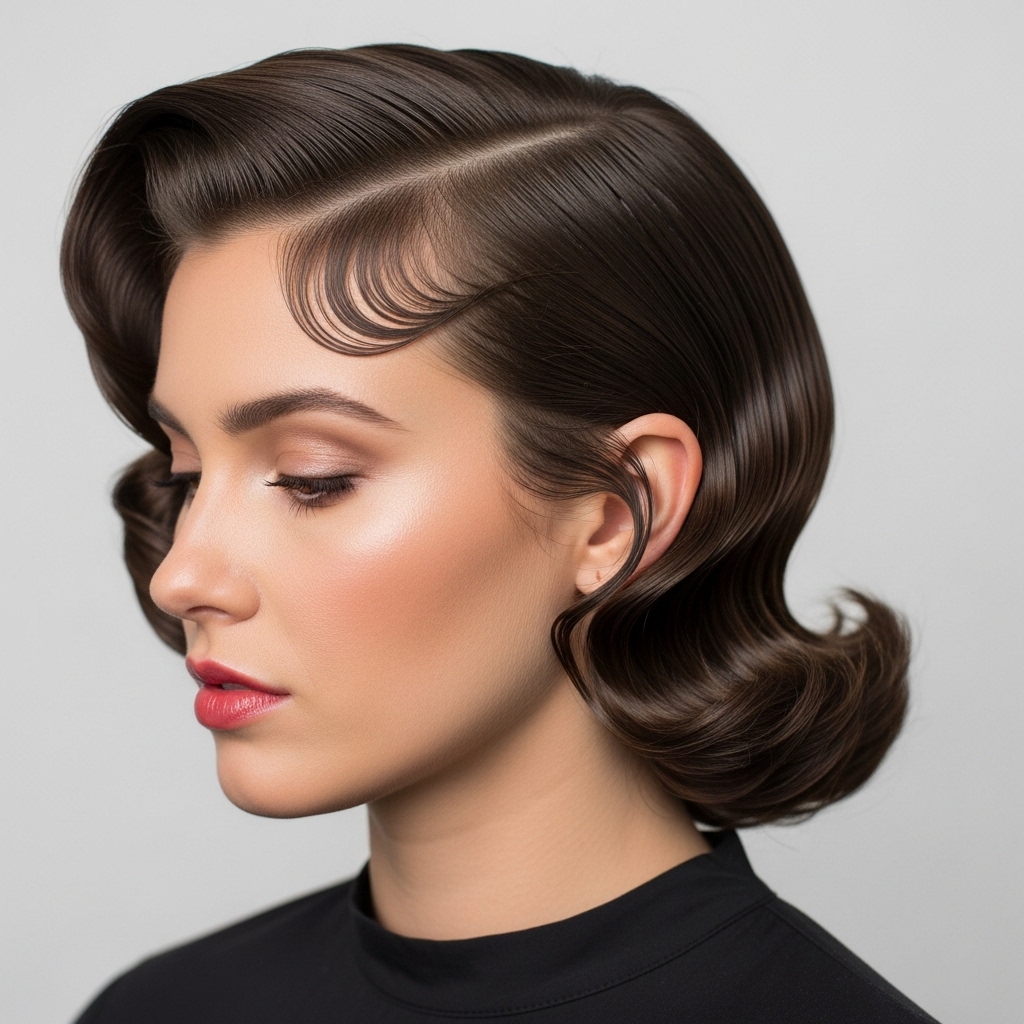
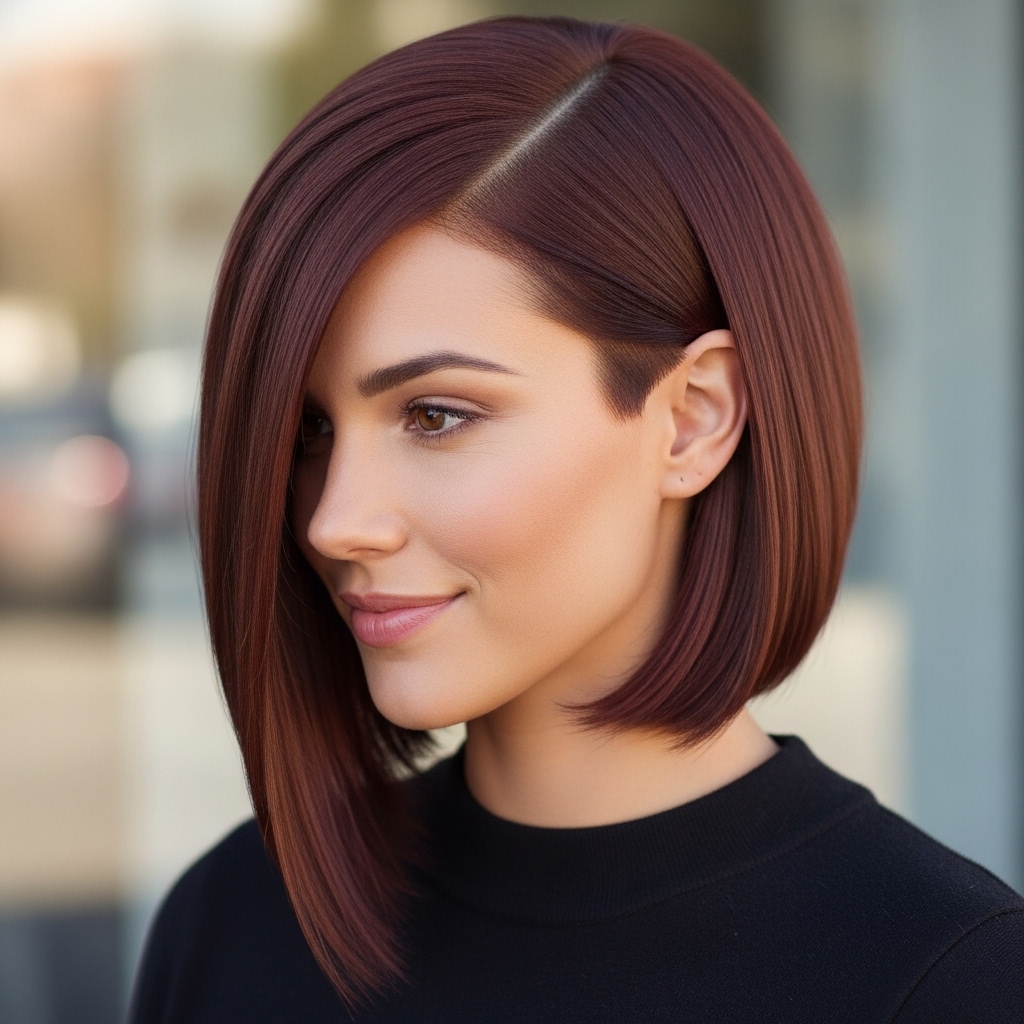
Side Parts Are Your Secret Weapon
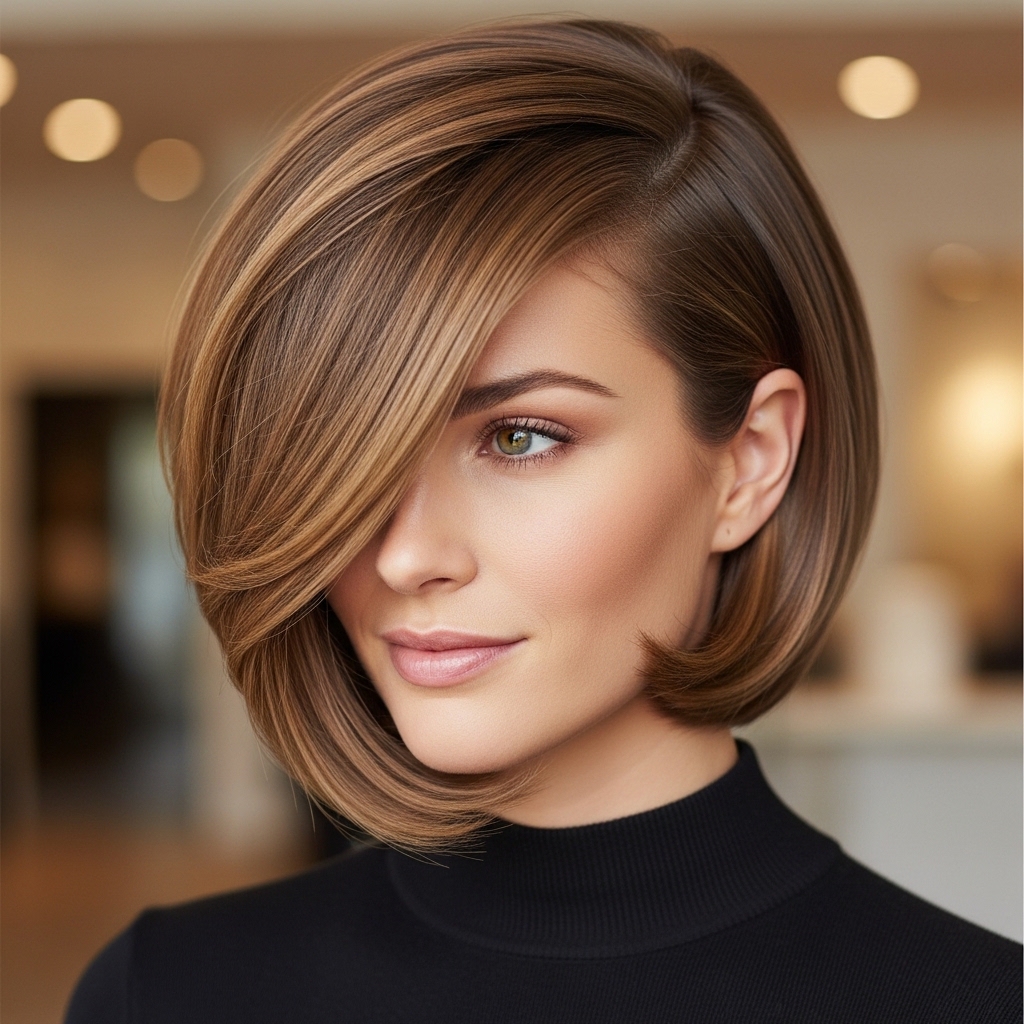
Forget the center part for a minute. A deep side part is incredibly flattering for square faces. It creates an off-center, asymmetrical line that visually breaks up the symmetry of your jaw.
It also adds volume at the crown on one side, which again helps to elongate your face. Try parting your hair on your less-dominant side—it often looks more natural.
Sweep the hair from the heavier side across your forehead. This diagonal line is a powerful tool against horizontal jawlines. It feels chic and a bit retro.
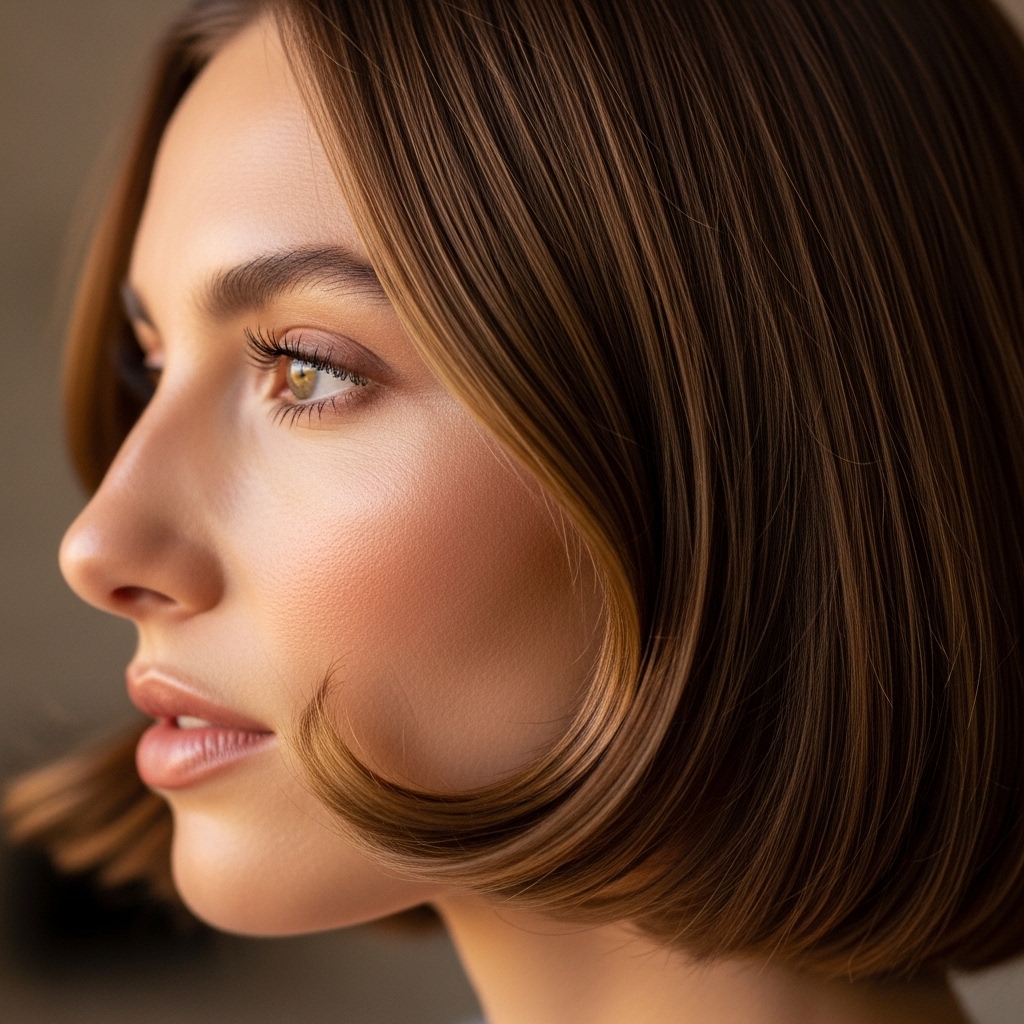
Face-Framing Layers Are Non-Negotiable
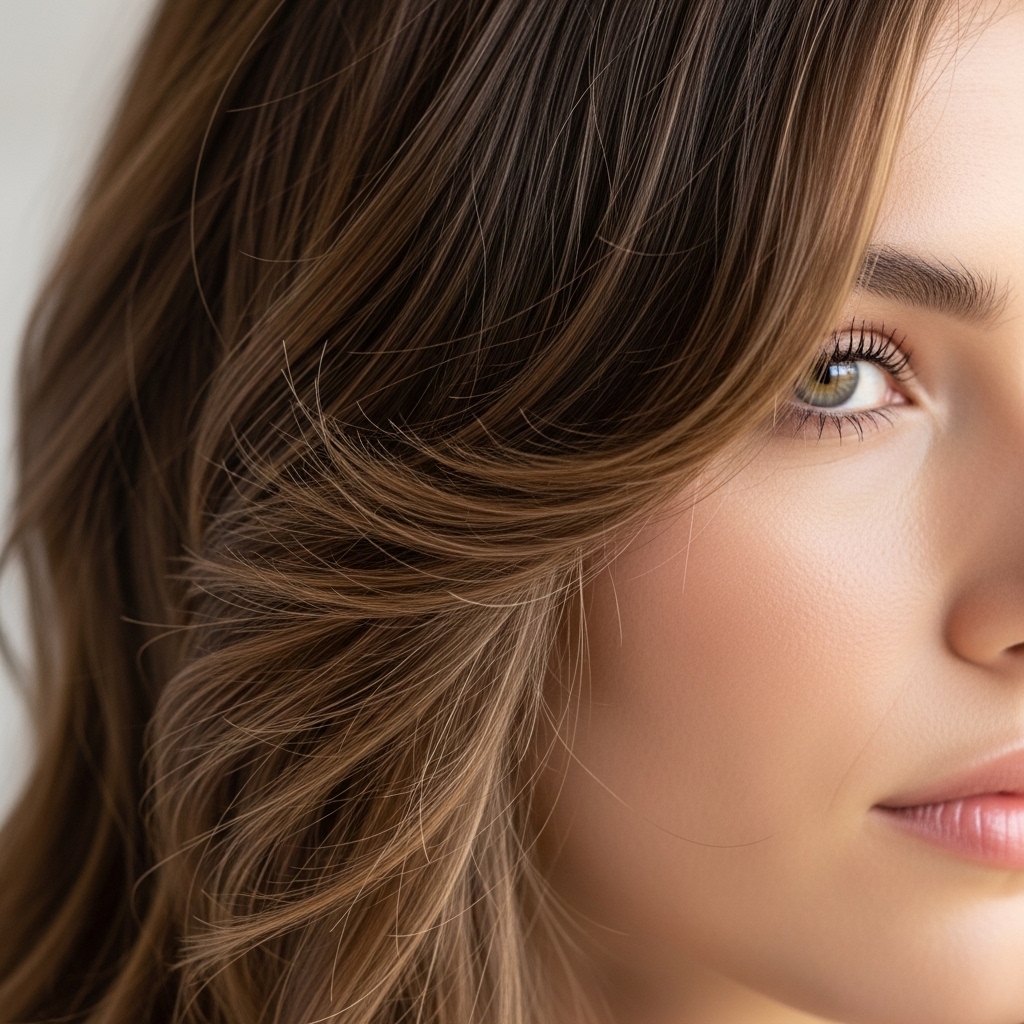
If your lob doesn’t have them, ask your stylist for face-framing layers next time. These are shorter pieces that start around your mouth or chin and blend into the rest of your hair.
Their job is to literally frame your face with softness. They should hit where you want to draw attention—your cheekbones and the curve of your jaw.
Style these pieces with a slight outward bend or curl. They act like a filter, blurring the edges of your jawline. It’s the simplest cut adjustment with the biggest impact.
The Half-Up, Half-Down Lifesaver
Need to get hair off your face but don’t want a full updo? The half-up style is perfect. It keeps the softening lengths around your jaw while pulling volume upward.
Take a section of hair from your temples and crown. Pull it back loosely, but don’t make it tight. Secure it with a small clip or a hair tie at the back of your crown.
Gently pull on the section to loosen it and create a little height. Let the rest of your lob flow. This style has a sweet, romantic feel that works for any day.
Sleek, Not Severe
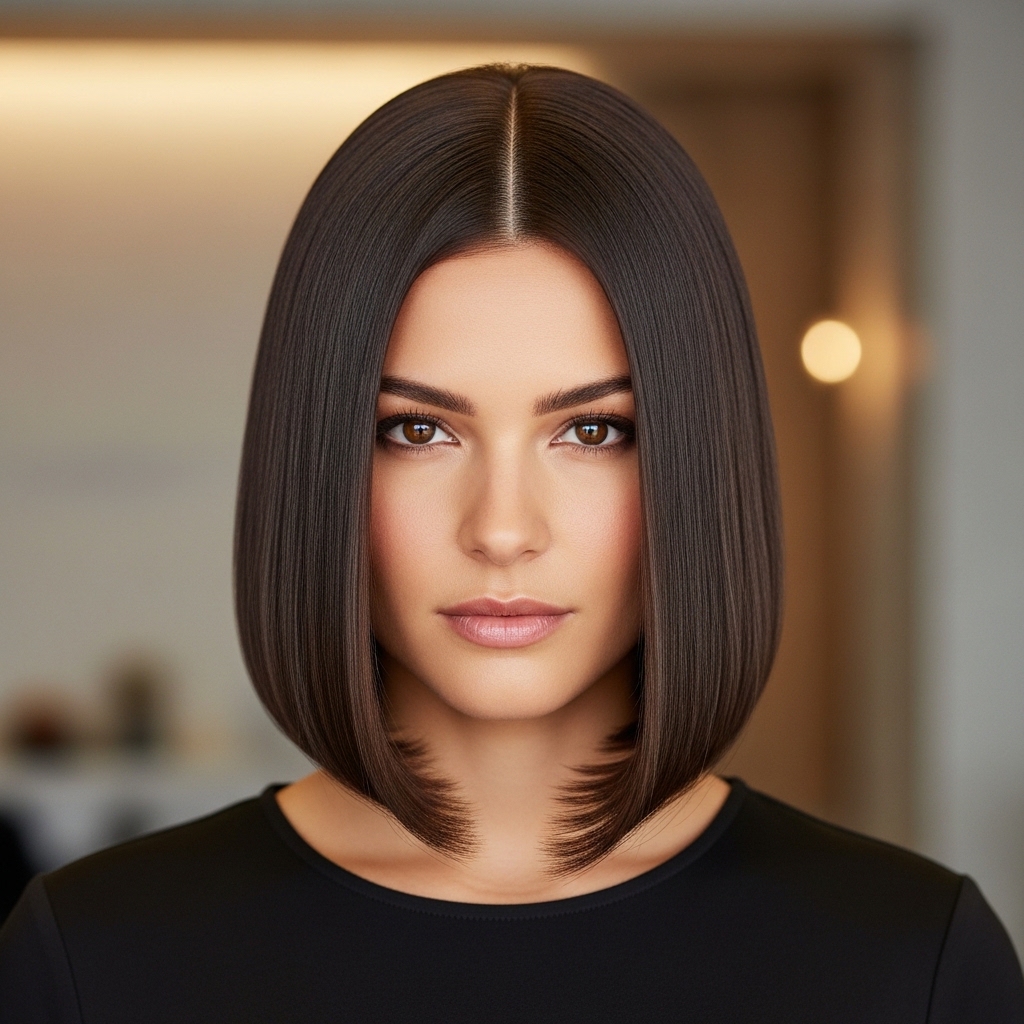
Sometimes you want a straight, sleek look. The key is to avoid a harsh, geometric line. After straightening, use your flat iron to create a very slight inward bend just at the very ends of your hair.
This tiny curve prevents the “chopping block” effect. Add a shine serum or spray to keep it looking glossy and healthy, not flat.
Pair this look with a side part to keep it soft. A middle part with super-straight hair can be too symmetrical for a square face. Aim for polished, not rigid.
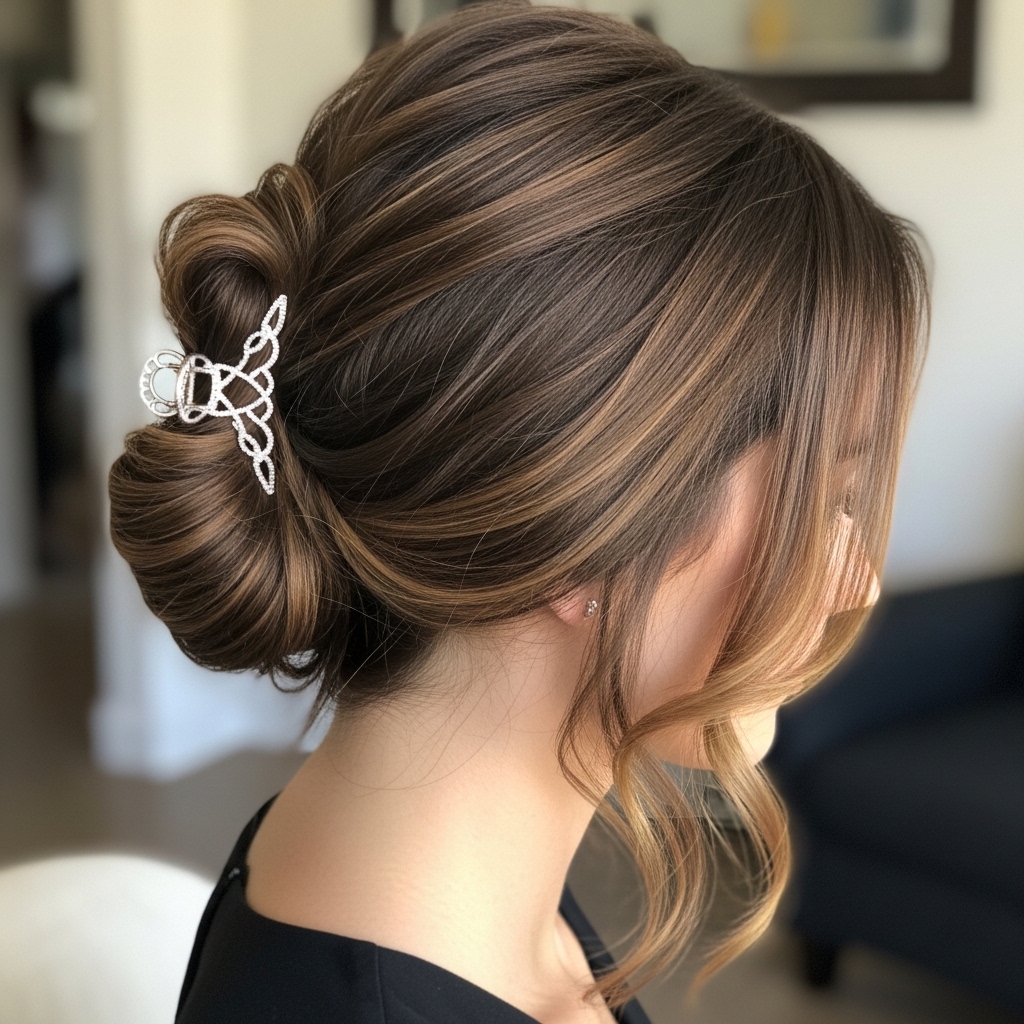
Accessorize to Distract & Elevate
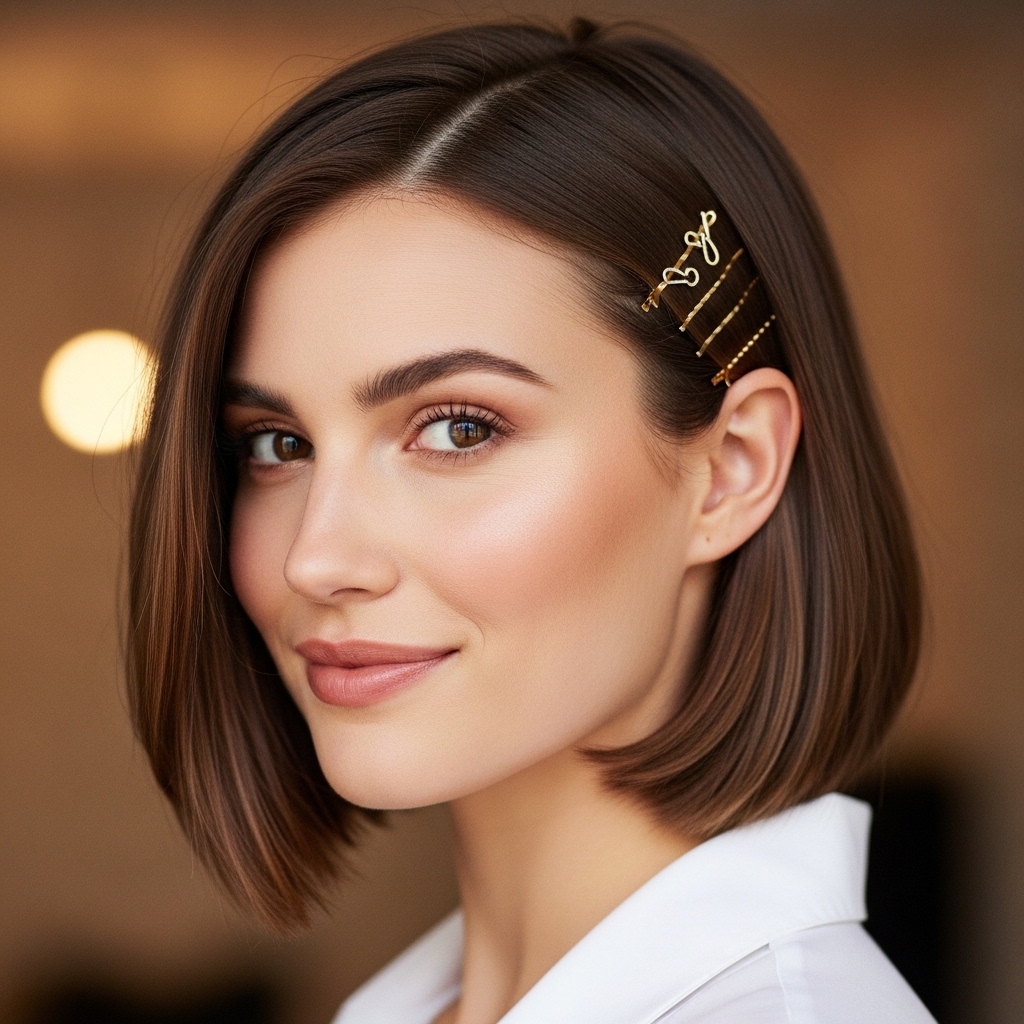
Hair accessories are a quick win. Use them to draw the eye upward. Try pretty clips or pins just above your ear on one side. Or, use a thin, sparkly headband to add interest at the crown.
A silk scarf tied as a headband or around a low ponytail adds a pop of color and pattern away from your jaw. Avoid heavy, wide headbands that sit at your hairline—they can shorten the face.
Think delicate and placed with intention. This is an easy way to tap into 2026 hairstyles trends, which are all about personal, thoughtful touches.
Night-Out Glamour Waves
For a night out, amp up the volume and definition. Create a deeper side part. Use your 1-inch iron to make more uniform, polished waves instead of messy ones.
Leave the waves more intact—don’t break them up as much. Spray each section with light hold spray before curling for longer-lasting shape.
At the crown, backcomb gently for extra lift. This added height creates a beautiful balance with your jawline and feels ultra-glamorous. It’s a timeless red-carpet look.
The “Vampire Haircut” Edge
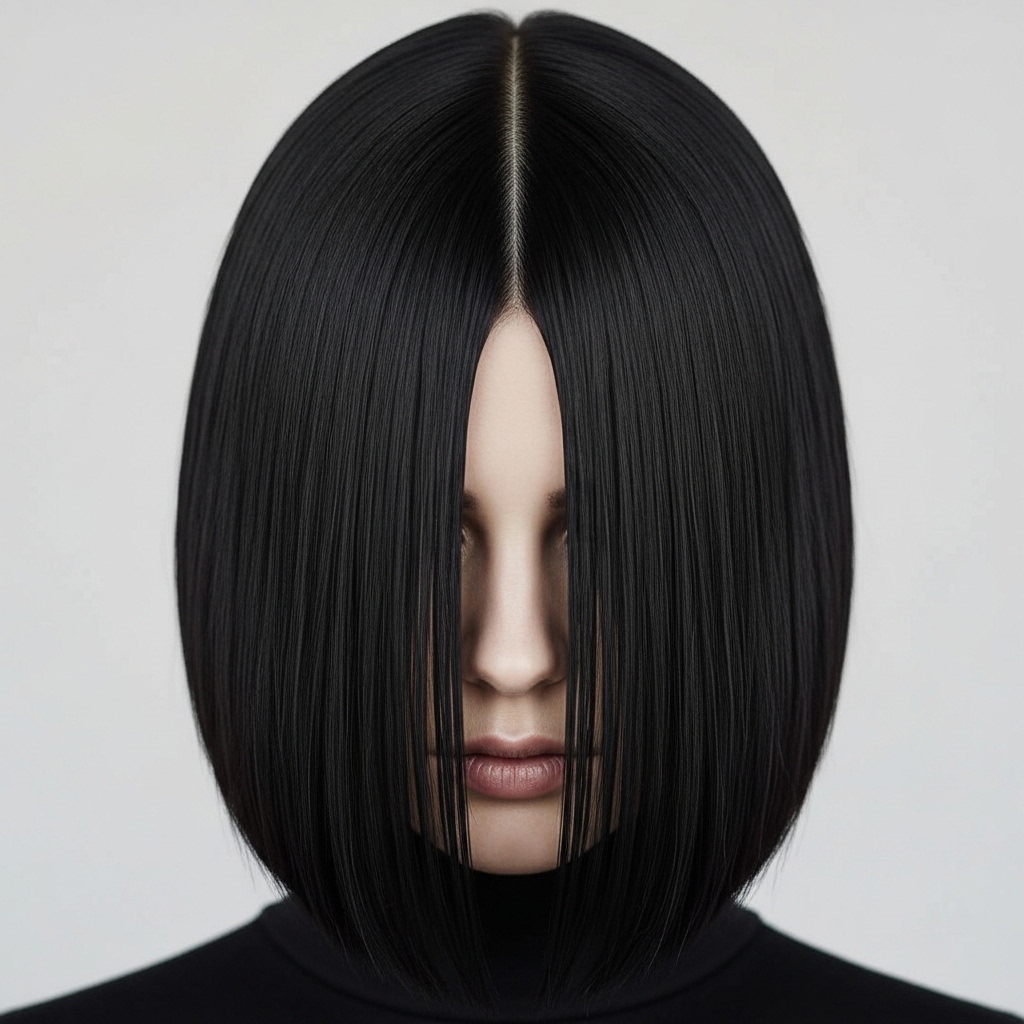
Feeling a bit edgy? The “vampire haircut” trend—a very blunt, often black lob—can work with a square face if you style it right. Keep it bone-straight but add a middle part for a severe, romantic goth hairstyles vibe.
The key is to keep the length slightly longer, grazing the collarbone, to help elongate. Add long, curtain bangs that blend into the lob to frame the face.
This look is all about attitude. It’s stark, cool, and makes a statement. Own the sharpness instead of trying to soften it.
Experimenting with an Asymmetrical Lob
If you’re feeling bold, an asymmetrical lob is a fantastic option. Having one side significantly longer than the other creates a long diagonal line that visually cuts across the squareness of the jaw.
Ask your stylist to keep the rounded shape but just on a slant. The shorter side can hit at your chin, the longer side at your collarbone.
Style it with texture and movement. This cut is inherently modern and interesting, and it does a lot of the face-balancing work for you through its shape alone.
Incorporating “Hime Cut” Elements
The hime cut, with its distinctive straight, long front pieces, can be adapted. Ask for very blunt, face-framing pieces that are longer than the rest of your lob.
Keep these front pieces sleek and straight. They create strong vertical lines down the sides of your face, which help to counterbalance a strong jaw.
Pair these with a textured, wavy back section for a mix of structure and softness. It’s a unique, artistic take that feels fresh and intentional.
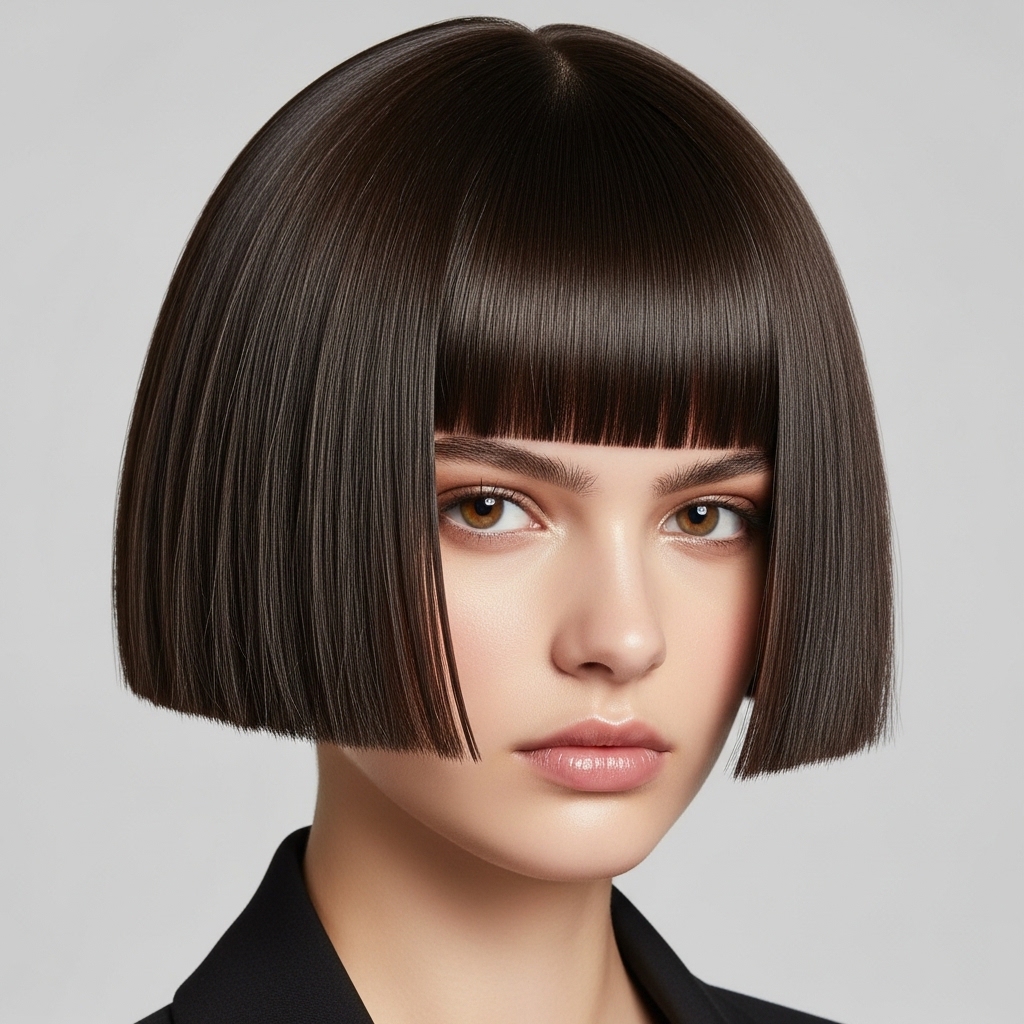
When to Add Bangs (And Which Kind)
Bangs can be amazing! The best choice for square faces is long, wispy curtain bangs. They part in the middle and blend into the rest of your hair, creating a soft V-shape that draws the eye down.
Avoid heavy, straight-across bangs—they create another strong horizontal line right above your eyes, emphasizing the square shape. Side-swept bangs are also a safe, flattering bet.
Style your bangs with a slight wave or bend. They should look piecey and blended, not solid. They add a whole new layer of softness.
Protecting Your Hair from Heat
All this styling requires heat, so protection is key. Always, always use a heat protectant spray on damp hair before blow-drying and on dry hair before using hot tools.
Try to keep your iron’s temperature at or below 380°F. Higher isn’t always better. It just fries your hair. For sleek styles, one pass with the iron is enough.
Once a week, use a deep conditioning mask. Healthy hair holds style better and looks shinier, which always makes any cut look more expensive.
Quick Refresh for Day 2 & 3 Hair
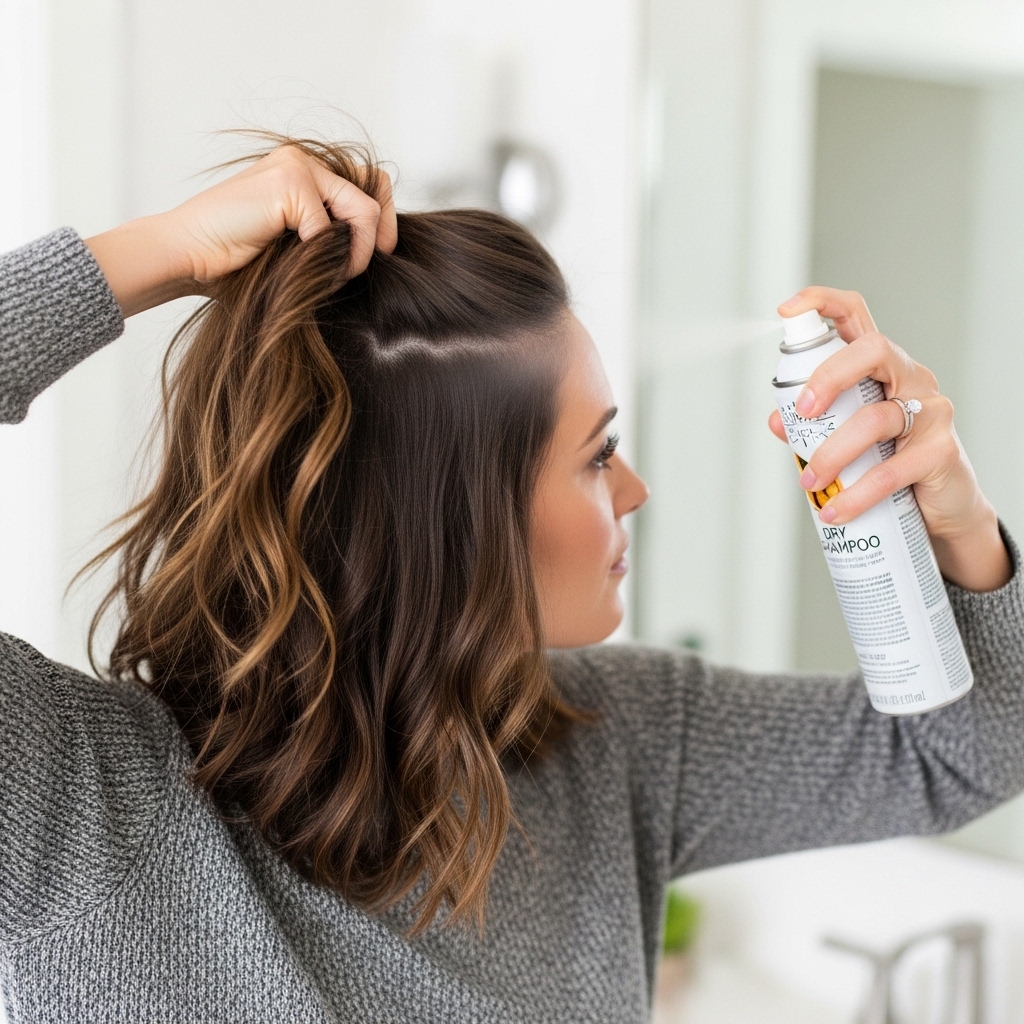
Your best styles will often be on day 2 or 3. To refresh, start at the roots with dry shampoo. Lift sections and spray lightly to absorb oil and add volume.
For flattened waves, mist a texturizing spray lightly all over. Then, use your fingers to re-scrunch the waves. If needed, touch up a few random face-framing pieces with your curling iron.
Focus only on the top layer and pieces that have fallen flat. There’s no need to re-curl everything. Less is more for a natural look.
Finding Your Signature Part
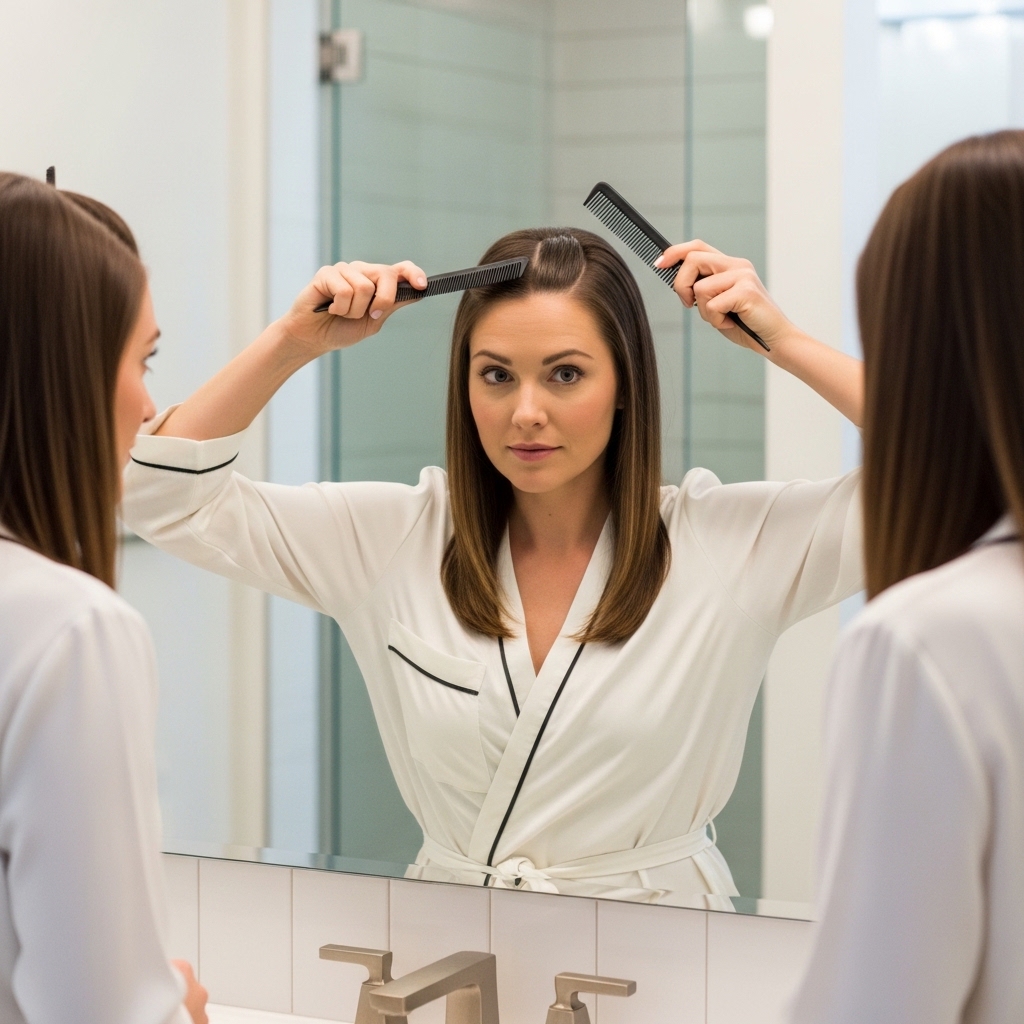
Your part changes everything. Spend some time playing with it. Try a true center part, a deep side part, and a slight side part. See which one makes your eyes pop and your face look most balanced.
Your “signature” might change based on your hair’s texture or the style you’re doing. That’s okay! Knowing how a part changes your look gives you control.
Use the end of a comb or a pointed tail comb to make a clean line. A zig-zag part can also add volume and a cool, “glitchy” texture.
Confidence is the Best Style
At the end of the day, the best style is the one that makes you feel like you. If you love a super-blunt look, rock it with confidence. Your attitude is the ultimate accessory.
These tips are guidelines, not rules. Your square jawline is a powerful, beautiful feature. The goal is to feel amazing, not to hide.
Experiment, play, and find what feels right for your personality and life. When you feel good, you look good—that’s the real secret.
And there you have it! A whole toolkit of ideas for your gorgeous rounded lob. Remember, it’s all about creating softness and movement to complement those amazing cheekbones.
Don’t try to do everything at once. Pick one or two new tricks to try this week. Maybe master the 5-minute wave, or play with a new side part. Small changes make a big difference.
Your hair is meant to be fun, not stressful. You’ve got this.
Save this post to Pinterest to keep all these ideas handy for your next styling session! And tell me in the comments—which look are you most excited to try first? I love hearing from you.

