
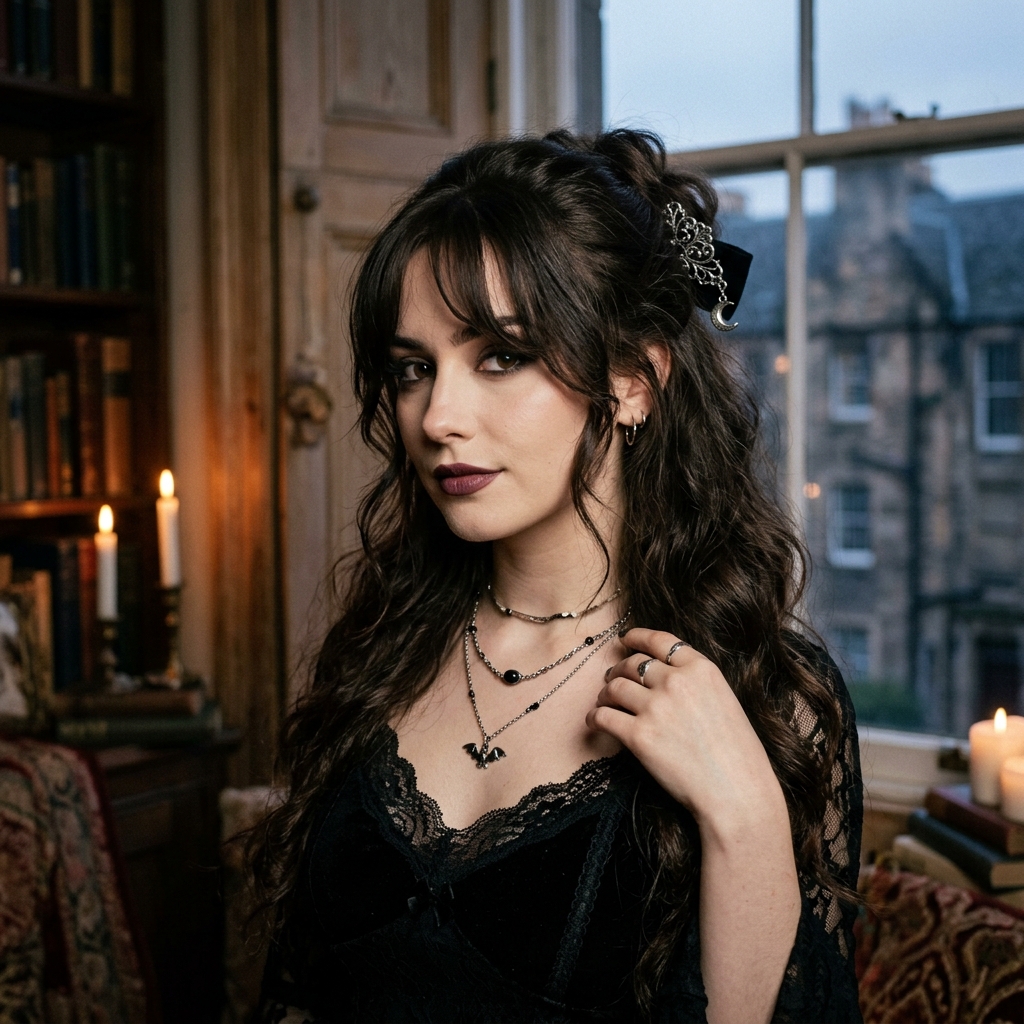
Okay, let’s be real. You love the dark romance of romantic goth hairstyles—the softness mixed with that cool-girl edge. But you also have, you know, a life. You don’t have an hour to wrestle with a curling iron and a mountain of pins before heading out.
I get it. That’s why I’m obsessed with the half-up style. It’s the perfect hack. It looks intricate and thoughtful, like you just stepped out of a moody Victorian novel, but the secret is it’s incredibly fast.
This is your guide to achieving that dreamy, undone look in just five minutes. We’re talking minimal tools, maximum vibe. It’s perfect for dressing up your everyday look, whether you rock an asymmetrical lob, a vampire haircut, or long flowing layers.
Let’s ditch the complicated tutorials and get into the easy, practical steps. Your inner romantic goth is about to be very, very happy.
1. The Magic Starts With Your Base
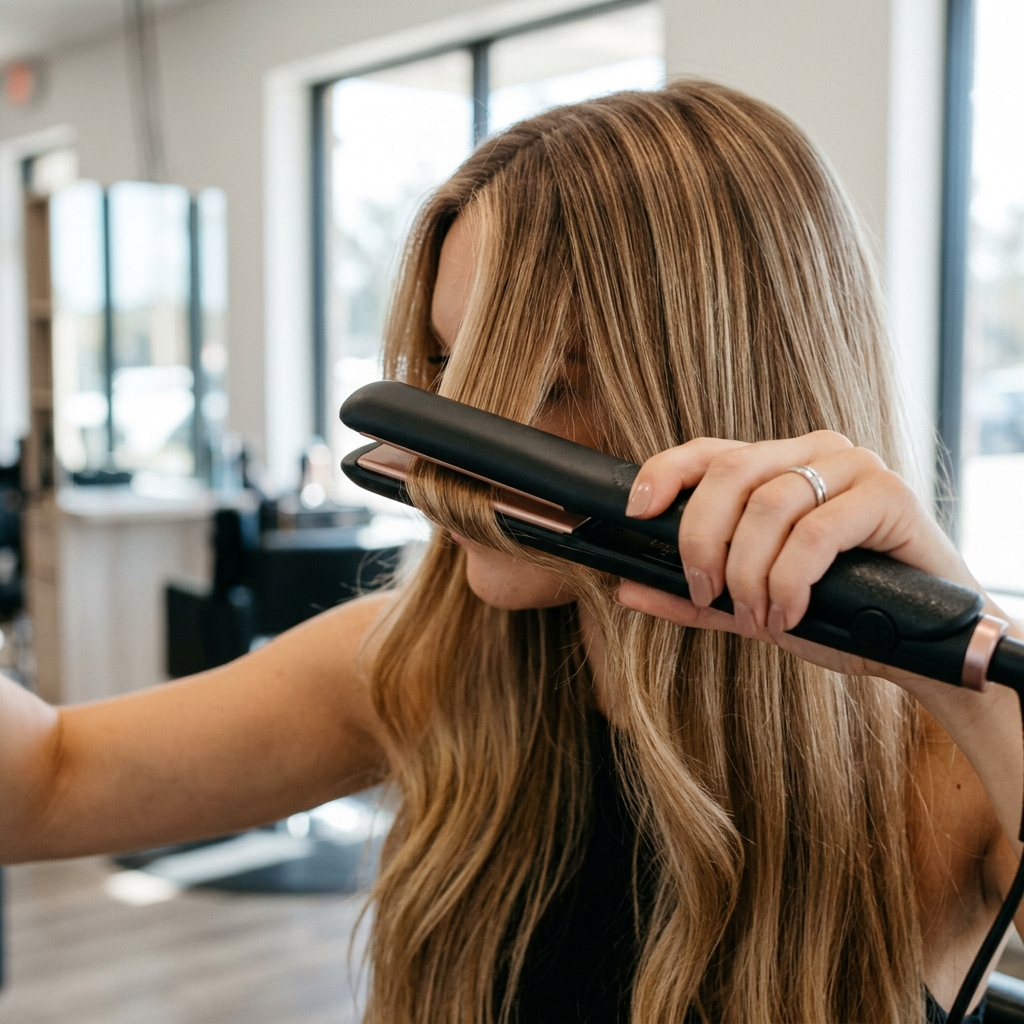
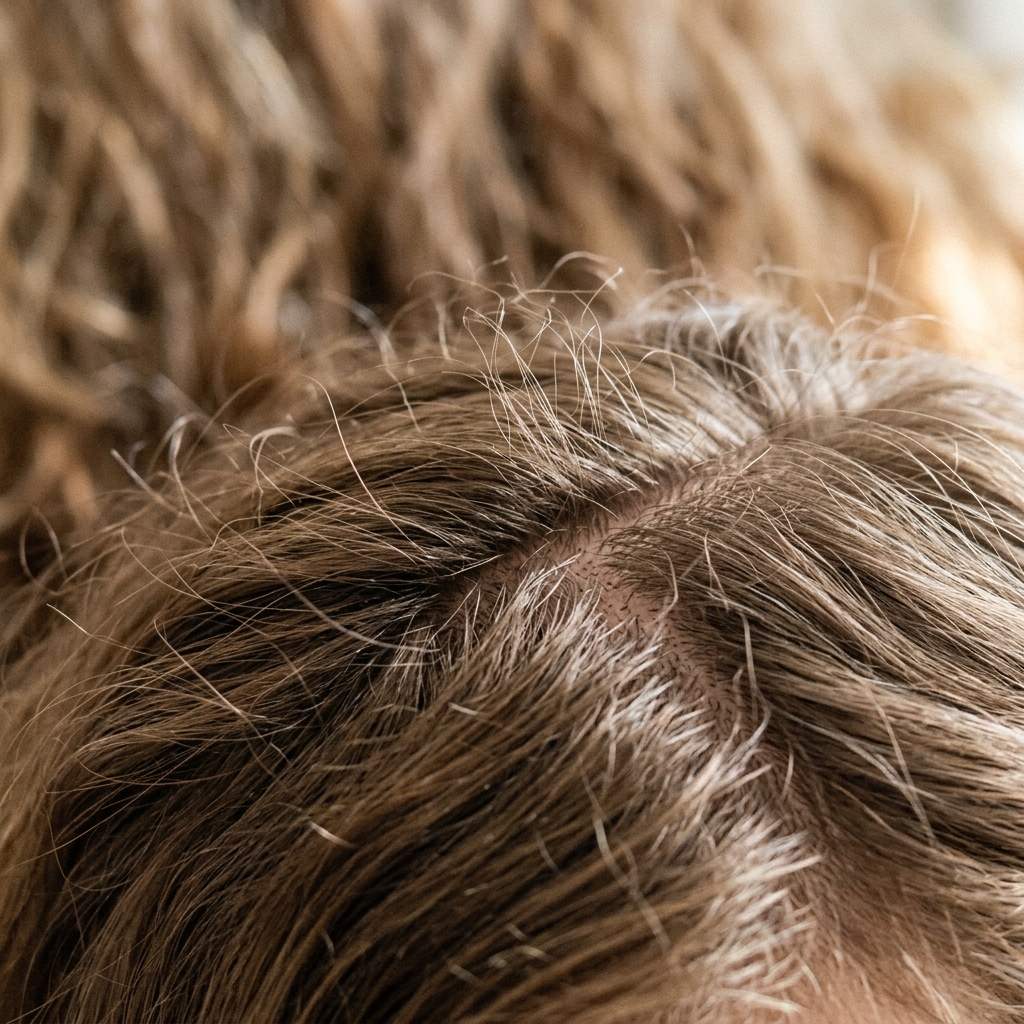
Forget sleek and perfect. The key to any good romantic goth style is texture and a bit of grit. Day-old hair is your best friend here. If your hair is freshly washed, spray a texturizing spray or dry shampoo at the roots and through the lengths.
This gives your hair something to “hold onto” and creates that lived-in, effortless volume we’re after. A little wave is also a huge plus. If your hair is pin-straight, quickly run a flat iron over random sections to create slight bends—no perfect curls needed.
2. Gather Your 5-Minute Tool Kit
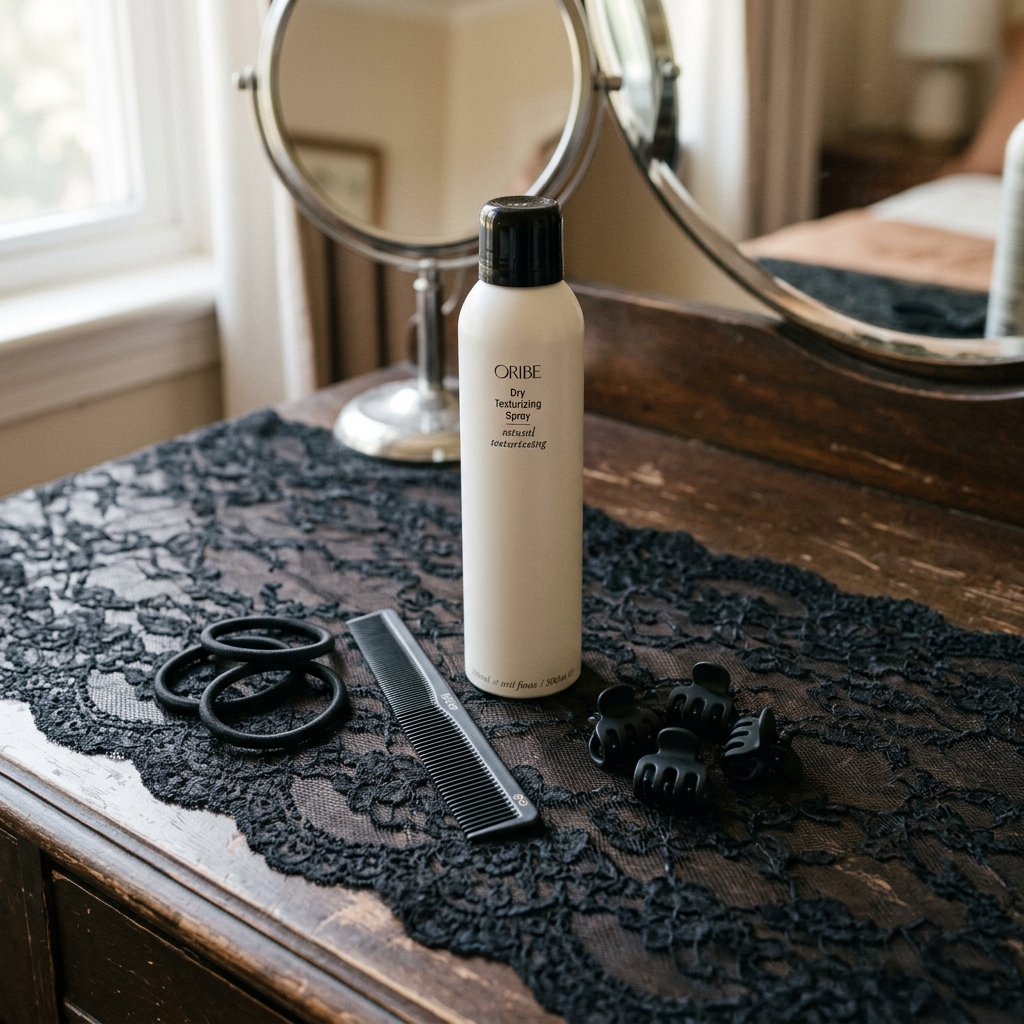
You don’t need much. Seriously. Overcomplicating your tools is the enemy of a five-minute style. Here’s my absolute essentials list for this look:
- Texturizing Spray or Dry Shampoo: For that all-important grip and volume.
- Matte Black Hair Ties: They disappear into dark hair. Clear ones work too.
- Mini Claw Clips (Black or Tortoiseshell): For securing pieces in an invisible way.
- A Fine-Tooth Comb: Just for sectioning, not for smoothing!
3. Create a Soft, Face-Framing Section
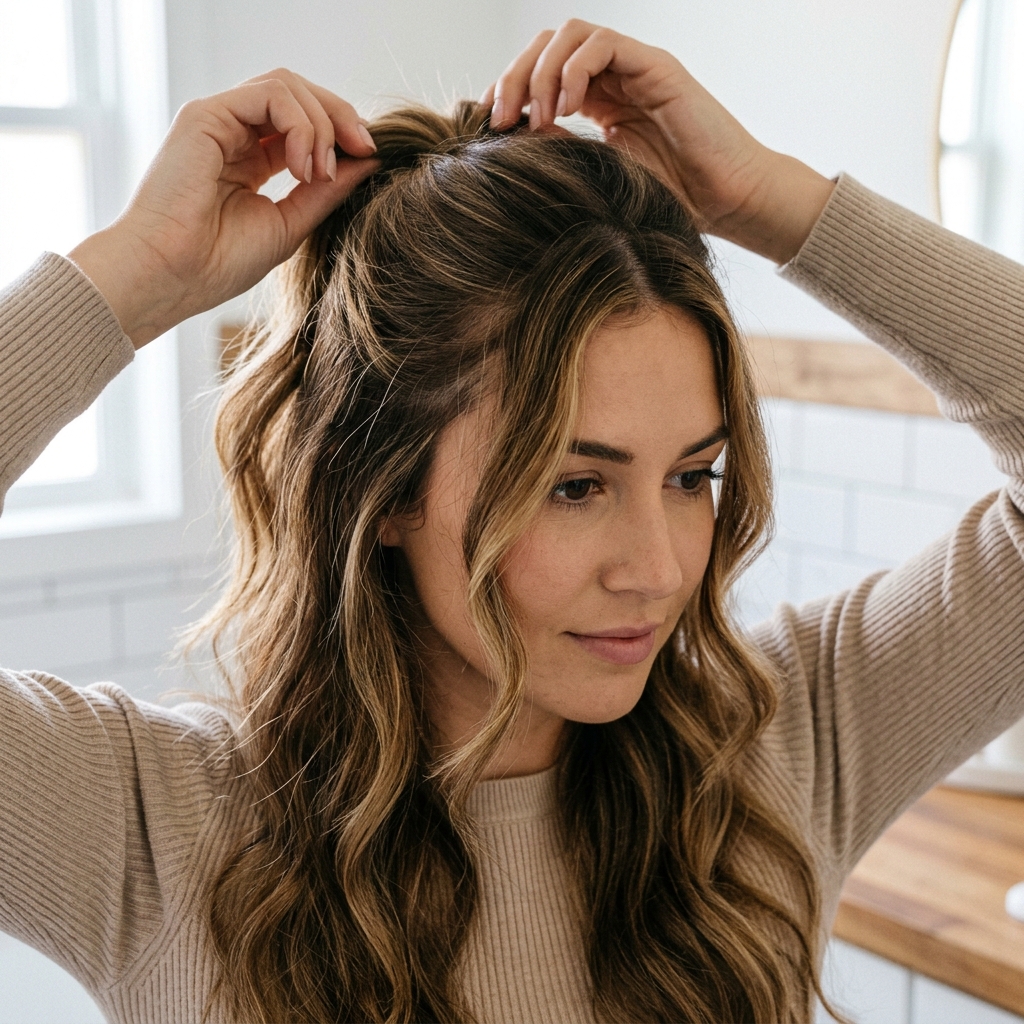
Don’t just pull all your hair back. That’s too harsh. Use your fingers or the tail of the comb to draw a deep side part or a soft zig-zag part for more drama.
Then, gather the hair from the top of your head, starting from about your temples back. Leave out all the hair around your face—from the front of your ears forward. These pieces are crucial for the romantic, soft effect.
4. The “Twist & Pin” Foundation
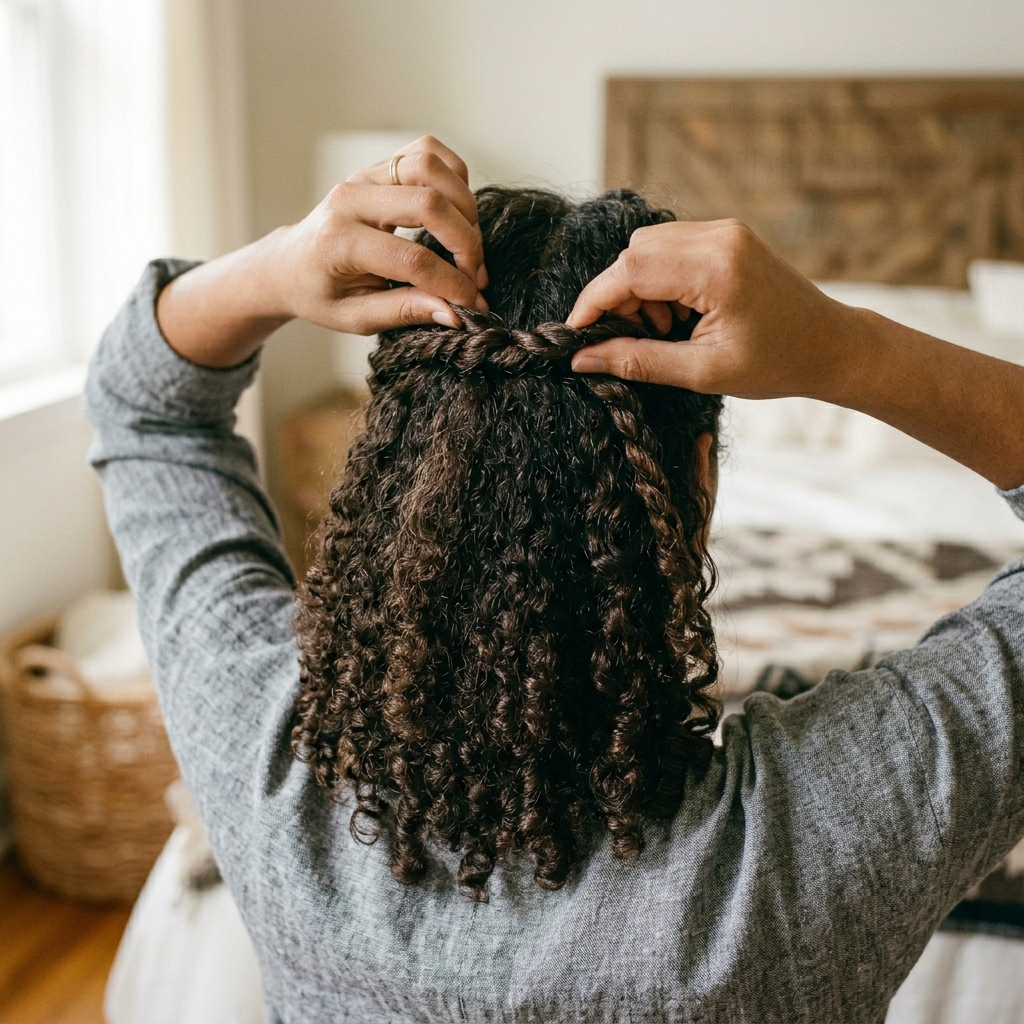
Take that top section you gathered. Instead of making a tight ponytail, give it a single, loose twist. This adds instant texture and keeps the style from looking too polished.
Pull it back to where you want your half-up “base” to sit—usually at the crown of your head. Hold it there with your hand. Don’t secure it with a tie yet. We’re going to build around it first.
5. Incorporate a Strategic Braid (Optional but Fast)
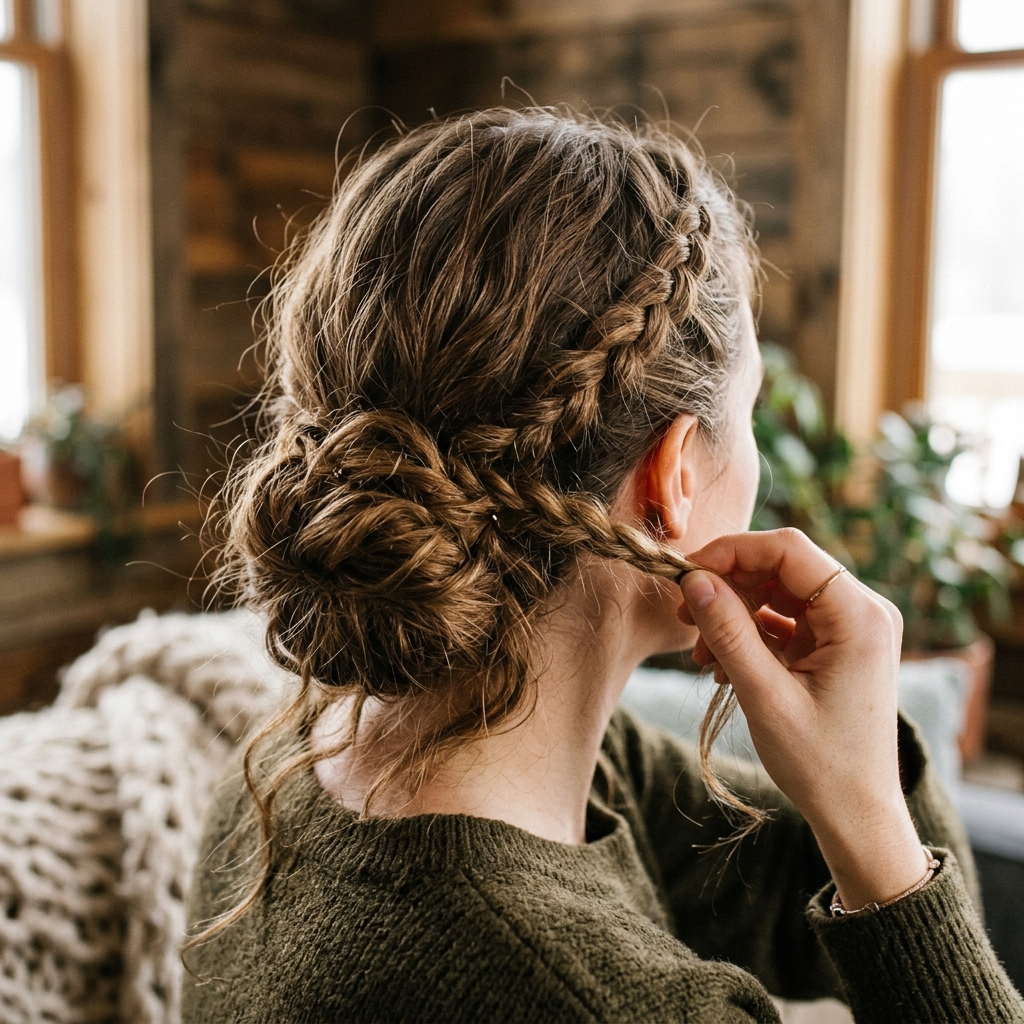
For an extra touch that looks time-consuming, add a tiny braid. Take a small section from one side of your face-framing pieces, near your temple.
Do a quick, loose three-strand braid. Don’t make it neat. Pull on the edges to make it wider and messier. Then, drape it back and incorporate it into the twisted base section you’re holding. This adds a beautiful, medieval touch in seconds.
6. Secure the Base With a Tie
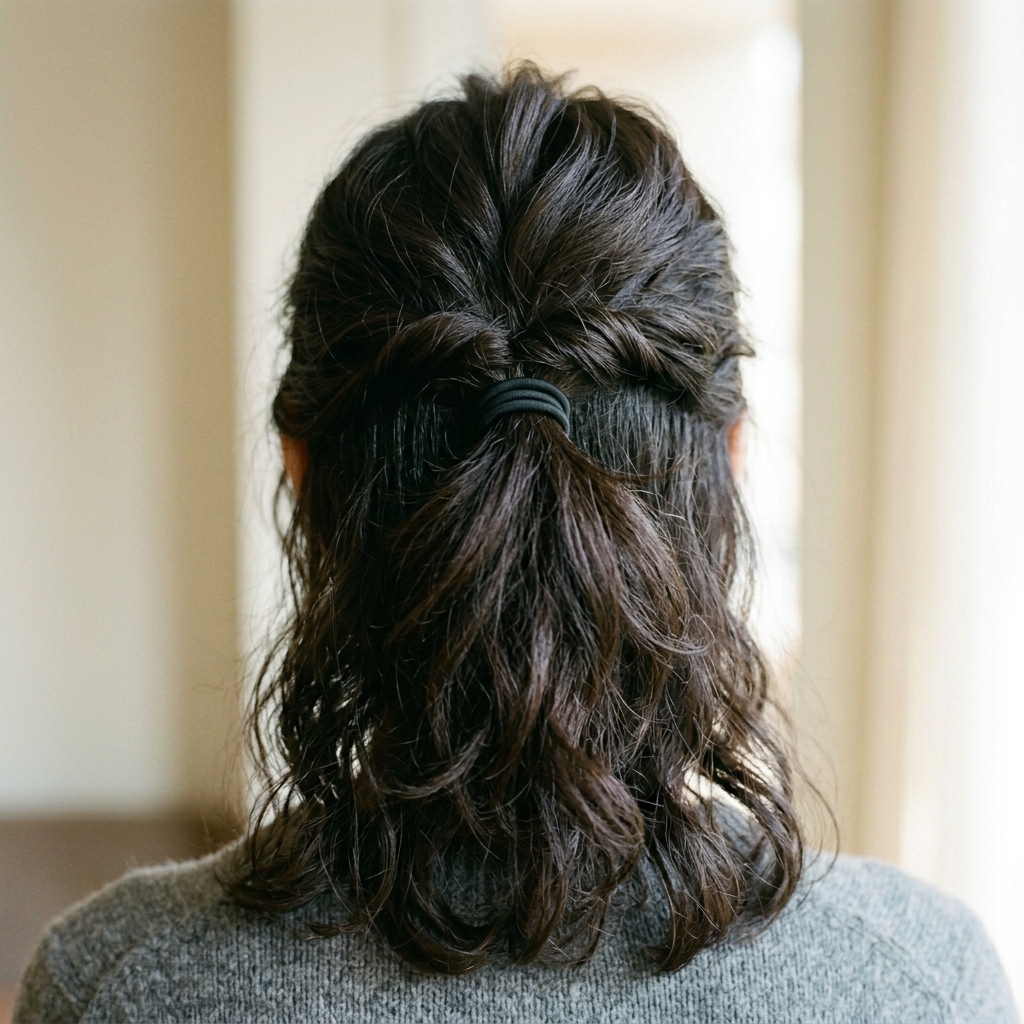
Now, take your matte black hair tie and secure the twisted base section (with the braid wrapped in, if you did that). Make it a loose, low-tension ponytail.
Right after you tie it, gently pull on the sides of the twist to loosen it and create a little soft pouf at your crown. This gives height and that undone, romantic feeling instantly.
7. Pull & Loosen For Instant Volume
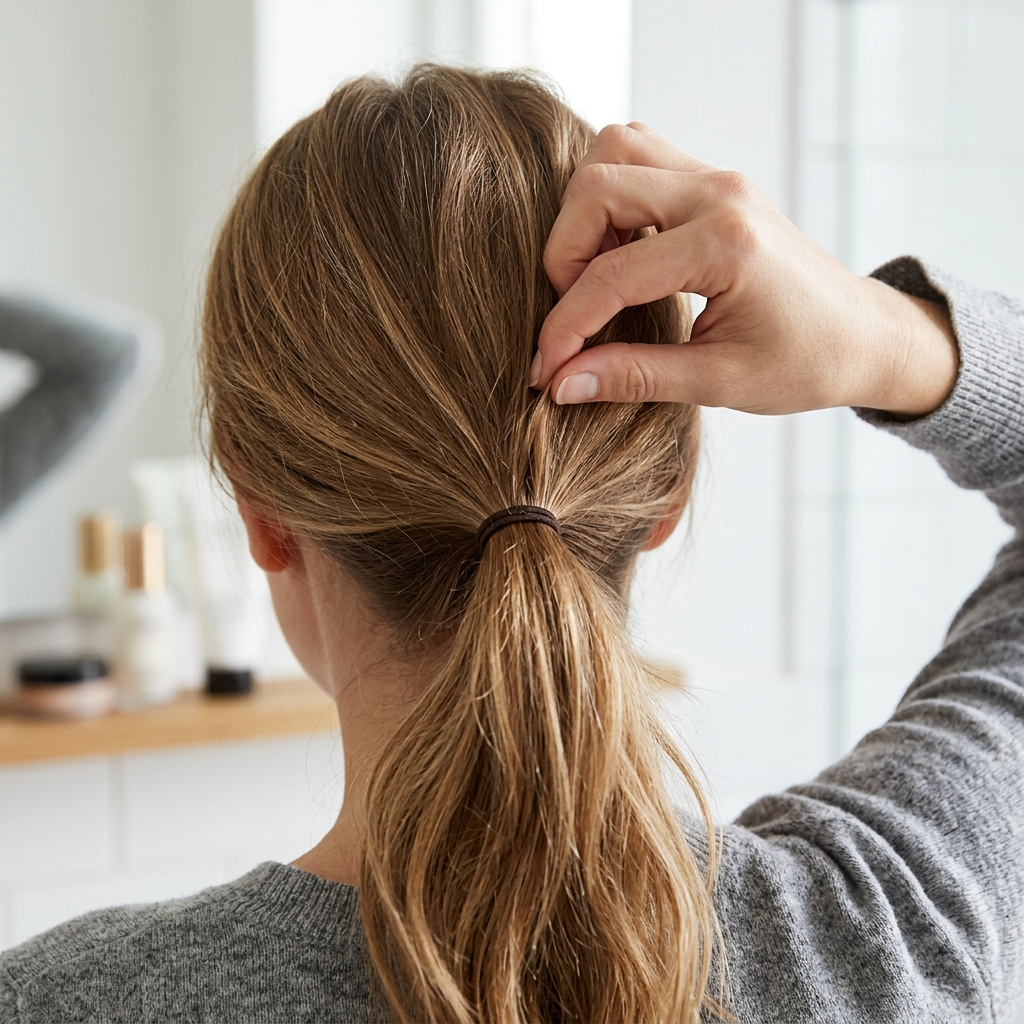
This is the most important step. With the half-up base secured, look at the front. Gently pull out a few tiny, wispy pieces around your hairline and temples.
Then, pull lightly on the hair just above the hair tie to create more volume and blur the hard line of the tie. The goal is to make it look like pieces are naturally falling out, not tightly pinned up.
8. Style Your Face-Framing Pieces
Those pieces you left out are your star players. Take your flat iron and give them a purpose. Create soft bends, not curls.
Clamp the iron near the root, twist it slightly, and glide down, turning the ends under or out randomly. This frames your face in a soft, intentional way and is a hallmark of 2026 hairstyles leaning into personalized detail.
9. Add a “Glitchy” Accent Piece
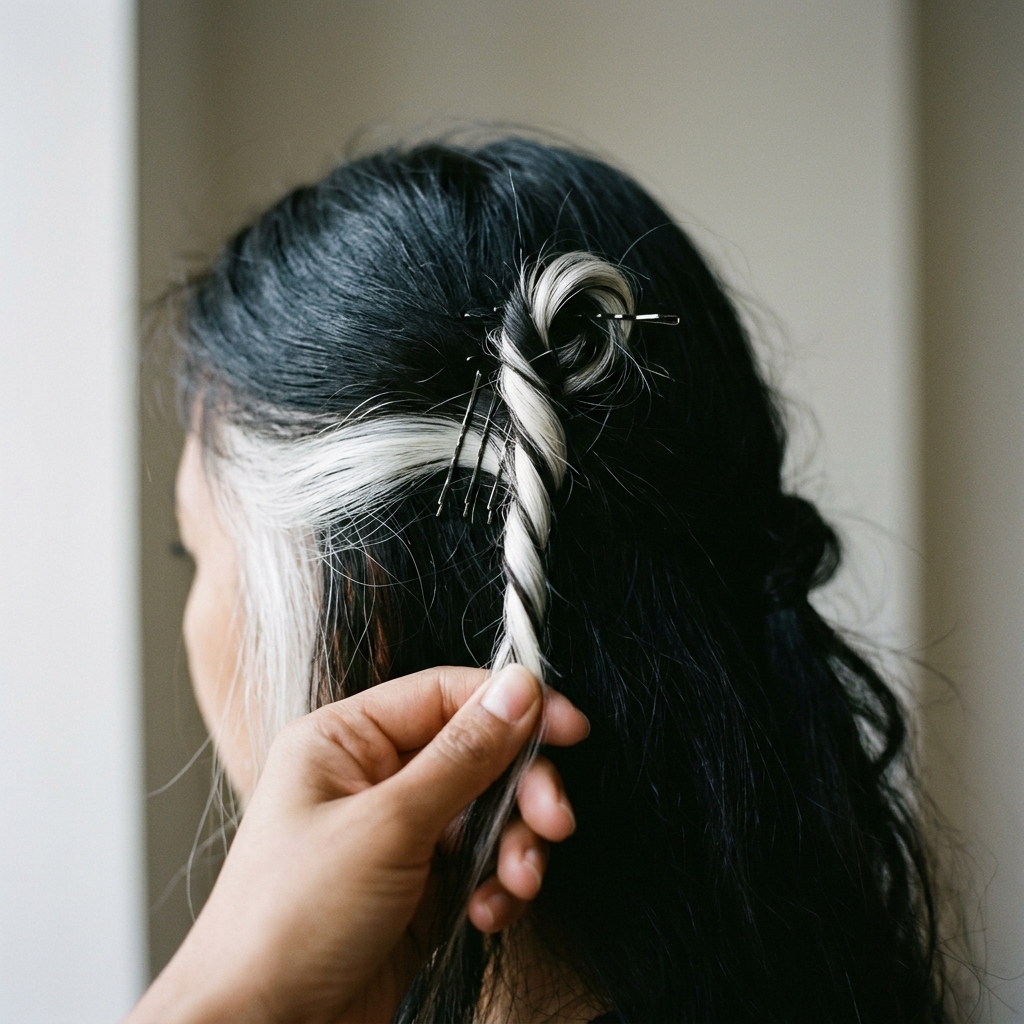
Want to tap into the glitchy glam hair trend? If you have a money piece, highlights, or even a clip-in streak, make it the focus.
Take that lighter piece from your face-framing section and style it separately. Give it a more pronounced wave or twist it away from the rest of your hair before tucking it behind your ear. This intentional “error” is so cool.
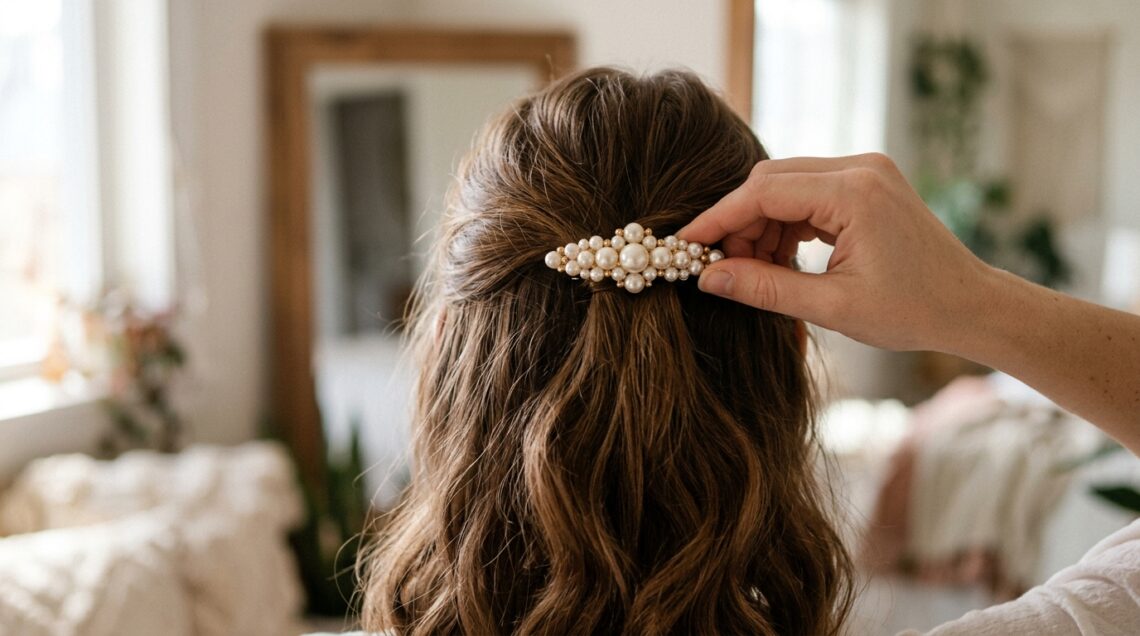
10. Use Clips For Structure & Magic
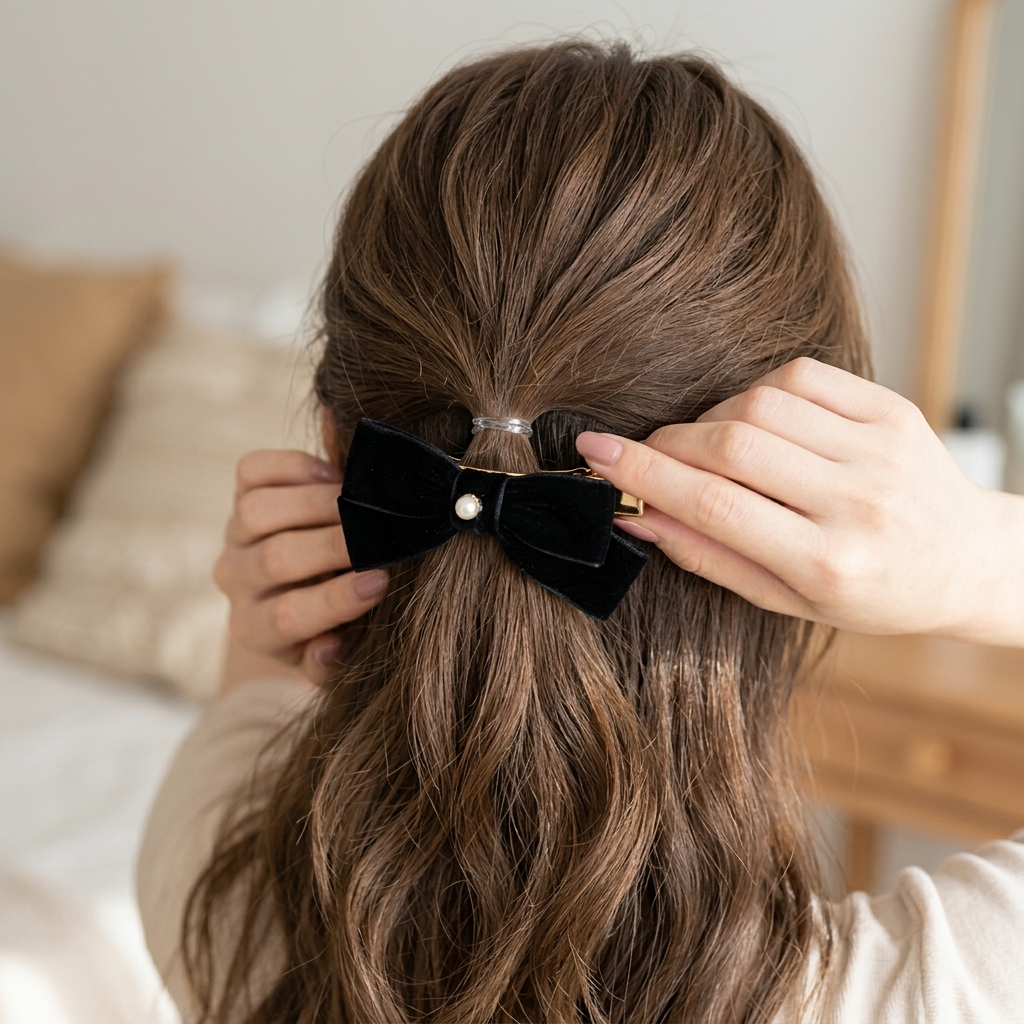
Accessories are your fast-track to looking styled. Take a beautiful clip—think velvet bows, antique-looking metal, or pearls—and use it functionally.
Place it over the hair tie to hide it, or use it to pin back one of your face-framing pieces just behind your ear. It adds a touch of old money hair elegance or dark romance in one second.
11. The “Vampire” Tendril Technique
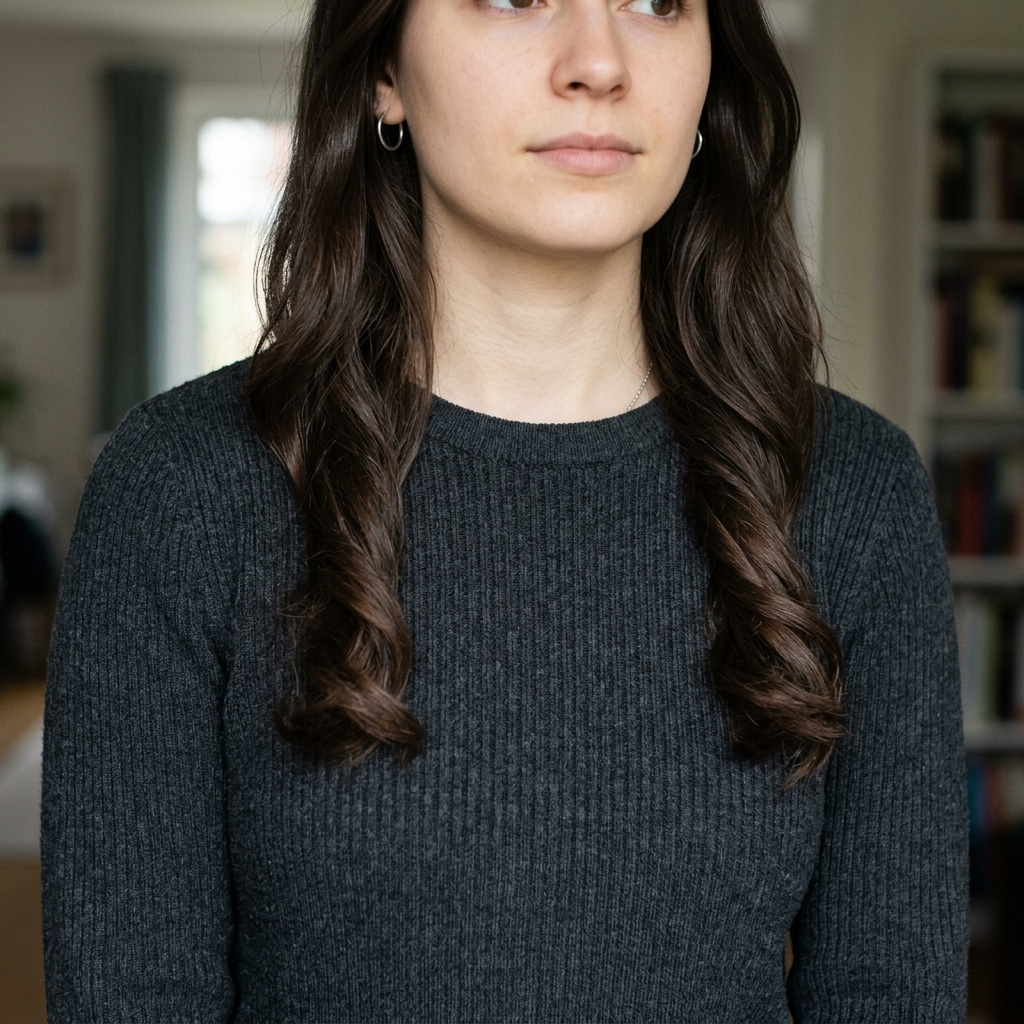
This is a signature of the vampire haircut look. Pick one or two of the longest face-framing pieces.
Spray them lightly with a flexible hold hairspray and twirl them around your finger to create defined, spiral-like tendrils. Let these drape dramatically over your shoulders in front. It’s an instant mood.
12. Texture, Texture, Texture

Final check for texture. Flip your head over and gently run your fingers through the lengths of your down hair. Shake it out a bit.
If any sections look too smooth or clumped together, gently separate them with your fingers. The overall look should be piece-y, soft, and full of movement.
13. Set It & Forget It Spray
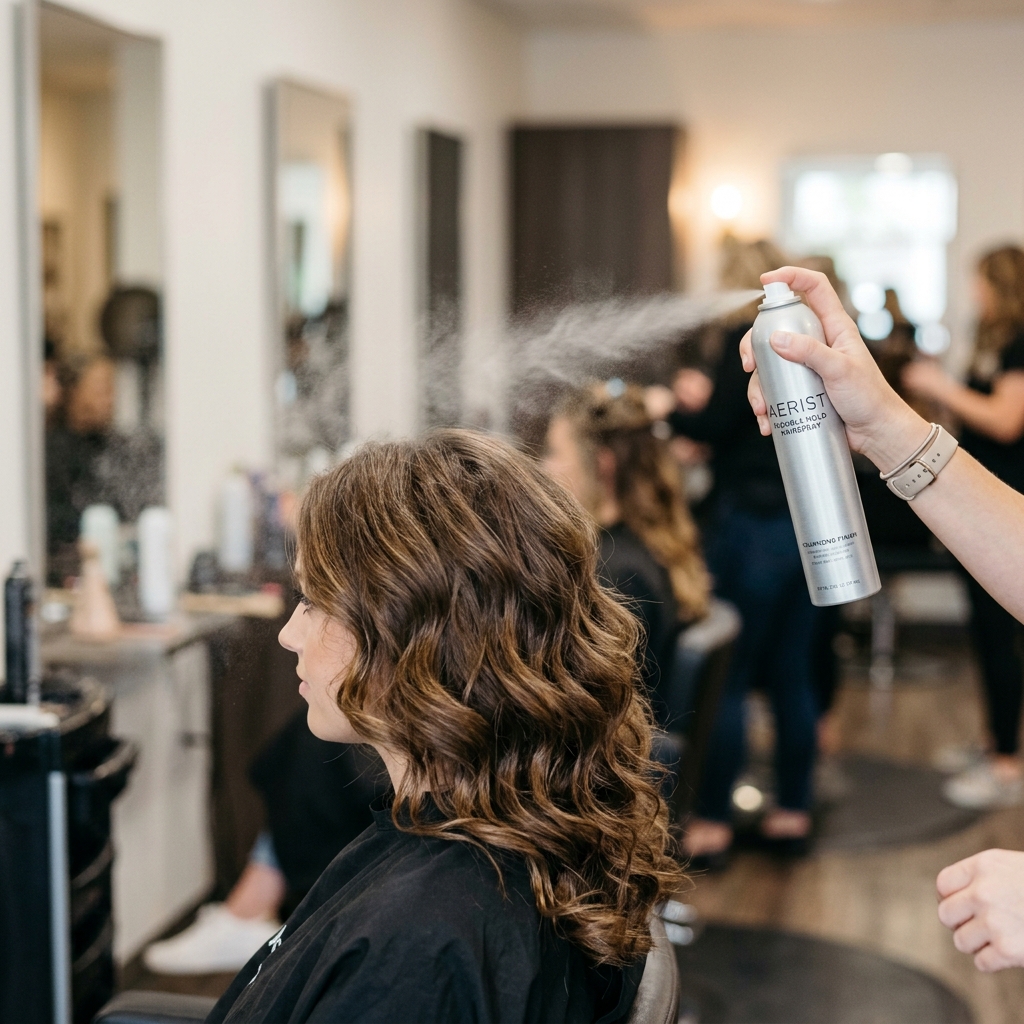
Lock in the romance without the crunch. Use a flexible-hold or texture spray. Hold it at arm’s length and mist it lightly over your entire head.
Focus a little extra on the face-framing pieces and the crown volume. This keeps the wispies in place but lets your hair still move naturally.
14. Adapt This For a Lob or Bob

Short hair friends, you can do this too! If you have an asymmetrical lob or quiet luxury bob, the method is similar but use clips as your main tool.
Create the same top section and twist it. Instead of a hair tie, secure it immediately with two mini claw criss-crossed. Leave out all your shorter layers around your face. The result is chic, cool, and perfect for shorter lengths.
15. The Hime Cut Interpretation

Love the hime cut aesthetic? Use this style to mimic it. Leave out two distinct, blunt sections from your temples forward—these are your “hime” strands.
Style these pieces pin-straight or with a slight inward bend. Then, pull the rest of the top hair back as usual. It creates a beautiful, graphic look that’s still soft and romantic.
16. Night-Out Upgrade in 60 Seconds
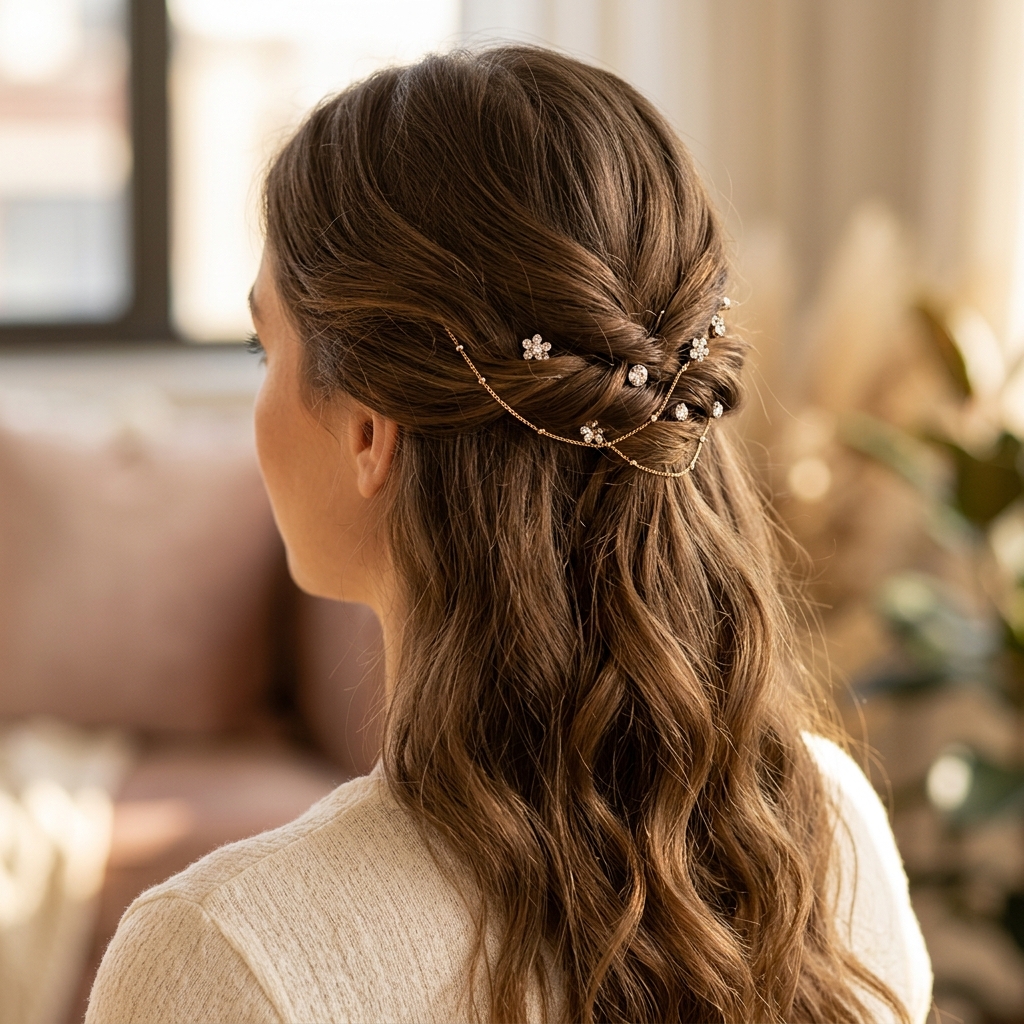
Going from day to night? Your upgrade is in the accessories. Swap your simple clip for something sparkly or dramatic.
Weave a delicate hair chain through your half-up base, or add a few scattered crystal pins. You can also twist a ribbon into your initial braid or tie a black ribbon around the base ponytail for extra drama.
17. Embrace the “Undone” Finish
Remember, perfection is not the goal. In fact, it’s the enemy of this style. A few stray flyaways, a piece that falls out, a slightly uneven part—these are all good things.
They make the style look lived-in and authentic. Don’t fight them. If your hair looks a little “just awakened in a castle,” you’re doing it perfectly.
18. What To Do With Bangs
If you have bangs, they only make this style better. Curtain bangs can be treated as your face-framing pieces. Blunt bangs stay down in front.
Just make sure to blend the sides of your bangs into the section you’re pulling back. Gently pull out a few hairs from the bang section to merge with the half-up for a seamless look.
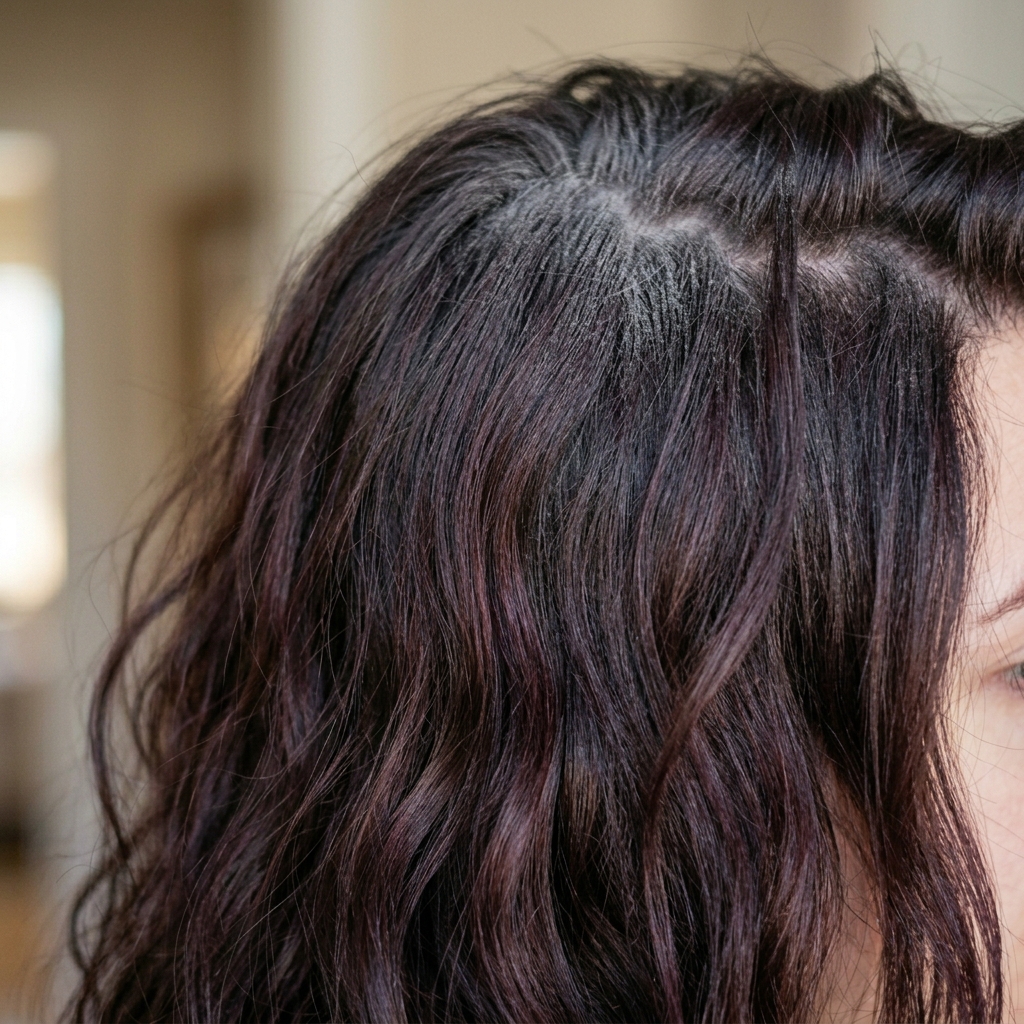
19. Quick Color Tips For Impact
Color can elevate this look instantly. If you have dark hair with colored ends, make sure those ends are visible in your face-framing pieces.
If your hair is all one color, a temporary color spray or wax on a few strands can create a bold, quick accent. Think deep red, violet, or even a temporary black for a stark contrast.
20. Your 5-Minute Routine Recap
Let’s run through the timeline so you see how easy it is:
- Minute 1: Spray texture spray, create part and top section.
- Minute 2: Create twist, add optional braid, secure with tie.
- Minute 3: Pull and loosen for volume, style face pieces with iron.
- Minute 4: Add accessory and create tendrils.
- Minute 5: Final texture check and light hairspray.
And that’s it, my friend. You’ve just created a hairstyle that looks like it tells a story—of moonlit walks and old libraries—but only took the same amount of time as making your morning coffee.
The beauty of this look is in its adaptability and speed. It works with your natural texture and celebrates a little imperfection. It lets you play with different aesthetics, from quiet luxury bob vibes to full romantic goth, without any of the stress.
I want to see your creations! Which variation did you try? Did the clip or the braid become your favorite part? Tell me in the comments below—I read every single one.
Save this post to Pinterest so you always have your 5-minute game plan ready. Tag me in your photos; I love being inspired by your style.

