

Some mornings you have five minutes. Some mornings you have two. And somehow, a top knot is the only hairstyle that looks good in both cases.
Here’s the truth: the top knot isn’t just a lazy-day fallback. In 2026, it’s one of the most requested looks on my feed, right up there with the asymmetrical lob and the hime cut. It reads polished, it reads effortless, and it hides hair you haven’t washed since Tuesday.
I’ve done this knot on fine hair, thick hair, short hair, and hair that hasn’t been cut in a year. So today I’m handing you the zero-effort version. No bobby pin gymnastics. No ten-minute mirror session.
Just a knot you can build in the car, in the elevator, or while your coffee is brewing. Let’s get you out the door.
What a Top Knot Really Is
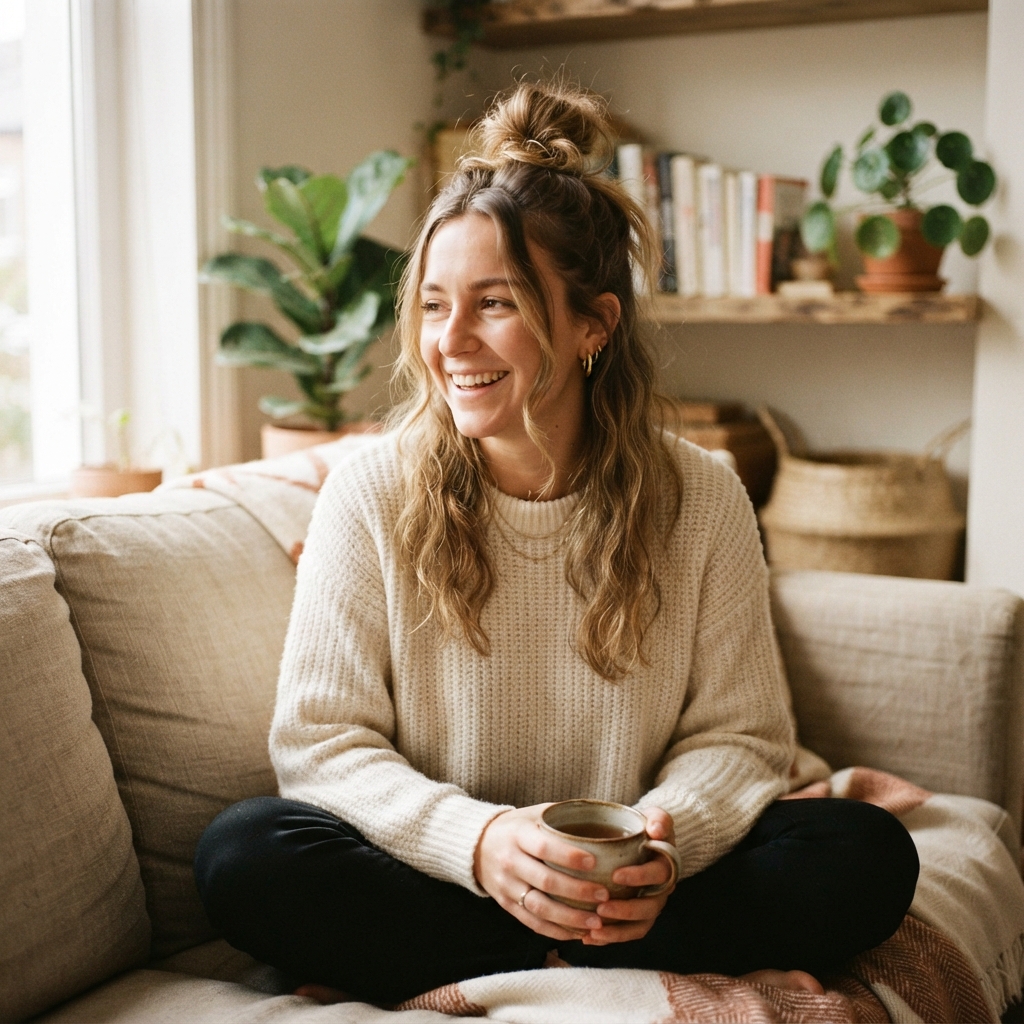
A top knot is exactly what it sounds like: your hair gathered up and knotted or looped at the top of your head. Not at the crown, not at the nape. High, near where you’d place a headband.
It’s different from a ballet bun because it’s meant to look a little undone. It’s different from a messy bun because the placement is deliberate, not accidental.
- High placement keeps the whole look lifted
- A loop instead of a tight coil reads softer
- Loose pieces at the front are the point, not a mistake
The magic is in the placement, not the technique. If you can tie your shoes, you can do this.
Why the Top Knot Works in 2026
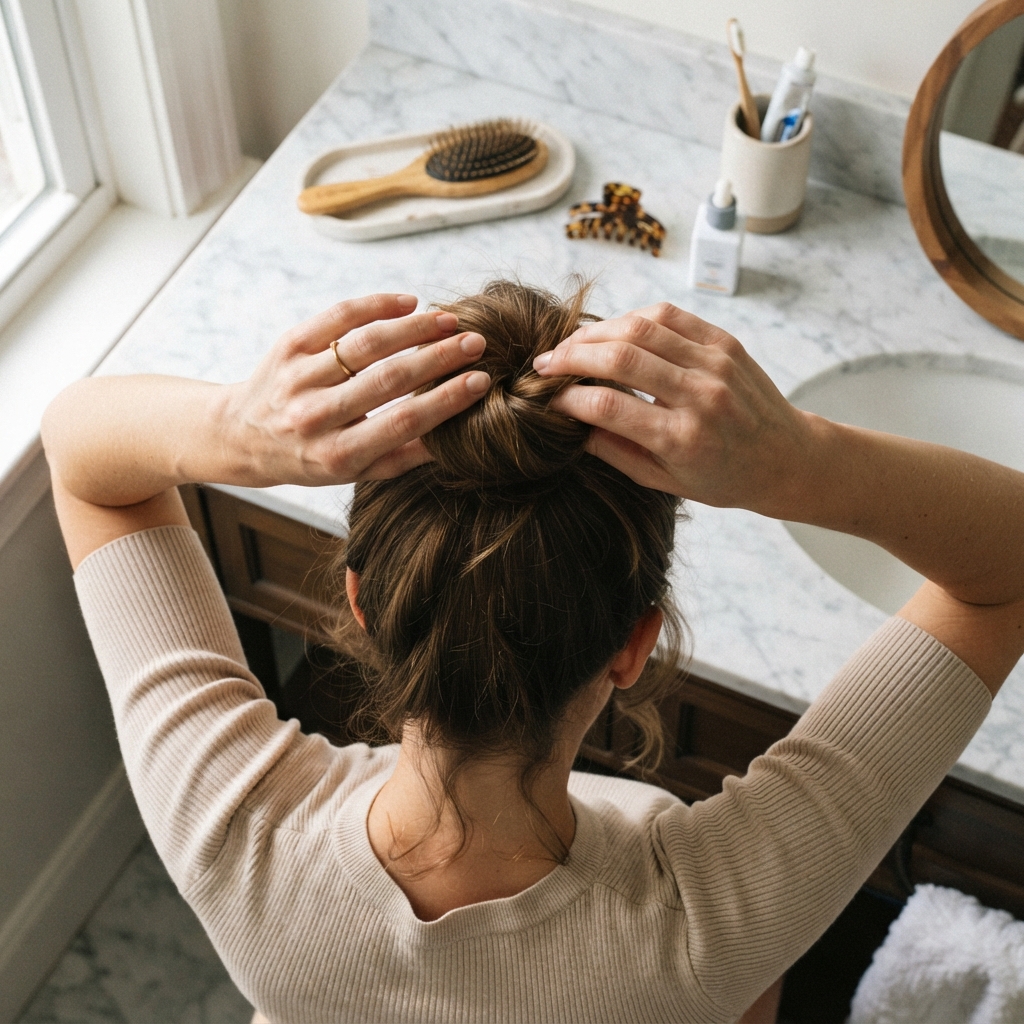
Trends moved in a very specific direction this year. Everyone wants hair that looks expensive but takes no time. The 2026 hairstyles everyone keeps saving are all low effort with high polish.
That’s exactly why the top knot keeps showing up next to old money hair and quiet luxury looks. It’s clean, it’s simple, and it never looks like you tried too hard.
- Works on every hair texture
- Hides oily roots instantly
- Survives wind, sweat, and long days
- Looks intentional with zero styling products
It also plays well with ribbons, clips, and braids, so one knot can carry you through five different outfits in a week.
The 60-Second Routine
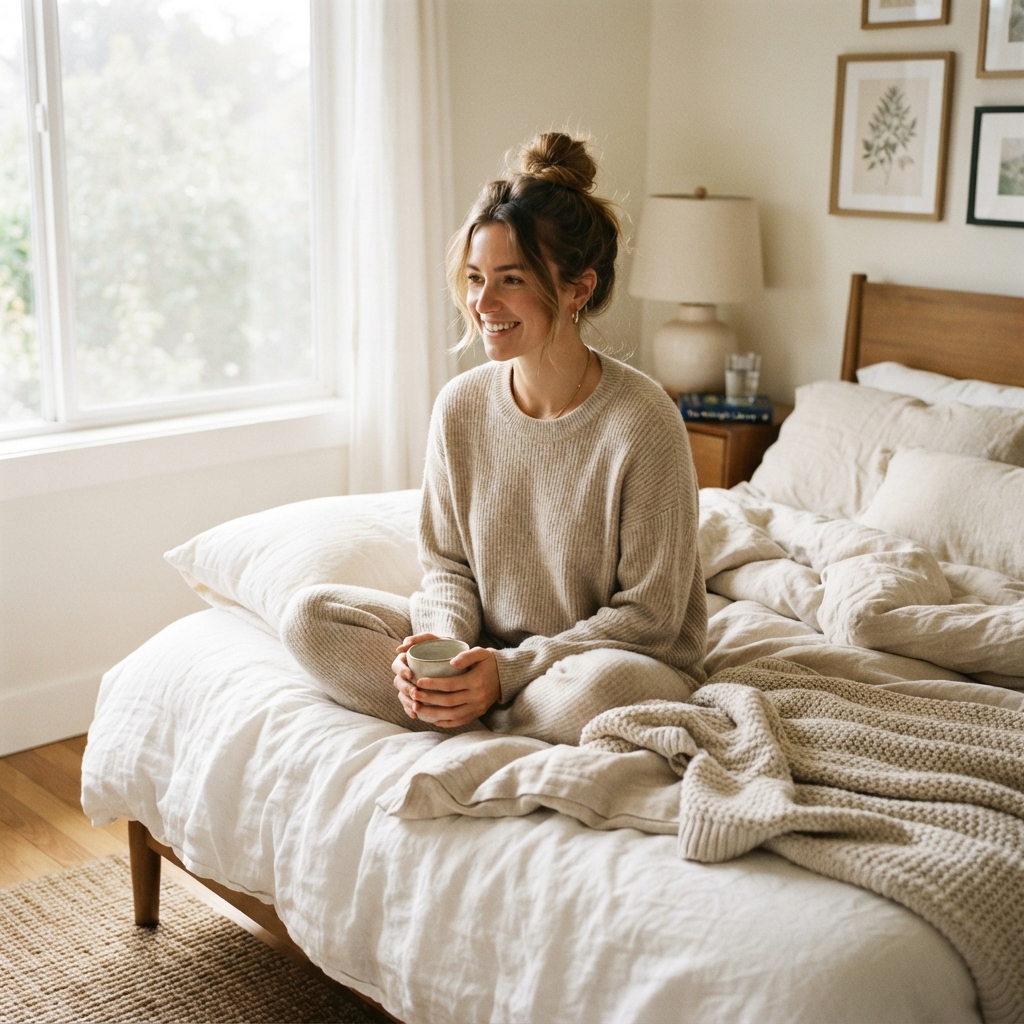
Here’s the whole thing, start to finish. No brush required.
- Flip your head upside down and gather all your hair with both hands.
- Wrap a soft elastic around once, then once more.
- On the final pull, only pull your hair halfway through. That gives you a loop.
- Fan the loop open with two fingers to make it look fuller.
- Tug two or three face-framing pieces loose.
That last step is what separates “I did my hair” from “I gave up.” It takes four seconds and changes everything. If any ends stick out oddly, pin them or leave them. Both work.
The Only Three Tools You Need
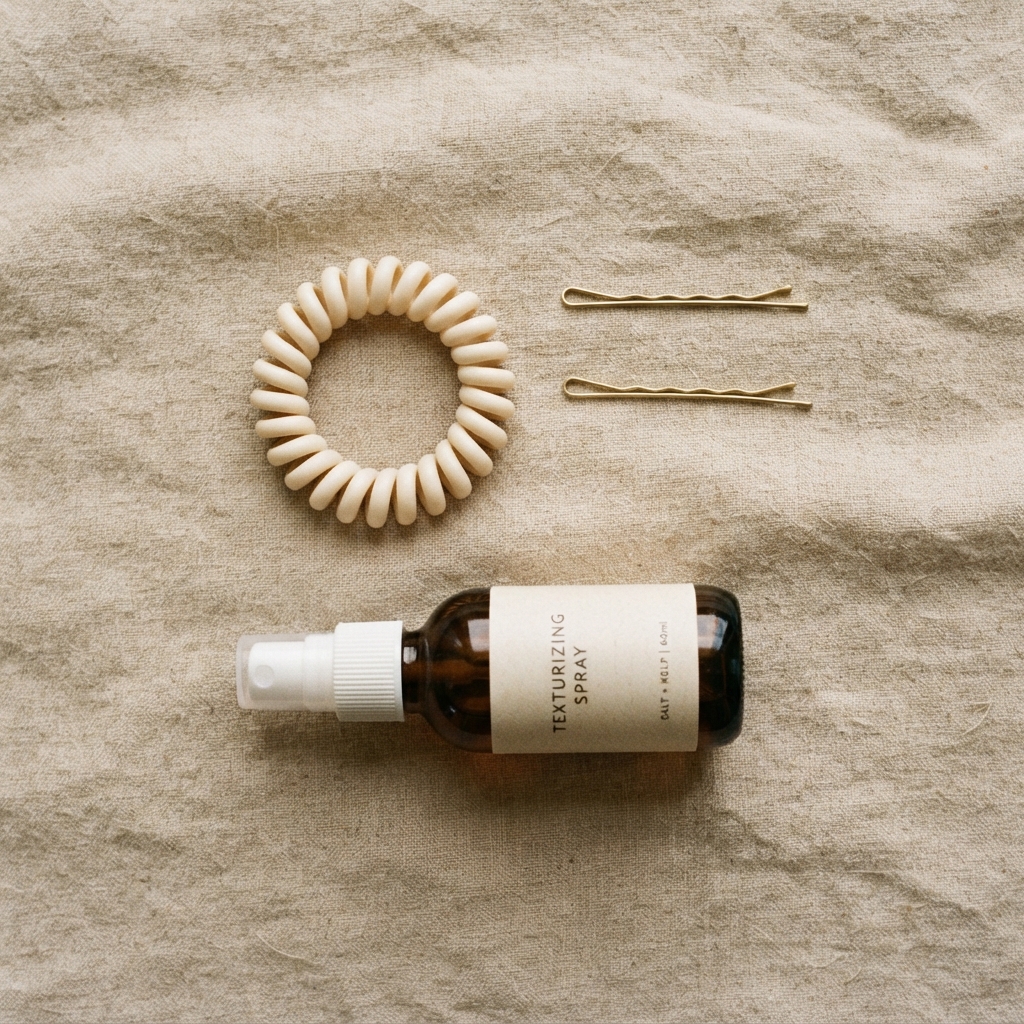
You don’t need a drawer full of stuff. You need three things, and you probably already own two of them.
- A soft, seamless elastic or spiral tie — the kind that doesn’t leave a crease
- Two bobby pins — for stray ends and short layers
- Dry shampoo or texturizing spray — this is your grip
Optional bonus: a claw clip. Different shape, same five-second effort, great for days when you want the knot lower and wider.
Skip the tight thin elastics. They snap hair and they hurt by 2 p.m. That’s a trade nobody needs.
Start With Second-Day Hair
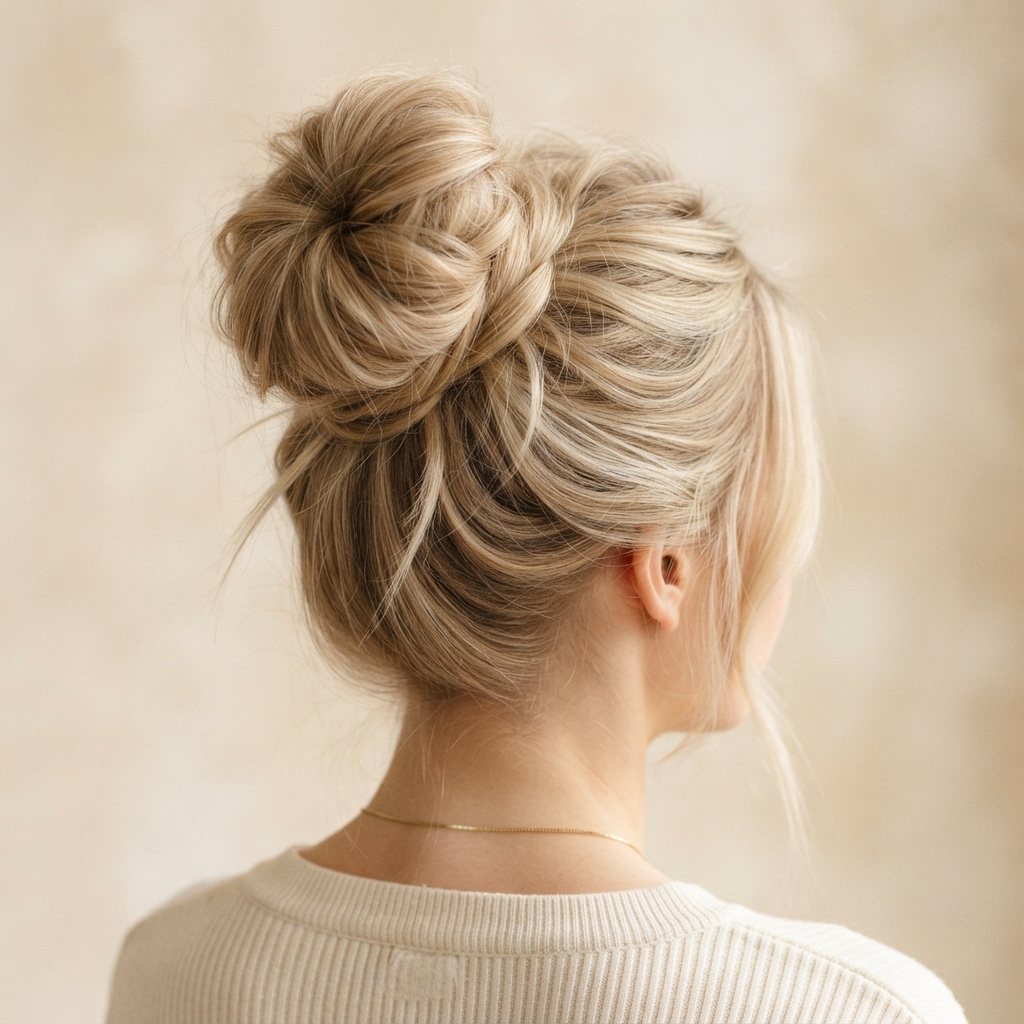
This is the one rule I never break. Freshly washed hair is too slippery. It slides out of the knot by lunch.
Day two or day three hair has just enough natural oil to grip. The knot holds, the shape stays, and you didn’t have to add a single product.
- Washed today? Spray texturizing spray at the roots first
- Washed last night? You’re already in the sweet spot
- Day four? Dry shampoo the roots, then knot it up
So if you’re planning a big hair day tomorrow, don’t wash tonight. That’s the entire hack. It’s free and it works every single time.
Fine Hair, Bigger Knot
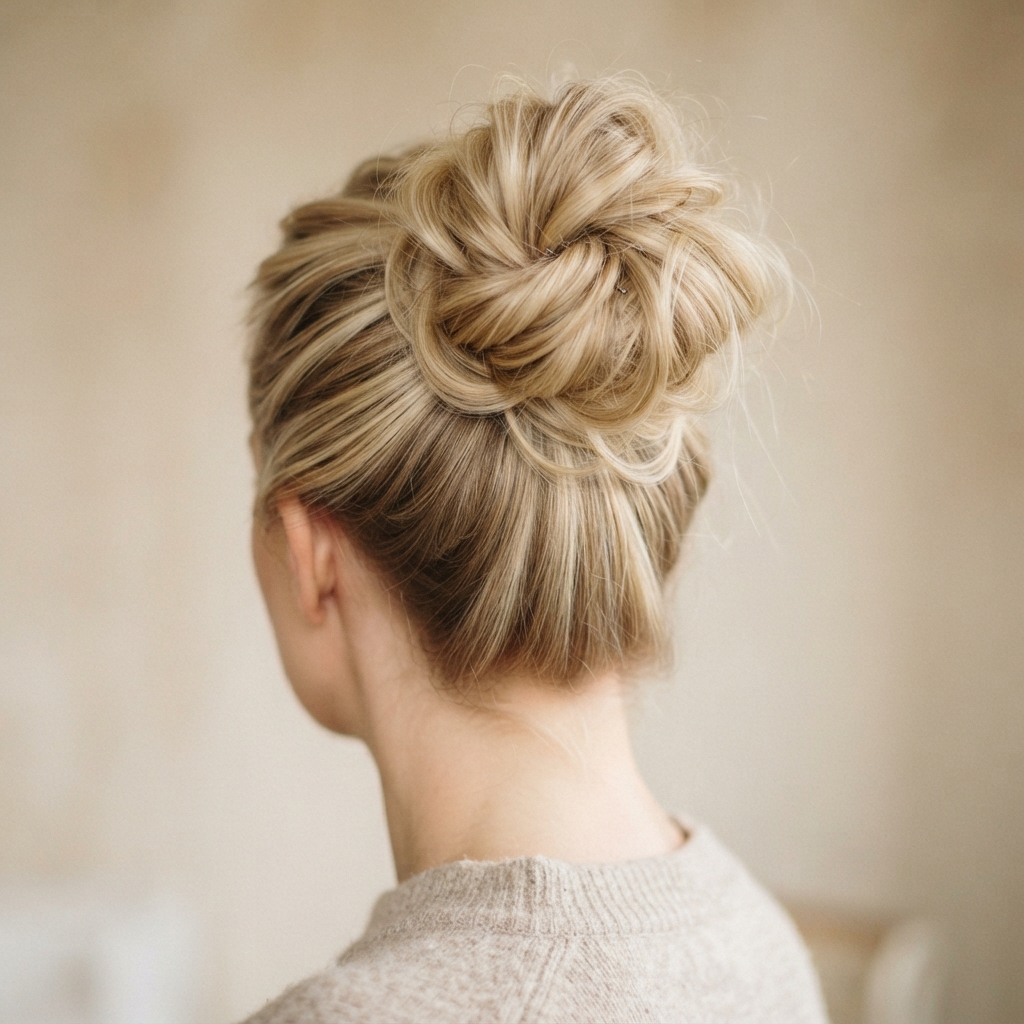
Fine hair can absolutely rock a top knot. You just have to fake the volume in two places.
- Spray dry shampoo at the roots and let it sit for a minute.
- Gather your hair high, but don’t smooth it flat against your head.
- Make the loop, then gently pull the edges outward with your fingertips.
- Pin the base if it feels loose, and stop touching it.
The biggest mistake with fine hair is over-smoothing. The second you brush it flat, it looks thin. Keep your fingers in it, keep it a little rough, and the knot reads twice as full as it actually is.
Thick Hair, Tamed Knot
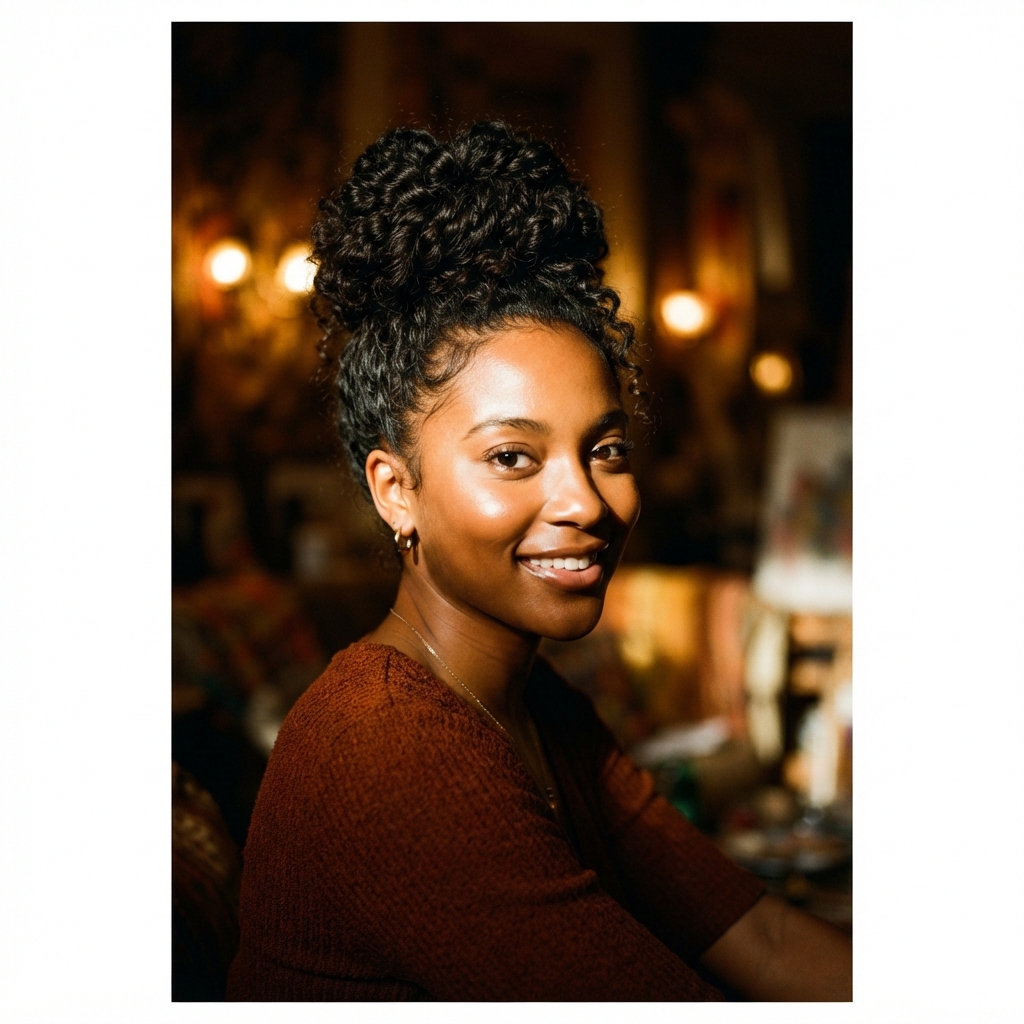
Thick hair has the opposite problem. The knot gets heavy and starts sliding down your head by noon.
- Split your hair into two sections before you tie it
- Use a stronger elastic, but never pull it tight against your scalp
- Wrap the loose ends around the base of the knot
- Secure with two pins crossed in an X
Don’t twist too hard. Over-twisting is what makes thick hair spring loose and feel tight at the same time.
If your hair is really long, a half-up top knot is a smarter move. Same look, half the weight, way more comfortable.
The No-Mirror Method
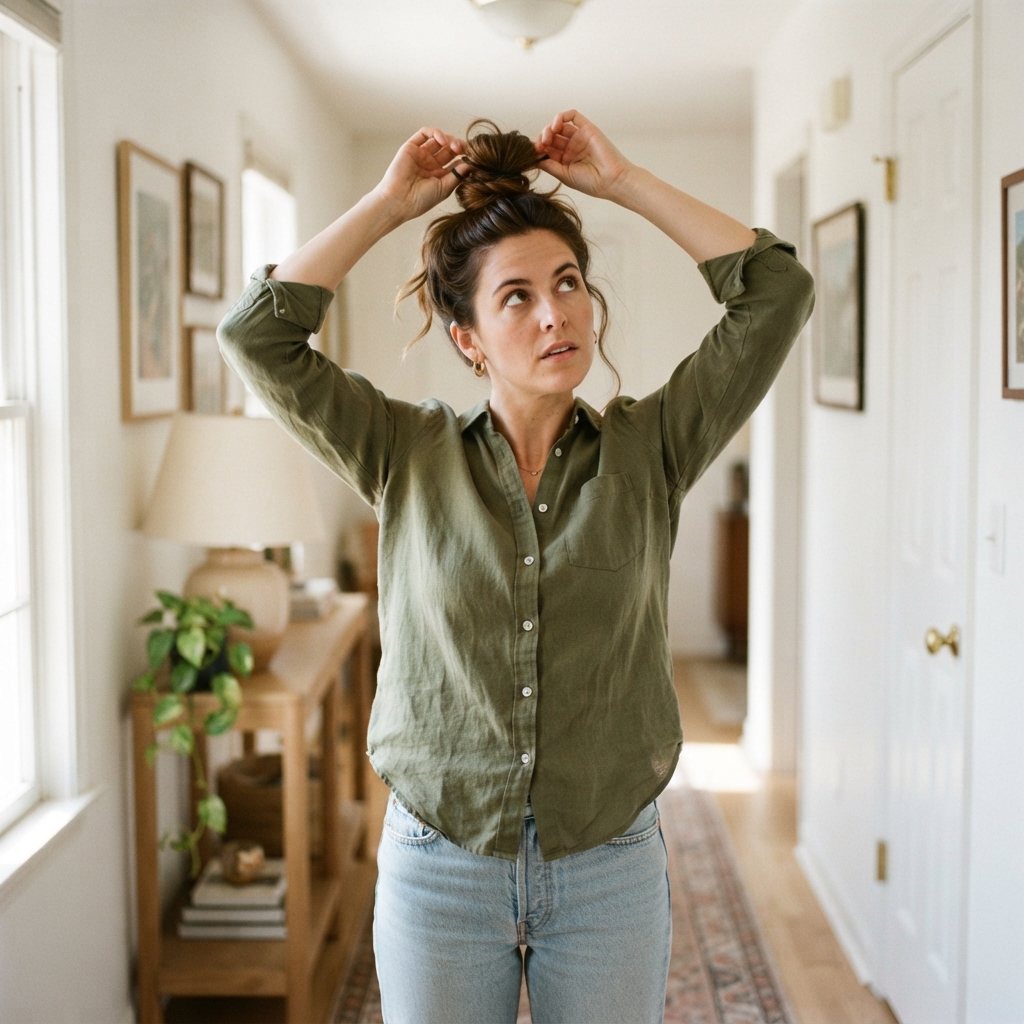
You should be able to do this without looking. Here’s how to train your hands.
- Tip your head forward so your hair falls toward the floor.
- Gather everything at the very top of your head with both hands.
- Tie it by feel, not by sight.
- Pull the loop halfway and check the shape with your fingers.
- Stand up straight and tug one piece loose on each side.
Practice it three mornings in a row and your hands will learn the spot. After that, you can do it in an elevator, in a parking lot, or at a red light. That’s the real zero-effort version.
Sleek Top Knot, Old Money Hair Energy
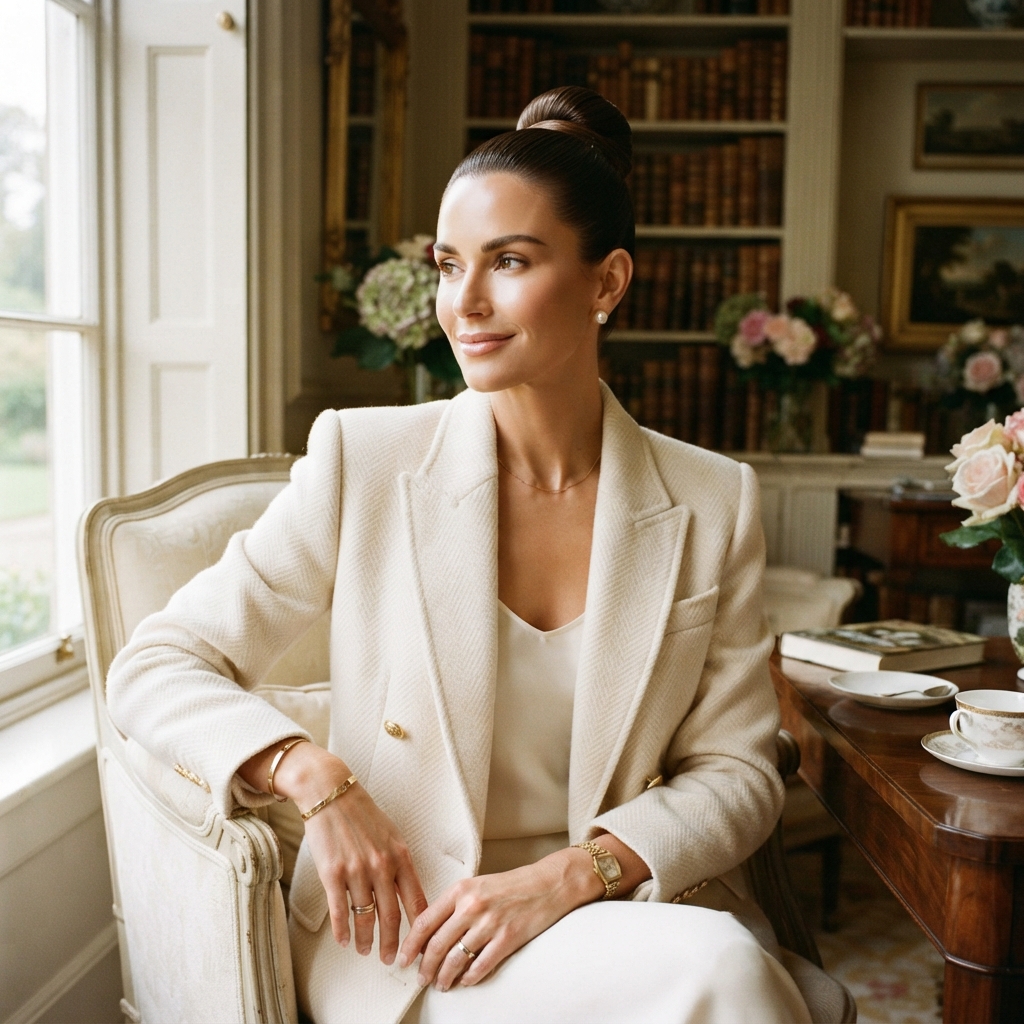
Want the polished version? This is your old money hair moment, and it takes about ninety seconds.
- Brush your hair back with a fine brush, no part
- Smooth the edges with a tiny bit of gel on a toothbrush
- Keep the knot compact and round, not fanned out
- Add one small gold or pearl pin
The trick is restraint. No messy pieces, no dry shampoo texture, no volume at the crown. Just clean lines and a tight, neat loop.
Pair it with a plain white shirt and you look like you own a bakery in the south of France. Not bad for a Tuesday.
Short Hair and the Asymmetrical Lob

Short hair can’t always make a full top knot, and that’s fine. You do a half-up version instead.
- Gather only the top section of your hair, from ear to ear.
- Tie a small loop, leaving the rest of your hair down.
- Pin the base so it sits flat against your head.
- Leave the front pieces alone. They’re doing the work.
This looks amazing with an asymmetrical lob because the long side balances the little knot on top.
The same idea works on a short bob. Tiny knot, big personality. Just don’t fight hair that’s too short to reach.
Top Knot With Bangs, Curtain Bangs, and the Hime Cut
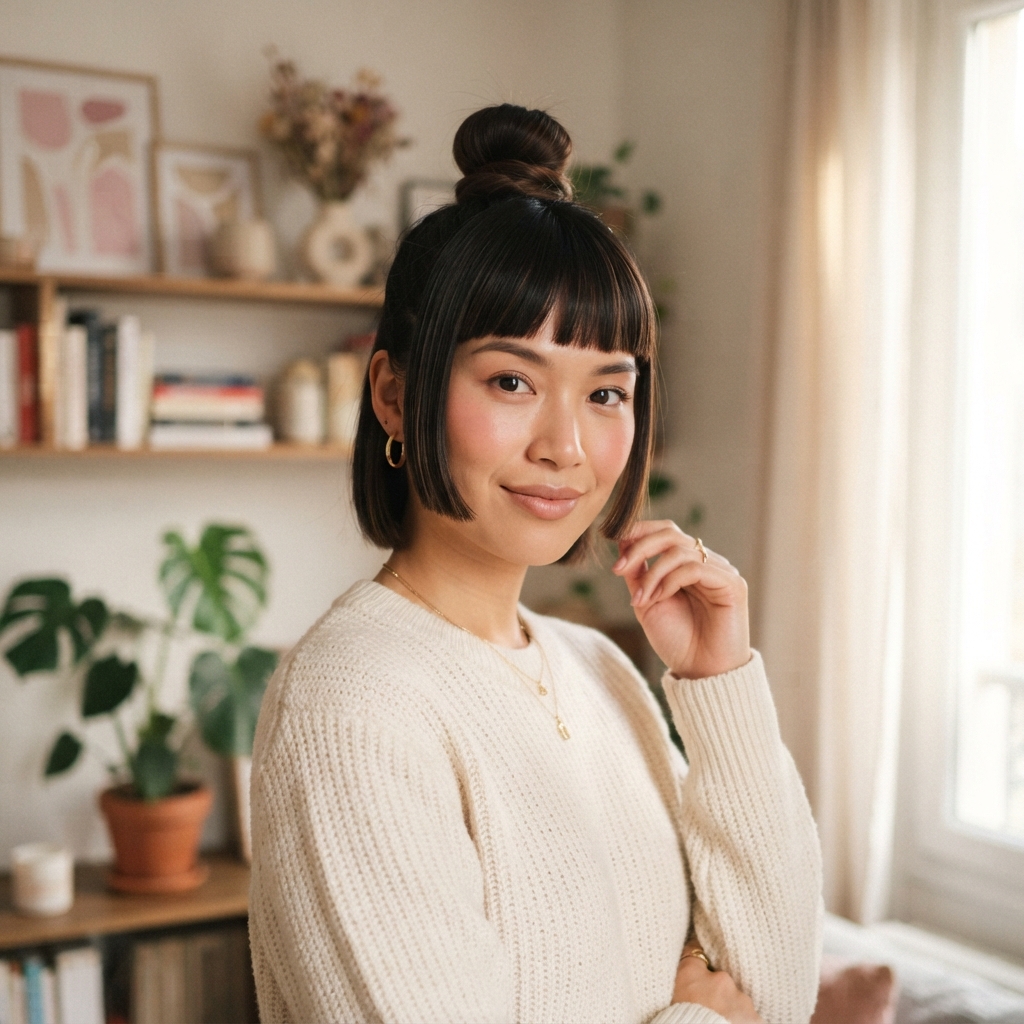
Bangs change the whole game, so here’s how to handle each kind.
- Blunt bangs: keep them down and let the knot sit high behind them
- Curtain bangs: sweep them to both sides and tuck the ends behind your ears
- Hime cut: keep the blunt side pieces down and straight, knot goes up top
- Growing-out bangs: pull them back loosely and let a couple strands fall
The hime cut and a top knot are a dream pairing. The straight side pieces frame your face, and the knot keeps everything else out of the way.
Never pull blunt bangs straight back into the knot unless you want to look surprised.
Romantic Goth Hairstyles and the Ribbon Knot

If you love romantic goth hairstyles, this is the easiest one to pull off on a random Wednesday.
- Tie your top knot with a black or burgundy satin ribbon
- Leave the ribbon ends long and let them drape down your back
- Pull two soft pieces loose at the temples
- Add one thin braid along the side for texture
Keep the knot a little messy here. Perfect and gothic don’t really go together. Soft, undone, slightly haunted is the goal.
Velvet scrunchies and dark metal pins work beautifully too. Skip anything shiny and bright.
Vampire Haircut Meets the Top Knot
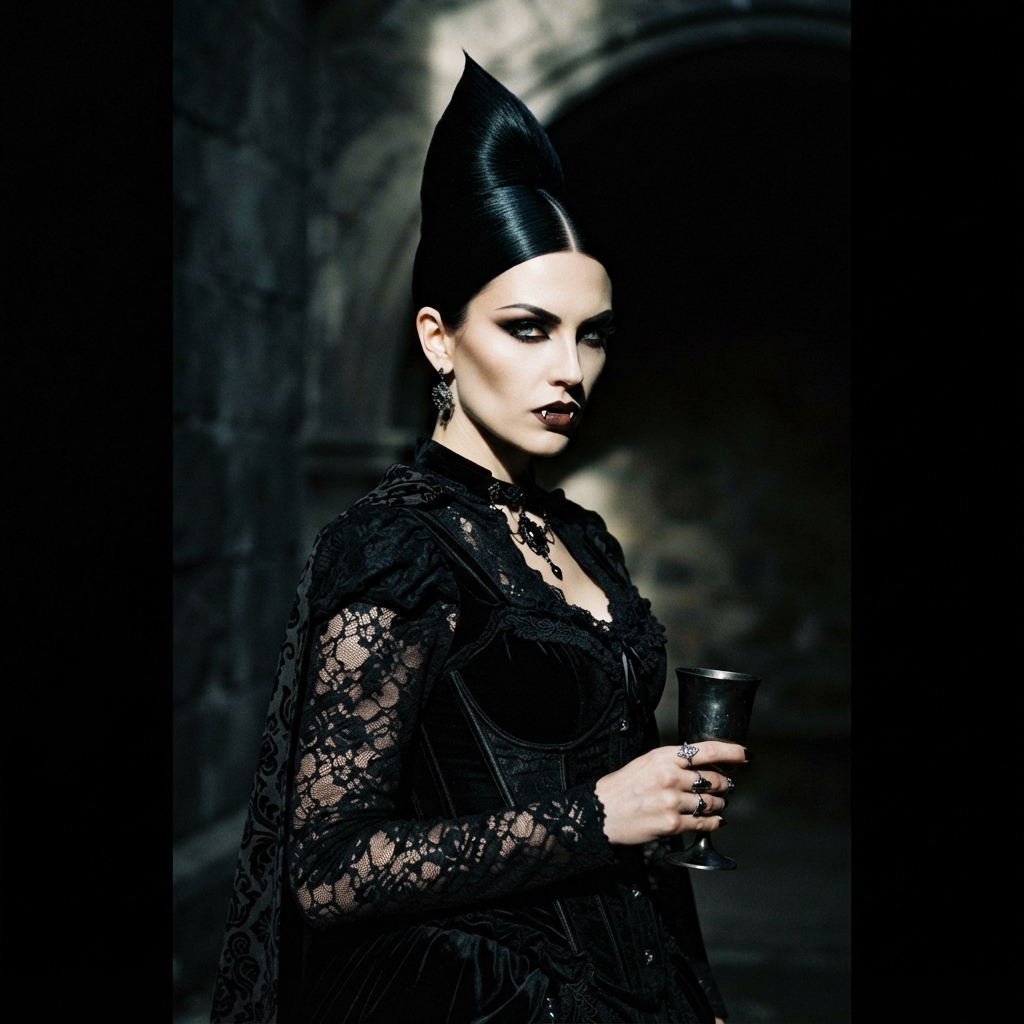
The vampire haircut is sharp, sleek, and usually worn down with a center part. But it knots up beautifully.
- Part your hair down the middle first.
- Gather everything into a high knot, keeping the part visible at the front.
- Pull two long, straight pieces down on either side of your face.
- Smooth the sides with a tiny bit of oil so it looks glossy.
Those two face-framing pieces are everything here. They keep the look sharp instead of severe.
This is a great option for a night out when you want drama without a curling iron.
Glitchy Glam Hair and the Off-Center Knot
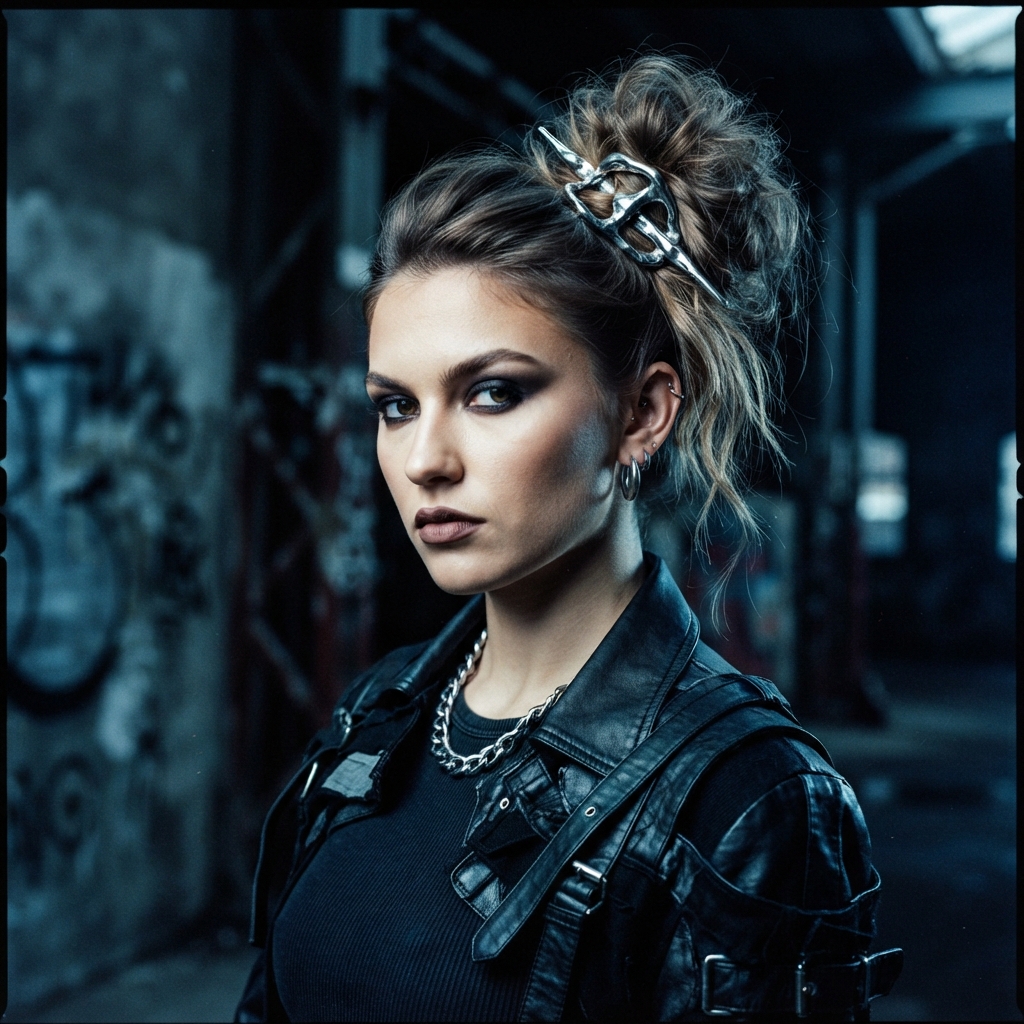
Glitchy glam hair is all about looking slightly off on purpose. The top knot is the perfect base for it.
- Place the knot off-center instead of straight on top
- Let a few pieces stick out at odd angles
- Add one metallic or chrome pin
- Keep the rest of the hair sleek so the weird part stands out
One rule: only one thing should look chaotic. If the knot is messy, keep your edges clean. If your edges are wild, keep the knot tight.
This is the version I wear when I want to look like I know something you don’t.
When a Quiet Luxury Bob Won’t Go Up
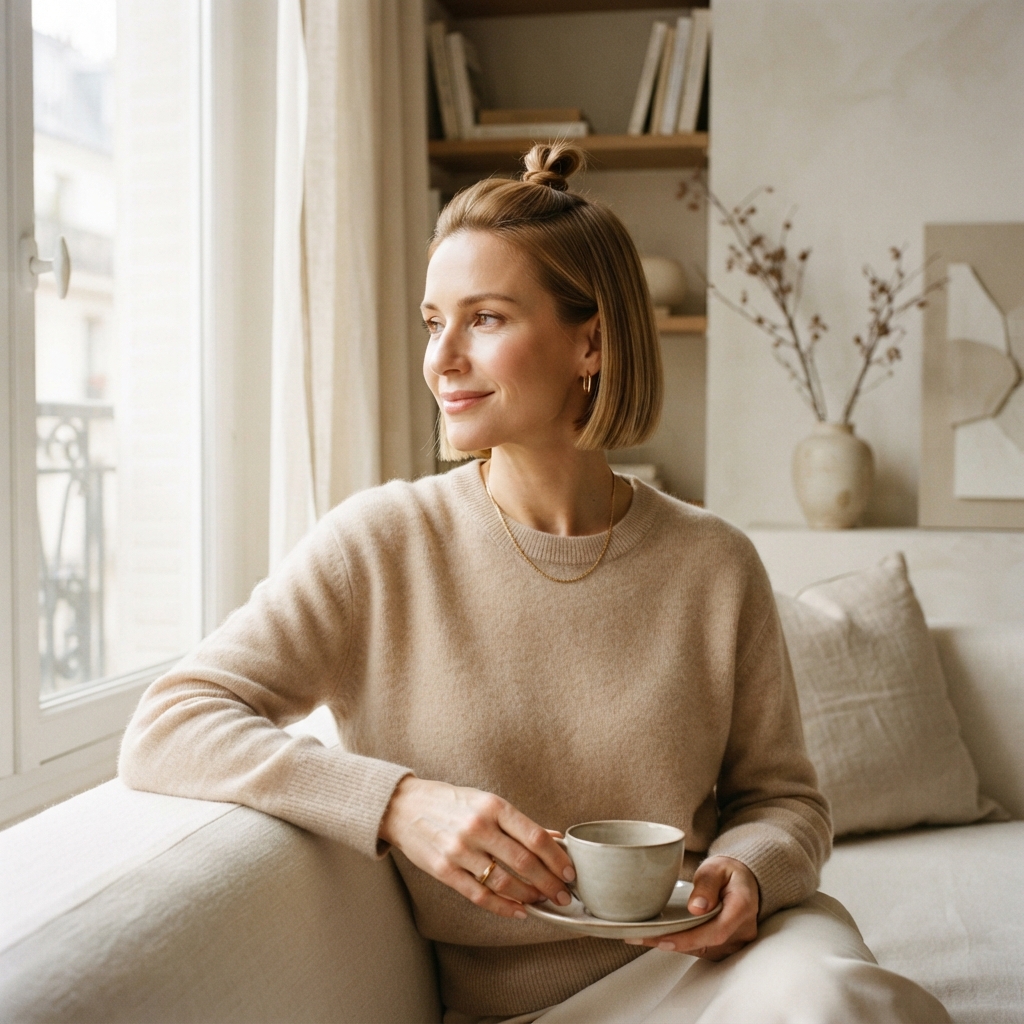
If you just got a quiet luxury bob, your hair might be too short for a full knot. You still have options.
- Try a mini knot using just the top section.
- Or make a fake knot: gather a small section, twist it, and pin it down.
- Add a silk scarf over the top for the illusion of height.
- Use two small clips instead of one big knot.
A quiet luxury bob with a tiny pinned twist at the crown looks incredibly chic. It’s basically jewelry for your hair.
Don’t force it. Short hair looks best when it looks on purpose.
Accessories That Do the Work
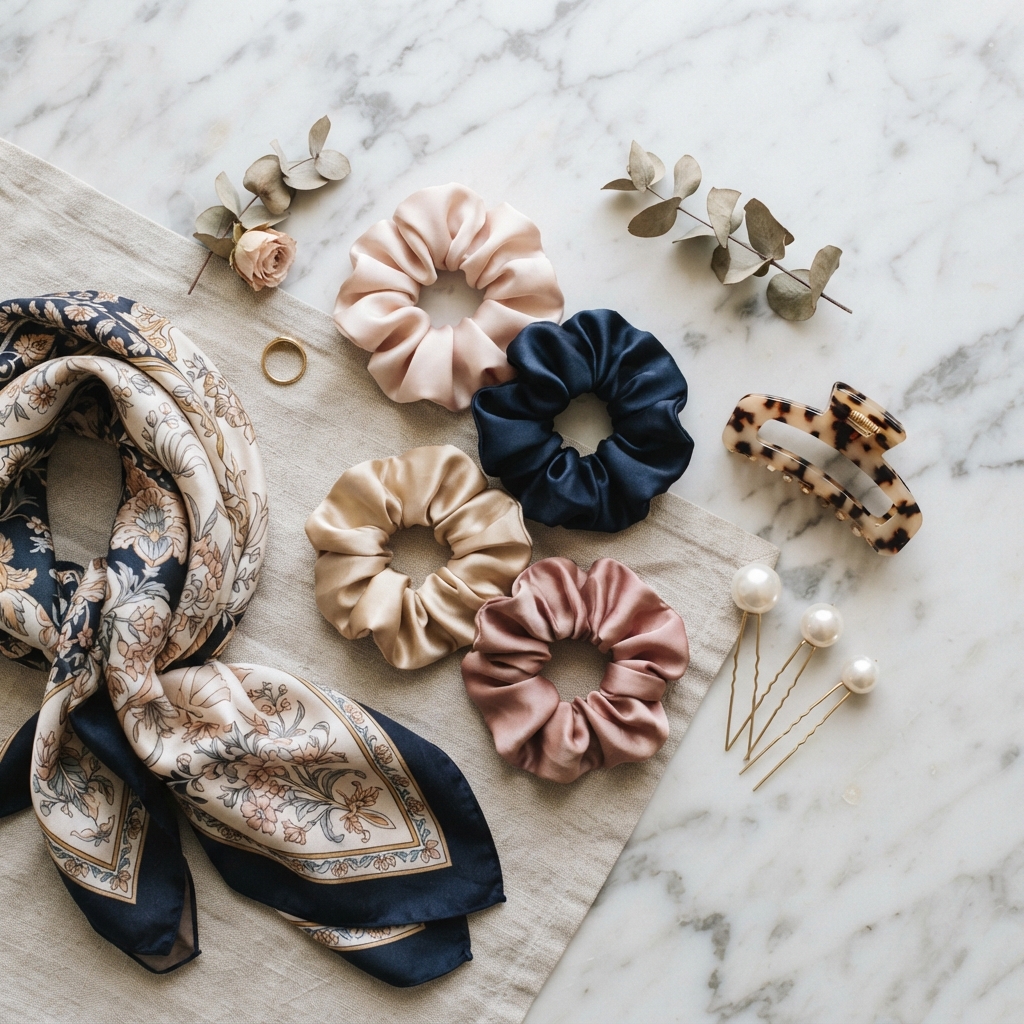
When you’re short on time, let the accessory be the effort.
- Claw clip: fastest option, great for thick hair
- Silk scrunchie: gentle and adds instant volume
- Ribbon: romantic goth or ballet vibes in one step
- Pearl or gold pin: instant old money hair energy
- Printed scarf: tie it around the base and go
One good accessory makes a plain top knot look styled. That’s the whole shortcut.
Keep two or three favorites in your bag and you’re covered for any day that goes sideways.
The Workday Top Knot in Under Two Minutes

This is the version I wear to meetings when I have exactly ninety seconds.
- Dry shampoo the roots.
- Gather hair high and tie a loop.
- Pin the base on both sides.
- Leave one soft piece out near your ear.
That single loose piece makes it look styled rather than rushed. It’s the tiny detail nobody can explain but everybody notices.
Keep the knot small and round for office settings. Big messy knots read casual, which is great on Saturday and less great on a video call with your boss.
Date Night Top Knot
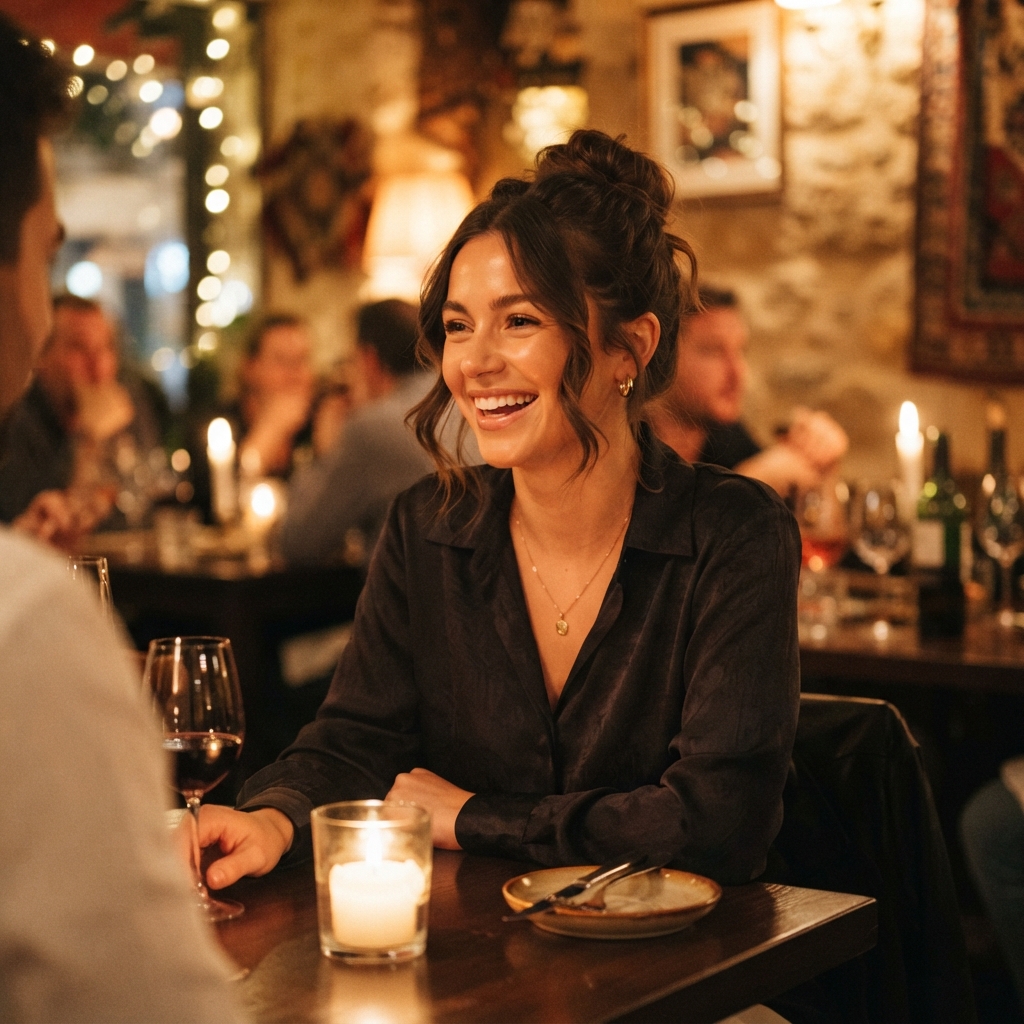
For evenings, you want the knot to look a little softer and a little shinier.
- Run a drop of hair oil over the loop for shine
- Pull more pieces loose than usual, especially around the face
- Keep the knot slightly lower and wider
- Add a small gold pin or a thin velvet ribbon
Wavy hair looks incredible here because the loose pieces curl on their own. If your hair is straight, wrap two front pieces around a finger and let them set while you do your makeup.
It’s romantic without being fussy, and it survives a windy walk to the car.
Gym and Sweaty Days
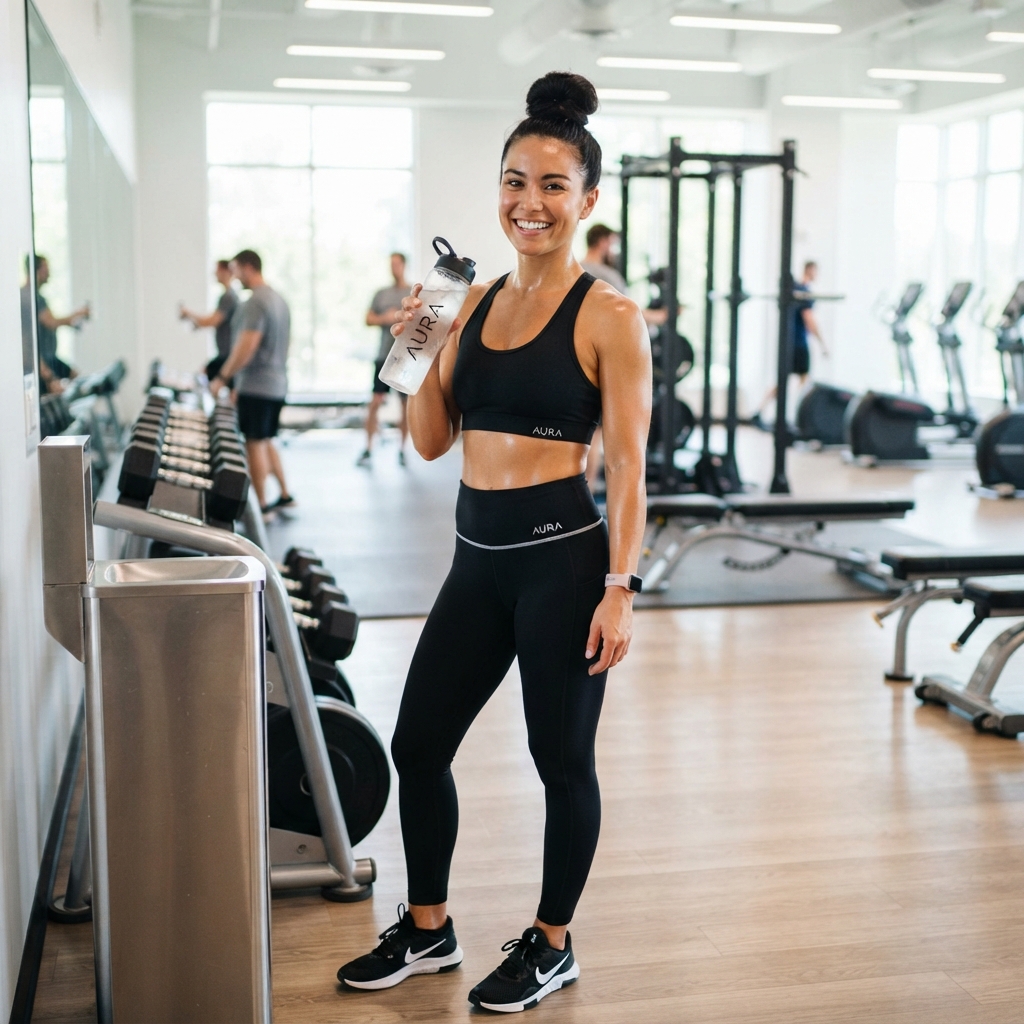
For workouts, function wins. You want it high, secure, and off your neck.
- Gather everything at the very top of your head.
- Use a strong spiral tie and wrap it three times.
- Skip the loop and make a tight knot instead.
- Add a soft headband to catch flyaways.
Keep the tension comfortable. A knot that’s too tight gives you a headache halfway through spin class and can damage your edges over time.
Take it down as soon as you’re done and let your scalp breathe. Your hair will thank you later.
Fix a Flat or Lopsided Knot Fast
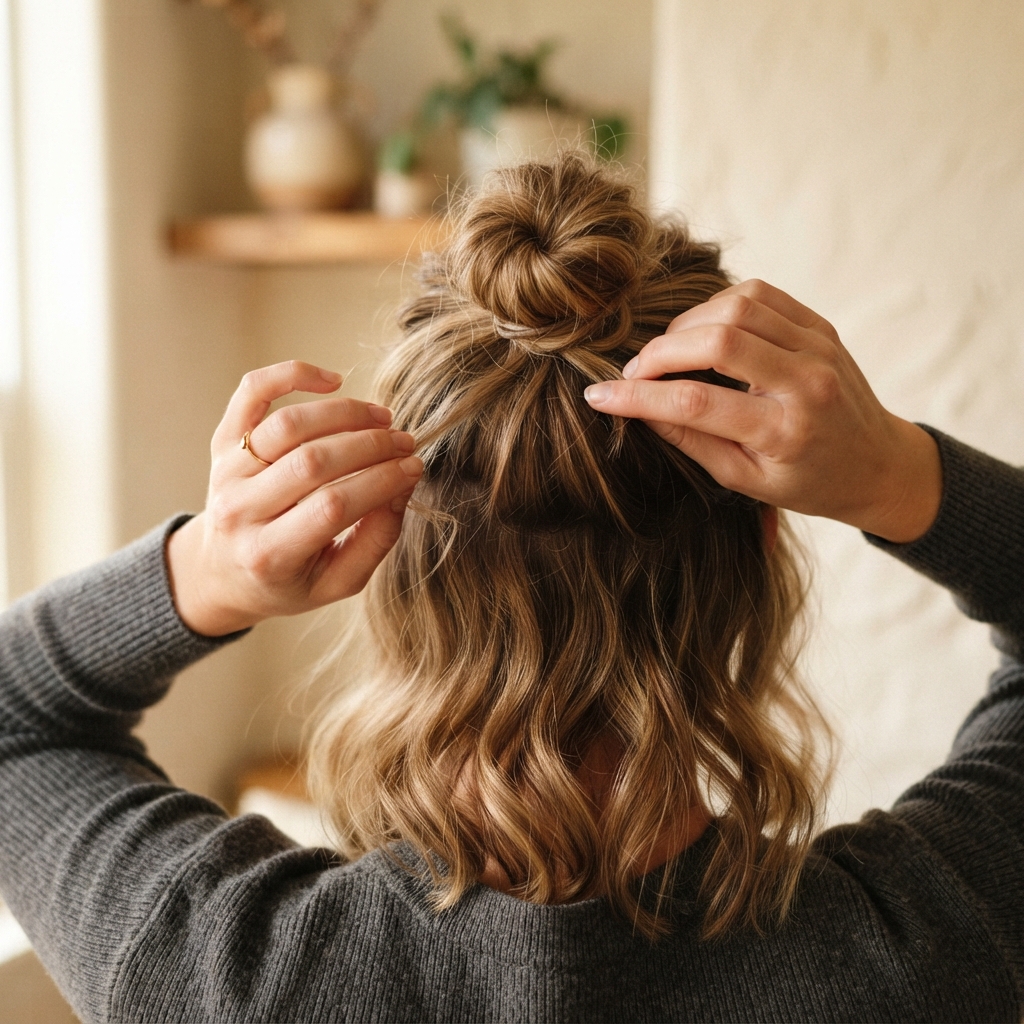
It happens to everyone. Here’s how to rescue it in ten seconds without starting over.
- Flat on one side? Pull that section gently outward with two fingers.
- Sliding down? Push two pins in at the base, crossing them.
- Too small? Fan the loop wider and pin the edges.
- Too tight? Loosen the base with your thumbs and tug the front hairline.
- Fuzzy? Smooth the sides with a tiny bit of dry shampoo on your palms.
Never redo the whole thing. Small adjustments look more natural anyway.
Top Knot Mistakes to Skip
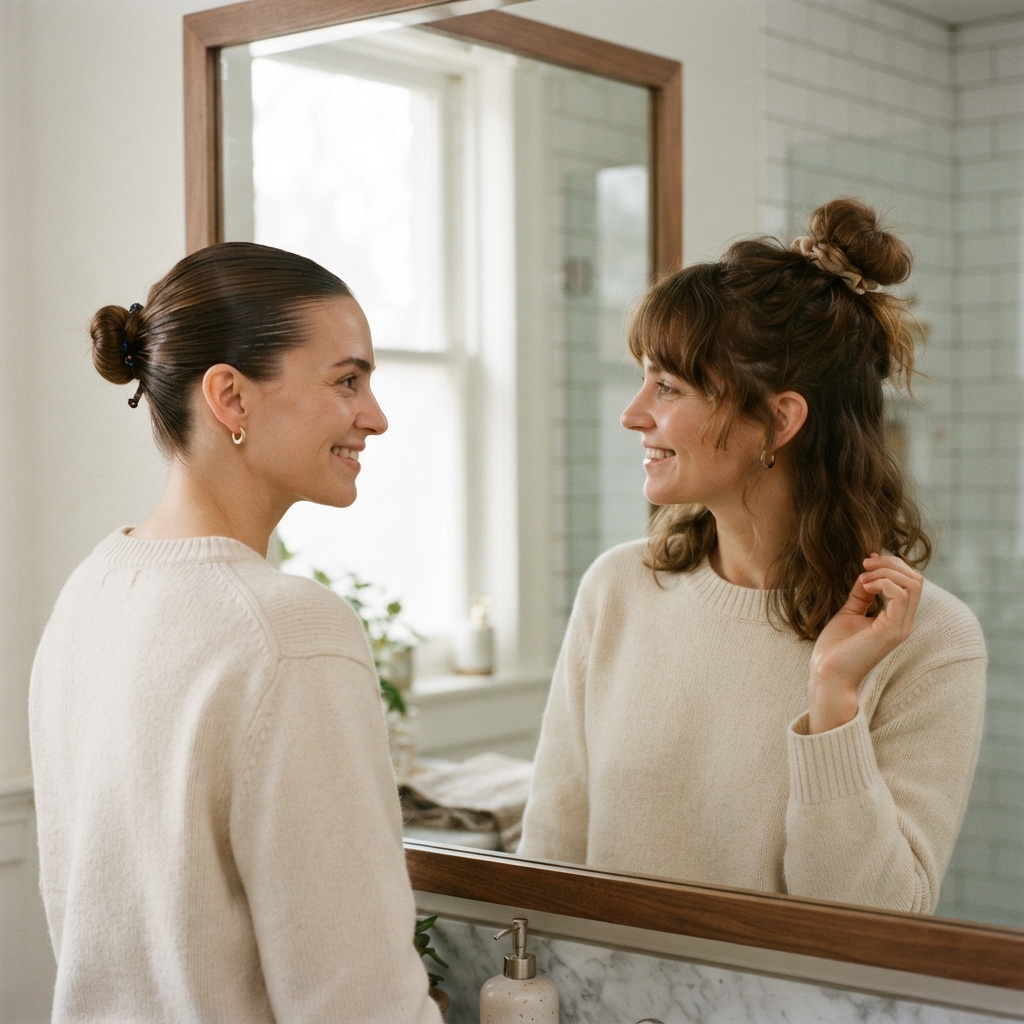
I’ve made every one of these, so learn from my mistakes.
- Tying it so tight it pulls your hairline back
- Brushing curly hair out before knotting it
- Ignoring the loose ends sticking out the back
- Piling on five products until it looks greasy
- Placing the knot in the exact same spot every single day
That last one matters most. Wearing tight tension in one spot daily can thin your hair over time. Move it around. High one day, mid one day, half-up the next.
Variety isn’t just better for your hair. It’s better for your look.
Protect Your Edges and Scalp

Zero effort shouldn’t mean zero care. A few habits keep your hair healthy while you wear knots all week.
- Use soft, seamless ties instead of thin elastics
- Never sleep in a tight top knot
- Take it down the second you get home
- Give your scalp a two-minute massage a few nights a week
- Rotate between knots, clips, and wearing it down
If your scalp hurts when you take your hair down, that’s a sign it was too tight. Listen to it.
Healthy edges make every hairstyle look better, including this one.
Match the Knot to Your Face Shape
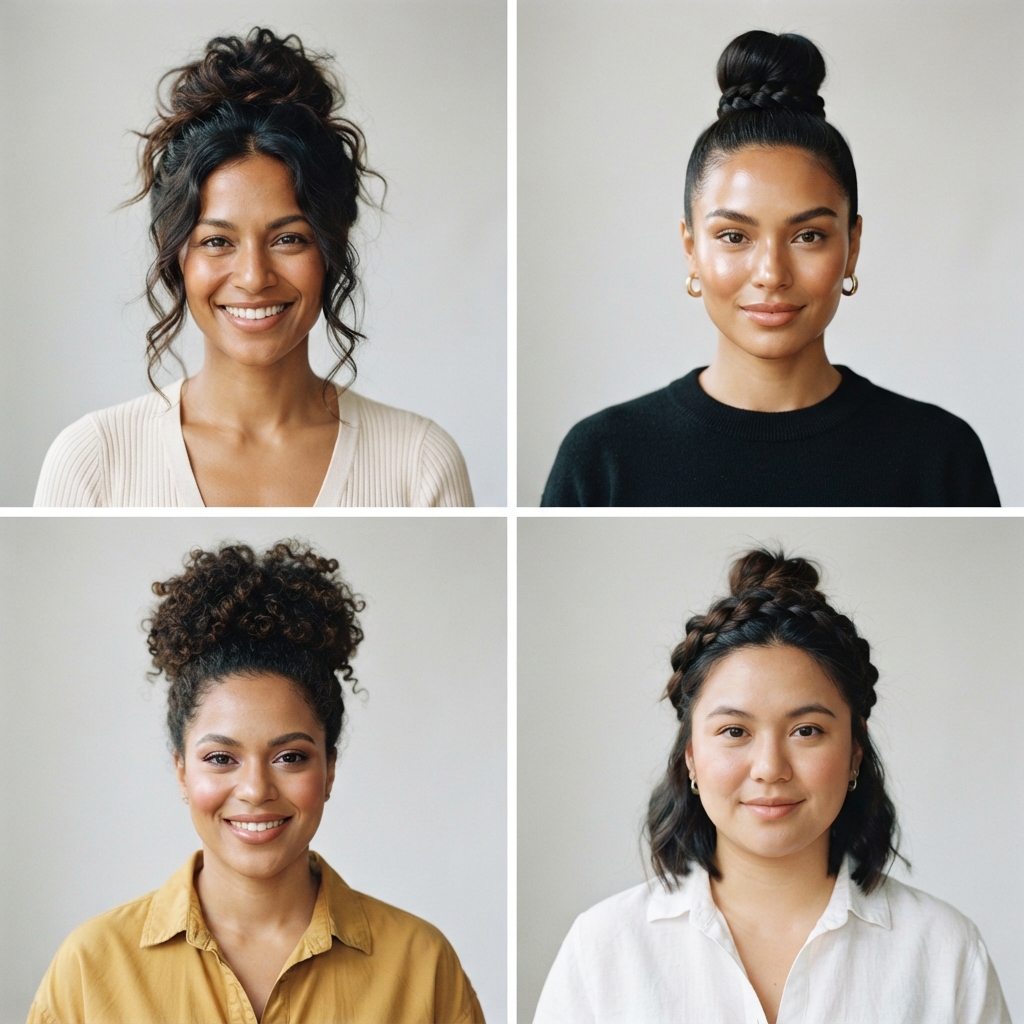
Placement changes everything. Here’s a quick guide.
- Round face: go higher and keep it tall, not wide
- Oval face: anything works, so have fun with it
- Square face: keep it soft and slightly off-center
- Heart face: a mid-height knot with loose side pieces balances your forehead
- Long face: keep the knot lower and wider to add width
Pull loose pieces where you want to soften, and keep things smooth where you want structure. That’s the whole trick.
Your 7-Day Top Knot Plan
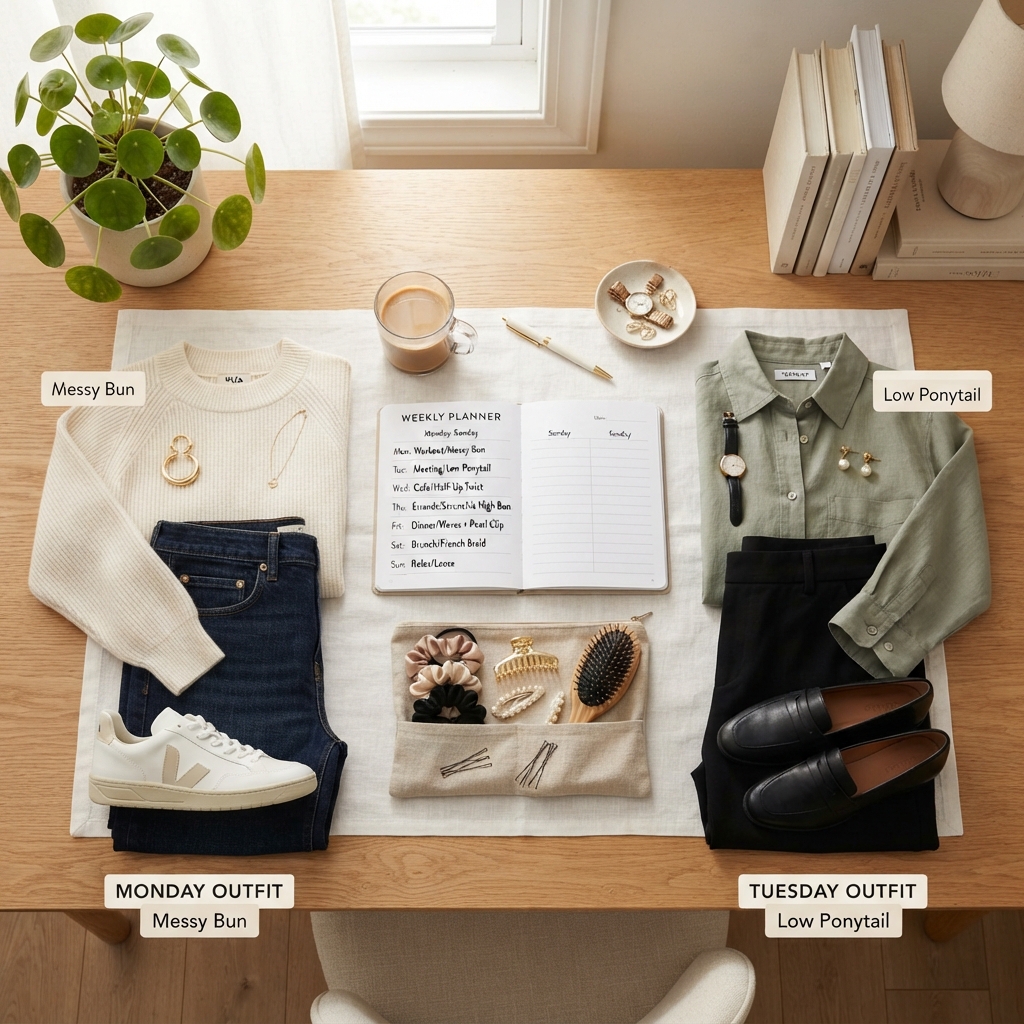
Here’s how I’d wear it for a full week without repeating the same look twice.
- Monday: sleek and tight for work
- Tuesday: half-up mini knot with an asymmetrical lob
- Wednesday: messy loop with loose pieces
- Thursday: ribbon knot, romantic goth style
- Friday: off-center glitchy glam version with a metallic pin
- Saturday: soft and shiny for date night
- Sunday: clip it up and let your scalp rest
Seven days, one skill, zero stress. That’s the goal.
A Few Last Words From Me
Here’s what I want you to take away: the top knot isn’t a compromise. It’s one of the most versatile things you can do with your hair, whether you’re running late or dressing up.
Learn the loop, keep three tools nearby, and stop overthinking it. Most days, less effort genuinely looks better.
Save this post to Pinterest so you have the steps handy next time you’re rushing out the door. And tell me in the comments: are you a high knot person or a mid knot person? I want to know which team you’re on.
Talk soon,
Hailey

