

Why Oiling Actually Works
A healthy scalp grows hair. Everything else is damage control. Oil seals the hair shaft, reduces friction, and gives your scalp the slip it needs to shed dead skin without pulling and breaking strands.
- Seals moisture into dry, porous strands
- Reduces breakage so your length actually stays
- Supports a calm, balanced scalp
Notice I said supports growth, not creates it. Oil won’t make hair grow faster than your genetics allow. What it does is help you keep every inch you grow. That’s where the real difference shows up over a year.
Know Your Porosity First
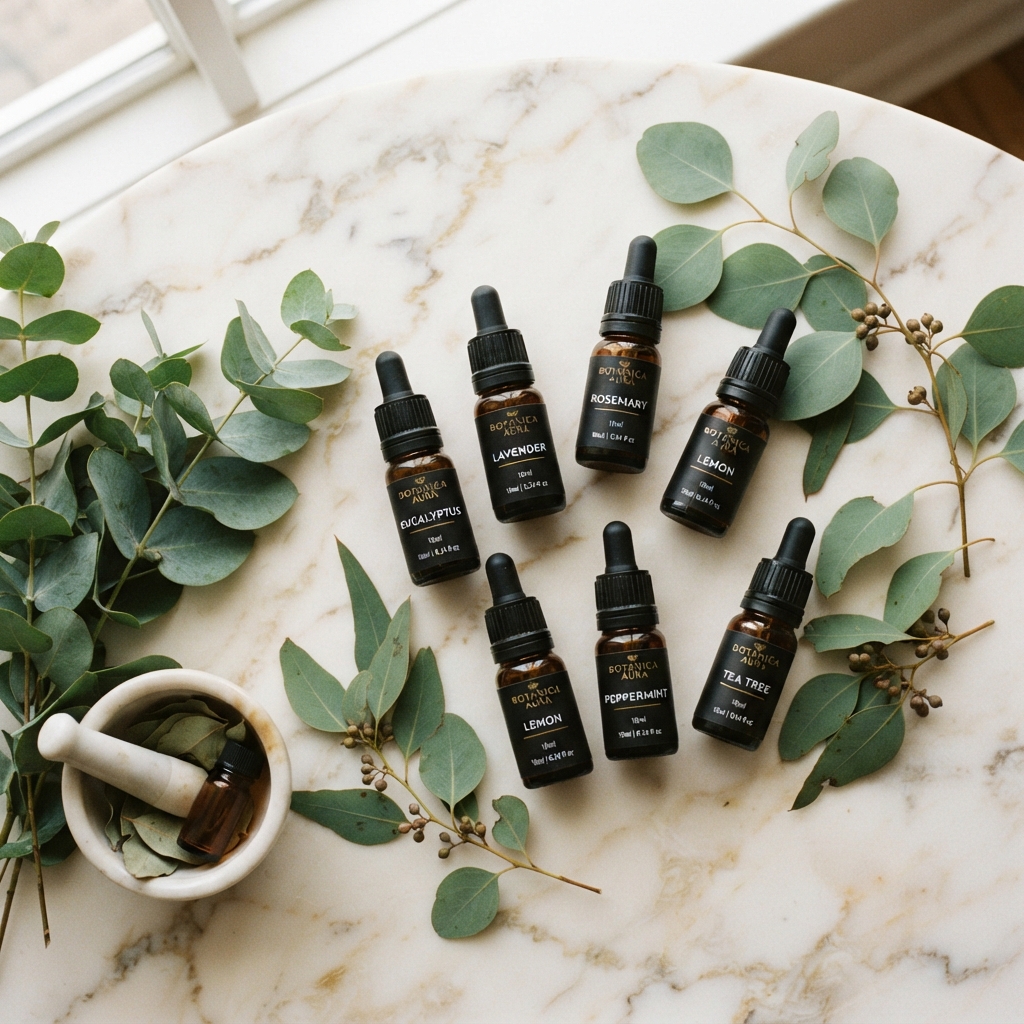
Before you buy a single bottle, figure out how your hair drinks. Porosity is just how open your hair cuticle is, and it changes everything about which oil works for you.
- Drop a clean strand of hair in a glass of water
- If it sinks fast, you’re high porosity
- If it floats for a while, you’re low porosity
- Somewhere in between, you’re medium
High porosity hair soaks up oil fast and loves heavier picks like castor and avocado. Low porosity hair sits there looking greasy, so you want light oils like jojoba and grapeseed. Test it once and stop guessing.
Pick the Right Oil for Your Hair Type
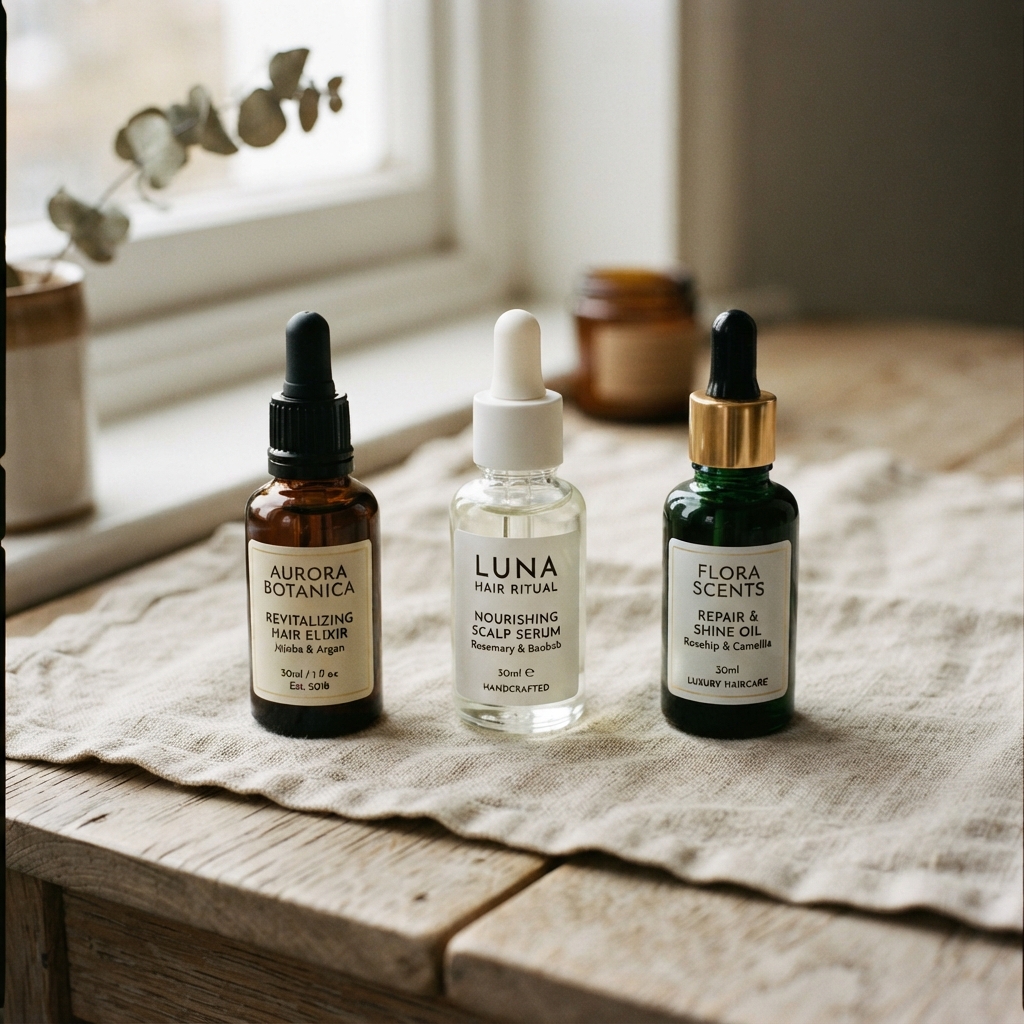
There’s no single best oil, only the best oil for you. Here’s the cheat sheet I give everyone.
- Fine hair: jojoba, grapeseed, sweet almond
- Thick or coily hair: castor, avocado, olive
- Dry, brittle ends: argan, marula, camellia
- Flaky, itchy scalp: tea tree blended into a carrier oil
Always dilute essential oils. One or two drops in a tablespoon of carrier oil is plenty. And if you have a scalp condition, check with your doctor before you start layering things on.
The Best Oils for Growth in 2026
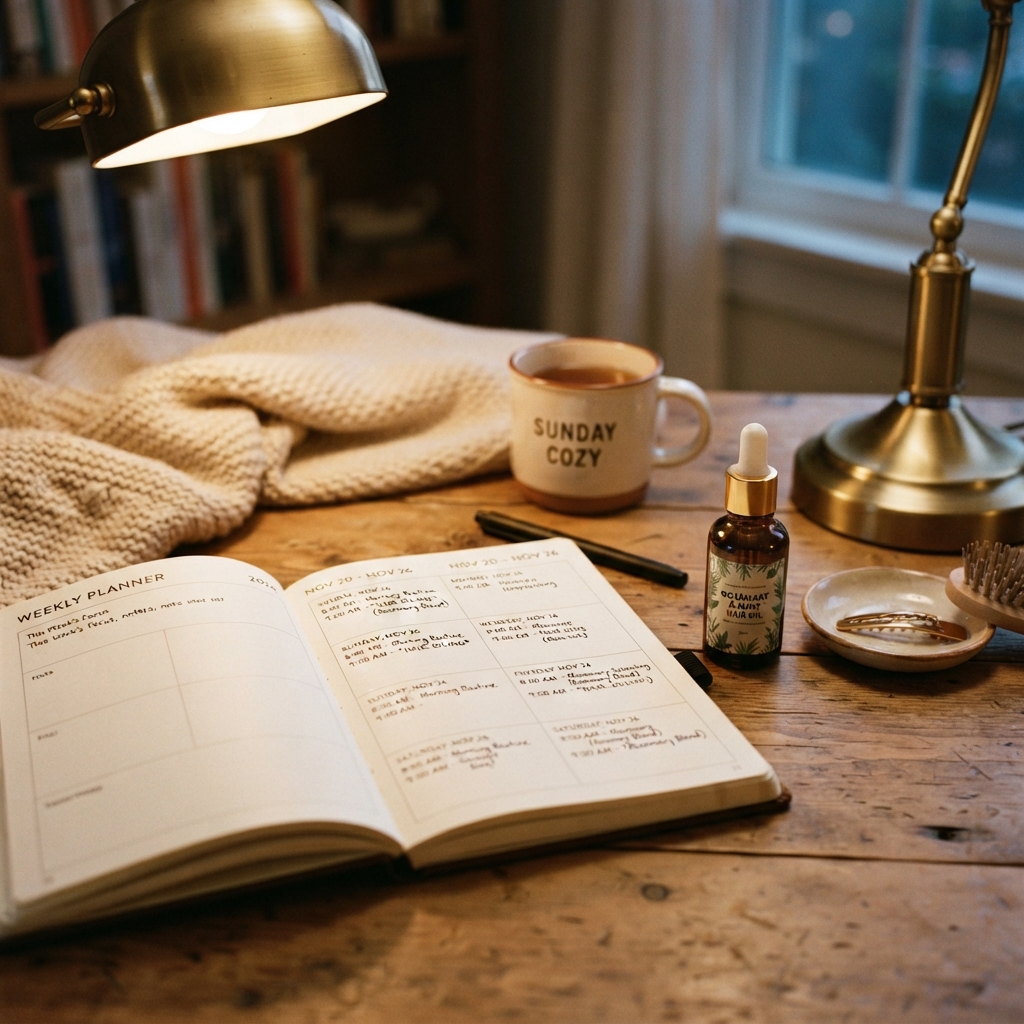
Rosemary oil is still the star of the show, and it’s not going anywhere. Studies keep pointing to it supporting circulation at the follicle, which is exactly what you want.
- Rosemary: the circulation helper, dilute it always
- Castor: thick, great for edges and a dry scalp
- Argan: light, perfect for sealing a quiet luxury bob
- Black seed: a newer favorite for scalp balance
You don’t need five bottles. Pick one for your scalp and one for your ends, and use them consistently. Consistency beats a fancy collection every time.
How Often You Should Actually Oil
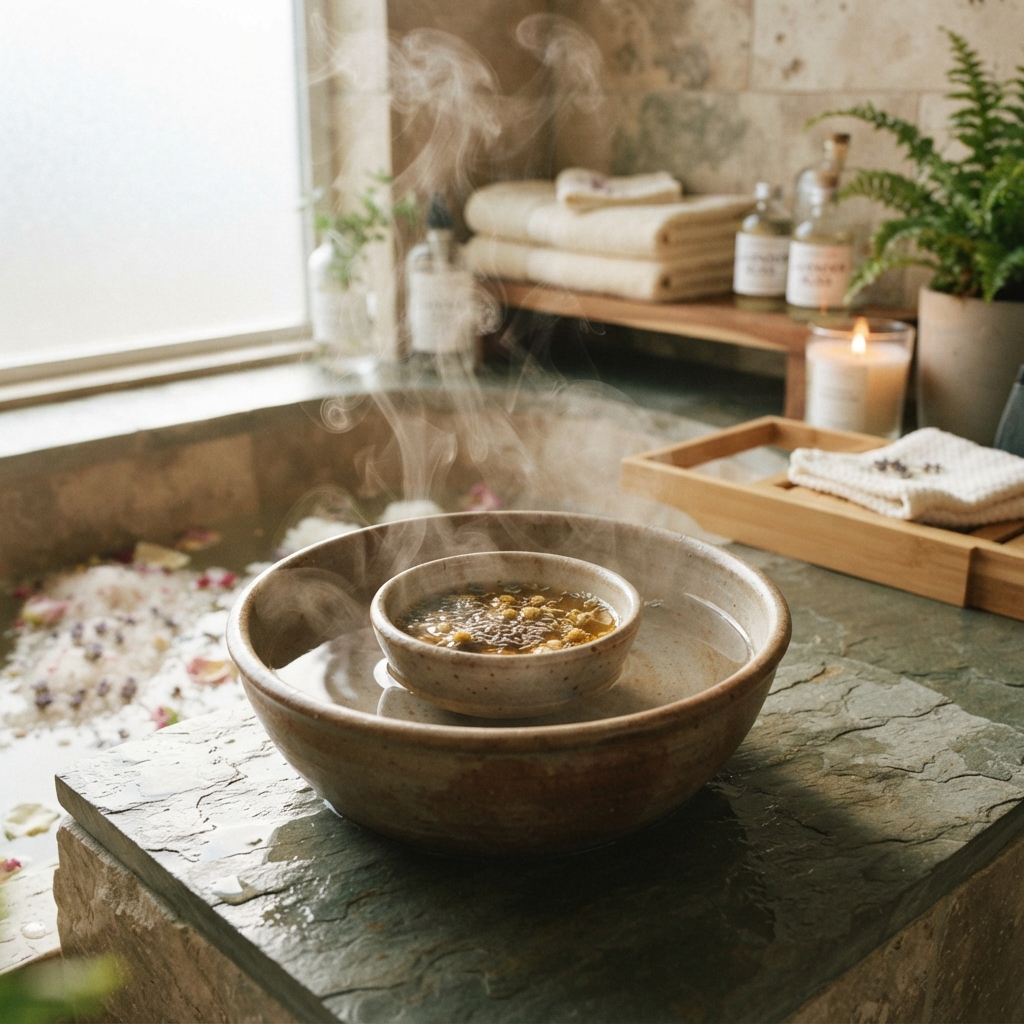
Once or twice a week is the sweet spot for most people. More than that and you risk clogging follicles, which does the opposite of what you want.
- Fine, oily scalp: once a week, scalp only
- Dry, thick hair: twice a week
- Curly and coily: two to three times, focus on scalp and ends
- Locs or protective styles: every one to two weeks
If your scalp starts feeling itchy, heavy, or bumpy, pull back. Your hair will tell you what it needs if you actually listen to it.
The Pre-Oil Warm-Up Ritual
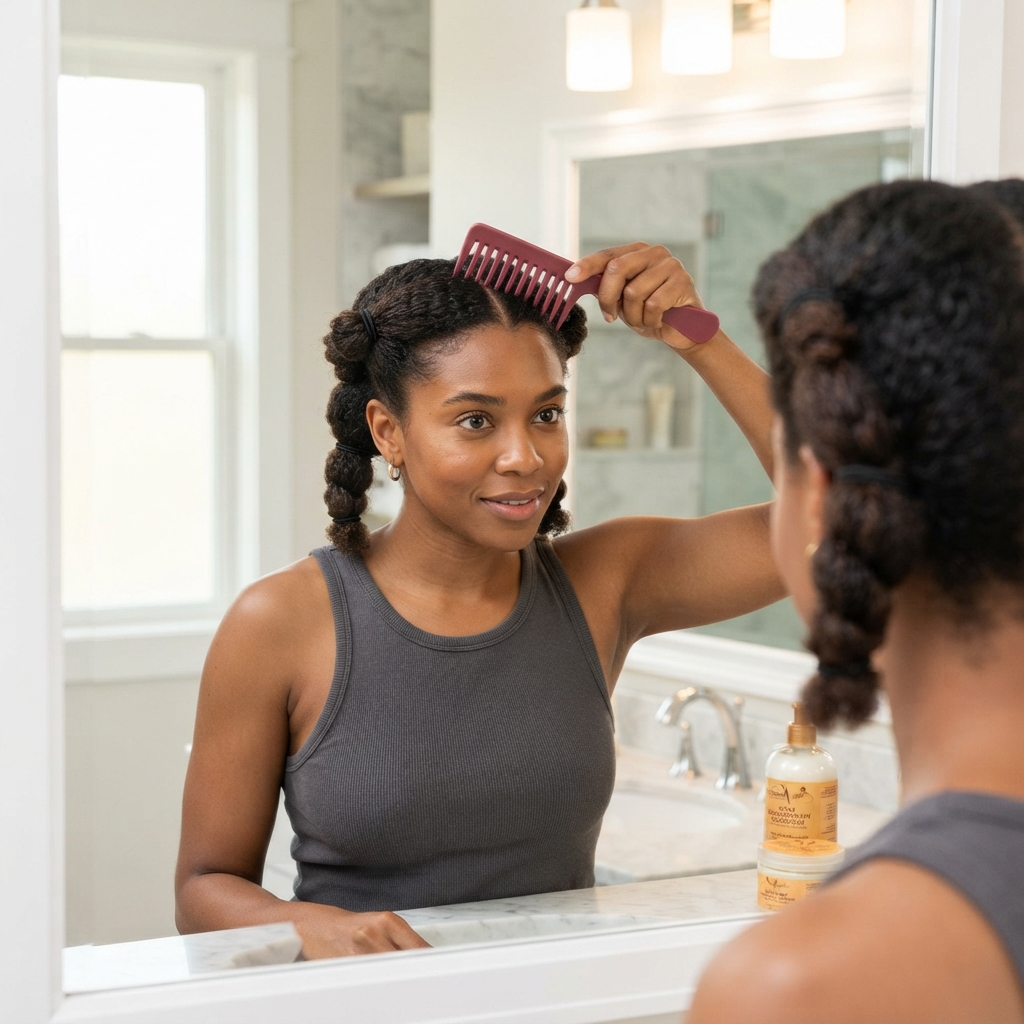
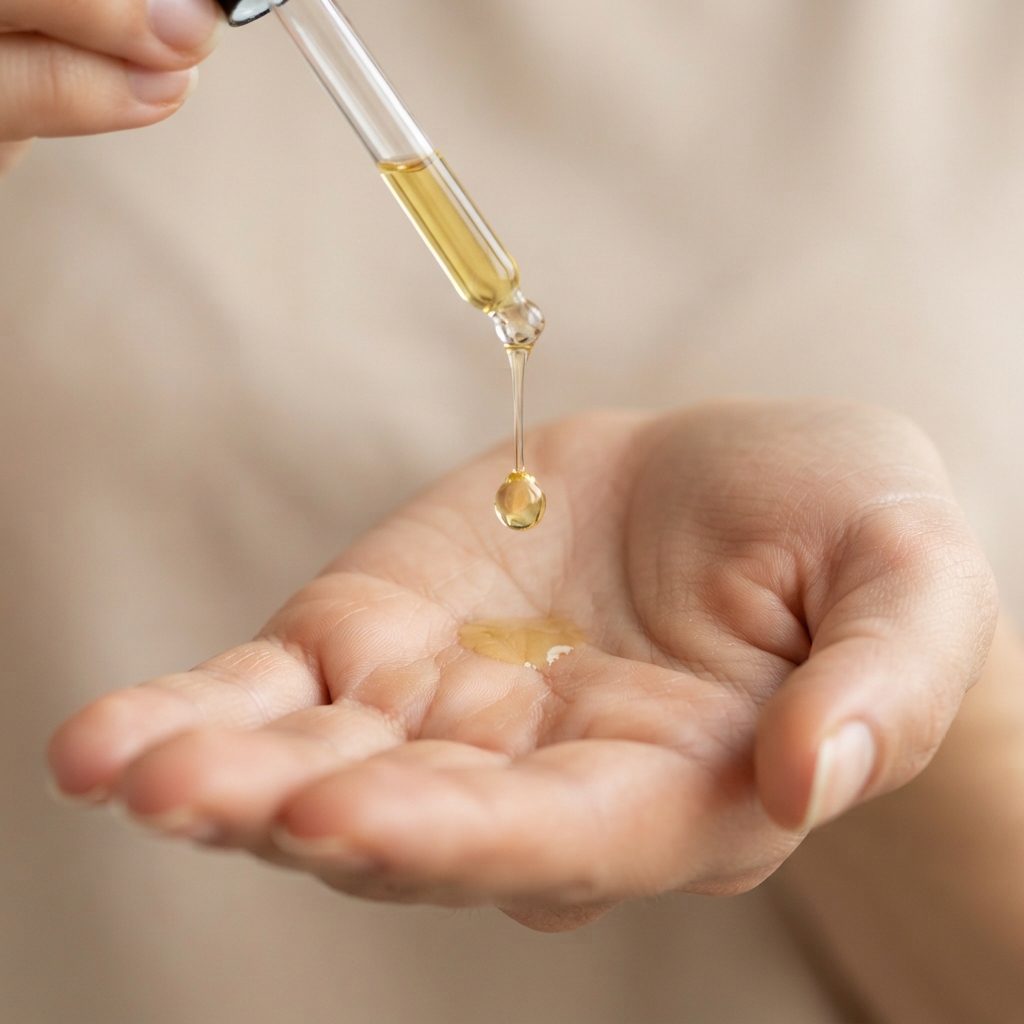
Warm oil penetrates better and feels like a small luxury. This is the part that makes oiling feel like self-care instead of a chore.
- Pour your oil into a small bowl
- Set the bowl in a cup of warm, not hot, water
- Wait two minutes until it’s comfortably warm
- Test a drop on your wrist first
Never microwave your oil. It heats unevenly and can burn your scalp. Warm, not hot, is the rule. That single step makes a big difference in how much your hair absorbs.
Section Your Hair Before You Oil
Dumping oil on top of your head and hoping for the best wastes product and misses your scalp entirely. Sectioning takes three minutes and changes everything.
- Comb your hair out dry, gently
- Split it into four sections with clips
- Work one section at a time
- Start at the part line and move outward
This is also when you check for tension, flakes, or tender spots. If something hurts, that’s information. Fix the tension before you add oil on top of it.
How Much Oil to Use

Most people use way too much. Oil is concentrated, and a little truly goes a long way.
- Short hair: about half a teaspoon
- Shoulder length: one teaspoon
- Long hair: one to two teaspoons
- Fine hair: start with half of whatever you think you need
Rub it between your palms first so it spreads evenly instead of landing in one spot. If your hair looks wet an hour later, you used too much. Next time, scale back.
Scalp Oiling vs. Length Oiling
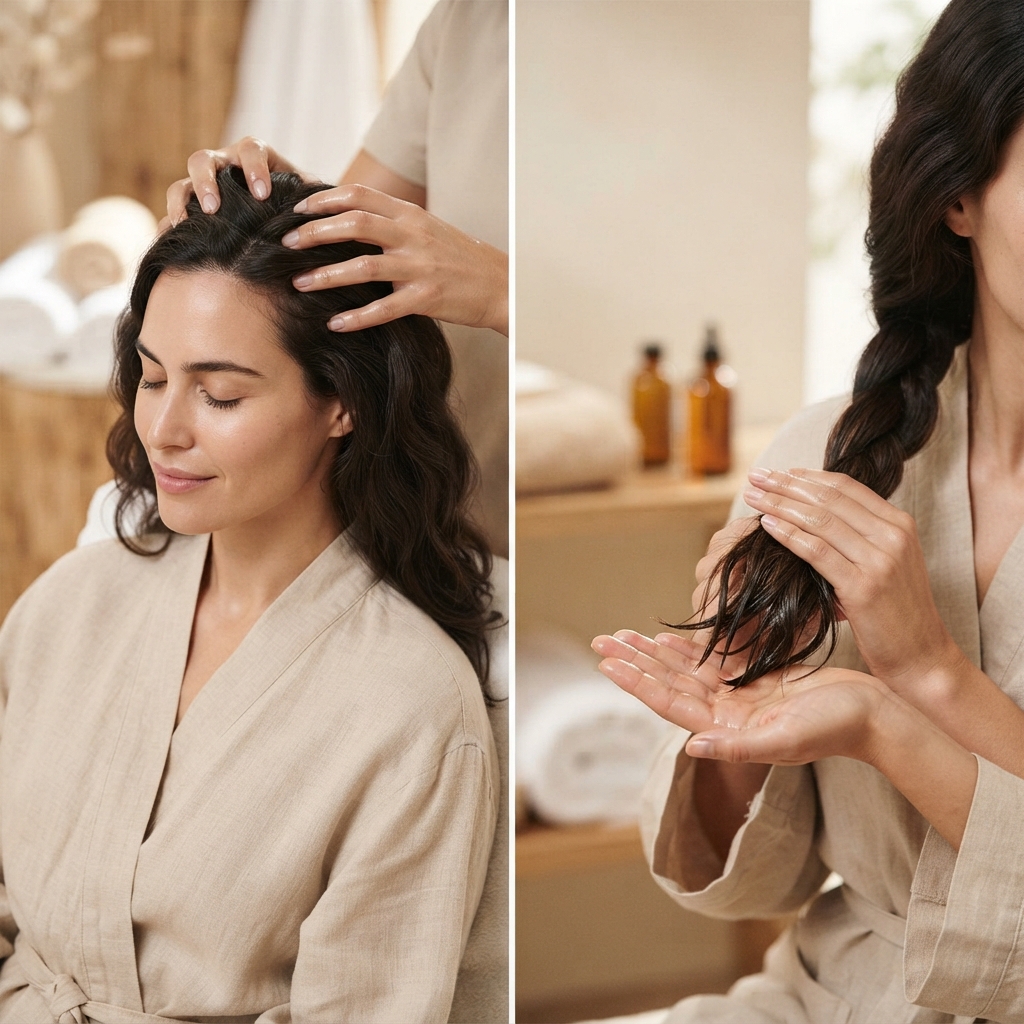
These are two different jobs and they need different amounts. Your scalp wants stimulation and balance. Your ends want sealing and protection.
- Scalp: light oil, fingertips, massage in small circles
- Mid-lengths: whatever transfers from your hands
- Ends: a little extra, especially on dry or bleached hair
Never pile heavy oil on your roots unless your scalp is genuinely dry. That’s how you end up with flat, greasy hair and a frustrated wash day.
The 10-Minute Scalp Massage Method

This is the part that actually supports growth. Massage increases blood flow to the follicle, and oil just makes it glide instead of tug.
- Press your fingertips at the hairline and hold for five seconds
- Move in small circles across the whole scalp
- Spend extra time at your temples and crown
- Finish with gentle pinching along the sides
Ten minutes, once or twice a week. Do it while you watch something. Your scalp will feel looser and your hair will look shinier within a few weeks.
Overnight Oiling: Yes or No?

Overnight oiling works great for thick, dry, or coily hair. It’s a firm no for fine or oily scalps, where it usually just causes buildup and breakouts.
- Use a silk or satin scarf or pillowcase
- Keep the oil on your scalp and ends, not your face
- Skip it if you’re prone to acne along the hairline
- Sleep on your back if you can
If you wake up with a heavy, coated feeling, your hair didn’t need overnight. Try two hours before your shower instead.
How Long to Leave It In
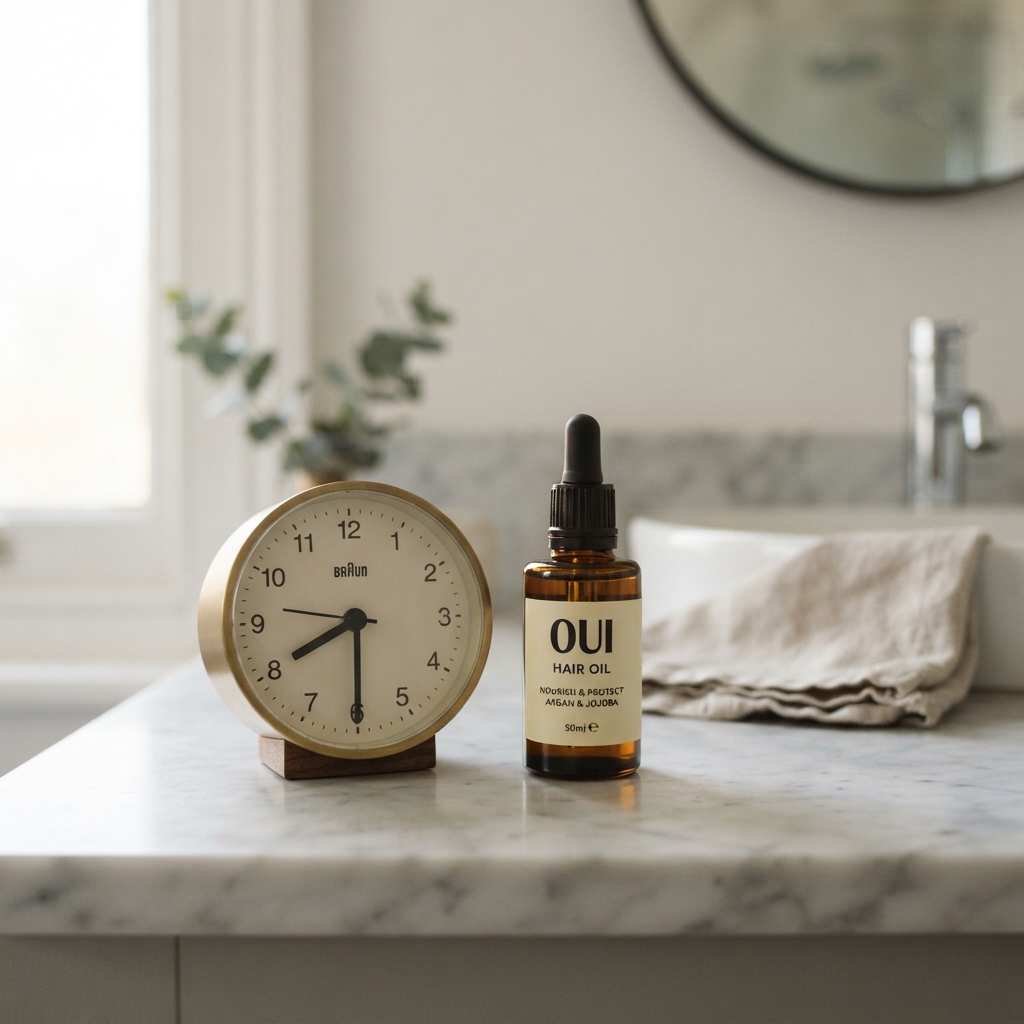
Two hours is plenty for most people. Overnight is optional. What does not work is leaving oil in for three days and wondering why your scalp is angry.
- Minimum: 30 minutes
- Sweet spot: 1 to 2 hours
- Maximum: overnight, once a week at most
Oil doesn’t keep working harder the longer it sits. After a couple of hours, you’ve gotten what you’re going to get. Anything past that is just buildup waiting to happen.
The Gentle Detangling Step
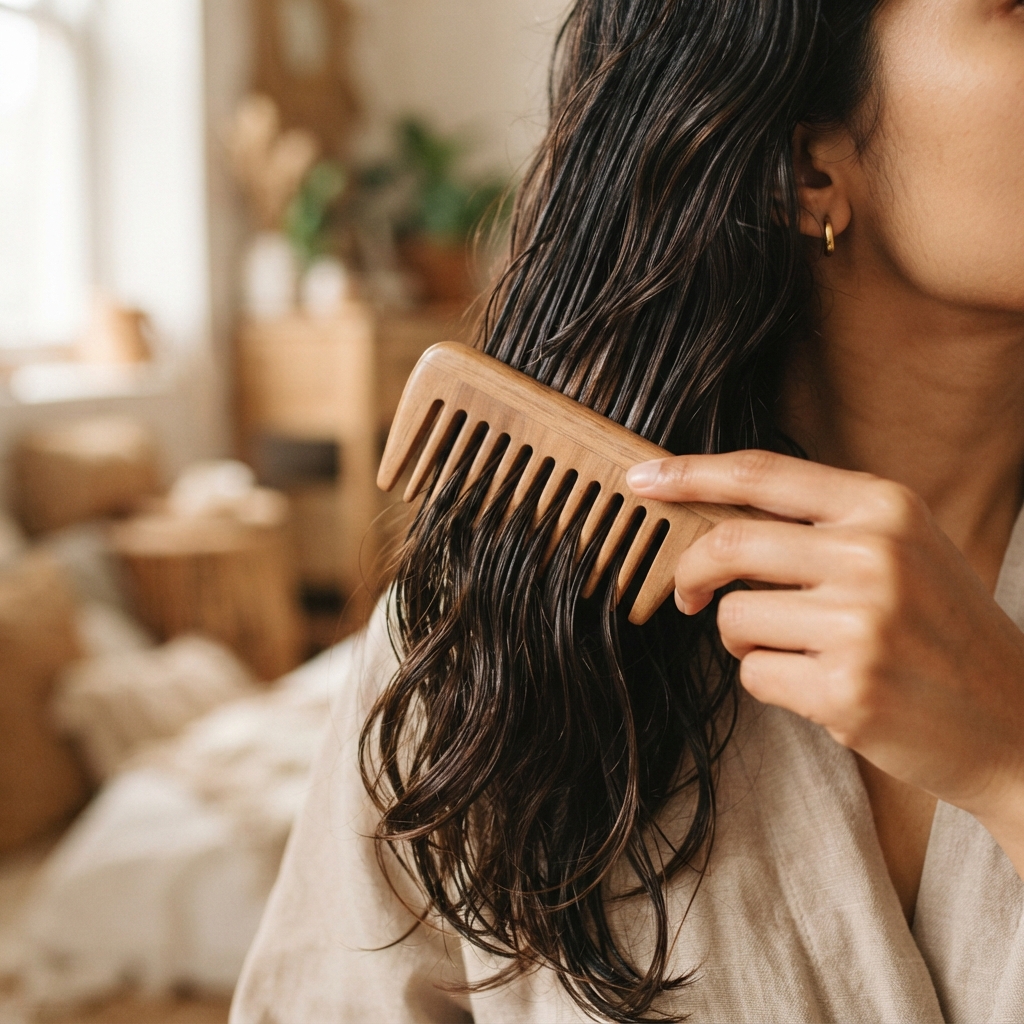
Oiled hair is slippery, which makes this the easiest detangling session you’ll ever have. Take advantage of it.
- Start at the ends, never the roots
- Hold the hair above where you’re combing
- Work upward in small sections
- Use your fingers first if you hit a knot
Never rip through a tangle. That’s how you lose length you spent months growing. Slow hands, zero breakage.
How to Wash It Out Properly

This is where most people undo all their hard work. Oil needs a real cleanse, not a quick lather.
- Rinse with warm water for a full minute first
- Apply shampoo to your scalp only
- Lather, then let it sit for 30 seconds
- Repeat if your hair still feels coated
Conditioner goes on your mid-lengths and ends only. If you use a clarifying shampoo, save it for once or twice a month so you don’t strip your scalp bare.
The Cold Rinse and Sealing Step

A cool rinse at the end closes the cuticle and makes hair look smoother and shinier. It takes 20 seconds and it’s worth it.
- Finish with cool water on your lengths
- Gently squeeze out excess water, don’t twist
- Add one drop of argan oil to damp ends
- Air dry or use heat protectant before styling
That single drop of oil on damp ends is what gives hair that soft, healthy, old money hair finish everyone asks about.
Oiling Your Ends Between Washes
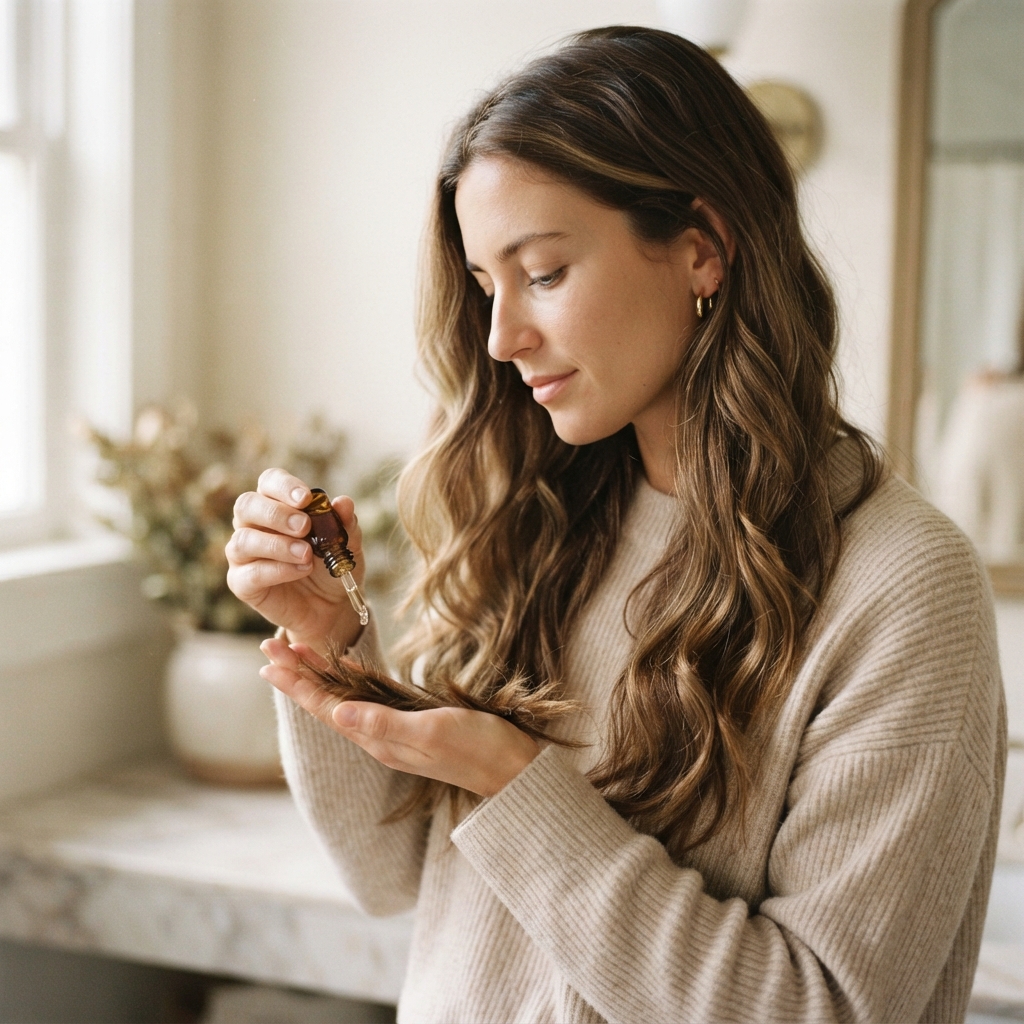
Your ends are the oldest, driest part of your hair, and they take the most abuse. A little daily attention here prevents splits from traveling up.
- One drop, warmed between your palms
- Focus only on the last two inches
- Do it in the morning or before bed
- Skip it if your ends already look greasy
This is the easiest growth hack there is. You’re not growing new hair, you’re keeping the hair you have from snapping off.
Oiling Around Your Signature Cut

Your cut changes how you oil. Blunt, structured shapes need light oil and clean roots. Layered or textured shapes can take a little more.
- Quiet luxury bob: light oil on ends only, keep roots clean
- Asymmetrical lob: focus oil on the longer side’s ends
- Hime cut: oil the side panels and blunt ends carefully
- Vampire cut: oil those face-framing pieces to stop splitting
Any 2026 hairstyle with sharp lines looks best when the ends are oiled and your scalp is fresh.
Oiling for Romantic Goth and Glitchy Glam Styles

Romantic goth hairstyles and glitchy glam hair look incredible when the texture is intentional, not dry. Oil helps you get that dark, glossy, almost wet finish.
- Use argan or camellia for shine without weight
- Apply to damp hair for a sleek, sculpted look
- Add a little more at the ends for that glossy tip effect
- Keep the scalp clean so the shine reads as healthy
Bleached or color-treated hair needs extra oil attention, especially if you’re regularly heat styling. Your ends will thank you.
Common Mistakes That Slow Growth
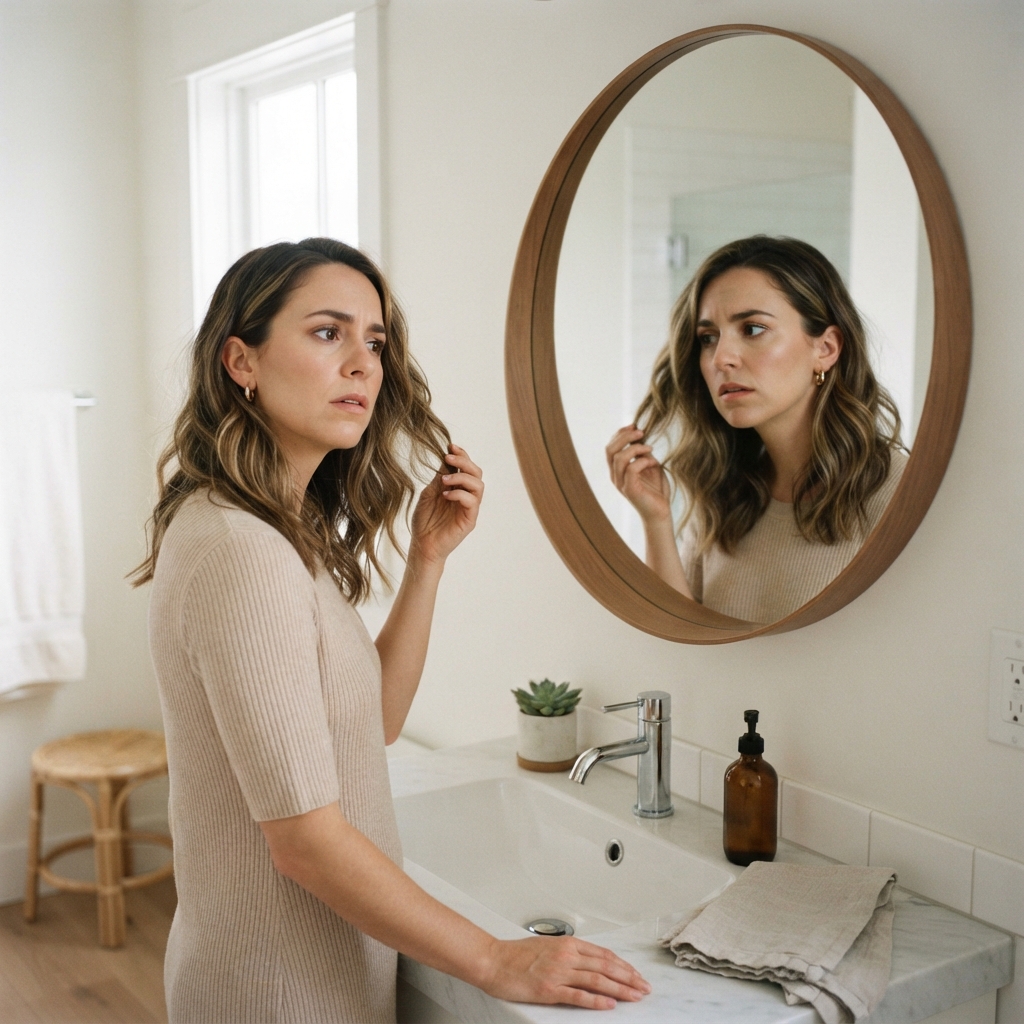
I made almost every one of these for years. Learn from my mistakes and skip ahead.
- Using too much oil and clogging your scalp
- Oil on dirty hair, which traps buildup
- Skipping the massage and just coating the surface
- Ripping through tangles after oiling
- Oiling daily when your scalp doesn’t need it
Growth is slow, quiet progress. If something feels heavy, itchy, or painful, stop and reset for a week.
Oiling for Every Hair Type

Every hair type can oil, but the how changes. Here’s the quick version.
- Type 1, straight: once a week, light oil, scalp focus
- Type 2, wavy: twice a week, oil mid-lengths and ends
- Type 3, curly: pre-wash oiling works beautifully
- Type 4, coily: oil your scalp and seal your ends often
Pay attention to how your hair feels 24 hours later. That feedback matters more than any guide online, including this one.
Tracking Your Growth Without Losing Your Mind
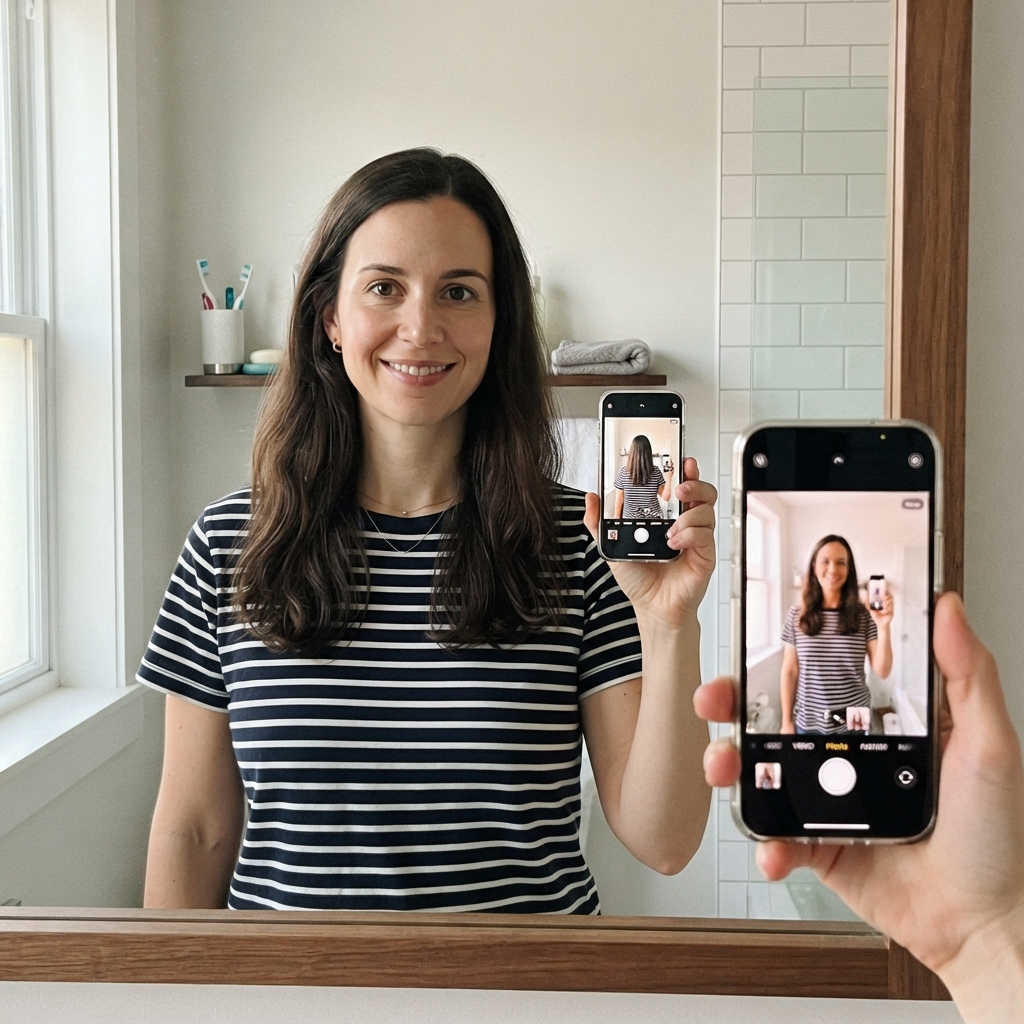
Hair grows about half an inch a month. That’s not dramatic, and that’s okay. Take photos so you can actually see it.
- Snap a photo on the first of every month
- Use the same light, spot, and outfit
- Measure from your part to your longest layer
- Note how your ends feel, not just the length
Some months will look like nothing changed. Then you’ll compare three photos and realize how far you’ve come. Trust the process.
Your Simple Weekly Oiling Routine
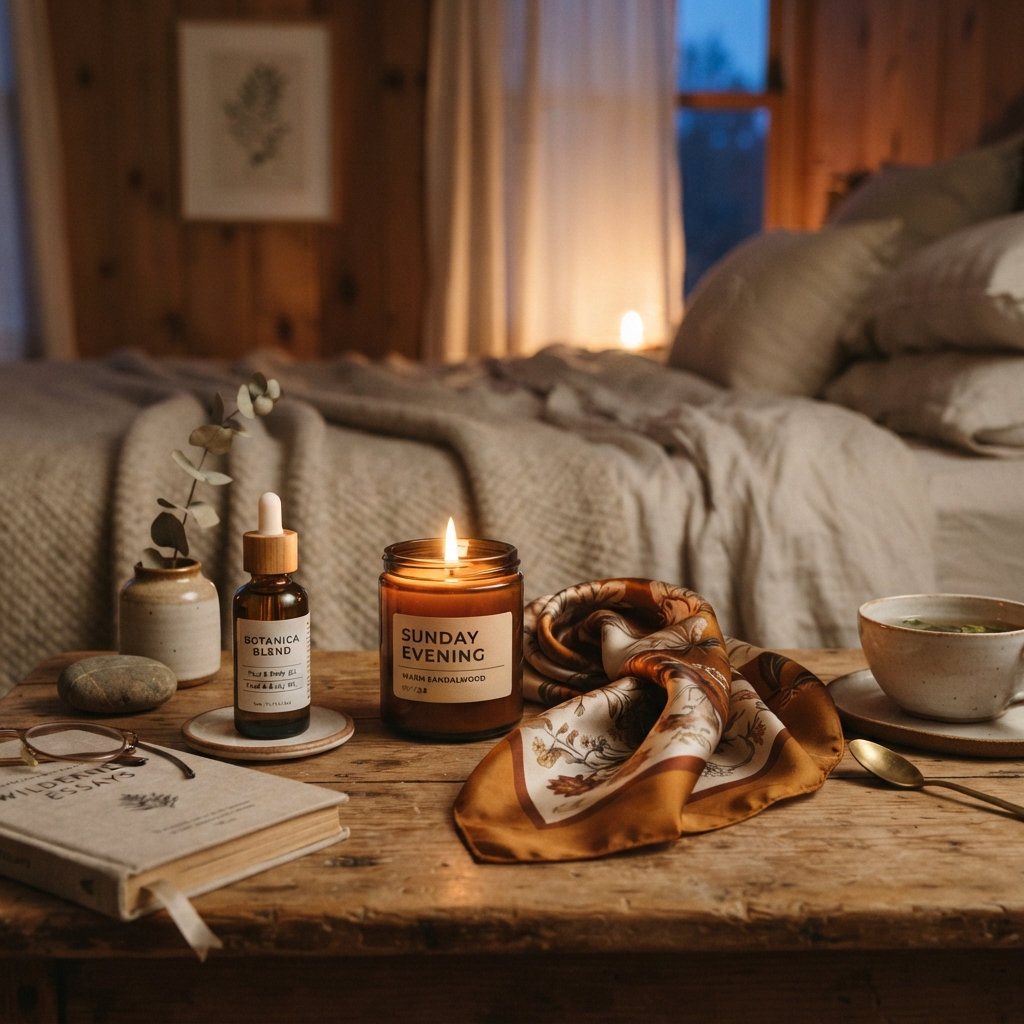
Here’s the whole thing in one place. Pick a day and make it a ritual.
- Warm your oil
- Section dry hair into four parts
- Massage your scalp for 10 minutes
- Work oil through mid-lengths and ends
- Leave it in for one to two hours
- Double cleanse and finish with a cool rinse
- Add one drop of oil to damp ends
That’s it. One day a week, done consistently, will beat any complicated routine you abandon after ten days.
A Warm Little Send-Off
Healthy hair isn’t about one miracle product. It’s small, boring habits repeated long enough that other people start asking what you’re doing. Oiling is one of those habits.
Start with one day a week. Be patient with your scalp. Give it two months before you judge anything, because your hair works on its own timeline, not yours.
And if you try this, tell me in the comments which oil you picked and how your hair felt after week three. I read every single one.
Save this post to Pinterest so you have your oiling routine ready whenever you need it.

