
Okay, let’s be real. We’ve all scrolled past those dreamy, romantic goth hairstyles and thought, “I could never.” It looks like it takes an hour and a professional stylist, right? I felt the same way until I cracked the code.
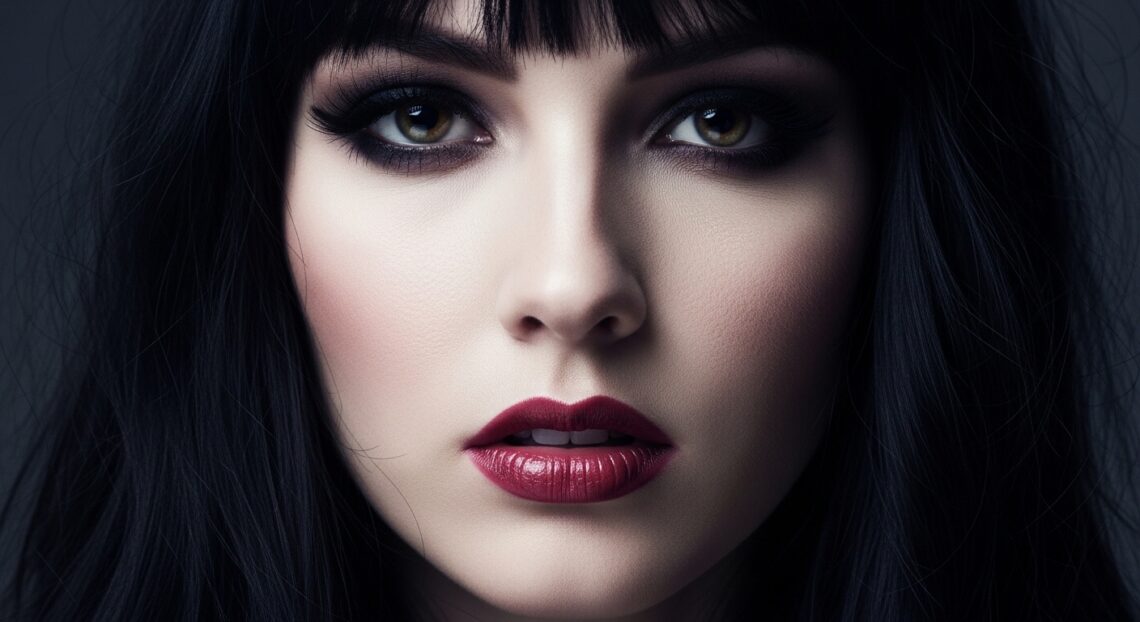
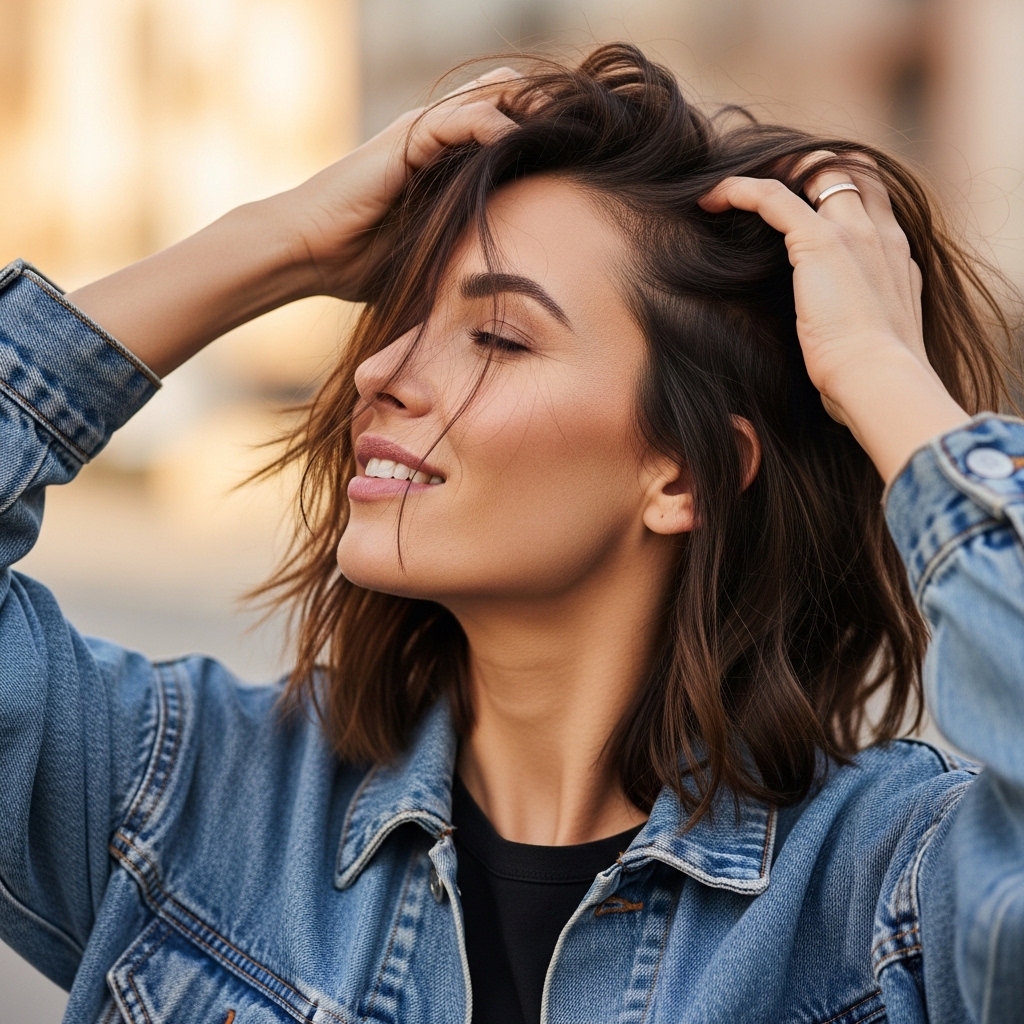
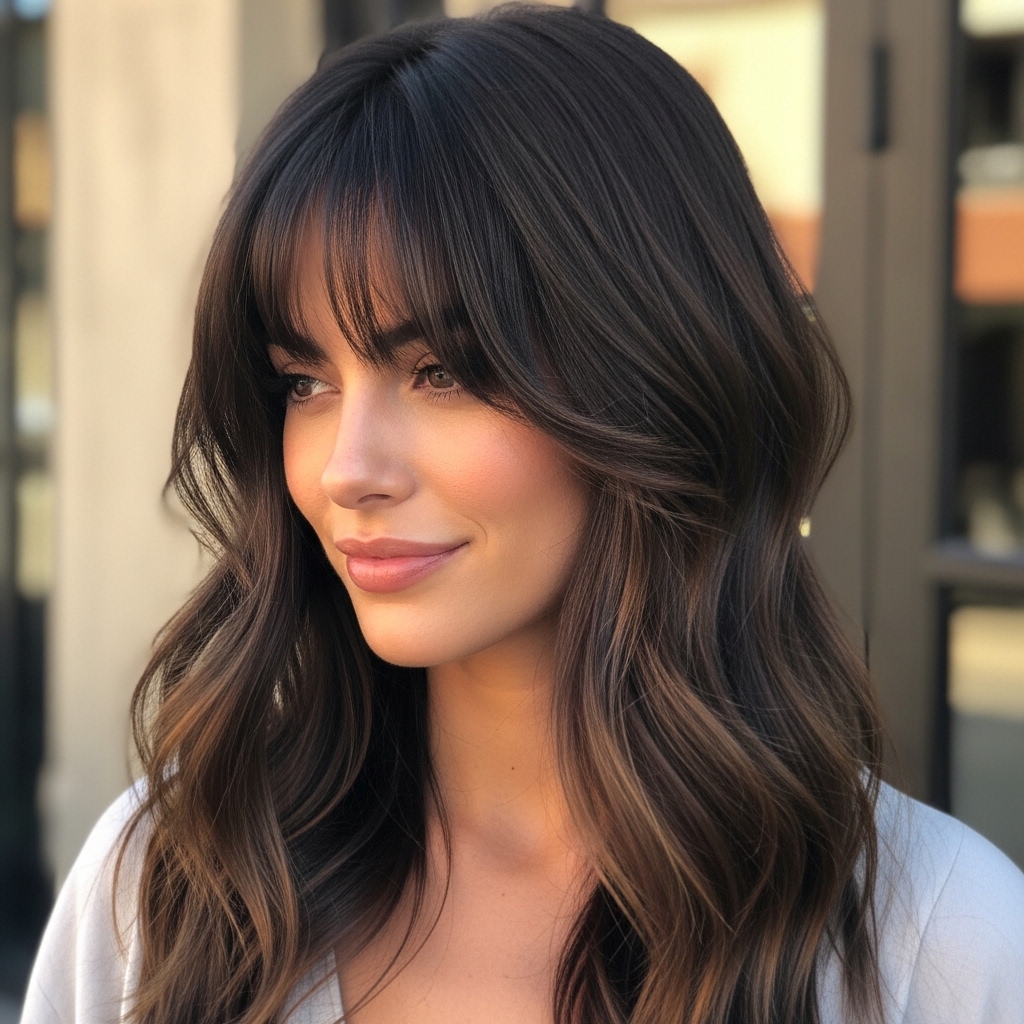
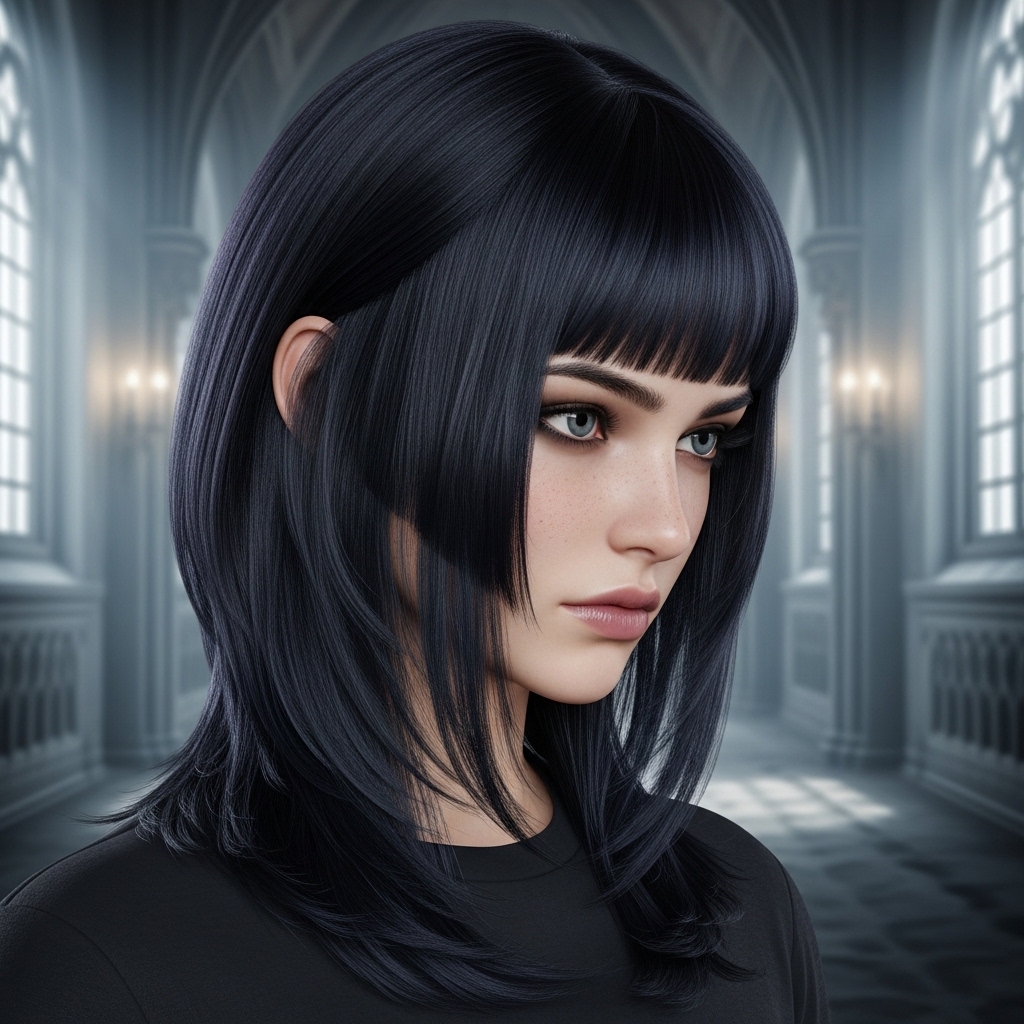
I’m talking about those perfect curtain bangs with a dark, romantic twist—soft, face-framing pieces that feel equal parts vintage vampire and modern cool girl. It’s one of those romantic goth hairstyles that totally elevates your everyday look.
The best part? You don’t need a salon appointment or a ton of time. I’ve perfected a method that gets you there in just ten minutes. Seriously. Whether your hair is pin-straight or has a natural wave, this is for you.
Let’s ditch the intimidation and get into the easiest, fastest way to achieve this iconic look. Your shortcut to major hair vibes starts now.
What Are Romantic Goth Curtain Bangs?
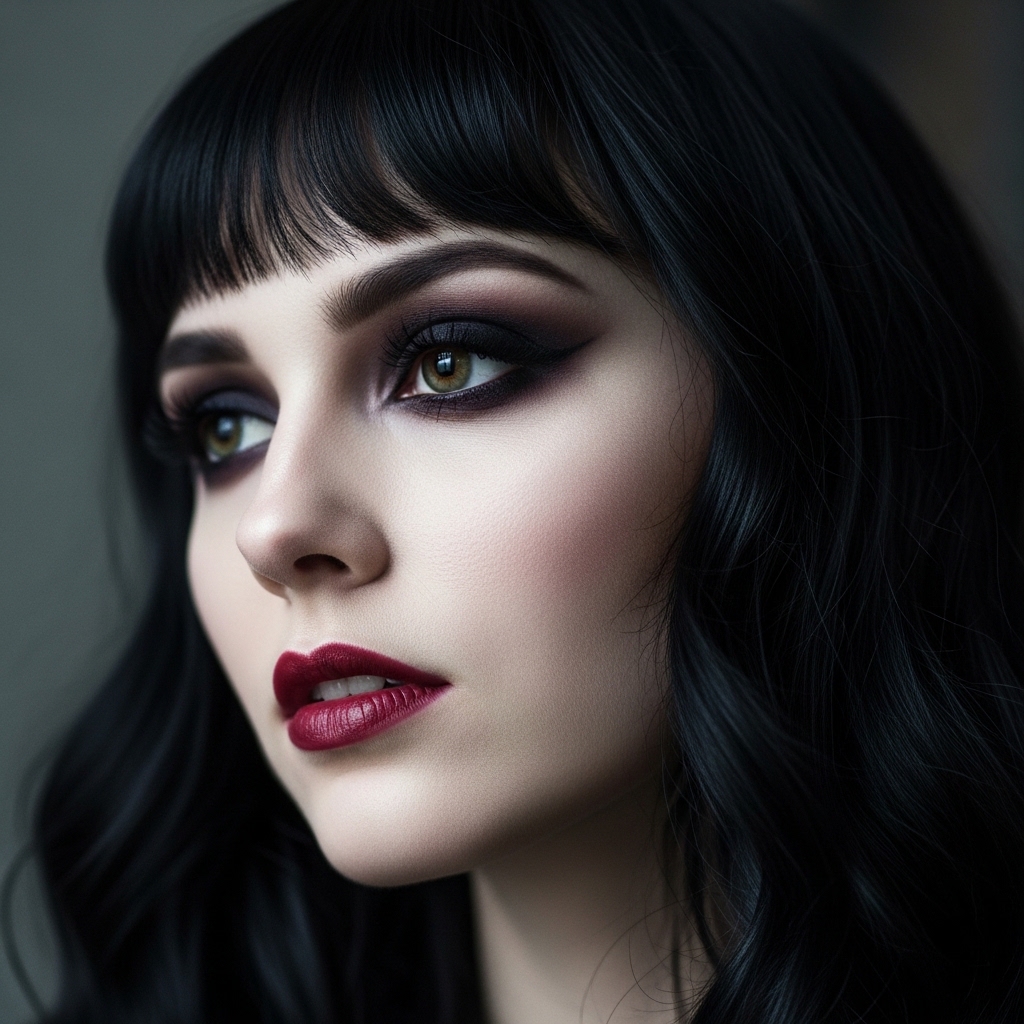
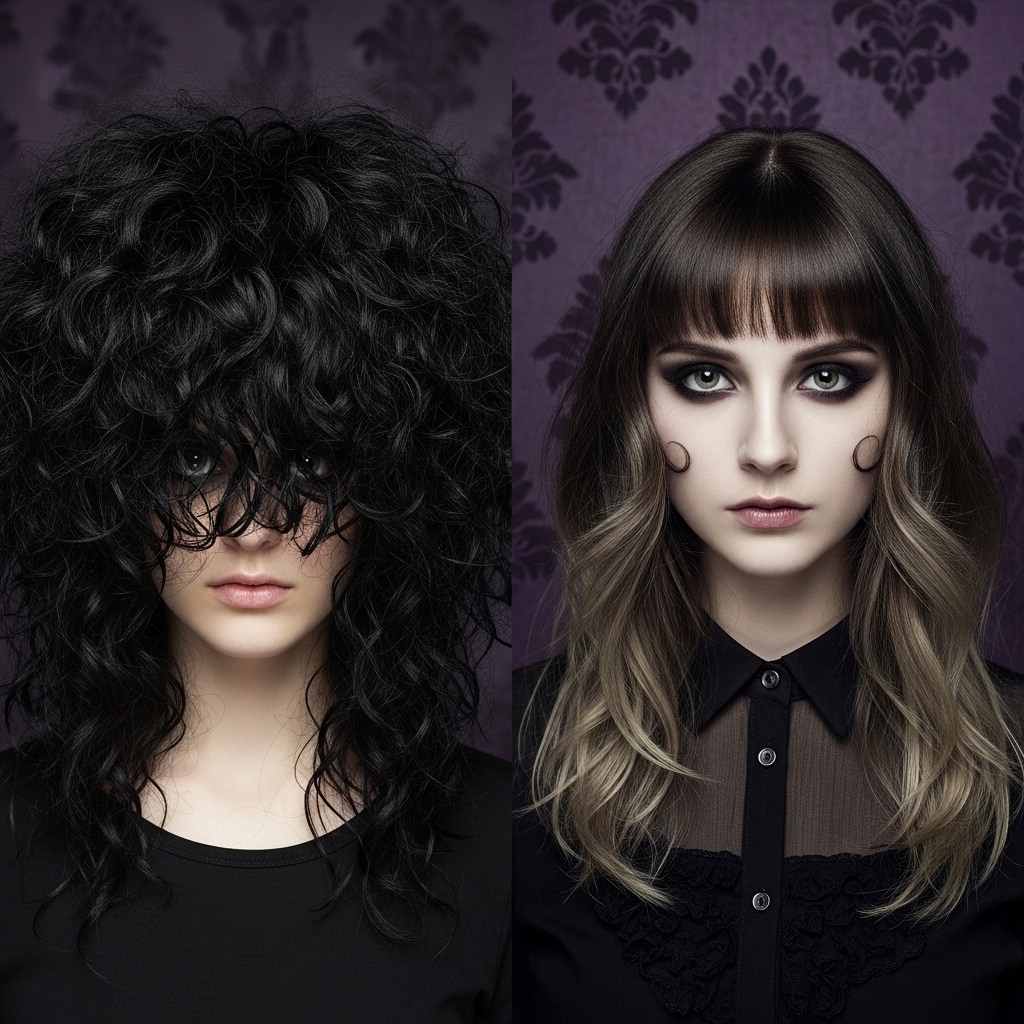
Let’s break it down. Imagine classic curtain bangs—those parted-in-the-middle, face-framing layers. Now, infuse them with a romantic goth vibe. This means the color is deep (think black, dark brown, or rich burgundy), and the texture is soft, piecey, and deliberately undone.
It’s less “perfect blowout” and more “I just woke up like this, in a castle.” The goal is effortless, soft drama. It pairs amazingly with everything from long waves to an asymmetrical lob.
This look is a huge part of the glitchy glam hair trend—mixing pretty and edgy elements. It’s wearable, stunning, and far easier than it looks.
Why This Style is Everywhere for 2026
If you’re tracking 2026 hairstyles, you’ll see this everywhere. It’s the perfect reaction to super-polished styles. People crave texture, personality, and a touch of nostalgic drama.
It connects to the old money hair and quiet luxury bob aesthetic through its emphasis on impeccable, healthy-looking texture, but it adds a rebellious, personal twist. It’s also a cousin to the vampire haircut trend—all about dark romance.
This style proves that the most impactful looks aren’t the most complicated. It’s about strategic, face-flattering pieces that do all the talking.
Gather Your 10-Minute Toolkit
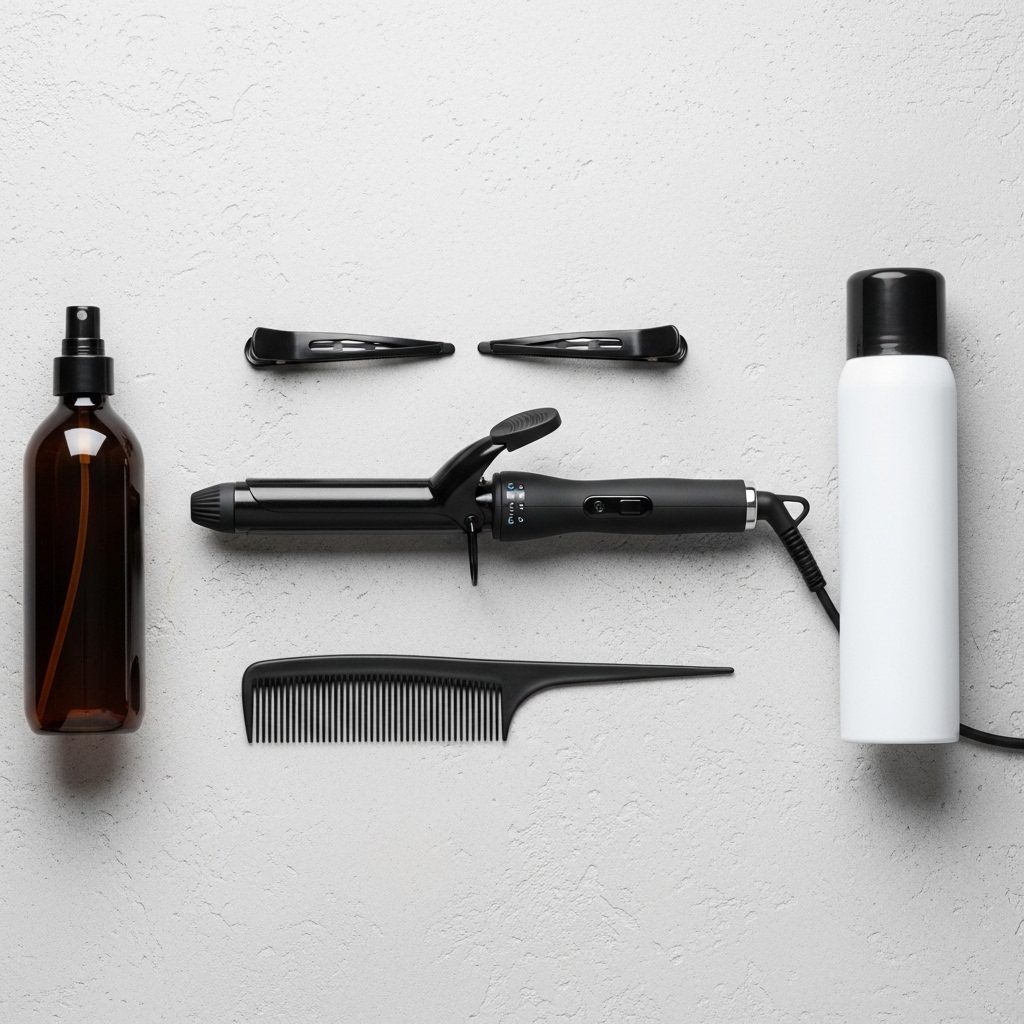
You only need a few key things. First, a heat tool. A 1-inch curling iron or wand is perfect. A flat iron can also work for a straighter, piecey effect.
Next, products: a heat protectant spray is non-negotiable. You’ll also want a strong-hold hairspray or texturizing spray and a light-hold cream or oil to tame flyaways.
Finally, grab some sectioning clips and a fine-tooth comb. That’s it! With this small kit, you’re ready to create this look again and again in record time.
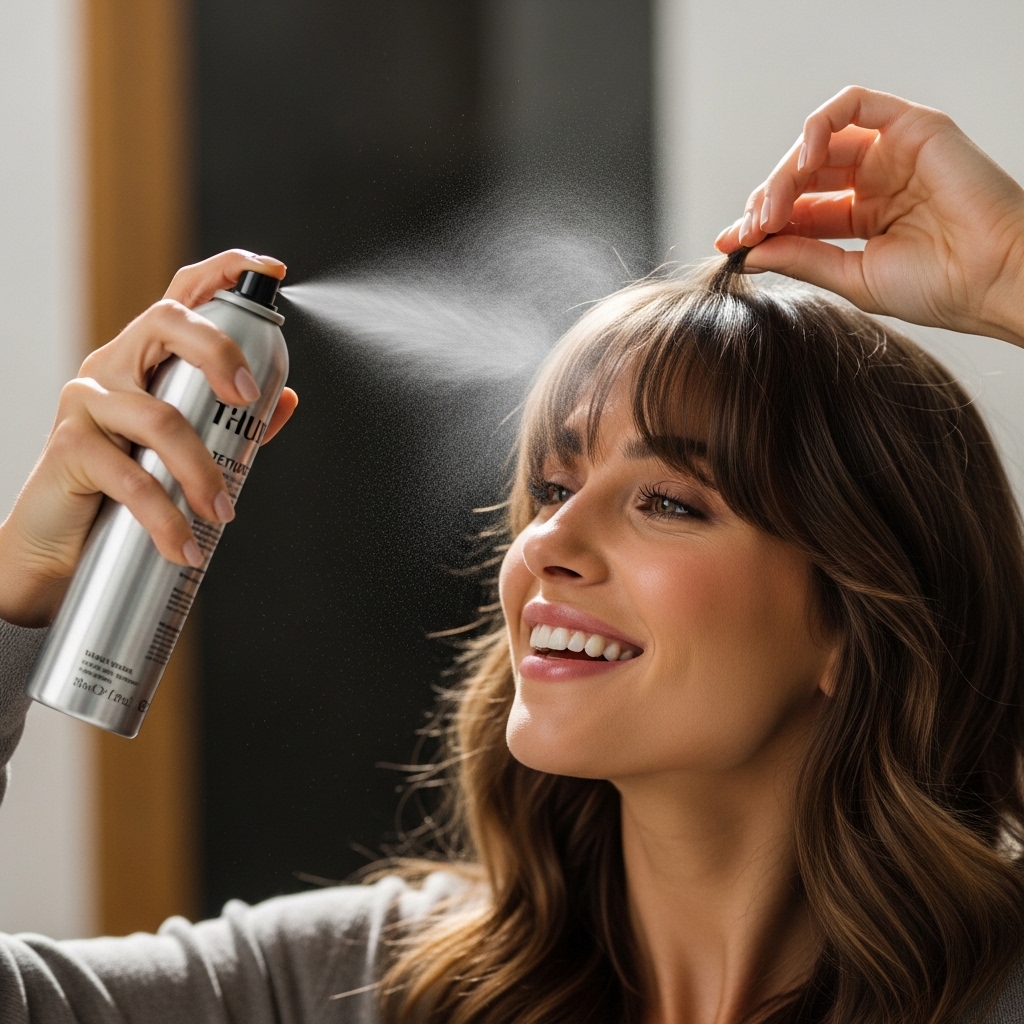
Start With Day-Old Hair (Seriously)
Here’s a pro secret: this style works best on not freshly washed hair. Day-two or even day-three hair has natural oils that give it grip and body, so the style holds way better.
If your hair is freshly clean, it might be too slippery. No worries! Just spray some dry shampoo at your roots and lightly through the lengths where your bangs will be. This adds the necessary texture.
Starting with this base makes every step that follows faster and more effective. It’s the ultimate hack for lasting volume and shape.
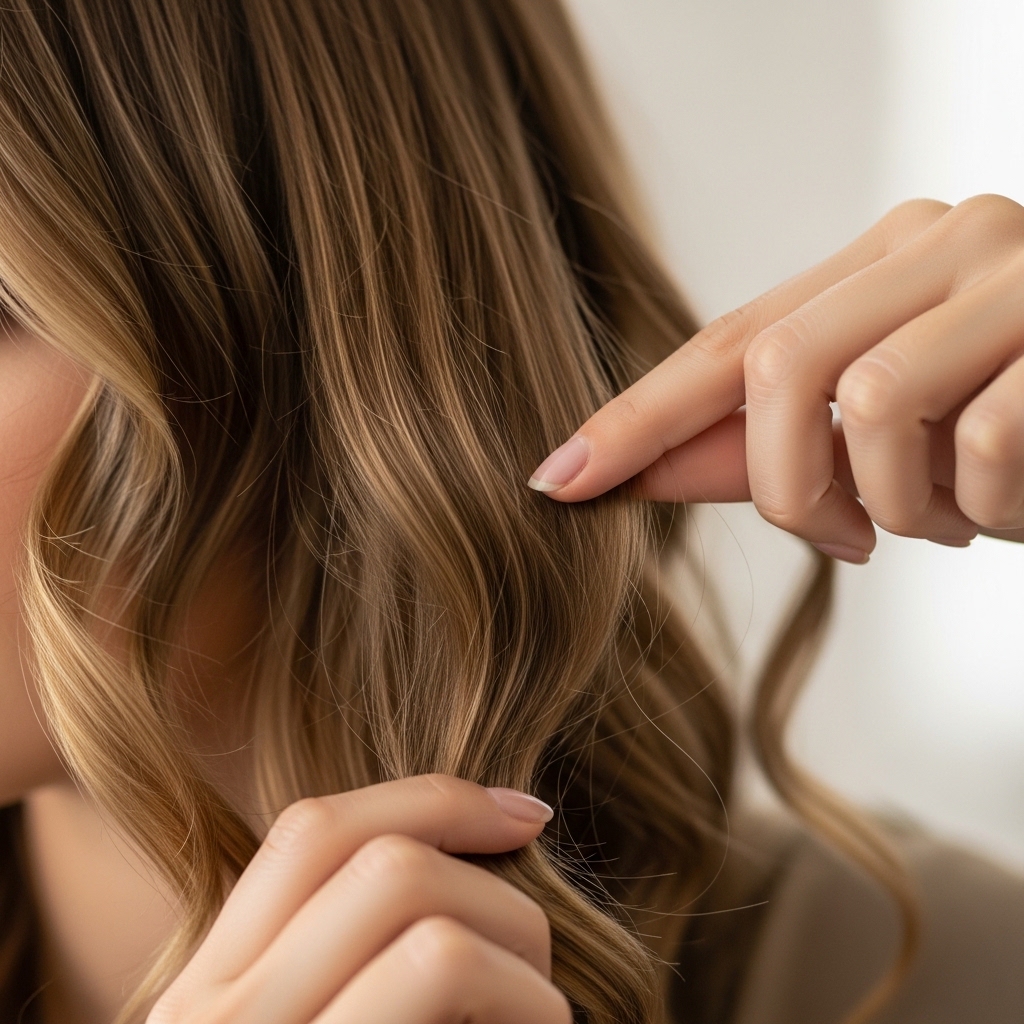
Section Out Your Bangs Perfectly
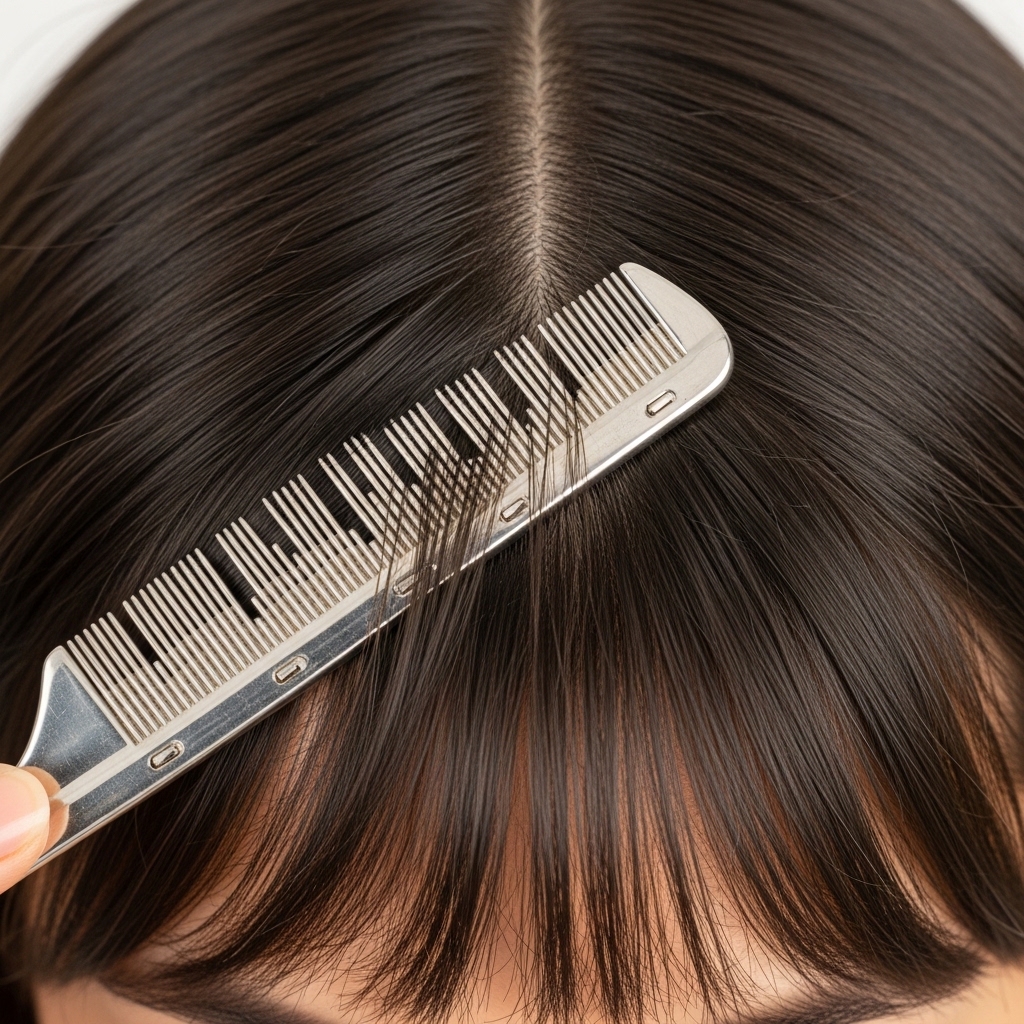
Precision here saves time later. With your fine-tooth comb, draw a triangle from the crown of your head down to your temples. The point should be a few inches back from your hairline.
This triangle is your bang section. Clip the rest of your hair back so it’s out of the way. Make sure the section isn’t too thin—you want enough hair to create a soft, blended frame.
If you’re new to bangs, this might feel bold. But trust the process! This sectioning is what creates that seamless curtain effect.
Protect Your Hair With Heat Shield
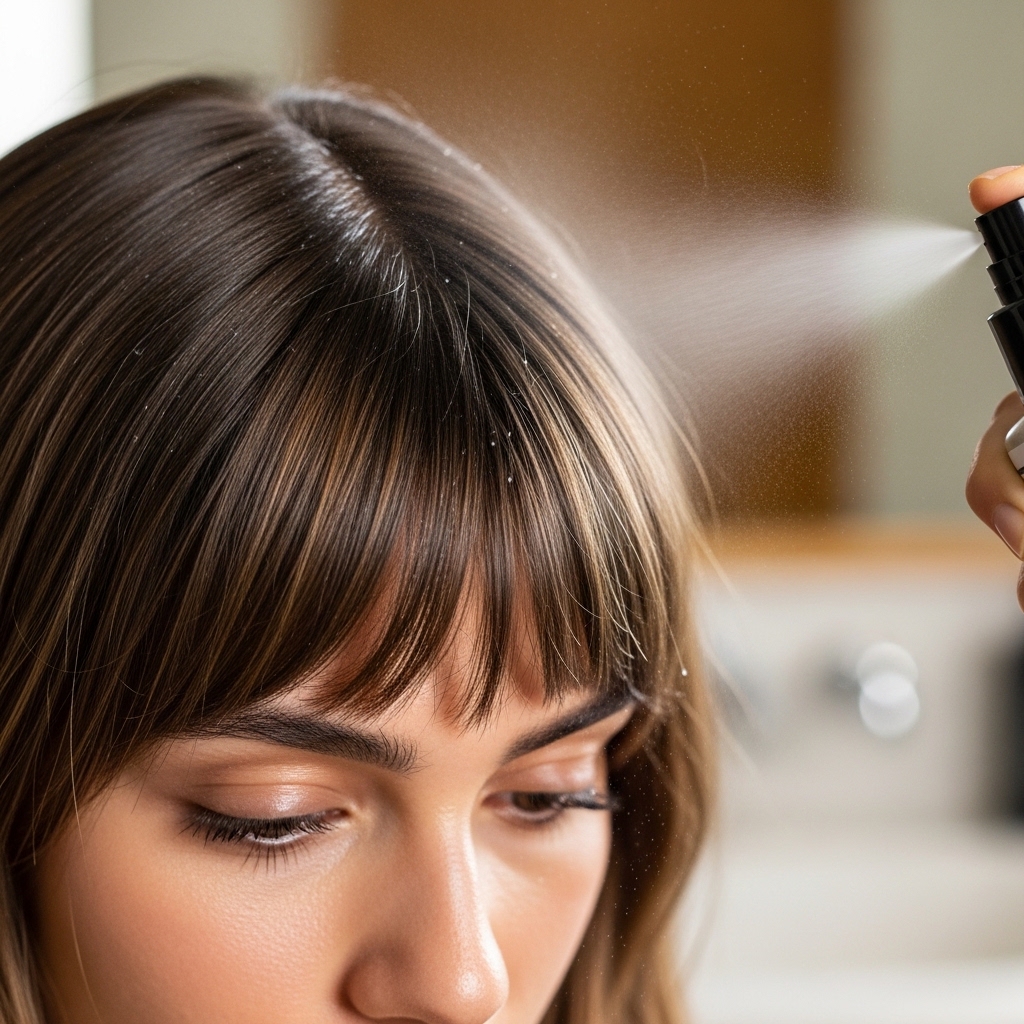
Before any heat touches your hair, protect it. Take your heat protectant spray and mist it evenly over your dry bang section. Don’t skip this!
This creates a barrier against the high heat of your styling tool, preventing damage and keeping your hair healthy and shiny. Healthy hair is the real foundation of any great style, from a quiet luxury bob to these bangs.
Let it settle for a quick 30 seconds before you move on. This small step makes a huge difference long-term.
The Magic of Point Cutting (Optional Prep)
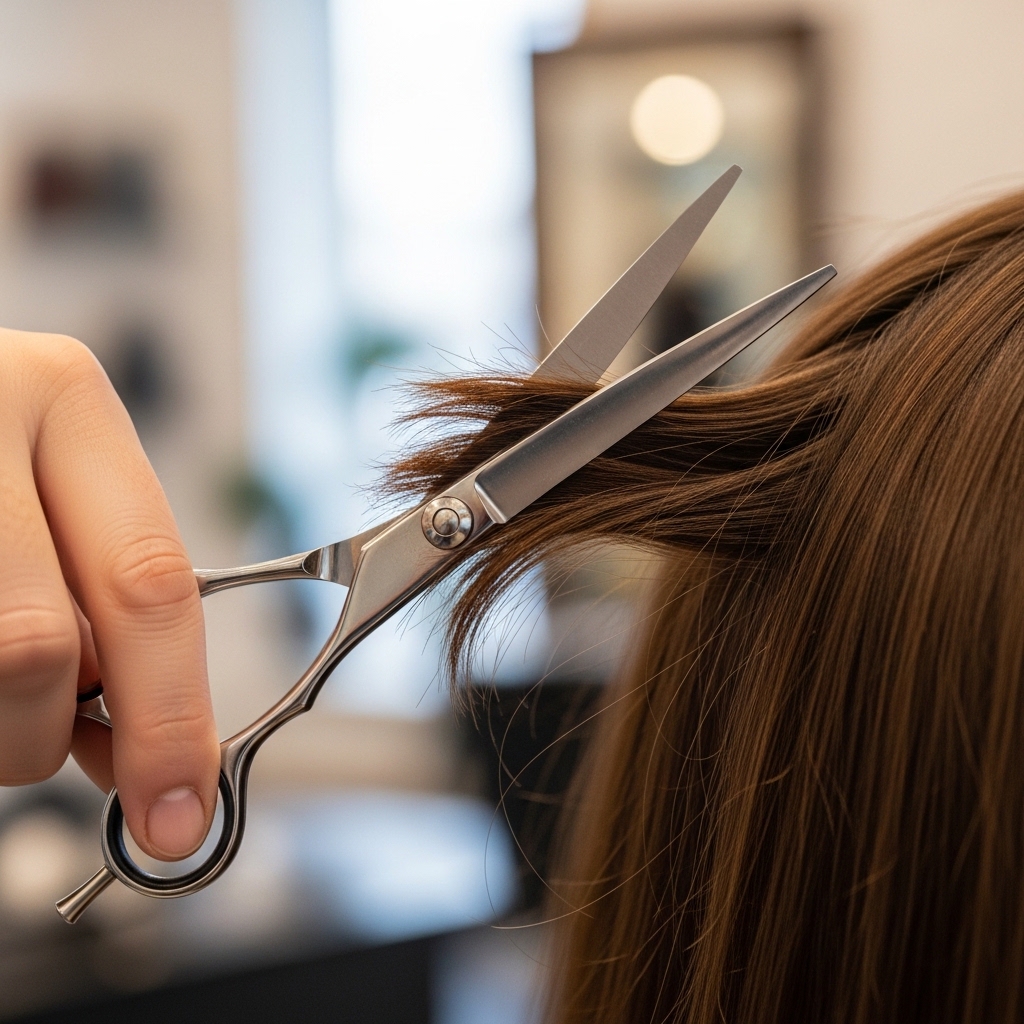
If your bangs are freshly cut and feel too blunt or heavy, you can soften them yourself. This is called point cutting. Take sharp hair shears (not kitchen scissors!) and hold them vertically.
Snip lightly into the ends of your hair, not straight across. This removes weight and creates a feathered, piecey texture that’s essential for the romantic goth look.
Go slow and take off tiny amounts. You can always cut more, but you can’t add hair back! This simple trick makes styling infinitely easier.
Create the Curtain Part

For true curtain bangs, you want a soft middle part. But here’s a trick: start by creating a deep side part, then gently shift the hair back to the center.
This creates instant volume at the roots and helps the bangs fall away from the face more naturally. Use the end of your comb handle or your finger to find the spot that feels most flattering.
Don’t stress about it being perfectly centered. A slightly imperfect part adds to the effortless vibe.
Heat Up Your Styling Iron
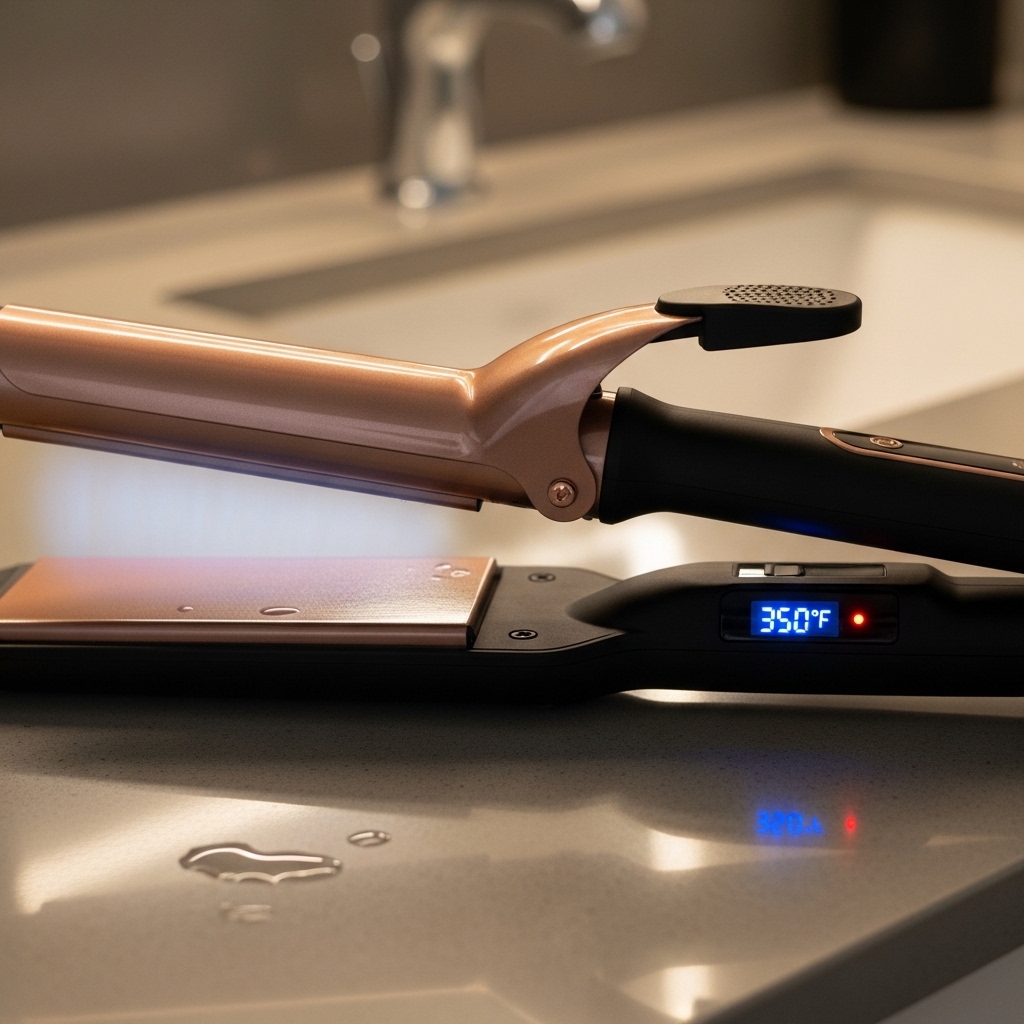
While you’re prepping your part, plug in your curling iron or wand. Set it to a medium heat, around 350°F. You don’t need extreme heat for this, which is better for your hair anyway.
If you’re using a flat iron for a straighter look, the same rule applies. Medium heat is sufficient to set the shape without causing unnecessary damage.
Giving it time to fully heat up now means it’s ready to go when you are, making the whole process seamless and quick.
Curl Away From Your Face
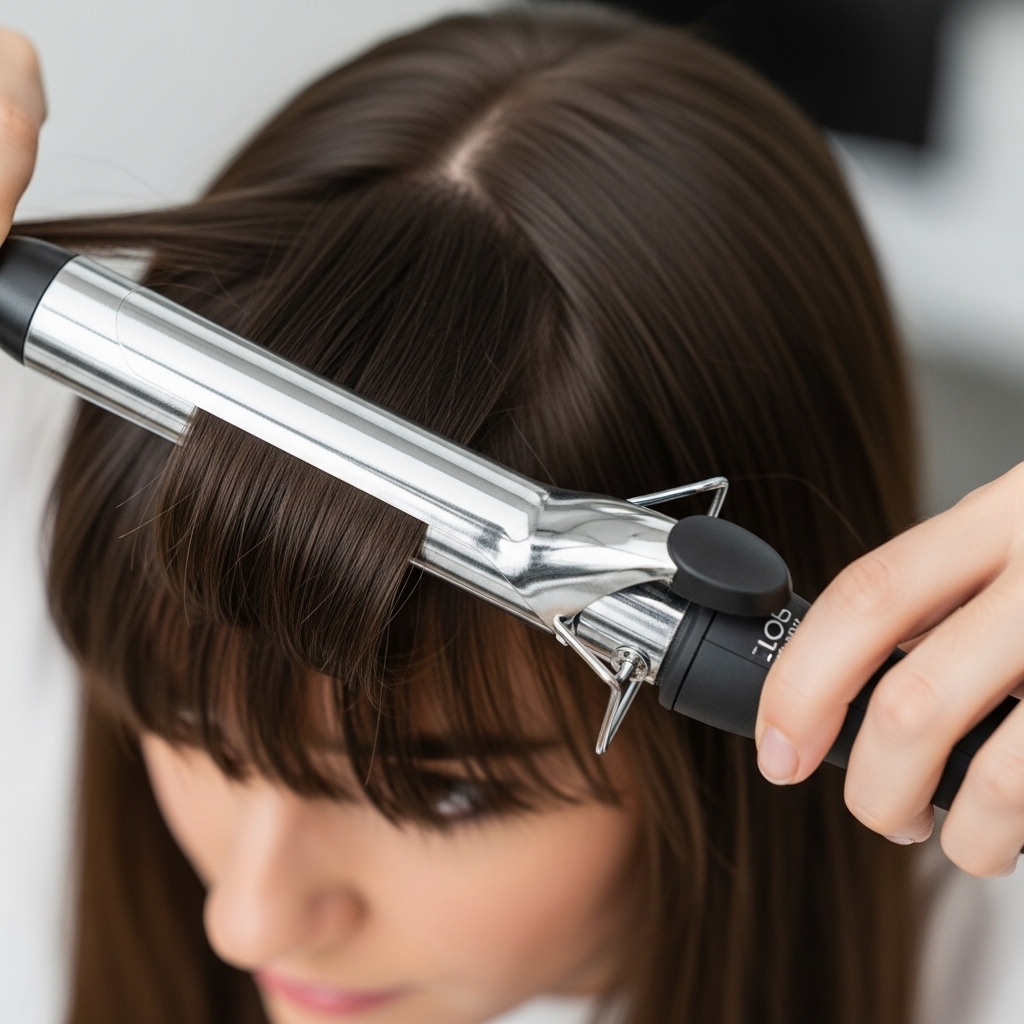
Unclip a small subsection of your bangs, about one inch wide. Open the clamp of your curling iron, place it near the root of that section, and wrap the hair around the barrel away from your face.
So, for the right side of your part, curl to the right. For the left side, curl to the left. This direction is key—it makes the bangs open and frame your face like a curtain.
Hold for only 5-8 seconds. You’re not looking for tight ringlets, just a soft bend and direction.
Use the “Shingling” Technique for Volume
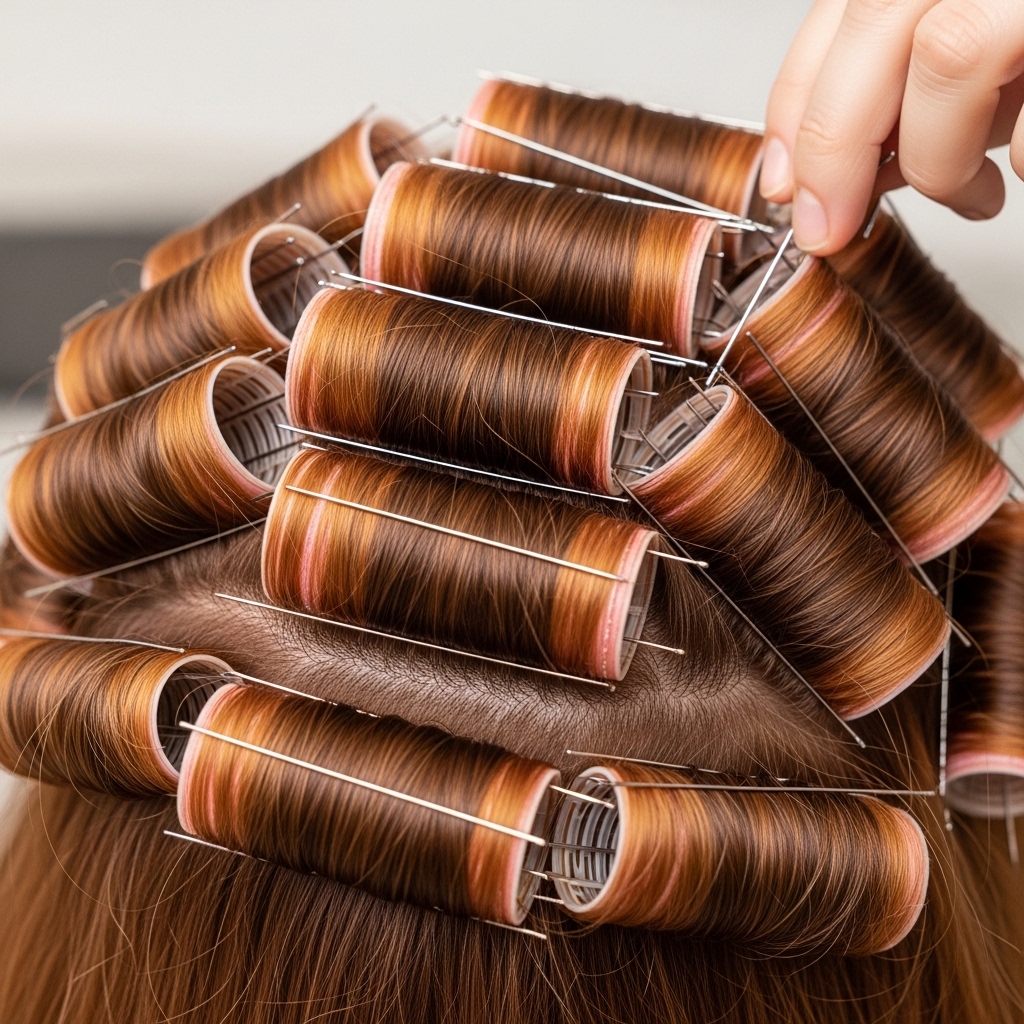
As you release each curl from the iron, don’t let it fall just yet. Immediately take the hot curl and pin it back against your head with a clip, letting it cool in that lifted position.
This is called shingling or pinning. Cooling the hair while it’s lifted sets the volume at the root, which is critical for that full, dramatic curtain effect.
Work your way through all your bang subsections, curling and pinning each one. It might look silly now, but the payoff is huge.
Let the Curls Cool Completely
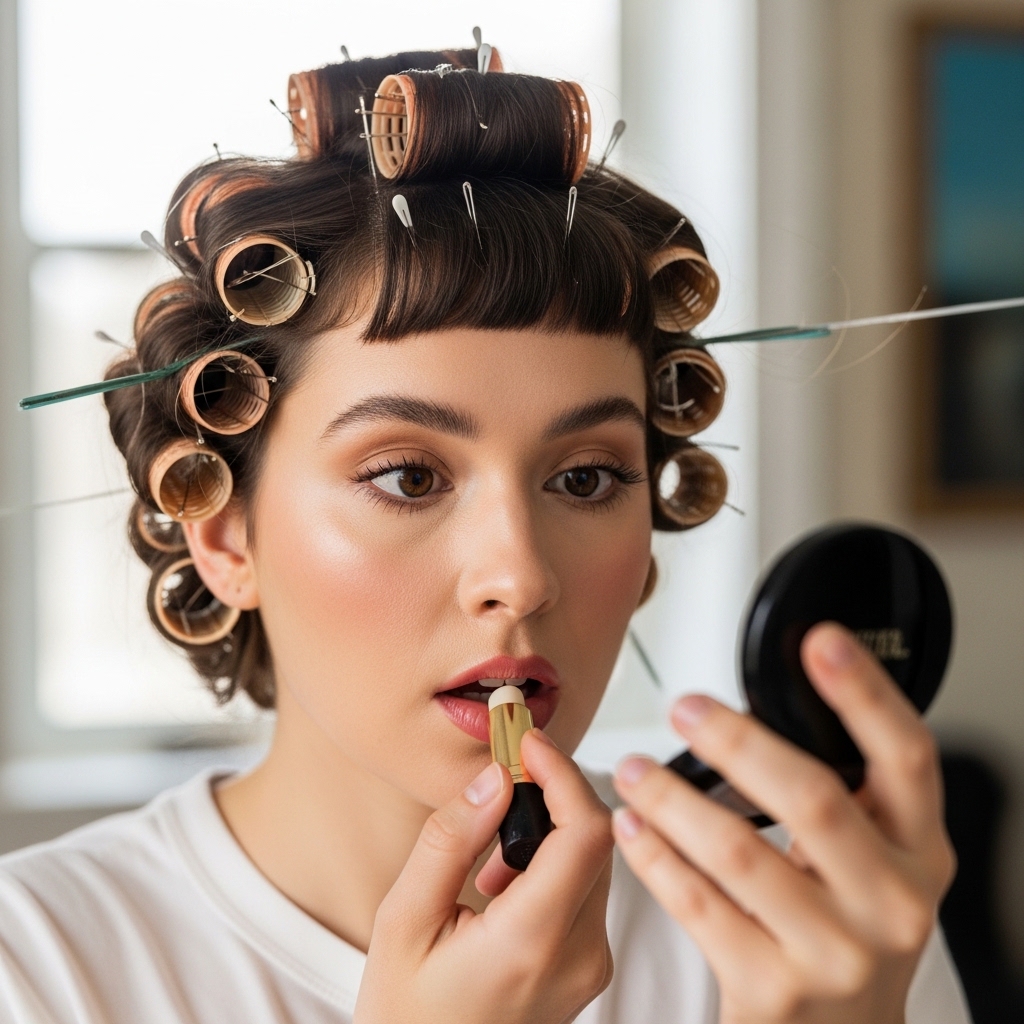
Patience is your friend here. Let all those pinned-up curls cool down completely. This takes about two minutes, but it locks the shape in.
Use this time to do a quick task—put on your earrings, finish your moisturizer, or pour your coffee. Letting hair cool is the most overlooked step for long-lasting styles.
If you rush and take the clips out while the hair is still warm, the volume will fall flat almost immediately. Trust me, wait it out.
Unpin and Gently Separate
Once the hair is cool to the touch, carefully remove all the clips. You’ll see defined curls. Don’t panic! This isn’t the final look.
Use your fingers to gently break up the curls. Run them through the waves, separating them into softer, more piecey sections. The goal is texture, not perfect spiral curls.
Be gentle here. You’re not brushing it out, just softening the shape and encouraging the pieces to fall naturally.
Apply Texturizing Spray for Grip
Now, to lock in that piecey texture and add a bit of grit, reach for your texturizing spray or a light-hold hairspray. Hold the can about 10 inches away.
Give your bangs a light, overall mist. Focus a little extra on the roots for hold and the ends for separation. This gives the style that “lived-in” glitchy glam hair feel.
Avoid spraying too much or too close, which can make hair look wet or crunchy. We’re going for touchable texture.
Shape With a Fine-Tooth Comb
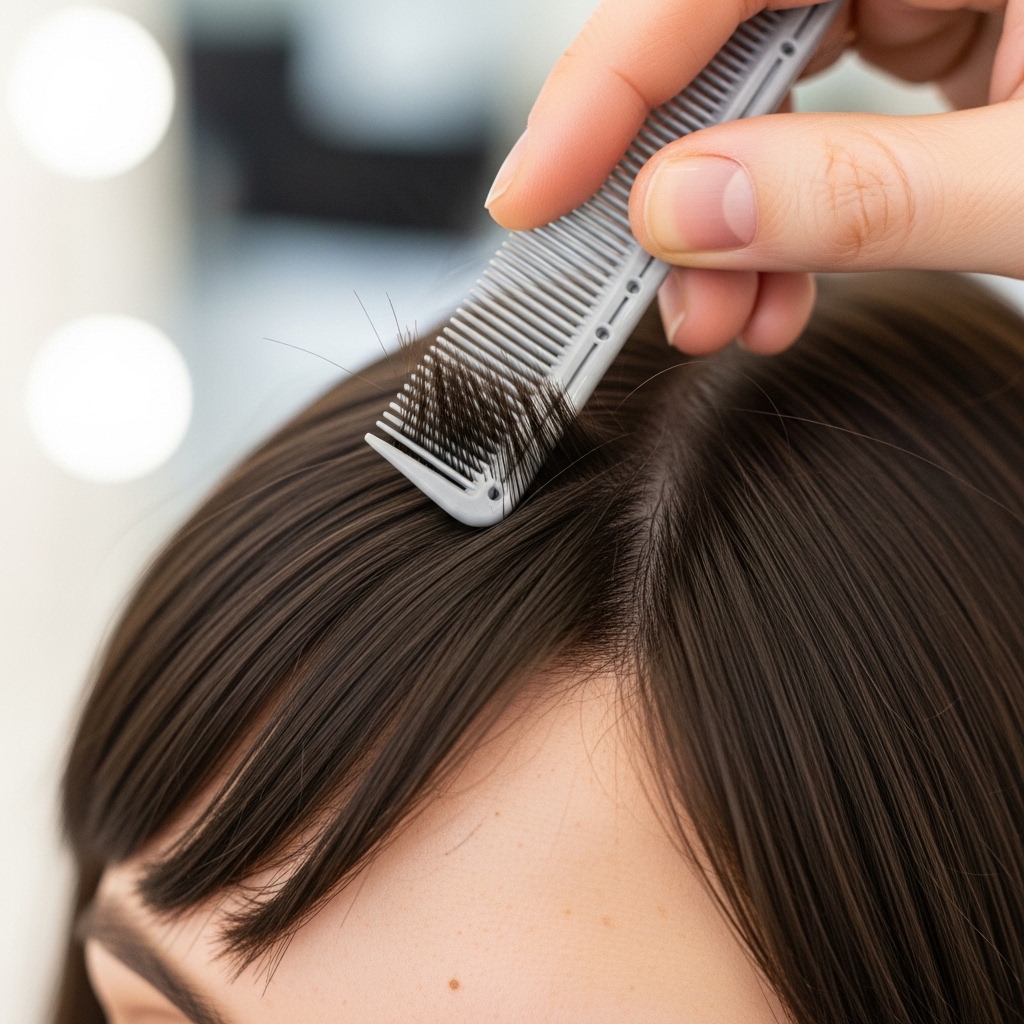
For that final polished-but-edgy shape, take your fine-tooth comb again. But this time, only use the very last inch of the teeth—the tips.
Gently comb and place the ends of your bangs into their perfect position. This allows for ultra-precise control without combing through and flattening all the volume you just created.
You can use this to accentuate a piece that falls near your eye or to curve the ends under slightly for a softer look.
Finish With a Light Hair Oil
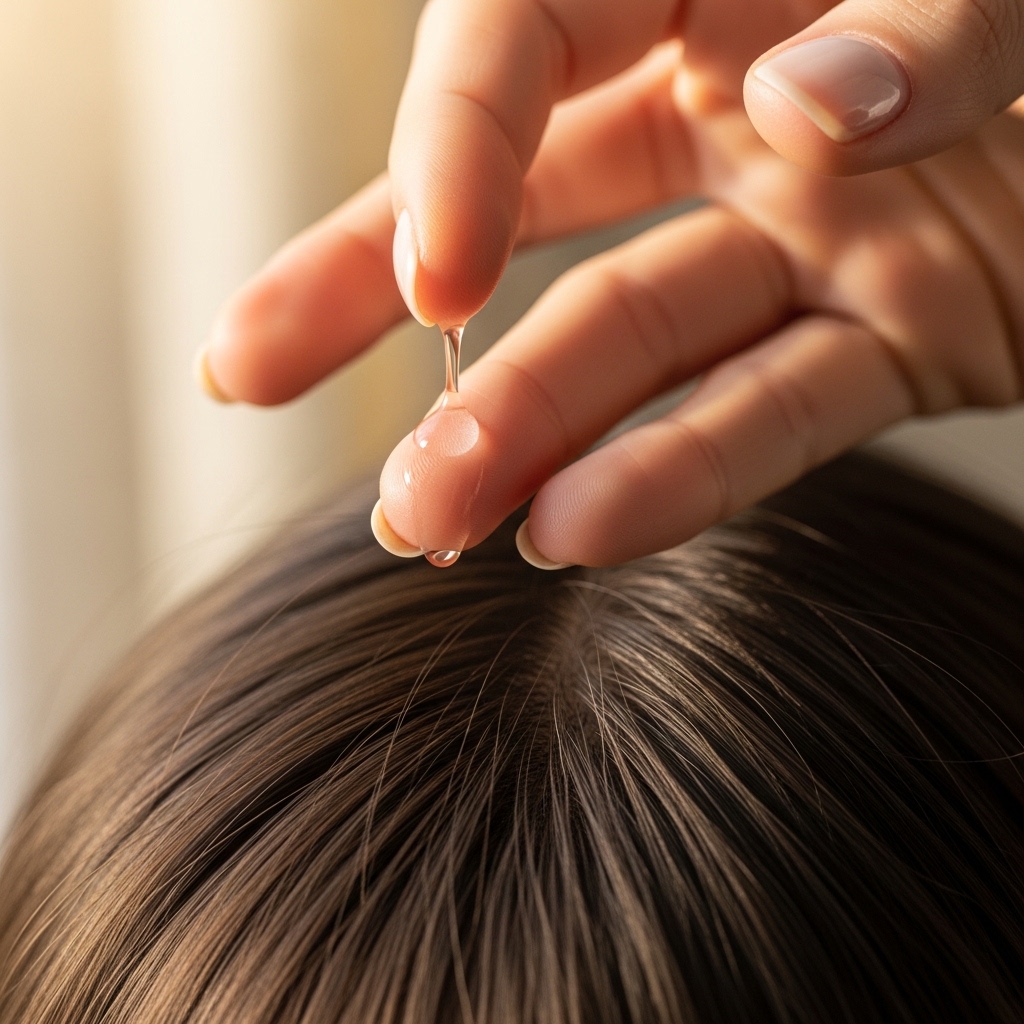
If you have any flyaways or want a touch of shine, take a tiny drop of light hair oil or cream on your fingertips. Rub your hands together to distribute it.
Then, lightly glaze your hands over the surface of your bangs, focusing on the mid-lengths to ends. Avoid the roots completely.
This step tames frizz, adds a healthy glow, and makes the hair look incredibly luxurious and intentional—that old money hair finish.
Style the Rest of Your Hair
Now, unclip the rest of your hair. Your bangs should blend seamlessly into your overall style. If you have long hair, loose waves are a perfect match.
If you have a bob or asymmetrical lob, you can leave it straight or add a slight bend to the ends to complement the bangs. The bangs are the star, so let the rest be a simple, chic supporting act.
Quickly run your iron through a few pieces in the front to blend if needed, but don’t overdo it. The contrast can be cool.
Make It Last All Day & Night
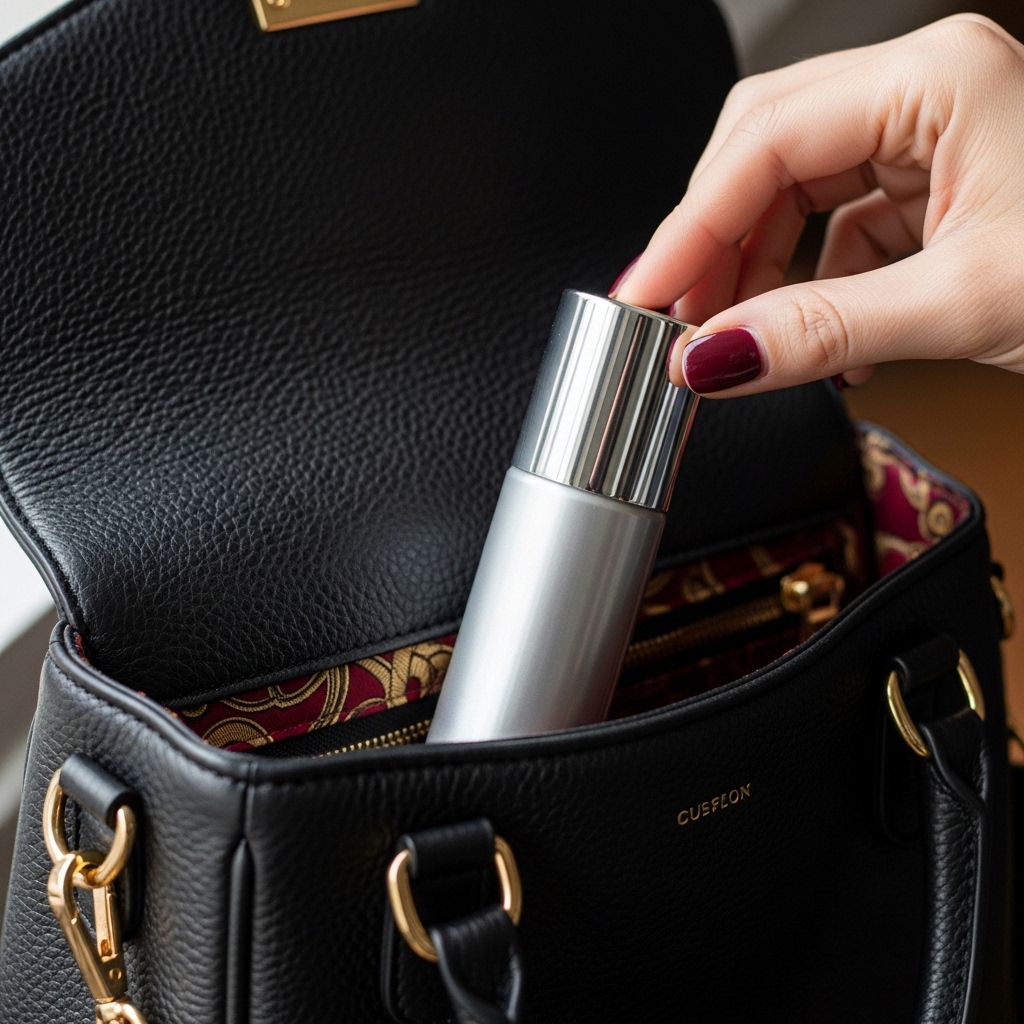
To keep your style looking fresh, toss a travel-sized hairspray or texturizing spray in your bag. A quick, light spritz midday can revive the shape and texture if needed.
If your bangs start to separate in a way you don’t love, use your fingertips to gently reshape them. The beauty of this style is that it’s meant to evolve slightly throughout the day.
Resist the urge to over-brush. Finger-combing is your best friend for maintaining that perfectly imperfect vibe from day to night.
Adapt the Look for Straight Hair
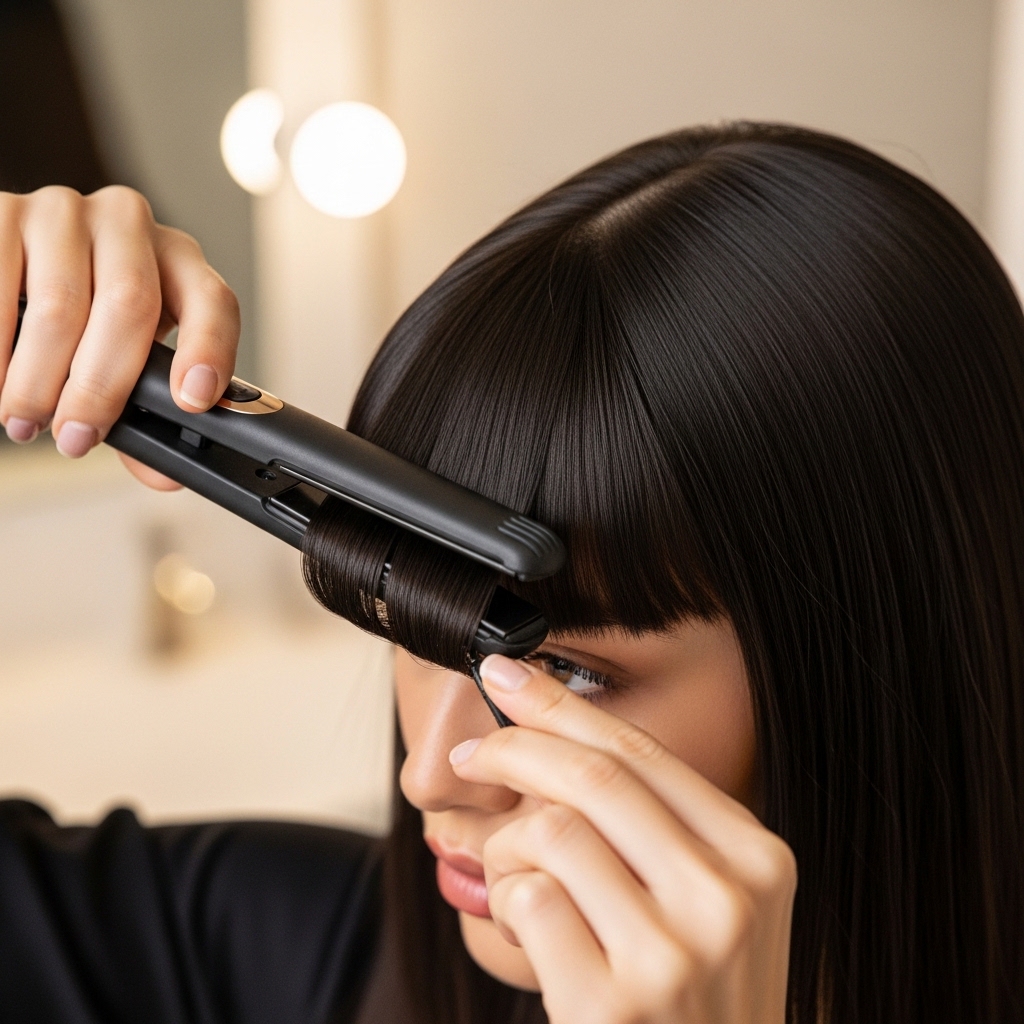
If your hair is very straight, you can still nail this look. Use a flat iron instead of a curling wand. After applying heat protectant, clamp small sections and gently curve the iron away from your face as you glide down.
At the very end, give a slight outward flip. The goal is to create direction and a soft bend, not a curl. Follow with texturizing spray to add grip and piecey-ness that your hair might not have naturally.
It creates a sharper, more graphic version of the style that’s equally stunning and on-theme for 2026 hairstyles.
Adapt the Look for Curly Hair
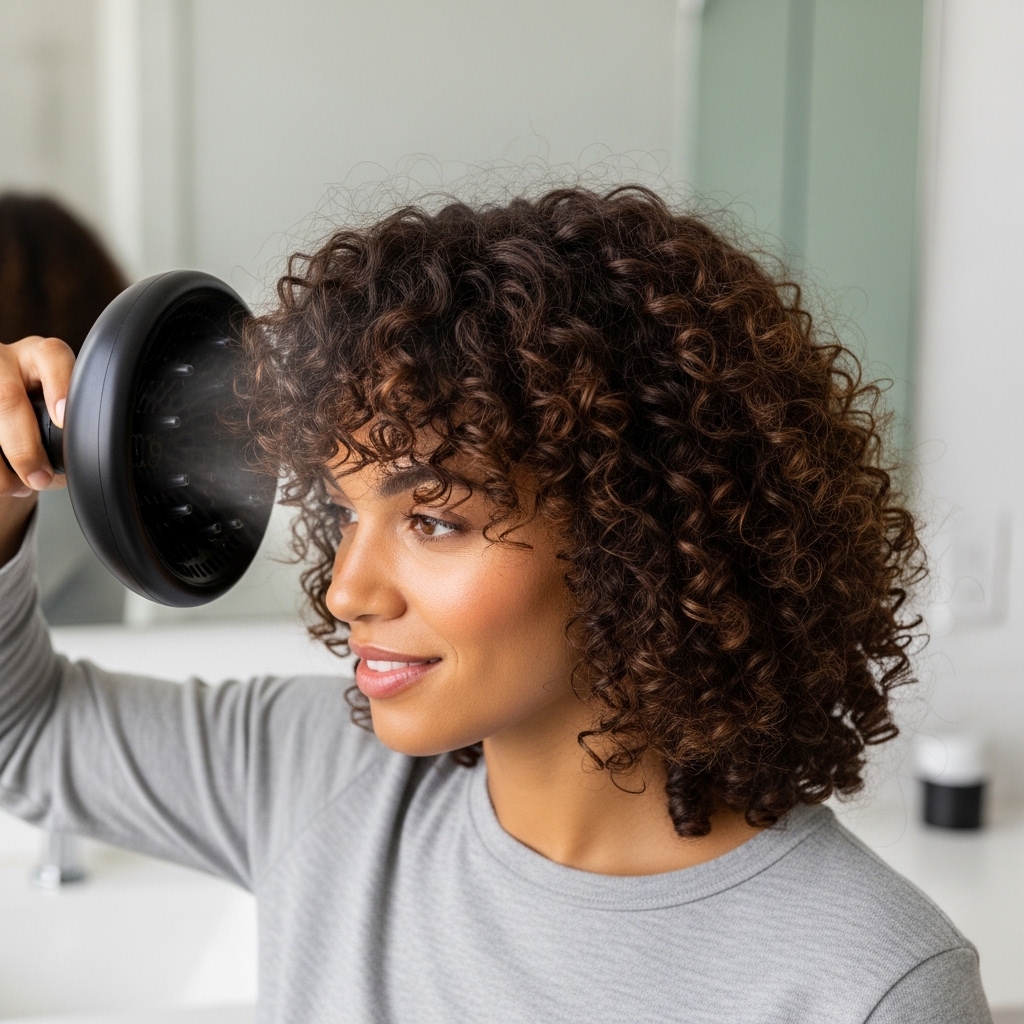
For curly friends, embrace your texture! Work with your natural pattern. After washing, apply your favorite curl cream or mousse to your bang section.
Use a diffuser on a low heat and low speed to dry your bangs, cupping the curls gently to encourage definition and volume at the root. Once dry, you can use the tip of a flat iron to just define the ends or tame any frizz.
The result is a gorgeous, voluminous curly curtain that’s full of personality and perfectly in line with the romantic, textured theme.
Common Mistakes to Avoid
First, avoid cutting your bangs too short. Start longer; you can always trim. Second, don’t use a barrel that’s too small, or you’ll get tight curls instead of soft waves.
Avoid brushing your bangs out after styling—it flattens everything. Use your fingers. Finally, don’t skip the heat protectant or the cooling step. These are what make the style last.
Steering clear of these simple pitfalls will guarantee a much better, more professional-looking result every single time.
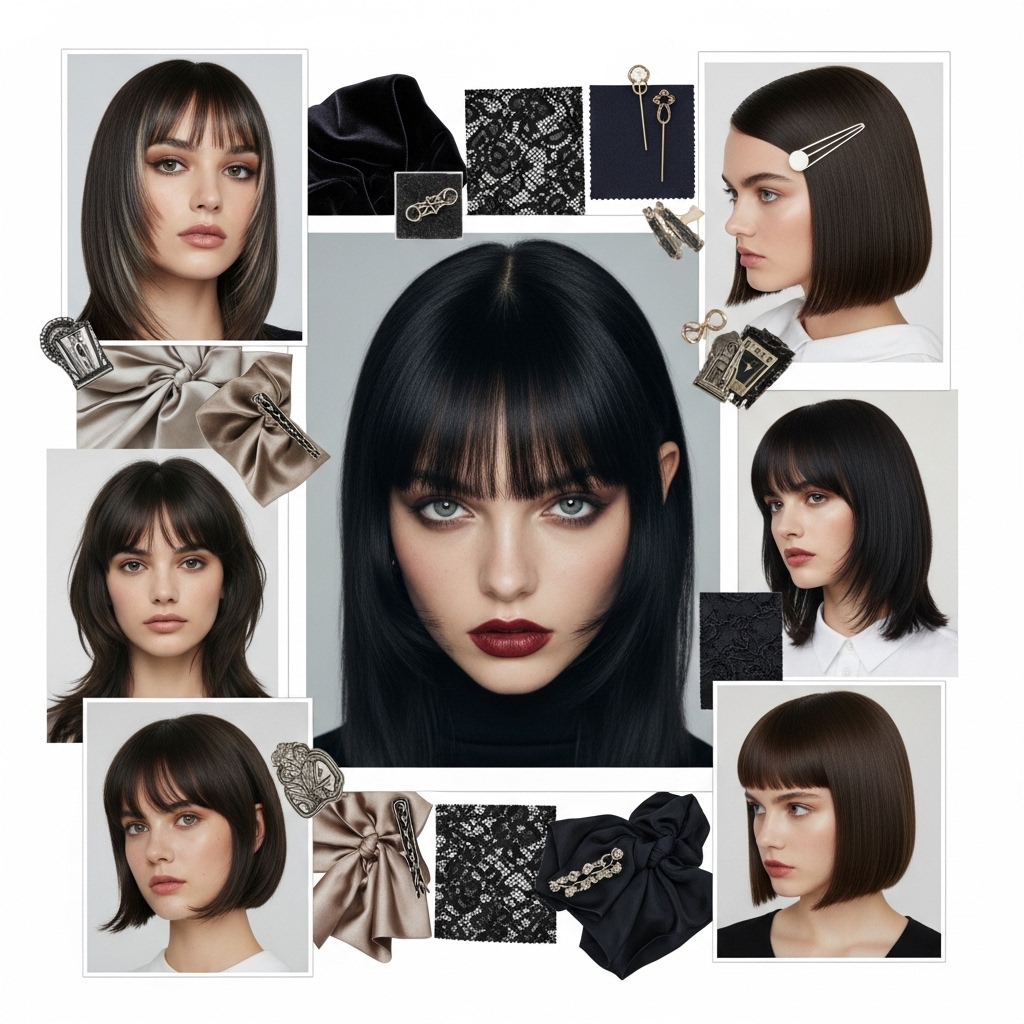
Pair With Other Trendy Cuts
These bangs are incredibly versatile. They look amazing with so many of the other big cuts right now. Imagine them with the dramatic lines of a hime cut for an ultra-edgy take.
They’re a natural fit with the vampire haircut (all those layers!). They also add softness to a geometric asymmetrical lob or elevate a simple quiet luxury bob.
Think of these curtain bangs as the ultimate accessory to modernize and add personality to almost any haircut you have or want.
Your Final Touch: Confidence
The absolute most important step? Rocking it with confidence. Any new look can feel strange for the first hour. Walk around your house, take some selfies, get used to seeing yourself with this change.
Remember, this style is all about expressing a cool, soft-edged side of yourself. It’s meant to be lived in and slightly

