
Okay, let’s be real. We’ve all seen those stunning laced-up crown braids on Pinterest and thought, “That’s way too complicated for me.” I totally get it. It looks intricate, like something out of a fantasy movie.
But here’s the secret I had to learn: it’s just a simple braid wrapped around your head. Seriously. Once you get the basic move down, you can do it in your sleep.
This style is the perfect blend of romantic and regal. It works for a fancy wedding, a casual brunch, or just feeling put-together on a Tuesday. It’s a timeless look that fits right in with the old money hair and quiet luxury vibes we love.
So, grab your comb and some clear elastics. I’m breaking this down into the simplest steps possible. You’ve got this, and I’m walking you through every single part.
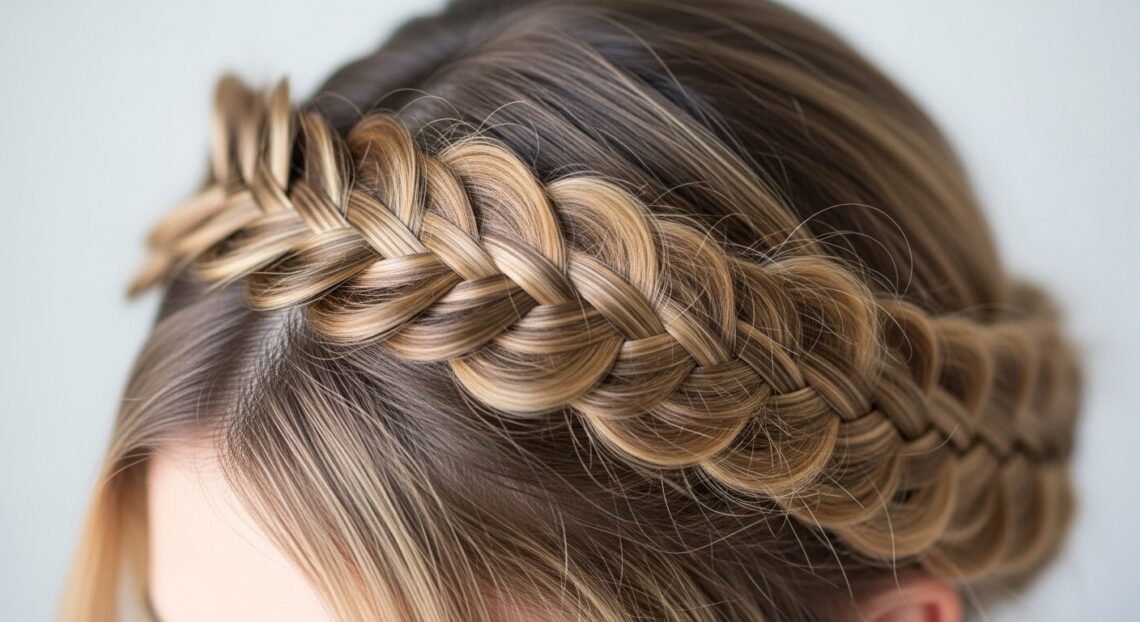
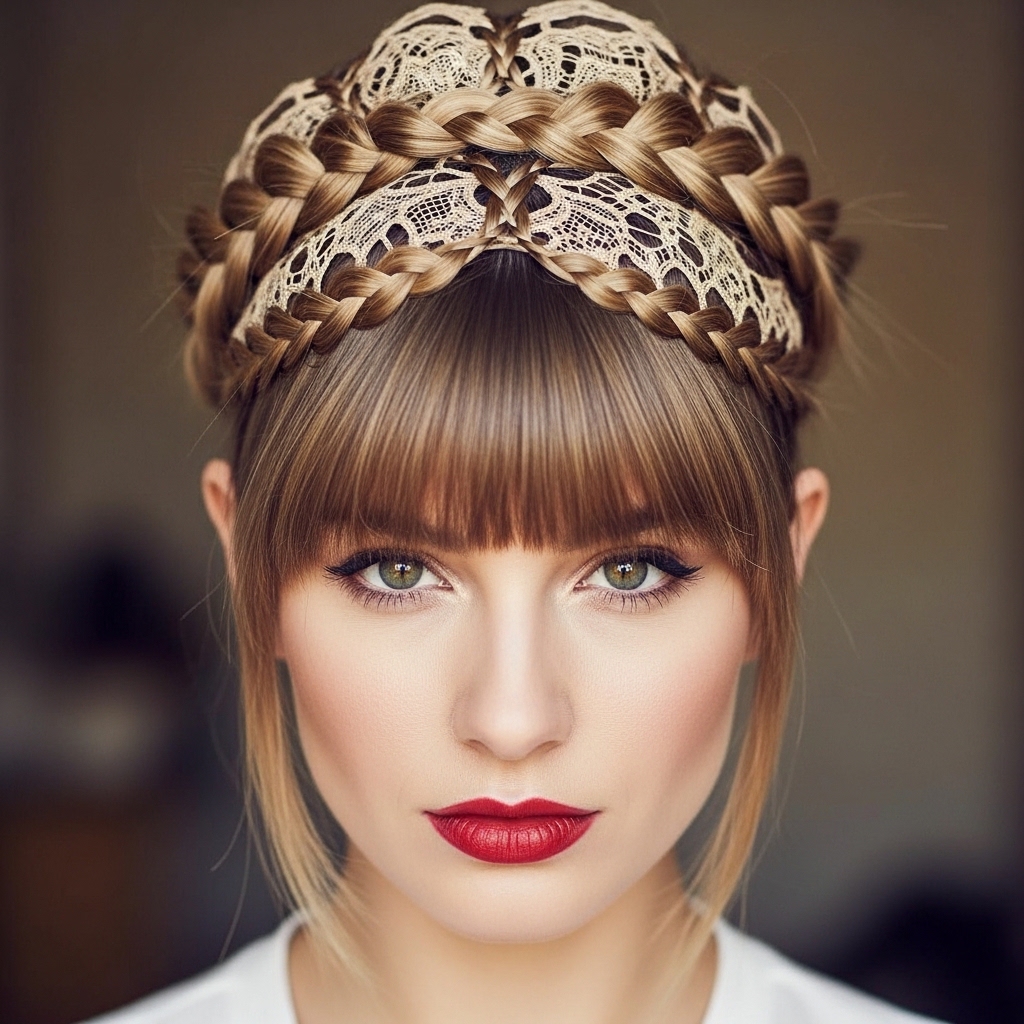
What Exactly Is a Laced Up Crown Braid?
Think of it as a head-hugging halo. Instead of one braid going around, it’s often two—a French or Dutch braid on each side—that meet and are “laced” together at the back. This creates that beautiful, secure, woven crown effect.
It’s different from a messy milkmaid braid because it’s tighter to the head and more intricate. The “lacing” is what gives it that special, detailed finish. It’s a style that feels both vintage and fresh, making it a perfect choice for the 2026 hairstyles trend of detailed, wearable elegance.
Why This Hairstyle is a Total Game-Changer
First, it keeps every single hair off your face and neck. It’s the ultimate functional style for hot days or when you need to focus. Second, it looks incredibly polished with zero effort—once it’s done, you’re done for the day.
It also works with almost any hair texture. Wavy, straight, or slightly curly hair all looks beautiful in this style. It’s a versatile look that can be adapted from romantic goth hairstyles to something more ethereal and soft.

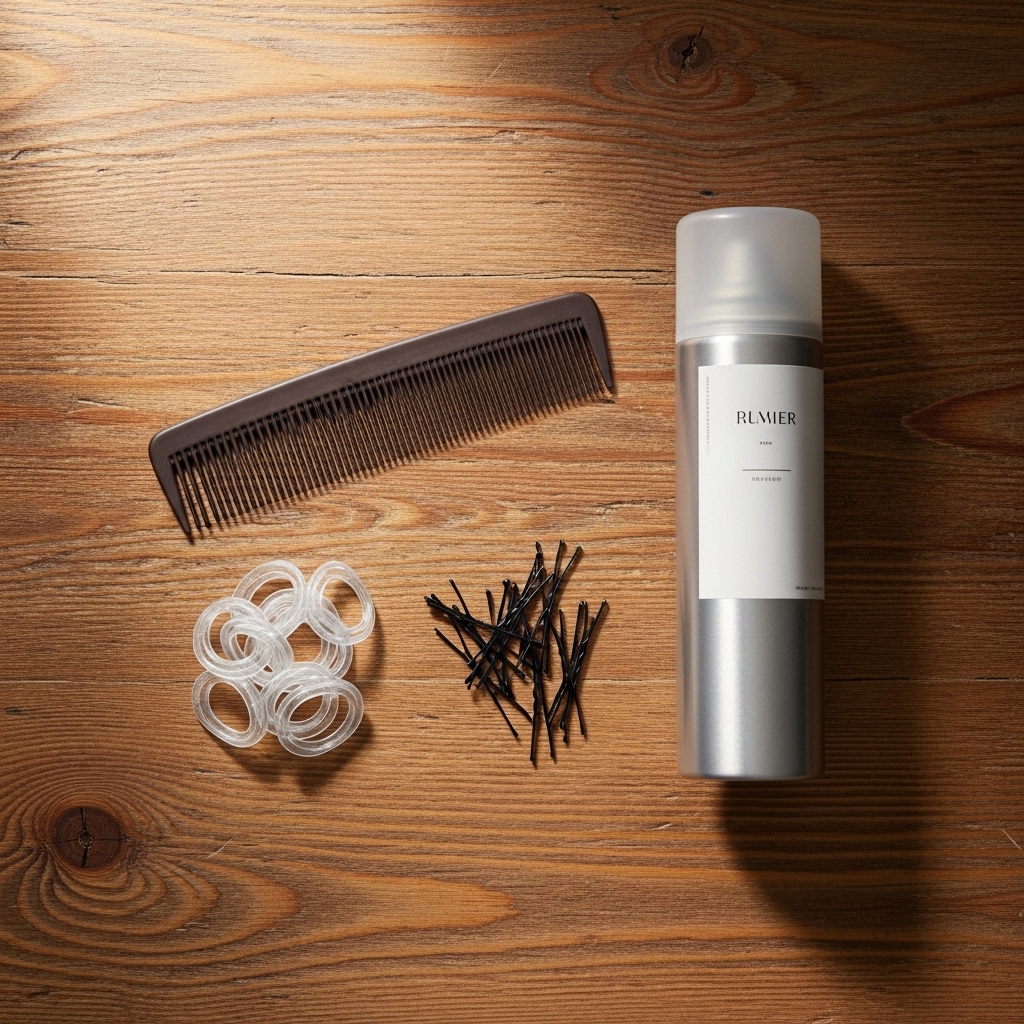
Gathering Your Tools is Half the Battle
You don’t need much! Here’s your simple toolkit:
- A fine-tooth comb for clean parts.
- Strong-hold hairspray or a texture spray.
- Clear mini elastic bands (they are lifesavers).
- A few bobby pins that match your hair color.
- A small mirror to check the back.
Optional but helpful: a tiny bit of styling cream to smooth flyaways. Having this all laid out before you start makes the process so much smoother.
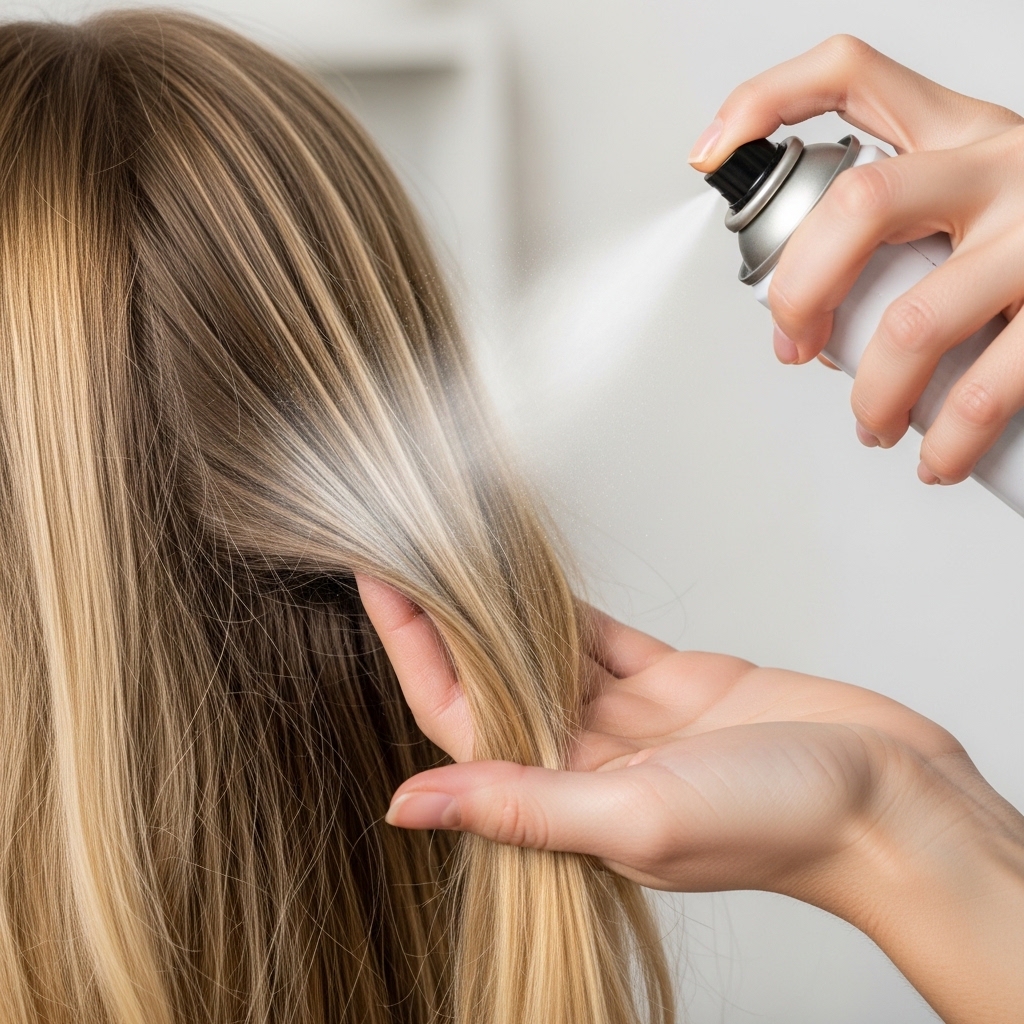
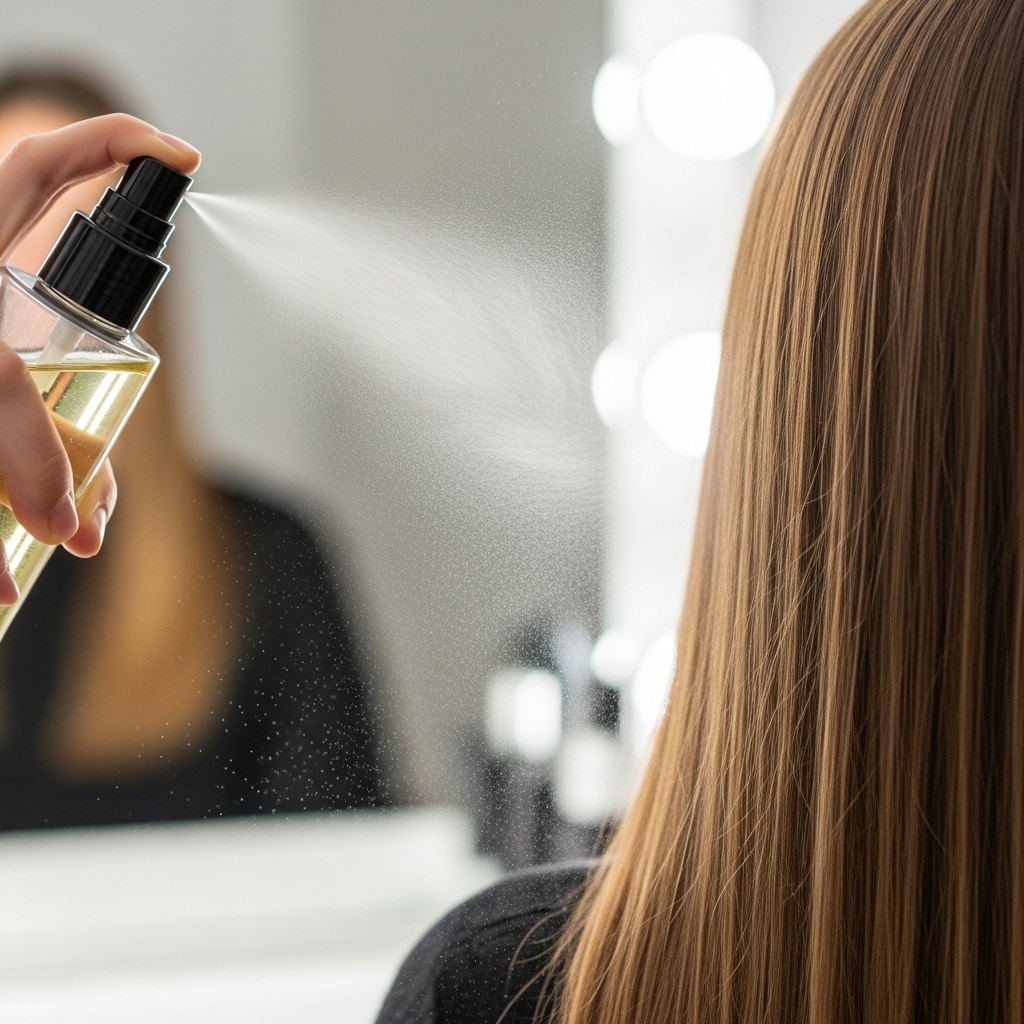
Start With Day-Old Hair for the Best Grip
If you can, style this on hair that hasn’t been washed that morning. Clean, slippery hair is harder to work with. The natural oils give your strands some grip.
If you just washed your hair, no panic! Just spray a bit of dry shampoo or texturizing spray at the roots. This gives the braid something to hold onto and adds volume, which is key for a crown that doesn’t look flat.
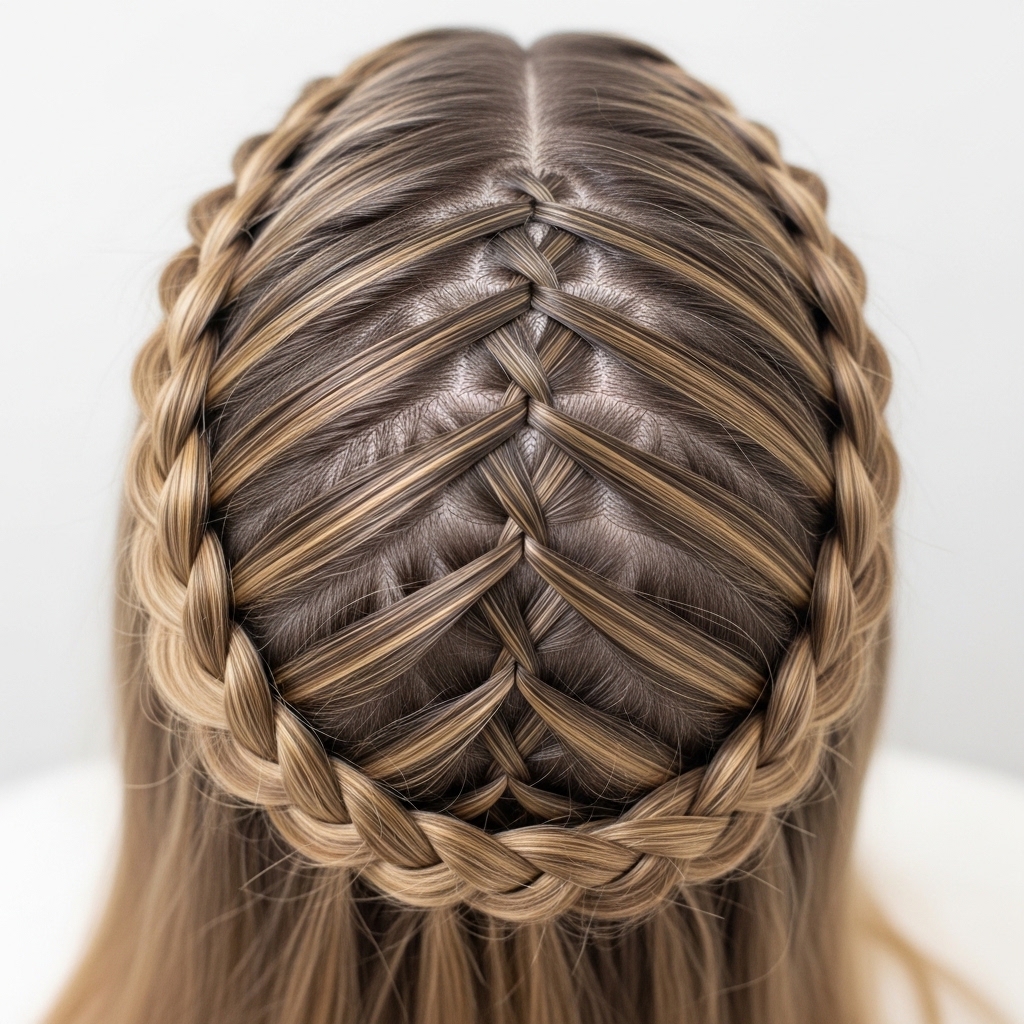
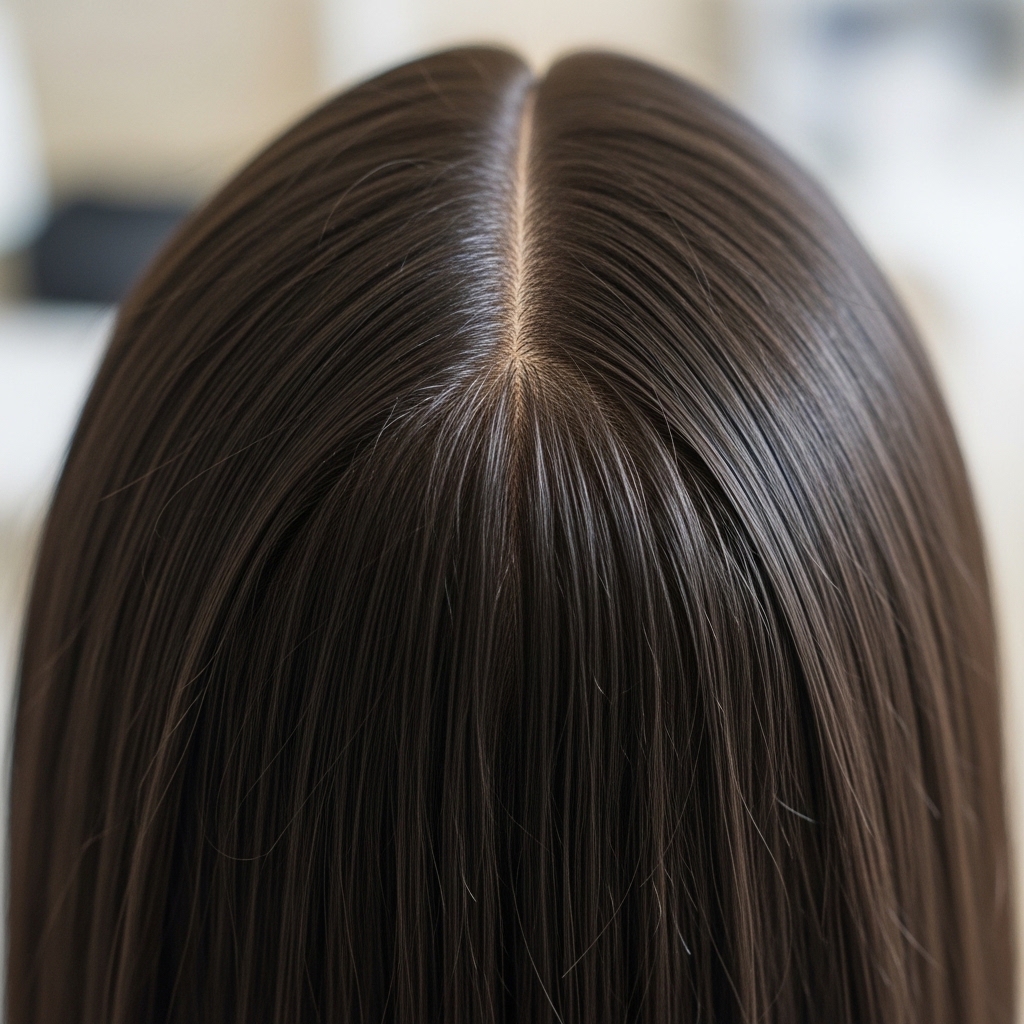
Step 1: Create a Clean, Center Part
Use the end of your comb to make a straight part from your forehead to the nape of your neck. This divides your hair into two equal sections. Precision here makes the final style look neat and intentional.
Take a moment to smooth each side down with your hands or a little bit of cream. This isn’t the time for a messy part—a clean line sets the stage for a professional-looking finish.
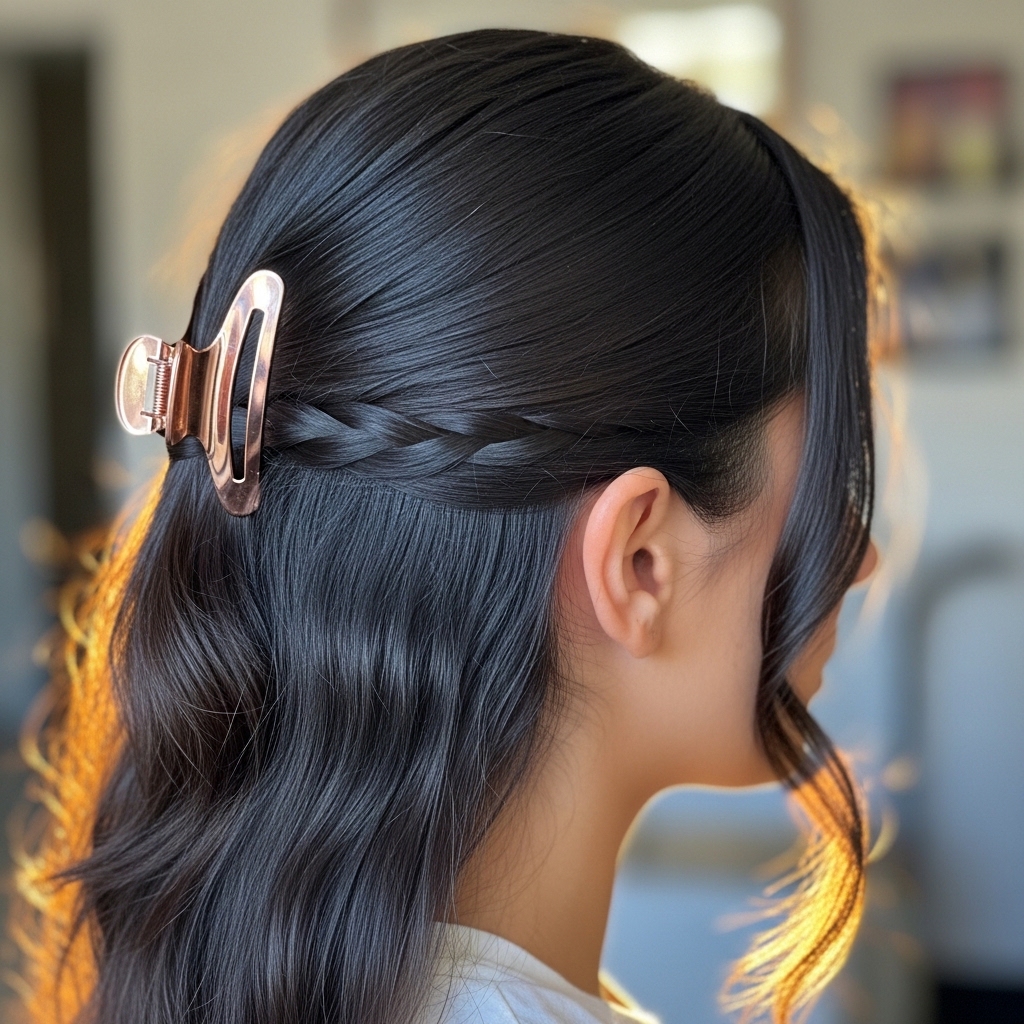
Step 2: Secure One Side Temporarily
Before you start braiding, clip or loosely tie one side of your hair out of the way. I use a big claw clip. This prevents the sections from getting mixed up and makes the process less confusing.
You’ll only be working with one side at a time. This keeps your hands from getting tangled and lets you focus on making your first braid perfect. It’s a simple tip that makes a huge difference.
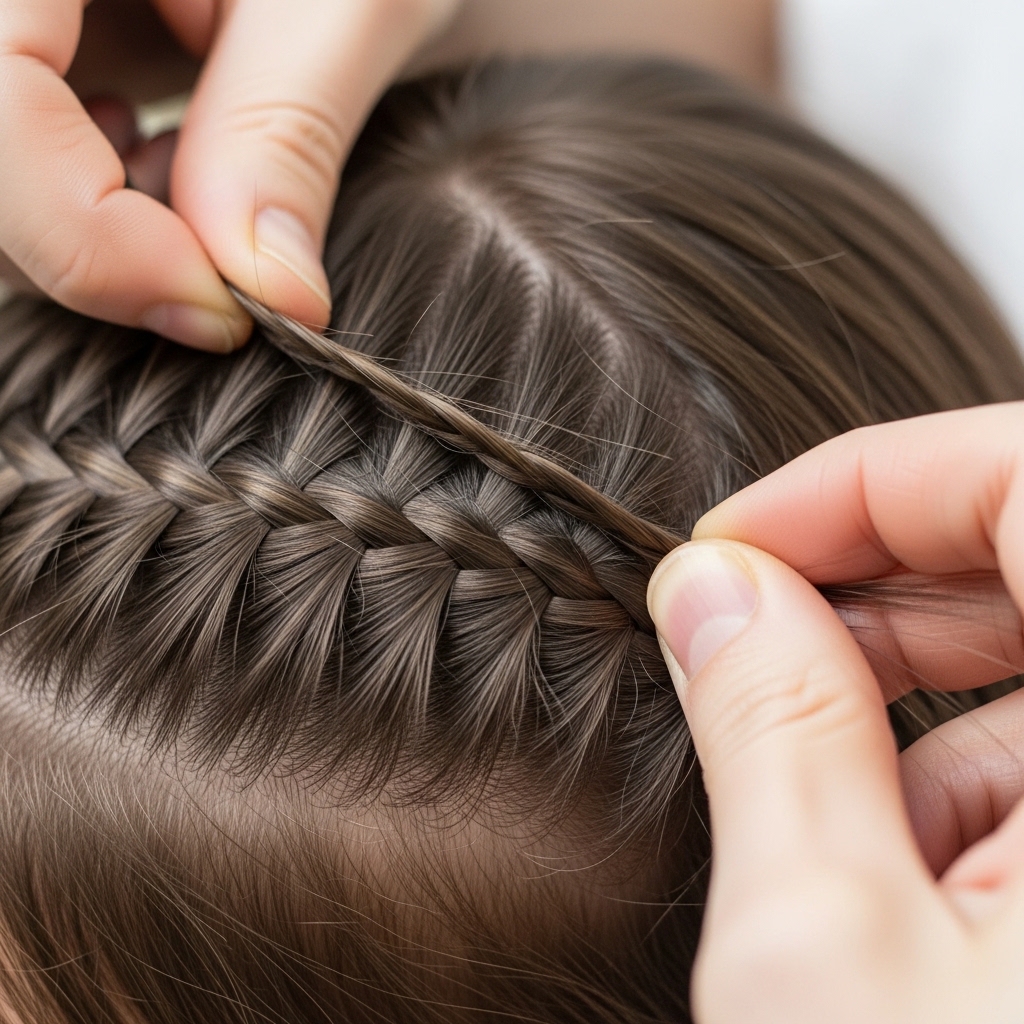
Step 3: Begin a Dutch Braid on Your First Side
On the unclipped side, take a section at your hairline near your part. Split it into three strands. Now, instead of crossing over (like a regular braid), cross the strands under each other.
This is a Dutch braid—it sits on top of your head, creating a beautiful, raised effect. Add in more hair from your scalp with each under-cross. Braid tightly along your hairline, towards the back of your ear.
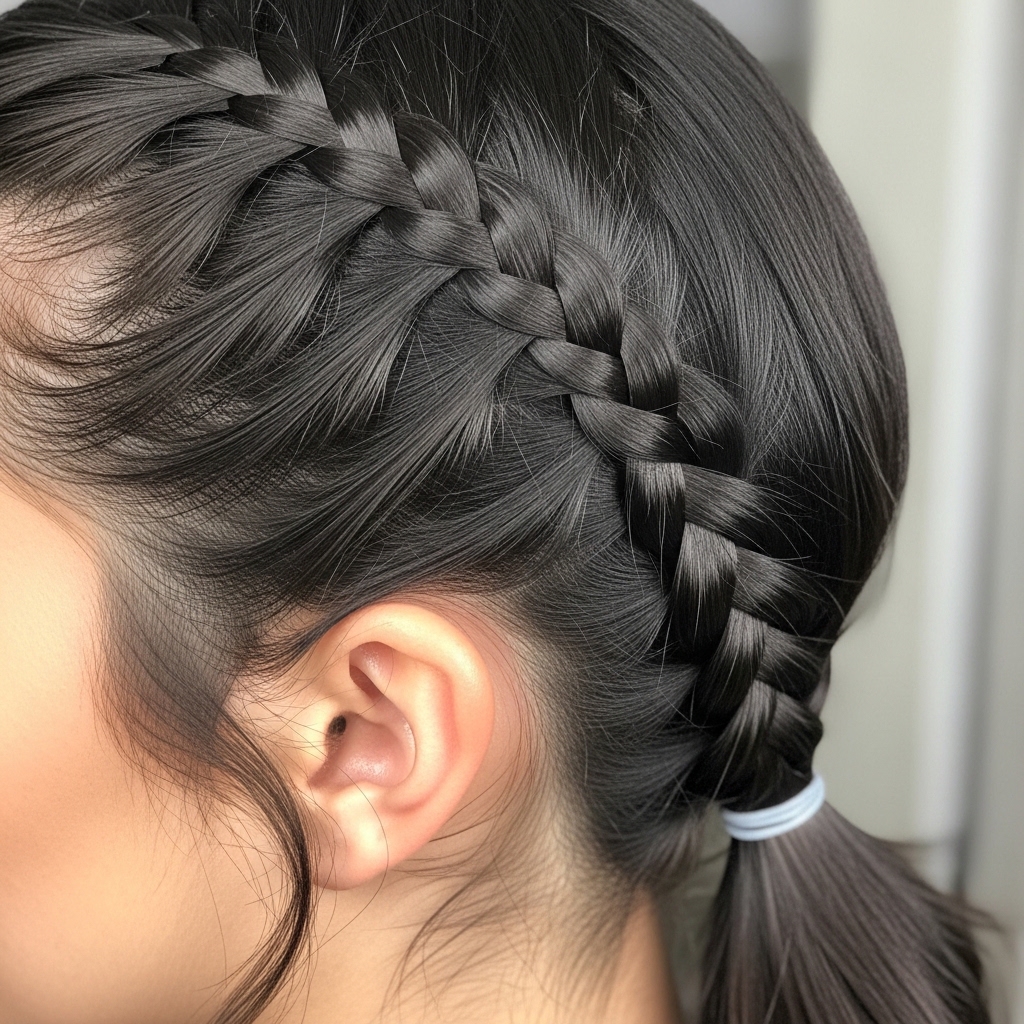
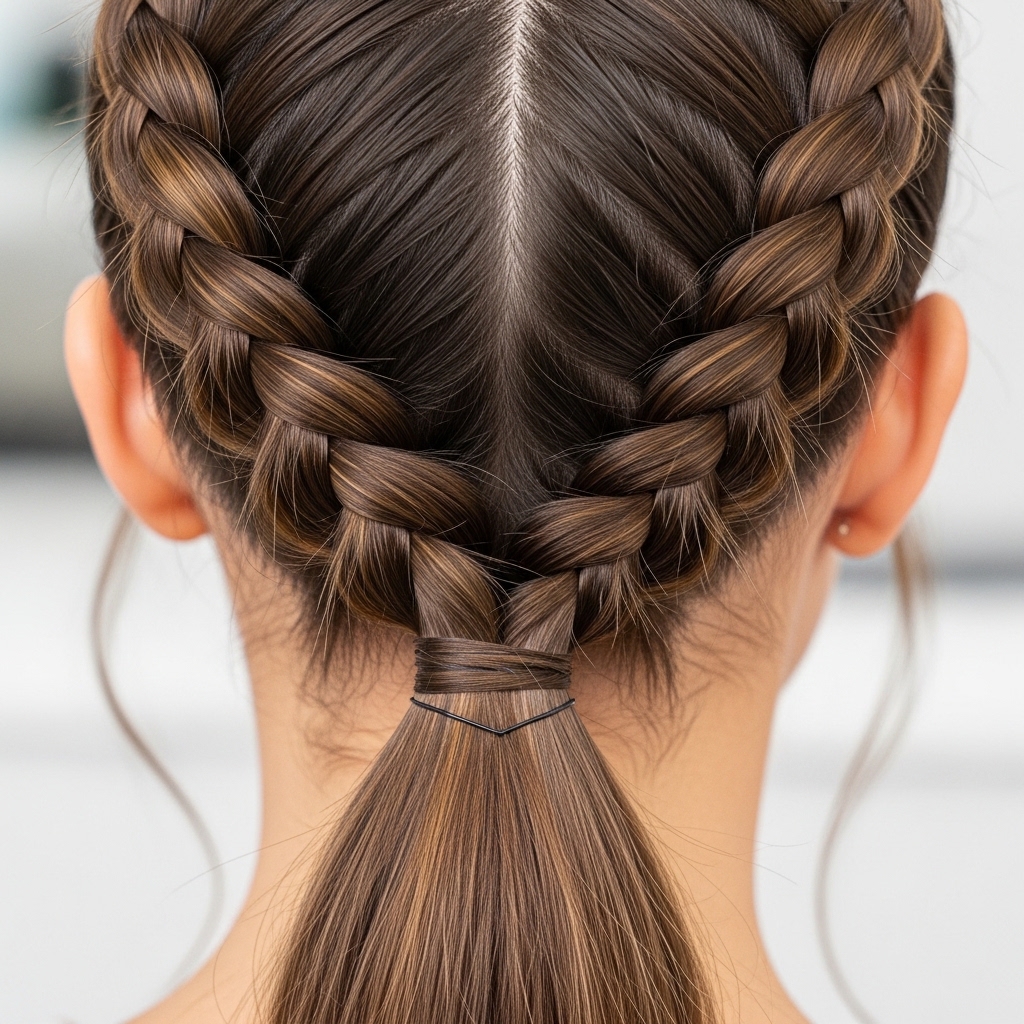
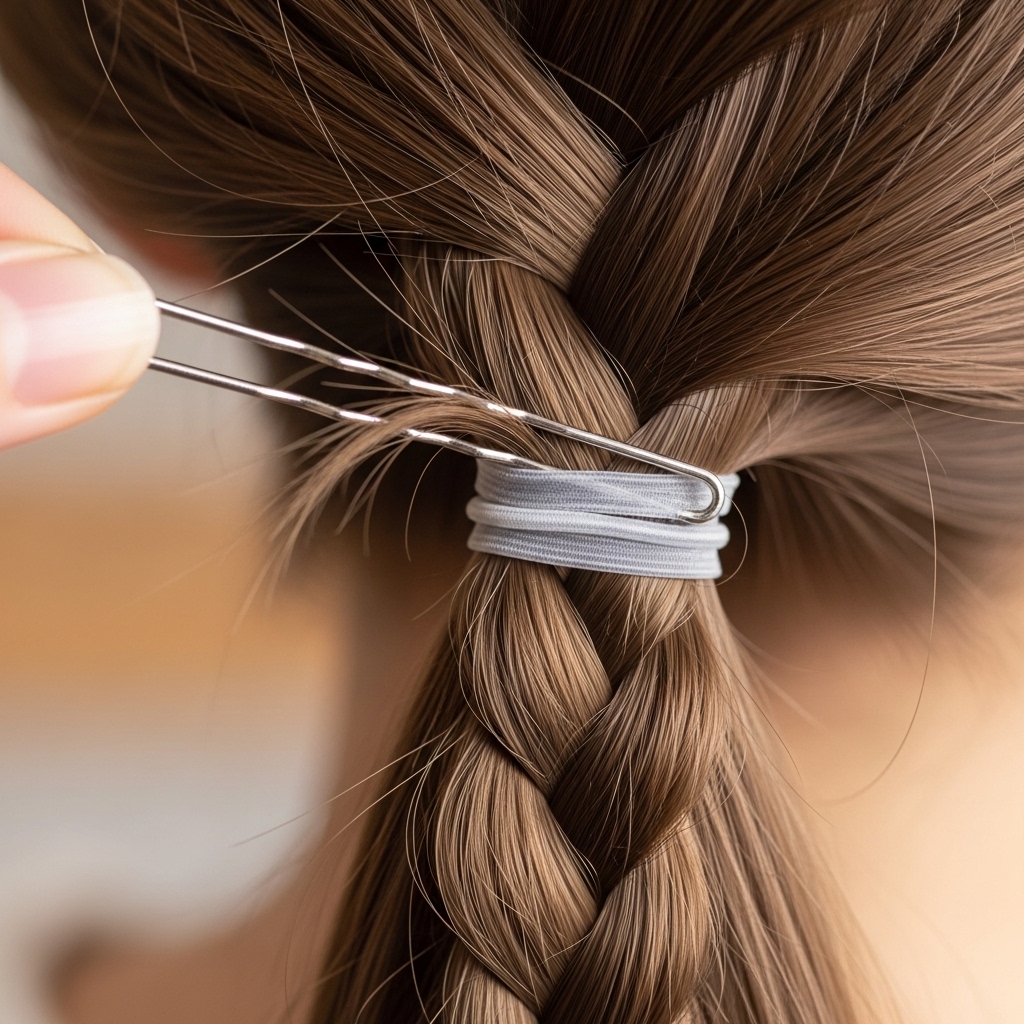
Step 4: Braid to the End and Secure
Continue the Dutch braid along your hairline until you run out of hair to add in. This should end somewhere behind your ear. Then, simply finish with a regular three-strand braid all the way to the ends.
Secure the end tightly with a clear elastic. Don’t worry if the tail of the braid looks long or awkward; we’ll deal with that in a minute. Repeat the exact same process on the other side of your head.
Step 5: Repeat on the Other Side
Unclip the second section of hair. Now, repeat Steps 3 and 4 perfectly. Start your Dutch braid at the hairline near the part and braid along the opposite side of your head.
The goal is to make this braid a mirror image of the first one. They should be symmetrical in height and tightness. When done, you’ll have two braids hanging down near the back of your neck.

Step 6: The Magic “Lacing” Technique
This is the key step! Take the tail of the left braid and bring it across the back of your head to the right side. Take the tail of the right braid and bring it across to the left side. They will cross over each other.
It’s like you’re tying a very loose, horizontal knot at the back of your head. This cross is what creates the “laced” look. Don’t pull it super tight yet—just get them in position.
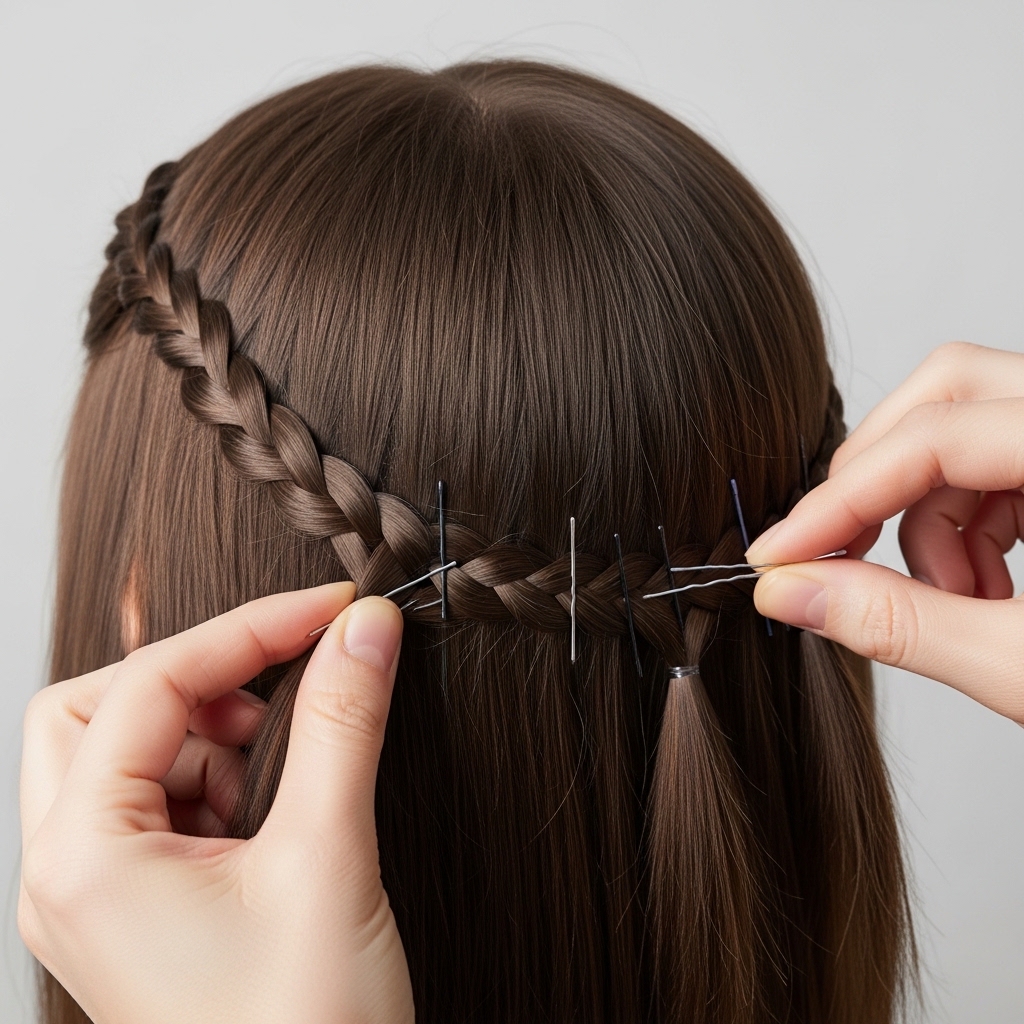
Step 7: Pin the First Braid Tail Securely
Take the left braid tail (now on the right side) and gently pull it upward, following the curve of your head. Use bobby pins to secure it along the path of the right-side Dutch braid.
Slide the pins in through the braid tail and into the hair underneath. Use more pins than you think you need! This isn’t the time to be shy—security is everything for all-day wear.
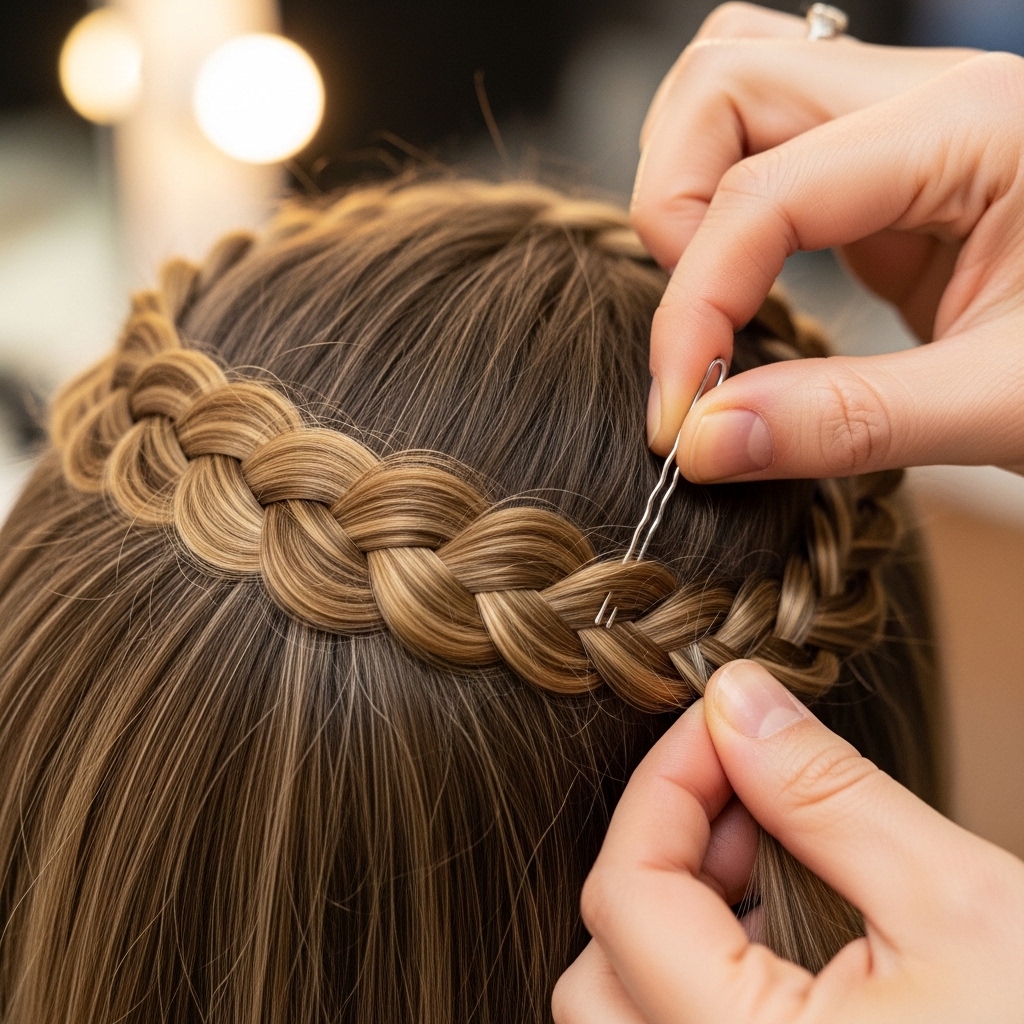
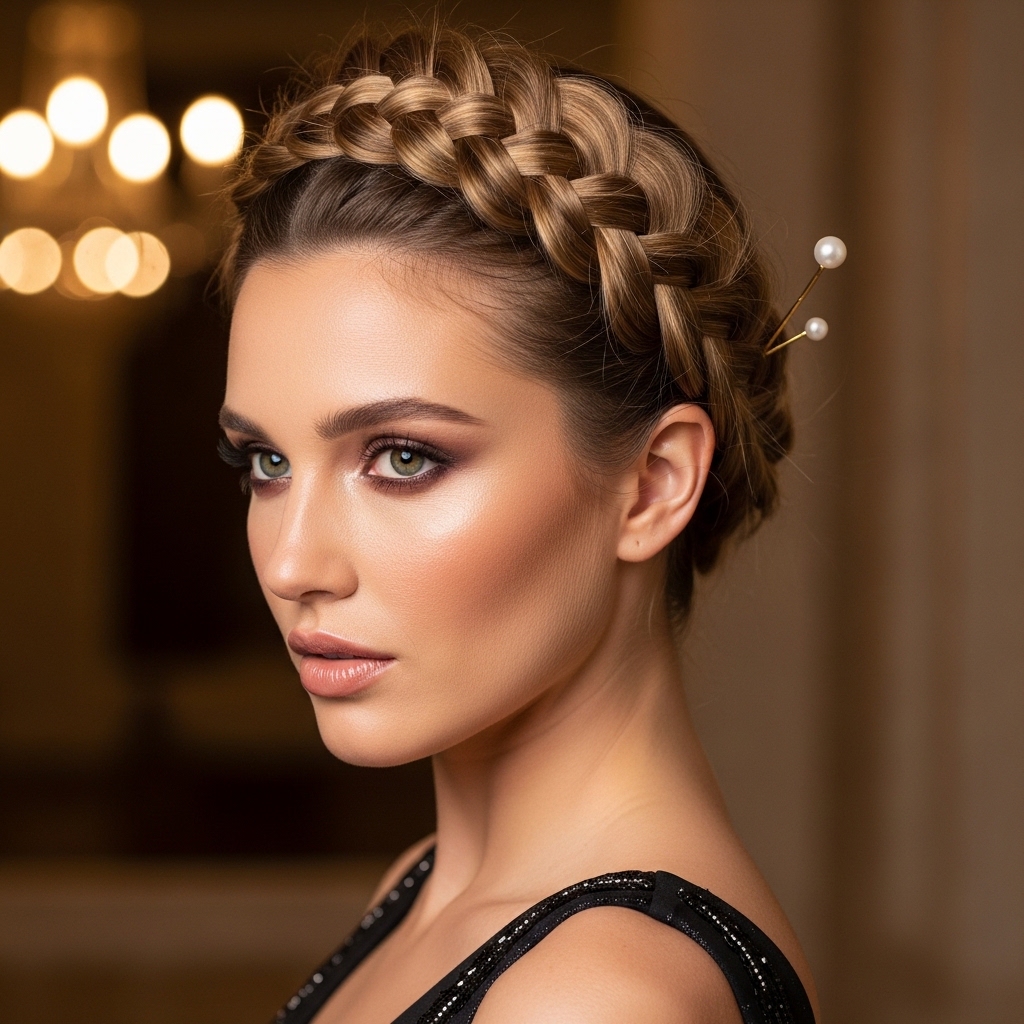
Step 8: Pin the Second Braid Tail
Now, take the right braid tail (now on the left side) and do the same thing. Pull it up and pin it along the path of the left-side Dutch braid. The two tails should now be forming the “crown” shape.
As you pin, you can gently adjust the tightness of the lace in the back. Make sure it lies flat and looks even. This part might take a few tries to get perfect, and that’s okay.
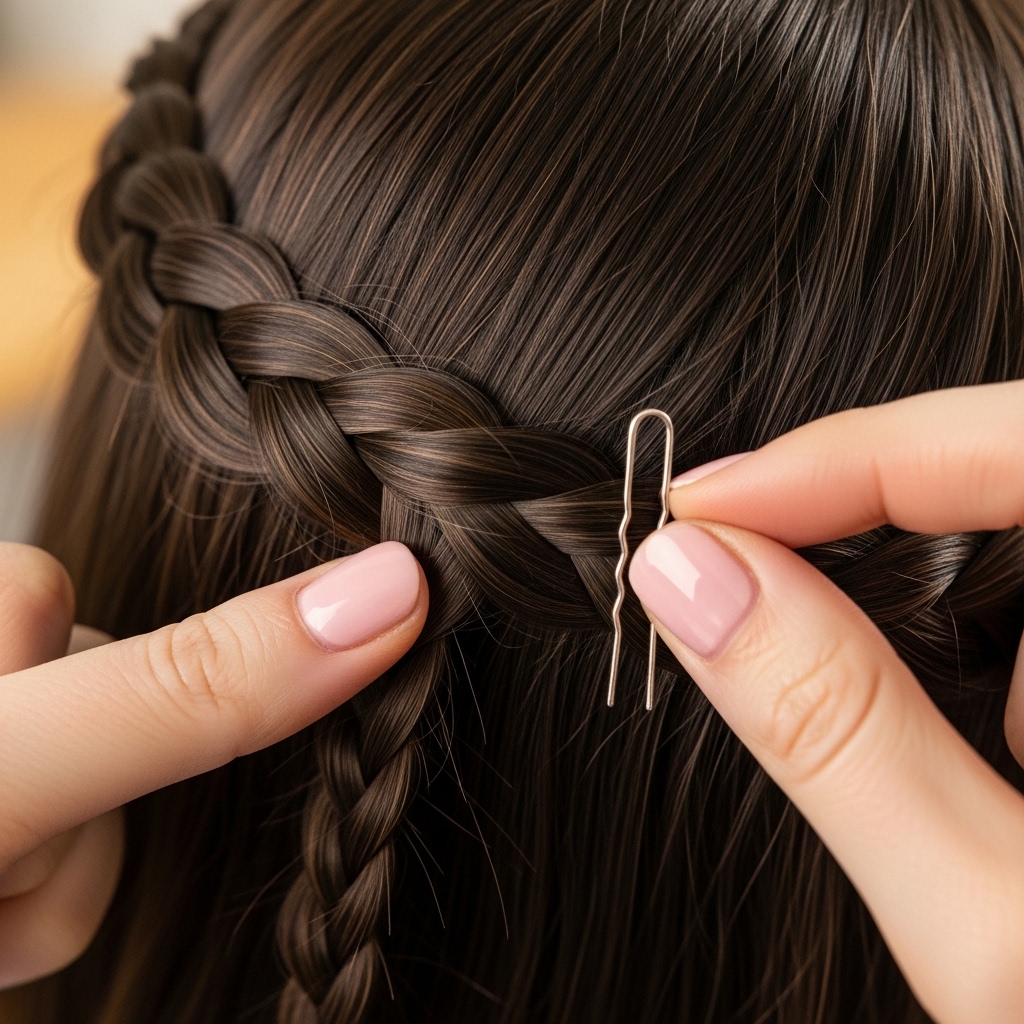
Step 9: Tuck and Hide the Ends
You’ll likely have leftover braid ends. Don’t cut them! Simply tuck them under the pinned section of the opposite braid. Use extra bobby pins to secure these ends completely out of sight.
This creates a seamless look with no visible elastic bands or ends. It makes the style look infinitely more professional and intricate, like a true quiet luxury bob equivalent for long hair.
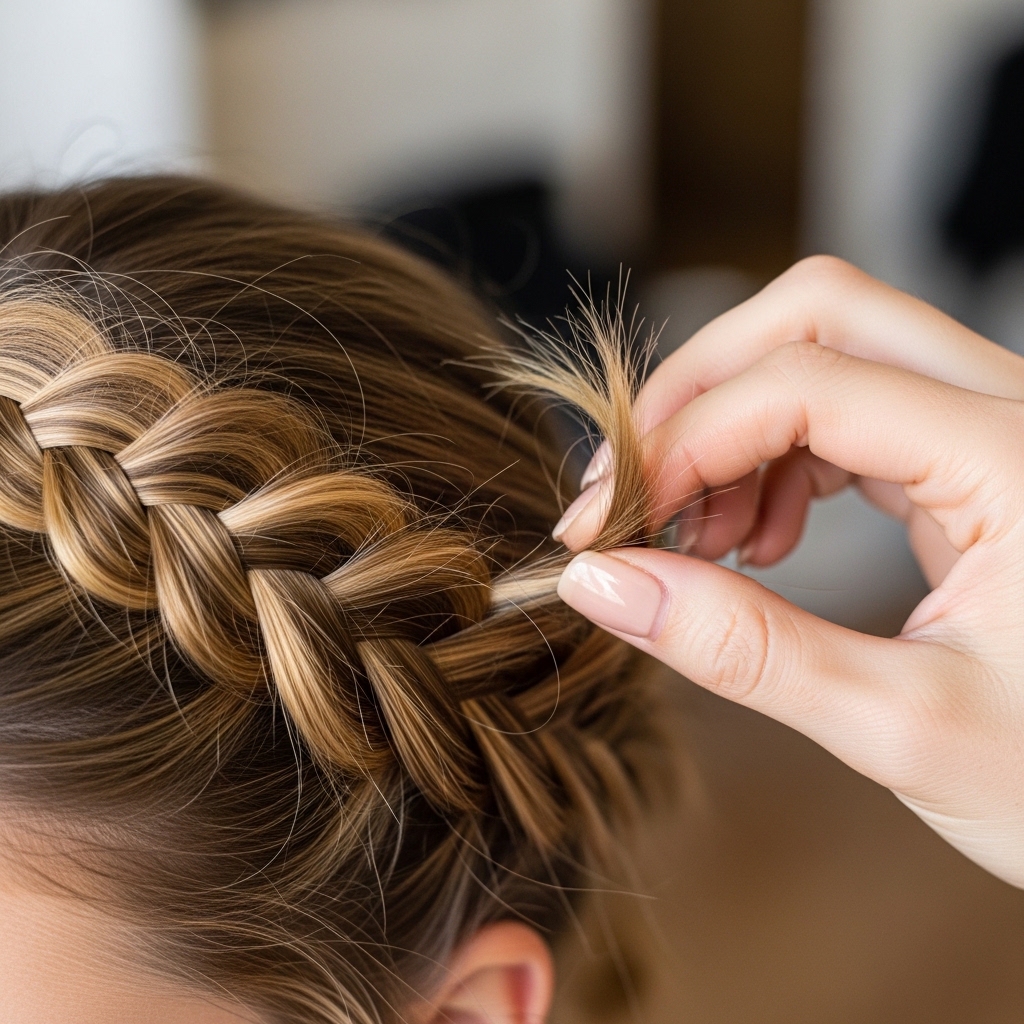
Step 10: Final Adjustments and Flyaways
Stand back and look in the mirror. Gently tug on the outer loops of the Dutch braids to make them look a bit fuller and more romantic. This is called “pancaking” the braid.
Then, use a toothbrush or a clean mascara wand with a little hairspray to tame any baby hairs or flyaways. The goal is polished, not stiff.
How to Make It Look Fuller & Softer
If your braid looks a little skinny or flat, go back and gently pull on the outer edges of the Dutch braid sections. Pull horizontally, not vertically, to widen the braid without loosening it from your scalp.
You can also lightly backcomb the hair underneath the crown before you start braiding for instant volume. A little teasing goes a long way to create that soft, romantic feel.

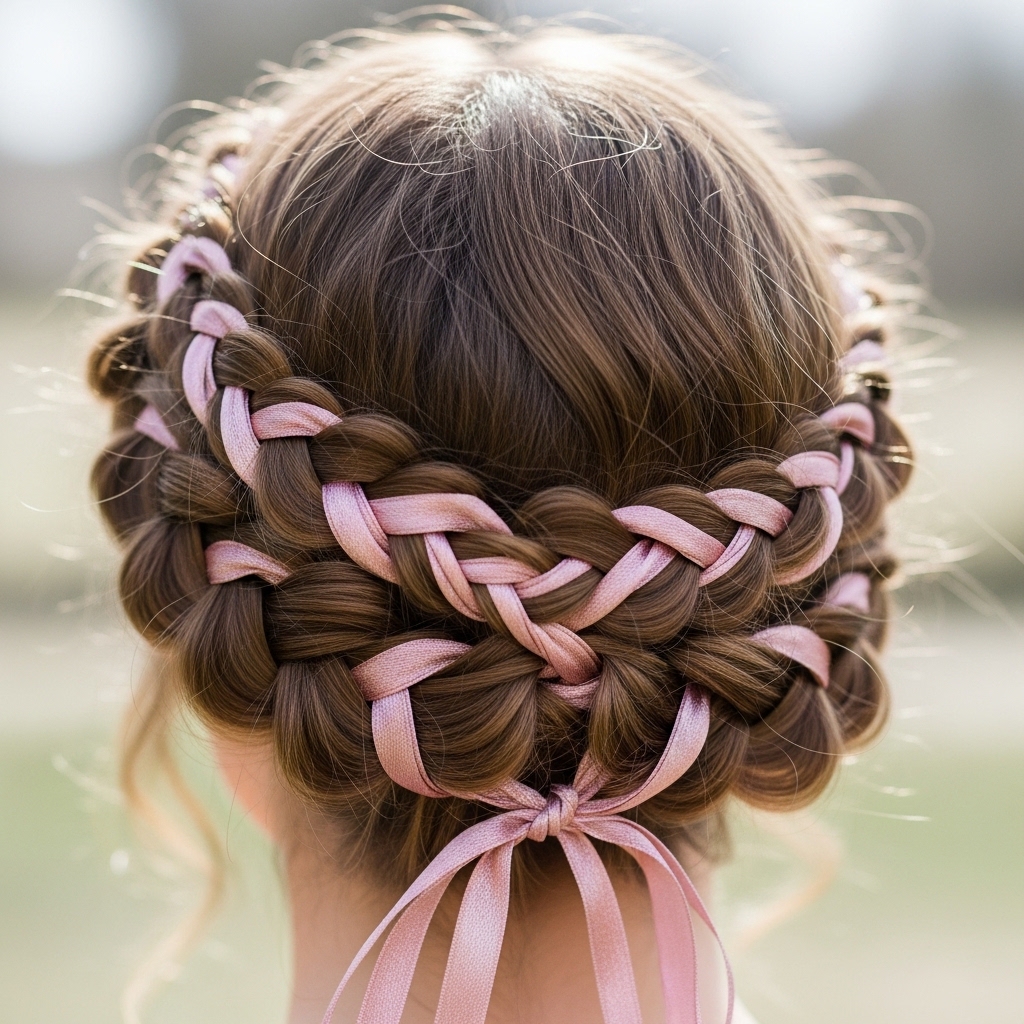
Adding Ribbon for a Romantic Touch
For a next-level look, try braiding with a ribbon. Take a long, thin ribbon and incorporate it into one of the three starting strands of your Dutch braid. Braid it right in.
When you lace the braids, the ribbon will be woven throughout the crown. It’s a stunning detail for a wedding or event, adding a touch of glitchy glam hair whimsy with a classic base.
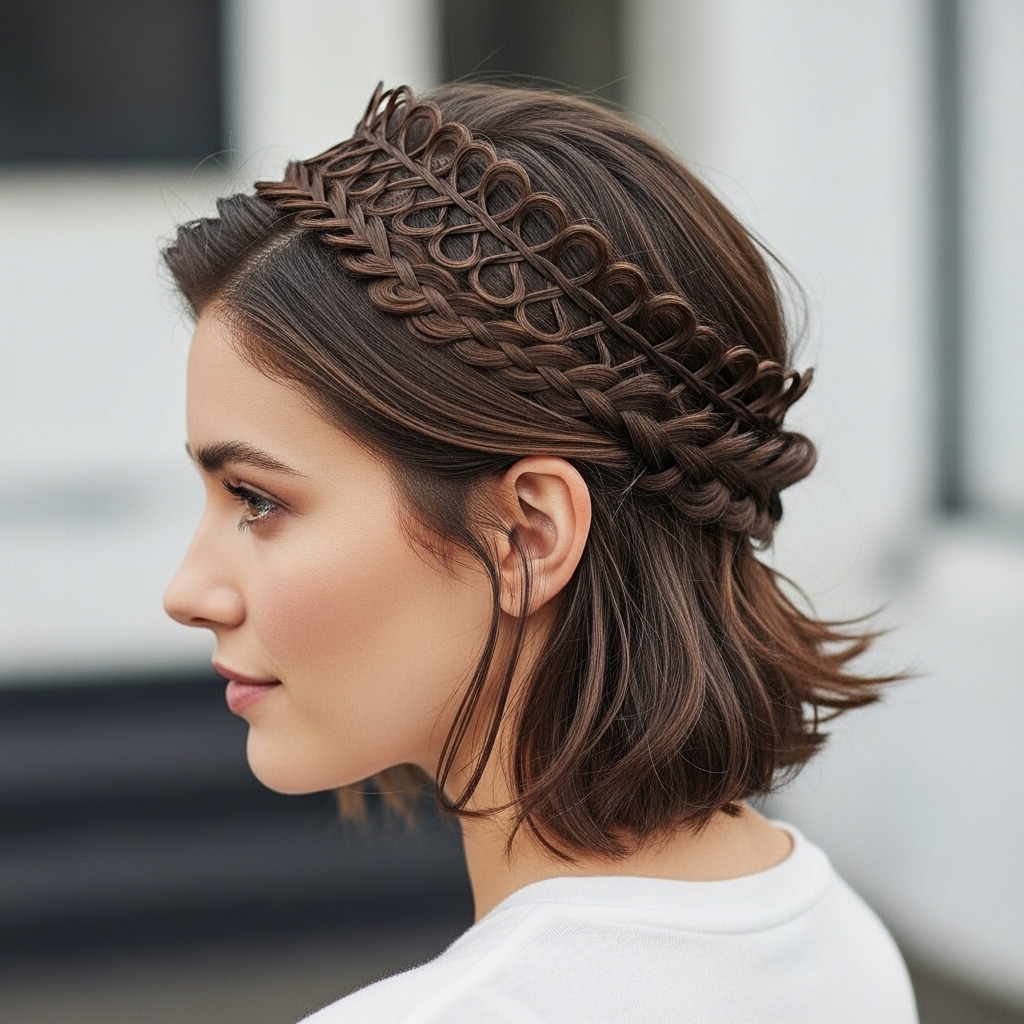
Adapting It for Medium-Length Hair
If your hair is more of an asymmetrical lob length, you can still do this! Just stop the Dutch braid higher up, right above your ear. The tails will be shorter, but the lacing technique is the same.
You might have less to tuck, so just pin the ends directly where they land. It creates a cute, half-crown look that’s absolutely adorable and totally on-trend.
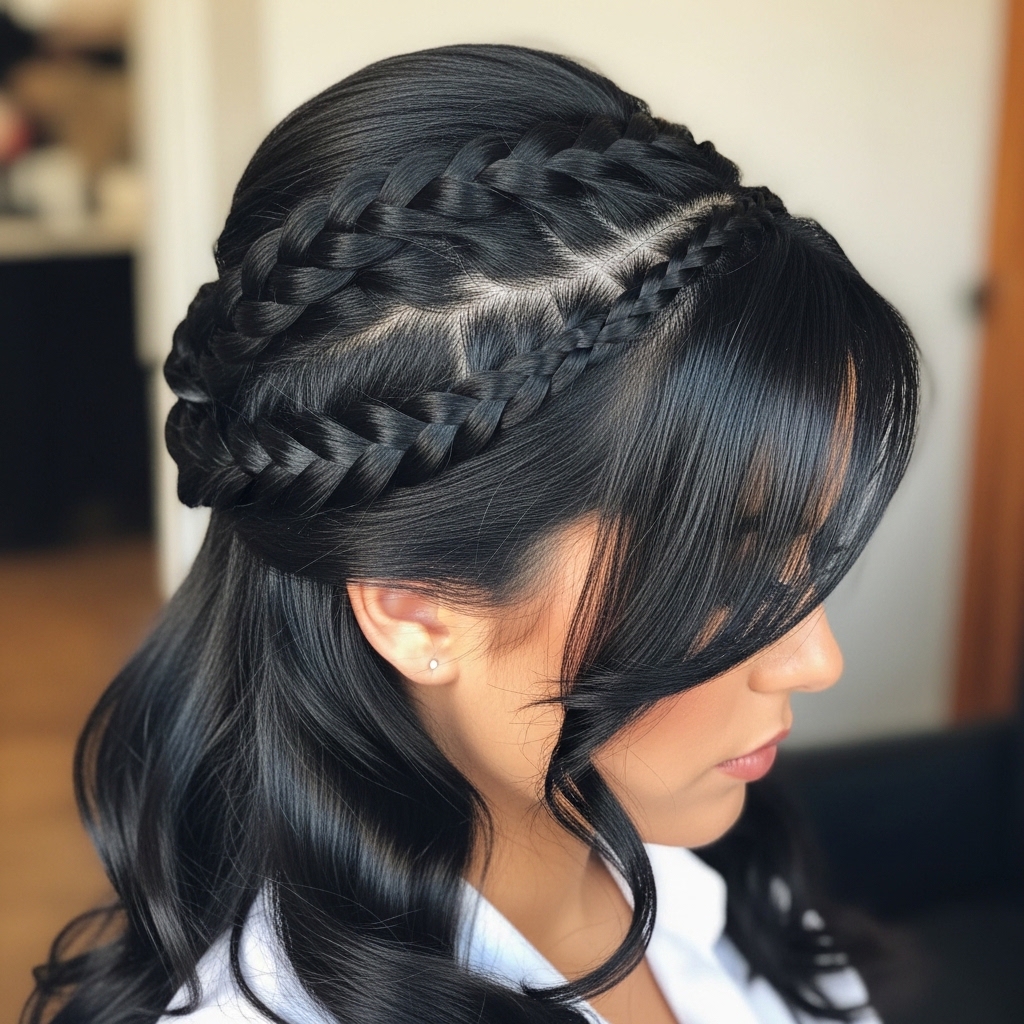
Creating a Darker, Edgier Vibe
This style isn’t just for soft romance. To edge it towards romantic goth hairstyles or a vampire haircut aesthetic, keep it super sleek and tight. Use a strong-hold gel to slick down flyaways.
Incorporate a dark ribbon or even a thin leather cord into the braid. You can also leave a few face-framing pieces out for a dramatic, undone feel that’s perfectly moody.
Pairing It with Different Bangs
This style works with all bang types! If you have a hime cut or blunt bangs, let them frame your face boldly. For curtain bangs, blend them into the start of your Dutch braid for a seamless look.
Side-swept bangs can be tucked neatly behind the ear on one side before you start braiding. It’s a great way to personalize the crown to your favorite look.
What to Do If Your Hair is Slippery
Fine or silky hair can be tricky. The fix is in the prep. Use a texturizing spray from roots to ends before you start. Braiding slightly damp hair (not wet) can also help.
As you braid, keep the tension high. And those clear elastics? Double them up. Sometimes you need that extra security to hold the grip on slippery strands.
Quick Fixes for Common Problems
Braids uneven? Don’t take it all out. Just unpin the tails, adjust the tightness of the cross, and re-pin. See a visible elastic? Slide a bobby pin through it and into your hair to camouflage it.
Headache from tight braids? Gently loosen the inner sections of the Dutch braid with a pin tip, just at the scalp. You can relieve pressure without ruining the look.
From Day to Night in Seconds
Wore your crown all day and now have a dinner date? Quickly transform it. Pull out a few tiny face-framing pieces to soften the look. Add a sparkly clip or pin where the braids lace in the back.
Or, mist a shine spray all over for instant glamour. This adaptability is why it’s a staple—it’s the perfect foundation for 2026 hairstyles that need to multitask.
My Final Pep Talk for You
Your first attempt might not be perfect. Mine definitely wasn’t! It takes a little practice to get the tension right and the pins secure. But the technique itself is simple.
Try it on a lazy Sunday afternoon when there’s no pressure. By the second or third try, your hands will know exactly what to do. It will become one of your most reliable, beautiful go-to styles.
And there you have it—your complete guide to mastering the laced-up crown. It looks like a million bucks, but it’s really just about knowing a few simple moves and having some patience with yourself.
This style is such a beautiful way to feel put-together and special. It’s more than just a hairstyle; it’s a little act of self-care that makes an ordinary day feel a bit more elegant.
I’d love to see how yours turns out! Did you try the ribbon trick? Are you wearing it for a special event or just because? Tell me all about it in the comments below!
Save this post to Pinterest so you can always find these steps when you’re ready to try it. Tag me in your photos—I live for seeing you all rock these styles!

