
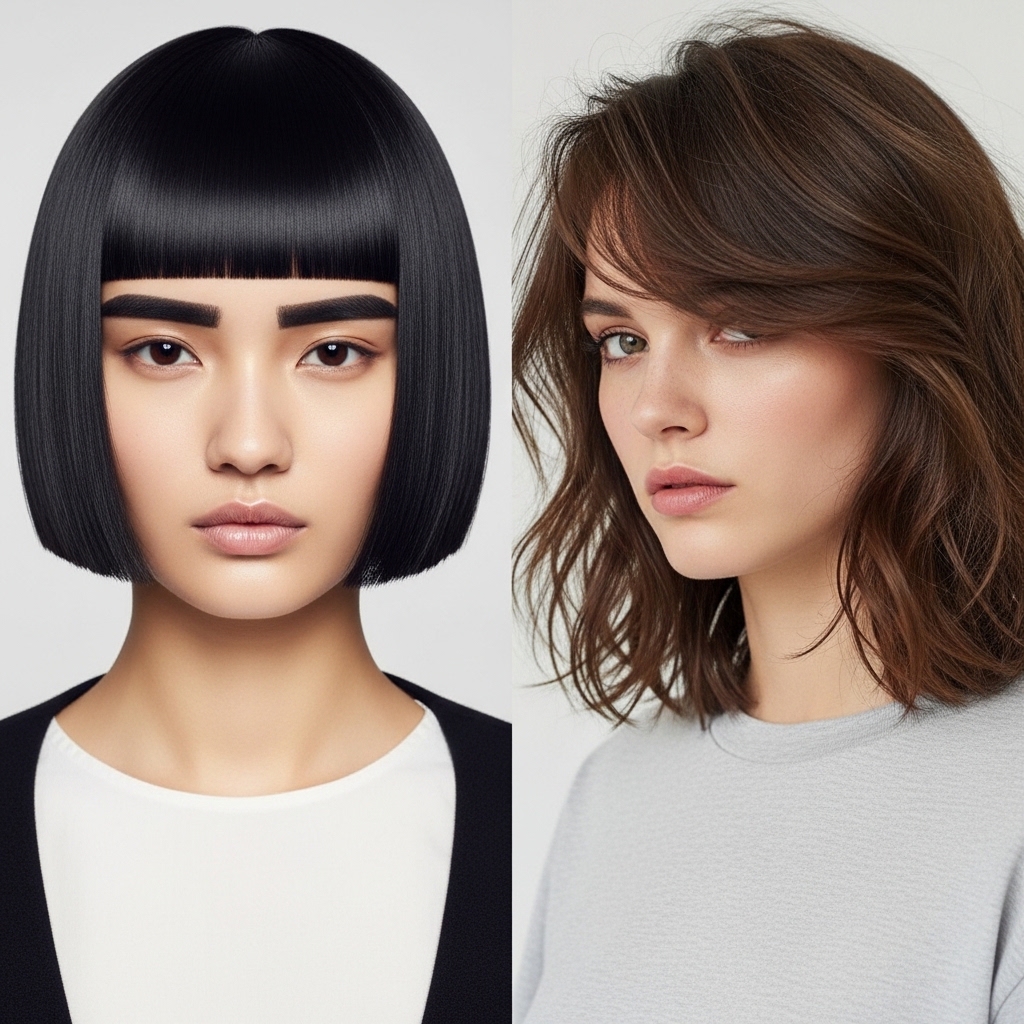
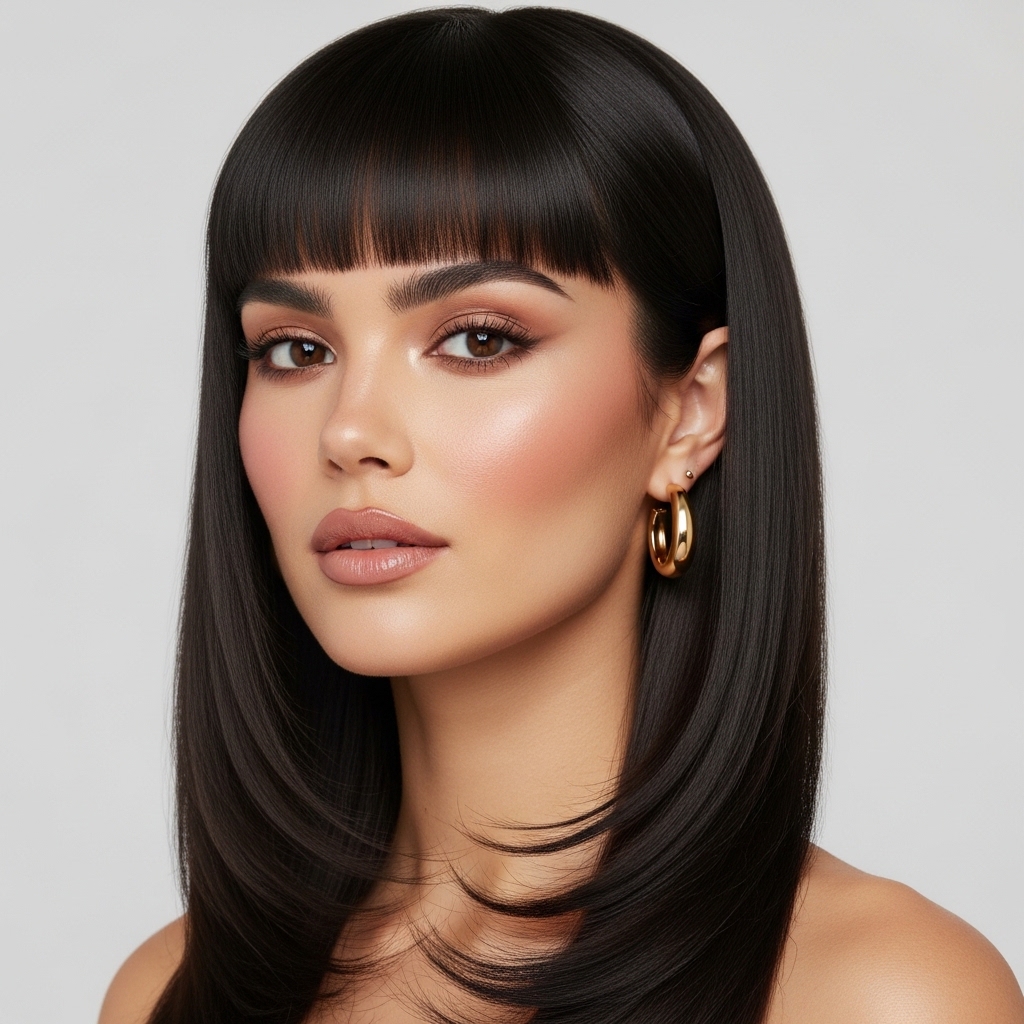
Okay, let’s talk about the hairstyle that’s absolutely everywhere right now. The hime cut is having a major moment, and for good reason. It’s that perfect mix of edgy and elegant, with those signature blunt face-framing pieces and a longer back.
But I get it—sometimes a super sharp, geometric cut can feel a bit too intense for everyday life. That’s where we add the magic ingredient: soft, undone waves. It transforms the look from “statement” to “effortlessly cool.”
This version is less anime princess and more quiet luxury bob with a twist. It’s natural, it’s wearable, and honestly, it’s one of the most flattering 2026 hairstyles you can try. I’ll show you exactly how to get it, whether you’re starting with a fresh cut or working with what you’ve got.
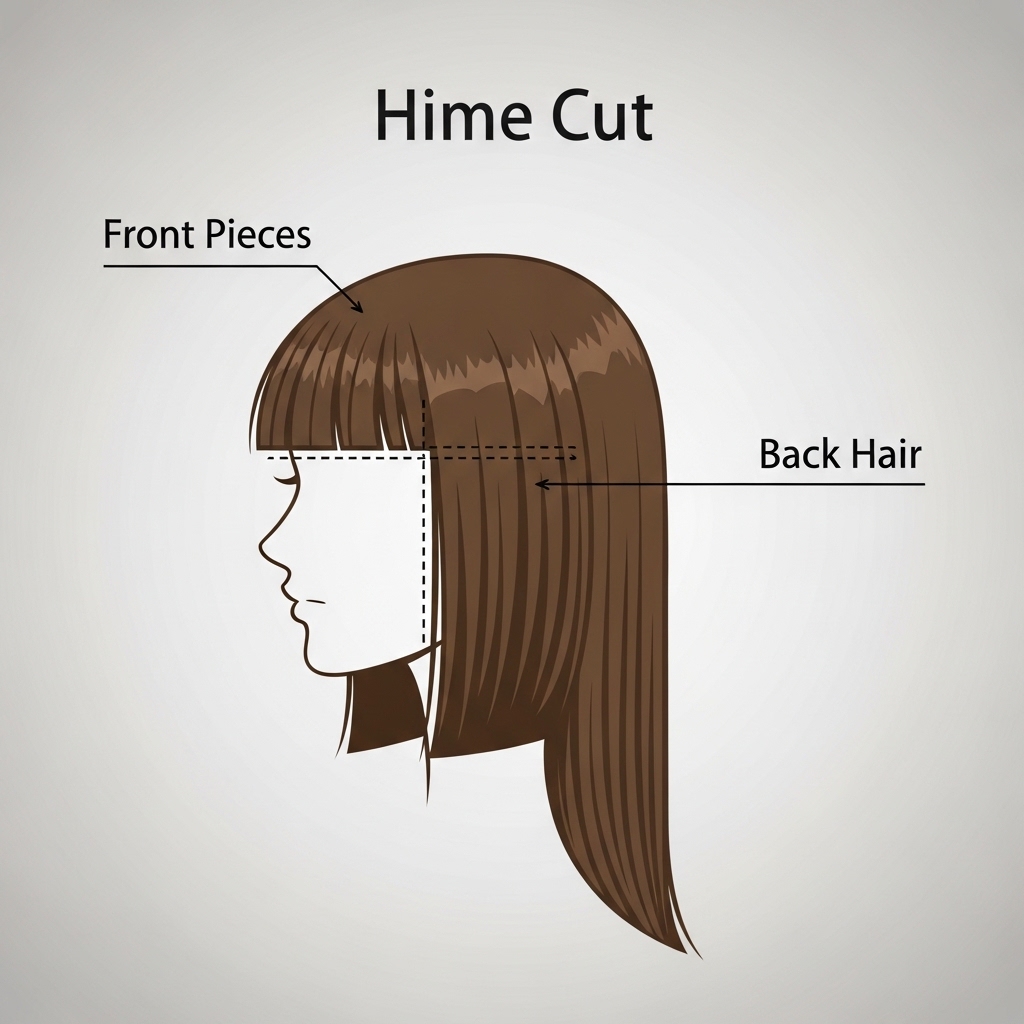
What Is The Hime Cut, Really?
At its core, the hime cut is a Japanese-inspired style. It’s defined by two super blunt, cheek-length or chin-length front sections, with the rest of the hair left longer. It creates a beautiful frame for your face.
Think of it as a mix between a modern wolf cut and a classic bob. The key difference from, say, an asymmetrical lob is the stark contrast in length. That contrast is what gives it such a unique, artistic vibe.
Why Add Soft Waves?
Adding waves is the secret to making this cut feel lived-in and easy. The soft texture breaks up any harsh lines, making the style feel more romantic and less severe. It’s the difference between glitchy glam hair and something you can actually wear to brunch.
This approach gives you that “I woke up like this” texture. It blends the edgy cut with a touch of soft, old money hair sensibility. The waves add movement and make the whole look feel incredibly natural.
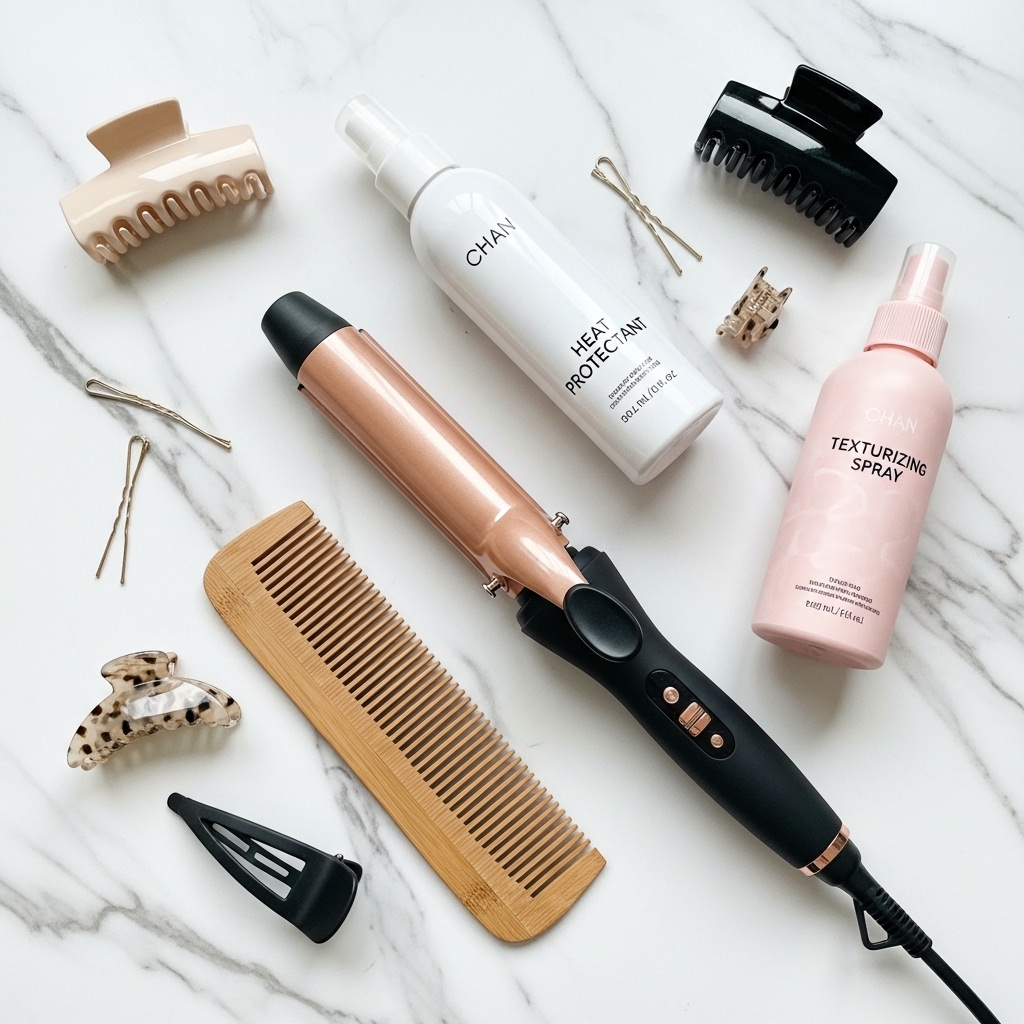
Tools You’ll Need to Get Started
You don’t need a professional salon setup. Here’s what I use and recommend for creating these waves perfectly every time:
- A 1-inch curling iron or wand (my holy grail for this look)
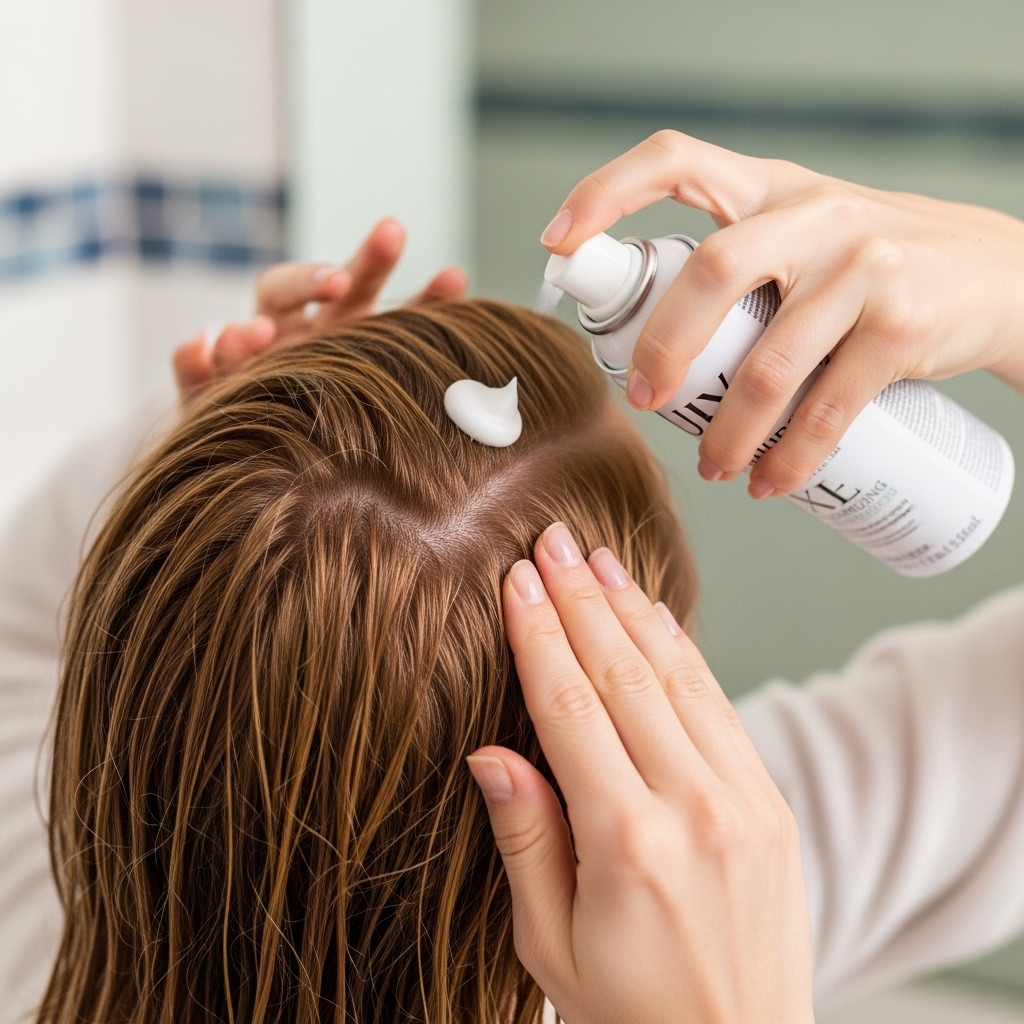
- Heat protectant spray (non-negotiable!)
- Light-hold texturizing spray or sea salt spray
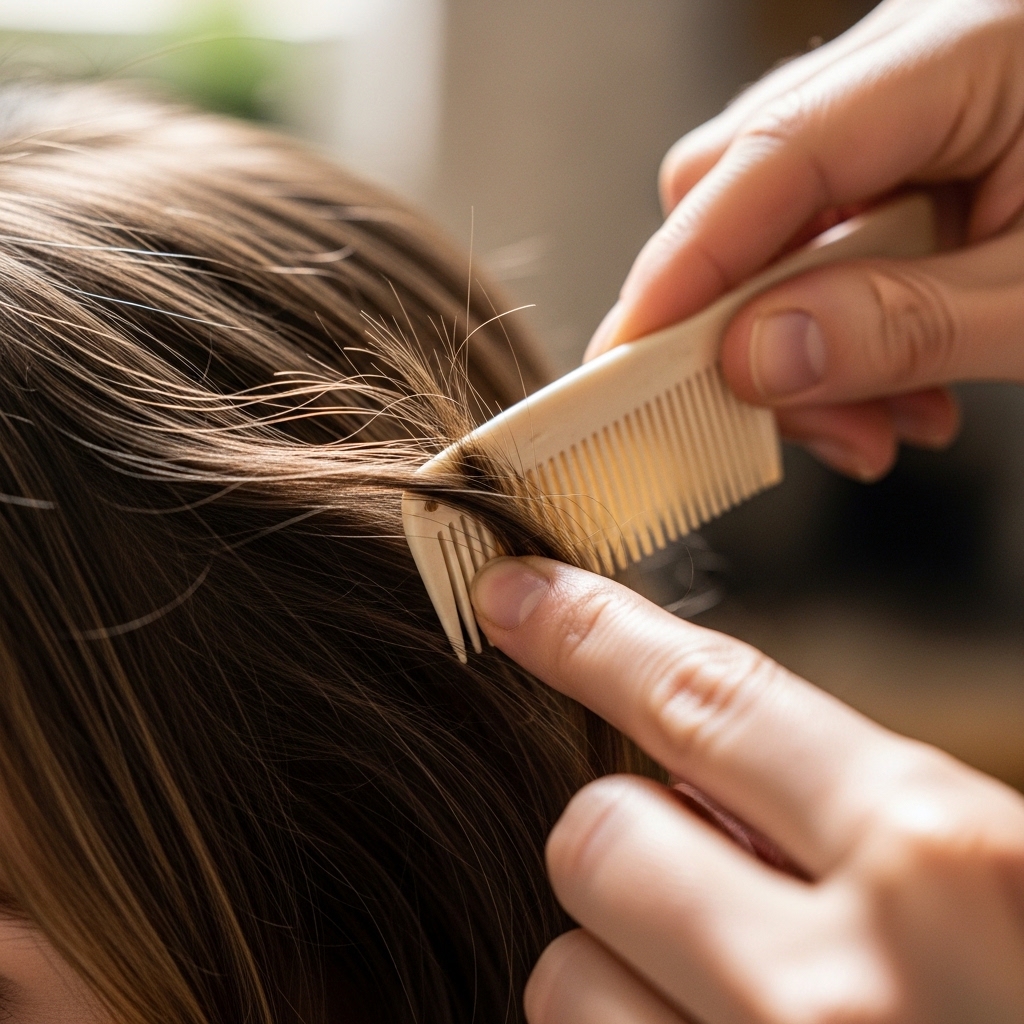
- A fine-tooth comb for sectioning
- Hair clips to keep sections separate
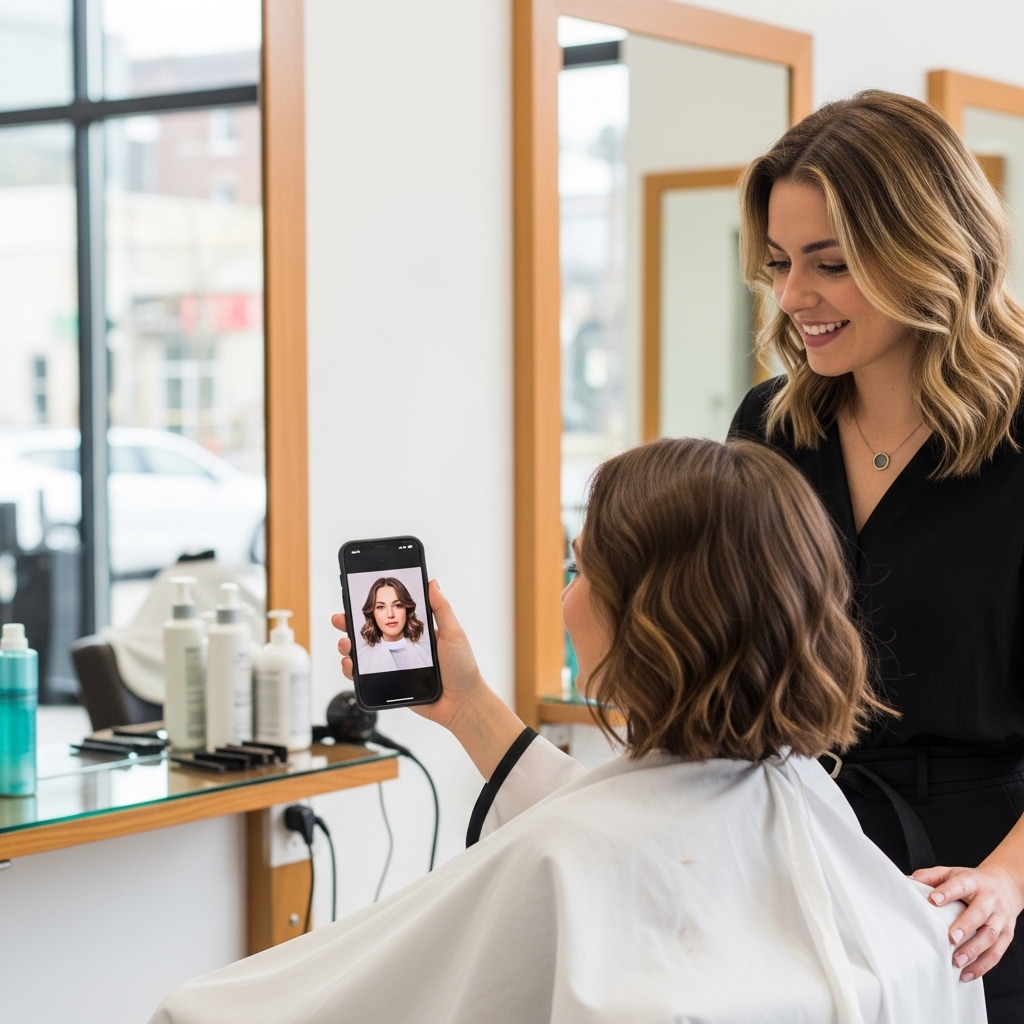
Start With The Right Cut (Consult Your Stylist)
If you’re going for a full hime cut, bring clear photos to your stylist. Communication is key! Describe the blend you want: blunt front pieces, but with the ends softened or “lived-in.”
Ask for a cut that allows for texture. You can even mention you want to pair it with soft waves for a more romantic goth hairstyles influence. A good stylist will cut it so the waves fall perfectly.
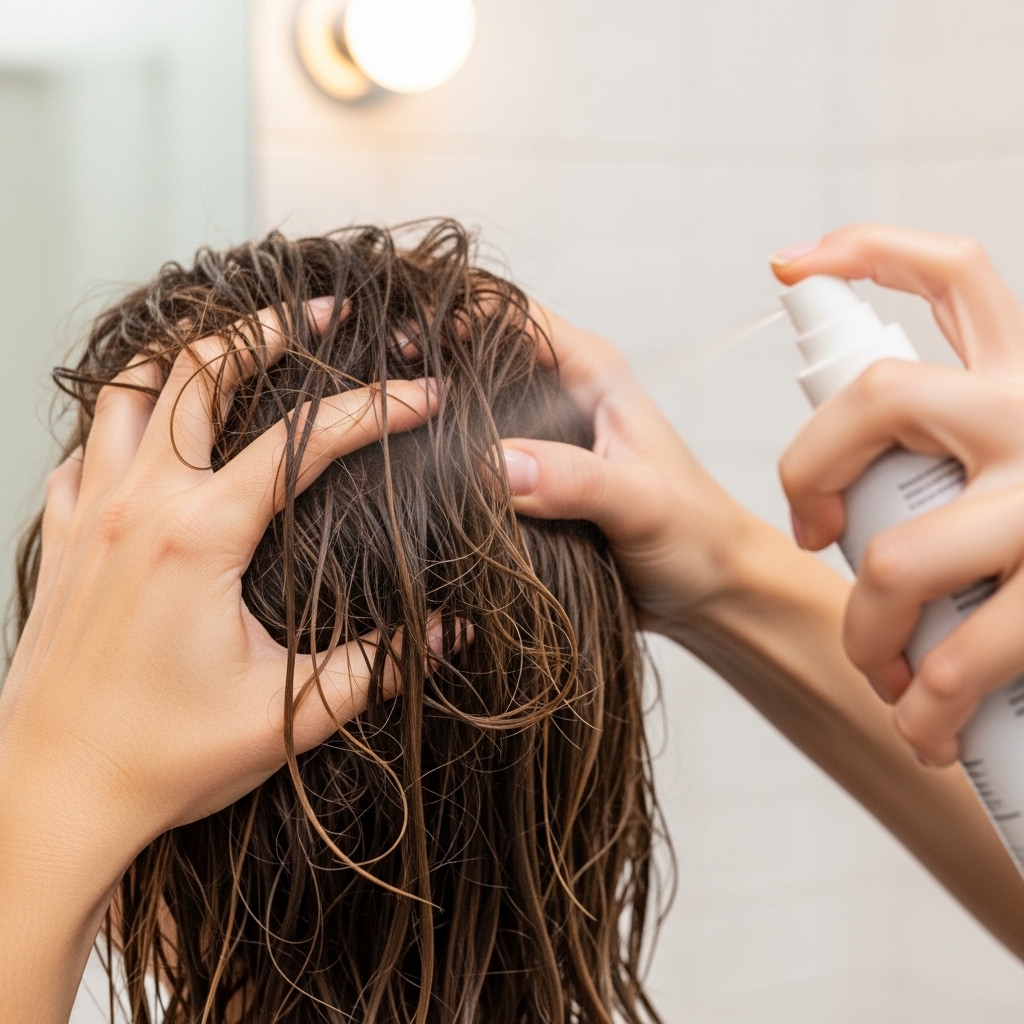
Prepping Your Hair is Everything
Always start with clean, towel-dried hair. Apply your heat protectant from mid-lengths to ends. I like to let my hair air-dry about 80% of the way before I start styling.
Once it’s mostly dry, spray a light texturizing product throughout. This gives the hair some grit and helps the waves hold their shape without getting crunchy. It’s the base for that effortless feel.
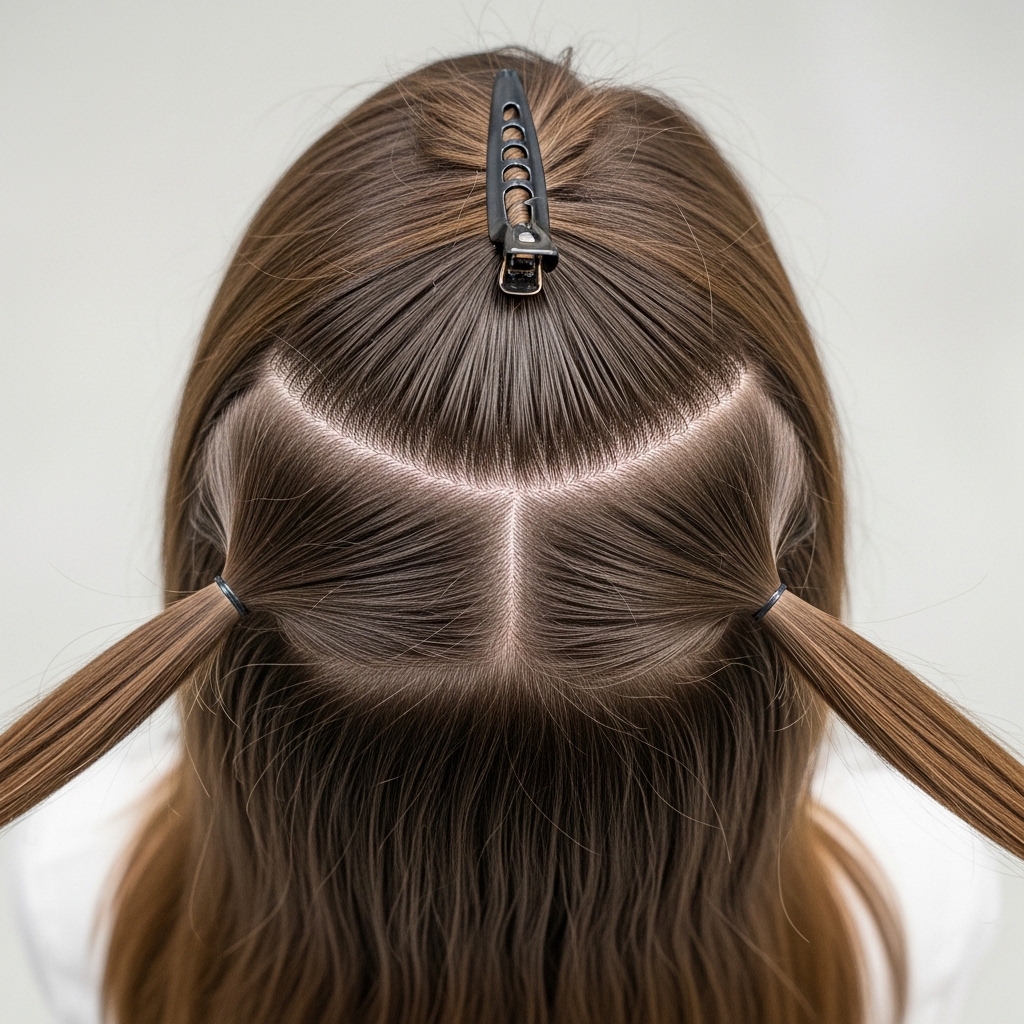
Sectioning Your Hair Made Simple
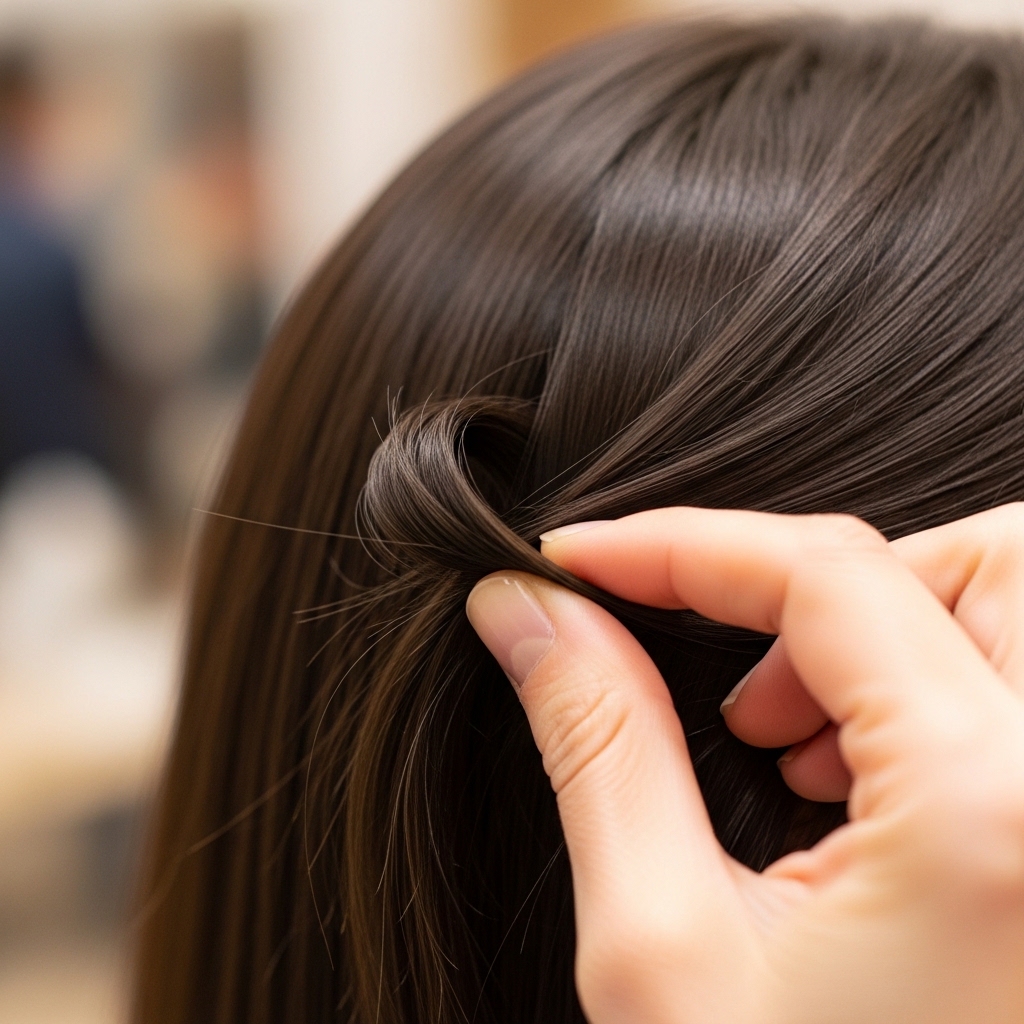
Don’t let sectioning intimidate you. We’ll keep it easy. First, clip the top half of your hair up and out of the way. We’ll start with the bottom, longer layers in the back.
Then, separate out the two iconic blunt front pieces. Clip them forward over your shoulders. You’ll work on these very last. This keeps everything organized and ensures you don’t miss a section.
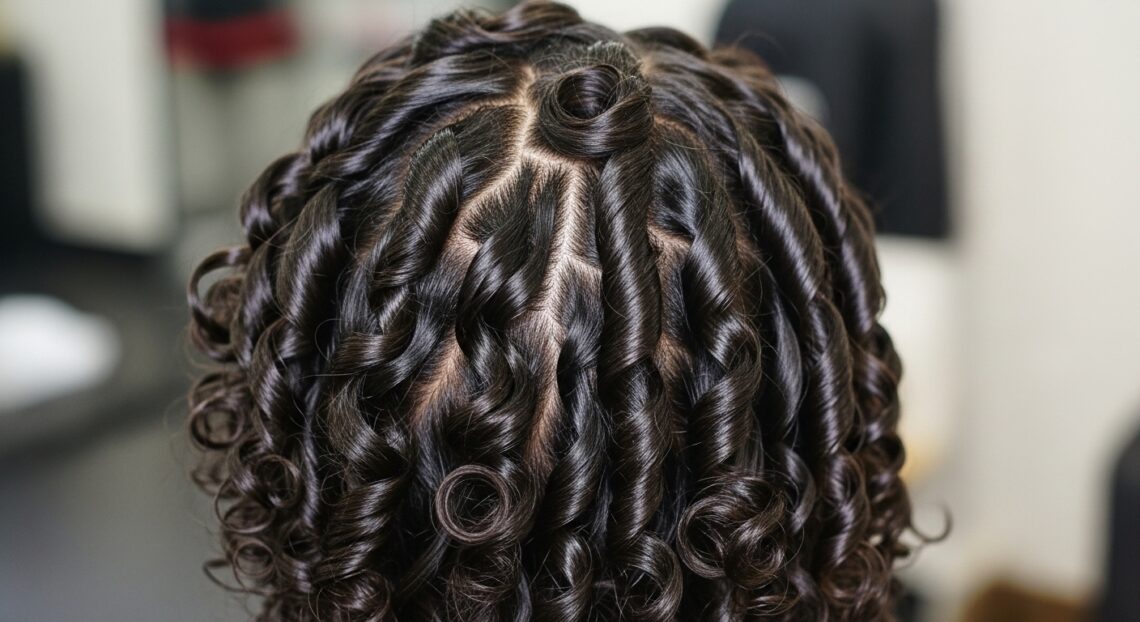
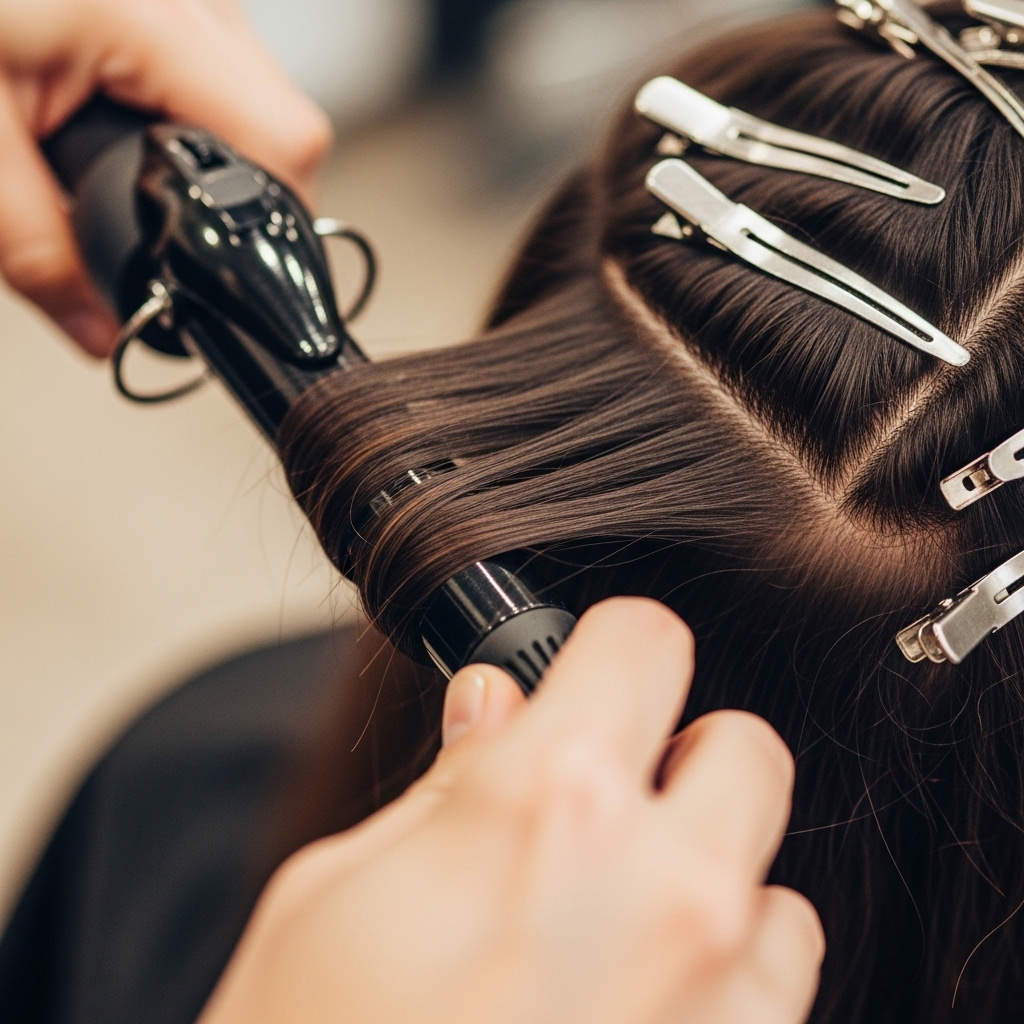
Curling The Back Sections First
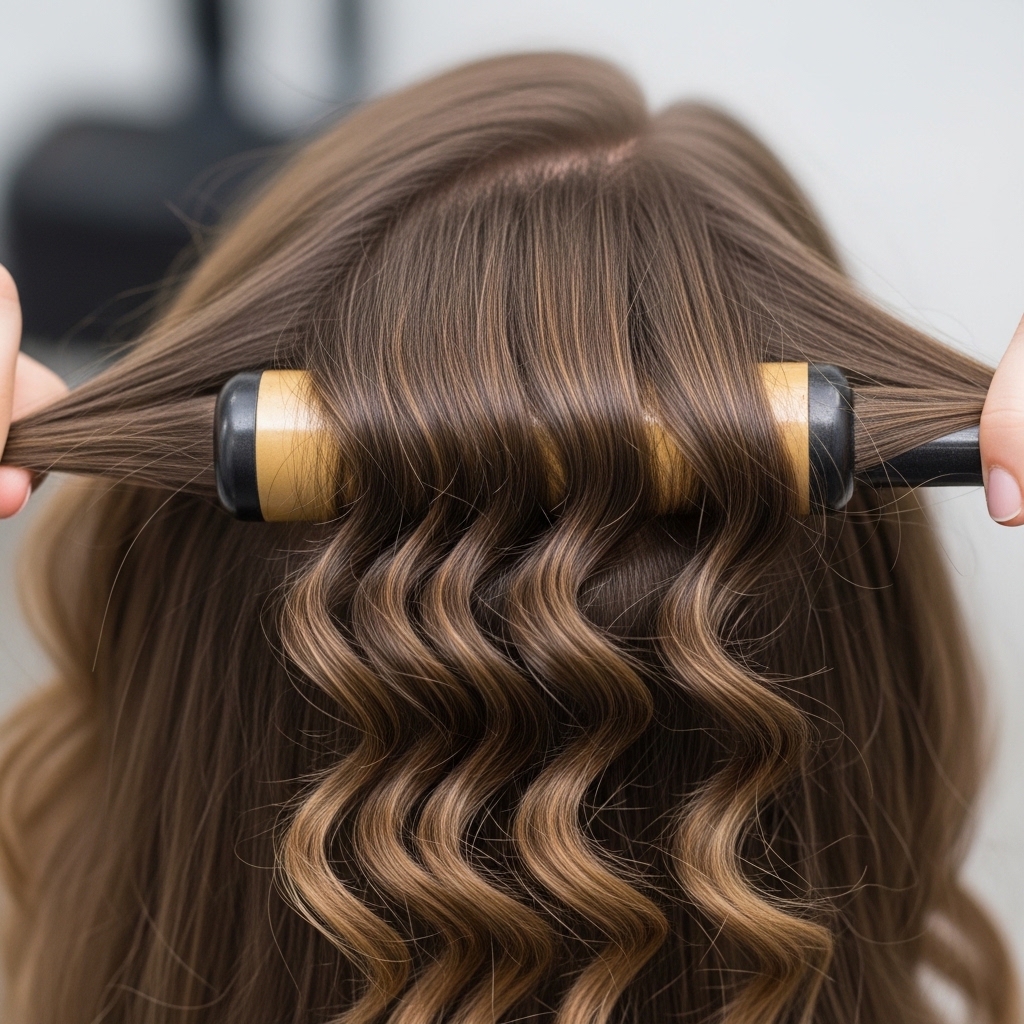
Take small, horizontal sections from the bottom back layer. Wrap each section away from your face around the curling wand. Hold for 8-10 seconds, then gently slide the iron out.
Don’t curl all the way to the roots. Start from about eye-level down. As you release each curl, don’t touch it! Let it cool completely. This “setting” step is what makes the wave last all day.
Moving to The Middle Layers
Once the bottom layer is done, let down the top half you had clipped up. Now, work on these middle layers using the same technique. Remember to curl away from your face for a natural flow.
Keep your sections small for defined waves, or a bit larger for a looser, more breezy look. Consistency in the direction you curl is more important than perfection here.
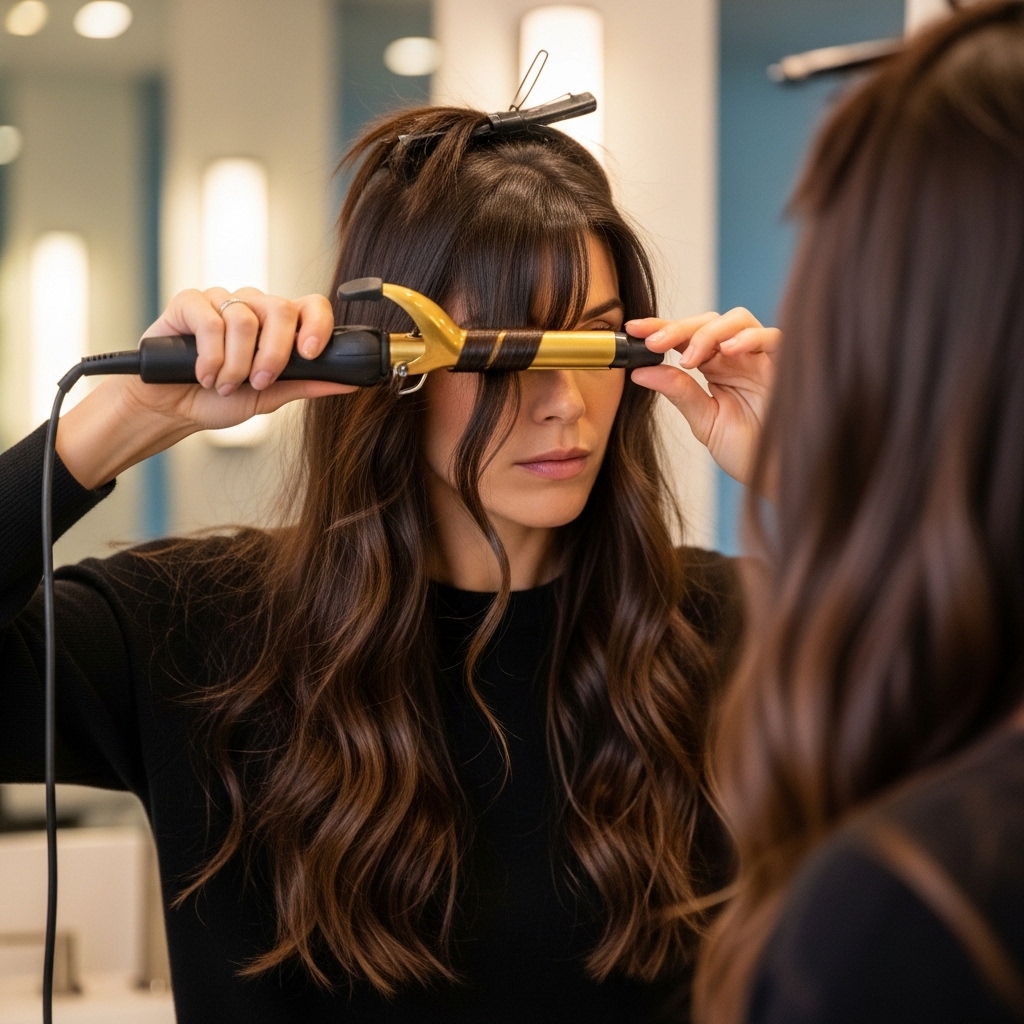
The Star Players: Styling The Blunt Front Pieces
This is where the magic happens. Take one front section. Instead of a tight curl, wrap it around the wand loosely, almost like you’re bending the hair around the barrel. Hold for just 5-7 seconds.
You want a soft bend, not a spiral curl. This bend will blend seamlessly into the waves behind it. Repeat on the other side, mirroring the direction. These pieces should frame your face beautifully.
Cooling & The “No-Touch” Rule
This is the hardest but most important step: let all your hair cool down completely. I usually do my makeup while I wait. When the hair cools in the curled shape, the style sets and becomes much longer-lasting.
Resist the urge to run your fingers through it while it’s warm. You’ll break the wave pattern and end up with frizz instead of soft, defined waves.
Shaking It Out For That Effortless Vibe
Once your hair is totally cool, it’s time to break it up. Flip your head over and gently shake your roots with your fingertips. This adds volume and gets rid of any “perfect” curl separation.
Then, flip back up. Use your fingers to gently separate any waves that look too chunky or uniform. The goal is soft, piece-y texture, not uniform curls.

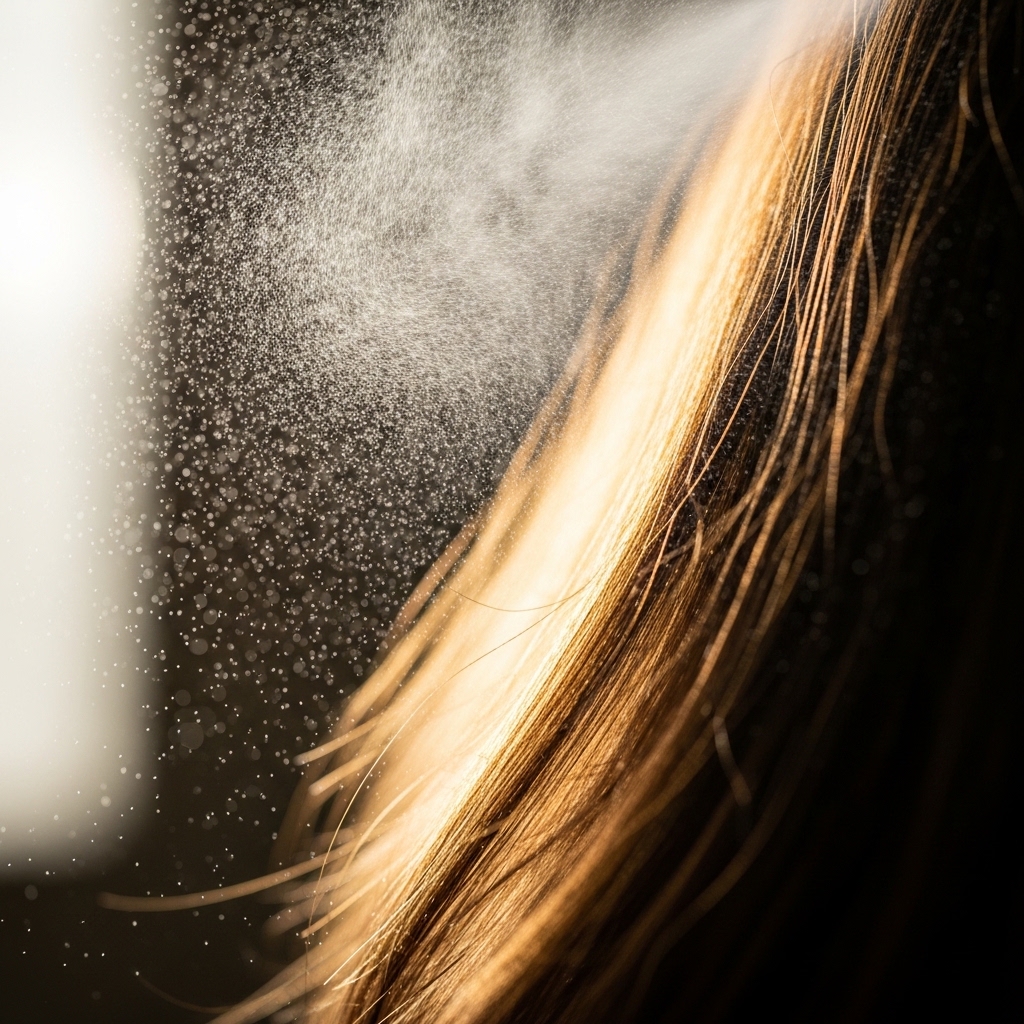
Using Texturizing Spray The Right Way
Hold your texturizing or sea salt spray about 10 inches away from your head. Spritz lightly over the mid-lengths and ends. Focus on the areas where you want more separation and hold.
Avoid spraying directly at your roots unless you need volume, as it can sometimes weigh fine hair down. Then, use your hands to scrunch the product upward gently into the waves.
Final Touch: Defining The Face Frame
Look in the mirror. Gently adjust the two front pieces. You can use the edge of a comb or your fingernail to separate a few wispy strands right around your face for an even softer look.
Make sure these pieces are laying exactly how you like them. They’re the focal point of the whole hime cut, so give them a little extra attention.
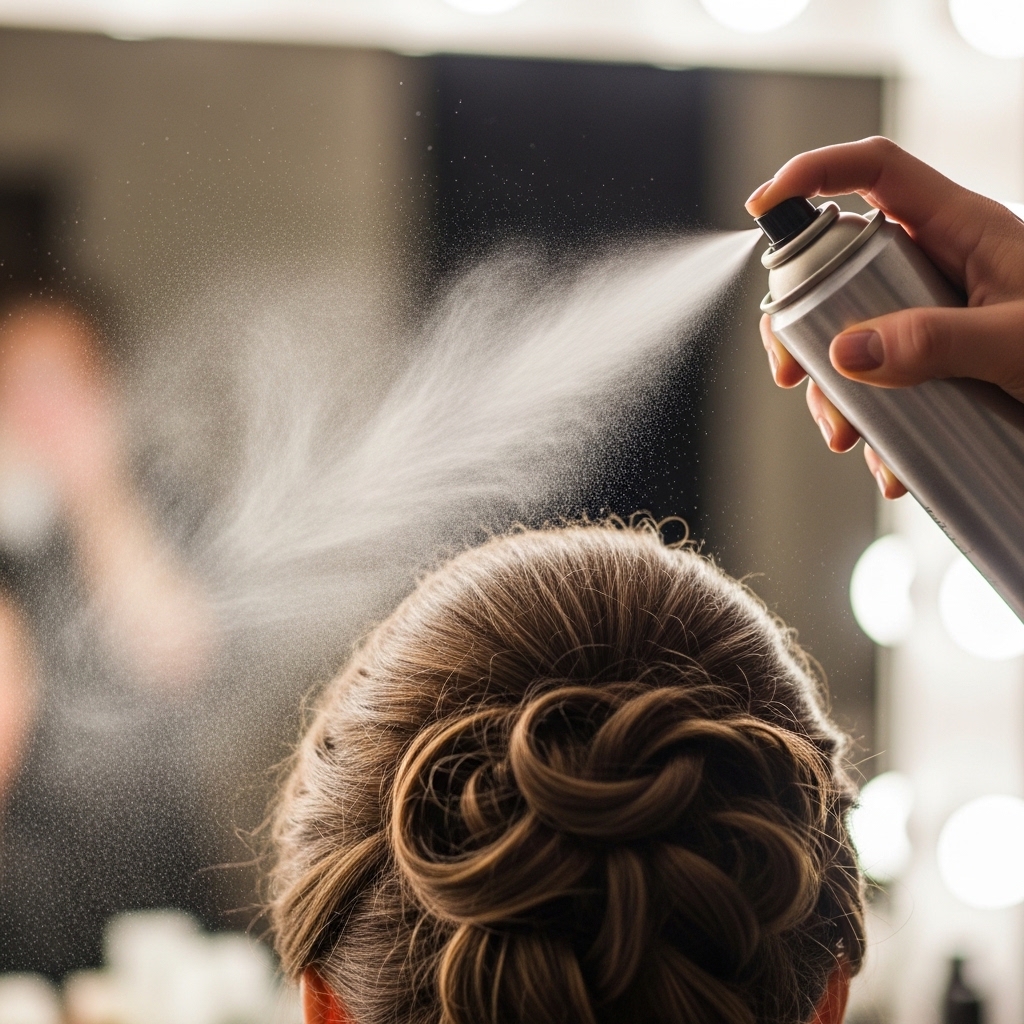
How to Make This Style Last All Day
For all-day hold without stiffness, a single light spritz of flexible-hold hairspray from a distance does the trick. Just a mist to lock in the texture.
If your waves fall, don’t re-curl! Just twist a few of the front pieces around your finger and hold for 30 seconds. The residual heat from your hands will reactivate the wave.
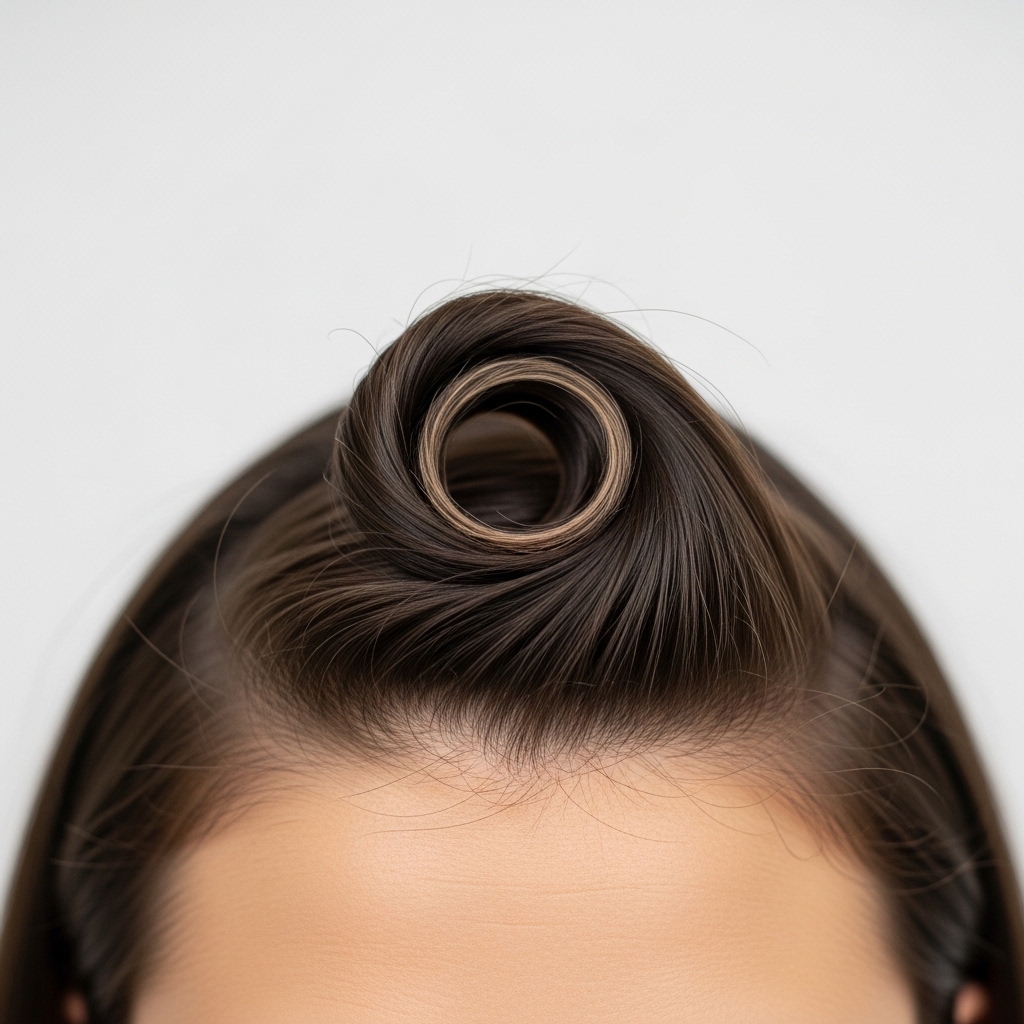
Night Before Routine for Second-Day Waves
Second-day hair is often the best for this style! Before bed, loosely gather your hair into a low, loose ponytail or a very loose braid at the nape of your neck.
In the morning, take it down, shake it out, and refresh with a little texturizing spray on your hands. The waves will be softer and even more romantic—perfect for that vampire haircut aesthetic.

Adapting The Look for Fine Hair
If you have fine hair, focus on volume at the roots. Use a volumizing mousse at the roots when damp. When curling, make sure to lift each section up and away from your head before you wrap it.
At the end, a light dusting of texturizing powder at the roots can work wonders. It gives the hair the “grip” it needs to hold the style and feel fuller.
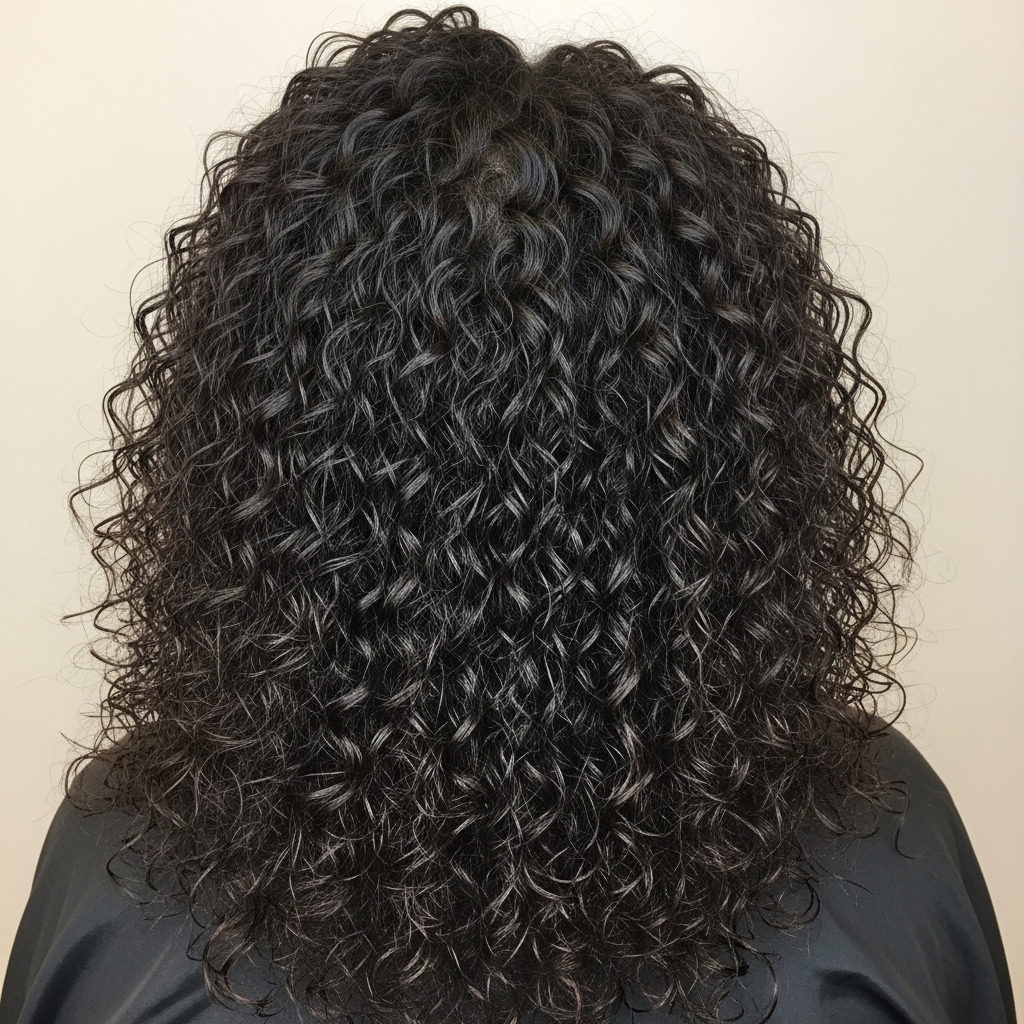
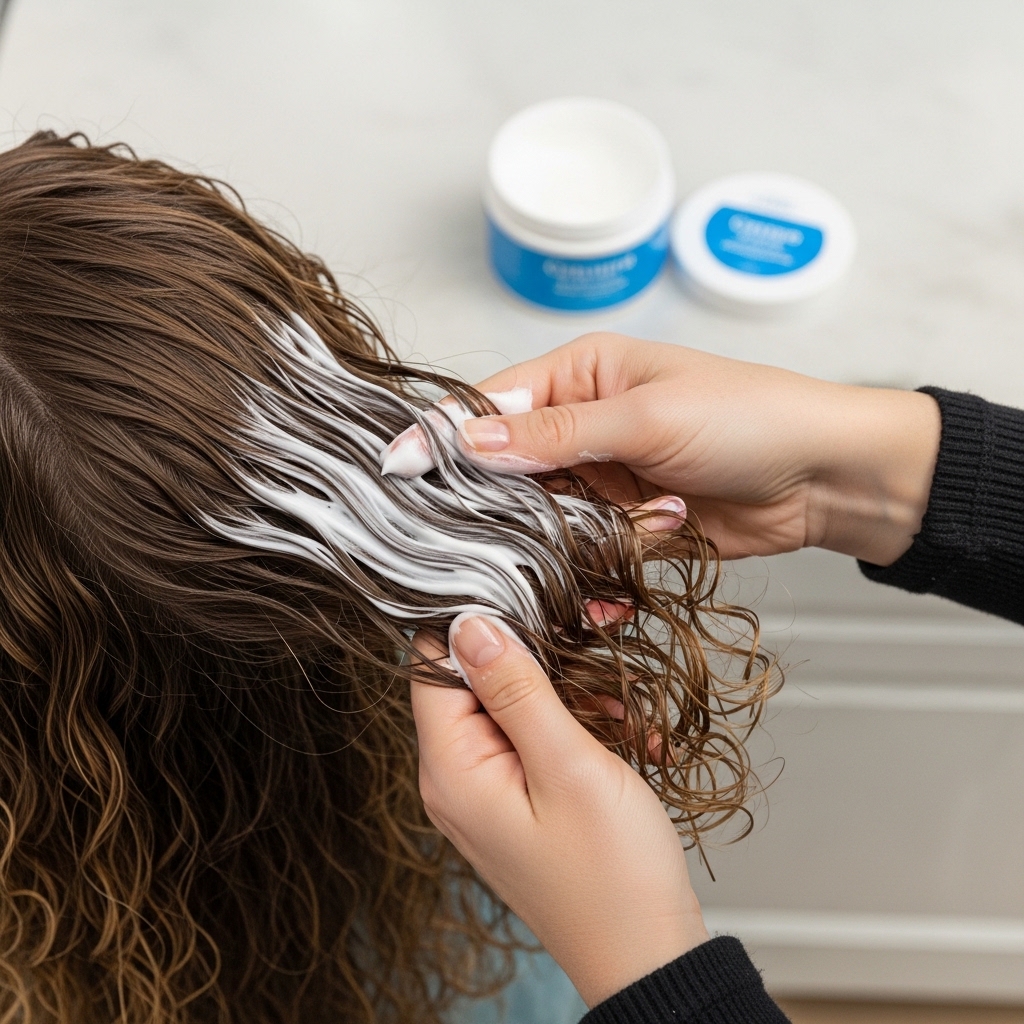
Adapting The Look for Thick or Curly Hair
If your hair is thick or curly, you might need a stronger hold product. A curl-defining cream before drying can help control and shape your natural texture.
You may not need to curl all over! Use the wand just on the front pieces and the very ends of your hair to blend your natural pattern with the intended shape of the cut.
Quick 5-Minute Refresh Version
Don’t have time for a full style? Just focus on the front pieces. Spritz them with water or a leave-in conditioner spray to dampen slightly, then use the wand to add the soft bend.
Ruffle the rest of your hair with texturizing spray. This instantly revives the signature hime look without re-doing your whole head. It’s the ultimate lazy-girl hack.
Pairing With Makeup & Accessories
This hairstyle is a statement on its own, so keep accessories minimal. Small, delicate earrings or a simple black ribbon choker lean into the romantic goth vibe.
For makeup, think clean skin and a bold lip, or soft smoky eyes. It complements the “glitchy glam hair” trend perfectly—polished but with an undone, cool-girl edge.
Common Mistakes to Avoid
The biggest mistake is curling the front pieces too tightly. You want a bend, not a ringlet. Another is not letting the hair cool, which makes waves fall flat fast.
Also, avoid over-brushing after styling. Use only your fingers. Brushing will turn your beautiful waves into a frizzy, 80s-volume situation, and we’re going for quiet luxury, not big hair.
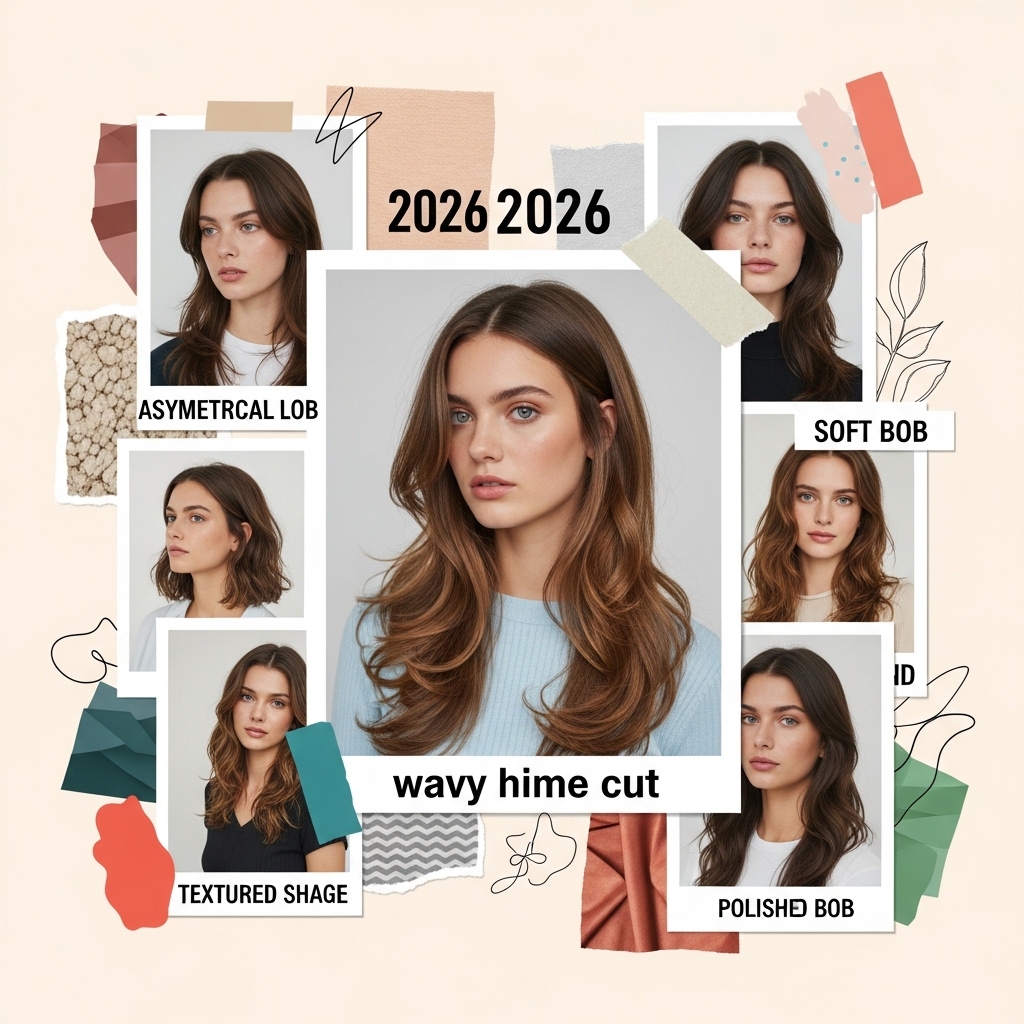
How This Fits Into 2026 Hair Trends
This look is a perfect example of where hair is going. It mixes distinct, artistic shapes (the hime structure) with lived-in, effortless texture (the waves).
It takes inspiration from trends like the quiet luxury bob and the playful asymmetry of a glitchy glam hair look, but makes it totally wearable. It’s personalized, expressive, and far from basic.
Your Questions Answered: Can I Do This on Short Hair?
Absolutely! If you have a shorter bob-length cut, you can still get the vibe. The front pieces will be shorter, obviously, but the technique is the same.
Ask your stylist for a hime-inspired bob. The soft waves will add the same effortless, modern touch. It becomes a fantastic hybrid of a hime cut and a quiet luxury bob.
And there you have it! The complete guide to softening up one of the coolest haircuts out there. The beauty of this style is in its mix of structure and softness—it feels intentional but never fussy.
Remember, the best hairstyles are the ones that make you feel like the most confident version of yourself. This look is all about owning a little edge while keeping things totally wearable for your real, everyday life.
Did you try this tutorial? I’d love to see your results! Tag me on Instagram or save this post to Pinterest to keep this guide handy for your next styling session. What’s your go-to effortless hairstyle? Let me know in the comments below!

