

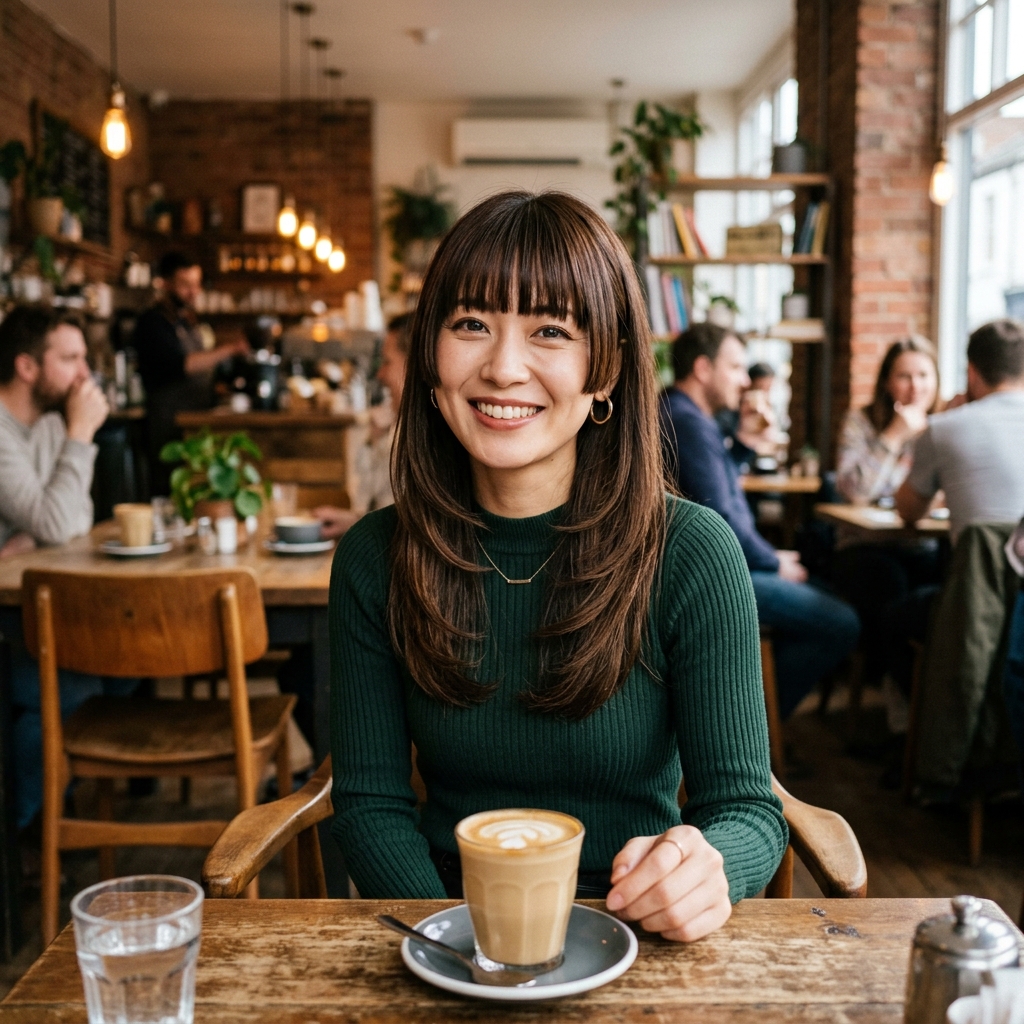
Okay, let’s talk about one of my favorite cuts right now: the hime cut. You’ve seen it everywhere, right? That gorgeous, bold Japanese style with the straight-across fringe and sharp, jaw-length front sections. It’s dramatic, it’s chic, and honestly, it’s a total statement.
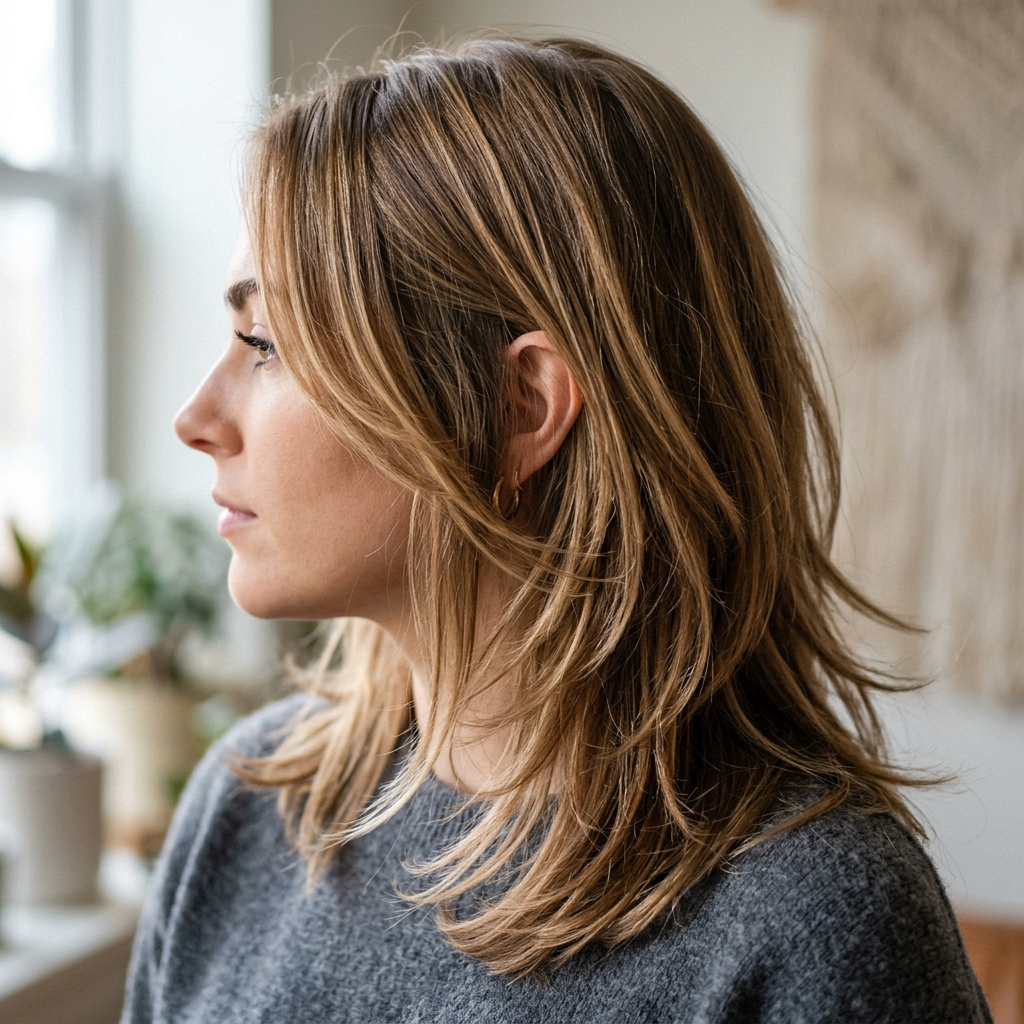
But I get it. The classic version can feel a little… heavy. That’s where adding layers comes in. We’re not talking about a full-on shag (though that’s cute too), but strategic, face-framing layers that add serious movement and a modern twist.
This is your guide to getting that perfect blend of edgy and effortless. Whether you’re into romantic goth hairstyles or lean more toward quiet luxury vibes, this layered hime is your new best friend. Let’s break it down so you can walk into the salon feeling totally confident.
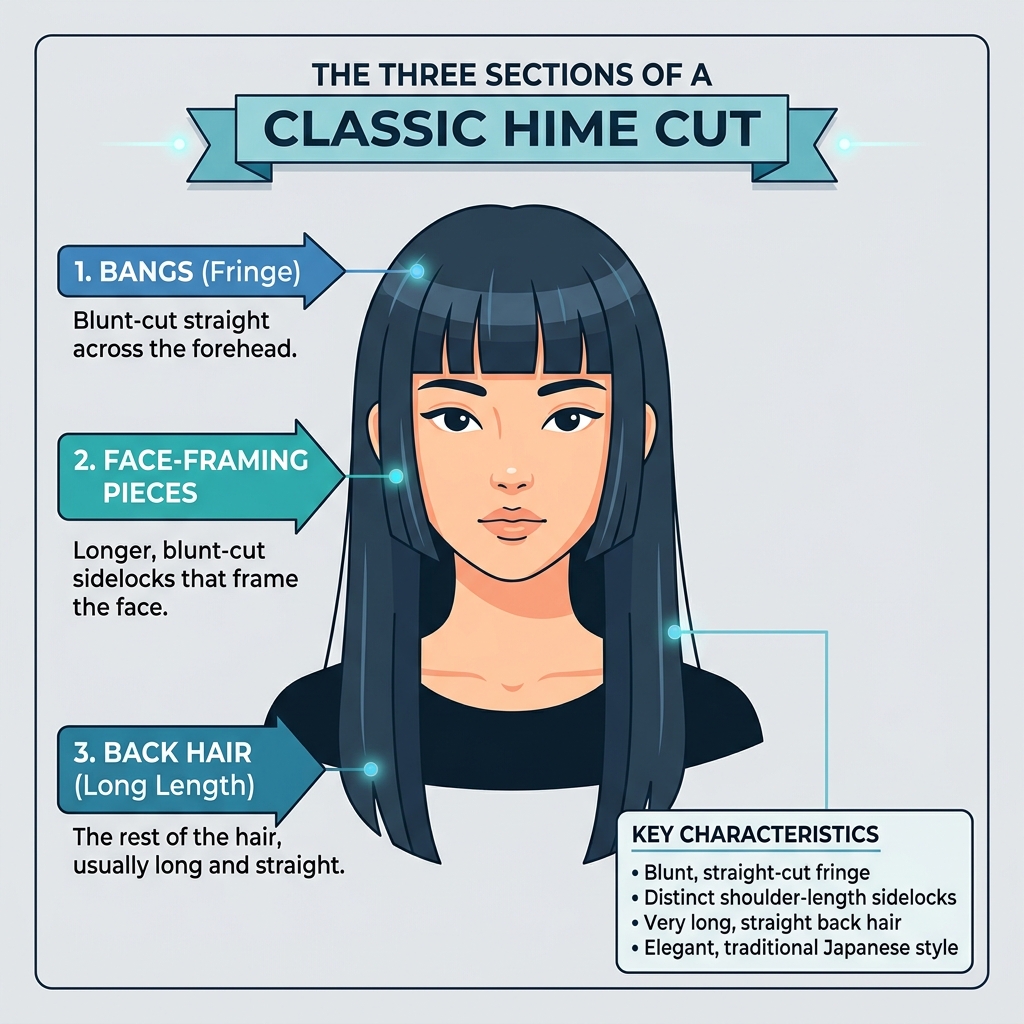
What Is a Hime Cut, Really?
At its core, the hime cut is a historical Japanese style inspired by noblewomen. The word “hime” means princess. It’s defined by three key sections: blunt, straight-across bangs, and two distinct, sharp-cut front sections that frame the face, with the back hair left longer.
It’s a geometric, powerful look. The modern take we’re talking about today softens those lines with layers, making it more wearable for everyday. Think of it as the elegant cousin to the more rebellious vampire haircut.
Why Add Layers? The Movement Factor
Layers are the secret sauce. The classic hime is stunning, but the solid blocks of hair can sometimes feel stiff or limit your styling options. By adding layers, you inject life and bounce right where you need it.
This creates a softer, more dynamic shape that moves with you. It helps blend the dramatic front pieces into the back more seamlessly. For fine hair, layers add volume. For thick hair, they remove bulk. It’s a win-win for creating that glitchy glam hair texture—sleek but with an undone, piecey feel.
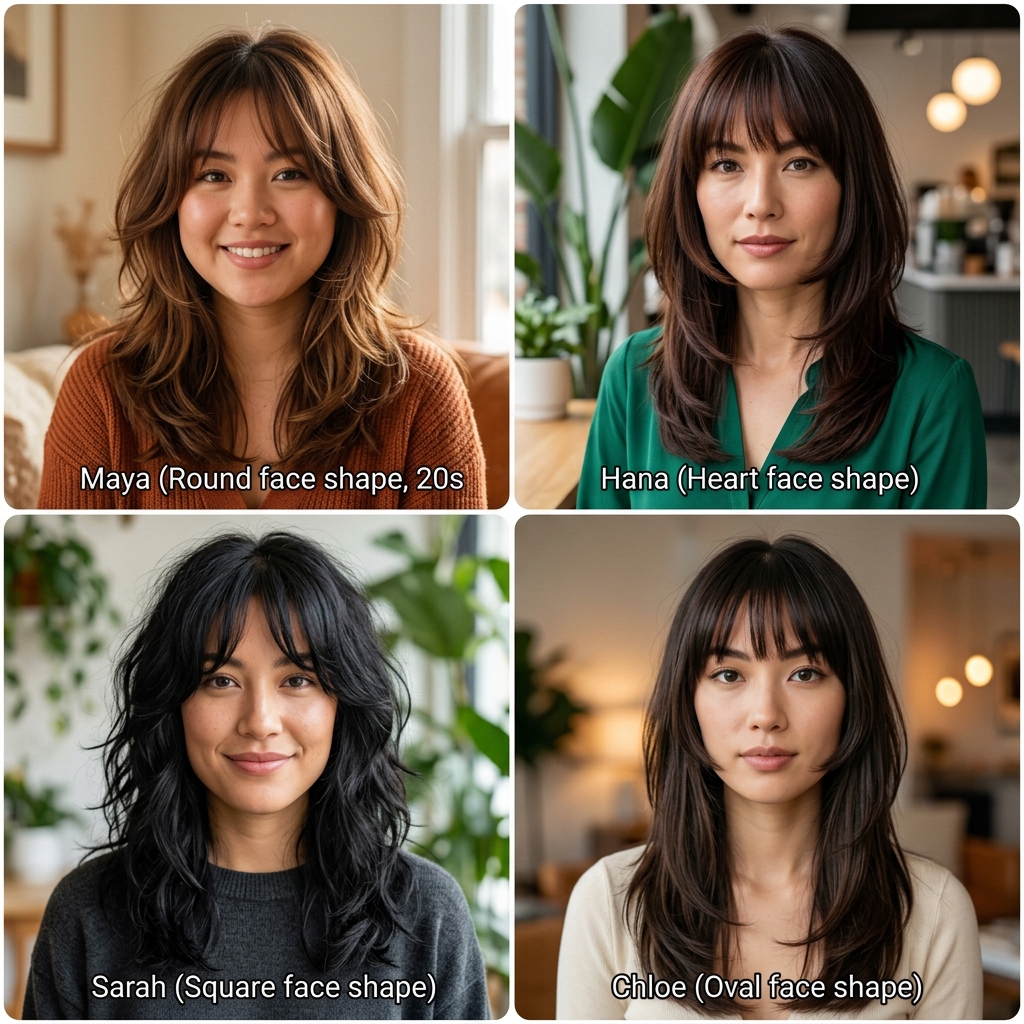
Face Shapes That Rock This Look
Good news: with the right tailoring, this cut works for almost everyone. The key is in the adjustment of the fringe and front pieces. Oval and heart-shaped faces can pull off the classic, full fringe. For round or square faces, a slightly wispier or curtain-style bang can be more flattering.
The layered version is especially forgiving because it avoids harsh lines. The face-framing layers can be cut to accentuate your cheekbones and jawline. It’s all about the consultation with your stylist!
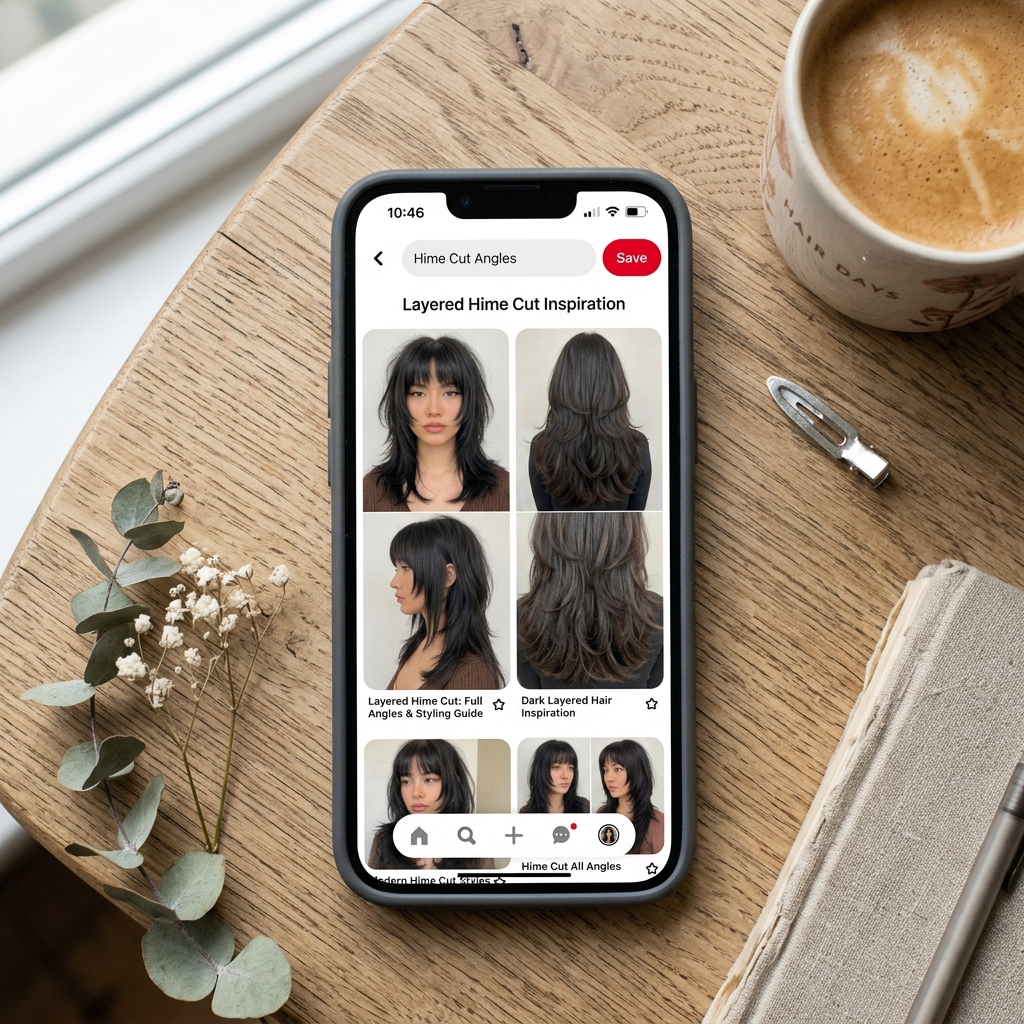
Bringing the Right Inspiration Photos
Never walk into a salon empty-handed. Words like “soft layers” or “movement” can mean different things to different people. Your phone is your best tool here. Gather 3-5 photos that show exactly what you want.
Look for pictures that highlight the layer texture from the side and back. Show one of the classic hime structure too, so they understand the base. This gives your stylist a complete visual blueprint and is the number one way to ensure you leave happy.
The Essential Salon Consultation Talk
This chat is everything. Start by showing your photos. Then, use clear phrases like: “I want the classic hime structure, but with face-framing layers for softness, not a shag.” Be specific about your fringe preference and how much length you want taken off the back.
Mention your hair texture—is it fine, thick, curly, straight? This changes how the layers are cut. A good stylist will ask these questions, but leading with the info shows you’re informed and helps them give you the best version of this 2026 hairstyles trend.

How to Describe the Layers to Your Stylist
Be precise. Say you want “internal” or “hidden” layers concentrated from the mid-lengths to ends, especially around the face. The goal is to keep the strong exterior line but remove weight from underneath.
You can ask for: “Long, blended layers starting at the chin to soften the front pieces,” or “Light, texturizing layers just in the bottom third of the hair.” This ensures you get movement without losing the iconic hime shape. It’s that old money hair trick—perfectly done but looks effortless.
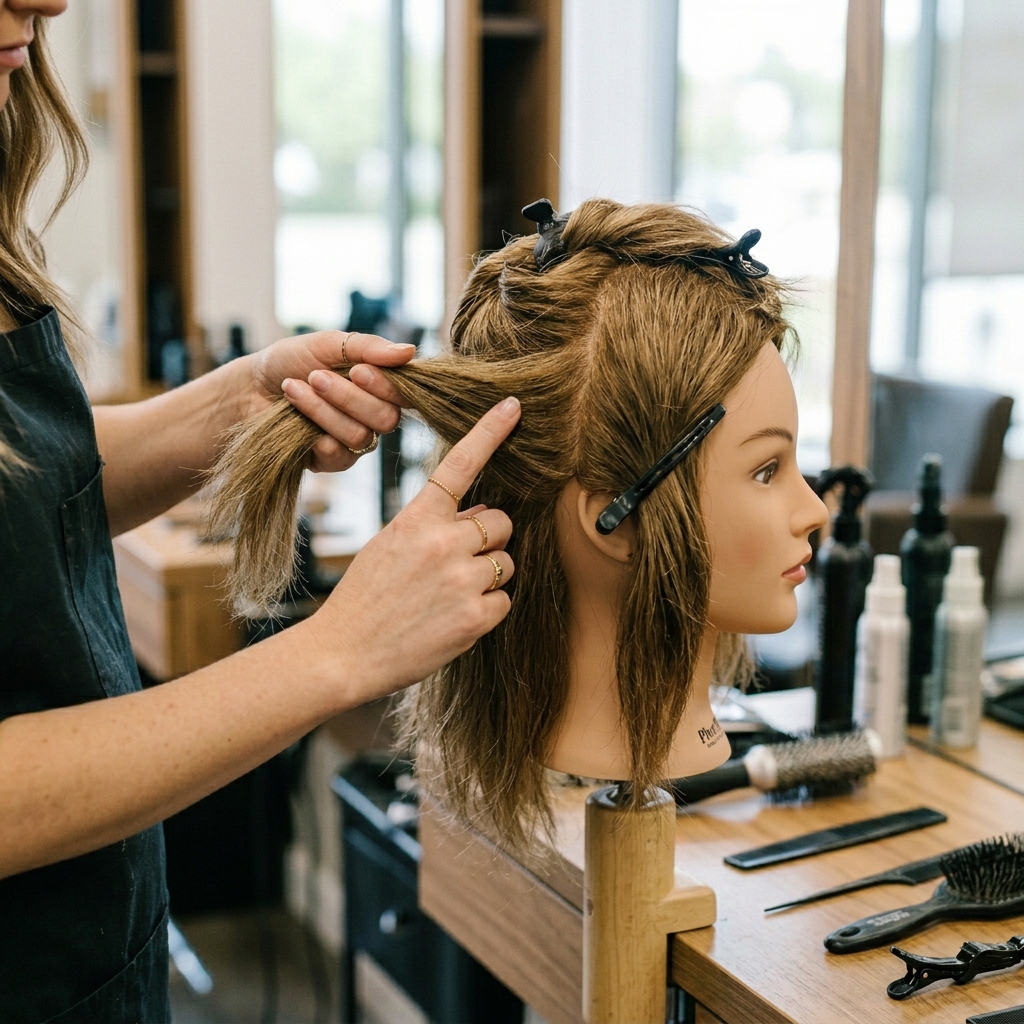
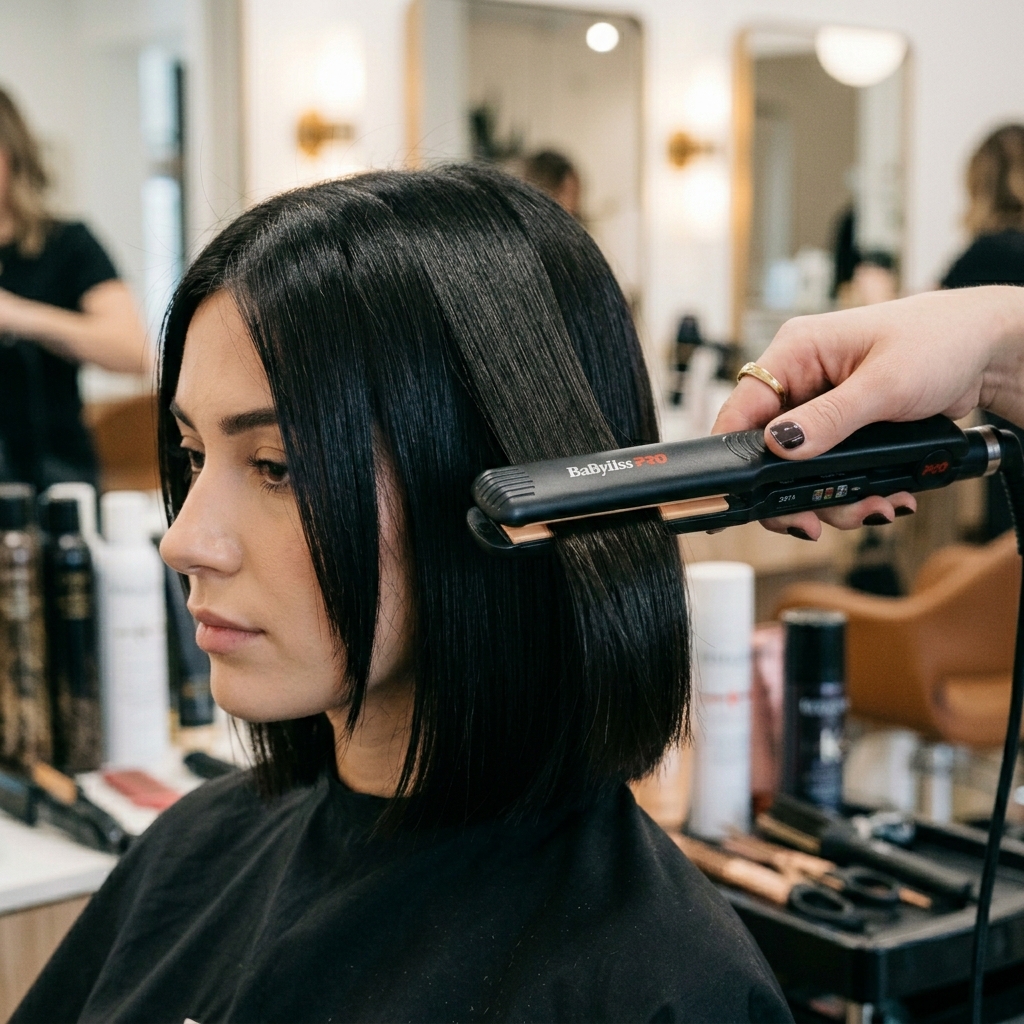
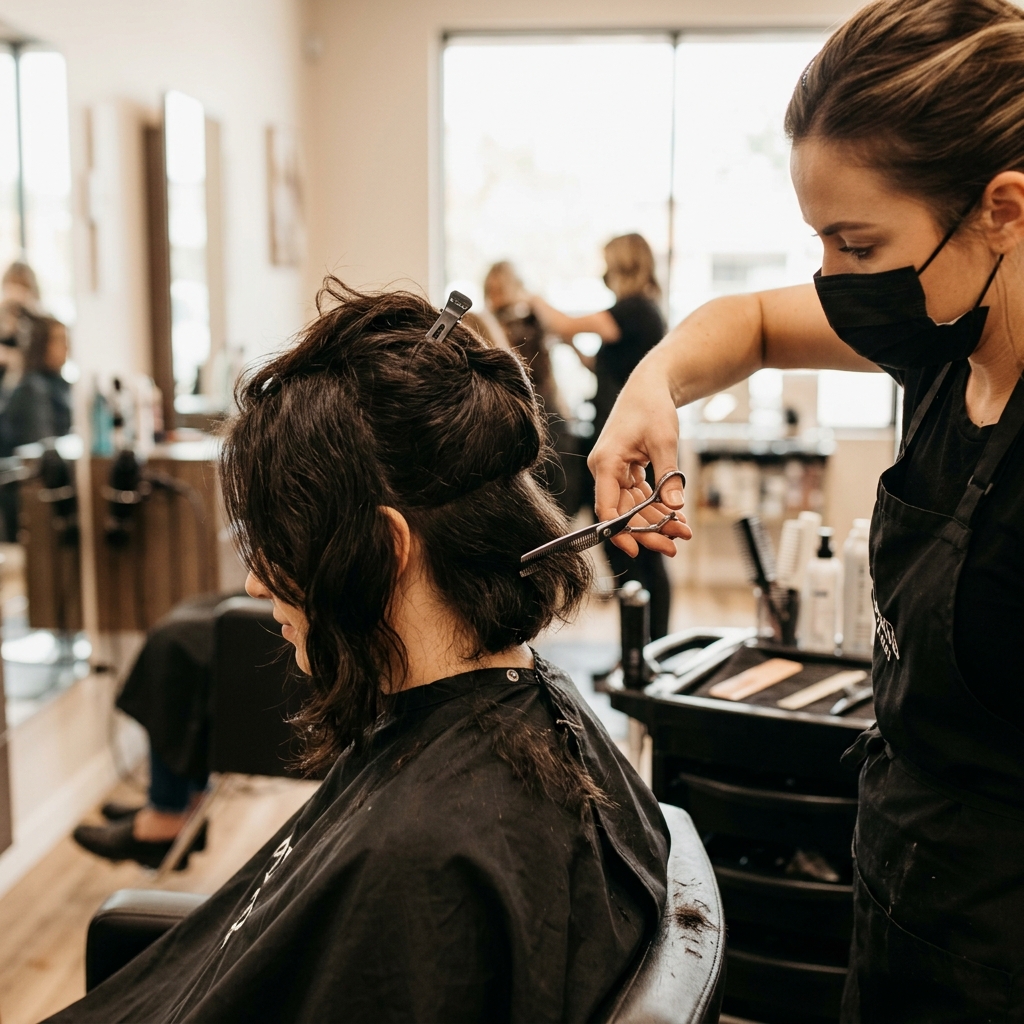
The Step-by-Step Cutting Process
While you leave the cutting to the pros, knowing the process helps. A stylist will typically section the hair into the three hime zones first. They’ll cut the blunt bangs and dramatic front sections to your desired length.
Then, they’ll work on the back length. Finally, they’ll go in and add those strategic layers, usually by point-cutting or slide-cutting to blend everything seamlessly. The order matters to maintain the geometric foundation.
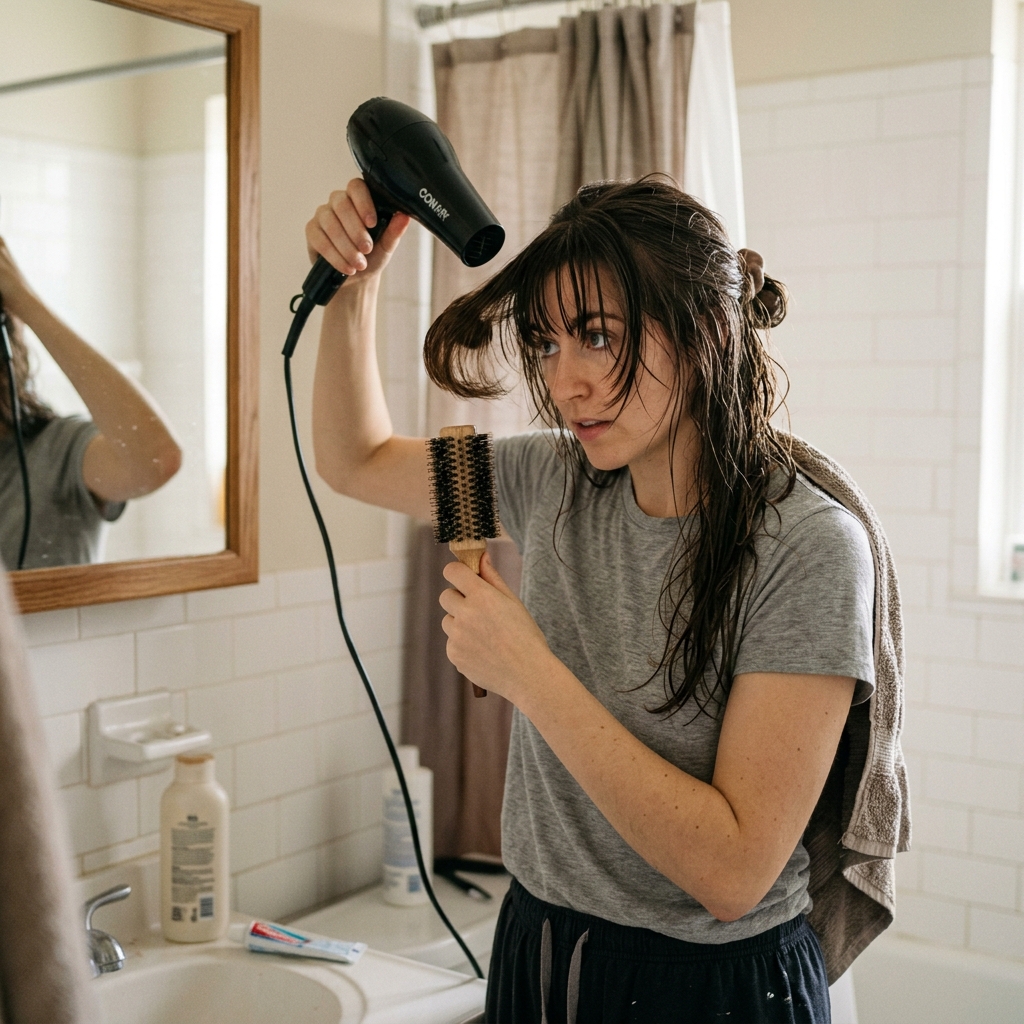
Daily Styling: The 5-Minute Blow-Dry
This cut is low-maintenance! For a sleek look, blow-dry your hair straight using a round brush. Focus on flicking the ends under or slightly outward to emphasize the shape. A quick pass with a flat iron can sharpen the front pieces.
The layers will naturally create texture. For speed, you can just blow-dry the bangs and front pieces smooth and let the rest air-dry for a more piecey, glitchy glam hair effect. A little texturizing spray on dry hair enhances the separation.
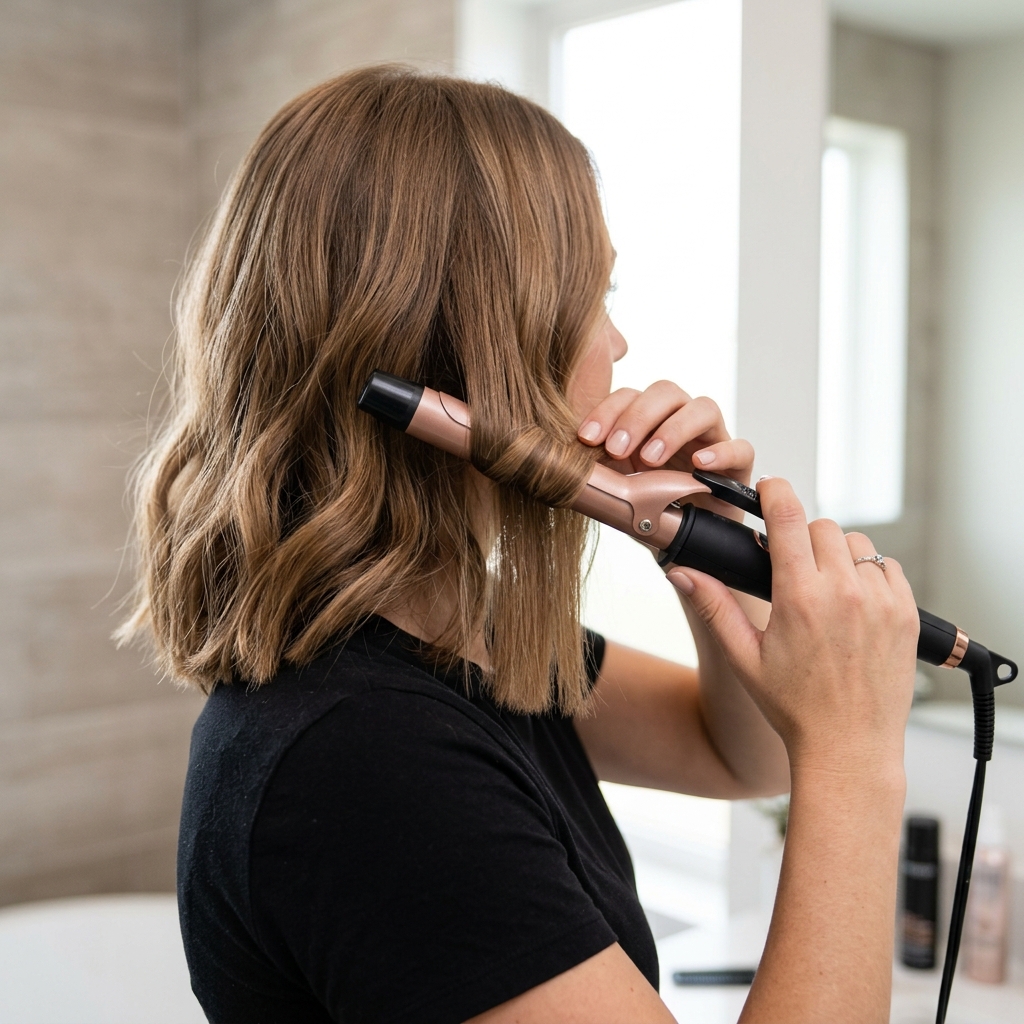
Creating Romantic, Soft Waves
This is where the layers truly shine. Use a medium-barrel curling iron (1 to 1.5 inches). Wrap random sections away from your face, but don’t curl the very ends. Leave them straight to keep that graphic feel.
Break up the curls with your fingers. This style leans into the romantic goth hairstyles aesthetic—soft, flowing, but with a darkly romantic edge. It’s perfect for adding a touch of drama to your everyday look.
The Perfect Sleek, Straight Look
For a high-impact, modern finish, go pin-straight. A flat iron is your best friend. Work in small sections, clamping at the root and gliding slowly down to the end, ensuring you get those sharp, clean lines.
Pay extra attention to the front “hime” sections—their sharpness is the signature of the cut. This sleek version has major quiet luxury bob energy. It’s controlled, elegant, and makes a silent but powerful statement.
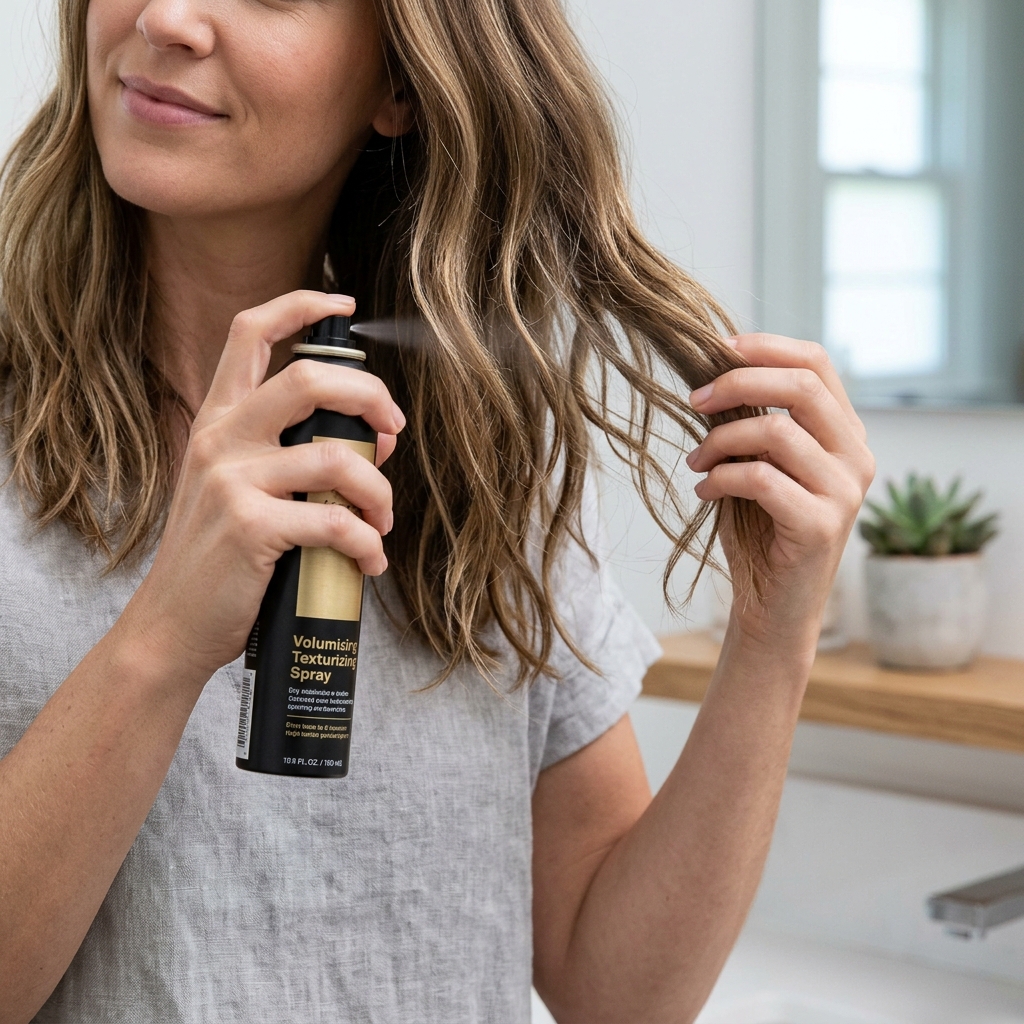
Adding Texture for a Piecey Finish
Don’t want it too perfect? Texturizing spray or a light-hold sea salt spray is magic. Spray it on dry hair, focusing on the mid-lengths and ends where your layers are. Then, gently scrunch or pinch pieces together.
This enhances the separation and gives that “lived-in” cool-girl vibe. It makes the cut feel modern and edgy, almost like a cousin to the asymmetrical lob in its playful approach to shape.
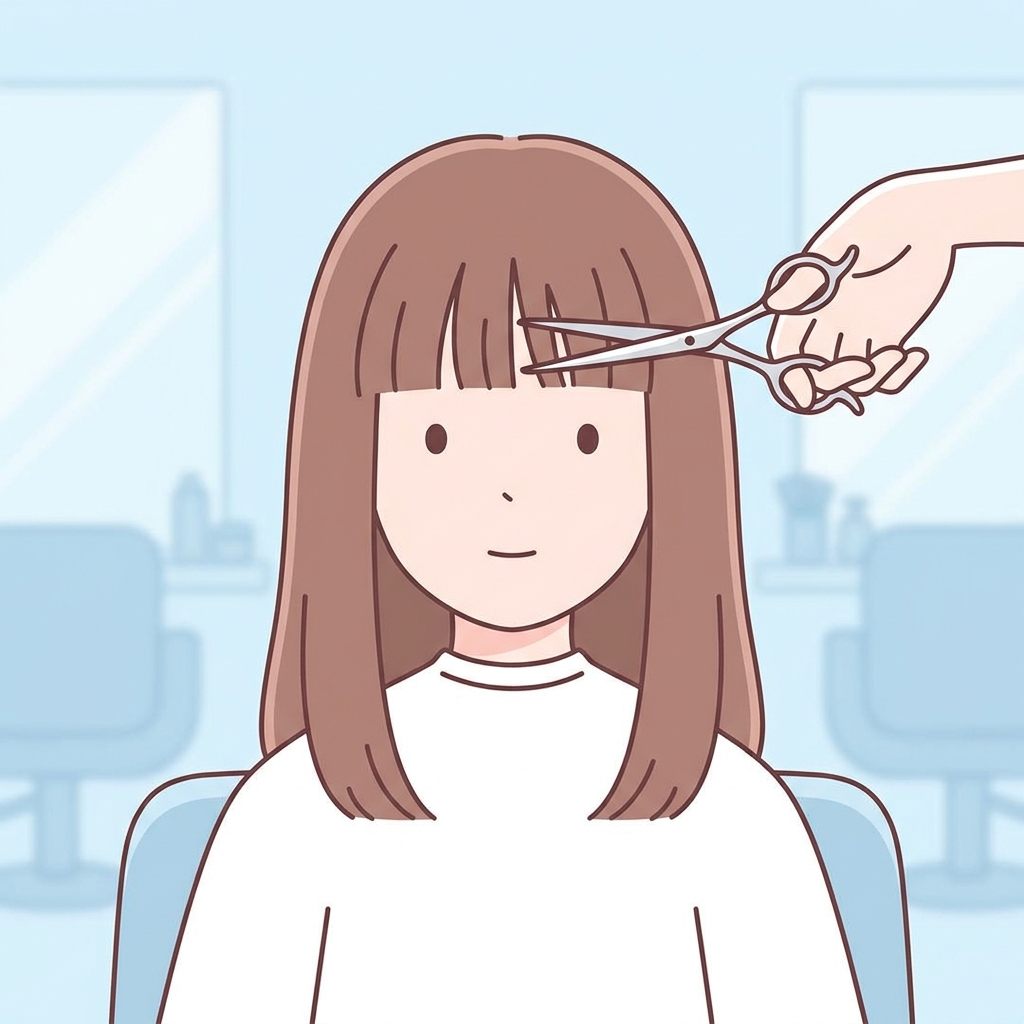
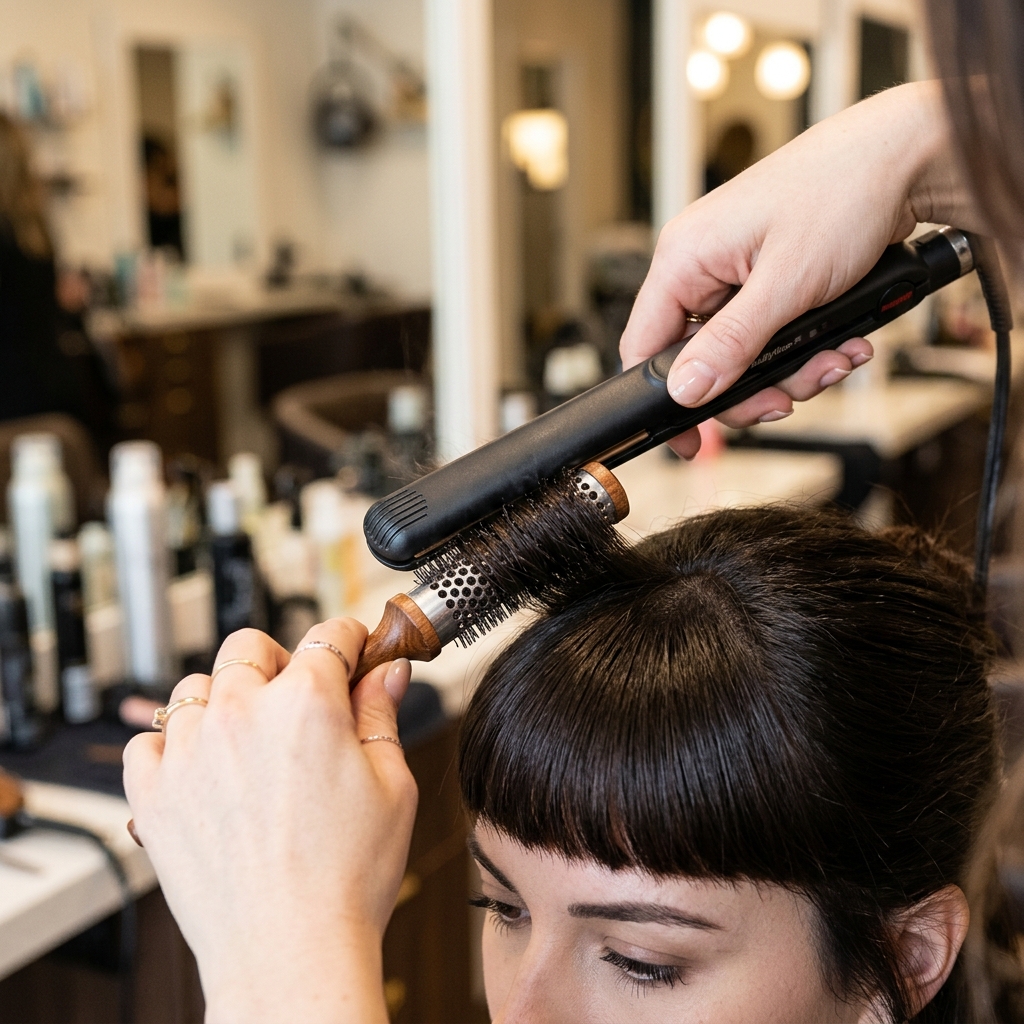
Styling the Bangs: Your Focal Point
Your bangs set the tone. For a blunt, dramatic look, flat-iron them straight down. For a softer vibe, use a round brush while blow-drying to add a slight curve. You can even push them to the side for a moment as they cool to create a subtle bend.
Keep a mini dry shampoo on hand to refresh them between washes. Well-styled bangs make the entire haircut look intentional and polished, tying the whole hime cut look together.
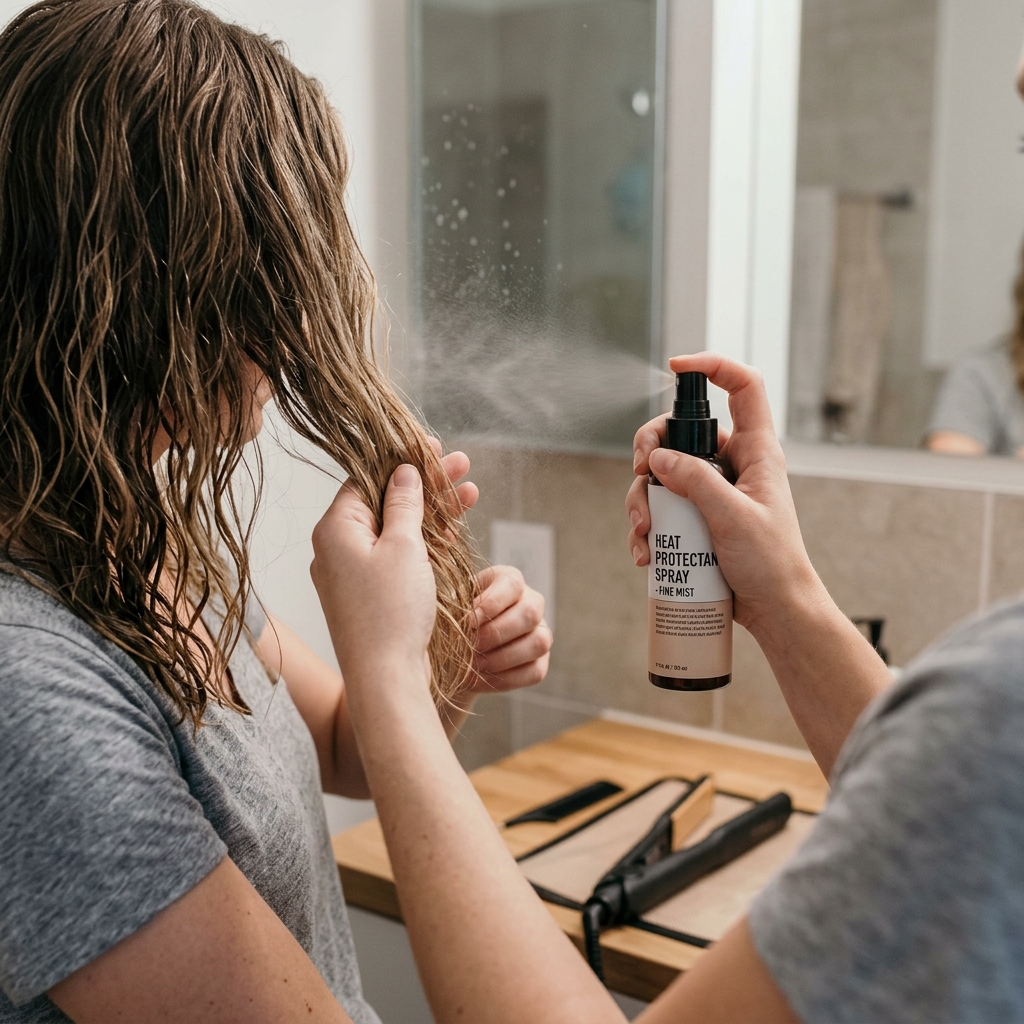
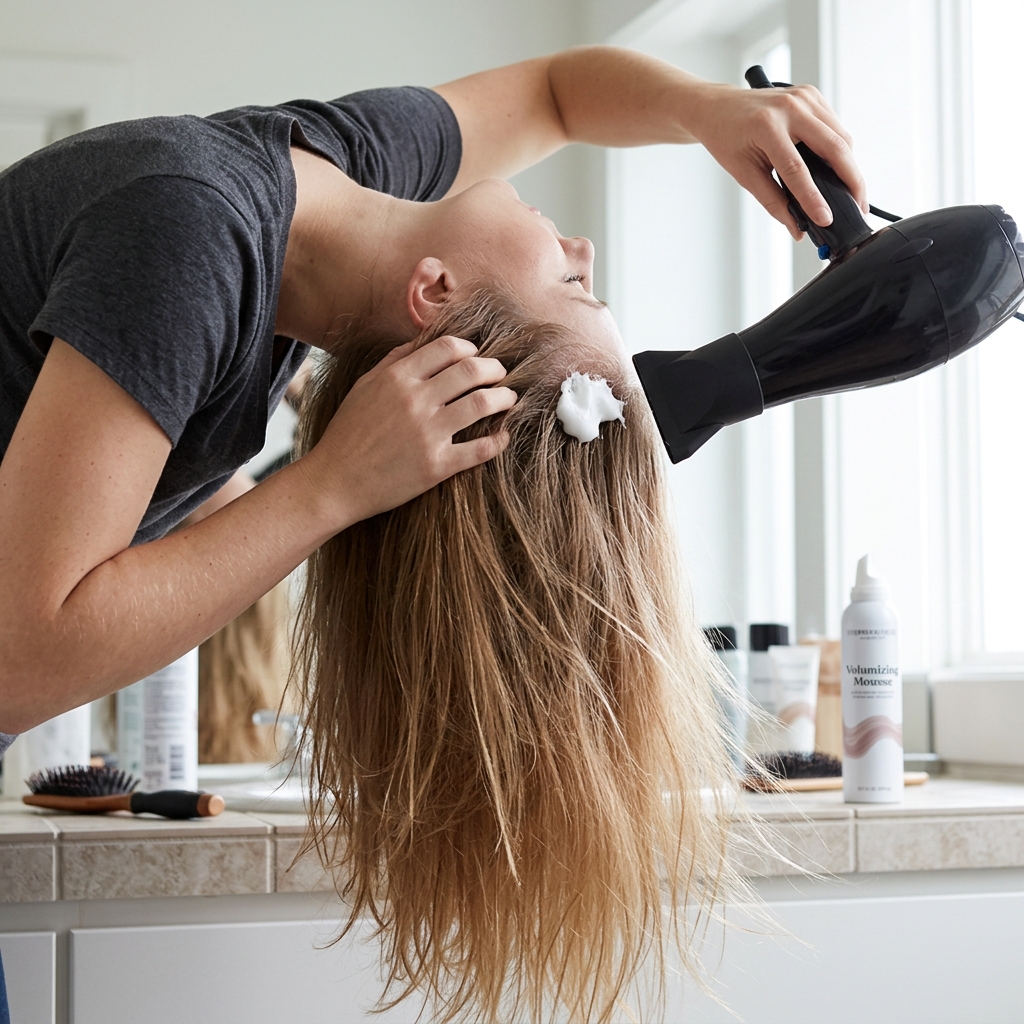
Heat Protectant is Non-Negotiable
With all this sharp styling, protecting your hair is key. Always, always use a heat protectant spray or cream before any hot tool. It creates a barrier that prevents damage and keeps your ends looking healthy, not fried.
Healthy hair holds this geometric shape better. Damaged, frayed ends will ruin the clean lines. Think of it as the essential primer for your hairstyle—you wouldn’t skip it for your skin, so don’t skip it for your hair!
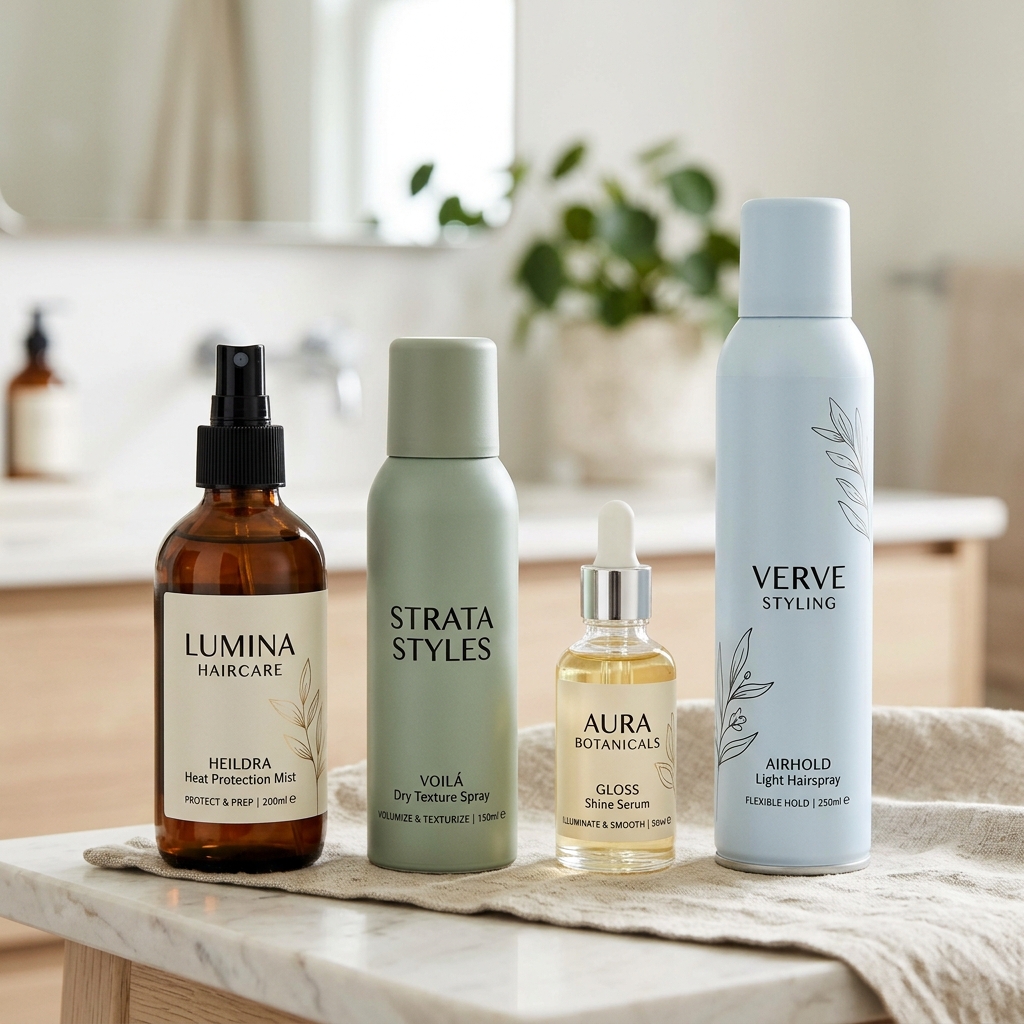
Best Products for Hold and Shine
A light-hold hairspray is perfect for locking in the shape without stiffness. A shine serum or drop applied just to the ends of the front pieces can make them look incredibly sleek and healthy.
For texture, a good texturizing paste or dry wax allows you to piece out individual layers. Avoid heavy gels or mousses that can weigh down the layers and defeat the purpose of adding movement.
Managing Thick Hair with Layers
If you have thick hair, layers are a lifesaver for this cut. They remove the bulk that can make a blunt hime feel triangular or helmet-like. Ask your stylist to focus on thinning out the interior weight.
This allows the hair to lie flatter and smoother while keeping the exterior shape. You still get the dramatic effect, but without the extra density. It becomes much more manageable and wearable every day.
Boosting Volume for Fine Hair
Fine-haired friends, this cut is for you! The layers create the illusion of thickness and body. Ask for long, subtle layers that start higher up—this builds in volume at the crown.
Use a volumizing mousse at the roots before blow-drying and a texturizing spray on finished hair. The layers will catch the light and product, making your hair look fuller and giving you that coveted 2026 hairstyles body and swing.
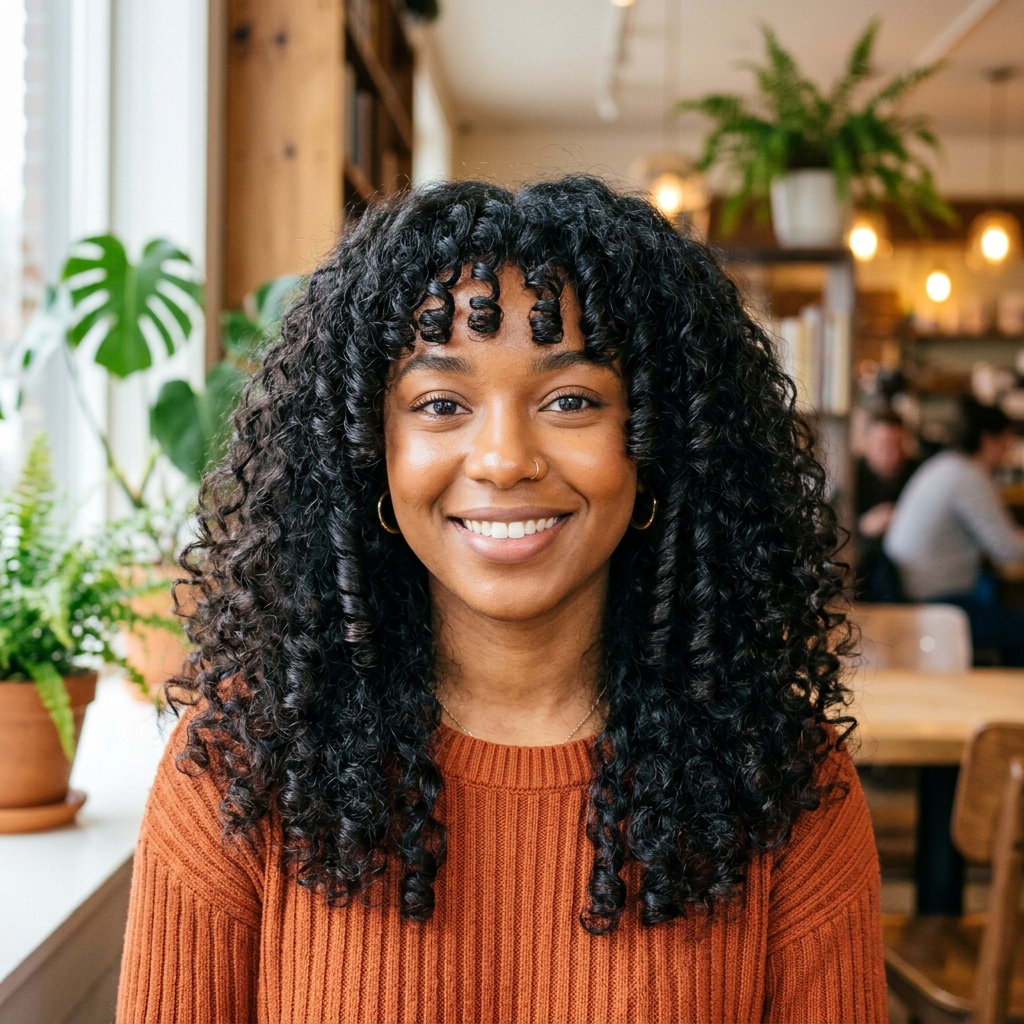
Curly and Wavy Hair Adaptations
Yes, you can absolutely rock this! On curly hair, the cut transforms. The front pieces may spring up shorter, creating a beautiful, bold frame. The key is to cut it dry or on styled hair so the stylist sees your natural pattern.
The layers will help define your curls and reduce bulk. Embrace the volume! It becomes a powerful, textured take on the style that stands out from the sleeker versions.
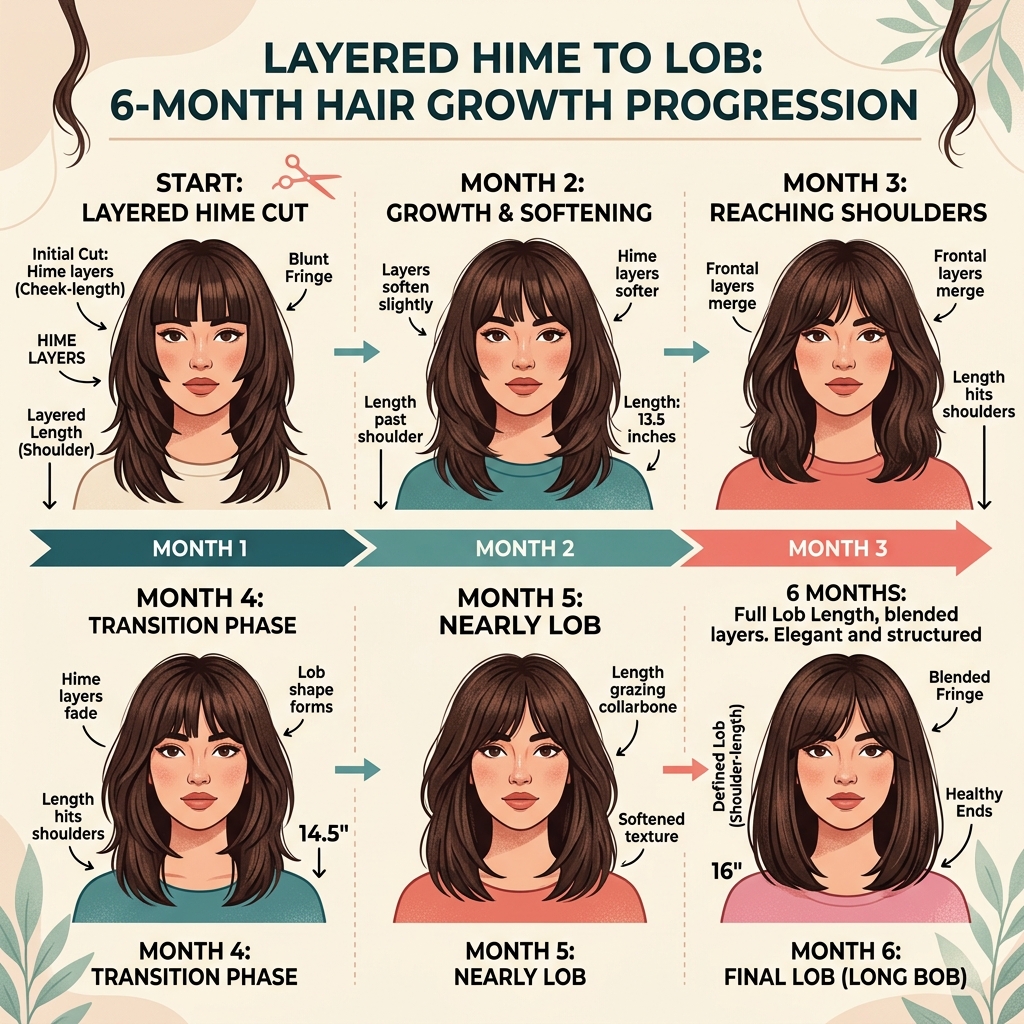
Growing Out Gracefully
The great news? A layered hime grows out better than the blunt one. The layers help blend the different lengths as they get longer. You’ll go through a phase that feels like a shaggy asymmetrical lob, which is totally on-trend.
Regular trims every 10-12 weeks to tidy up the shape are your best strategy. You can eventually grow it into a beautiful, layered long bob without any awkward, harsh lines.
Common Mistakes to Avoid
- Going too short with the front pieces without being ready for the commitment.
- Letting a stylist cut the layers too short or choppy, which loses the hime essence.
- Using heavy products that flatten the layers and kill movement.
- Neglecting bang trims—they need upkeep every 2-3 weeks to stay sharp.

Is the Layered Hime Cut For You?
Ask yourself: Do I like attention on my face? Am I okay with styling bangs? Do I want a look that’s both edgy and soft? If you said yes, then this is your sign.
It’s for the person who loves trends like the vampire haircut but wants something more refined. It’s for anyone craving a change that feels fashion-forward but not fleeting. It’s a confident, beautiful choice.
Final Hairdresser Checklist Before You Go
- Inspiration photos ready on your phone.
- Know your fringe preference (blunt, wispy, curtain).
- Decide on length for the back hair.
- Use the phrase “soft, face-framing layers for movement, not a shag.”
- Discuss your hair texture and daily routine.
Walk in with this, and you’re guaranteed a stunning result. You’ve got this!
And there you have it! Your complete, no-stress guide to getting the layered hime cut of your dreams. This style is such a beautiful way to play with geometry and softness all at once, making it feel fresh and totally wearable.
Remember, the best haircut is one that makes you feel like the most confident version of yourself. This layered take on a classic does exactly that—it’s bold but breezy, sharp but soft. It might just become your new signature look.
Did you find this helpful? Save this post to Pinterest to keep this guide handy for your next salon visit! And tell me in the comments—are you team blunt bangs or soft curtain fringe? I read every single one!
Xoxo, Hailey & Team

