
Okay, let’s be real. We’ve all seen those impossibly perfect crown braids on Pinterest and thought, “I could never.” It looks like something out of a fairy tale, reserved for people with a full-time hairstylist. I totally get it.
But what if I told you there’s a version that’s actually doable? A “laced up” crown braid that feels special but won’t make you want to throw your brush. It’s the perfect blend of effort and ease.
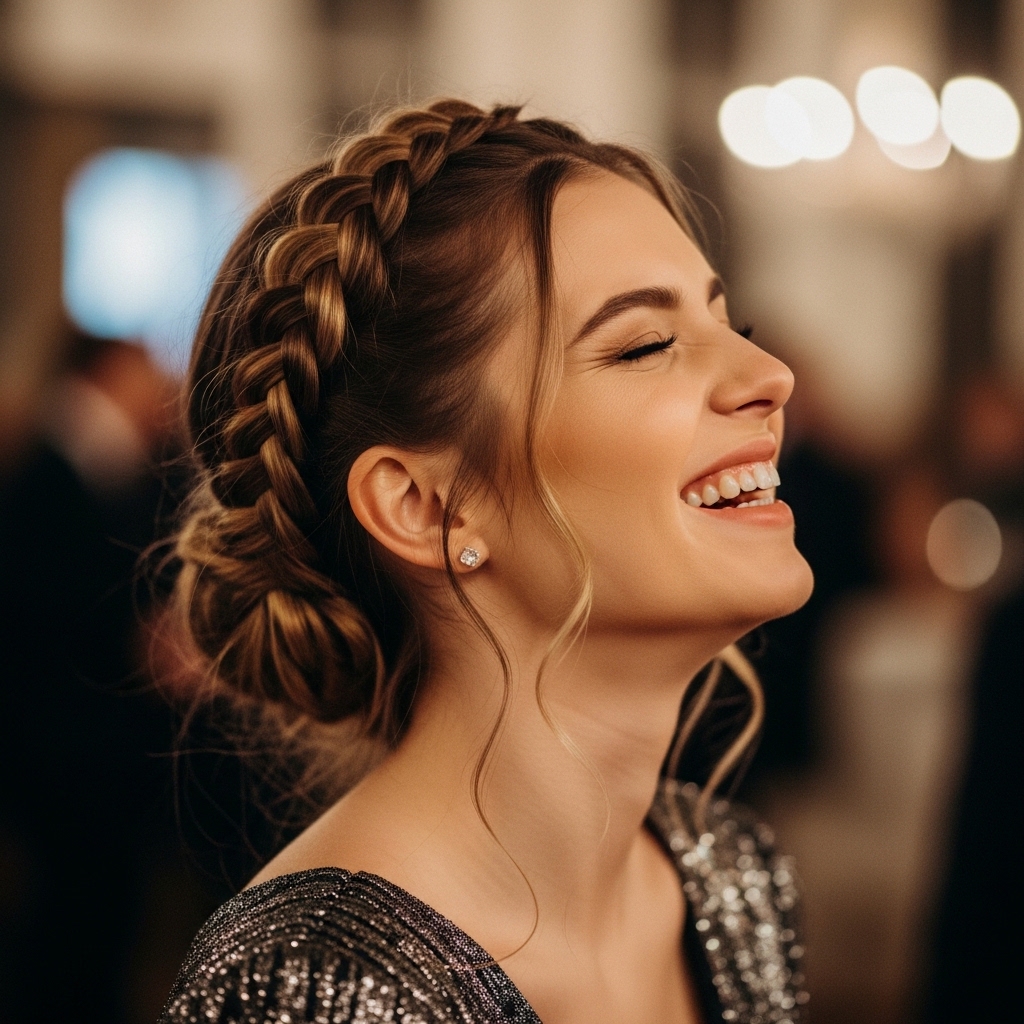
This style sits right at the sweet spot between 2026 hairstyles trends and timeless elegance. It works for a fancy date, a wedding, or just when you want to feel put-together. I’m breaking it down into the simplest steps possible. No magic fingers required, promise.
Why You’ll Love This Laced Up Braid
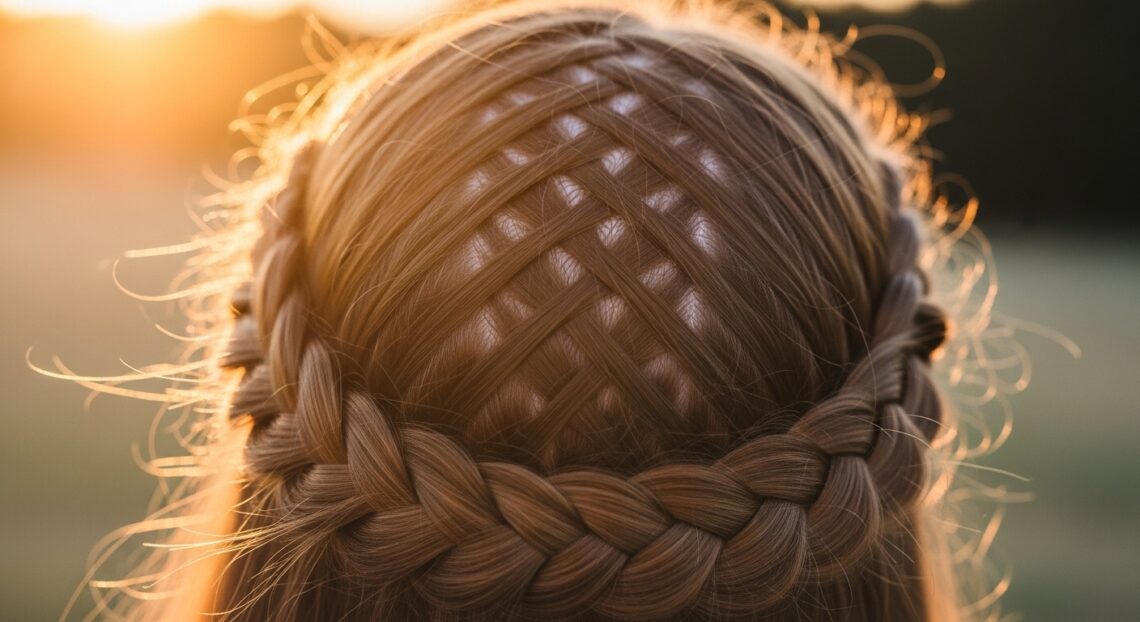
This isn’t your average crown braid. The “laced up” technique means we’re creating two braids that wrap and weave together, like lacing a shoe. This gives you way more security and texture than a single braid.
It looks intricate, but the method is straightforward. You get that gorgeous, old money hair vibe—think romantic and refined, not stiff or overly perfect. It has a soft, lived-in elegance that works with your natural hair texture.
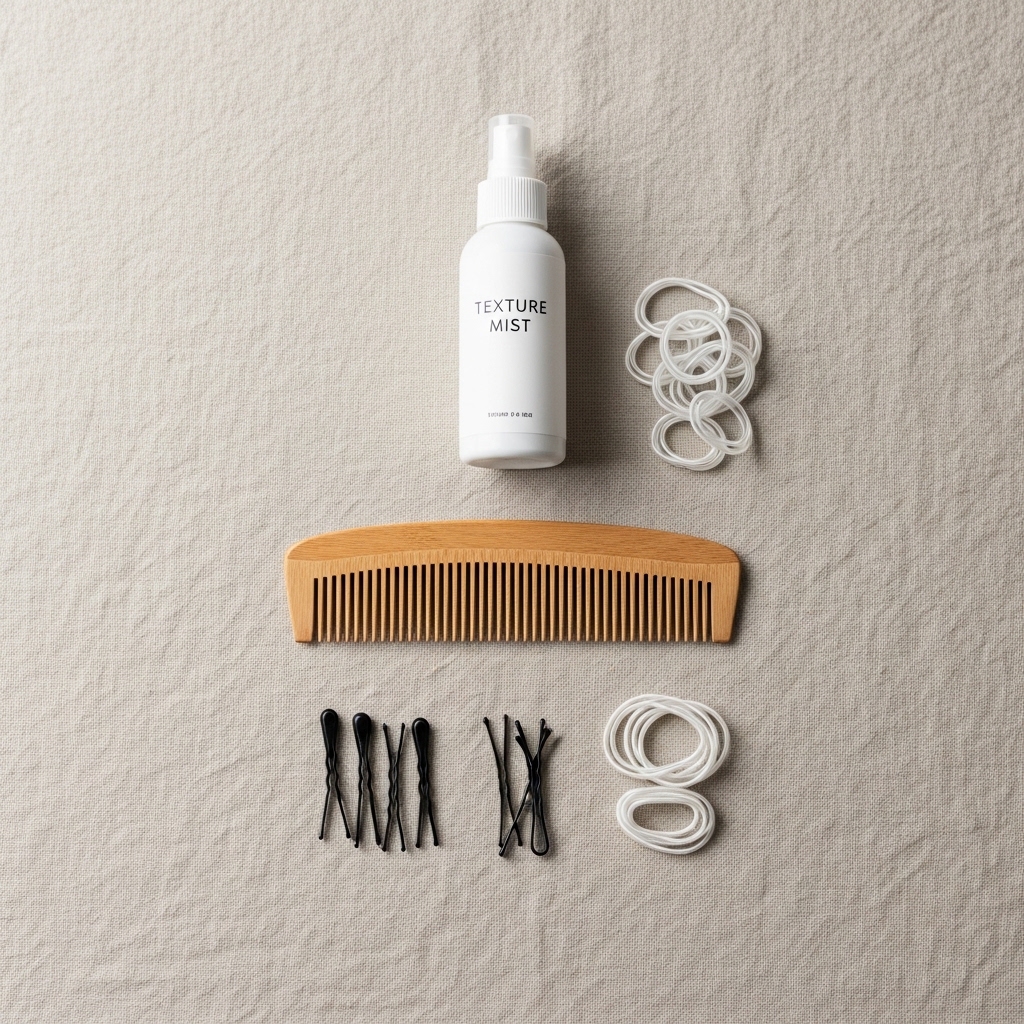
Gather Your Simple Tools
You don’t need a salon worth of products. Here’s your shortlist. Using the right basic tools makes all the difference in keeping this process smooth and frustration-free.
- A fine-tooth comb for clean parts.
- Two small, clear elastic hair ties.
- A handful of bobby pins that match your hair color.
- Light-hold texturizing spray or mousse (optional, but great for grip).
- A mirror you can move to see the back of your head.
Start With Day-Old Hair
This is the best hairstylist secret for any braid. Freshly washed hair can be too slippery. Day-old hair has natural oils that give it just enough grip and texture to hold the style beautifully.
If you must wash your hair today, spray a little dry shampoo or texturizing spray at the roots. Work it through to the mid-lengths. This creates the perfect base, whether you’re going for glitchy glam hair or a more polished look.

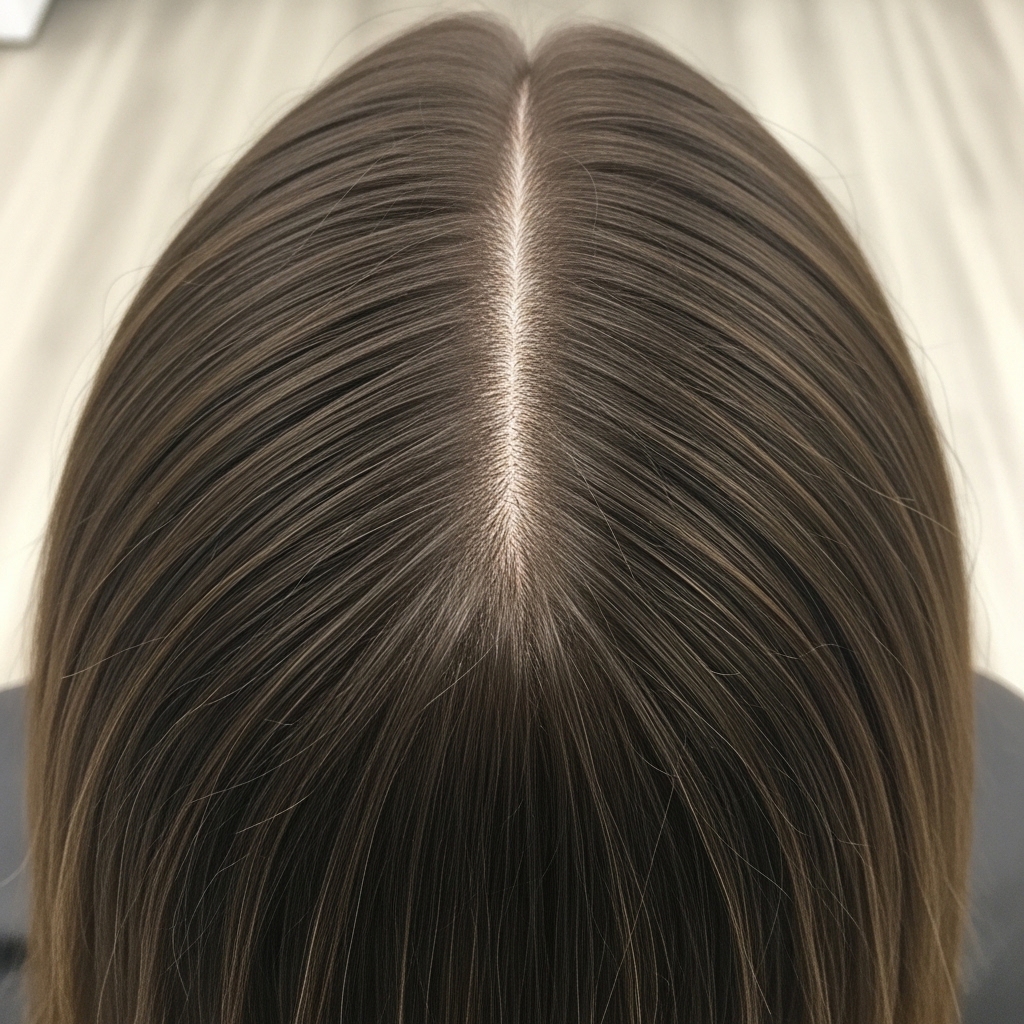
Create Your Center Part
Start with a clean, straight center part from your forehead all the way to the nape of your neck. Use the fine end of your comb for precision. This part is the foundation for the whole style.
It divides your hair into two equal sections. Don’t worry if it’s perfectly exact—a little imperfection adds to the soft, romantic feel. This symmetrical start is key for the laced effect to work.
Section Off the Front
On one side of your part, take a section of hair from the front, near your temple. This section should be about two inches wide and go back to about your ear. Clip the rest of that side’s hair out of the way.
This front section will become your first braid. The size is important: too thin and it won’t have impact, too thick and it becomes hard to manage. This is the same principle used in face-framing styles like the hime cut.

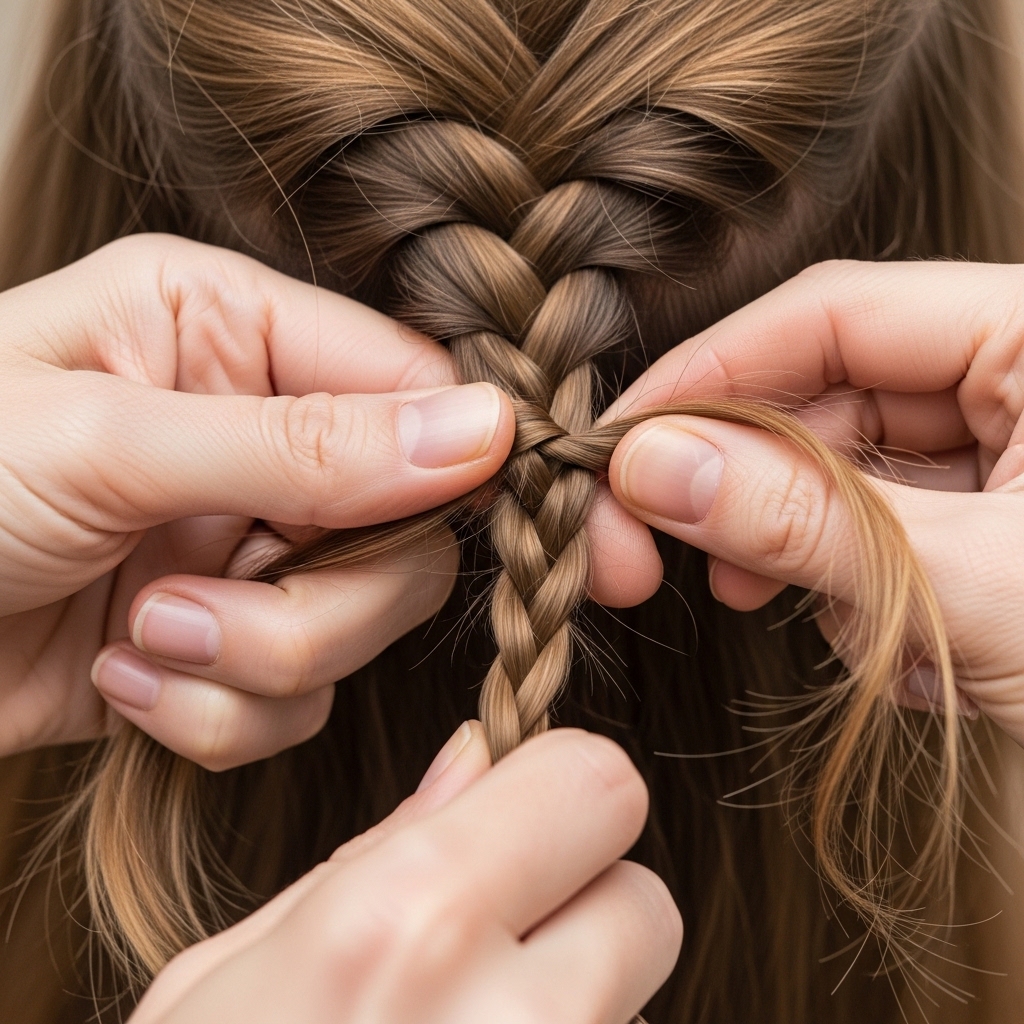
Begin Your First Braid
Take that front section and begin a simple three-strand braid. Braid it neatly, but not too tightly. You want it to be flexible so you can wrap it around your head later. Keep the tension even.
Braid all the way down to the ends and secure it with a clear elastic. Give the braid a gentle tug along its length to loosen it slightly and make it look fuller. This plumping step is a game-changer.
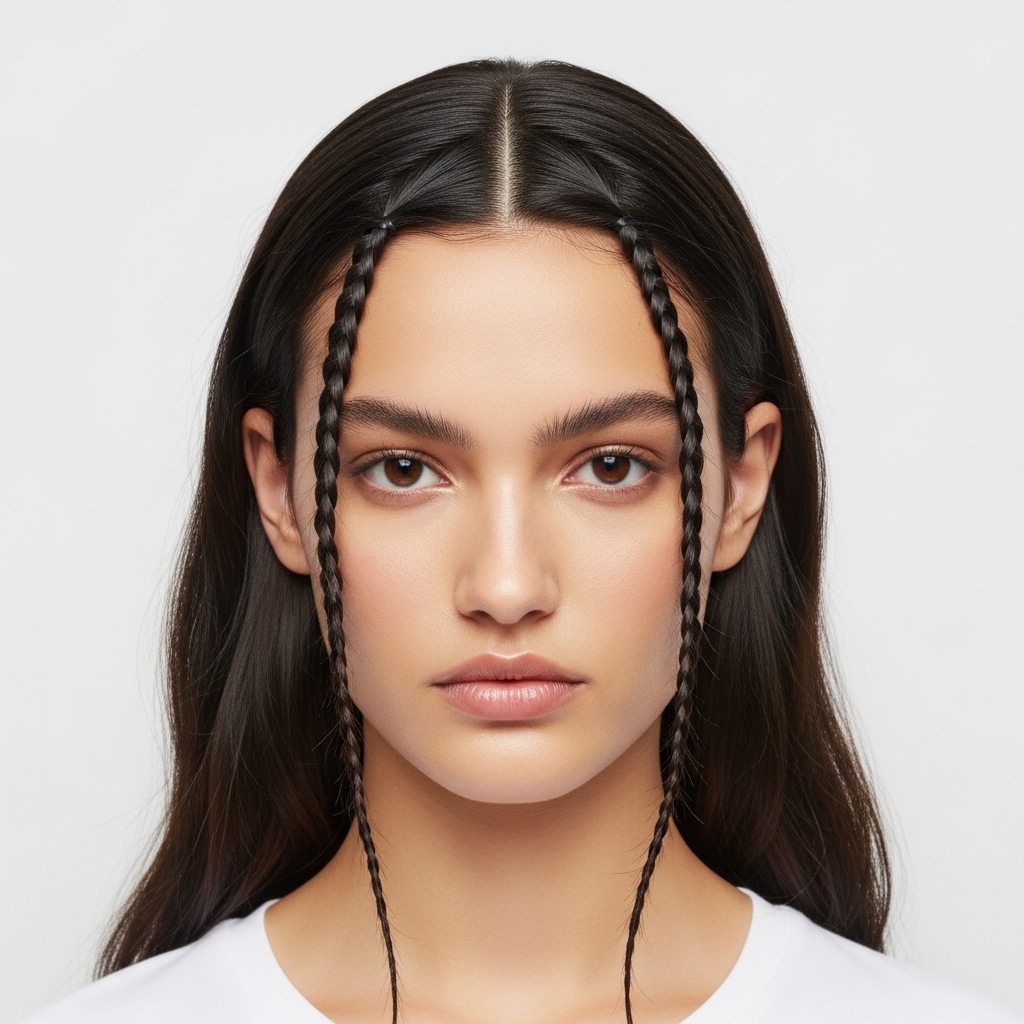
Repeat on the Other Side
Now, unclip the other side of your hair. Take an identical two-inch section from the front, near the temple. Mirror exactly what you did on the first side.
Create your second three-strand braid, secure the end with a clear elastic, and gently pull it to plump it up. You should now have two identical braids hanging down on either side of your face.
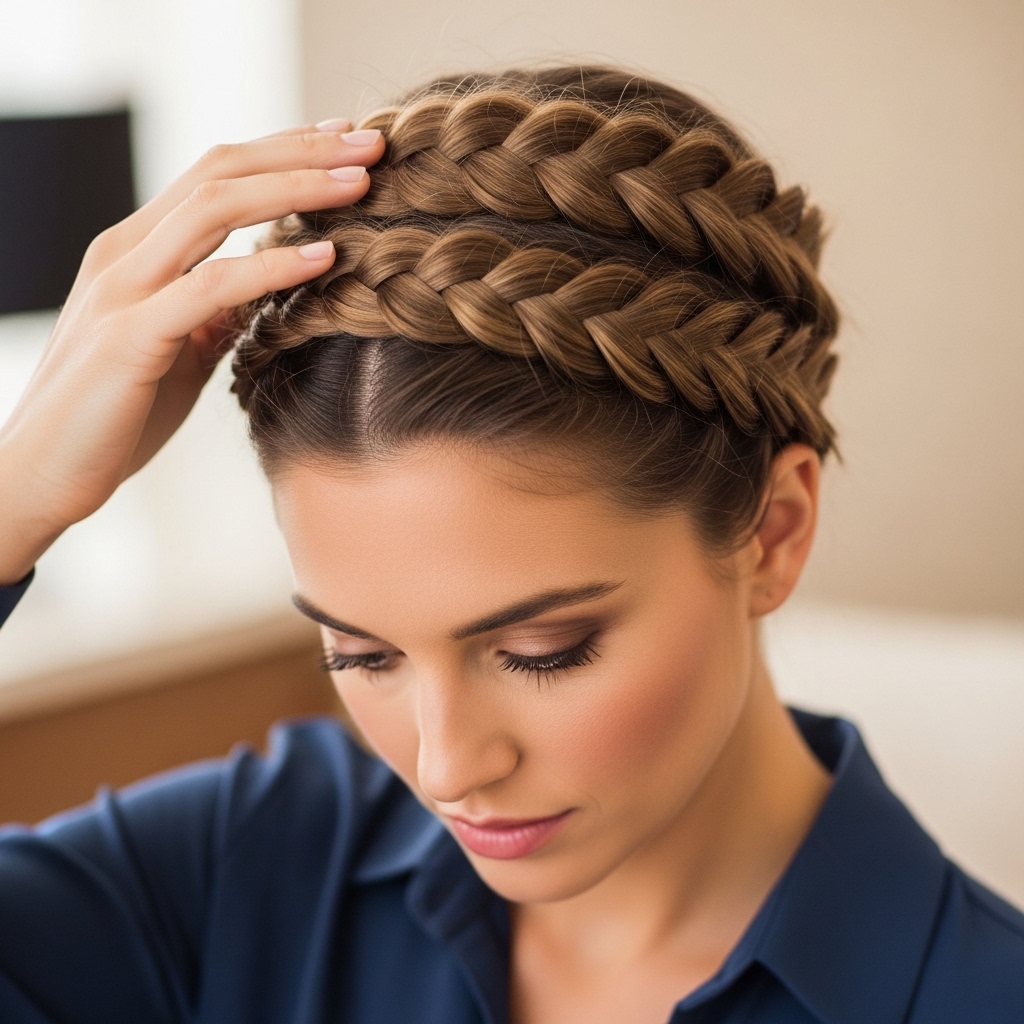
Position the First Braid
Take the braid from the right side of your head (if you’re right-handed, this is easier). Gently pull it across the top of your head, going towards your left ear. Don’t pull it tight like a headband.
Let it rest softly along the crown of your head. This is just to see its placement. We’re going for a draped, romantic look, not a tight ring. Think romantic goth hairstyles, but in a softer, daylight version.
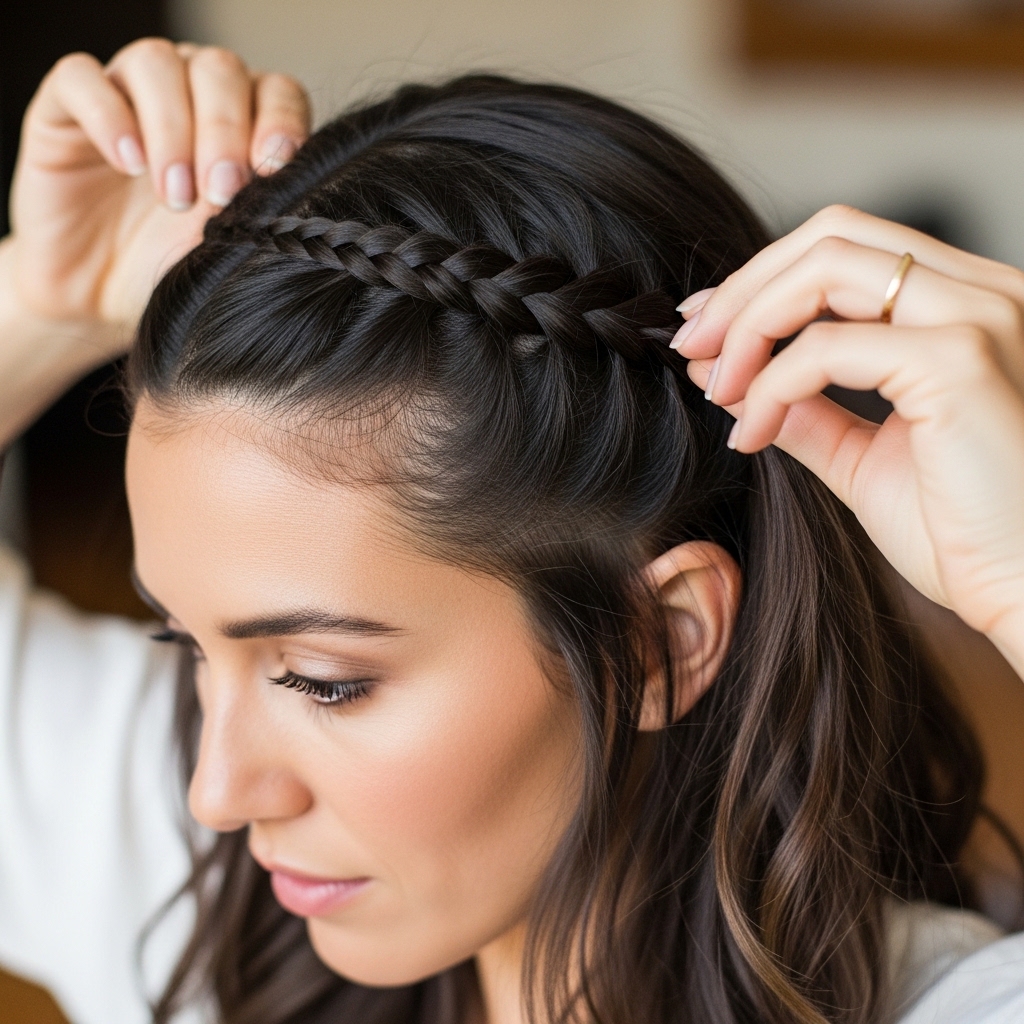
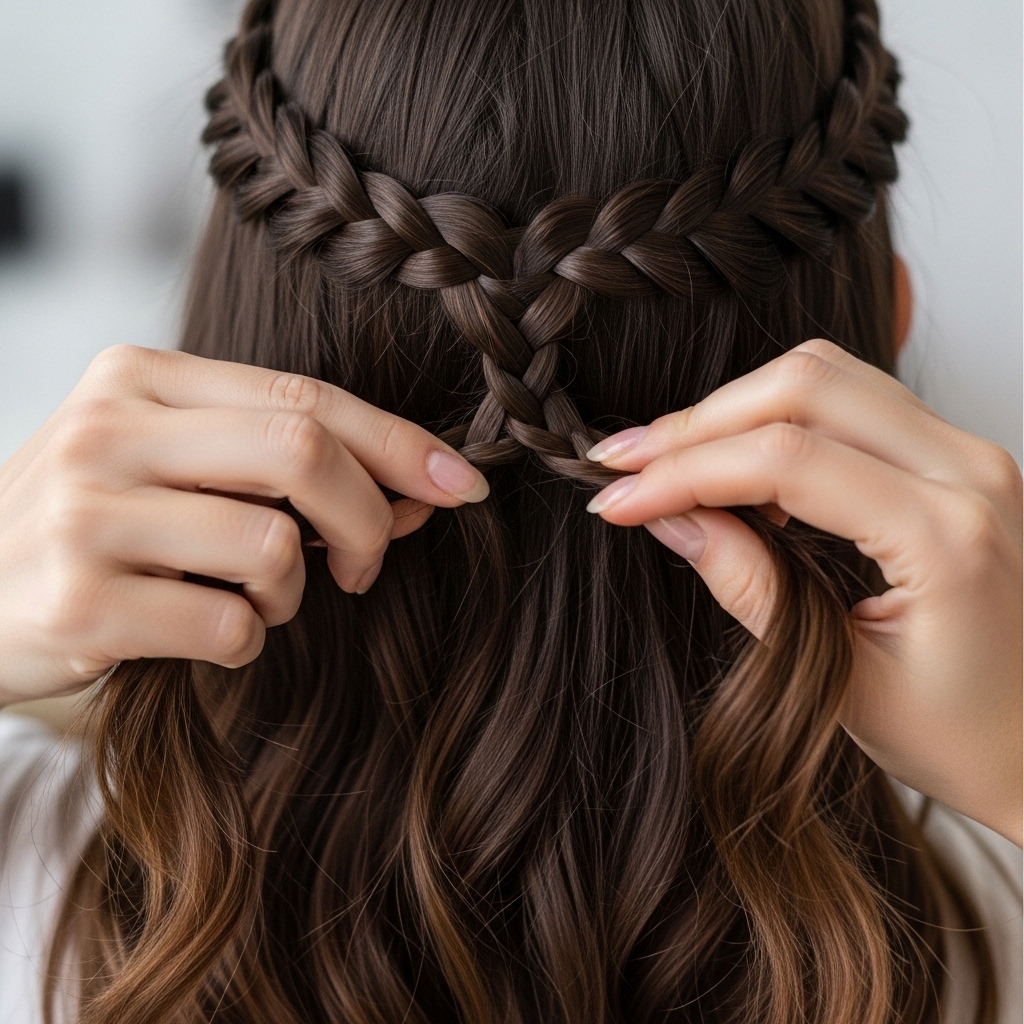
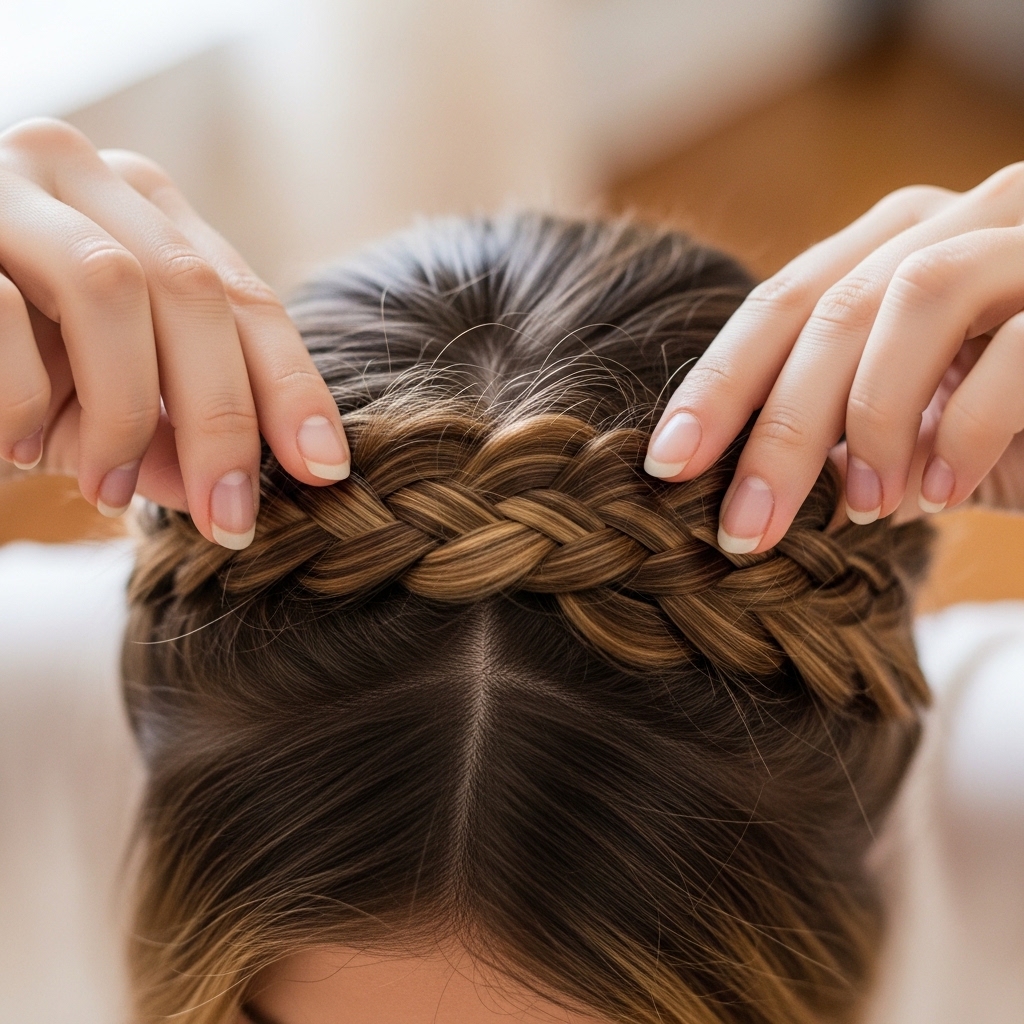
Start Lacing the Second Braid
Here’s where the magic happens. Take the braid from the left side. Instead of just crossing it over the first one, you’re going to *weave* it. Lift the first braid slightly and pass the left braid under it.
Then, lay the left braid over the top of your head, heading towards your right ear. You’ve just created the first “lace.” This cross-point is what gives the style its name and its secure hold.
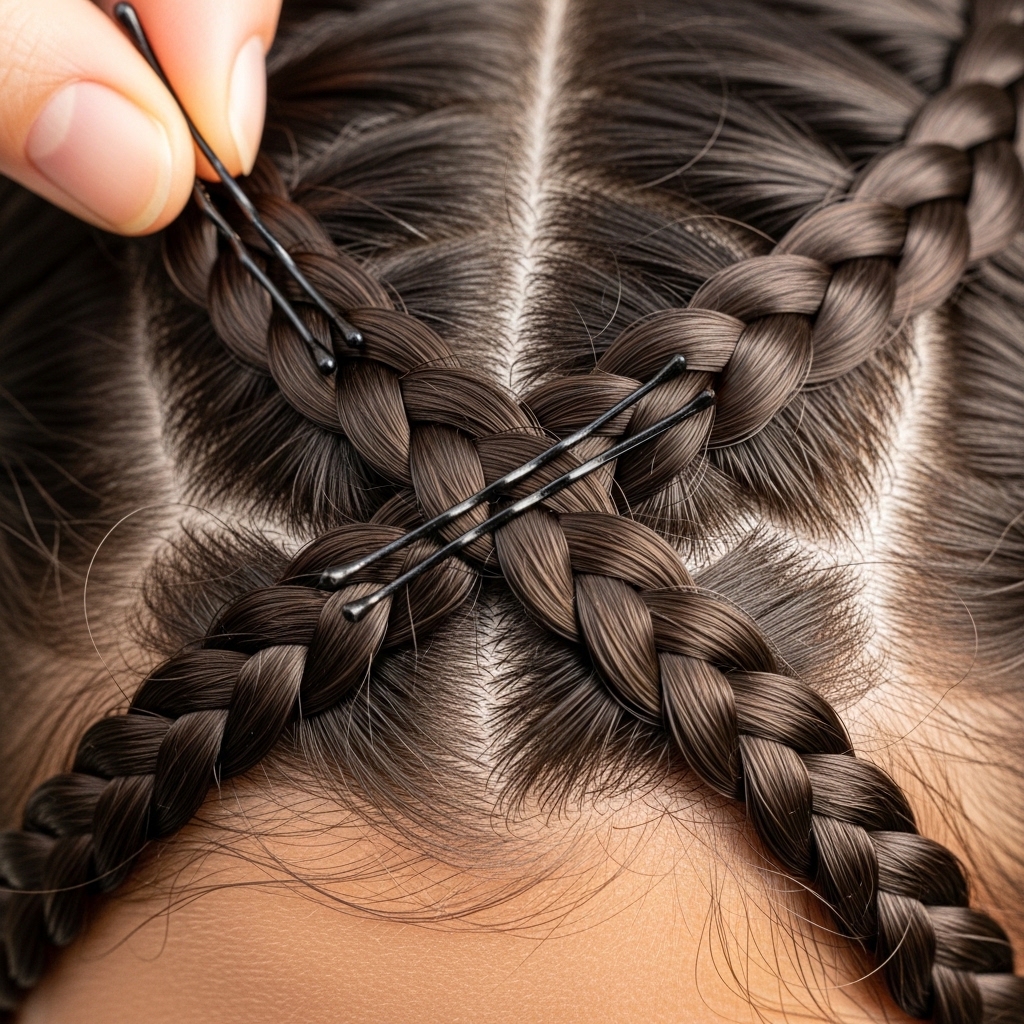
Secure the First Cross Point
Where the two braids cross at the top center of your head, secure them together. Use two bobby pins in an “X” formation. Slide them through the braids and into your hair underneath.
This anchors the whole style. Make sure the pins are hidden by the braids. A good tip is to pin *with* the direction of your hair growth, not against it, for a more secure hold.
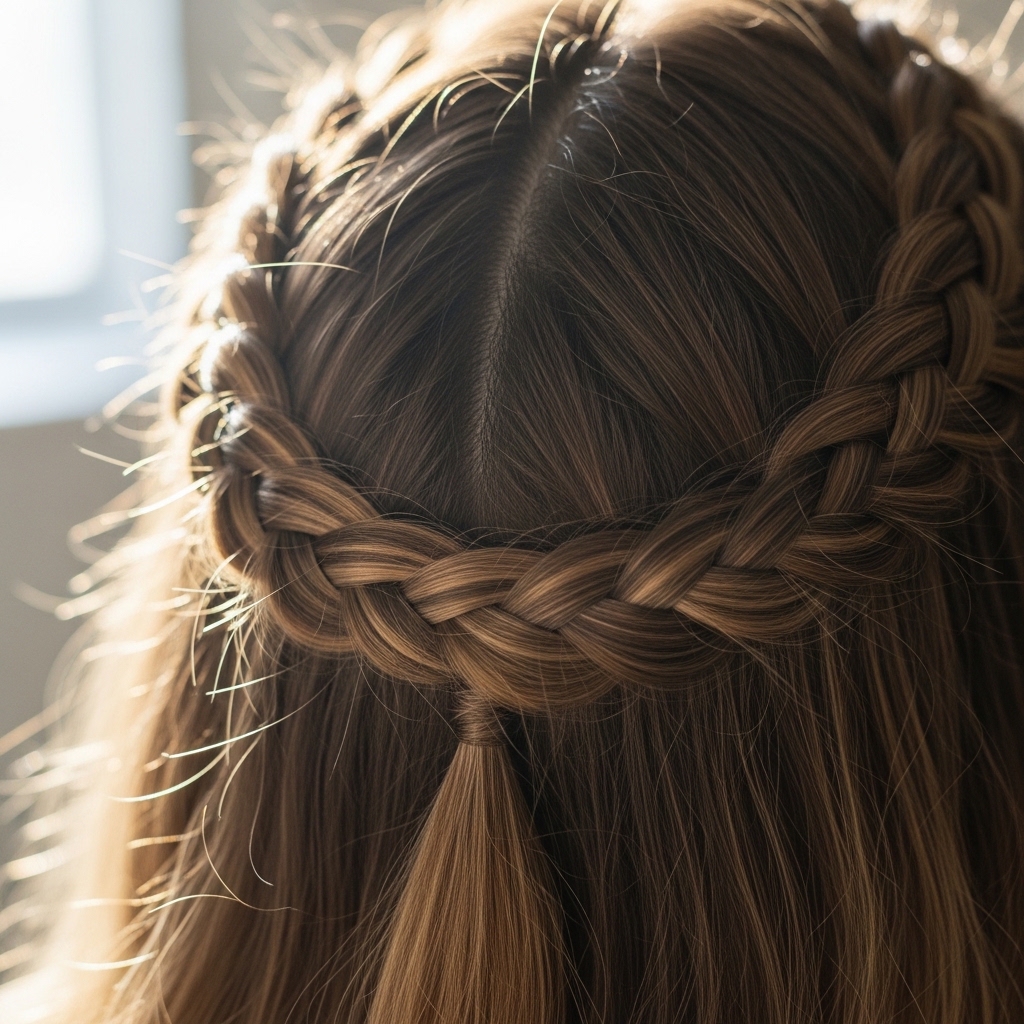
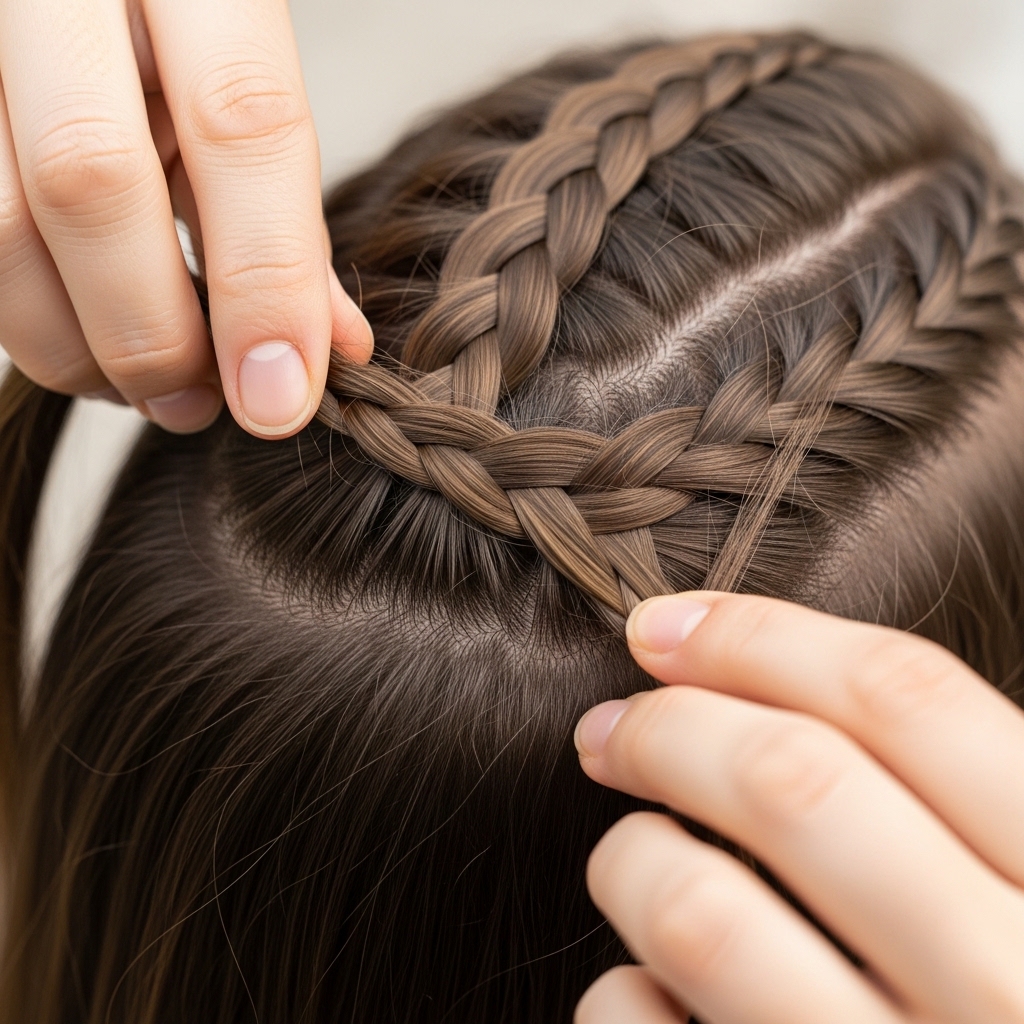
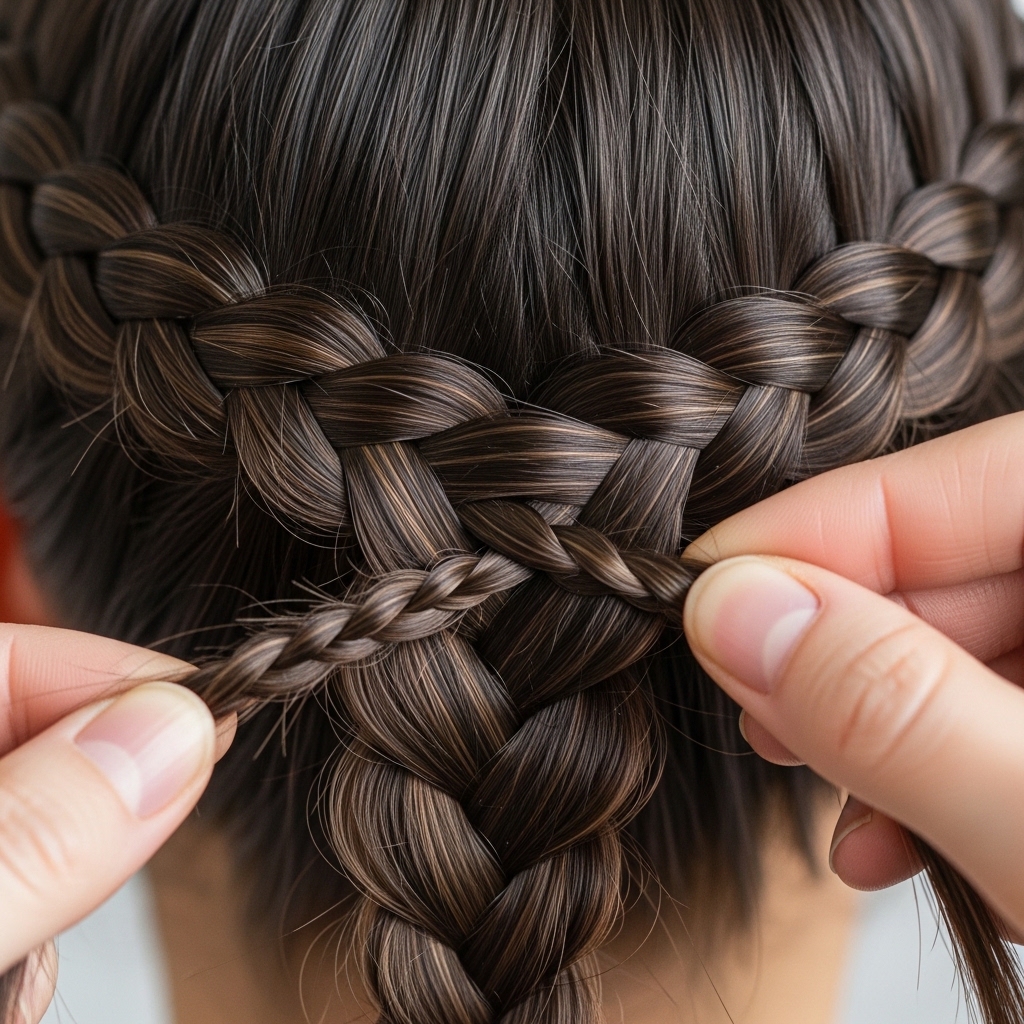
Continue Weaving Around the Head
Now, continue the lacing pattern. Take the braid in your right hand (the one that’s now on the left side of your head) and bring it around the back of your head. Then, weave it *over* the other braid when they meet.
Each time the braids meet, you’ll alternate: under, then over, then under. This creates that beautiful laced, woven effect. Don’t pull too tight; keep a soft, flexible drape.
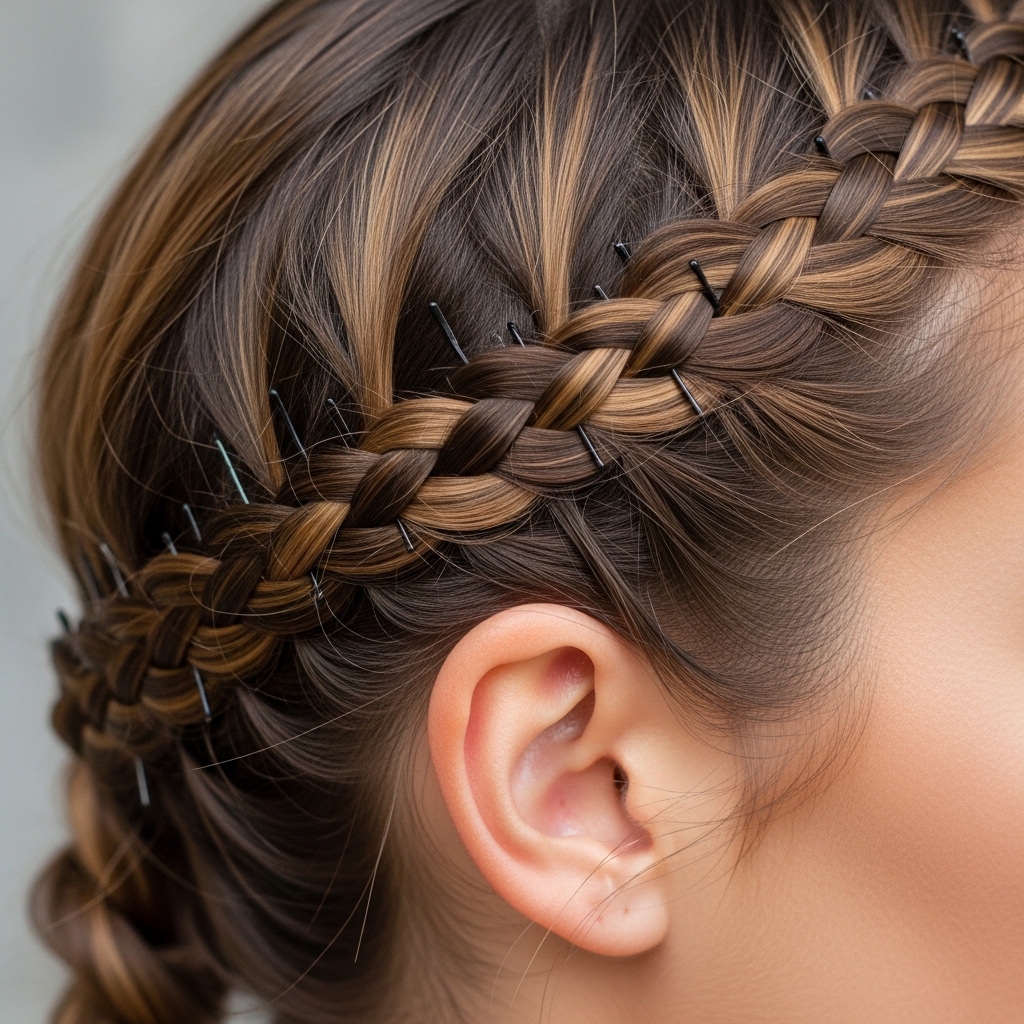
Pin As You Go
Don’t wait until the end to pin everything. As you lace the braids around your head, stop and pin at each crossover point. Use one or two bobby pins each time, always in that “X” formation for strength.
Pinning as you go keeps the braids from slipping and lets you adjust the tension easily. It also means you won’t forget a spot and have the whole thing come loose later.
Deal With the Ends
When you’ve laced all the way around, you’ll have two braid ends left. Tuck these ends under the nearest section of the laced braid. Use your fingers to gently fold and conceal them.
Secure these tucked ends thoroughly with several bobby pins. Pin through the end of the braid and into the base of the other braid and your own hair. This hides all the evidence.
Check for Security
Gently tug on the braided crown around your whole head. It should feel secure and not shift. If any spot feels loose, add another bobby pin. Pay special attention to the areas above your ears and at the nape of your neck.
This isn’t about making it rigid, just stable. You want to be able to move your head, dance, and enjoy your day without worrying about a pin popping out.
Loosen for a Softer Look
This step makes it look effortless. Gently pull on the outer loops of the braids all around your head. Loosen them slightly to create a fuller, softer, more romantic shape.
Pull a few tiny face-framing pieces loose near your temples and ears. This softens the entire style and keeps it from looking too severe or perfect. It’s the quiet luxury bob principle applied to a braid.
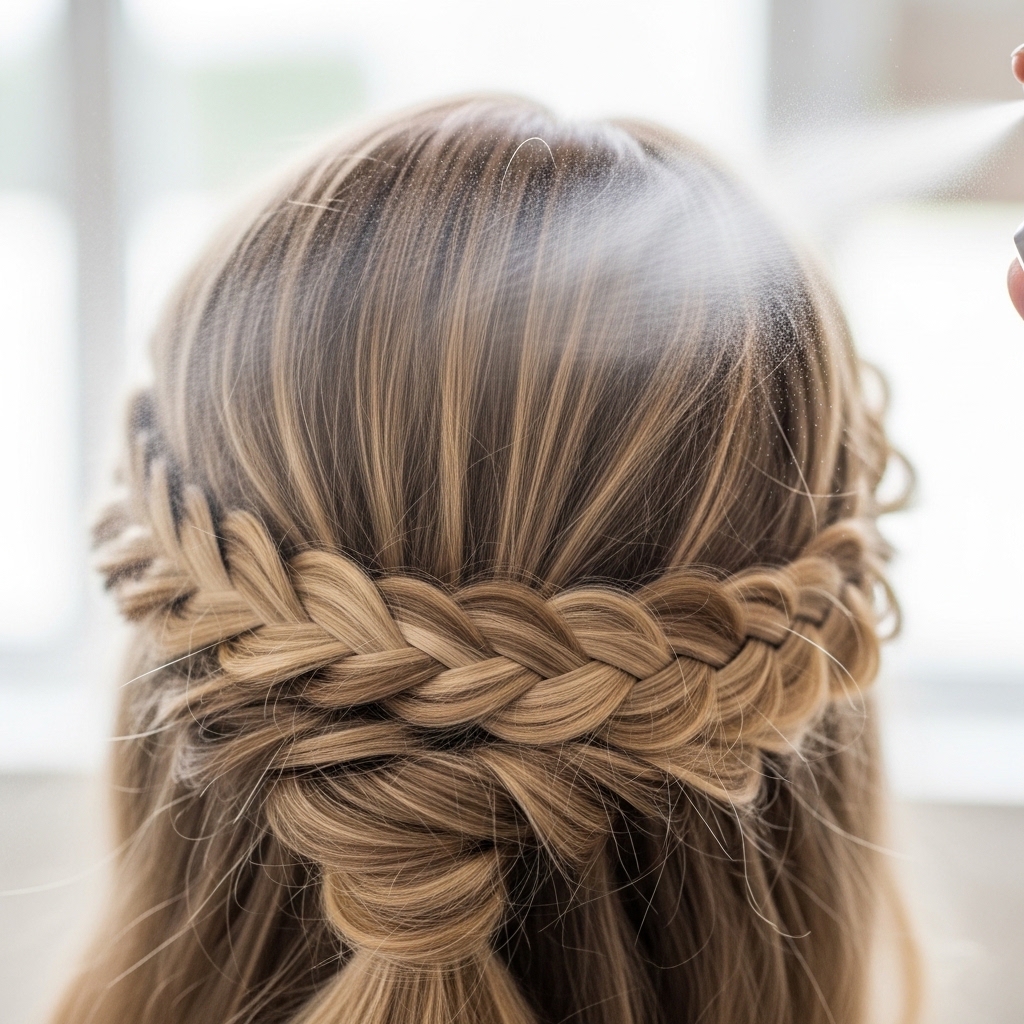
Set With Light Hold Spray
If you want extra hold, now is the time. Use a light-hold hairspray or texturizing spray. Hold the can about 10 inches away and give a light mist all over, focusing on the pinned areas.
Avoid heavy, stiff sprays. You want to maintain the movement and softness. The goal is to fight flyaways and encourage hold, not to create a helmet. This is key for that lived-in glamour of glitchy glam hair.
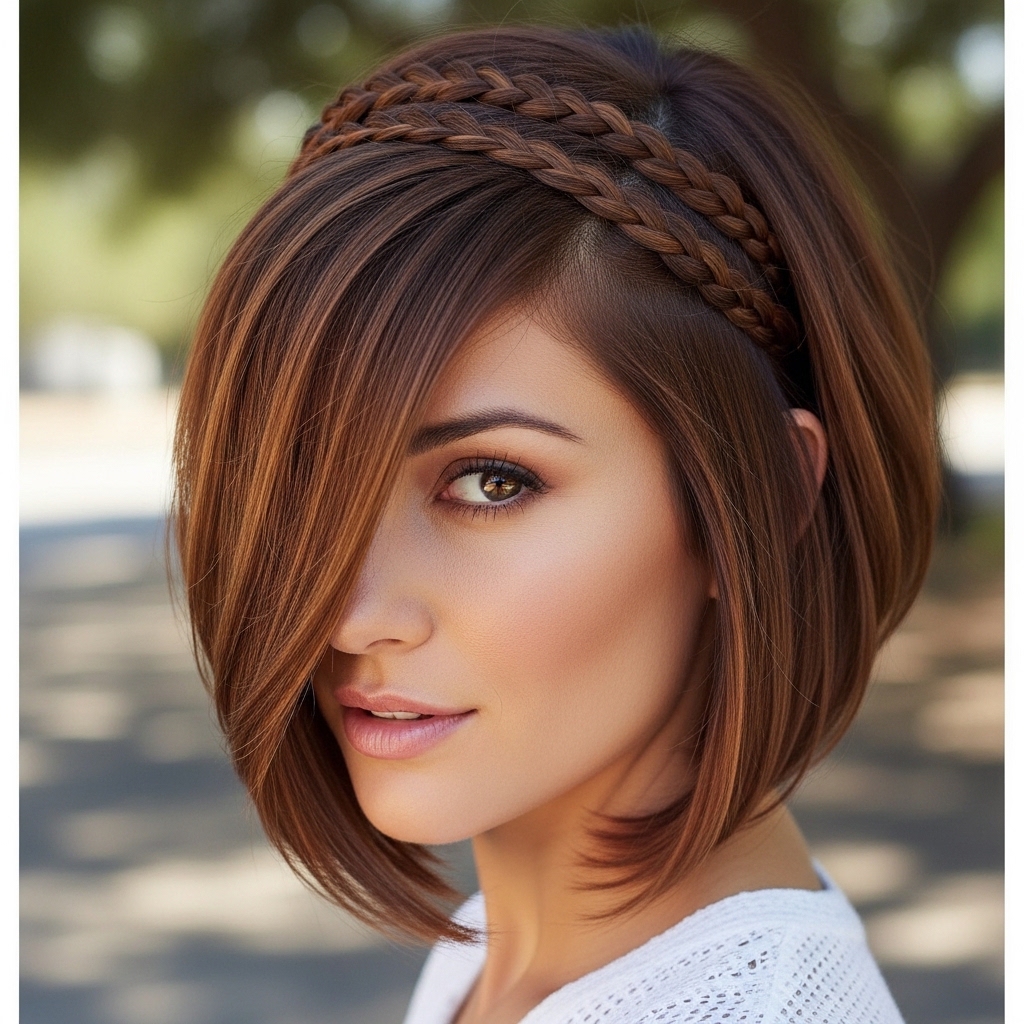
What to Do With Short Hair?
If you have a chic asymmetrical lob or a bold vampire haircut, you can still adapt this! The technique is the same, but your braids will be shorter. You might only get one full “lace” around your head.
Just focus on the front sections. Create smaller braids and lace them across the crown, pinning the ends near the back of your ear. It becomes a gorgeous, half-crown accent that’s perfectly modern.
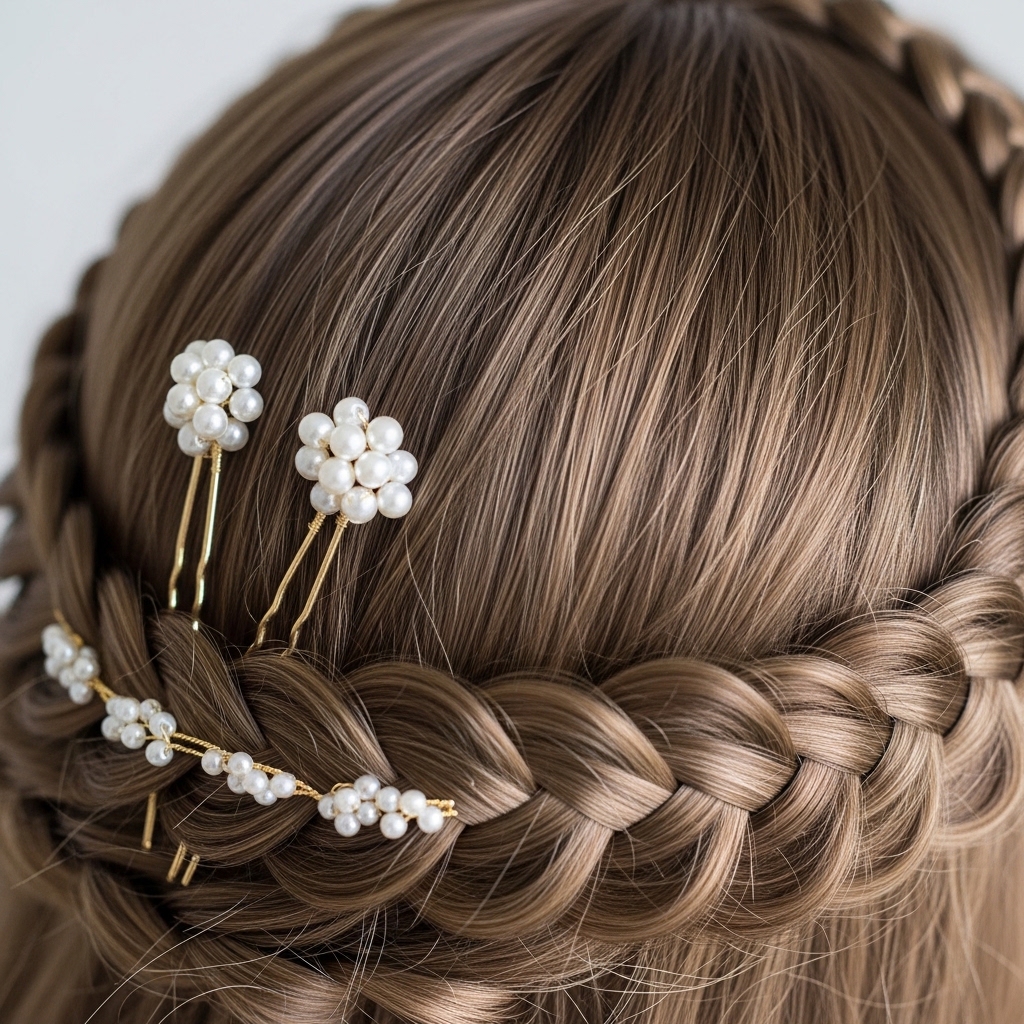
Add Accessories (Optional)
This style is a beautiful base for delicate accessories. Slide a few pearl-ended pins into the lace points. Or, weave a thin, delicate ribbon into the braids before you start lacing.
For a bohemian feel, add small dried flowers. For evening glamour, try sparkly pins. Keep it minimal—the braid is the star. This is where you can personalize it for any vibe, from cottagecore to modern minimalist.
Fixing Common Problems
If your braid feels lumpy, you pinned too tightly before loosening. Take it out and try again, leaving more slack. If pins are showing, use a smaller pin and slide it completely under the braid.
Got slippery hair? Use that mousse or texturizing spray on dry hair before you start braiding. It adds the grit you need. The biggest tip is to practice. Your second try will always be faster and better than your first.

Make It Last All Day & Night
To go from day to night without a fix, carry a few extra bobby pins and a travel hairspray. If a piece comes loose, don’t panic. Twist it gently and pin it back in, often creating an even prettier, softer effect.
This style actually gets better with a little wear. The soft loosening throughout the day adds to that effortless, I-woke-up-like-this charm that defines the best 2026 hairstyles—practical and pretty.
Pair It With Your Style
This hairstyle is incredibly versatile. It looks stunning with a sleek minimalist outfit, playing into that old money hair aesthetic. It also pairs beautifully with a romantic, puff-sleeved dress for a wedding.
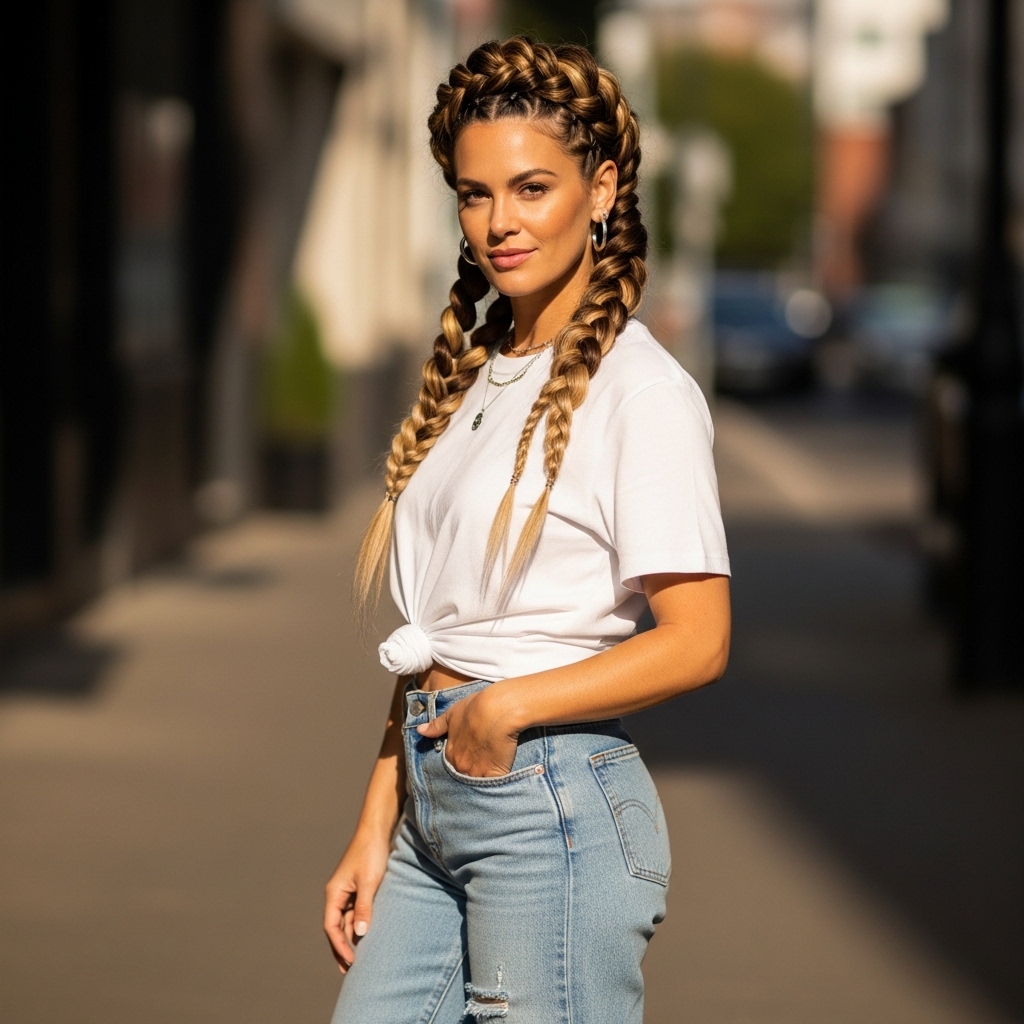
For a cool, edgy contrast, wear it with a crisp white shirt and leather jacket. It’s that perfect balance of hard and soft. It truly works with everything from casual jeans to your most formal dress.
Your Final Look in the Mirror
Take a step back and look. You didn’t just create a hairstyle; you created a feeling. That feeling of being capable, put-together, and a little bit magical. It’s a style that says you tried, but not too hard.
That’s the best kind of beauty secret. It looks complicated to everyone else, but you know the simple truth. You followed a clear, step-by-step plan and created something beautiful. Give yourself a pat on the back.
And there you have it—your guide to a hairstyle that feels special without the stress. It’s one of those looks that seems to belong in a different, more elegant world, but now you know it’s firmly in your skill set. That’s the best part of learning these techniques; they build your confidence, one braid at a time.
Remember, the first time might take a few extra minutes. But by the second or third try, you’ll be doing it without even thinking. It becomes your secret weapon for bad hair days, last-minute invites, or just when you need a boost. That’s the real win.
Save this post to Pinterest so you can always find the steps when you need them! Did you try it? I’d love to hear how it went—tell me in the comments below what part was easiest or what your own little trick was!

