
Hey friend. If you’re here, you’re probably dreaming of that bold, beautiful hime cut but worried your fine, thin hair can’t pull it off. I get it. We see those dramatic, voluminous styles and think, “My hair would just lie flat.”
Well, I’m here to tell you it’s totally possible. The secret isn’t just in the cut—it’s in the styling. This look is having a major moment, blending into trends like romantic goth hairstyles and that glitchy glam hair vibe.
It’s all about creating the illusion of thickness. Today, I’m breaking down exactly how to get that iconic shape with serious body, using techniques and products that actually work for us. No magic wands, just smart tricks.
Let’s transform that dream into your next salon request. This is your guide to a hime cut with volume that lasts all day.
What Is a Hime Cut, Really?
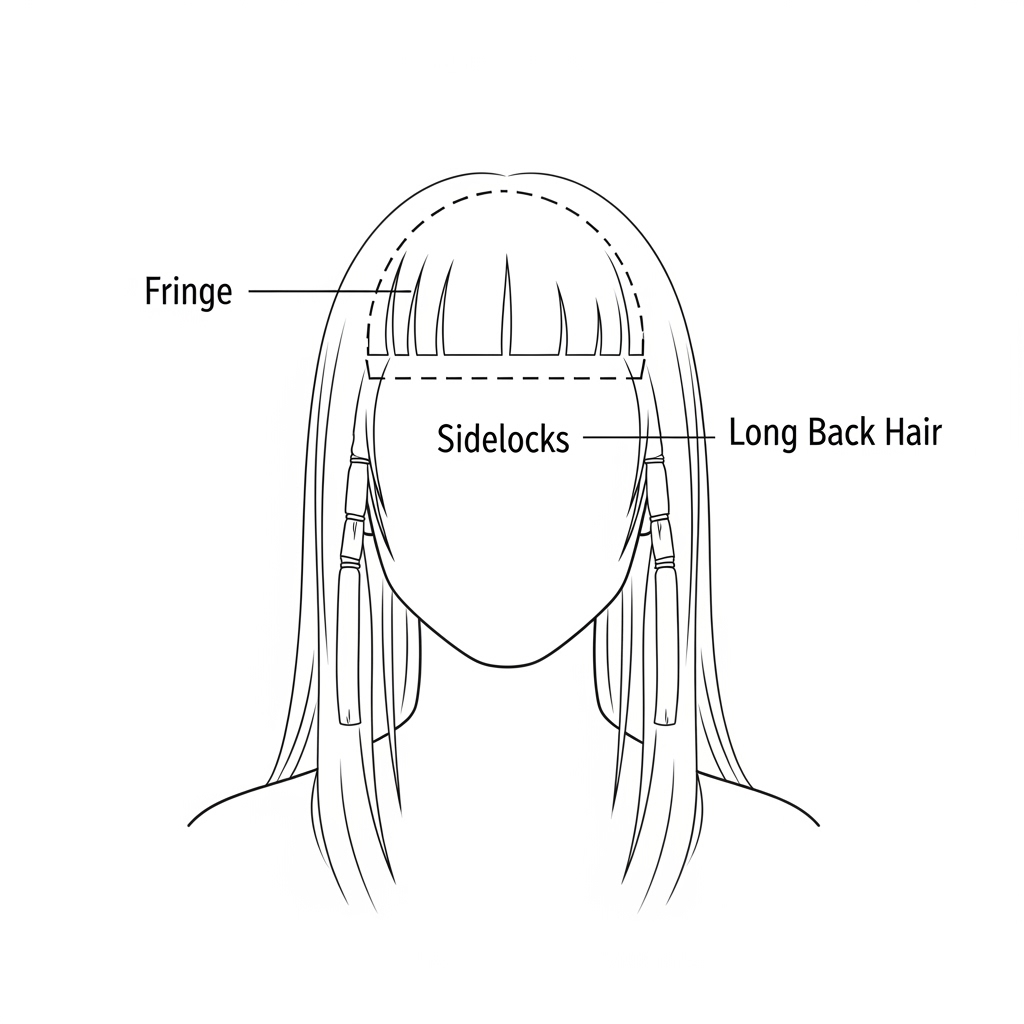
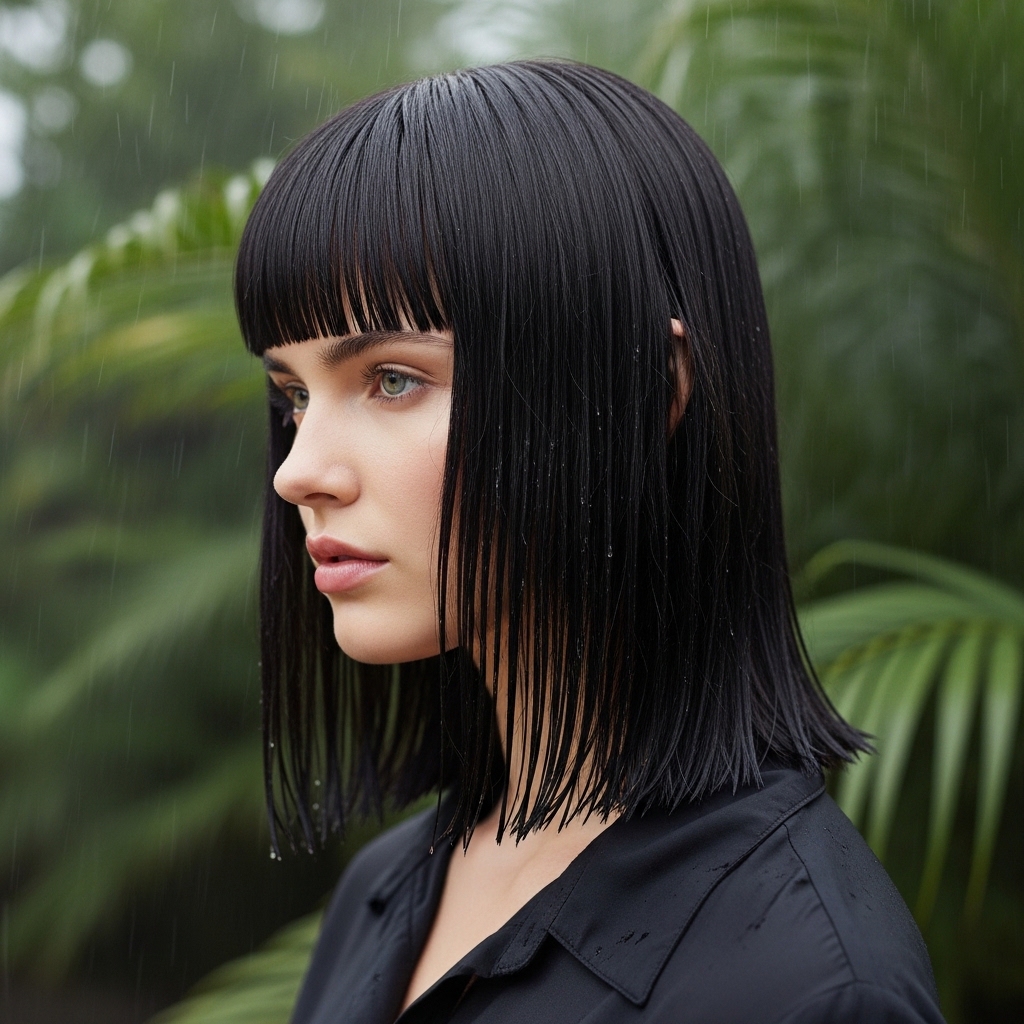
Let’s clear up any confusion first. The hime cut is a traditional Japanese style with three distinct, blunt sections. It’s structured yet playful.
First, you have the straight-across, heavy fringe. Then, the cheek-length or jaw-length sidelocks (these are key!). Finally, the rest of your hair is left long in the back. This contrast is what creates the dramatic shape.
It’s a fantastic base for so many 2026 hairstyles we’re seeing, from the sharpness of a vampire haircut to softer, more old money hair interpretations. Understanding this blueprint is step one to making it work for you.
Why It’s a Game-Changer for Thin Hair
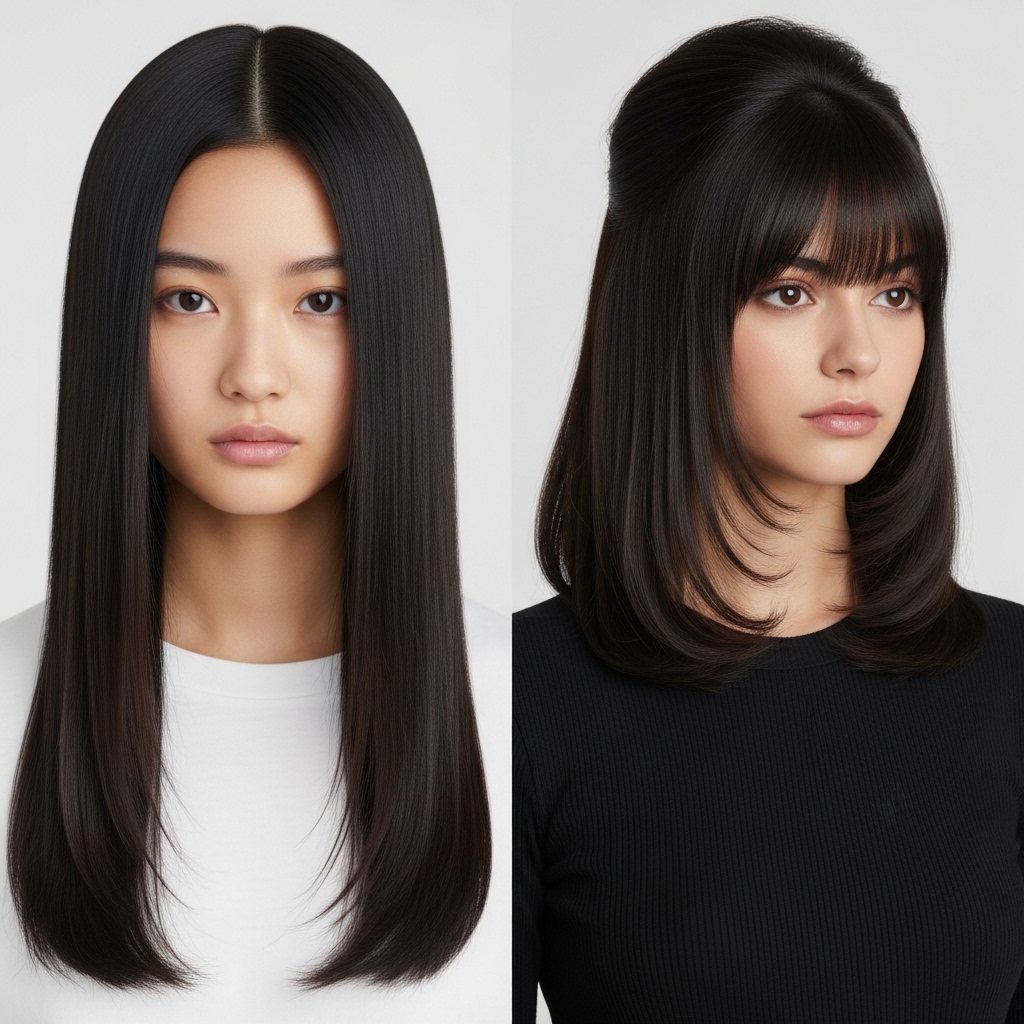
You might think a blunt cut is risky for thin hair, but it’s the opposite. All those wispy ends? Cutting them bluntly creates a thicker-looking hemline instantly.
The structured sections also give the illusion of more hair. The fringe and sidelocks draw the eye to your face, while the back length can be styled for added body. It’s a strategic cut.
It adds a cool-girl edge that feels both modern and timeless. You’re not just hiding thin hair; you’re showcasing a deliberate, stylish look that commands attention.
Consultation Is Key: Talking to Your Stylist
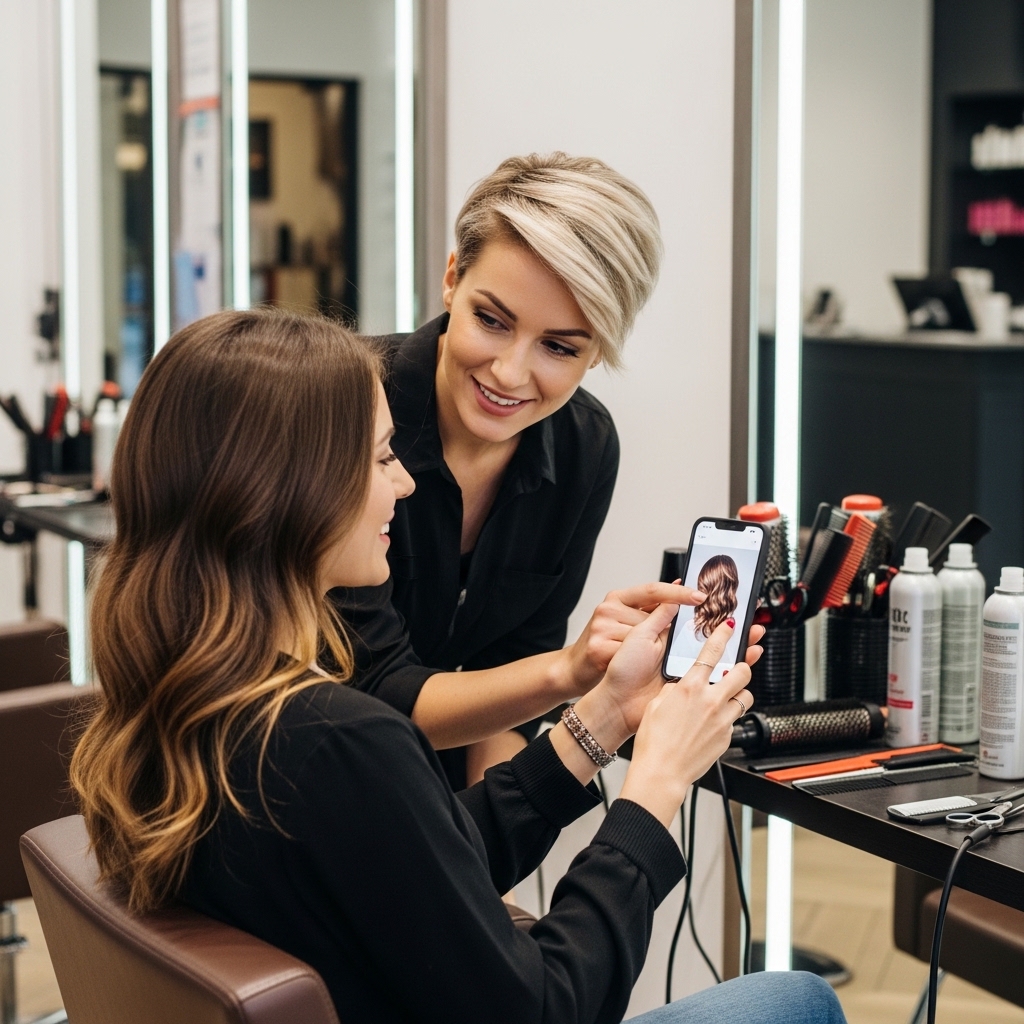
Don’t just walk in and say “hime cut.” Come prepared. This is the most important step. Bring photos from different angles—Pinterest is your best friend here.
Use the right language. Say, “I want a true hime cut with blunt fringe, disconnected sidelocks, and length in the back. My hair is fine, so we need to focus on maximizing volume at the roots.”
Discuss the length of the sidelocks. For thin hair, keeping them at cheek or jaw-length often works best to avoid weighing down the sides. A pro will know how to tailor the proportions for your face and hair type.
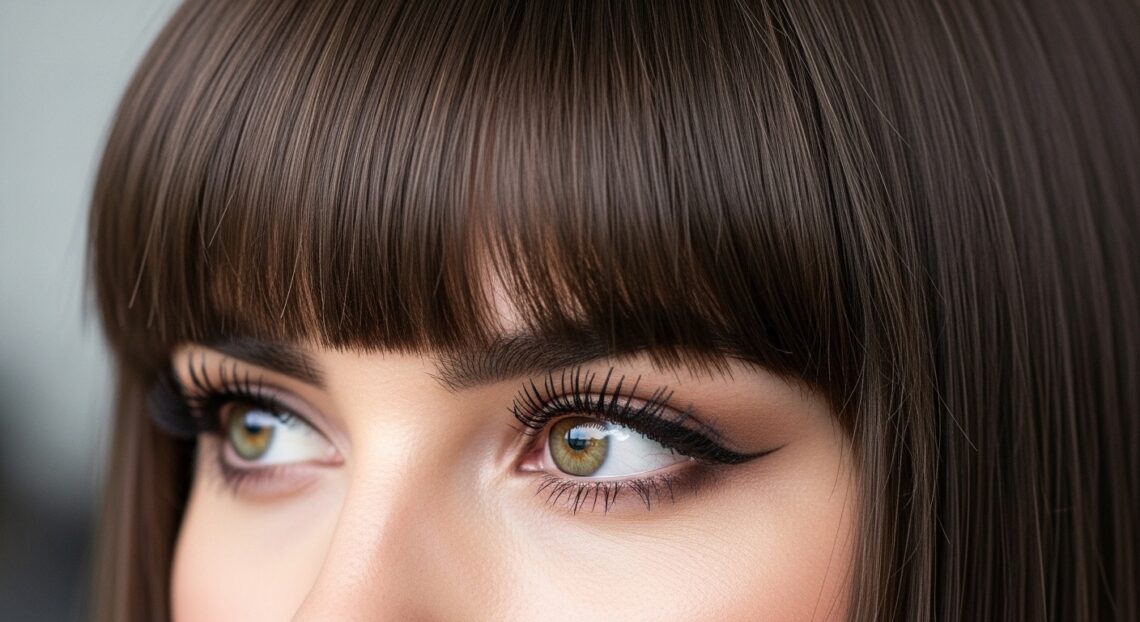
The Blunt Fringe: Your Statement Piece
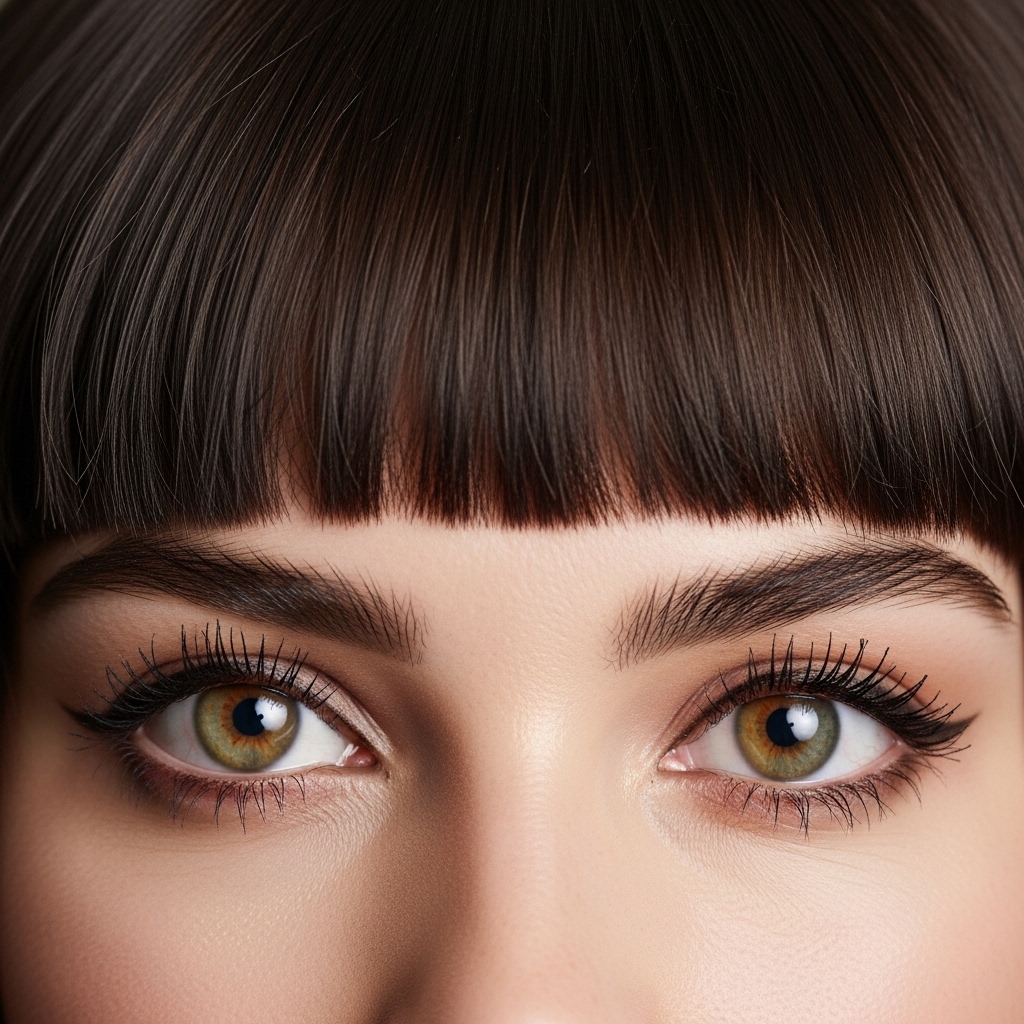
This fringe is not wispy or side-swept. It’s bold, blunt, and sits straight across. For thin hair, the trick is to have it cut slightly thicker than you might think.
A thicker band of fringe looks more intentional and helps it hold its shape. Ask your stylist to point-cut the very ends just slightly to soften the line without losing the blunt effect.
Be ready to style it daily. A flat iron and a light-hold hairspray will be your tools to keep it sleek and perfect, blending it seamlessly into the asymmetrical lob vibe of the sidelocks.
Sidelocks: The Face-Framing Magic

These are the pieces that make the cut. They should be a disconnected section—cut separately from the back hair. This creates that iconic shape and prevents the sides from pulling flat.
For maximum volume, your stylist can cut them with a slight inward curve or keep them razor-sharp. Discuss what suits your face shape.
When styled, these pieces can be worn straight for a sharp look or curled under/outward for a softer, more quiet luxury bob feel. They’re incredibly versatile.
The Long Back: Where We Build Volume
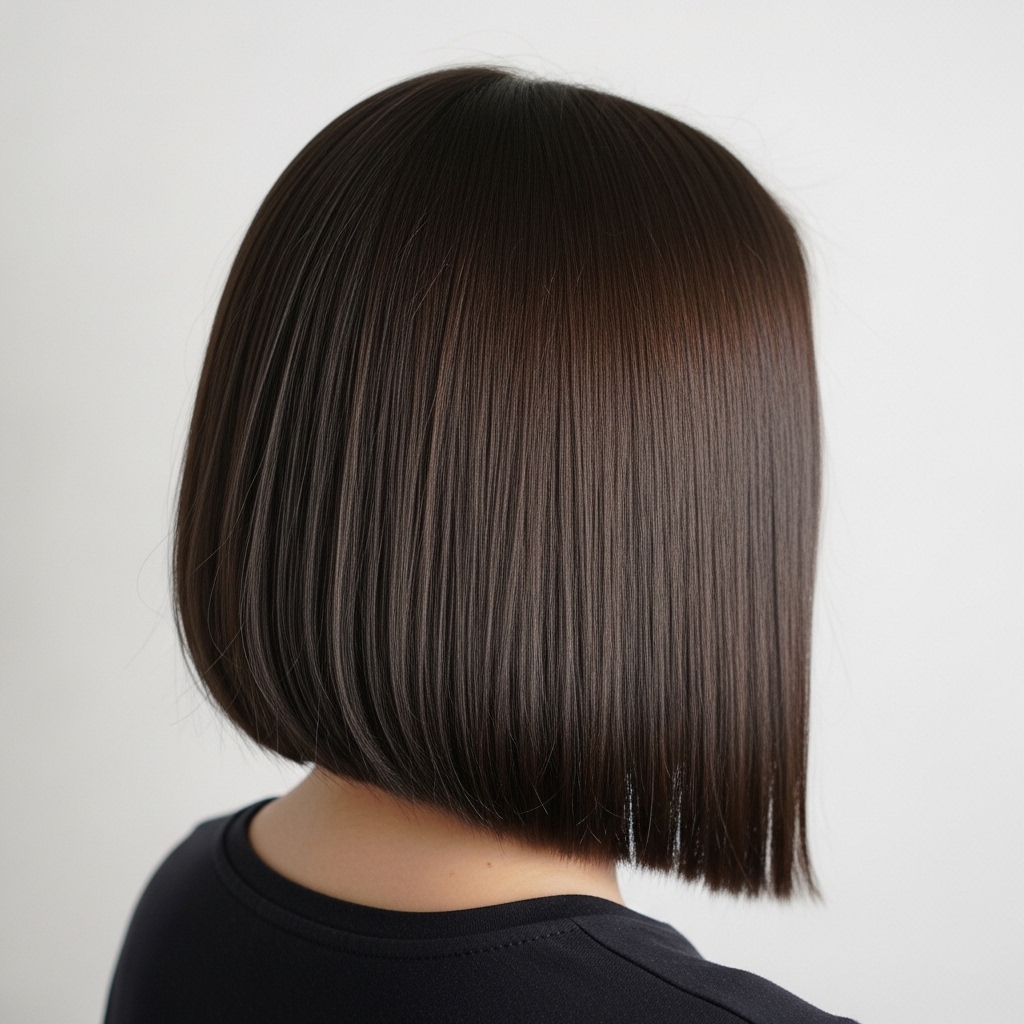
This is where we play. The length in the back should be kept mostly one-length to maintain that thick-looking hemline. No choppy layers that thin it out!
The only exception? Very subtle, hidden layers right at the crown. We’re talking about a few strategic snips only your stylist sees, designed solely to lift the roots.
This technique gives you the best of both worlds: the weight and look of full, blunt ends, with the lift and body of a layered cut where you need it most.
Essential Pre-Styling Products
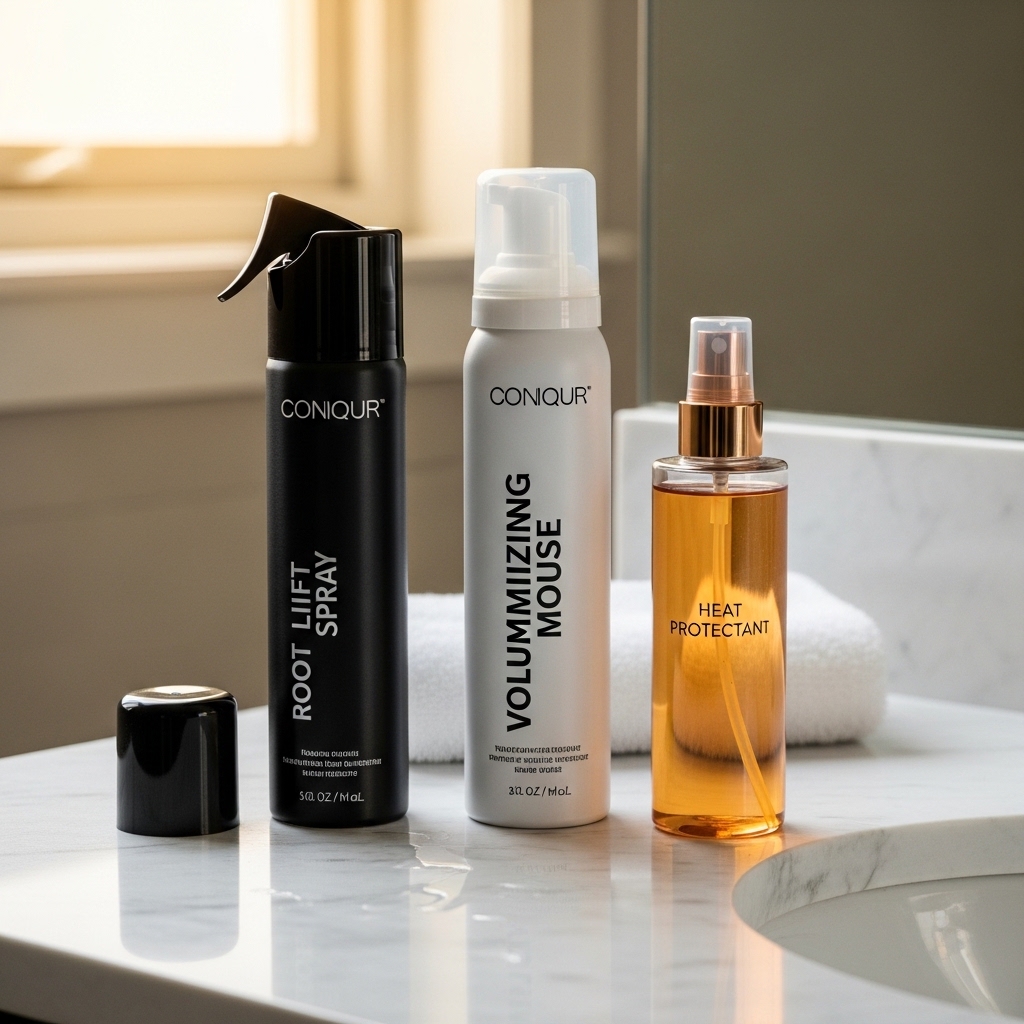
Product is non-negotiable for us. Start with a clarifying shampoo once a week to remove buildup that weighs hair down. Follow with a lightweight, volumizing conditioner only on your ends.
Out of the shower, your routine is key. Apply products to damp hair, focusing on the roots:
- Root Lifter or Volumizing Spray: Mist directly at the roots.
- Volumizing Mousse: A golf-ball sized amount worked through mid-lengths to ends adds body.
- Heat Protectant: Always. It prevents damage that leads to breakage and thinner hair.
Blow-Drying for Maximum Lift

How you dry is 80% of the volume battle. Flip your head upside down and dry the roots until they are about 80% dry. This rough-drying creates instant lift.
Then, flip back up. Use a medium-sized round brush. Pull sections up and away from your head, directing the heat from the roots to the ends. Hold the hair on the brush for a few seconds to let it cool—this sets the volume.
Don’t over-dry the ends. Leaving them slightly damp allows you to style them with tools without frying your hair. You’re aiming for buoyancy, not brittleness.
Hot Tool Secrets: Curling Irons & Flat Irons
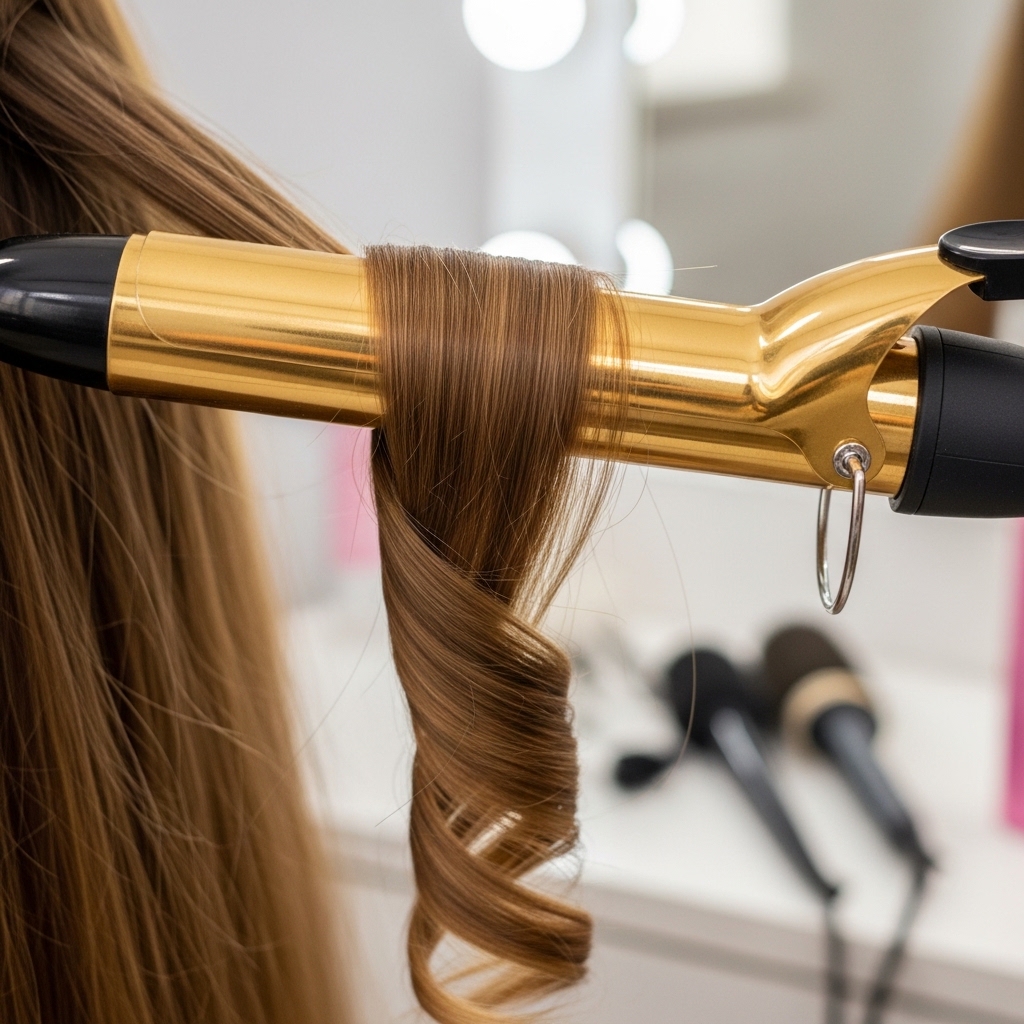
You don’t need big curls, just bend. Use a 1 to 1.5-inch curling iron or wand. Take vertical sections of the back and long parts of the sidelocks.
Curl away from your face, holding for only 5-8 seconds. You’re not aiming for a spiral, just a soft wave or bend at the ends. This breaks up the hair and creates tons of body.
For the fringe and front pieces, use a flat iron. Glide it down smoothly, turning the ends under slightly for a polished look. This contrast of textures adds to that glitchy glam hair aesthetic.
Teasing: The Old-School Volume Trick
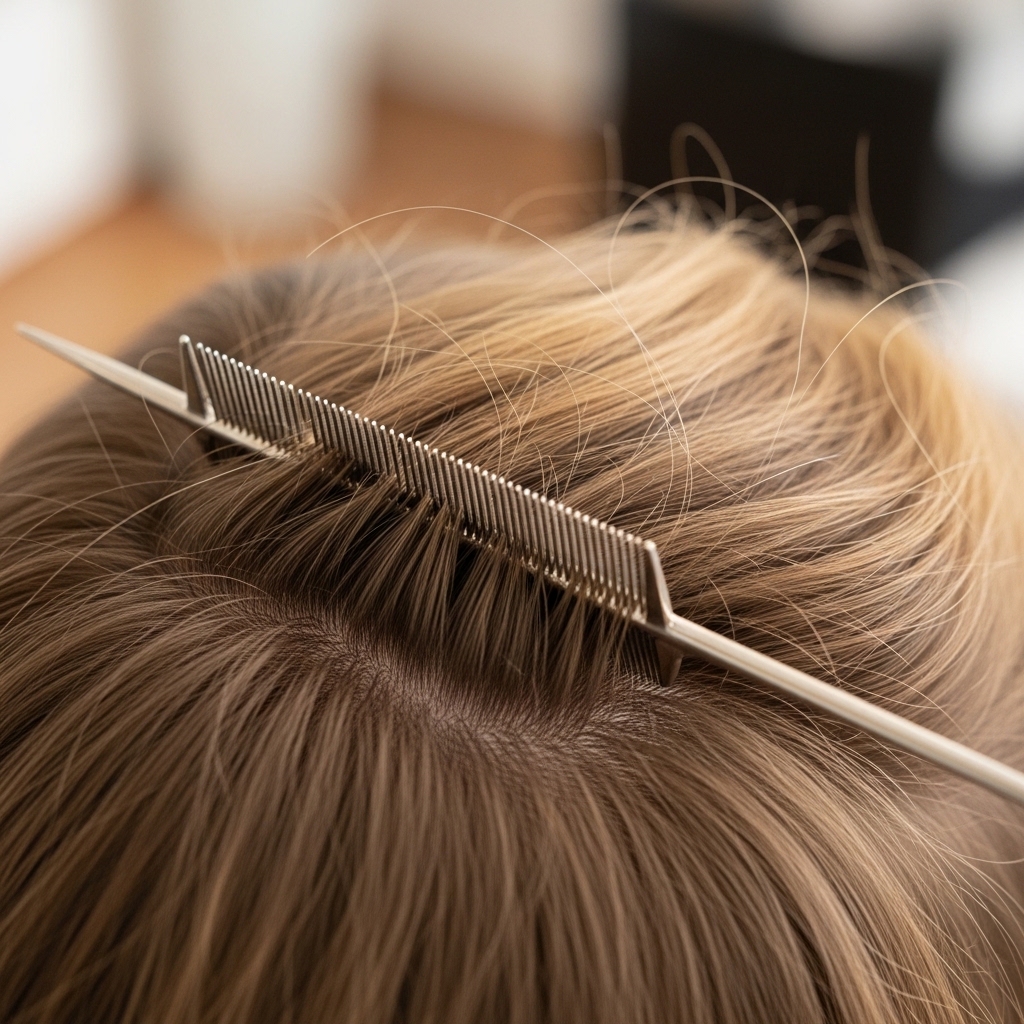
Don’t be afraid of backcombing! It’s a thin hair secret weapon. Once your hair is styled, lift the top layer at the crown and secure it.
Take a fine-tooth comb or a tail comb. Working on the underneath layer, gently tease small sections at the roots. Just a few strokes back and forth.
Lightly smooth the top layer back over the teased section. You’ll have instant, lasting height without a sticky product feel. It’s the ultimate hack for that old money hair volume.
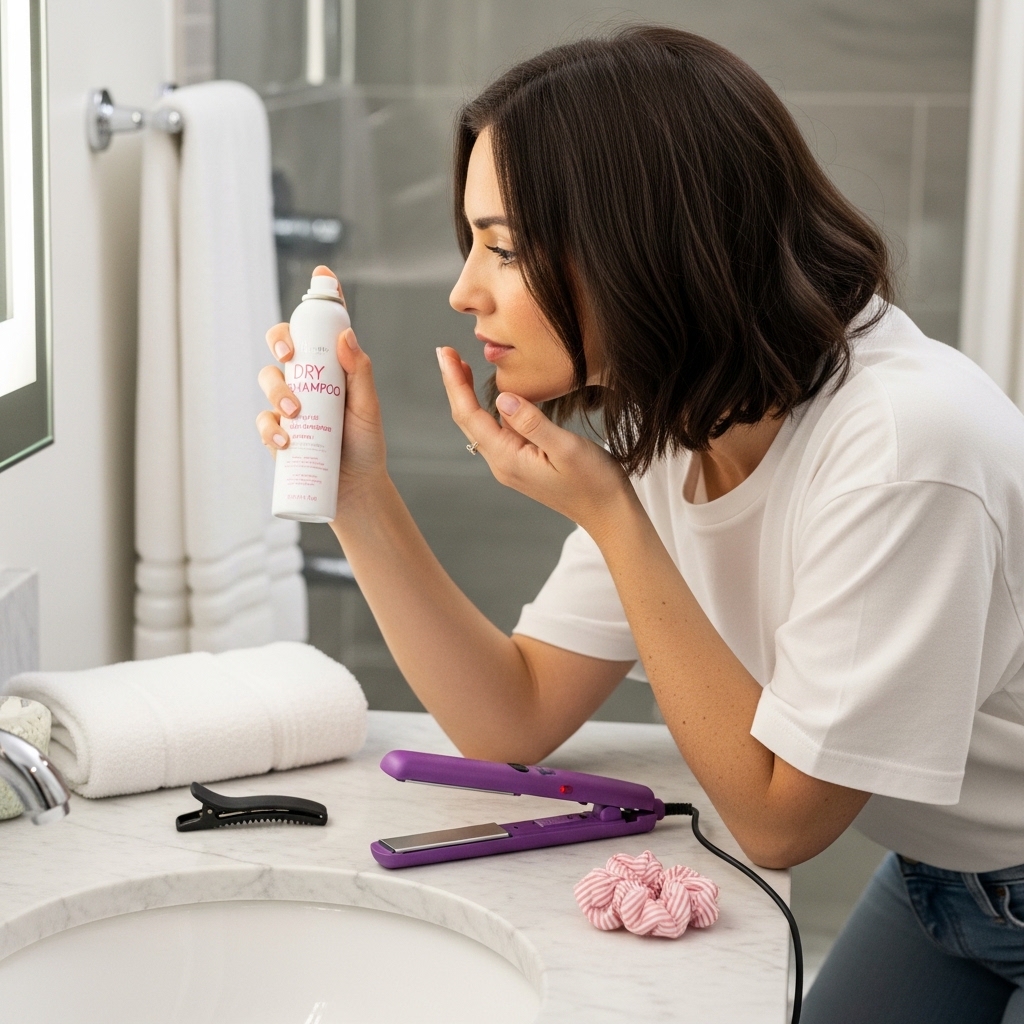
Dry Shampoo: Not Just for Dirty Hair
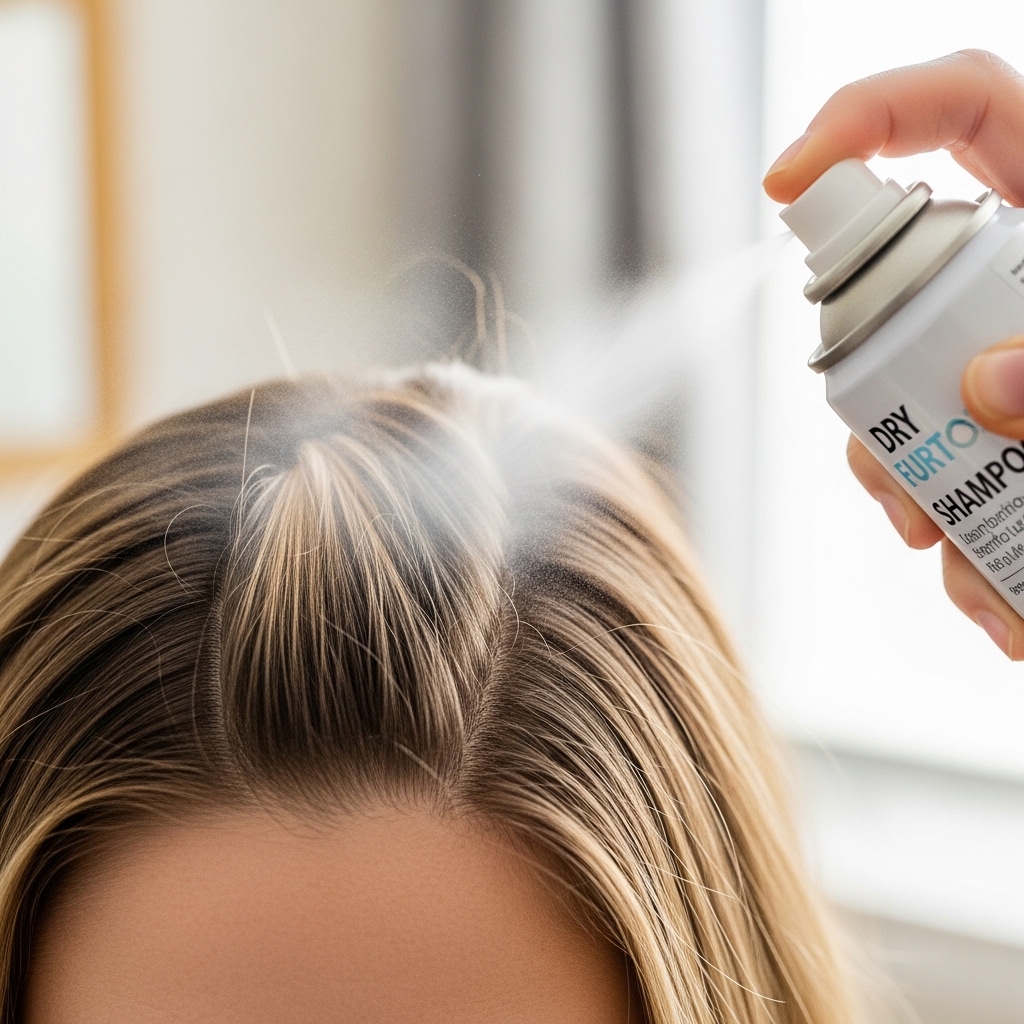
Use dry shampoo on clean hair. Seriously. Spray it at your roots on day-one hair, before your hair even gets oily.
The starch in it adds grit and texture, giving your roots something to “grab” onto and stay upright. It’s like a volumizing powder in spray form.
My method? Part your hair in sections, spray about 6 inches away at the roots, wait 2 minutes, then massage it in. This gives you all-day hold and a fresh scent.
Choosing the Right Hairspray
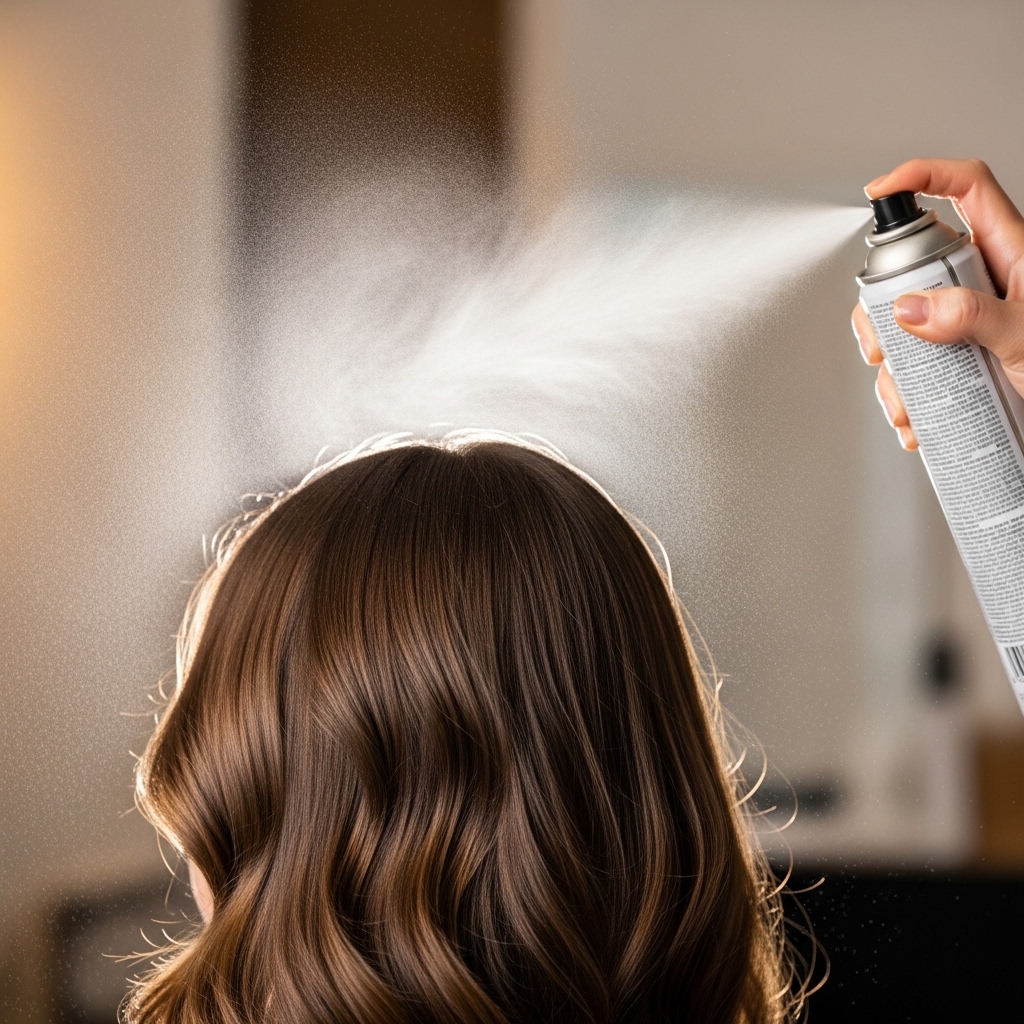
Avoid super-hold, high-shine hairsprays. They can weigh hair down and make it look stiff and flat. You want movement, not a helmet.
Look for words like “flexible hold,” “volume,” or “texturizing” on the can. These formulas lock in style while allowing hair to bounce.
Hold the can 10-12 inches away and mist lightly over your styled hair. For extra hold on the fringe, spray a little on your finger tips and lightly pat the underside of the bangs.
Nighttime Routine to Preserve Volume
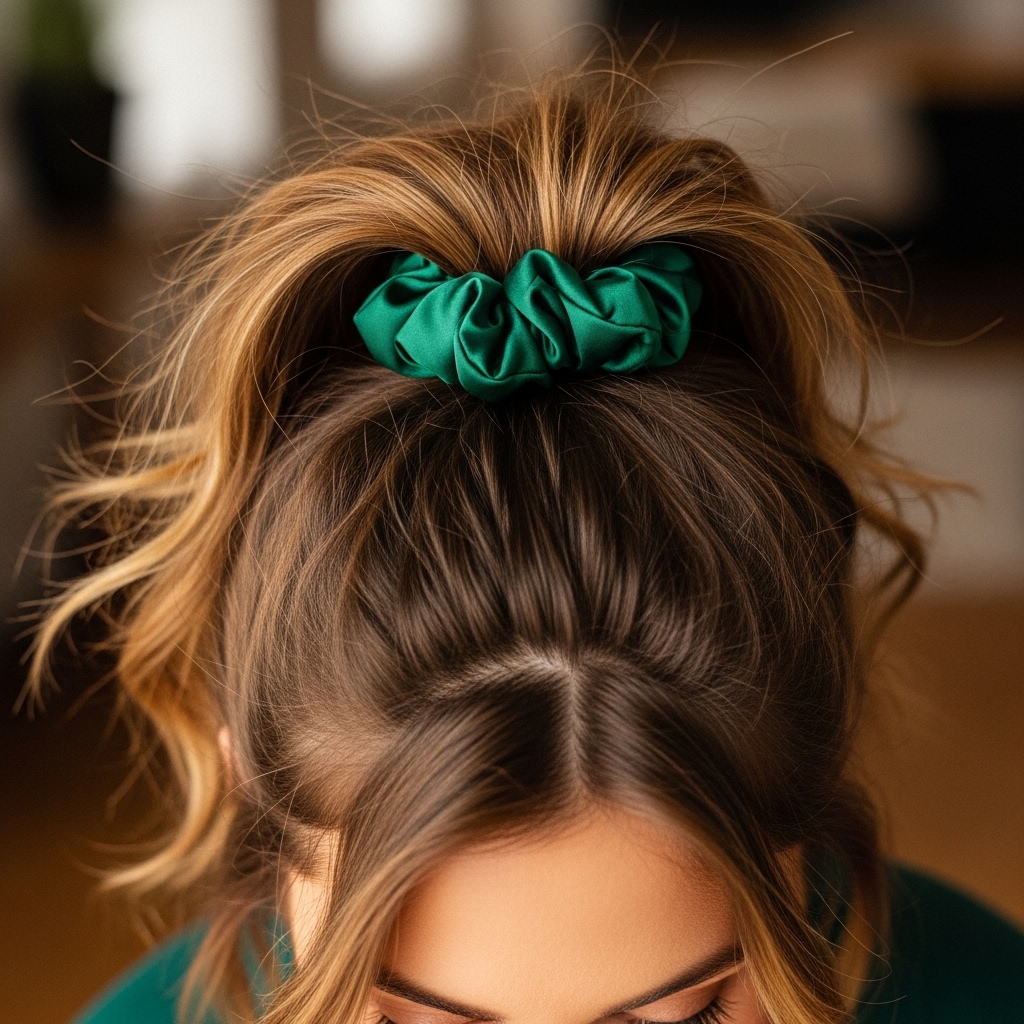
Don’t sleep on your style! How you sleep determines your next-day hair. The goal is to prevent flattening and friction.
First, flip your head upside down and gather all your hair into a very loose, high ponytail on top of your head using a silk scrunchie. This is called a “pineapple.”
Sleep on a silk or satin pillowcase. The smooth surface prevents breakage and lets your hair slide around, so you wake up with your volume mostly intact. Just shake it out in the morning.
Refresh Your Style in 5 Minutes
Morning refresh is easy. Take down your pineapple and shake out your hair. If roots are flat, hit them with a little more dry shampoo.
Use a flat iron to quickly smooth any kinks in the fringe and sidelocks. For the back, just run your fingers through it to break up the waves.
If volume at the crown has fallen, lift the top section and spray a light texturizing spray at the roots. Massage it in, and you’re good to go. It’s faster than you think.
Accessorize to Elevate the Look
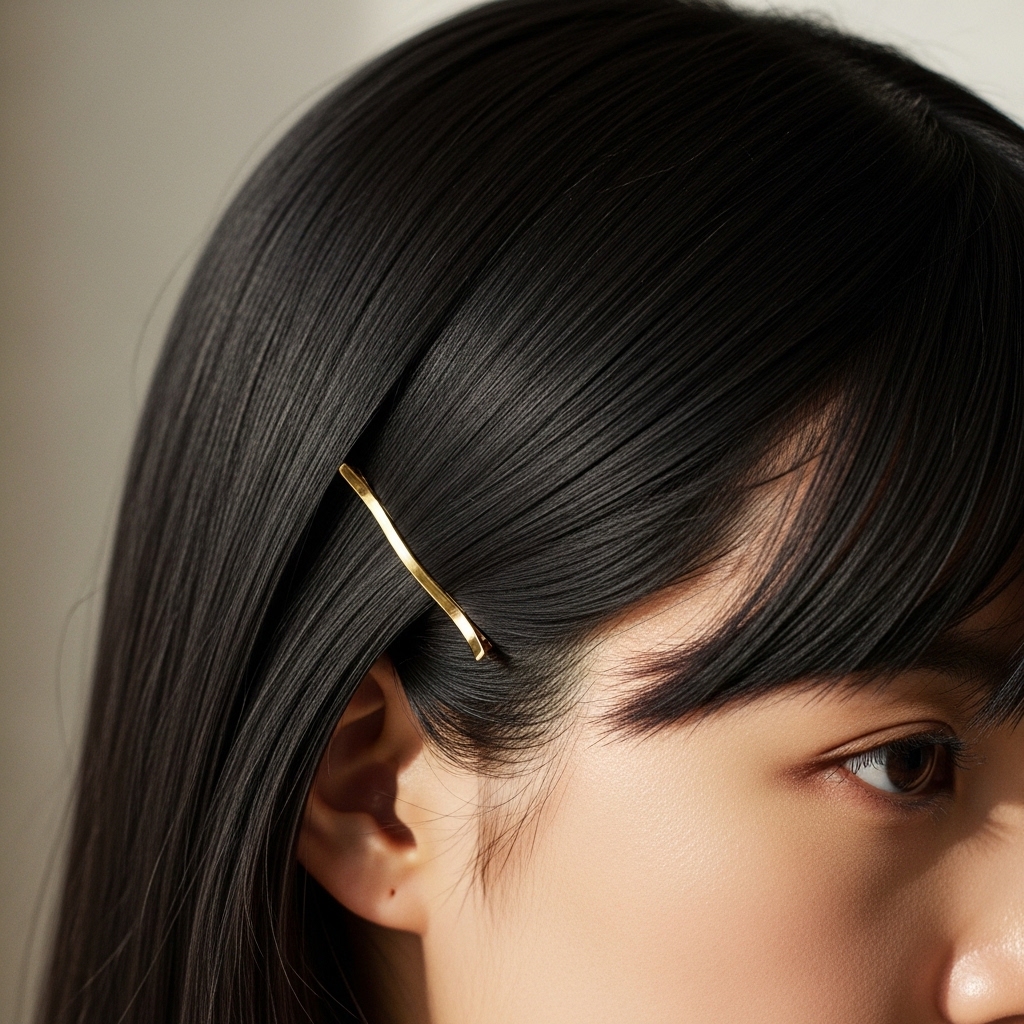
Accessories are your friend. A small, decorative clip on one side to pin back a sidelock adds a quiet luxury bob touch. It also keeps hair out of your face stylishly.
Thin headbands or silk scarves can sit behind the fringe, adding a pop of color or texture and helping to hide any regrowth or slightly oily roots.
Keep it simple. The cut is already a statement. A single, elegant piece often looks more expensive and deliberate than multiple accessories.
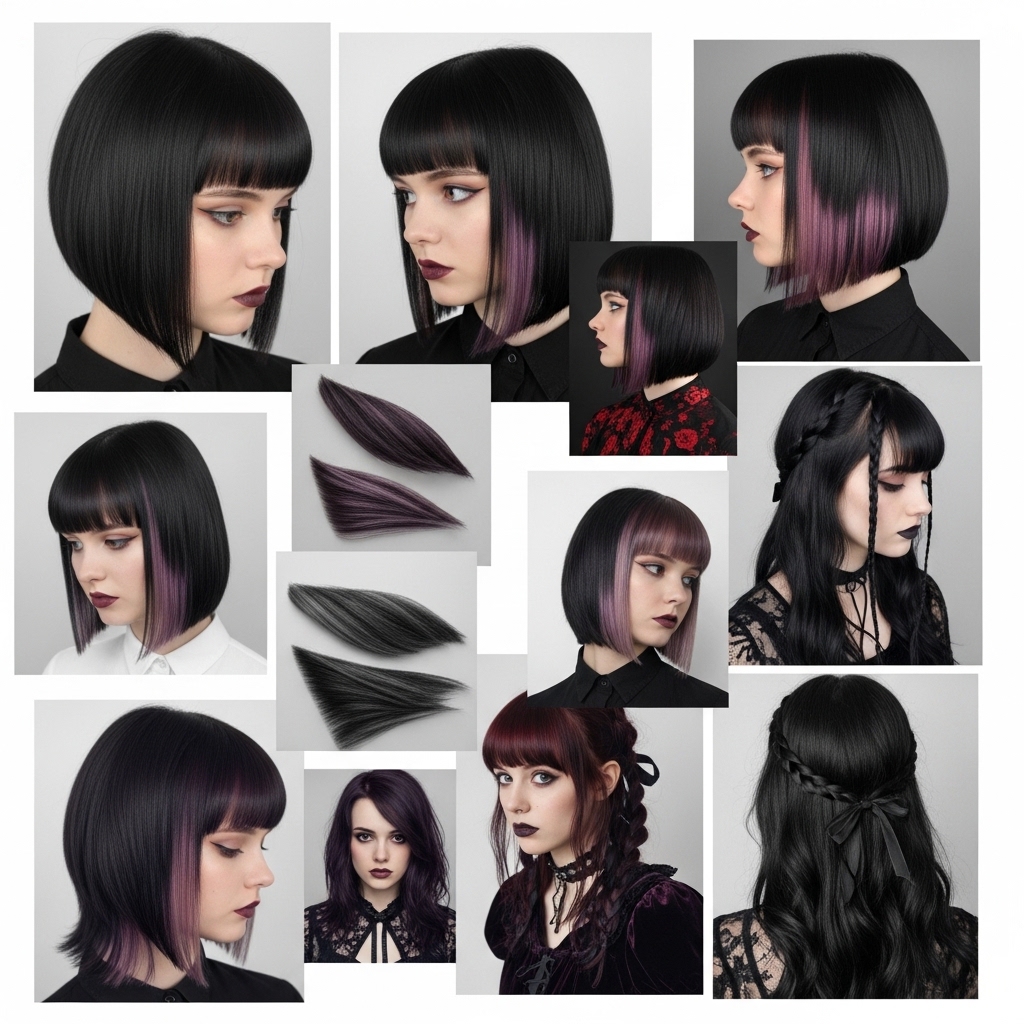
Color Ideas to Enhance Dimension
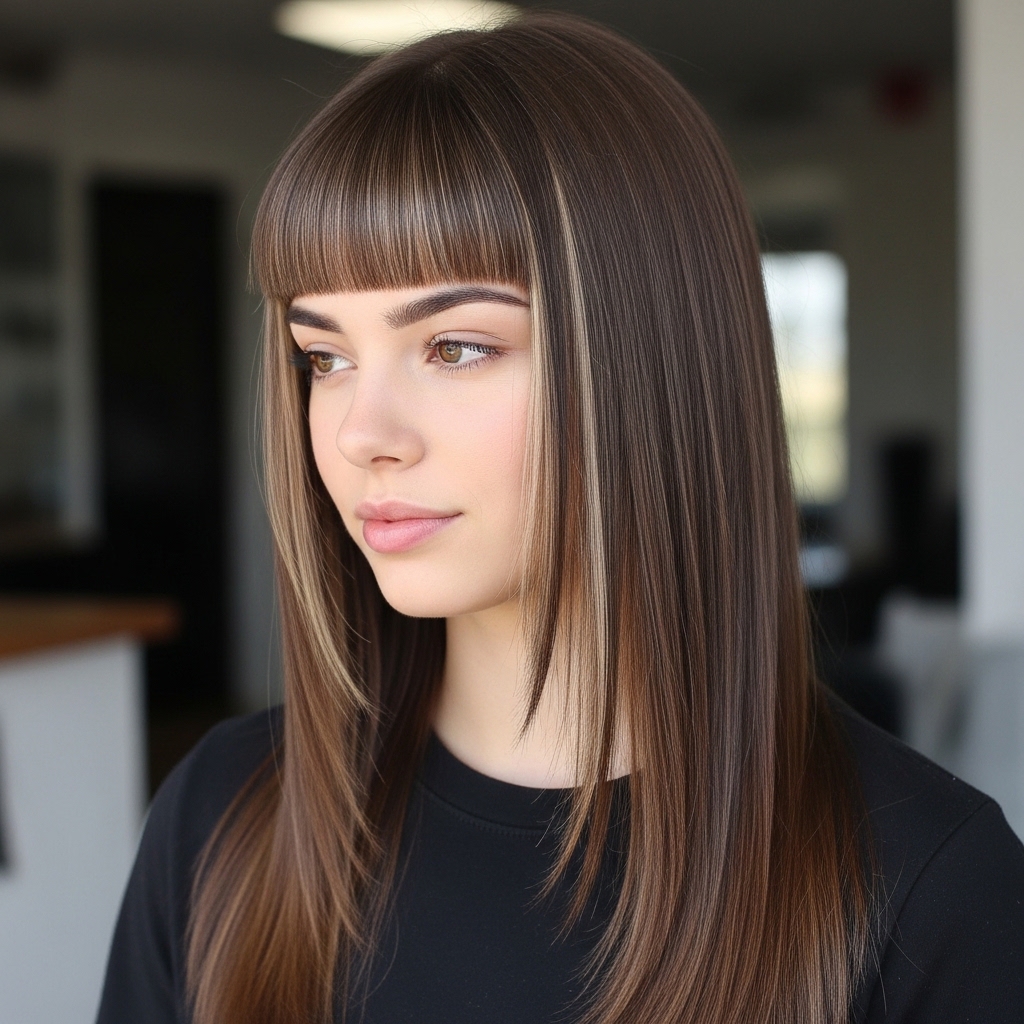
Color can create the illusion of even more volume. Subtle, face-framing highlights or a money-piece brightener around the fringe and sidelocks add depth.
Balayage or soft shadow roots create a slight contrast that makes each section of the cut pop. It breaks up the solid color, making hair look fuller.
For a bolder take that leans into romantic goth hairstyles, consider a deep, rich color like espresso or black with a hidden vibrant shade underneath the back section.
Common Mistakes to Avoid
Let’s learn from others. First mistake: getting a wispy, see-through fringe. Insist on a blunt, substantial band for impact.
Second, letting the sidelocks connect to the back hair. They must be disconnected to maintain the shape and volume on the sides.
Third, using heavy, smoothing products. Avoid silicone-rich serums on your roots. They will deflate all your hard work instantly. Keep heaviness for the ends only.
Seasonal Adjustments for Your Cut
Humidity can be a foe. In summer, swap your mousse for a light, anti-humidity texture spray. Embrace a slightly piece-y, textured look that works with the weather.
In dry winter, static is the enemy. A tiny drop of argan oil on your hands, rubbed just on the ends, can help. Also, use a humidifier in your bedroom to prevent hair from becoming too dry and flyaway.
The cut is versatile. In winter, you can lean into the vampire haircut sharpness. In summer, let it be more beachy and textured.
Inspiration: Blending with Other Trends
Your hime cut can blend with so many trends. Grow out the back a bit and ask for a slight angle? You’ve got an asymmetrical lob with a hime fringe.
Pair it with deep, dark makeup and a leather jacket for the full romantic goth hairstyles effect. It’s a perfect match.
Keep it sleek, paired with minimalist jewelry and a trench coat for that quiet luxury bob interpretation. It’s all in how you style and accessorize.
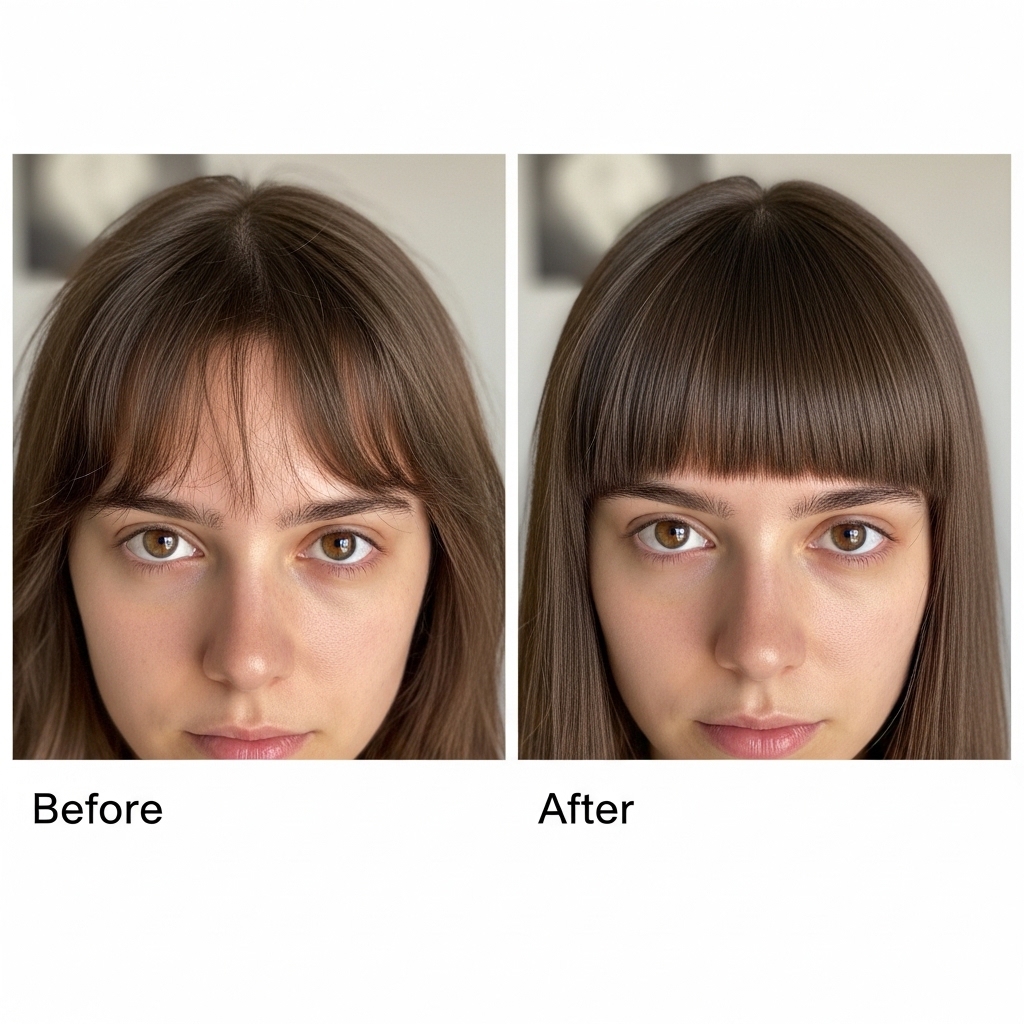
Maintaining Your Cut: Trims Are Vital
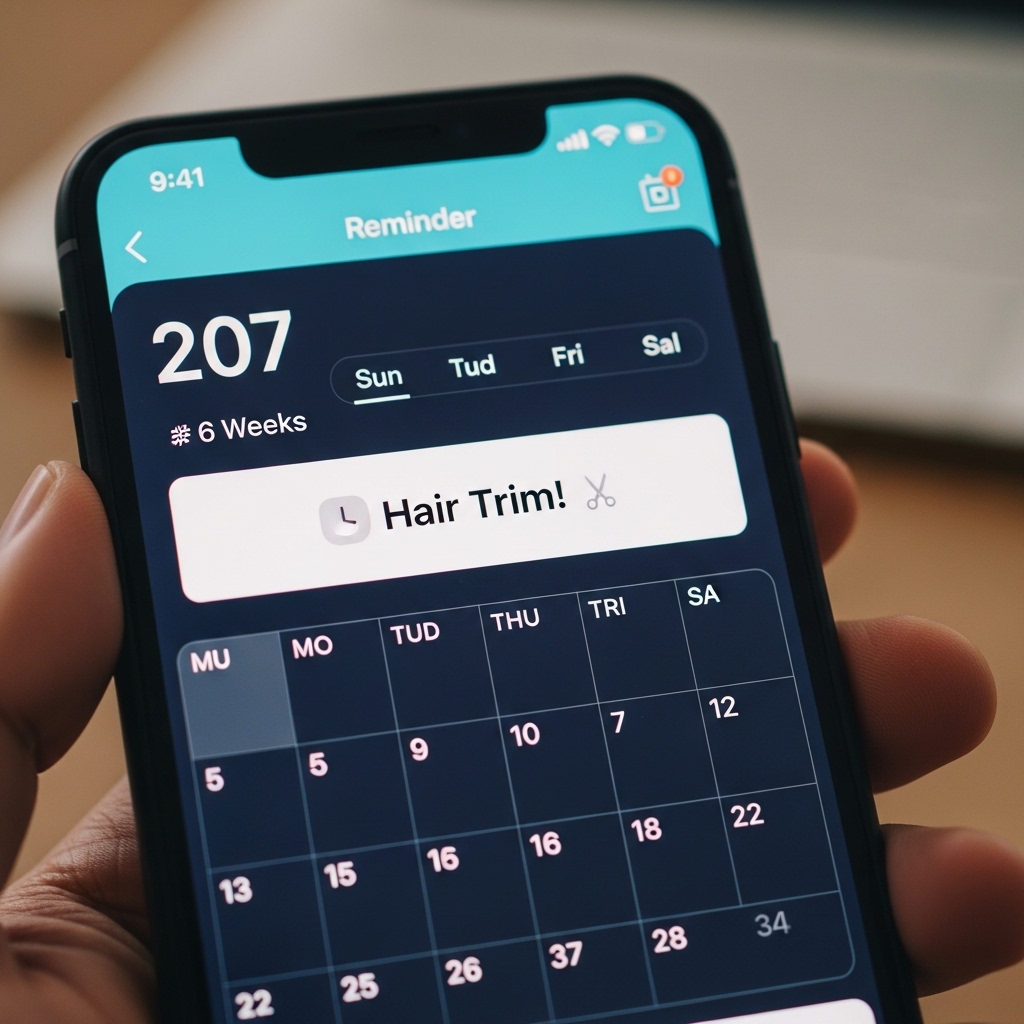
Blunt cuts need sharp lines. Schedule a trim every 6-8 weeks to keep the fringe and sidelocks perfectly crisp. This prevents the style from growing out and looking messy.
Tell your stylist you just want a “dusting” or to “clean up the lines.” You’re not taking off length, just maintaining the shape that makes the style work.
Regular trims also prevent split ends from traveling up the hair shaft, which keeps your thin hair healthier and ultimately looking fuller in the long run.
Your Confidence Is the Best Accessory
Finally, wear it with confidence. This is a bold, beautiful cut that says you know your style. It might take a few days to get used to the fringe, but stick with it.
Practice your styling until it becomes quick and easy. The more you own the look, the better it will look. Your attitude transforms it from a haircut into *your* signature style.
Remember, we’re doing this to celebrate our hair, not fight it. You’ve got the tools and the know-how now. Rock it.
And that’s it, my friend! Your complete roadmap to getting and styling a gorgeous, voluminous hime cut on thin hair. It’s not about having more hair; it’s about styling the hair you have with smart, proven techniques.
This look is so much fun to play with, letting you tap into everything from sharp 2026 hairstyles to more timeless vibes. It’s a cut that truly adapts to you.
Save this post to Pinterest to keep this guide handy for your next salon visit or styling session. Did I miss any of your thin hair volume hacks? Drop your best tip in the comments below—I’d love to hear from you!

