
Okay, let’s talk about hair that whispers instead of shouts. You know that look—effortlessly chic, impossibly healthy, and just… quiet. It’s the “old money hair” vibe, but for real life. It’s not about being boring; it’s about being intentional.
That’s where the Low Twist comes in. Think of it as your secret weapon for achieving that quiet luxury hair aesthetic with minimal fuss. It’s the perfect foundation for so many of the soft, lived-in styles we’re loving.
Whether you’re rocking an asymmetrical lob or long layers, mastering this technique is a game-changer. It adds texture, polish, and that “I woke up like this” elegance we all crave. Let me show you exactly how it’s done.
What Is The Low Twist, Really?
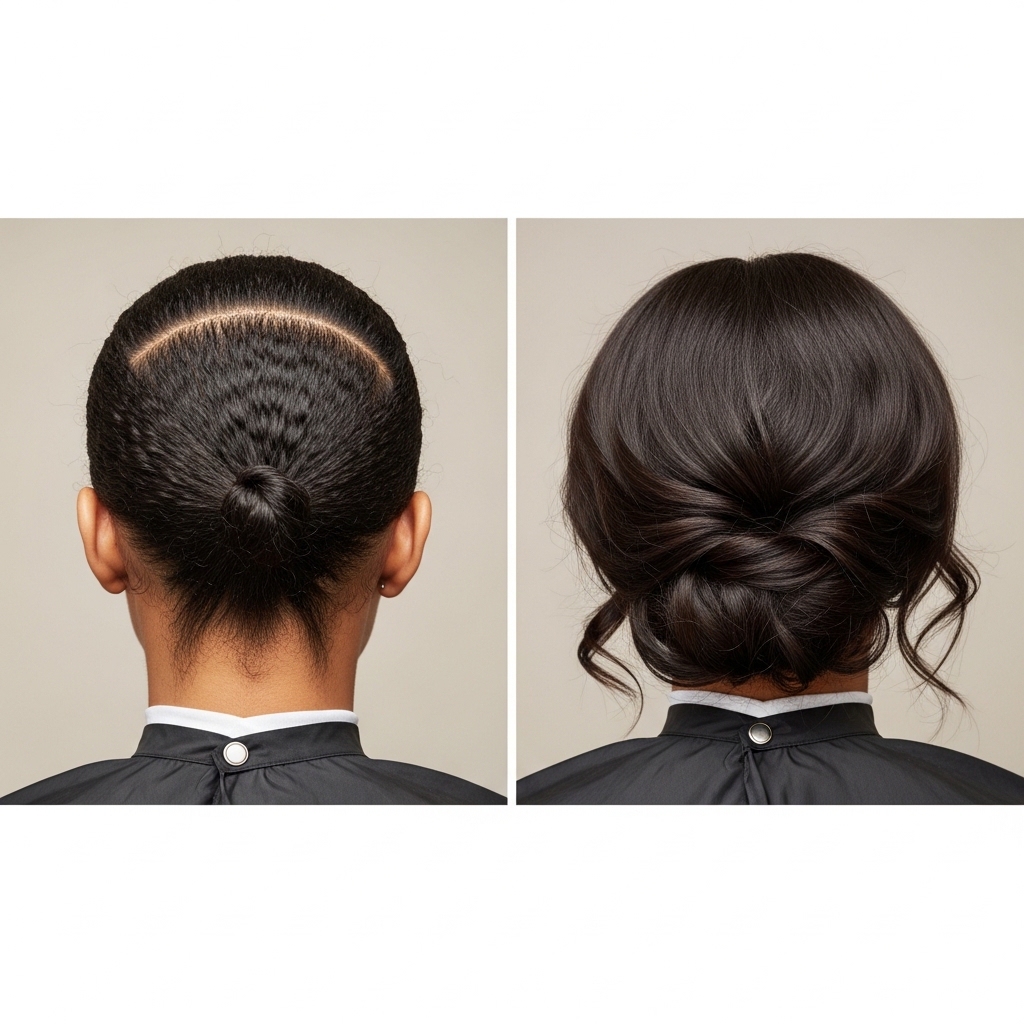
It’s exactly what it sounds like: a simple, low-hanging twist at the back of your head. But the magic is in the execution. This isn’t a tight, perfect ballet bun. It’s loose, a little undone, and secured in a way that looks like an afterthought.
The goal is to create a soft focal point that pulls your look together without trying too hard. It works with almost every hair length and texture, making it one of the most versatile tricks in your kit. It’s the quiet cousin of the more dramatic styles out there.
Why This Hairstyle Screams Quiet Luxury
Quiet luxury is all about impeccable quality and subtlety. The Low Twist embodies this by focusing on health and shape over loud colors or extreme cuts. It shows you care for your hair, not just style it.
It feels timeless yet modern. While 2026 hairstyles might bring new twists, this foundational style will always be relevant. It’s that piece of your wardrobe that never goes out of style, but makes everything else look better.
The Essential Tools You’ll Need
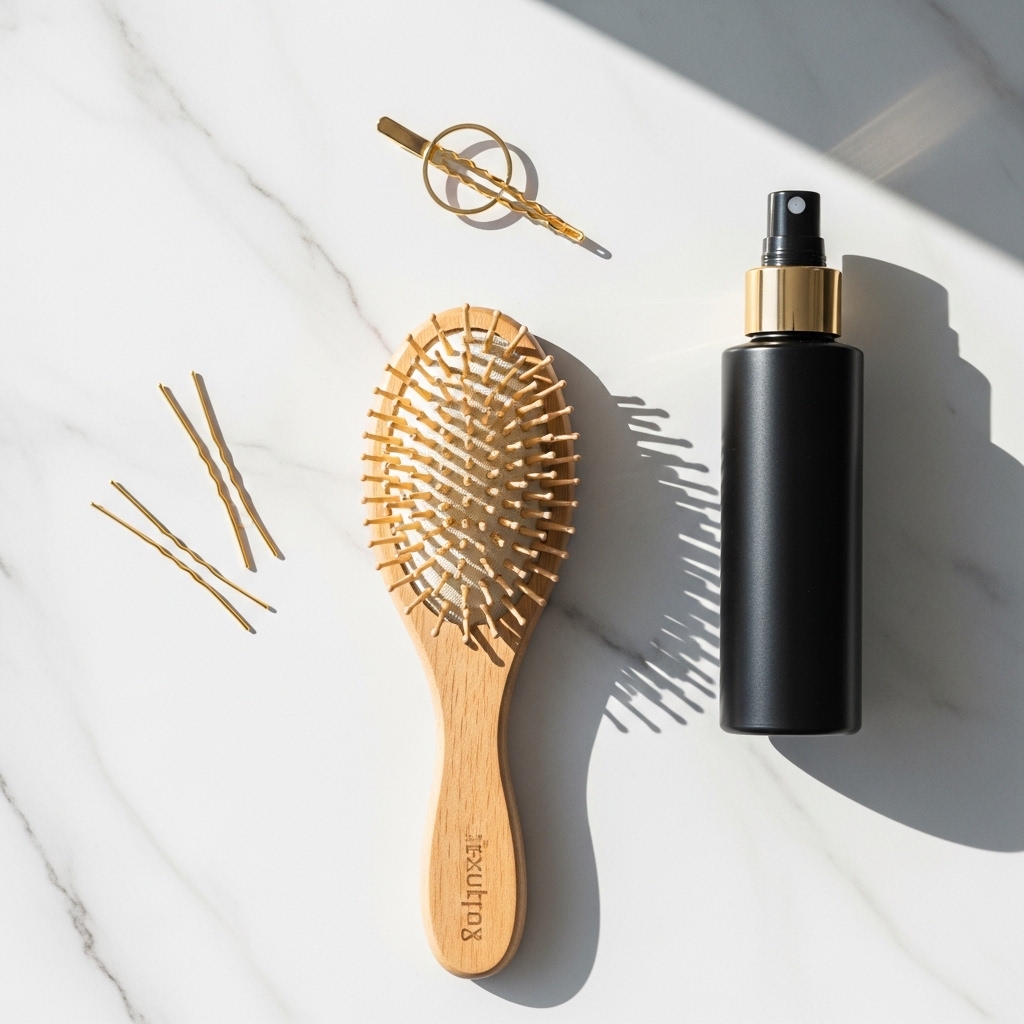
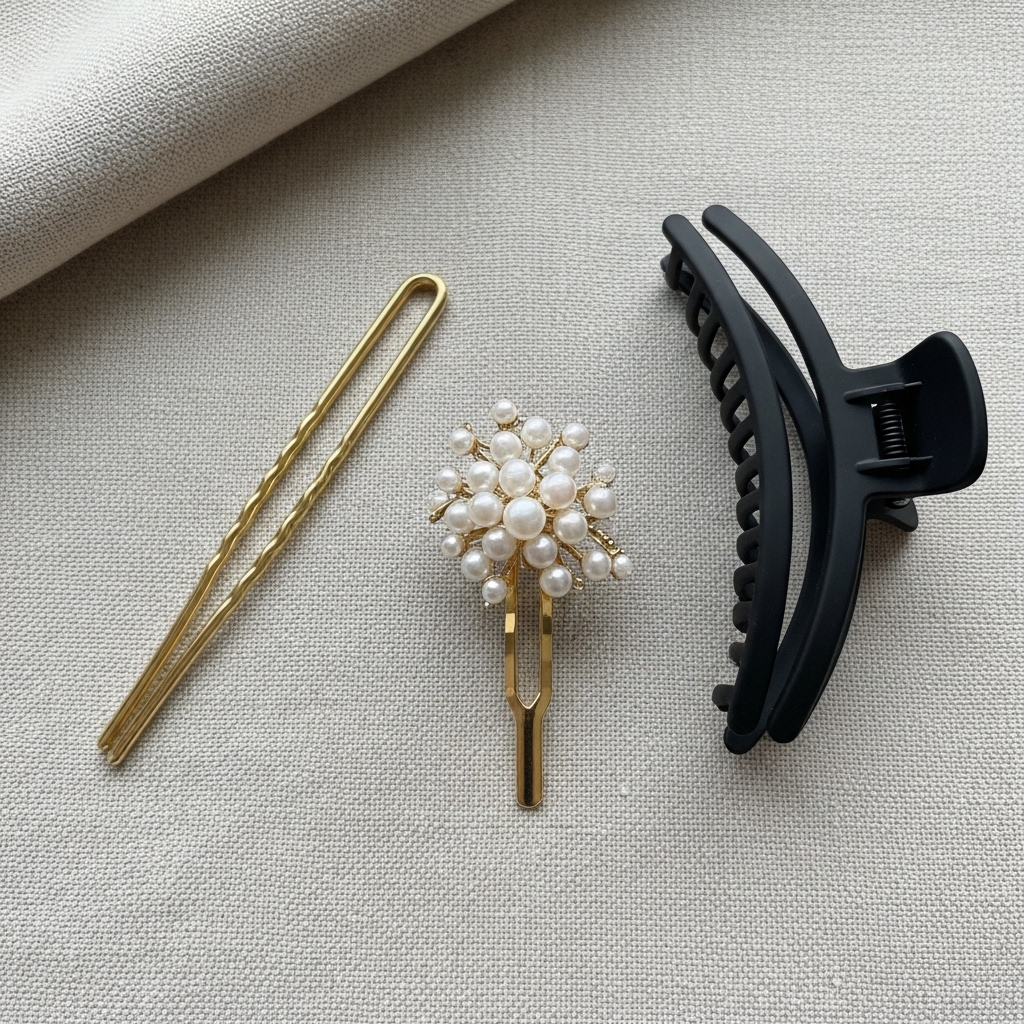
You don’t need much! This is part of the beauty. Gather a light-hold texture spray, a few bobby pins that match your hair color, and a single, elegant hair pin or small clip. A boar bristle brush is great for smoothing.
Avoid heavy gels or thick, crunchy mousses. We want movement, not helmet head. A tiny bit of hair oil or cream on your ends can help fight flyaways and add a healthy shine that catches the light perfectly.
Step 1: Start With The Right Base
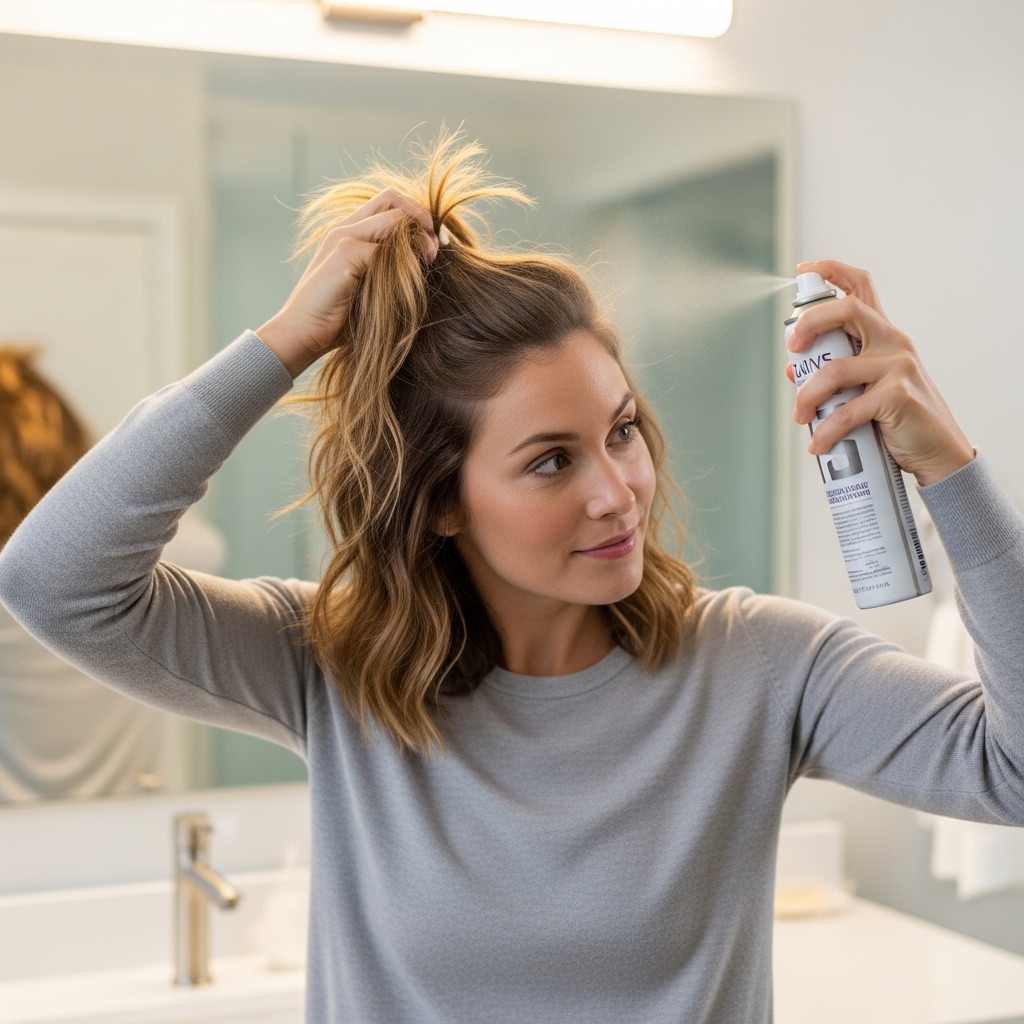
This style works best on day-two or day-three hair. If your hair is freshly washed, add a bit of texturizing spray at the roots for some gentle grip. Brush through to distribute any products evenly.
If you have fine hair, a light volumizing spray at the roots can give the twist a little more body to hold onto. The key is to start with hair that has some natural movement, not squeaky-clean slickness.
Step 2: Create Soft, Face-Framing Layers
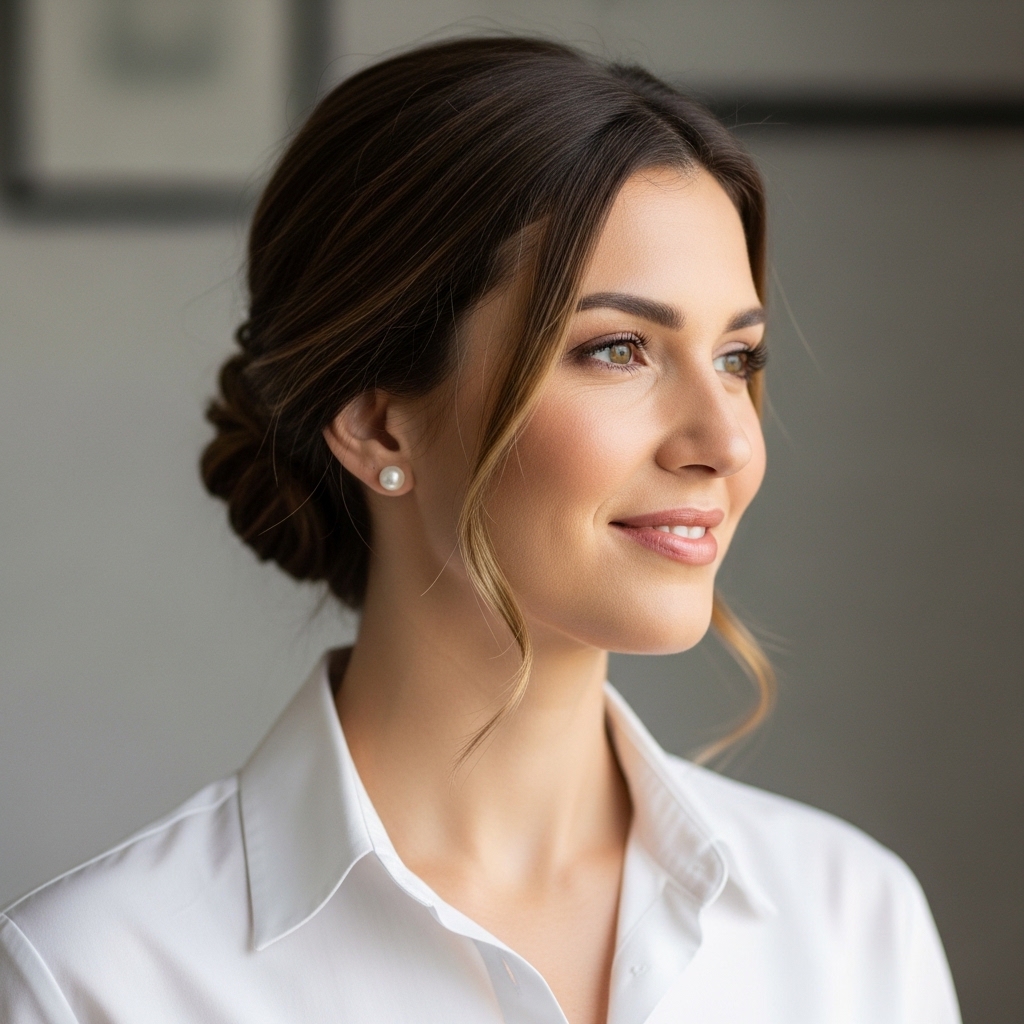
Before you twist, pull out a few pieces around your face. These aren’t just your typical face-framers—think a bit thicker and more intentional. They soften your features and make the style look less “done.”
You can use a curling iron to add a very soft bend to these pieces, or just leave them natural. This is also where you can play with styles like the hime cut or curtain bangs if you have them!
Step 3: Gather Your Hair Low
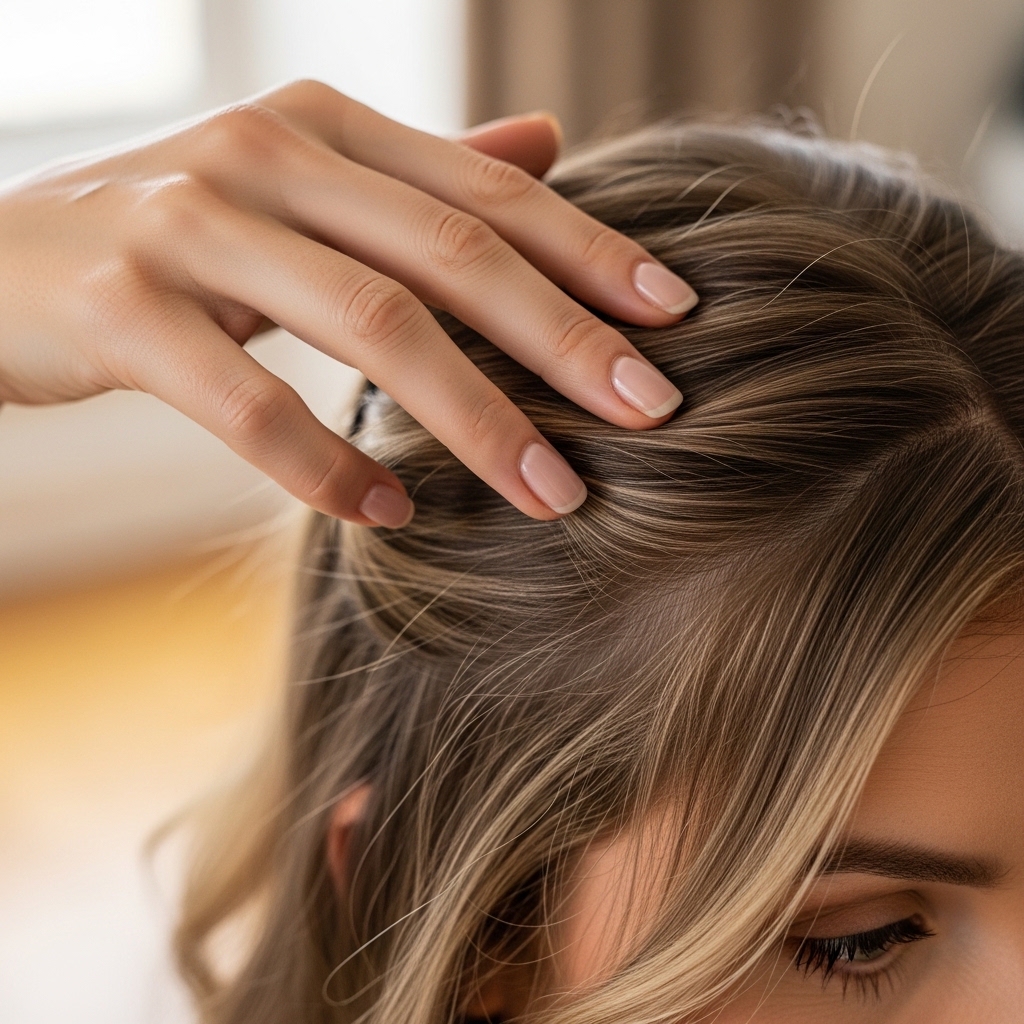
Gather all your hair at the nape of your neck, but keep it loose. Don’t pull it tight into a ponytail holder. Instead, use your hands to collect it as if you’re about to put it in a loose, low ponytail, but skip the elastic.
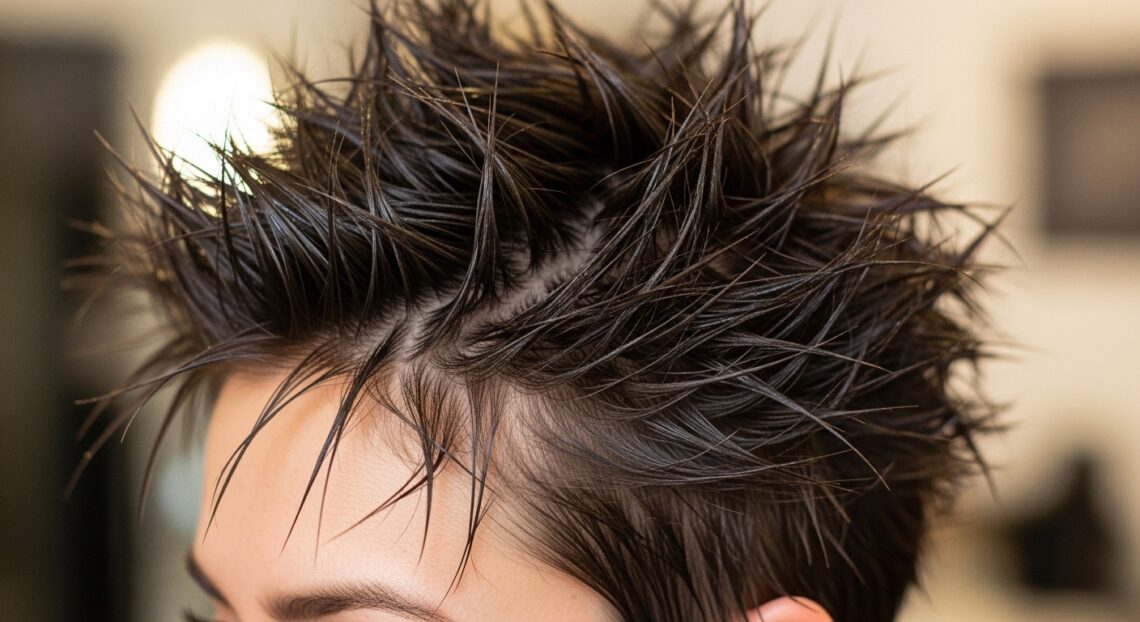
Let the hair at your crown and sides stay relaxed. You want a little volume and looseness up top. This prevents that severe, pulled-back look and keeps everything soft and romantic.
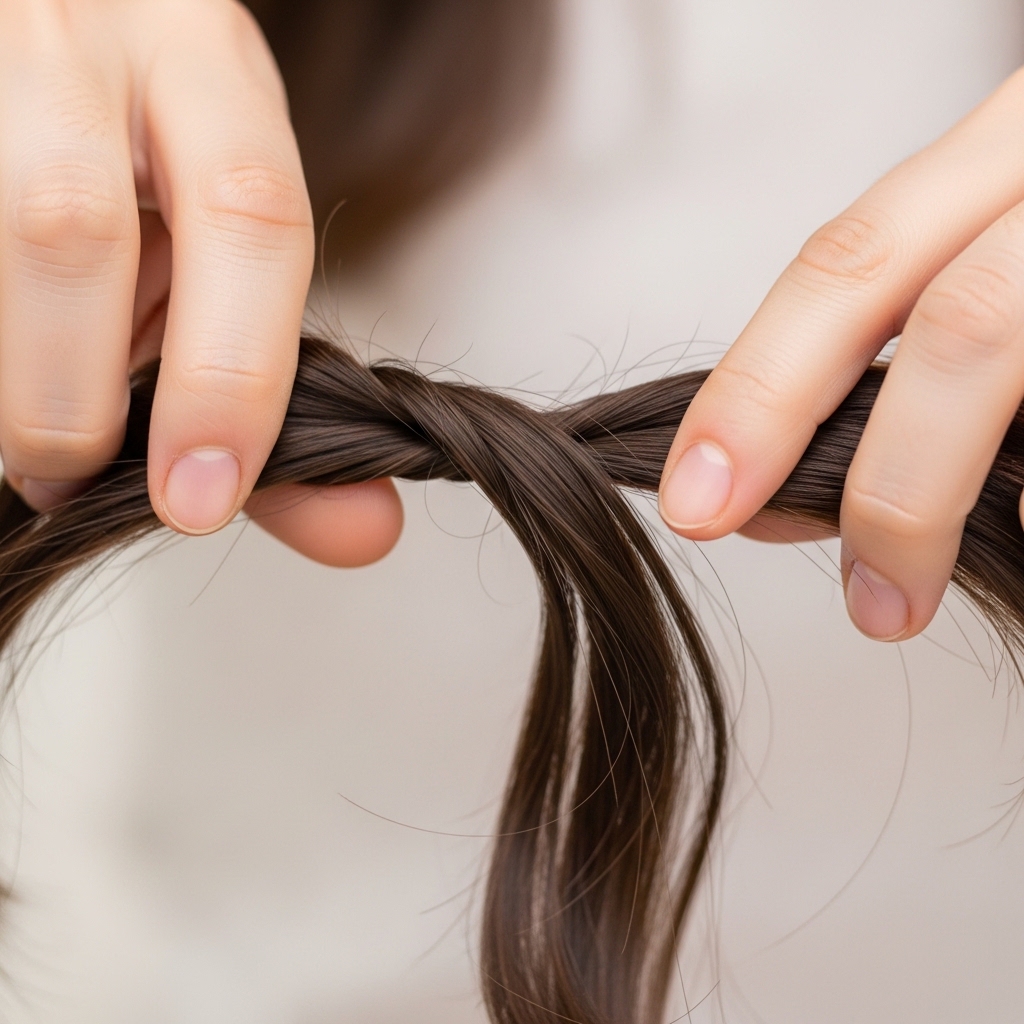
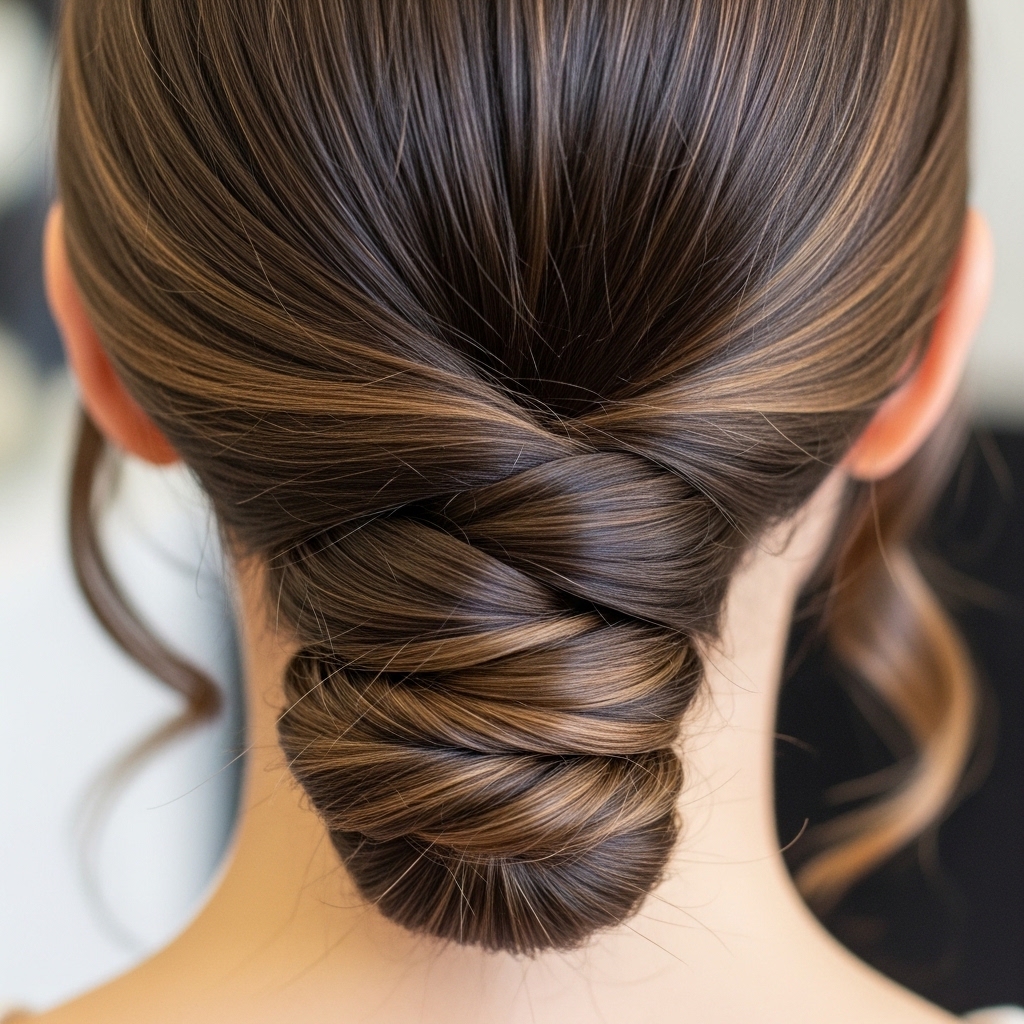
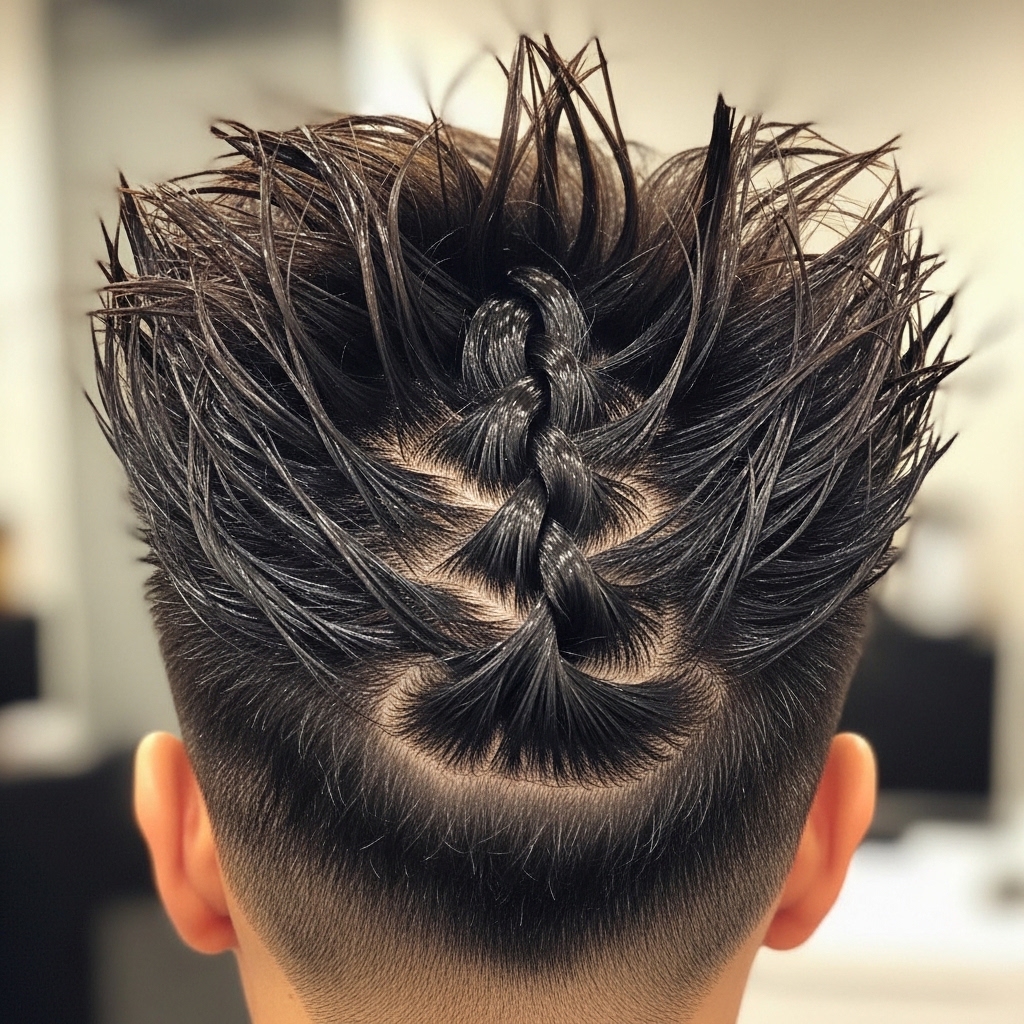
Step 4: The Simple Twist Technique
Once gathered, gently twist the length of your hair two or three times. That’s it. Don’t over-twist, or it will become tight and rope-like. We’re aiming for a relaxed, barely-there twist.
As you twist, let some pieces naturally fall out. This isn’t about perfection. A few wispy pieces escaping at the neck and ears is exactly the look we’re going for. It feels effortless.
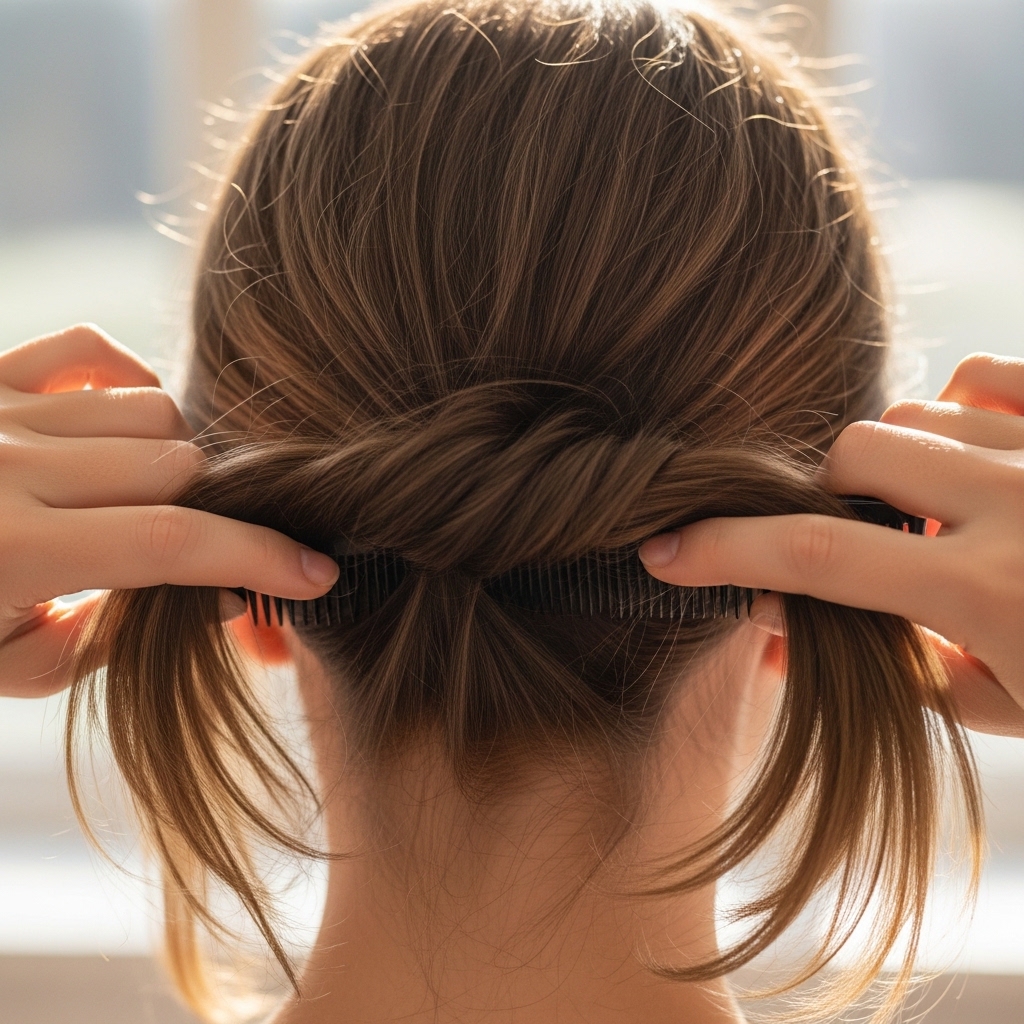
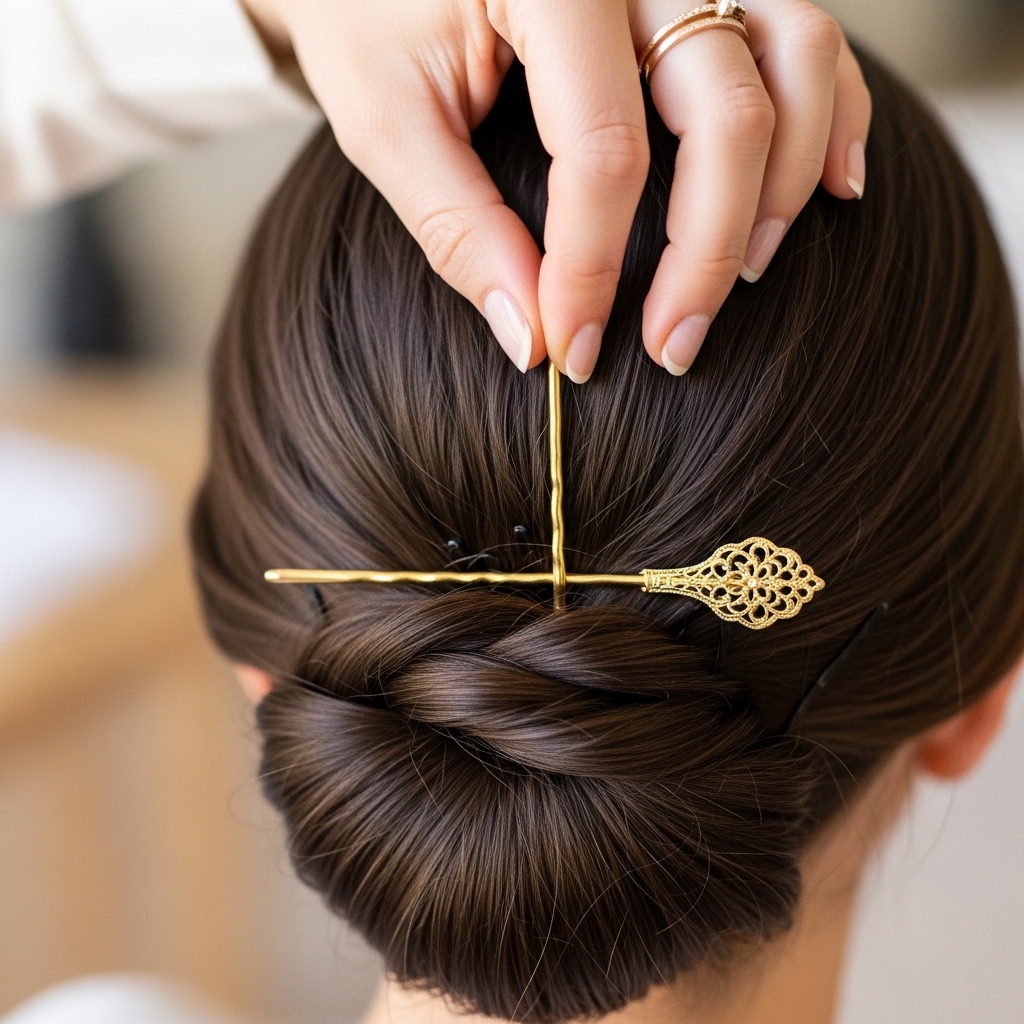
Step 5: Securing With Invisible Hold
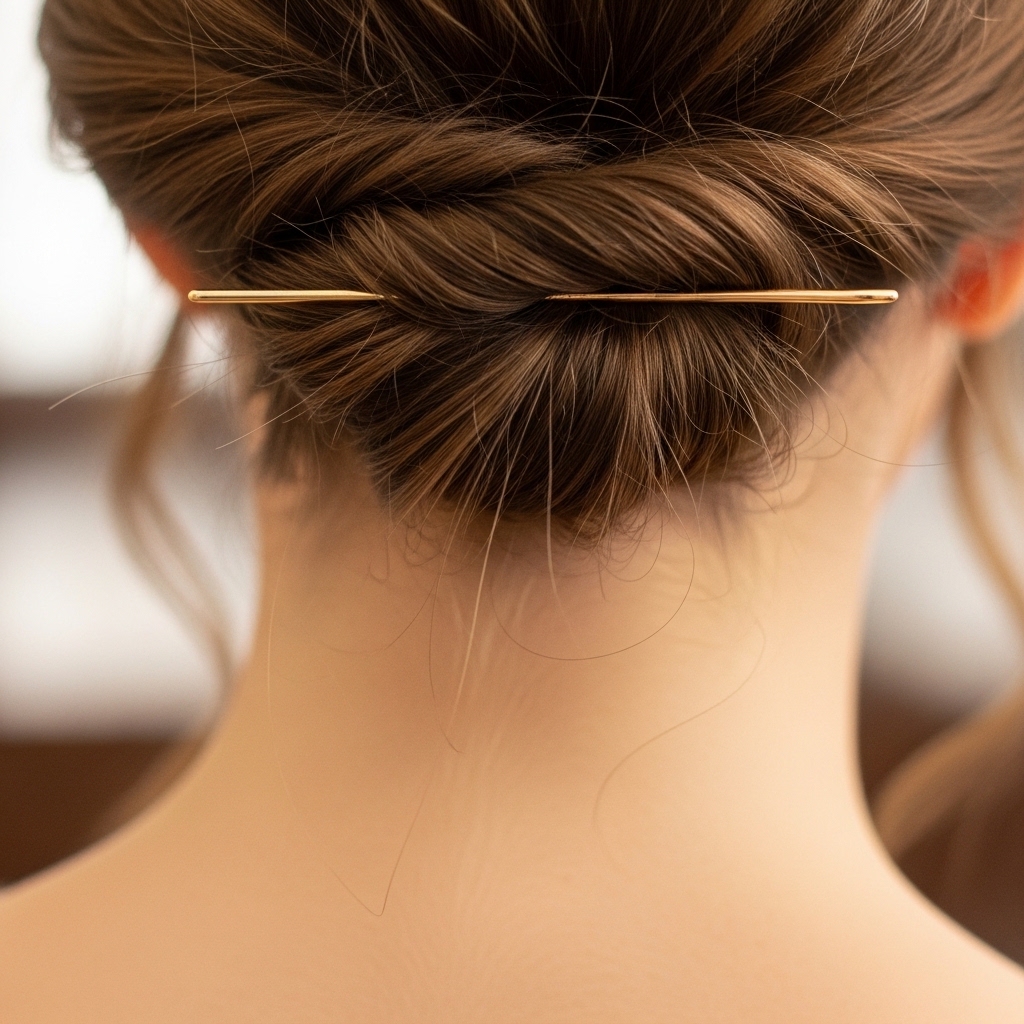
Instead of an elastic, use 2-3 bobby pins. Cross them into the base of the twist to lock it in place. Push them in, then pull back slightly to really anchor them against your scalp. This hides them completely.
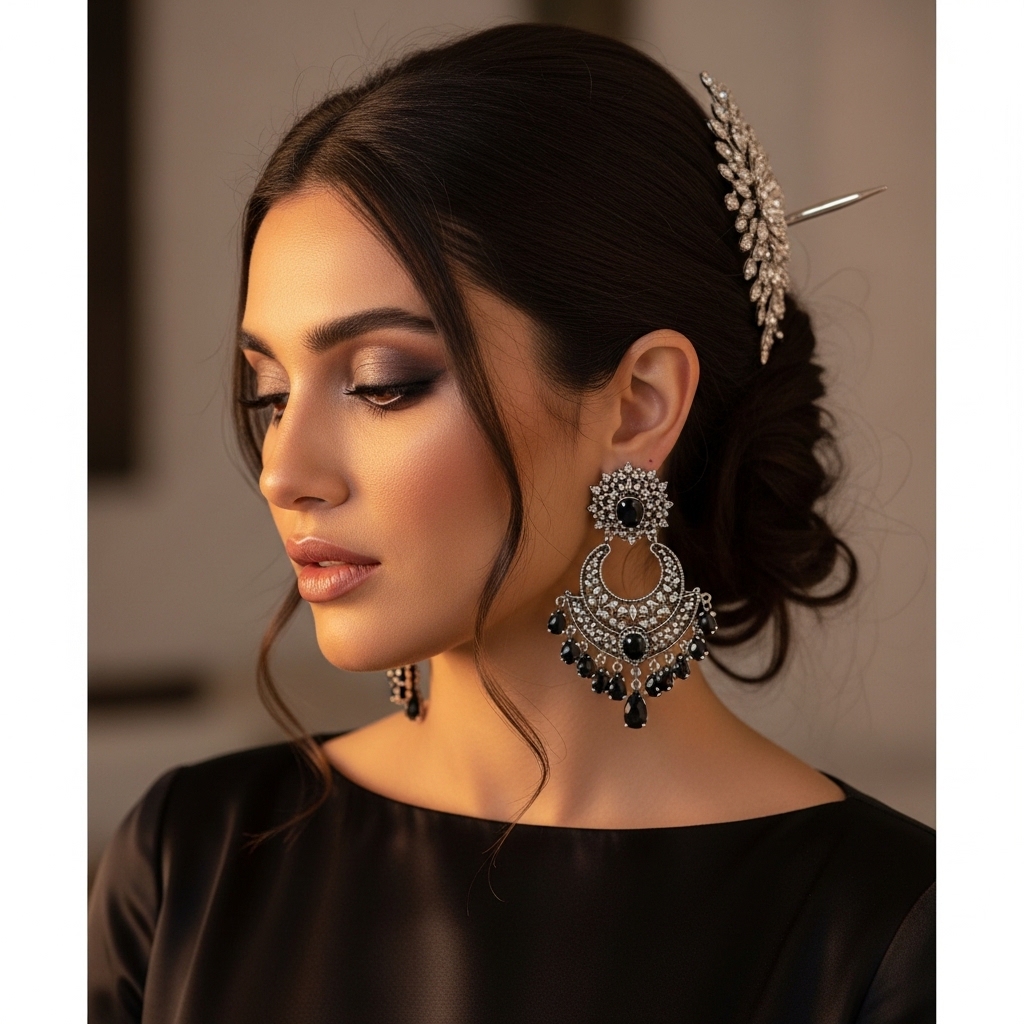
For an even more luxurious touch, finish with a single, beautiful hair pin slid over the twist. It should look decorative, not like it’s doing all the hard work. The bobby pins are your real heroes.
Step 6: The Perfect Pull & Tug
This is the most important step! Once secured, gently pull at the sides of the twist to loosen it. Tug lightly on small sections to create a fuller, more undone shape. Pull a few more tiny pieces out around your neck.
Look in the mirror from the front and pull a little hair out near your temples to balance the look. The goal is to create a soft, oval shape around your face, not a tight, pulled-back silhouette.

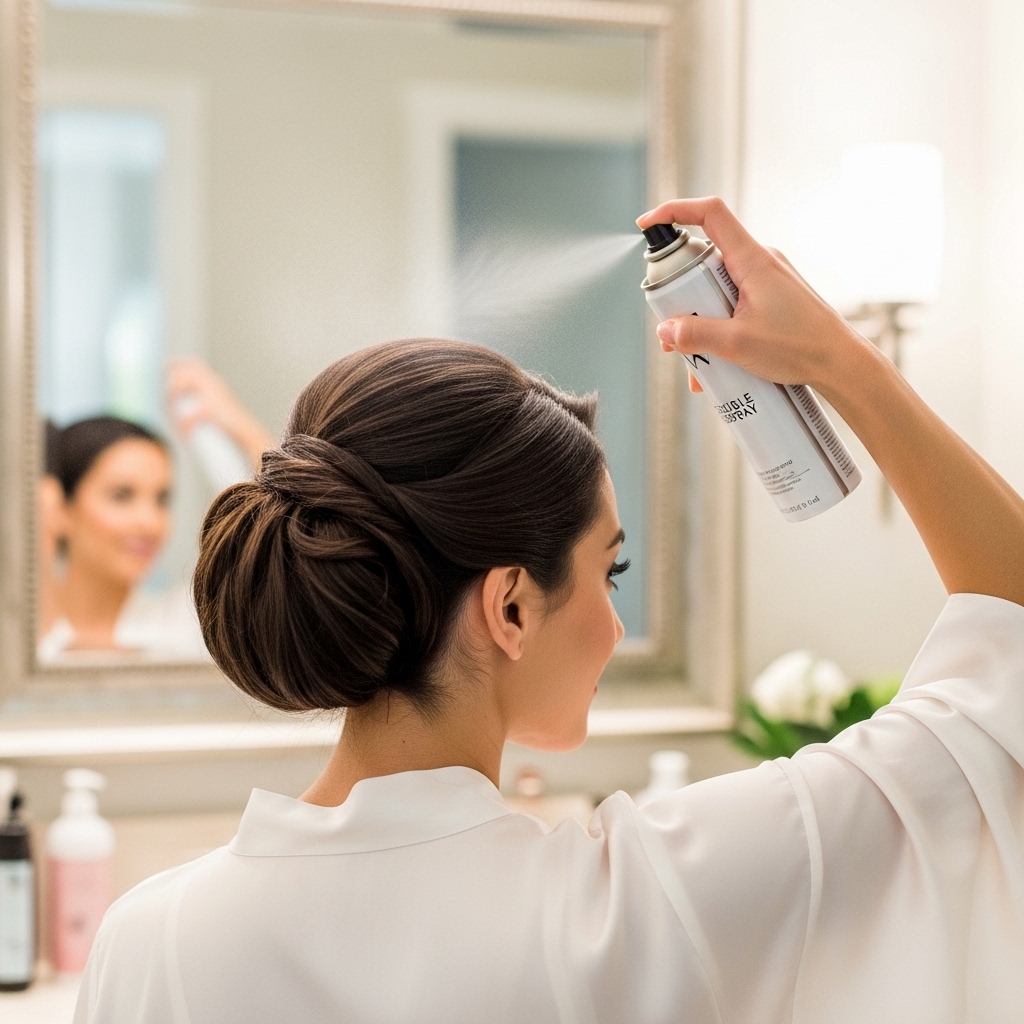
How To Make It Last All Day
A light mist of flexible-hold hairspray from about 12 inches away will lock in the shape without making it stiff. Focus on the area around the bobby pins. Carry an extra pin or two in your bag for a quick midday fix.
If your hair is very slippery, try this style on non-washed hair or use a texture spray as your base. The natural oils and product will give the pins something to grip onto, making the hold last from brunch to dinner.
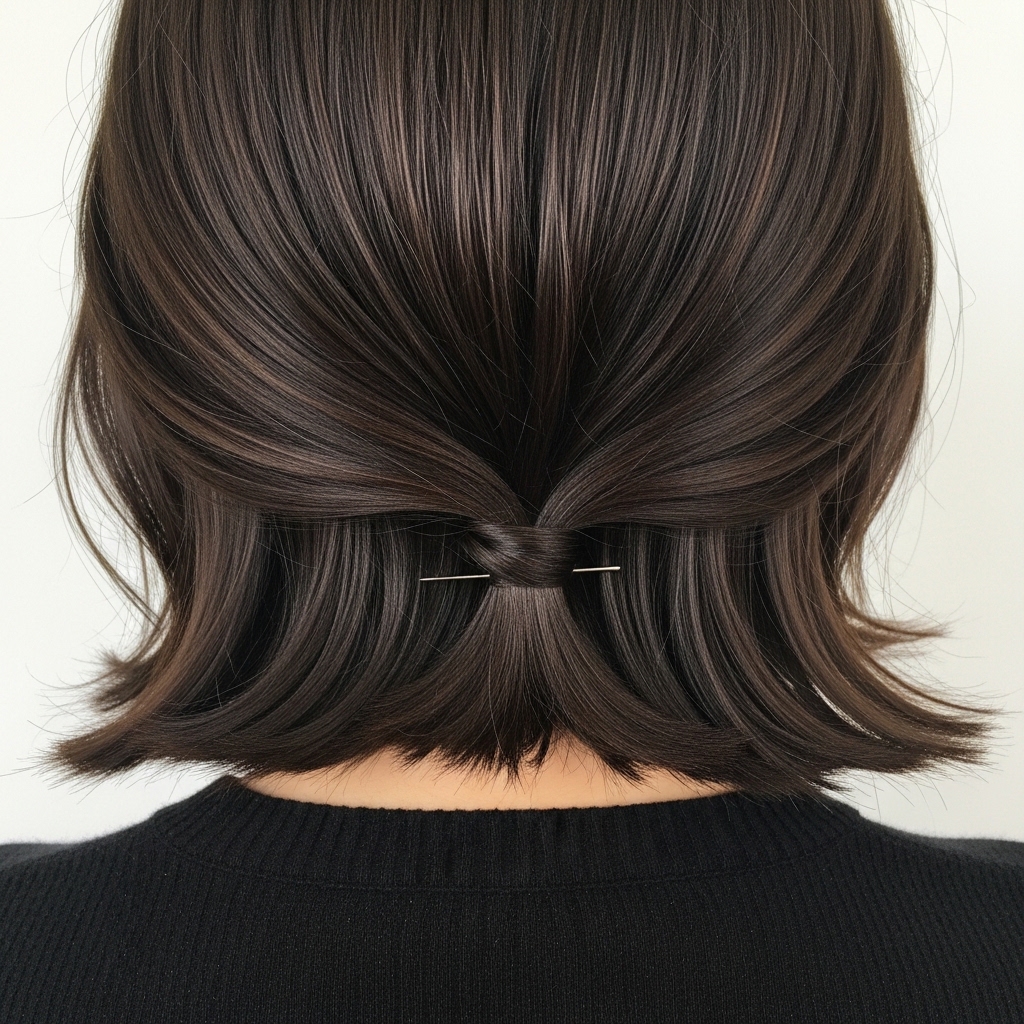
Adapting The Twist For Short Hair
If you have a quiet luxury bob or an asymmetrical lob, you can still do this! Gather only the hair from the nape of your neck. Twist that small section and pin it. Let the rest of your bob fall naturally around it.
It creates a beautiful, subtle detail in the back that people only notice when you turn around. It’s a fantastic way to add a touch of polish to a shorter cut without any hassle.
Adapting The Twist For Long Hair
For long hair, focus on keeping the twist compact. You might need an extra pin or two. Instead of twisting all the length, you can loosely fold the ends under after twisting and pin them to create a soft, tucked look.
This prevents a long, bulky rope of hair and keeps the silhouette clean and intentional. It looks elegant and keeps heavy hair off your neck in a sophisticated way.
Adding A Romantic Goth Vibe
Love romantic goth hairstyles or the vampire haircut aesthetic? The Low Twist is your perfect base. Start with straighter, sleeker hair. Pull out more dramatic, sharp face-framing pieces.
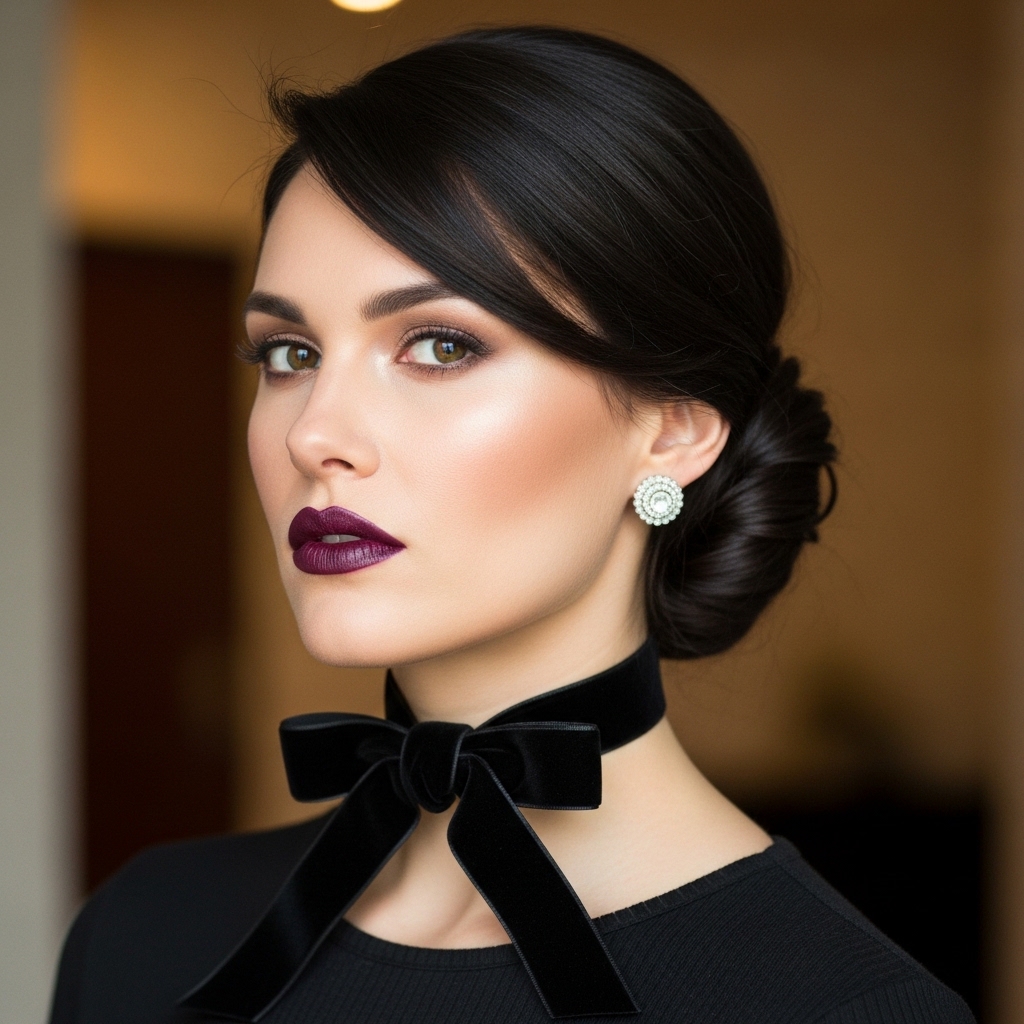
Use a dark, ornate hair clip or a velvet ribbon to secure the twist. Keep the pull-and-tug step more minimal for a sharper, darker look. It’s all about the accessory and the attitude.
Channeling Glitchy Glam Texture
The glitchy glam hair trend is all about imperfect, piece-y texture. To get this feel, use a strong texturizing salt spray before you start. When you do your pull-and-tug step, be more aggressive.
Pull out many uneven, wispy pieces all around your head. The twist itself should look almost a bit messy, like it’s coming undone in a cool, intentional way. Finish with a shine spray for the “glam” part.
The Perfect Accessories To Elevate It
Choosing your pin or clip is where personality shines. A simple gold bar pin whispers quiet luxury. A pearl-accented clip feels classic. A black claw clip nods to the vampire haircut trend.
Less is more. One beautiful accessory is all you need. Let it be a tiny piece of jewelry for your hair. It should complement your overall look, not overpower your beautiful twist.
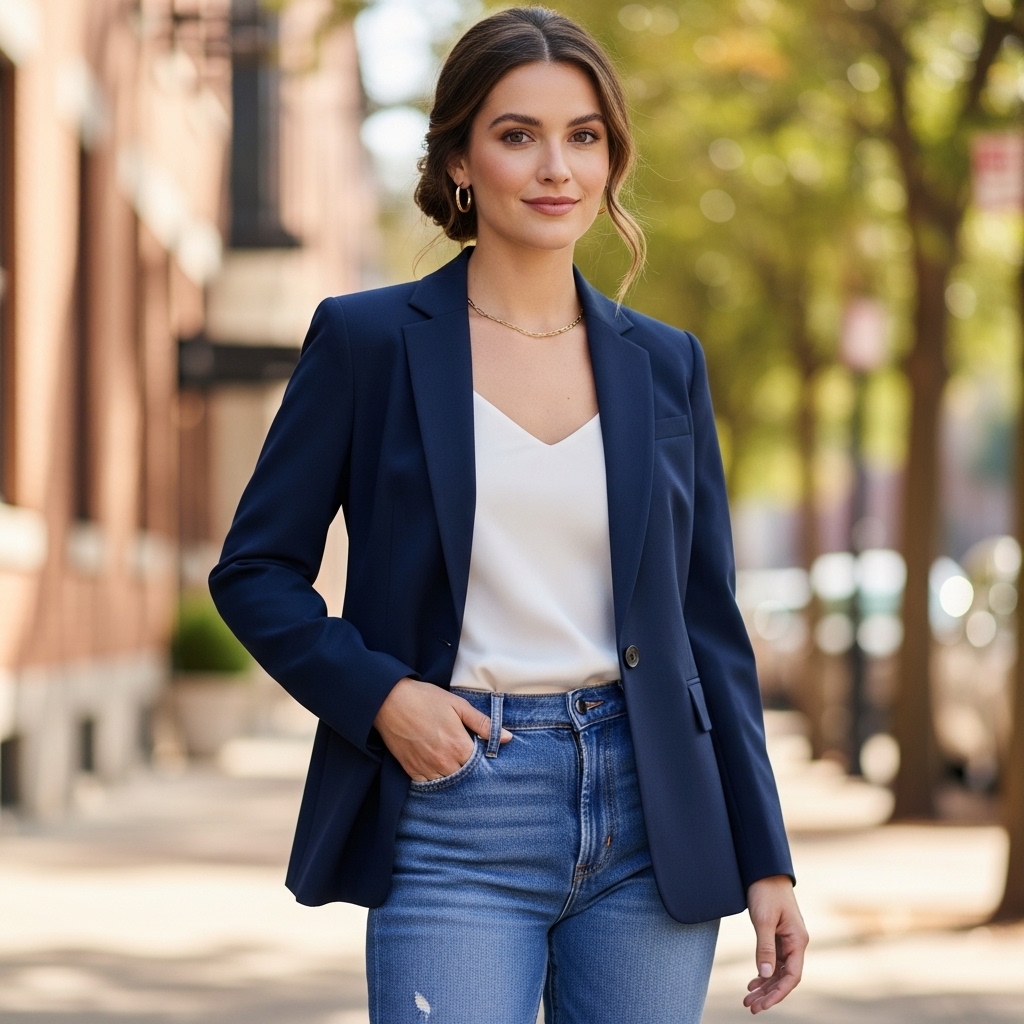
Day To Night Transformation
This style transitions seamlessly. For day, it’s clean and polished with a sweater and jeans. For night, pull out a few more pieces around your face for a softer look. Switch your simple pin for something more sparkly.
Add a bold lip or a pair of statement earrings. The hairstyle provides the perfect elegant, unfussy backdrop that lets your other accessories and your makeup really take center stage.
Common Mistakes & How To Fix Them
- Too Tight: It looks severe. Fix it by pulling hard at the sides and crown to release tension.
- Too Perfect: It looks stiff. Gently rake your fingers through the twist to break it up.
- Pins Showing: Make sure to cross your bobby pins and push them all the way in, then pull back to hide them.
- Flat on Top: Tease the crown hair lightly before gathering, or use a volumizer at the roots.
How This Complements Your Wardrobe
The Low Twist is the ultimate wardrobe neutral. It pairs perfectly with crisp tailoring, a silky slip dress, or a simple tee. It provides that put-together feeling without competing with your outfit.
It lets your necklines shine—think turtlenecks, boat necks, or statement necklaces. It’s the hairstyle equivalent of a great pair of jeans or a classic trench coat; it just works with everything.
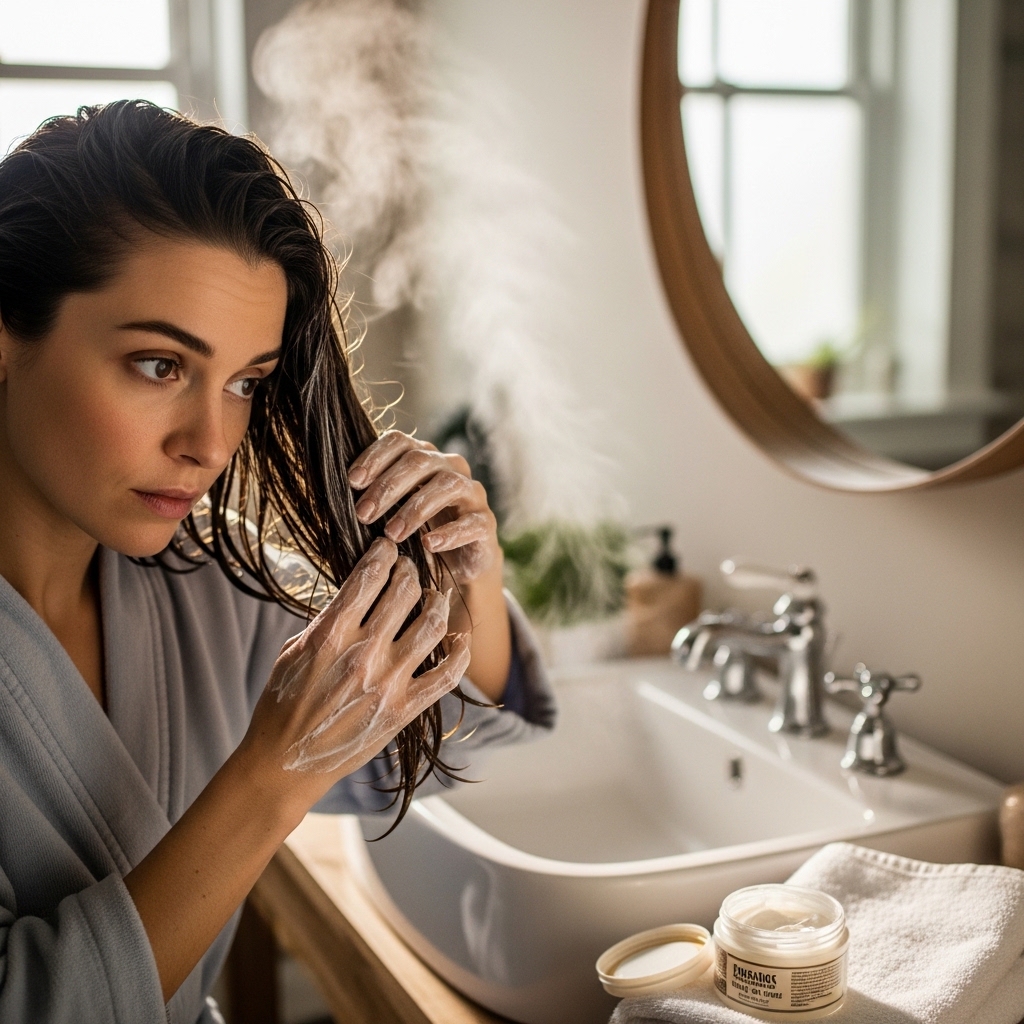
Hair Health: The True Foundation
Quiet luxury hair starts with healthy hair. Regular trims, a good hydrating mask, and protecting your hair from heat are non-negotiable. Shiny, strong hair will make any simple style, like this twist, look expensive.
Invest in your hair care like you would a good skincare routine. When your hair is healthy, you can do less to it and still look incredibly polished. That’s the real secret.
My Final Piece Of Advice
Practice this when you’re just at home watching TV. The muscle memory is key. After a few tries, you’ll be able to do it in under a minute without even looking in a mirror.
Don’t strive for the exact same look every time. Some days it will be neater, some days more undone. That’s the beauty of it. It’s a reflection of your real life—beautifully imperfect.

Your Turn To Try It
I promise, once this becomes part of your routine, you’ll reach for it constantly. It’s that reliable. It works for the school run, a busy workday, a date night, or a fancy event. It’s endlessly adaptable.
So next time you’re feeling like your hair is blah, skip the complicated tutorials. Grab a couple of bobby pins and give the Low Twist a try. It might just become your signature look.
And that’s it, friend! The not-so-secret secret to looking like you have your life completely together, even when you’re just running on coffee and a good to-do list. It’s these little tricks that make the biggest difference in our daily style.
Remember, the best hairstyles are the ones that make you feel good without taking all your time. The Low Twist is exactly that—a small effort for a big return on confidence.
Save this post to Pinterest so you always have the steps handy! And tell me in the comments—what’s your go-to quick, elegant hairstyle when you’re short on time? I’d love to know!

