
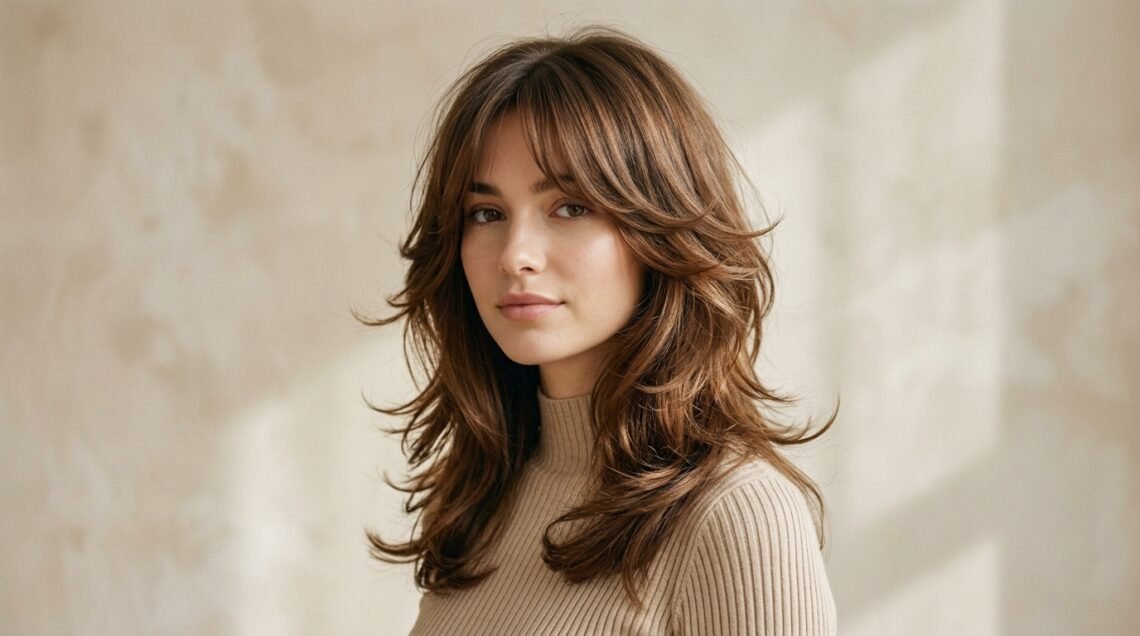
I spent years believing my round face and I had to avoid layers. Turns out I just needed the right ones. The flixie haircut gave me that “oh, so that’s what my hair can do” moment, and I want the same for you.
A flixie is a layered cut with ends that flick outward instead of curling under. That little flip builds angles, and angles are what make a round face read longer and leaner.
Below, I’m covering how to ask for it, which lengths work best, and how to style it at home in under ten minutes. We’ll also talk about where it fits in 2026 hairstyles, plus how to bend it toward old money hair or something a little moodier.
What Is a Flixie Haircut, Exactly?

A flixie is the meeting point between a flick and a shaggy layered cut. The whole personality of the style lives in the ends, which get styled away from your face instead of tucked under.
Unlike a classic bob that curves toward your jaw, a flixie sends hair outward. That direction change is what creates the illusion of length.
- Flicked ends, never curled under
- Layers that begin around the cheekbone
- Gentle volume at the crown
- Movement you can spot from across the room
It works on short, medium, and long hair, which is why it keeps popping up everywhere.
Why Flicked Layers Flatter Round Faces

Round faces are gorgeous, but they can look wider when hair hugs the cheeks and curves under at the jaw. That inward curve just traces the circle.
A flixie does the opposite. The outward flick breaks the round shape and adds vertical lines around your face, which is the trick to looking longer.
- Softens the cheek area without hiding it
- Draws the eye downward, not sideways
- Adds height at the roots when styled right
- Works with or without bangs
The result is a face that looks a little more oval, without any contouring.
The Elongation Rule: Where Layers Should Start

Here’s the one rule that matters most. Your shortest face-framing layer should start at or slightly below your cheekbone, never above it.
Layers that start up near your temples add width right where you don’t want it. Starting lower keeps the volume in the right place and lets the ends do the elongating work.
- Ask for the shortest piece to hit mid-cheekbone
- Keep the next layer about two inches lower
- Let the ends stay blunt-ish so the flick has weight
- Avoid heavy graduation near the jaw
Get this right and everything else falls into place.
How to Ask Your Stylist for a Flixie
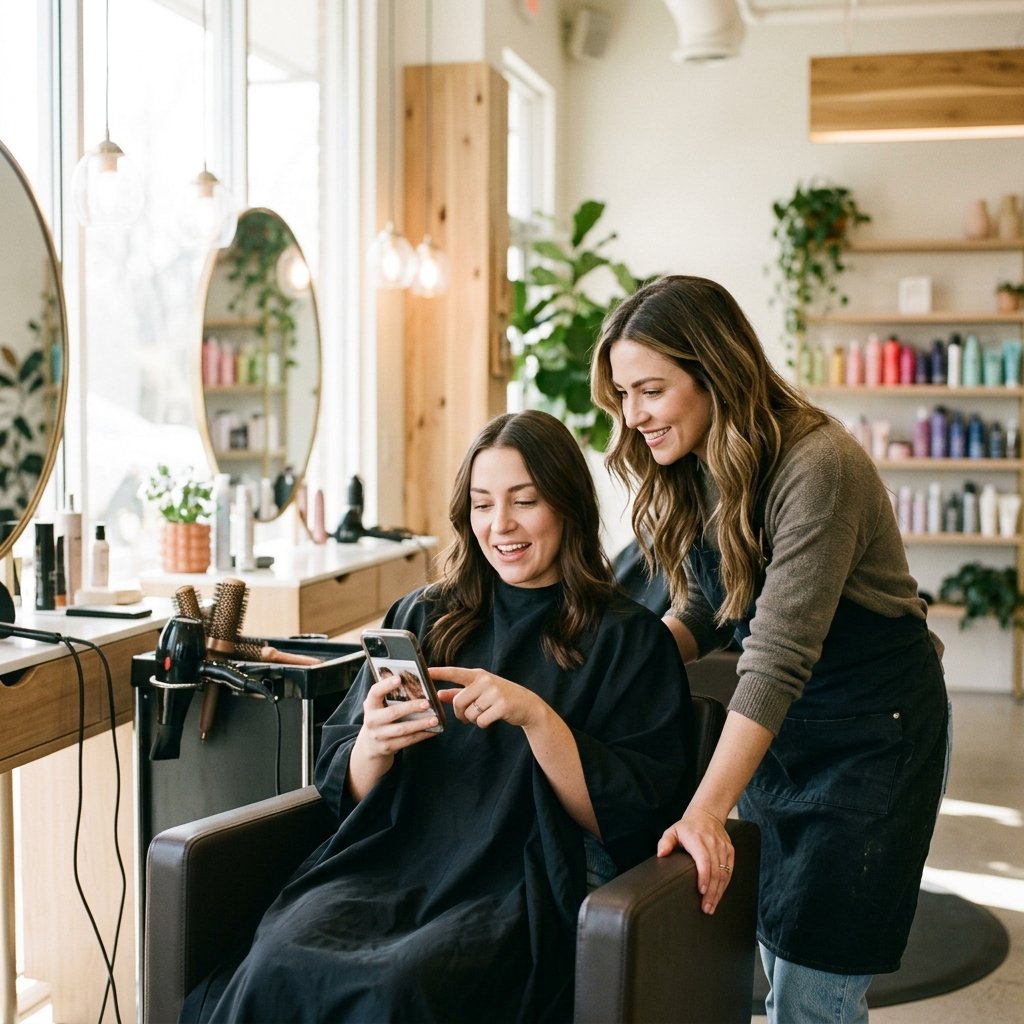
Stylists hear “fluffy layers” and “a bob with movement” a hundred times a day. Be specific and you’ll get exactly what you pictured.
Say the word flixie, then describe the flick. Mention that you want the ends to be styled outward and that you’re working with a round face.
- Bring three photos, not ten
- Point out where you want the shortest layer to fall
- Mention your styling time limit
- Ask how it will look air-dried
- Request a dry cut if your texture is wavy
Honest communication upfront saves months of growing it out later.
Which Direction Should Your Ends Flick?

You have options, and the right one depends on your face shape and your vibe.
A symmetrical flick, where both sides flip out evenly, looks polished and intentional. An asymmetrical flick, with one side turned out more than the other, adds edginess and slims the face even more.
- Even flick: classic, clean, great for work
- Uneven flick: modern and a little rebellious
- Flick forward at the cheek: softens a strong jaw
- Flick back at the ear: opens up the face
Try both on a wash day and see which one makes you feel more like yourself.
Chin-Length Flixie: Short and Snappy

This is the boldest version and honestly the most fun. Hair stops right at the chin, then flips out like it has somewhere to be.
On a round face, this length works because the flick points away from the widest part of your cheeks. The key is keeping the ends slightly blunt so they hold their shape.
- Best for fine to medium hair
- Needs a quick round-brush pass in the morning
- Looks amazing with a middle part
- Pairs well with a soft side sweep
If you want a cut that gets compliments at the grocery store, this is it.
Collarbone Flixie: The Sweet Spot

If you’re nervous about going short, start here. Collarbone length gives you the elongating flick without losing the ability to tie your hair up.
The flick at this length reads soft and romantic rather than sharp. It’s the version I recommend most for round faces because it’s flattering and forgiving while it grows out.
- Layers start at the cheekbone
- Ends graze the collarbone and flip out
- Great with curtain bangs
- Air-dries decently on its own
This is the “I woke up like this” length, even when you didn’t.
Shoulder-Grazing Flixie: Long and Easy

Long hair can absolutely do the flixie thing. You just need layers that release the weight so the ends can turn outward.
At this length, the flick is subtle. It shows up mostly at the bottom few inches, which gives you a soft, lived-in finish rather than a statement.
- Ask for long layers with light face framing
- Keep the very ends from getting too thin
- Use a large round brush, not a small one
- Add a tiny bend with a flat iron if needed
It’s the lowest-commitment way to try the look.
Flixie vs. the Asymmetrical Lob

People mix these up constantly, so let’s clear it up.
An asymmetrical lob is about the cut line. One side is longer than the other, usually angling from jaw to collarbone. A flixie is about the styling direction of the ends.
- Asymmetrical lob: uneven length, sleek finish
- Flixie: even or uneven length, flicked finish
- Both elongate a round face
- Both look great with a deep side part
You can absolutely combine them. An asymmetrical lob with flicked ends is one of my favorite round-face haircuts right now.
Flixie Meets the Quiet Luxury Bob

The quiet luxury bob is all about clean lines, rich texture, and looking expensive without trying. A flixie gives it just enough movement to feel human.
Ask for a blunt-ish bob that sits at the jaw or collarbone, then style the ends outward with a medium round brush. Keep everything else smooth.
- Sleek crown, flicked ends
- Middle part or soft side part
- Shiny finish, no crunch
- Minimal product, maximum polish
Pair it with a knit sweater and gold hoops and you’ve basically won the season.
Old Money Hair, Flicked Finish
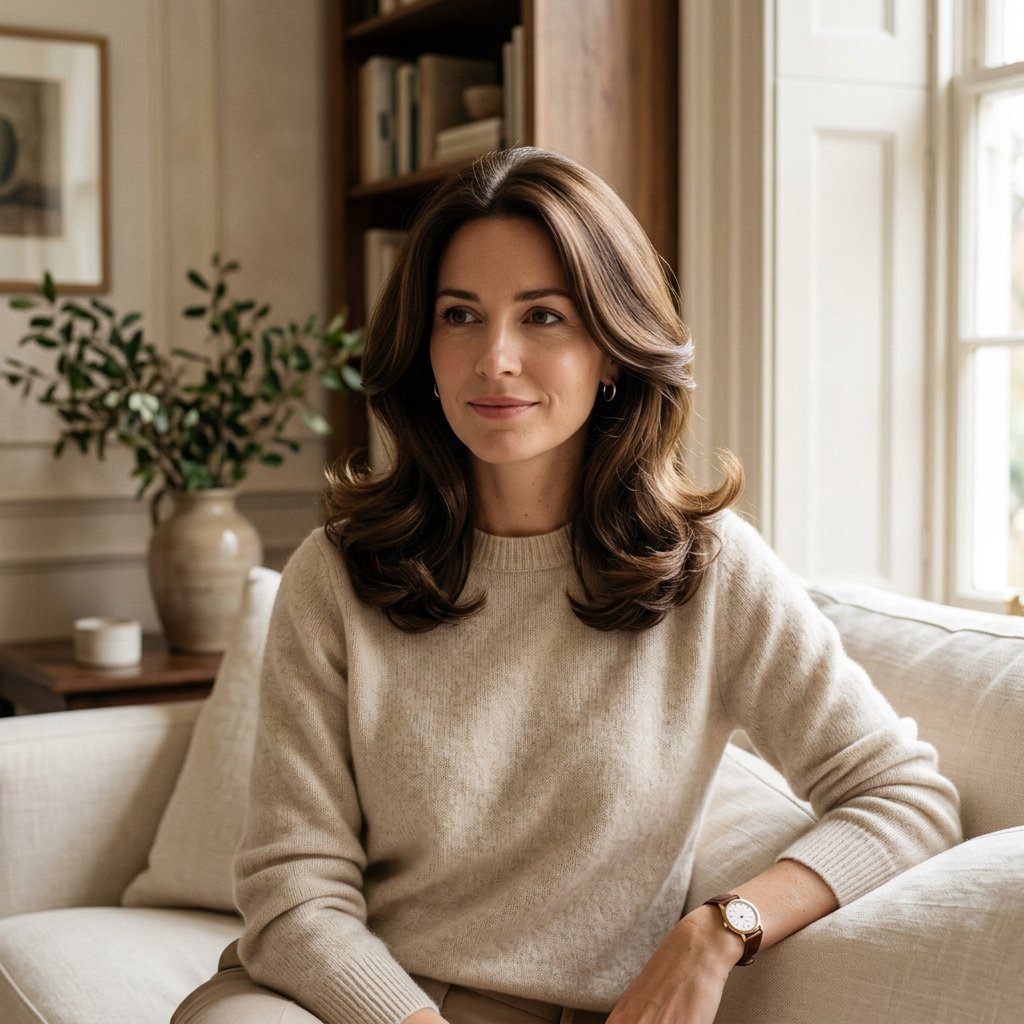
Old money hair is less about a specific cut and more about health, shine, and never looking like you tried too hard. A gentle flixie fits that perfectly.
Think smooth roots, soft bends, and ends that flip out just slightly, like you brushed it and walked out the door. Nothing crunchy, nothing stiff.
- Invest in a gloss or shine treatment
- Blow dry roots up for lift
- Flick only the last two inches
- Keep the part simple and clean
This is the quietest way to wear the trend, and it photographs beautifully.
Romantic Goth Hairstyles: The Flixie Twist

Romantic goth hairstyles lean soft, dark, and dreamy. Think lace, velvet, and hair that moves with a little mystery.
A flixie works surprisingly well here. The flicked ends add a playful edge to an otherwise moody look, so it doesn’t feel like a costume.
- Deep side part with soft volume
- Flicked ends for contrast
- Piecey texture cream for definition
- Optional face-framing braids
Pair it with a dark lip and you’ve got a look that’s romantic without being overly sweet.
Glitchy Glam Hair: Flixie Goes Edgy
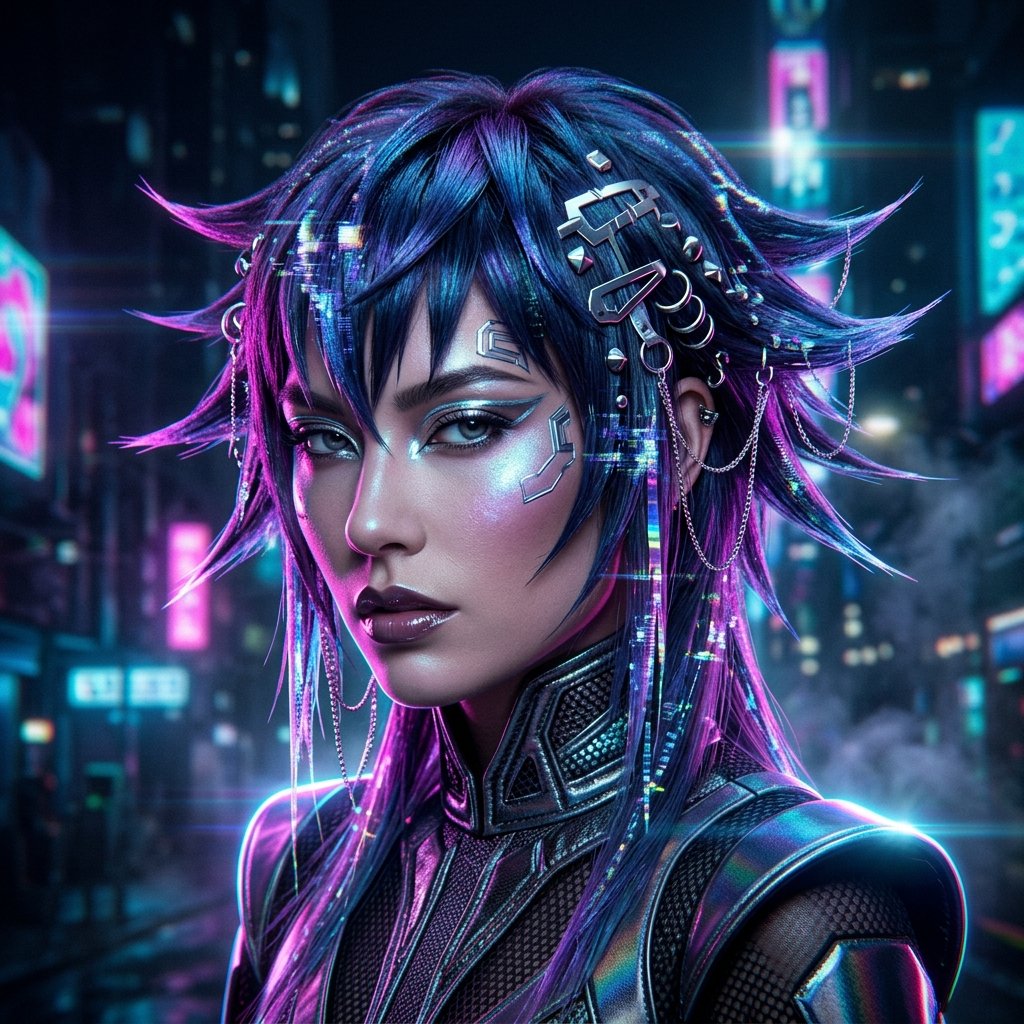
Glitchy glam hair is that cool, slightly digital, high-shine aesthetic. Sharp lines, unexpected angles, a little bit of chaos on purpose.
The flixie is practically made for it. Flicked ends give you those crisp directional shapes that read as intentional and modern.
- Flat iron the ends for hard flicks
- Use a shine spray for a glassy finish
- Add metallic clips or a chrome barrette
- Keep one side deliberately sharper
It’s the look you want for a concert, a night out, or any photo that needs to hit.
Vampire Haircut Energy at the Ends

The vampire haircut is all about contrast. Soft volume near the face, sharper pieces toward the ends, and a slightly undone finish that feels dangerous in a good way.
Flicked layers give you that same tension. The cut stays soft, but the ends snap outward and catch the light.
- Keep the crown full and rounded
- Sharpen the ends with a straightener
- Use a matte texture paste
- Leave the part slightly off-center
Add a dark berry lip and you’re basically a character in a very stylish movie.
Hime Cut Meets Flixie
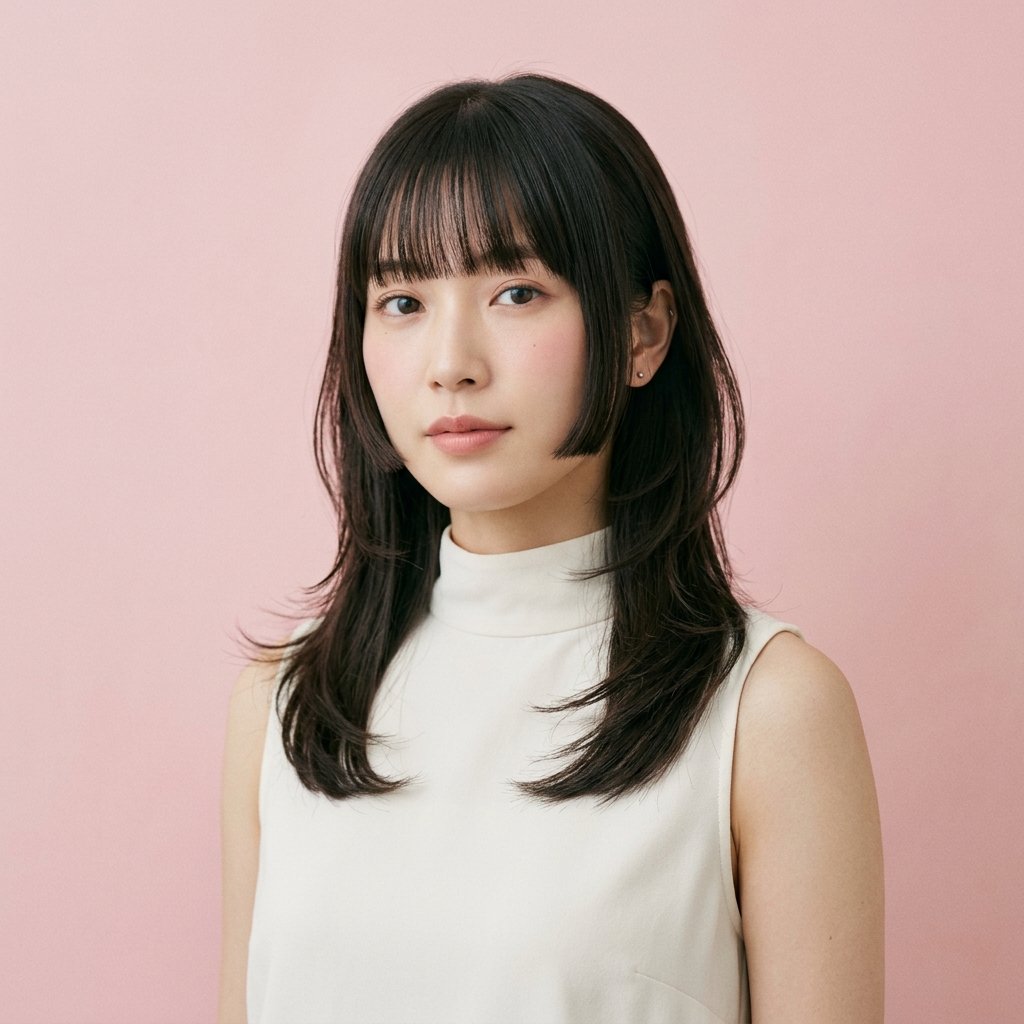
The hime cut is the Japanese style with straight, blunt side pieces framing the face and longer hair behind. It’s striking, clean, and surprisingly flattering on round faces.
Adding a flixie twist means letting those back layers flick outward at the ends. You keep the sharp side pieces but gain movement in the back.
- Blunt side pieces at cheek or jaw
- Flicked layers in the back
- Sleek, straight finish up top
- Needs regular trims to stay sharp
It’s dramatic, but in a really refined way.
Curtain Bangs Plus a Flixie

Curtain bangs and flicked layers are a match made in hair heaven, especially for round faces.
The bangs sweep outward and downward, which draws the eye vertically. The flicked ends echo that same outward motion, so the whole cut feels cohesive.
- Ask for bangs starting at the cheekbone
- Keep the center part soft, not harsh
- Blow dry bangs away from the face
- Use a small round brush for the flick
This combo makes almost everyone look like they have better cheekbones.
Face-Framing Pieces That Slim Your Cheeks

The pieces closest to your face do the heaviest lifting. Get them right and the rest of the cut just follows.
Ask for two face-framing pieces that start at the cheekbone and taper gently. Then flick the ends outward so they point away from your cheeks.
- Shortest piece at the cheekbone
- Soften the edges, no blunt chunks
- Flick outward, not inward
- Keep the pieces narrow, not wide
Little changes here make a big difference in how long your face looks.
How to Blow Dry a Flixie at Home

You don’t need a salon chair to get this look. You need about eight minutes and one round brush.
Rough dry your hair to 80 percent, then section it off. Work in two-inch pieces, rolling the brush outward at the ends.
- Rough dry until mostly dry
- Section hair into four parts
- Roll the brush outward at the ends
- Hit each section with cool air to set
- Finish with a light mist of flexible spray
The cool shot is the step everyone skips and it’s the one that makes the flick last.
Round Brush vs. Flat Iron
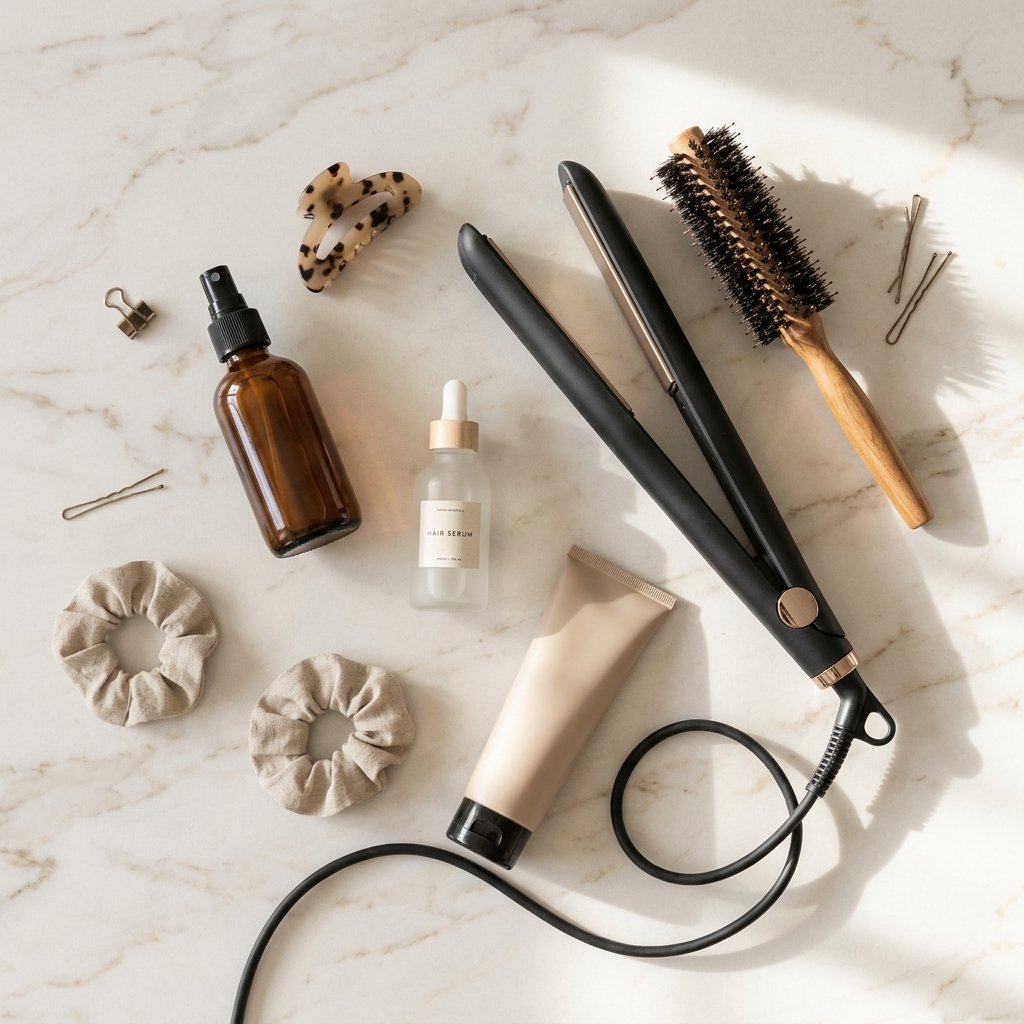
Both tools can create a flick. They just create different versions.
A round brush gives you soft, bouncy, slightly round flicks. A flat iron gives you sharp, angled, editorial flicks.
- Round brush: softer, faster to learn
- Flat iron: sharper, more precise
- Round brush: better for thick hair
- Flat iron: better for short hair
If you have five extra minutes, use the round brush. If you’re rushing, clamp and twist with the flat iron and go.
Products That Hold Without Crunch
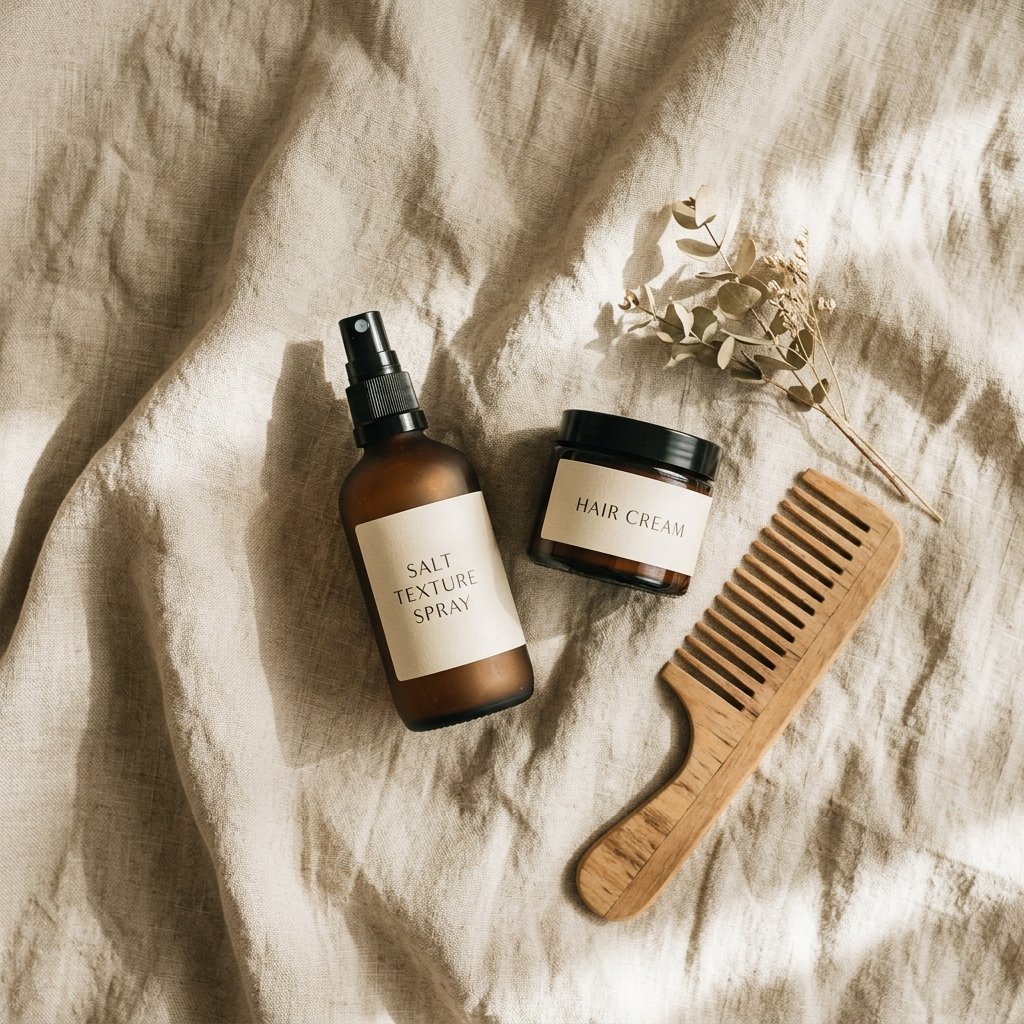
Nothing ruins a good flick faster than stiff, crunchy ends. You want memory, not cement.
Start light. A texture spray at the roots and a flexible cream through the ends will hold the shape without making hair look wet or stiff.
- Texture spray for root lift
- Flexible hold cream for the ends
- Light hairspray as the final step
- Skip heavy gels and pomades
Apply on damp hair, style, then set with cool air. The flick will hold all day without feeling like straw.
Fine Hair, Thick Hair, and In Between

Fine hair loves a flixie because the ends stay light and move easily. Just ask for long layers so nothing gets stringy.
Thick hair needs the opposite approach. Your stylist should remove weight inside the cut so the ends can actually turn outward instead of hanging heavy.
- Fine hair: long layers, light product
- Thick hair: internal layers, texturizing
- Medium hair: you can do either
- Everyone: keep the very ends from thinning out
Tell your stylist your hair type upfront and they’ll adjust the plan.
Flixie on Wavy and Curly Hair

Curly girls, you’re not left out. A flixie just looks different on you, and honestly it looks great.
Instead of a sharp flick, you get a soft outward curl at the ends. The key is cutting dry so your stylist can see the real shape and where your curl pattern lands.
- Always cut dry, curl by curl
- Keep layers long to avoid a pyramid
- Use a light gel or mousse, not cream
- Diffuse upside down for root volume
Your version of the flixie will be softer and rounder, but it still elongates beautifully.
Trims, Upkeep, and Growing It Out
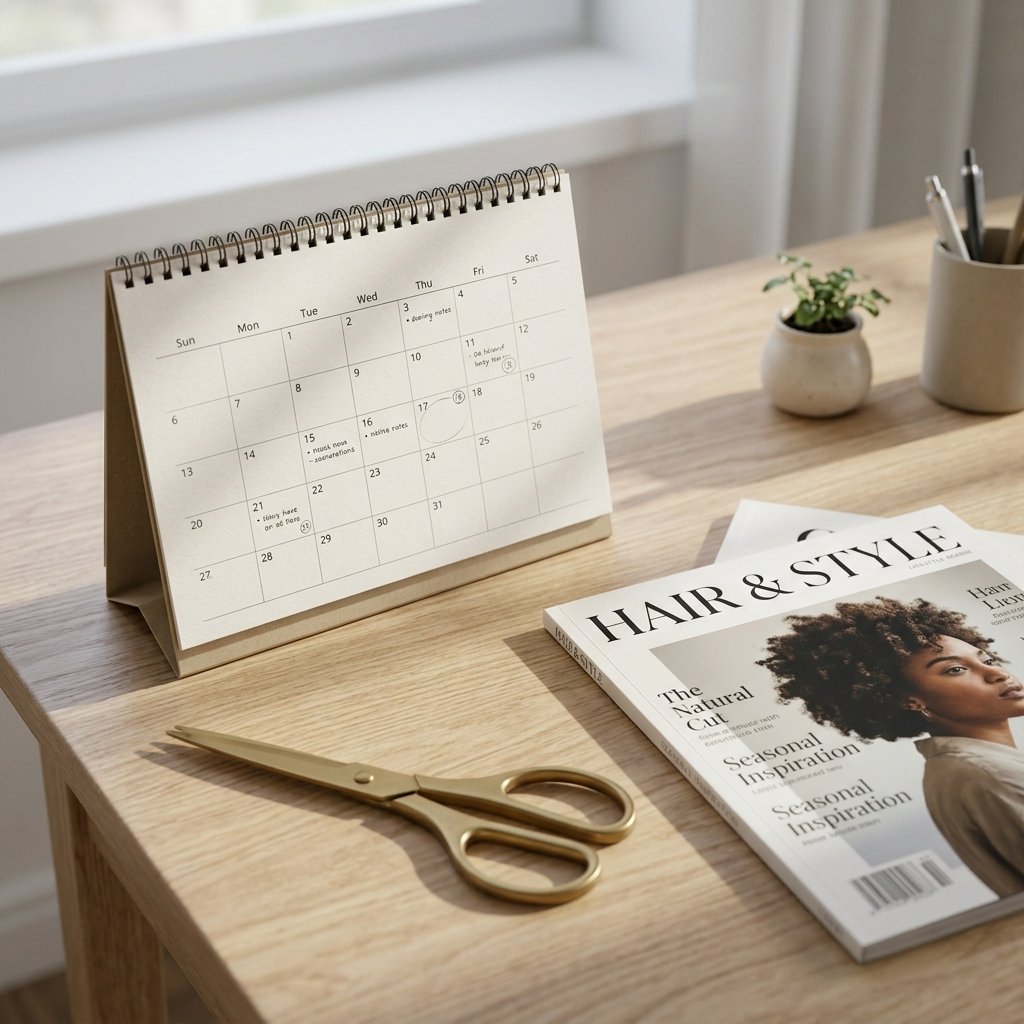
A flixie isn’t high maintenance, but it isn’t zero maintenance either. The flick depends on the ends staying a certain thickness.
Plan on a trim every eight to ten weeks. That keeps the shape clean and stops the ends from getting thin and straggly.
- Trim every 8 to 10 weeks
- Ask for a dusting between full cuts
- Skip heavy layers when growing it out
- Let the shortest layer grow before adding more
Growing it out is easy too. Just let the layers catch up and keep the ends blunt-ish.
2026 Hairstyles: Where the Flixie Fits

The 2026 hairstyles mood is all about contrast. Polished meets undone. Sharp meets soft. Nostalgia meets something new.
The flixie sits right in that sweet spot. It nods to nineties blowouts and early 2000s flips, but the modern version is lighter, softer, and way less fussy.
- Pairs with the quiet luxury bob
- Works with old money hair
- Adapts to romantic goth hairstyles
- Plays well with glitchy glam hair
It’s one of those rare cuts that looks current without chasing anything too hard.
Five Mistakes That Kill the Flick

I’ve made all five of these. Learn from me.
- Layers starting too high, which adds width
- Overloading the ends with heavy product
- Skipping the cool shot when blow drying
- Letting the ends get too thin between trims
- Curling the ends under out of habit
That last one is sneaky. If you’ve curled your ends under for a decade, your hands will do it automatically. Pay attention for the first week or two.
Styling Your Flixie for a Big Night

For date nights, weddings, or anything that needs a little extra, you can dress the flixie up without losing the shape.
Pull the front pieces back loosely, leave the flicked ends out around your face, and add a soft wave through the mid-lengths.
- Loose half-up with flicked ends out
- Soft waves plus sharp flicks
- A single sparkly pin on one side
- Shine spray for a glassy finish
It reads romantic and effortless at the same time, which is the whole goal.
Sleep and Wash Habits That Protect the Shape
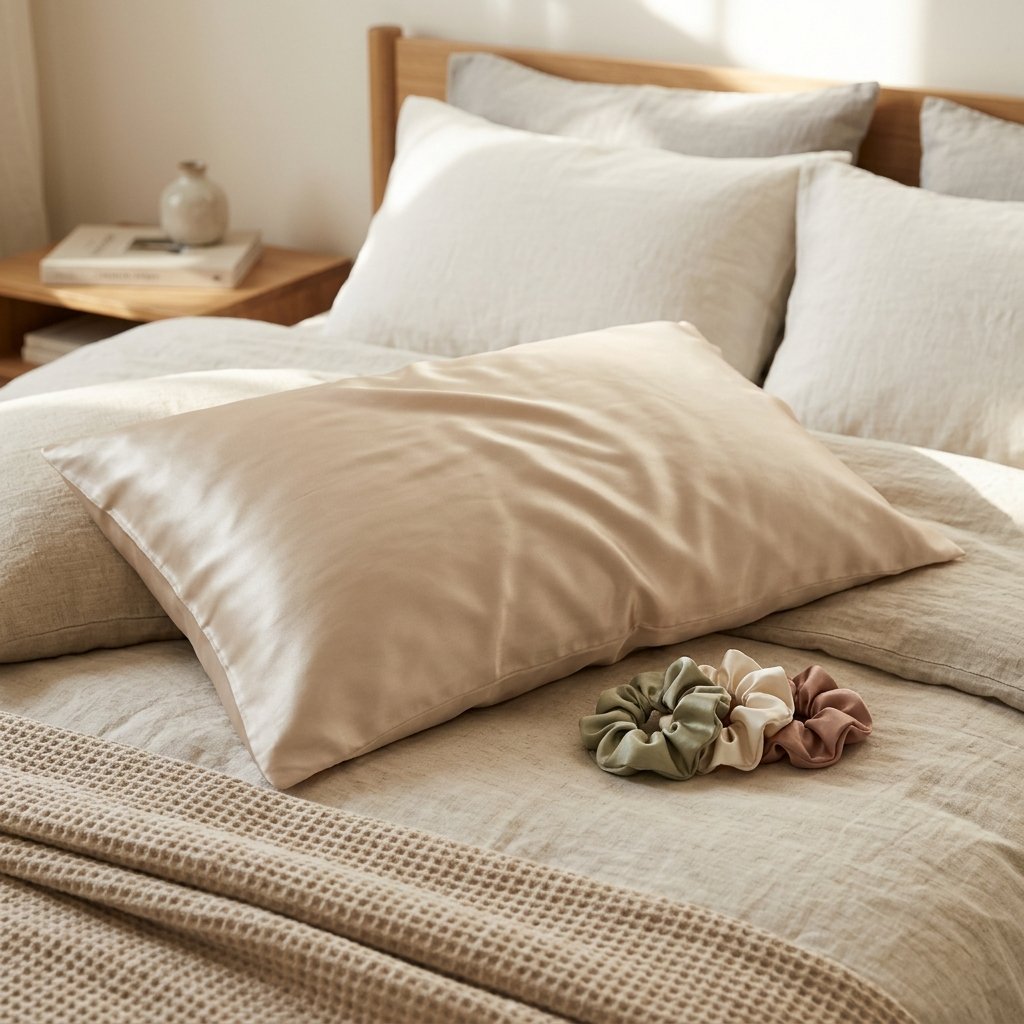
Good habits keep your flick looking sharp longer, so you’re not re-styling every single morning.
Sleep on silk or satin if you can. Use a loose scrunchie on top of your head rather than a tight ponytail at the nape.
- Silk pillowcase to reduce friction
- Loose topknot, never a tight tie
- Wash two to three times a week
- Condition mid-lengths to ends only
On day-two hair, a quick spritz of water and a thirty-second round-brush pass brings the flick right back.
Let’s Wrap This Up
Round faces don’t need to play it safe with hair. A flixie gives you angle, movement, and length without a single drop of contour.
Start with collarbone length if you’re unsure, keep the shortest layer at your cheekbone, and flick those ends outward. That’s really the whole formula.
Save this post to Pinterest so you have it ready for your next salon visit, and tell me in the comments: are you team soft flick or sharp flick? I read every single one.

