
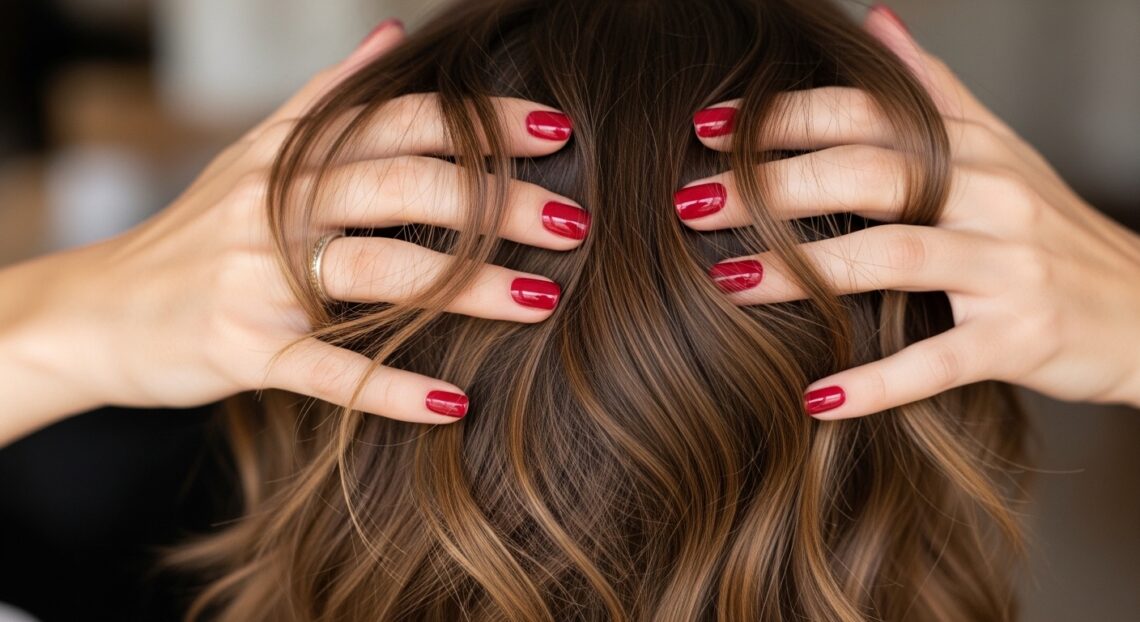
Okay, let’s be real. You’ve seen that perfect, slightly rounded lob everywhere. It’s the sweet spot between a bob and long hair, and it just looks expensive and put-together. It’s giving major quiet luxury bob vibes, but maybe you’re worried it’s too high-maintenance.
I was totally there. I love a good blowout, but who has the time (or the arm strength) every single morning? Definitely not me. That’s why I became obsessed with creating this look without any heat.
This tutorial is for you if you’re a beginner. We’re going to get that soft, rounded shape and gorgeous heatless waves that look like you just left the salon. It’s easier than you think, and it’s perfect for protecting your hair while still looking amazing.
By the end of this, you’ll have a go-to style that works for a casual day or a special night out. Let’s get into it.
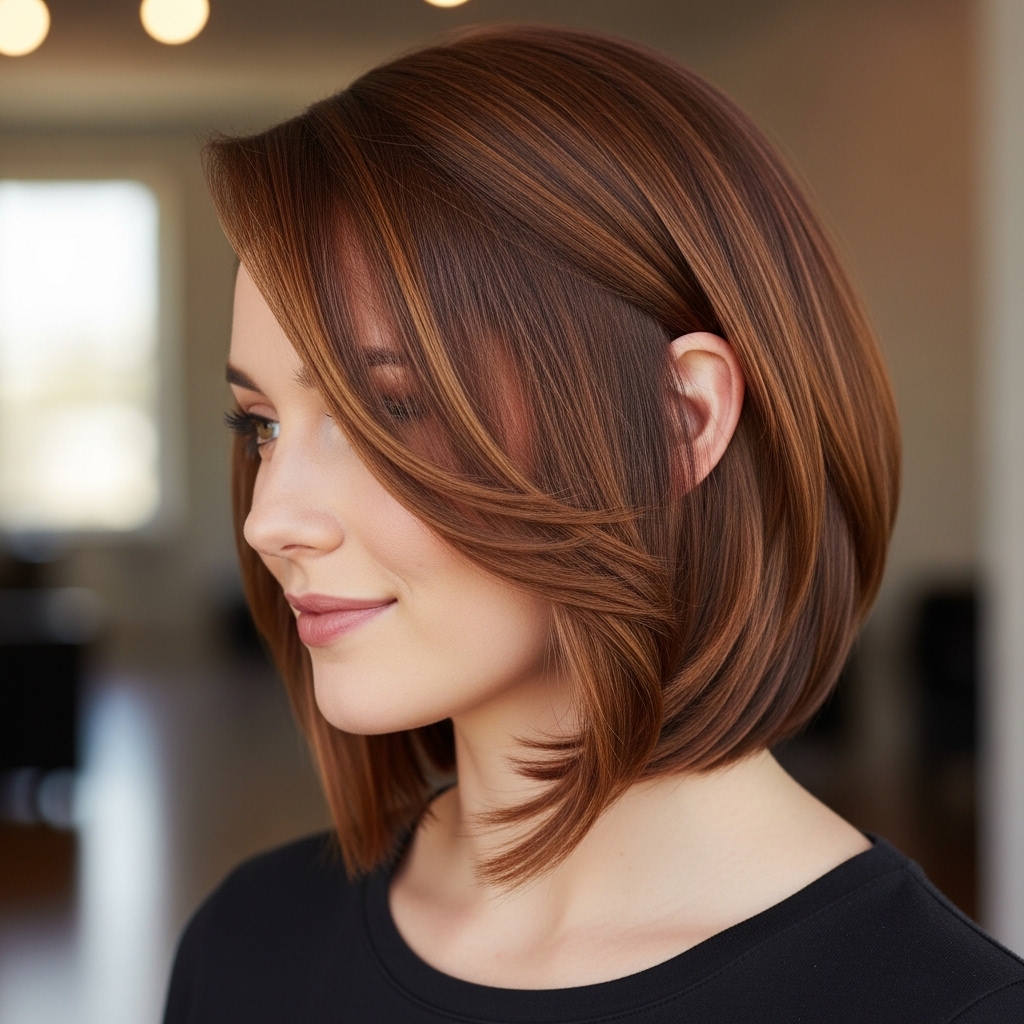
What Is a Rounded Lob, Exactly?
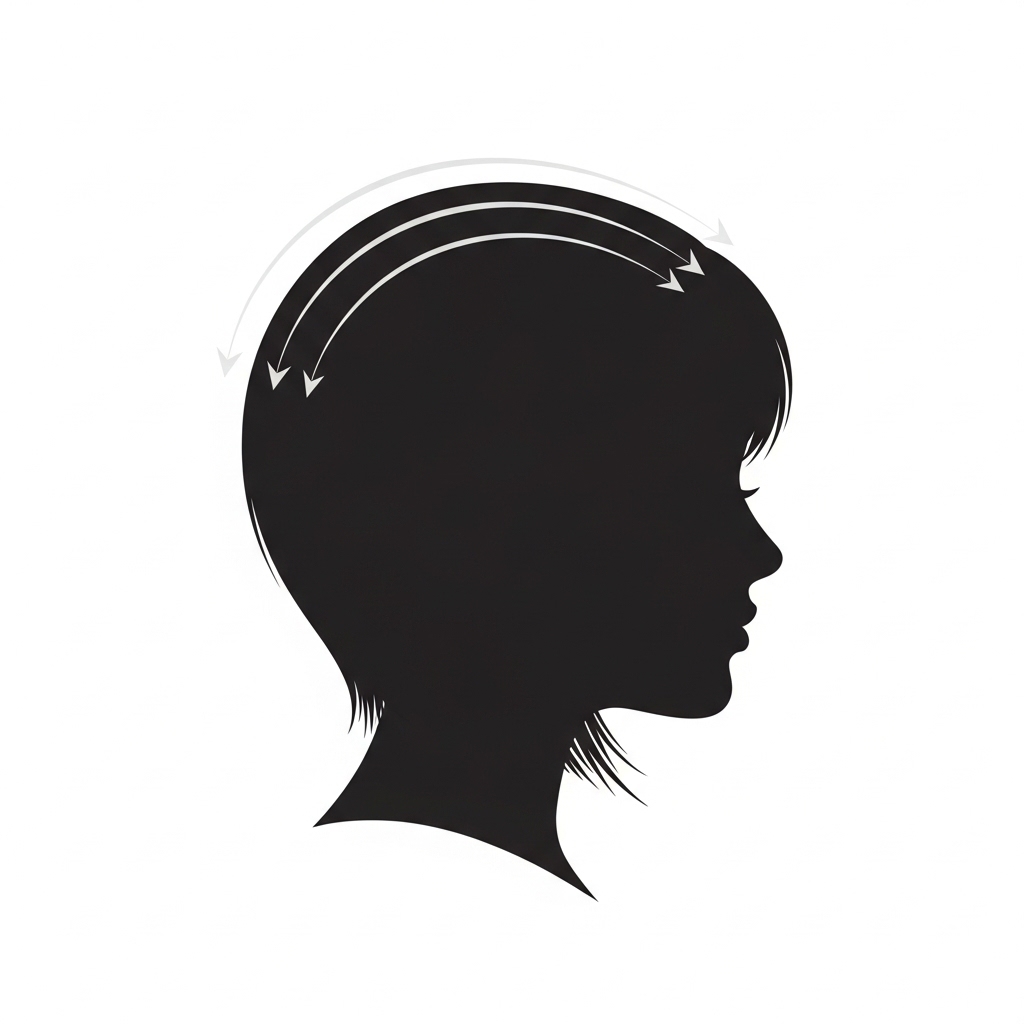
First things first, let’s define our goal. A lob is a “long bob,” typically falling somewhere between your chin and your collarbone. The “rounded” part is all about the shape.
Instead of a blunt, straight-across cut, a rounded lob is slightly shorter in the back and gradually gets longer towards the front. This creates a soft, curved silhouette around your head that’s incredibly flattering. It’s a timeless cut that feels fresh for 2026 hairstyles.
Why This Cut is So Popular Right Now
This hairstyle is having a major moment because it’s so versatile. It can be styled to fit so many aesthetics. With sleek waves, it’s pure old money hair. With a deep side part and texture, it leans into romantic goth hairstyles.
It’s also the perfect foundation for other trending looks. Want to try a subtle asymmetrical lob next? This is the perfect starting point. It’s that good, classic base that lets you play.

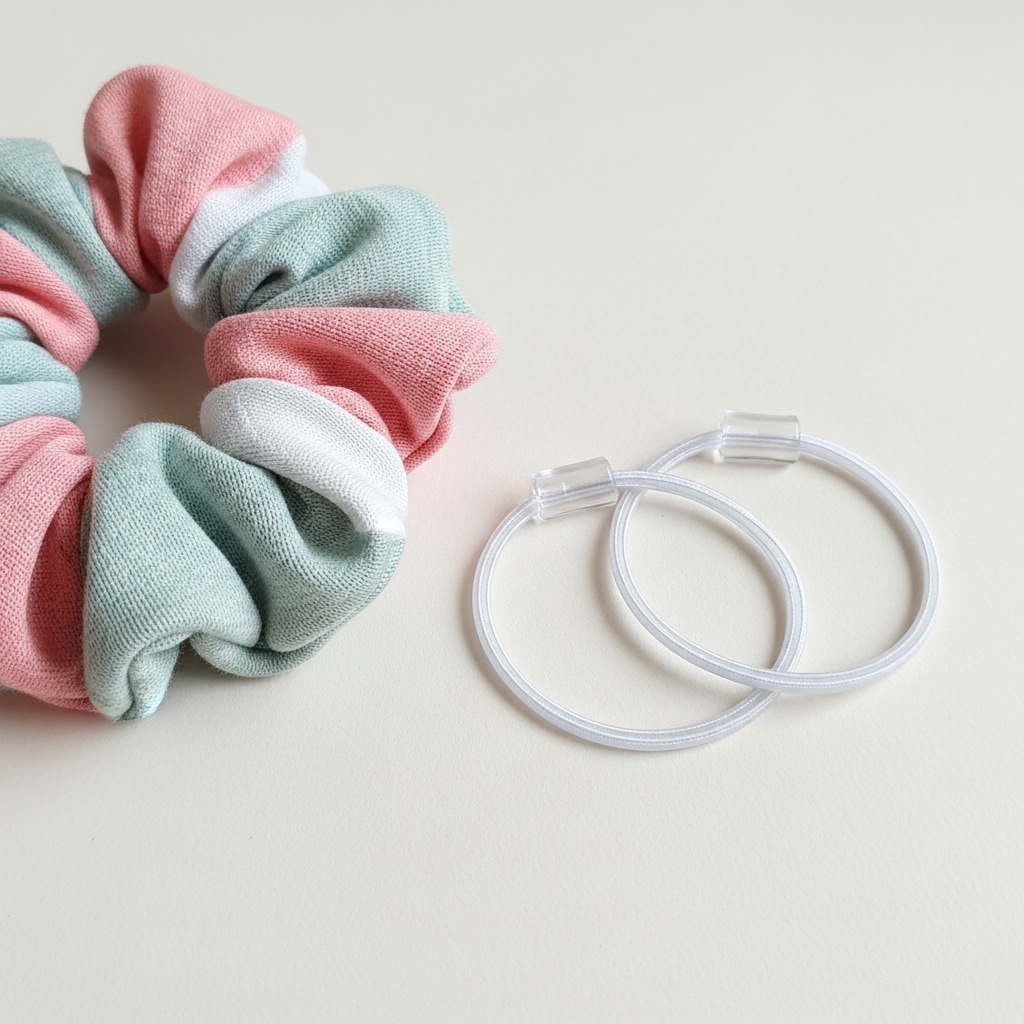
Tools You’ll Need for Heatless Waves
The best part? You don’t need much. We’re ditching the curling iron and flat iron for gentler methods. Here’s your simple toolkit.
- A soft, fabric hair scrunchie or coil-less hair tie.
- Satin or silk scrunchies are best to prevent creases.
- A few small, snag-free hair elastics (the clear kind work well).
- A light-hold texturizing spray or mousse.
- A wide-tooth comb or detangling brush.
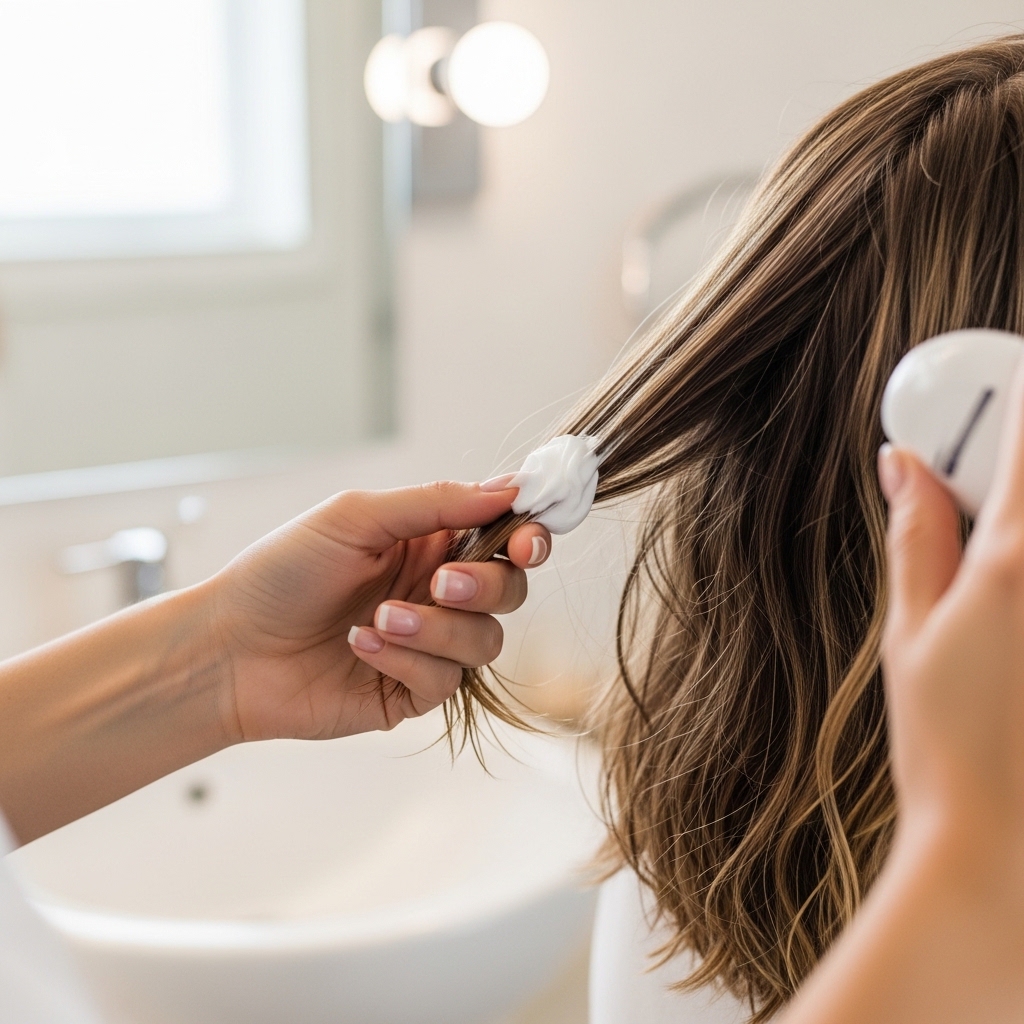
Prepping Your Hair the Right Way
Preparation is key for lasting waves. Start with hair that is slightly damp. Not soaking wet, but about 70-80% dry. I usually towel-dry mine and let it air dry for 10-15 minutes first.
Then, apply your texturizing product. This gives the hair a bit of grip and helps the waves hold their shape. Work a golf-ball sized amount of mousse or a few spritzes of spray through your mid-lengths to ends. Comb it through evenly.
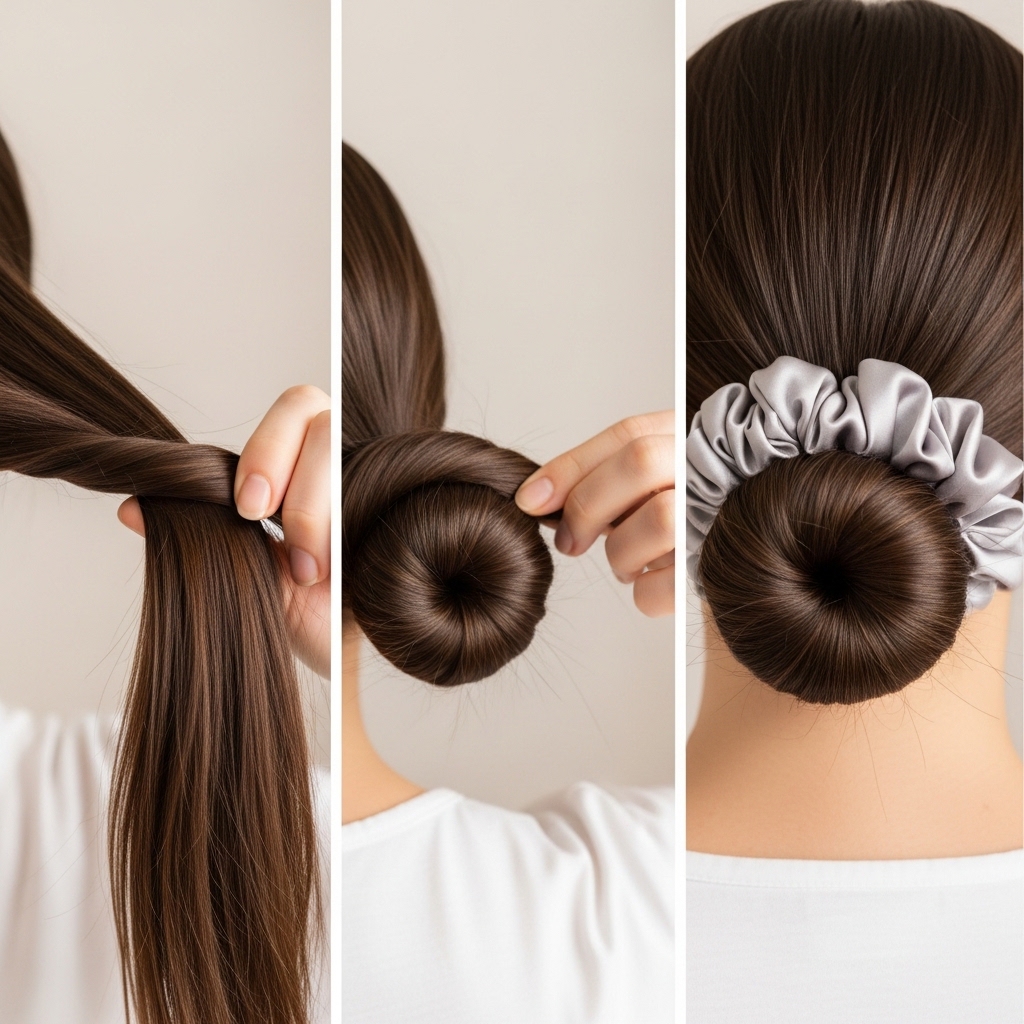
Method 1: The Classic Twisted Bun
This is my absolute favorite for uniform, soft waves. Part your hair as you normally wear it. Then, split your hair into two even sections, right and left.
Take one section and twist it tightly all the way from the roots to the ends. Wrap the twisted section into a flat bun against the back of your head and secure it with a scrunchie. Repeat on the other side. Sleep on it!
Method 2: Heatless Headband Waves
If you have thinner hair or want looser waves, this method is brilliant. You’ll need a soft, fabric headband. Place it on your head like a crown.
Take a small front section of hair, wrap it over and around the headband, and tuck it under. Continue all the way around your head, adding sections. It looks silly but works perfectly.

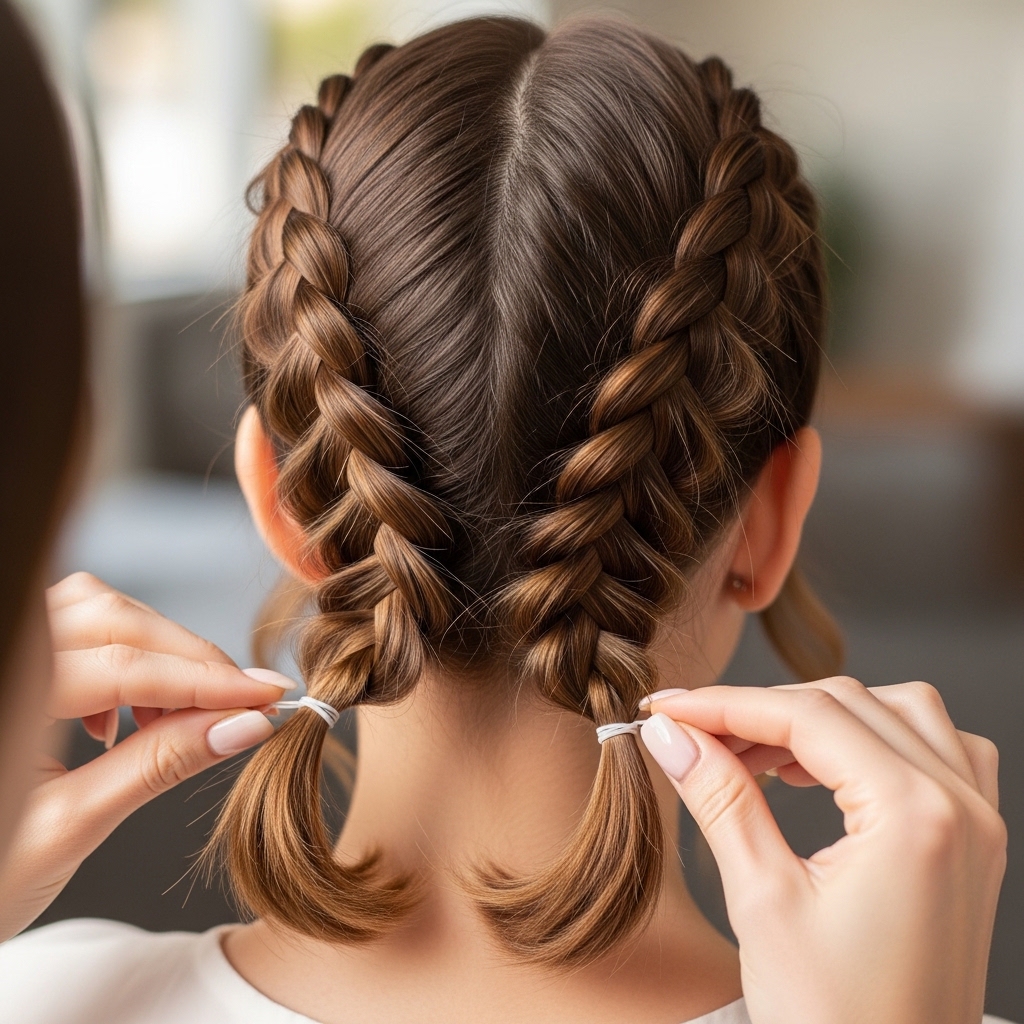
Method 3: The Simple Braided Route
Braids are a classic for a reason. For a lob, I find two Dutch braids (braided under, not over) give the best wave pattern. Braid them loosely down each side of your head and secure the ends.
You can also do a single braid down the back for a more uniform wave. The tighter the braid, the tighter the wave will be, so keep it relaxed.
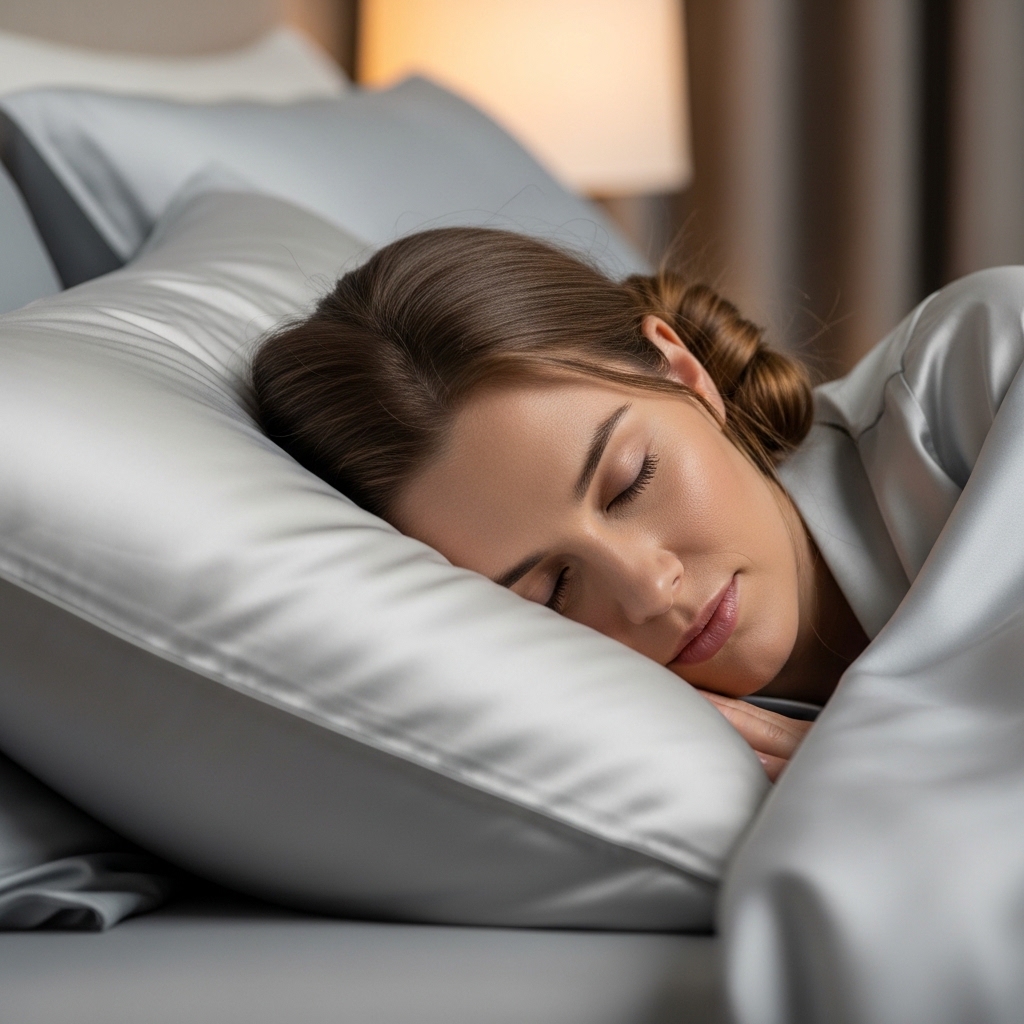
Overnight Tips for Perfect Results
To avoid flat spots or weird bends, think about how you sleep. If you use buns or braids, try to sleep on your back if you can. I know it’s hard!
A satin or silk pillowcase is a game-changer. It reduces friction, so your waves come out smooth, not frizzy. It also helps the styles slide out easily in the morning without tugging.
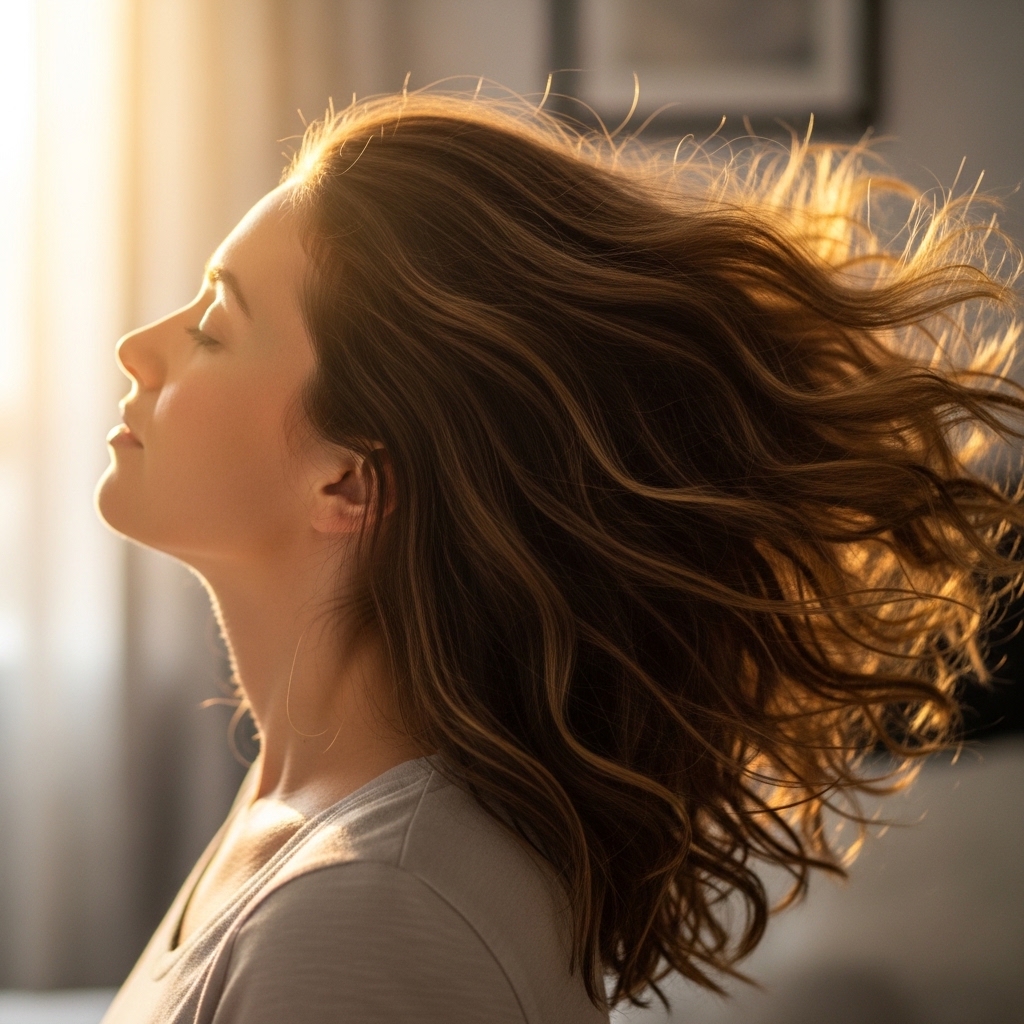
Unveiling Your Waves in the Morning
Morning time! Gently remove all the elastics and scrunchies. Don’t just pull them out—loosen them first to avoid snagging. Shake your head from side to side to let the waves fall naturally.
DO NOT brush your hair yet. This will turn the waves into frizz. Just use your fingers to gently separate and fluff the waves at the roots for volume.
Finger-Combing for That “Lived-In” Look
This is the secret to that effortless, glitchy glam hair texture. After shaking it out, run just your fingers through your hair from roots to ends.
This softens the wave pattern perfectly. If you have any obvious lines or kinks from the elastics, gently finger-comb those specific spots until they blend in with the rest of the waves.
Adding Light Product for Definition
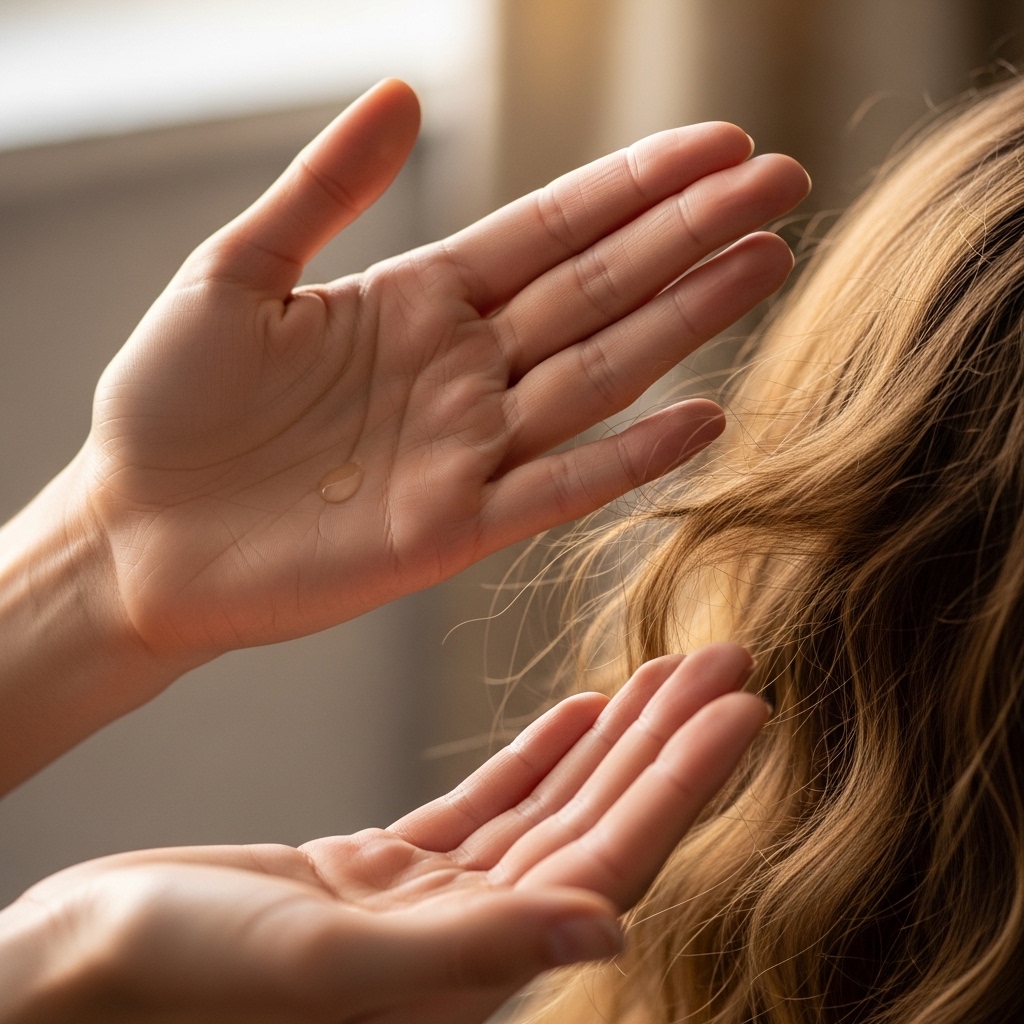
Now you can add a tiny bit of product to polish the look. Rub a drop of hair oil or a light texturizing paste between your palms.
Then, gently scrunch the ends of your hair and lightly glaze your hands over the surface to tame any flyaways. Less is more here—we want touchable hair, not a crispy feel.
Creating Volume at the Roots
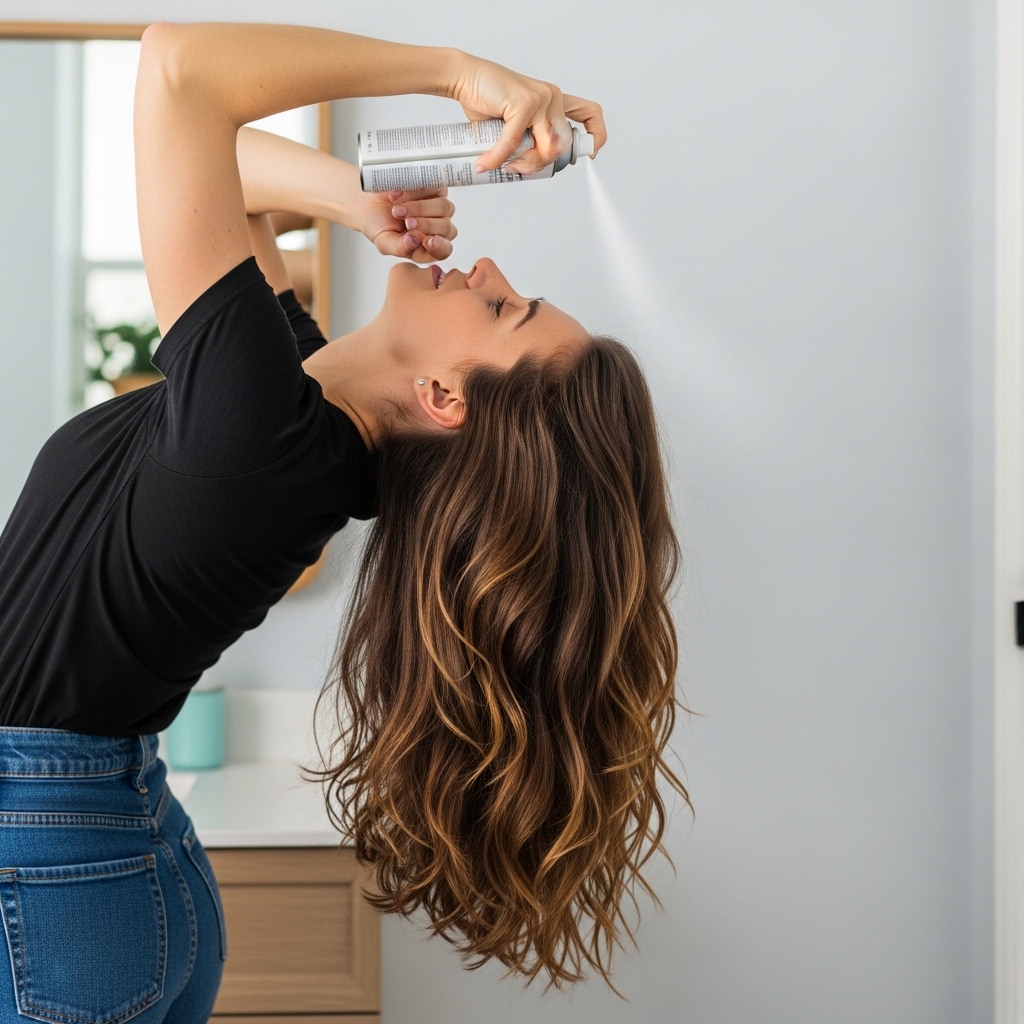
Even with waves, a lob can fall flat at the crown. For instant root lift, flip your head upside down. Give your roots a light spray with a texturizing spray or dry shampoo.
While still upside down, gently massage your scalp with your fingertips. Flip back up and use the tips of your fingers to lift sections at the roots, without disturbing the waves too much.
Styling the Front Pieces and Bangs
The front pieces frame your face, so let’s give them attention. If you have curtain bangs or face-framing layers, use a small, round brush to give them a slight curve away from your face as they dry from any leftover dampness.
No brush? Wrap them around your finger and hold for 30 seconds. This soft bend makes all the difference and connects beautifully to styles like the hime cut or a soft vampire haircut.
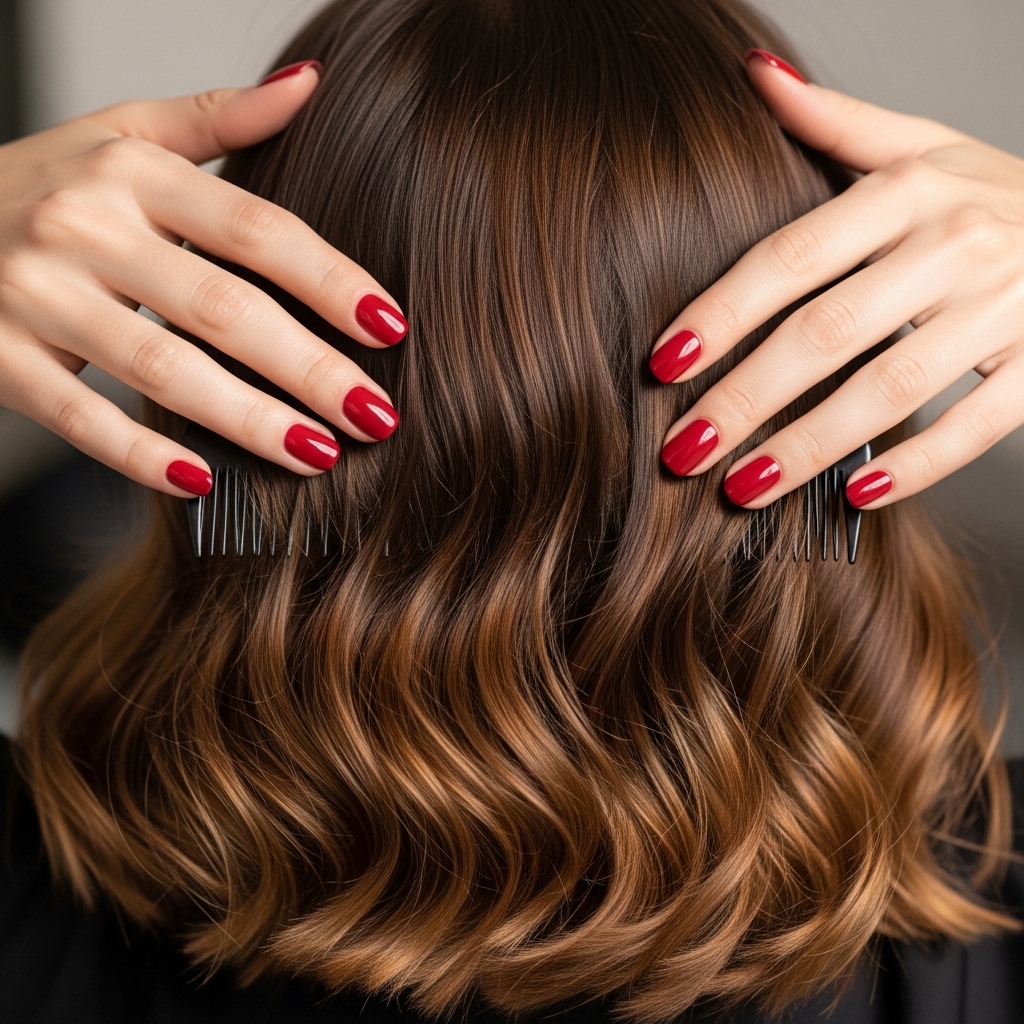
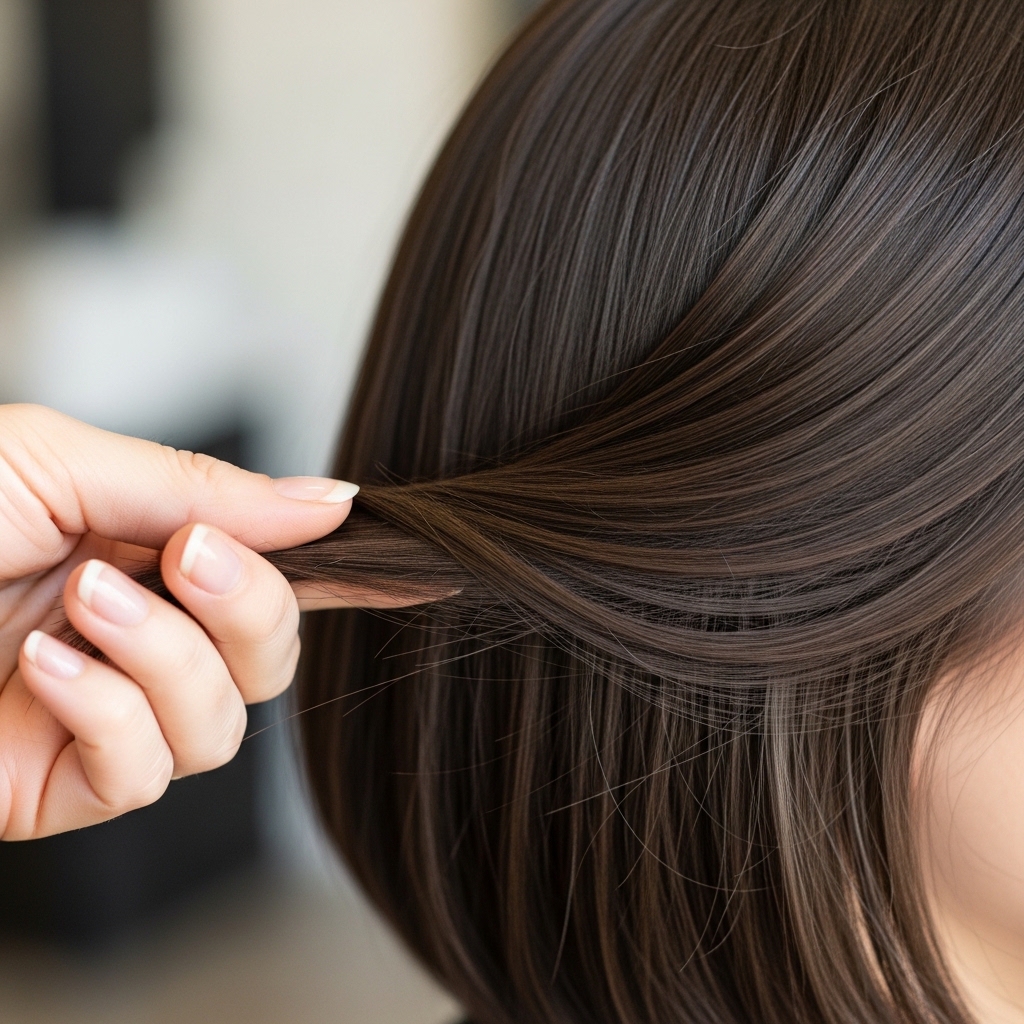
How to Make the Ends Look Rounded
That rounded shape is what makes this lob special. After your waves are set, look at your hair from the side in a mirror. Do the ends flip out awkwardly?
Take small sections from the very back and, with your fingers, roll the ends under towards your neck. Hold for a few seconds. This trains the ends to curve under slightly, enhancing the rounded shape.
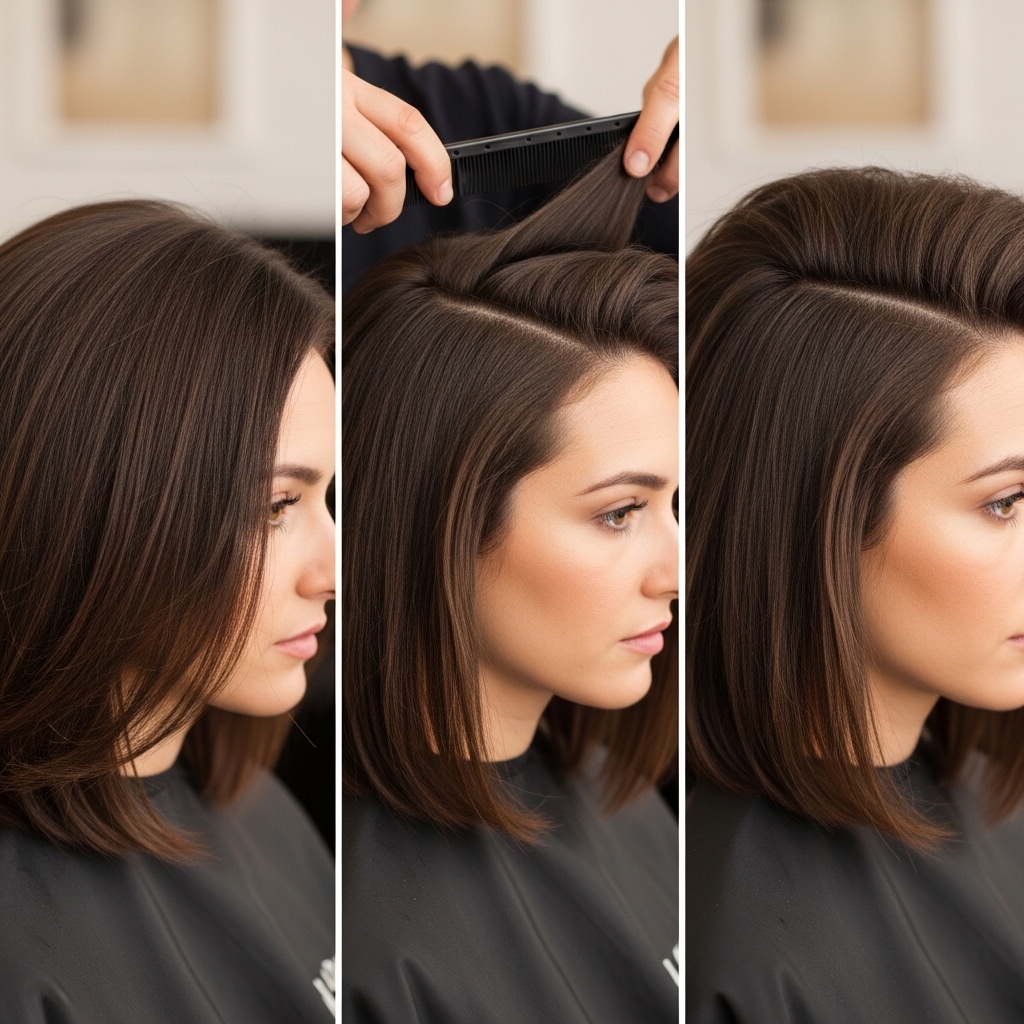
Switching Up Your Part for More Volume
A simple trick for a whole new look? Change your part. If you normally part your hair on the side, try a deep side part for more drama. Or, try a center part for a sleek, modern feel.
This instantly adds volume at the crown and changes how the waves fall around your face. It’s the easiest way to refresh your style without any extra work.
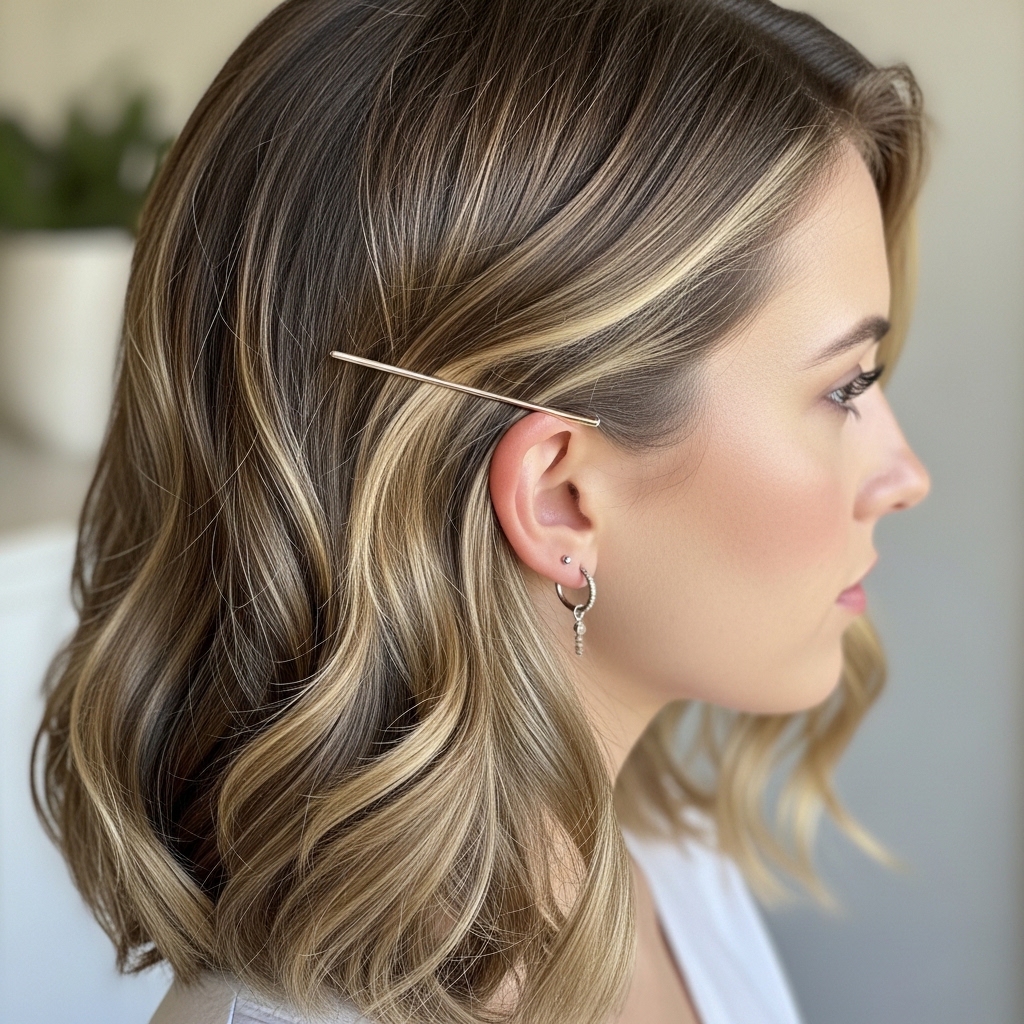
Accessorizing Your Rounded Lob
Accessories look amazing with this cut. A simple, elegant claw clip holding back just one side screams quiet luxury. Thin, dainty headbands are also perfect.
For a romantic goth or vampire haircut vibe, try dark velvet scrunchies or ornate silver barrettes. The lob length is perfect for showing off cool earrings, too.
What to Do If Your Waves Fall Flat
Don’t panic if your waves loosen up by afternoon. Carry a small texturizing spray or sea salt spray in your bag. Flip your head over, give it a light mist, and scrunch.
You can also twist a few random front sections and hold them for a minute to reintroduce some wave. The goal is piece-y texture, not perfect curls.
Adapting This for an Asymmetrical Lob
If you have or want an asymmetrical lob (shorter on one side), the methods still work! For buns or braids, you might need to adjust placement so the shorter side can be incorporated.
Often, just styling the longer side with waves while keeping the shorter side sleeker creates a fantastic, edgy contrast. It’s a great way to play with the glitchy glam aesthetic.
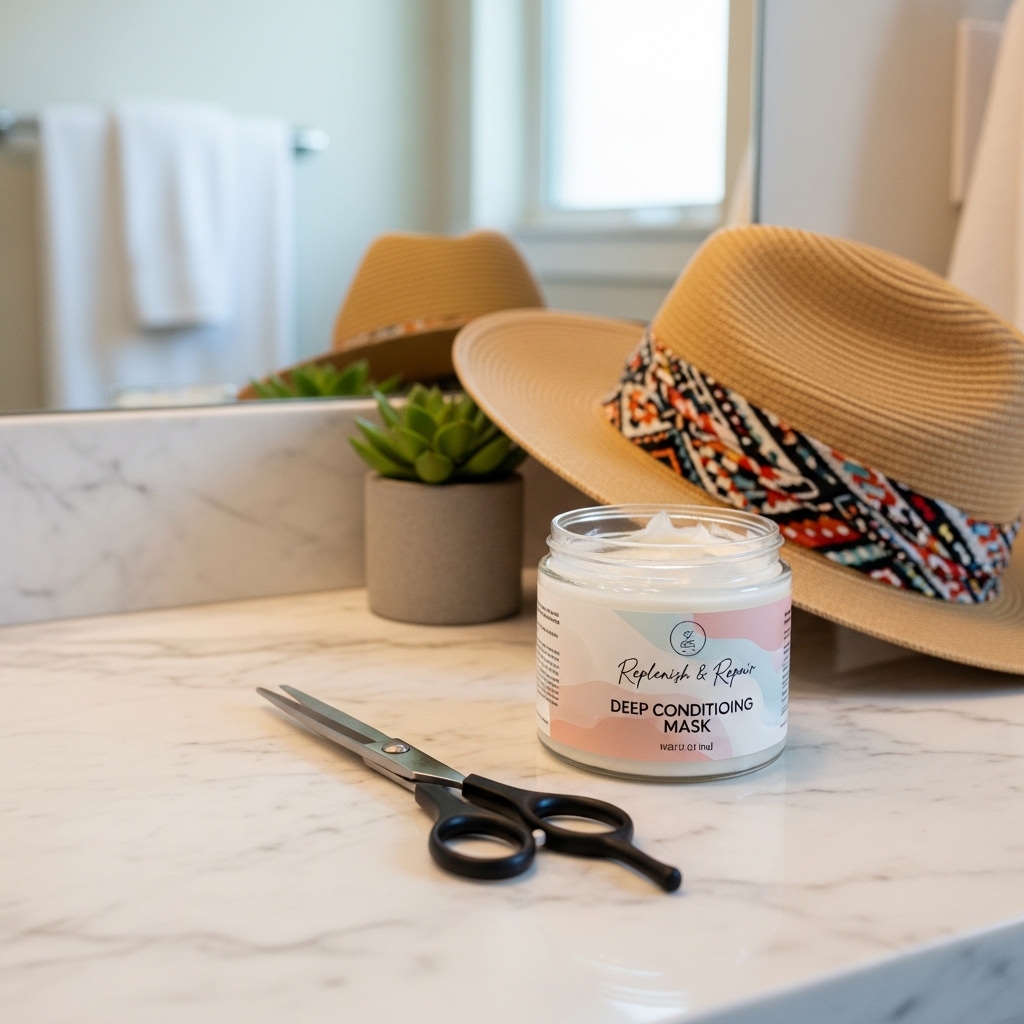
Keeping Your Hair Healthy Between Cuts
Heatless styling is the best thing for your hair health. To keep your lob looking sharp, get regular trims every 8-10 weeks. This maintains the rounded shape and prevents split ends.
Use a hydrating mask once a week, and always protect your hair from the sun with a hat or a UV spray. Healthy hair holds any style better.
Common Mistakes to Avoid
Let’s troubleshoot. First, don’t start with soaking wet hair—it won’t dry by morning and can cause mildew. Second, don’t twist or braid too tightly; it can cause breakage and create kinks, not waves.
Finally, avoid heavy products like gels or thick creams before heatless styling. They can weigh your hair down and make it feel greasy instead of wavy.

Final Touches and Confidence
The final touch is your confidence. This style is meant to look lived-in and easy. A few flyaways are good! Run your hands through your hair once more and go.
This look works for the office, a date, or just feeling put-together while running errands. You mastered a salon-worthy style at home, without heat. That’s a major win.
And that’s it! You’ve officially got the tools to create the most beautiful, healthy rounded lob with gorgeous heatless waves. It might take one or two tries to figure out which method you like best, but once you do, it’ll become your favorite lazy-girl hairstyle.
Remember, the best hairstyles are the ones that make you feel good without a ton of effort. This cut and style is truly that—a little bit of prep for a whole lot of reward.
I’d love to hear how it goes for you! Did you try the bun method or the headband trick? Save this post to Pinterest so you can find it whenever you need a quick style refresh, and tell me your results in the comments below!

