
Are you tired of spending a fortune on commercial hair products that promise the world but deliver lackluster results? What if you could create salon-quality hair treatments right in your kitchen—without breaking the bank? With just a few budget-friendly ingredients, you can whip up nourishing masks, strengthening rinses, and hydrating serums for under $20. Let’s turn your kitchen into a DIY hair care lab!
Why DIY Hair Care?
Commercial hair products often contain harsh chemicals, sulfates, and silicones that can strip your hair of its natural oils or cause buildup. On the other hand, DIY hair care allows you to control exactly what goes into your treatments. You can customize formulas based on your hair type, concerns, and preferences—all while saving money.
Plus, many kitchen staples like coconut oil, honey, and apple cider vinegar have been used for centuries to promote healthy hair. Why not harness their power yourself?
Essential Tools for Your DIY Hair Lab
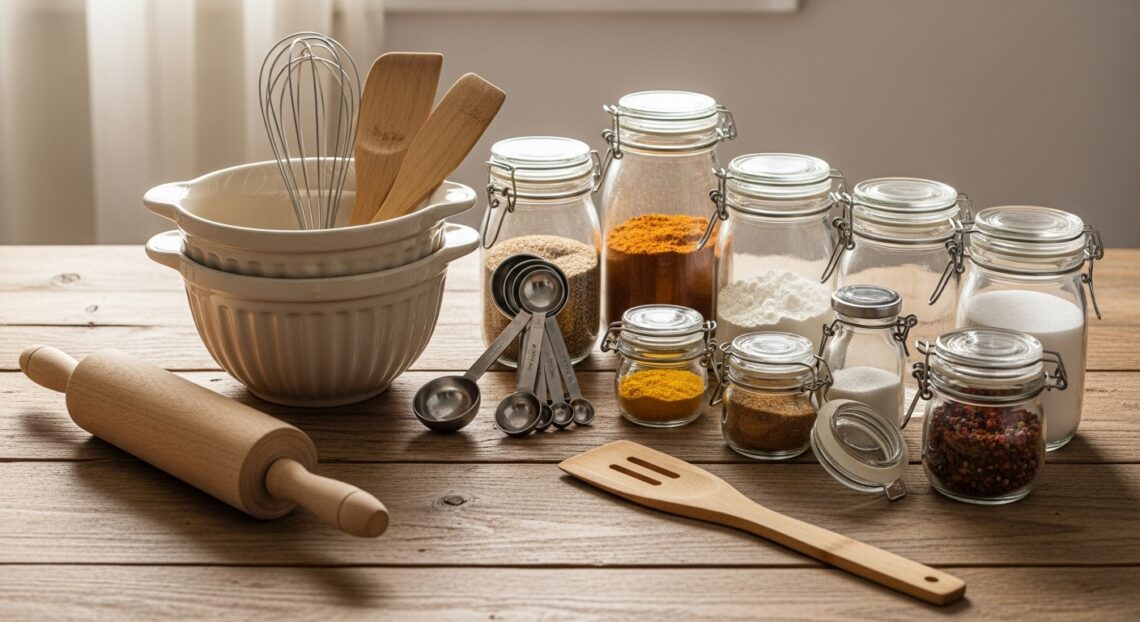
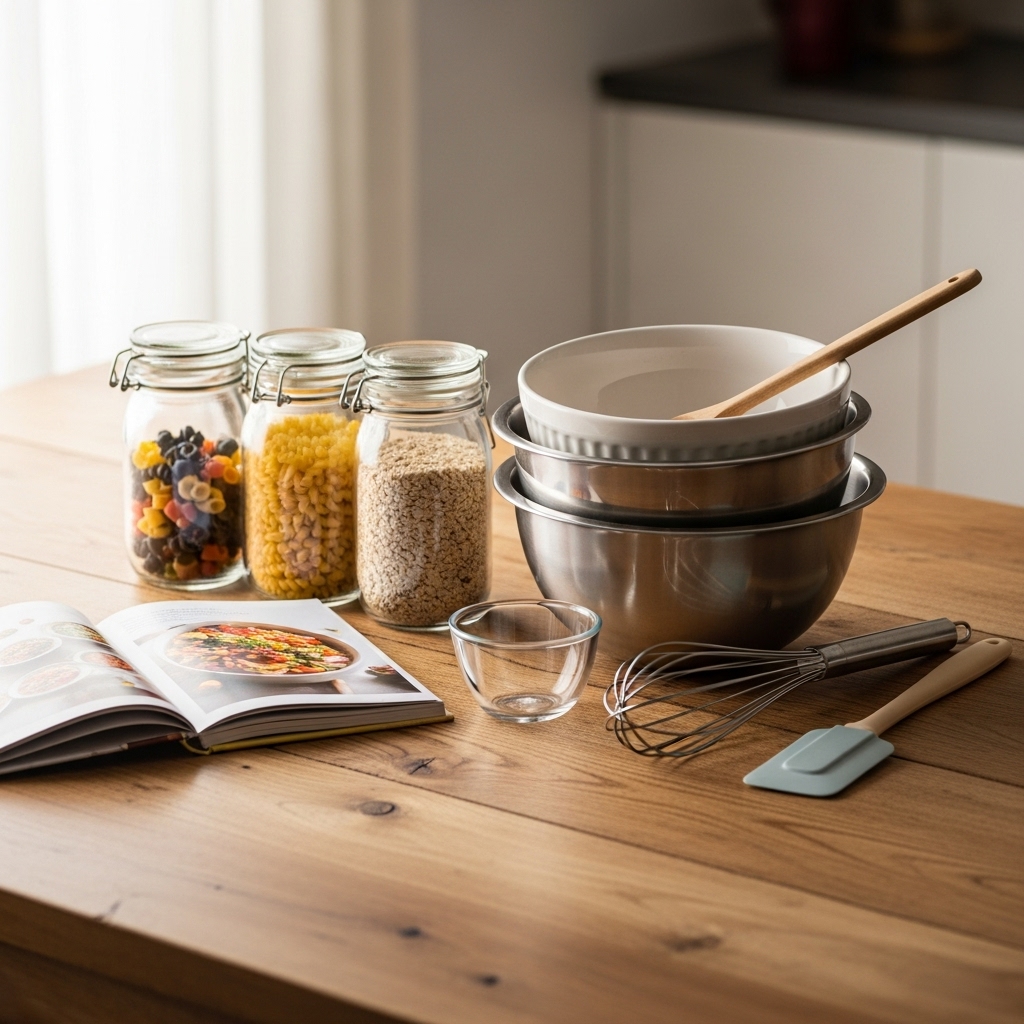
Before diving into recipes, let’s gather the basic tools you’ll need. Most of these are likely already in your kitchen:
- Mixing bowls – Small to medium-sized for blending ingredients.
- Whisk or spoon – For stirring mixtures smoothly.
- Measuring cups/spoons – Precision helps with consistency.
- Spray bottles – For liquid treatments like leave-in conditioners.
- Glass jars – To store homemade products.
Total cost for these basics? Less than $10 if you don’t already have them!
Budget-Friendly Ingredients to Stock Up On
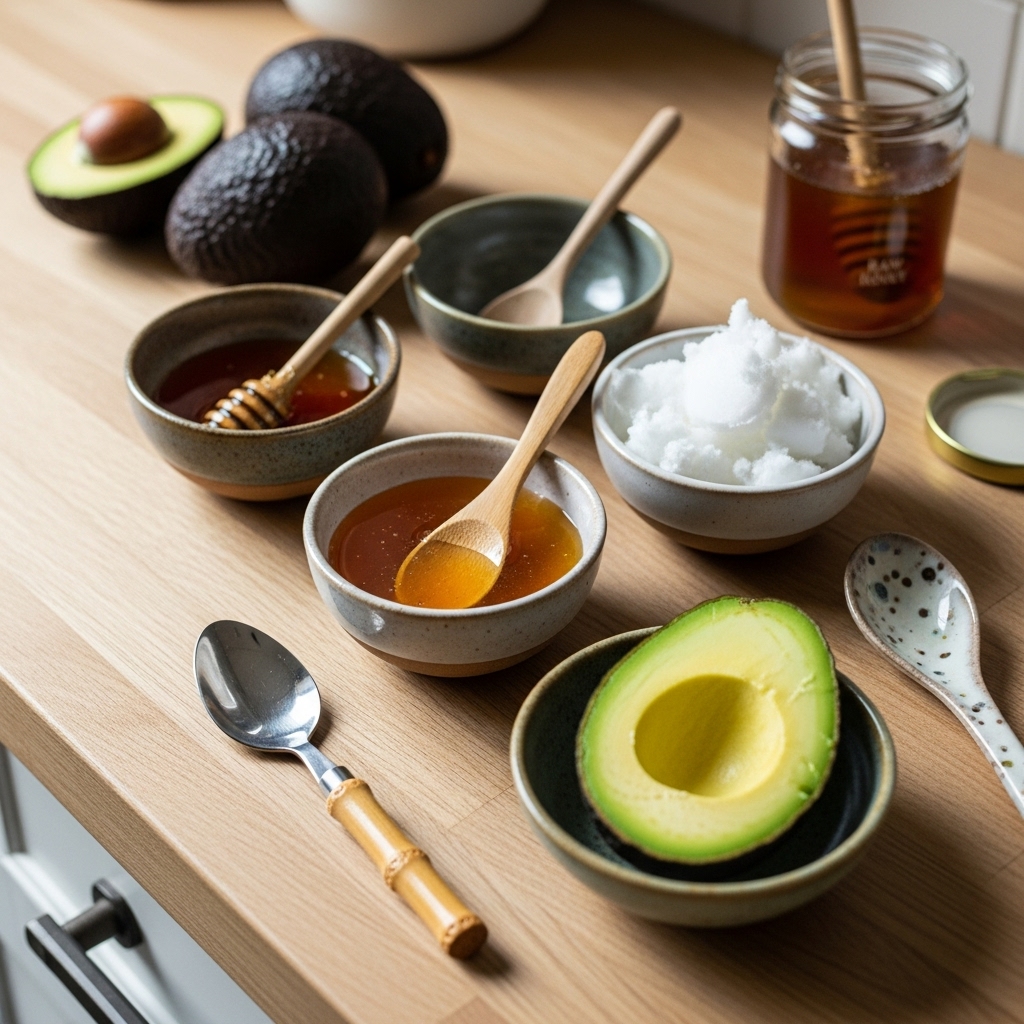
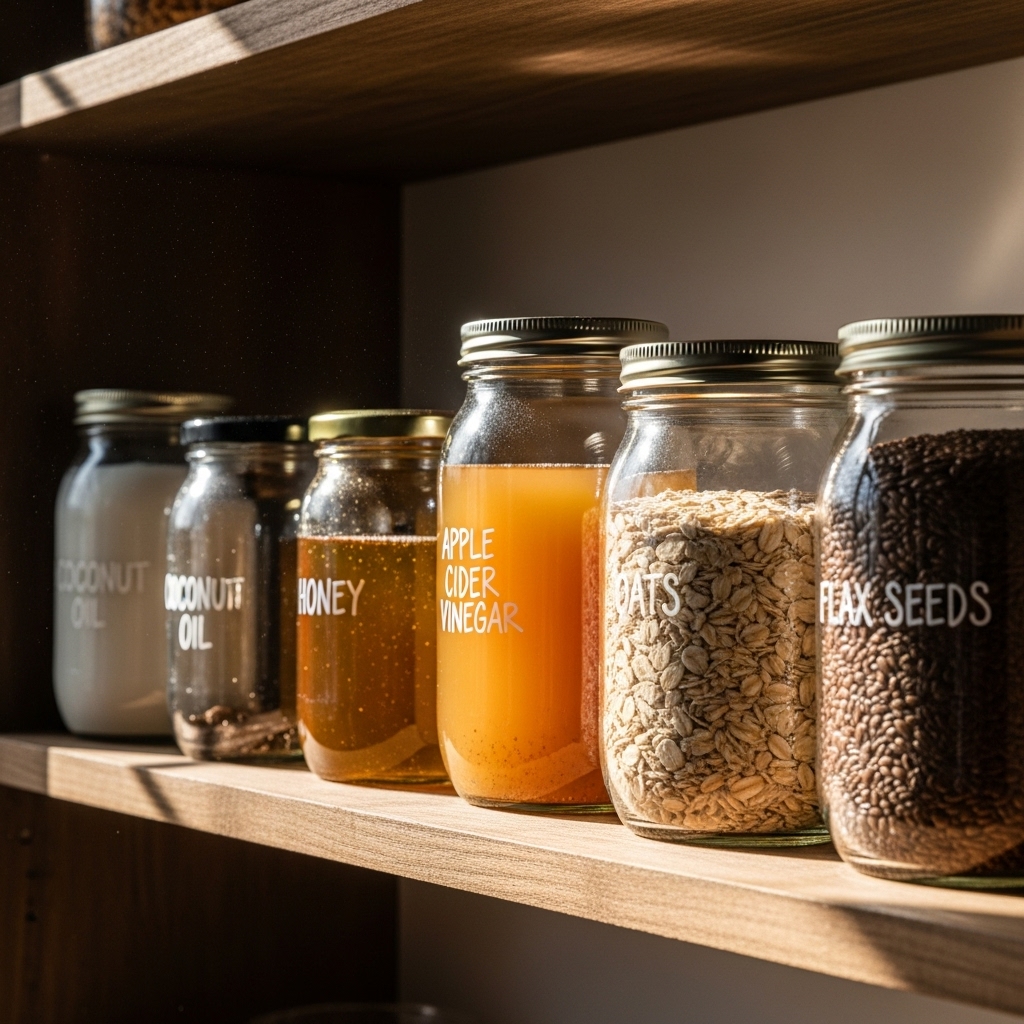
Here are the most versatile and affordable ingredients for DIY hair care:
1. Coconut Oil ($5) – A superstar for deep conditioning and reducing protein loss.
2. Honey ($3) – A natural humectant that locks in moisture.
3. Apple Cider Vinegar ($2) – Balances pH and adds shine.
4. Avocado ($1.50) – Packed with healthy fats for dry hair.
5. Eggs ($2) – High in protein to strengthen weak strands.
6. Aloe Vera Gel ($4) – Soothes the scalp and promotes growth.
With just these six ingredients, you can make countless treatments—all for under $20!
3 Easy DIY Hair Treatments to Start With
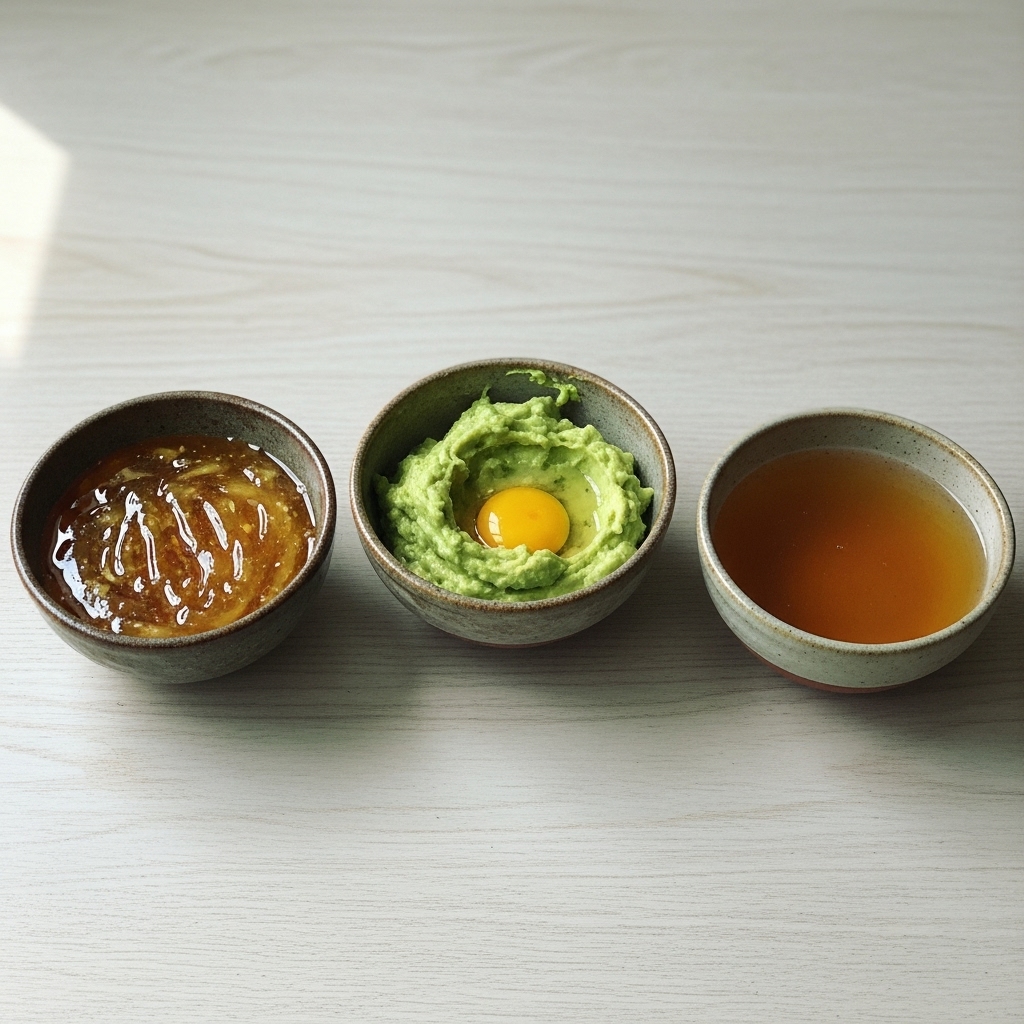
1. Hydrating Honey & Coconut Oil Mask
Ingredients:
- 2 tbsp coconut oil
- 1 tbsp honey
Instructions: Warm the coconut oil slightly, mix with honey, and apply from roots to ends. Leave for 30 minutes before rinsing.
Best for: Dry, frizzy, or damaged hair.
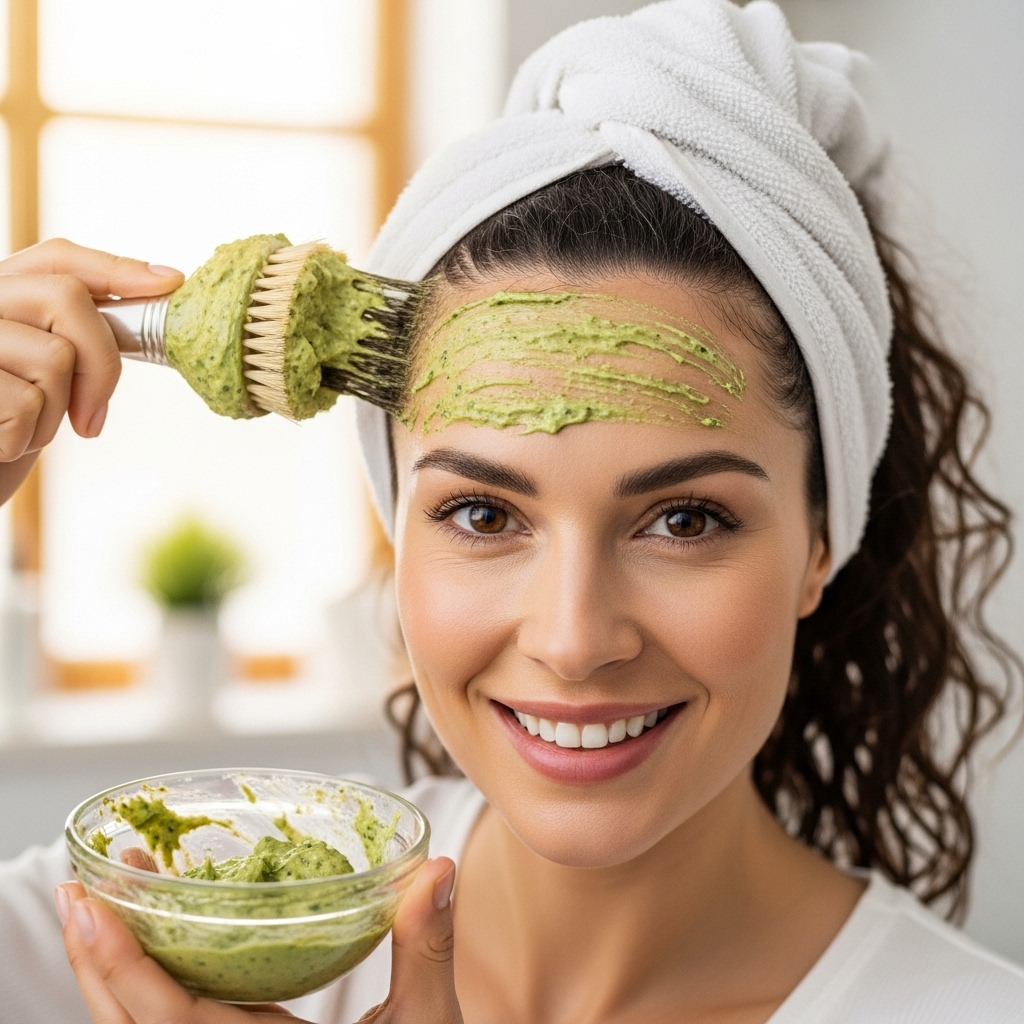
2. Protein-Rich Egg & Avocado Mask
Ingredients:
- 1 ripe avocado
- 1 egg
Instructions: Mash the avocado, mix with the egg, and apply evenly. Leave for 20 minutes before washing with cool water.
Best for: Weak, brittle, or thinning hair.
3. Clarifying Apple Cider Vinegar Rinse
Ingredients:
- 2 tbsp apple cider vinegar
- 1 cup water
Instructions: Mix and pour over clean hair as a final rinse. Do not rinse out.
Best for: Buildup, dullness, or an itchy scalp.
Tips for Maximizing Your DIY Hair Lab
1. Patch Test First: Always test a small amount of any new treatment on your skin to avoid allergic reactions.
2. Adjust for Hair Type: Fine hair? Use lighter oils like jojoba. Thick hair? Shea butter works wonders.
3. Store Properly: Most DIY treatments last 3-5 days in the fridge. Label jars with dates.
4. Be Consistent: Natural treatments work best with regular use—aim for once a week.

Final Thoughts
Creating a DIY hair care lab in your kitchen is easier—and cheaper—than you think. With simple ingredients and a little creativity, you can craft personalized treatments that rival expensive salon products. Whether you’re battling dryness, breakage, or just want healthier locks, these budget-friendly recipes are a great place to start.

