
Okay, let’s be real. You’ve seen those cool, slightly undone, effortlessly cool shaggy layers everywhere, right? The kind that looks like you just rolled out of bed but in the best possible way. That’s the glitchy glam vibe—it’s a little messy, a little glam, and 100% cool.
But if you have long hair, you might be wondering how to actually style it without looking like you just gave up. I get it. It can feel like a lot of work to look like you did no work at all.
Don’t worry, I’ve got you. This isn’t about complicated techniques. It’s about a few key moves that make all the difference. Think of this as your quick-start guide to nailing that lived-in, textured look that’s perfect for everyday and totally fits with the 2026 hairstyles leaning into personal expression.
What Is Glitchy Glam Hair, Anyway?
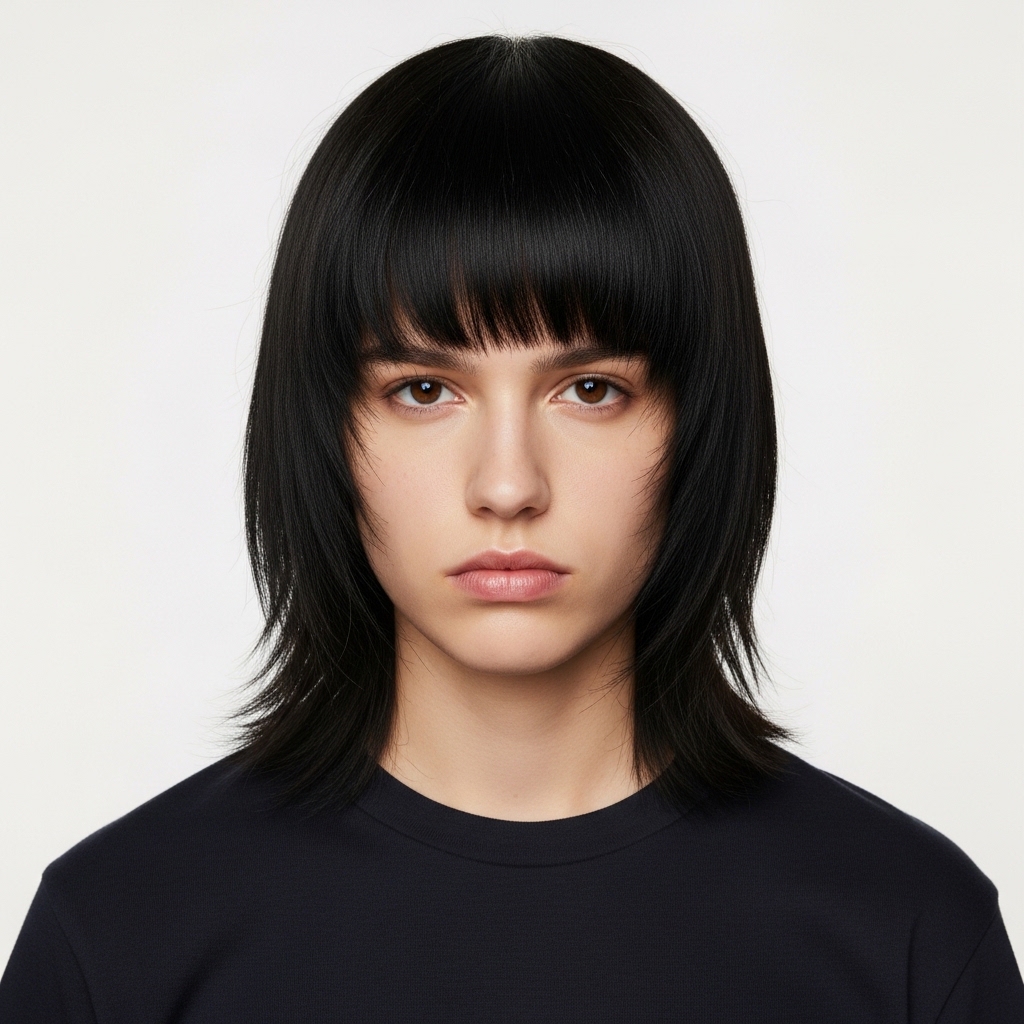
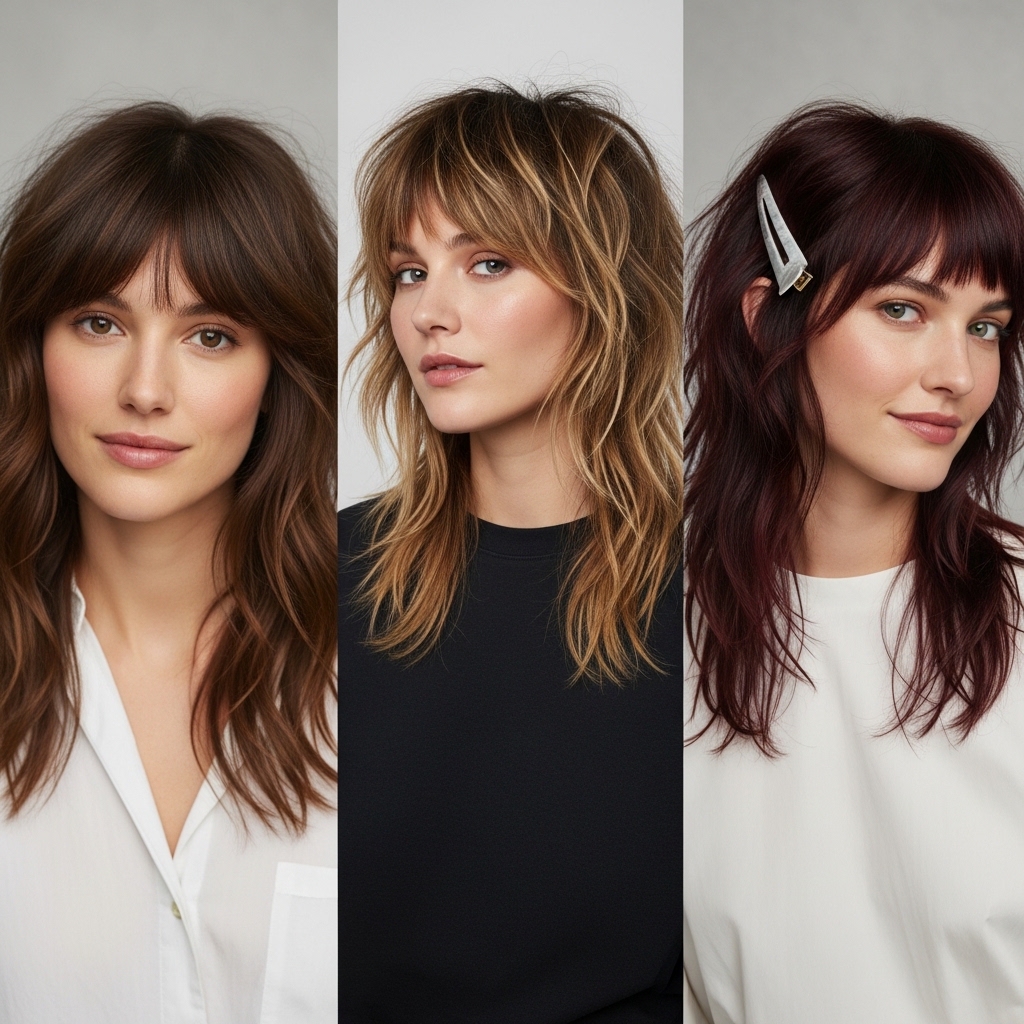
Glitchy glam is that perfect in-between. It’s not fully polished like old money hair, and it’s not wildly chaotic. It’s like your hair has a little static—a beautiful, intentional error in the system.
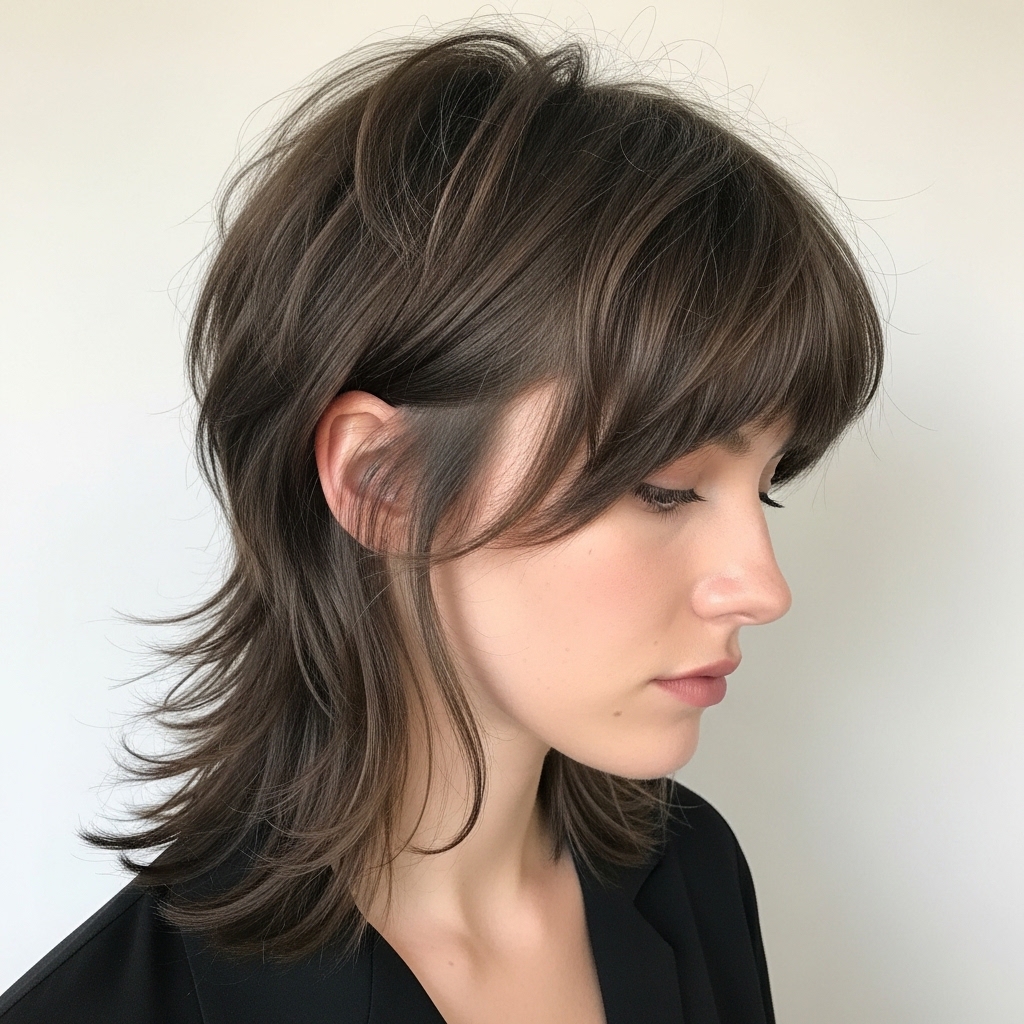
We’re talking soft, shaggy layers, tons of movement, and a finish that’s neither sleek nor fully matte. It borrows a touch of edge from romantic goth hairstyles but keeps it wearable. The goal is texture, dimension, and a vibe that says you know what you’re doing, even on your lazy days.
Why Shaggy Layers Work for Long Hair
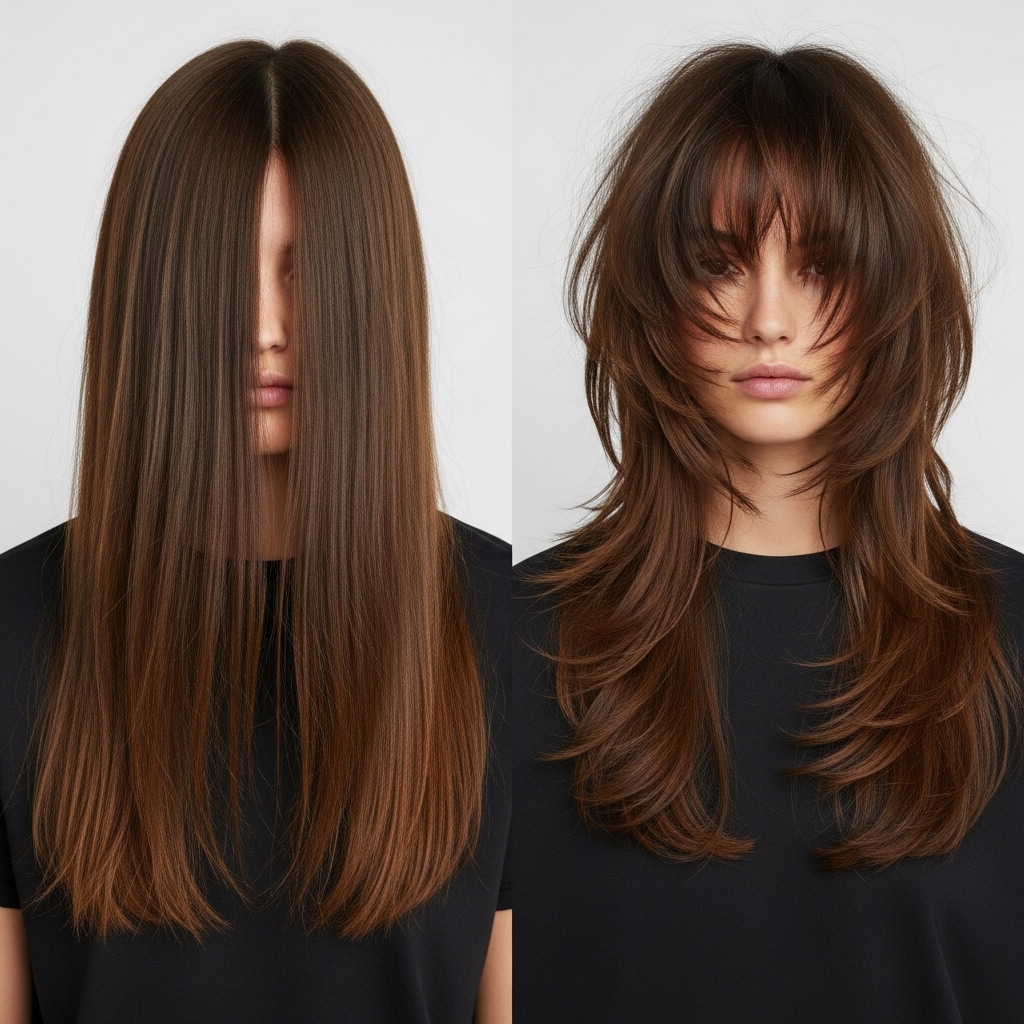
Long hair is gorgeous, but it can get heavy and flat. Adding shaggy layers is the ultimate reset. They remove weight, create instant volume at the crown, and give your hair a shape it never had before.
Instead of just hanging there, your hair will swing and move. Those layers catch the light differently, creating depth and making your color (even if it’s your natural shade) look more dynamic. It’s the easiest way to upgrade your long hair without a major chop.
The Essential Tools You’ll Need

You don’t need a salon full of products. Keep it simple. Here’s my core kit:
- A 1 to 1.25-inch curling wand or iron. This barrel size creates soft waves, not tight curls.
- A texturizing spray or paste. This is your secret weapon for grip and separation.
- A sea salt spray for that beachy, lived-in foundation.
- A wide-tooth comb or your fingers. We’re not brushing out this texture!
Start With the Right Cut (Consult Your Stylist!)
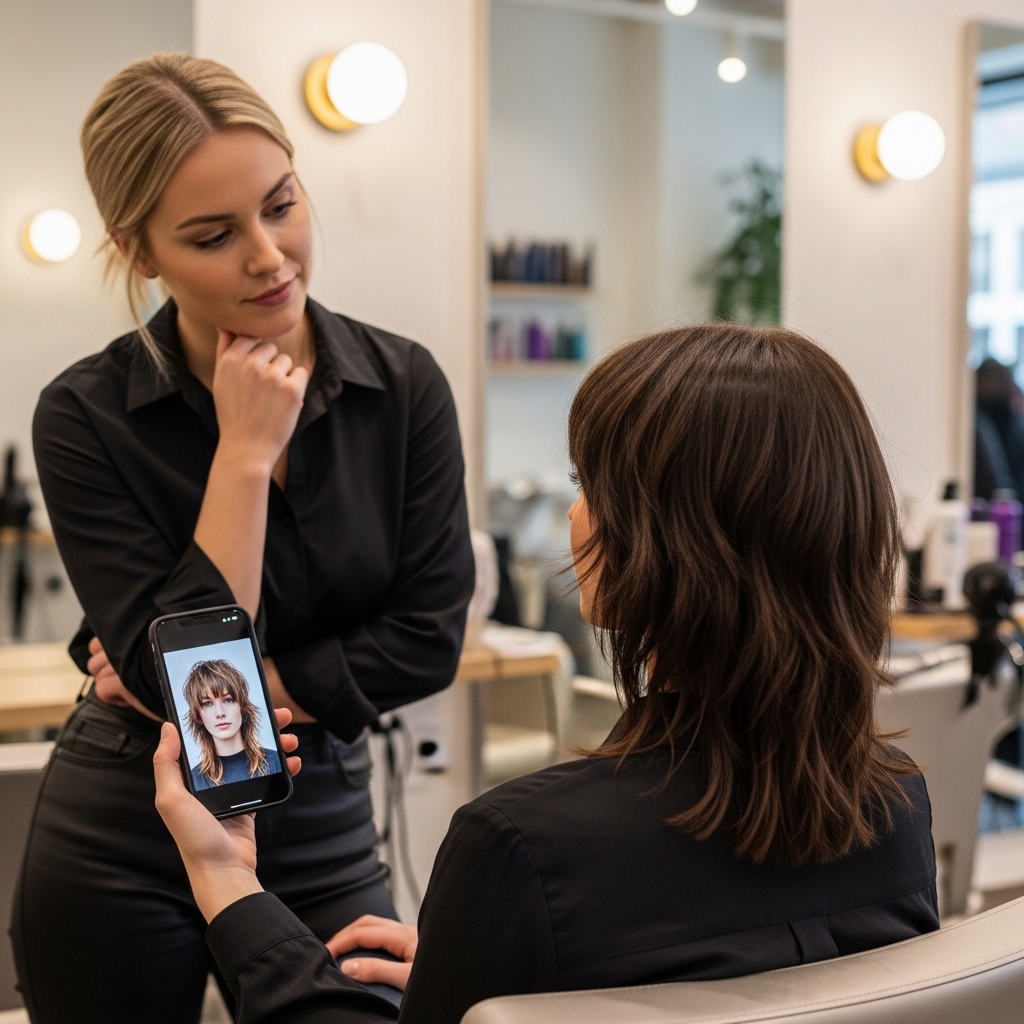
Great styling starts with a great cut. Bring pictures! Use words like “shaggy layers,” “face-framing,” and “choppy ends.” Mention you want to keep your length but add movement.
Talk about how much texture you want. A good stylist will point-cut the ends (cutting into them vertically) to avoid a blunt, heavy line. This cut is a cousin to the asymmetrical lob but longer, and it shares DNA with the piece-y texture of a vampire haircut.
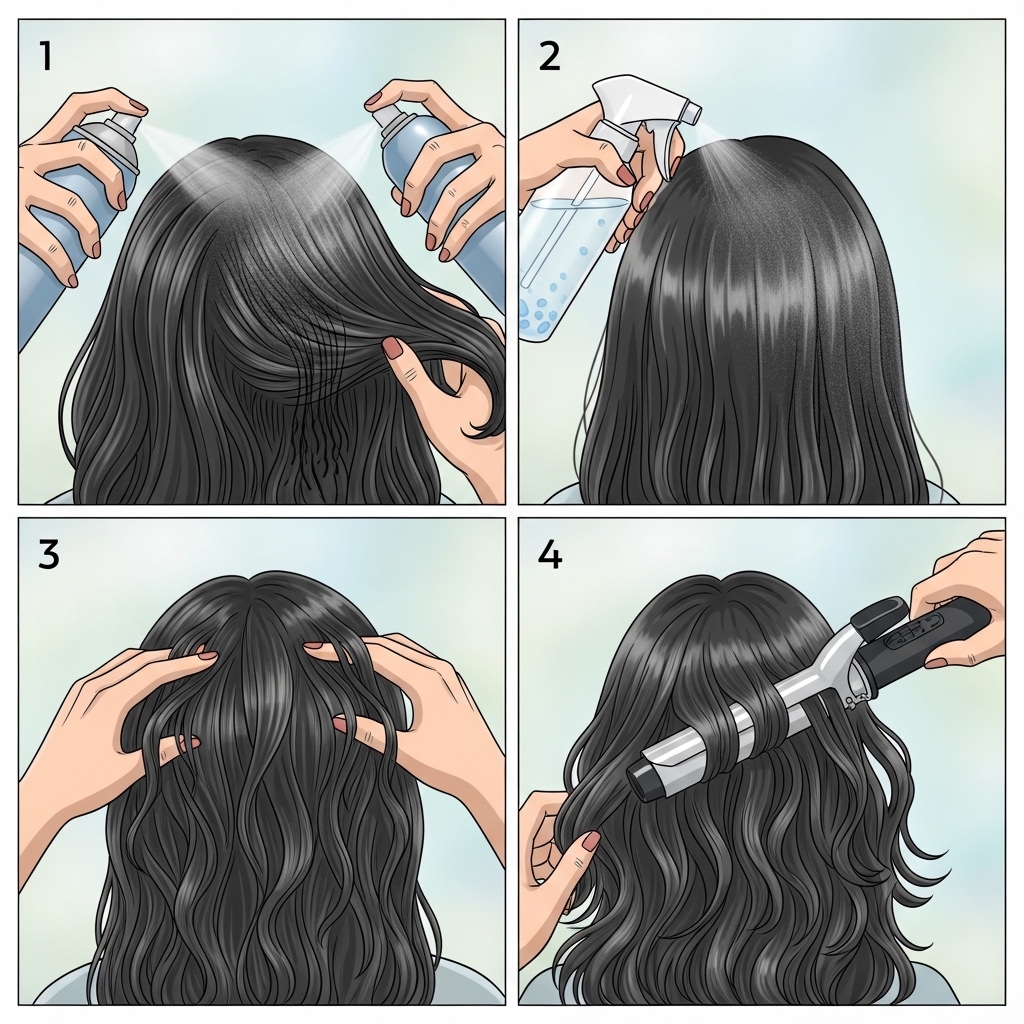
The Magic of a Texturizing Spray
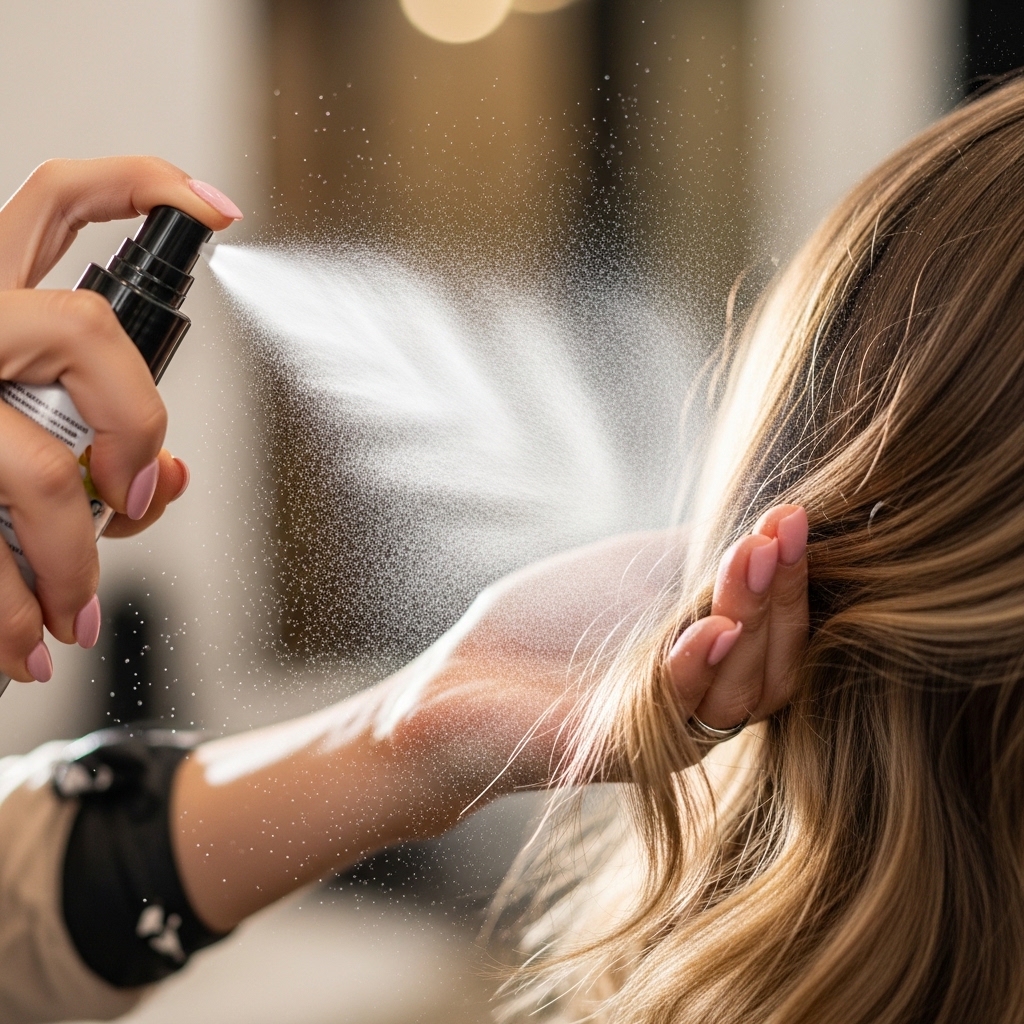
This product is non-negotiable. While a quiet luxury bob might use a sleek shine spray, glitchy glam needs grit. A good texturizing spray adds memory, volume, and that all-important piece-y feel.
Spray it on dry hair, focusing on the mid-lengths to ends. Don’t soak it—just a few spritzes. Then, use your fingers to scrunch and separate the layers. You’ll feel the texture change instantly. It’s the fastest way to add “glitch.”
Creating a Lived-In Wave Pattern

Forget perfect, uniform curls. The key here is randomness. Take small, horizontal sections of hair. Wrap them around your curling wand, but alternate the direction—one section away from your face, the next toward it.
Also, alternate the size of the sections and don’t curl all the way to the ends. Leave the last inch or two straight. This creates a more natural, grown-out wave pattern that’s easy to mess up later.
The “Break Up” Technique for Softness
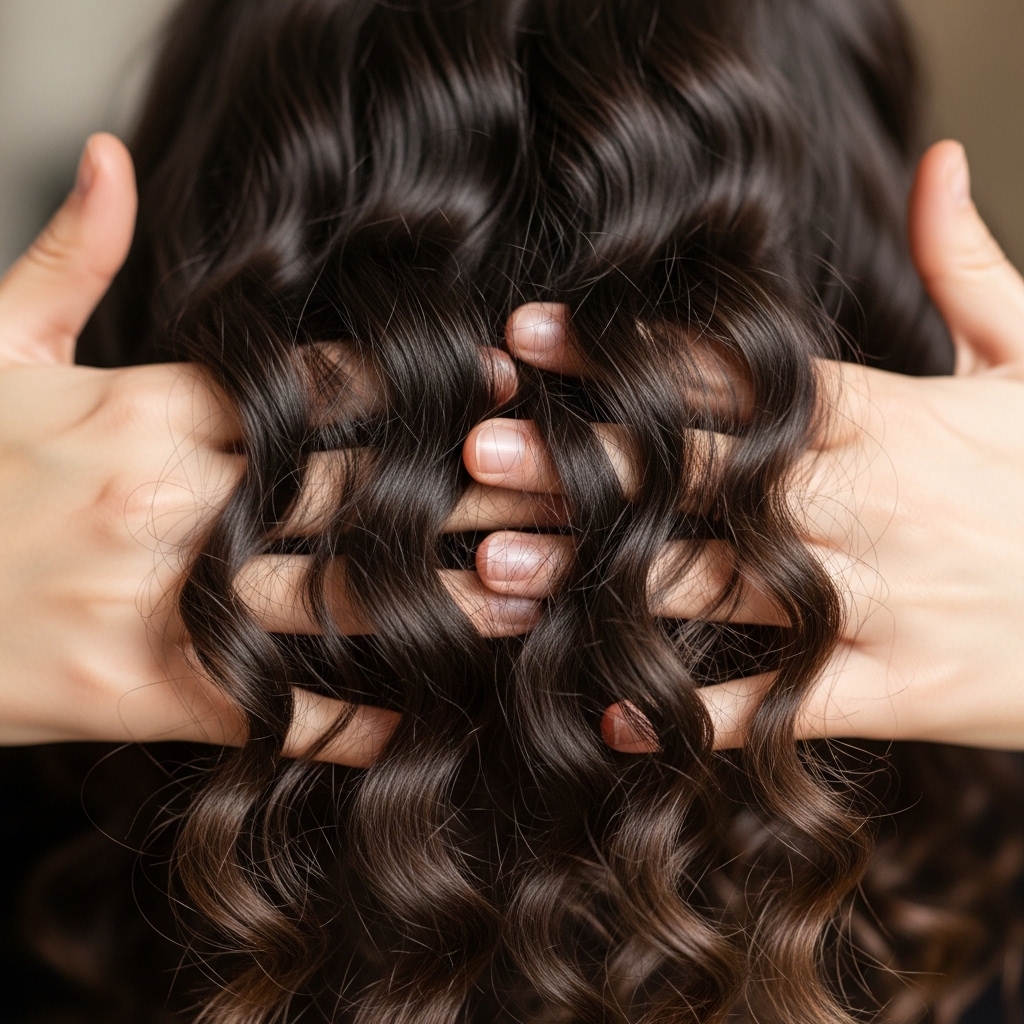
Once your hair has cooled from curling, it’s time to destroy your work—in a good way. Don’t use a brush. Use your fingers or a wide-tooth comb to gently break apart the curl clumps.
Rake through the waves, separating them into smaller, piece-y sections. This softens any harsh curl lines and blends everything together for that seamless, I-woke-up-like-this texture. It’s the opposite of a defined curl, and that’s the point.
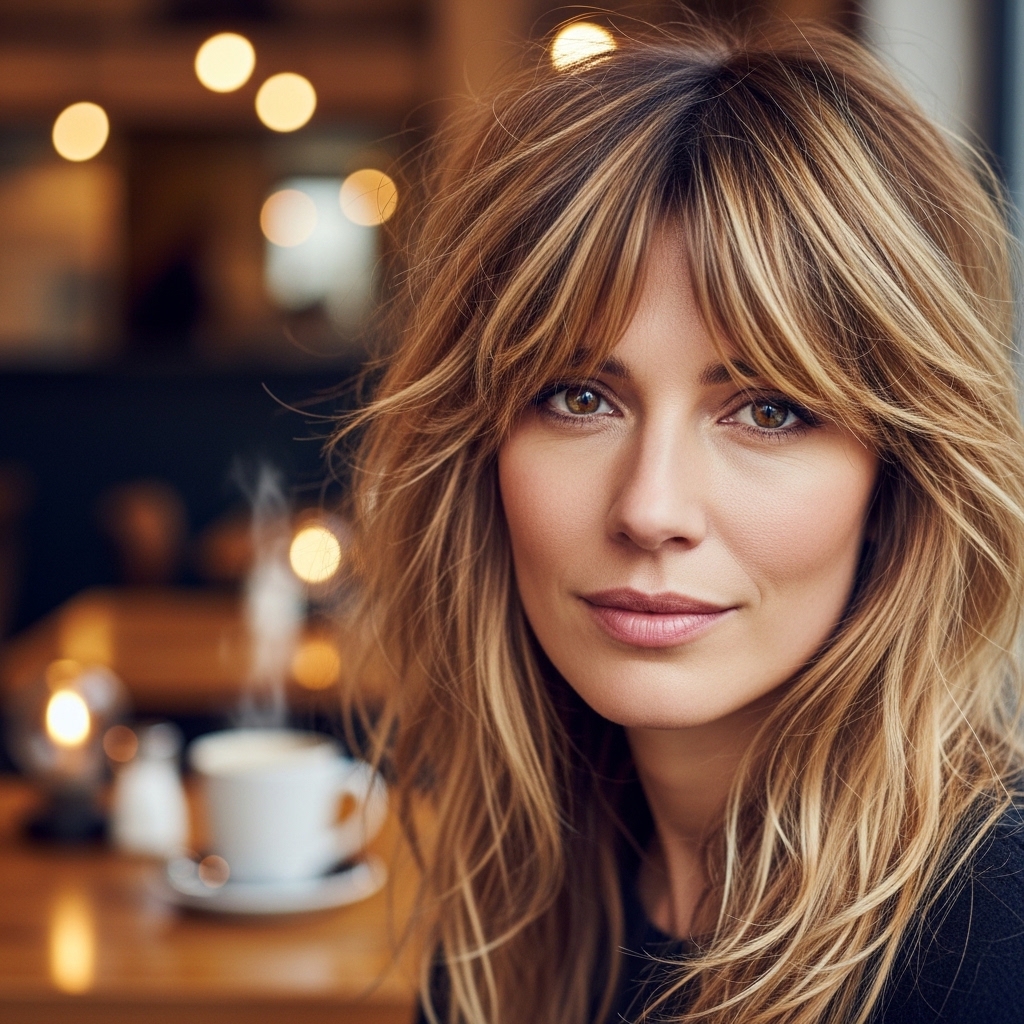
Focus on the Face-Framing Pieces
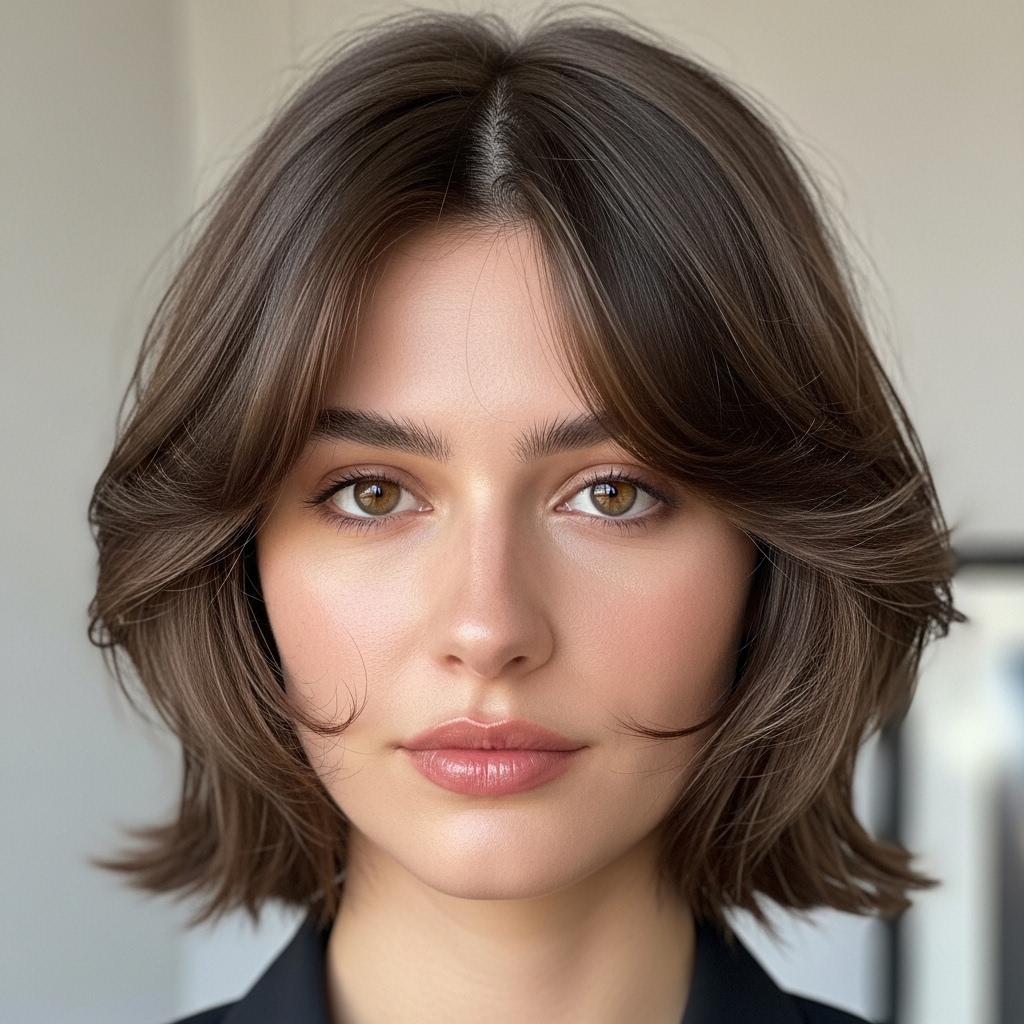
Those shorter layers around your face are your spotlight. After curling, take the face-framing pieces and re-wrap them loosely around the barrel, directing them toward your face for a soft curve.
You can even use a straightener to give them a slight bend outward at the ends. This draws attention to your eyes and cheekbones, giving that intentional, styled feel amidst the overall messiness. It’s a subtle nod to styles like the hime cut, which emphasizes front pieces.
How to Get Root Volume That Lasts
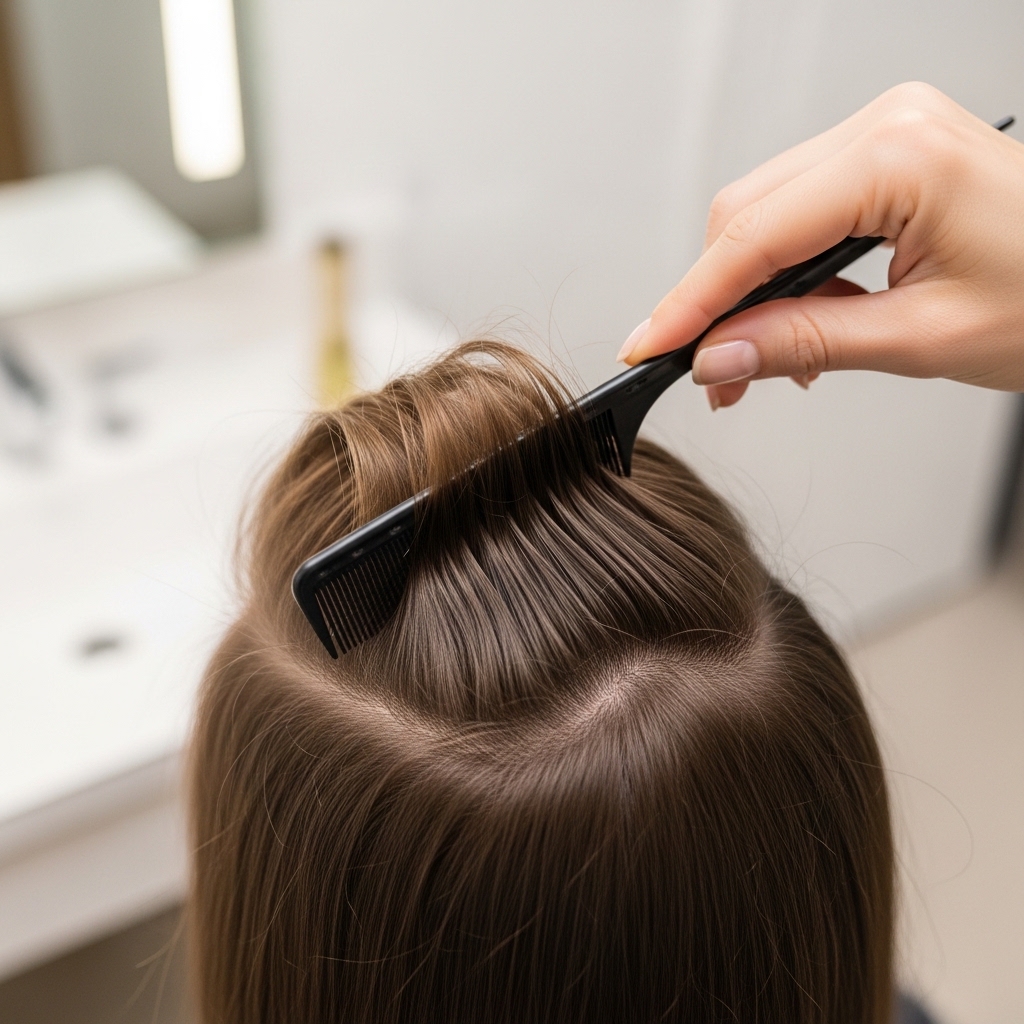
Flat roots kill the shag vibe. For volume that stays, flip your head over once your hair is styled. Spritz a little texturizing spray at the roots on the underside.
Gently massage your roots with your fingertips to create lift. When you flip back, use the tail of a comb to lightly tease just the under-layers at the crown. Don’t go overboard—we want volume, not a 1980s bouffant.
Mastering the Piece-Y, Separated Ends
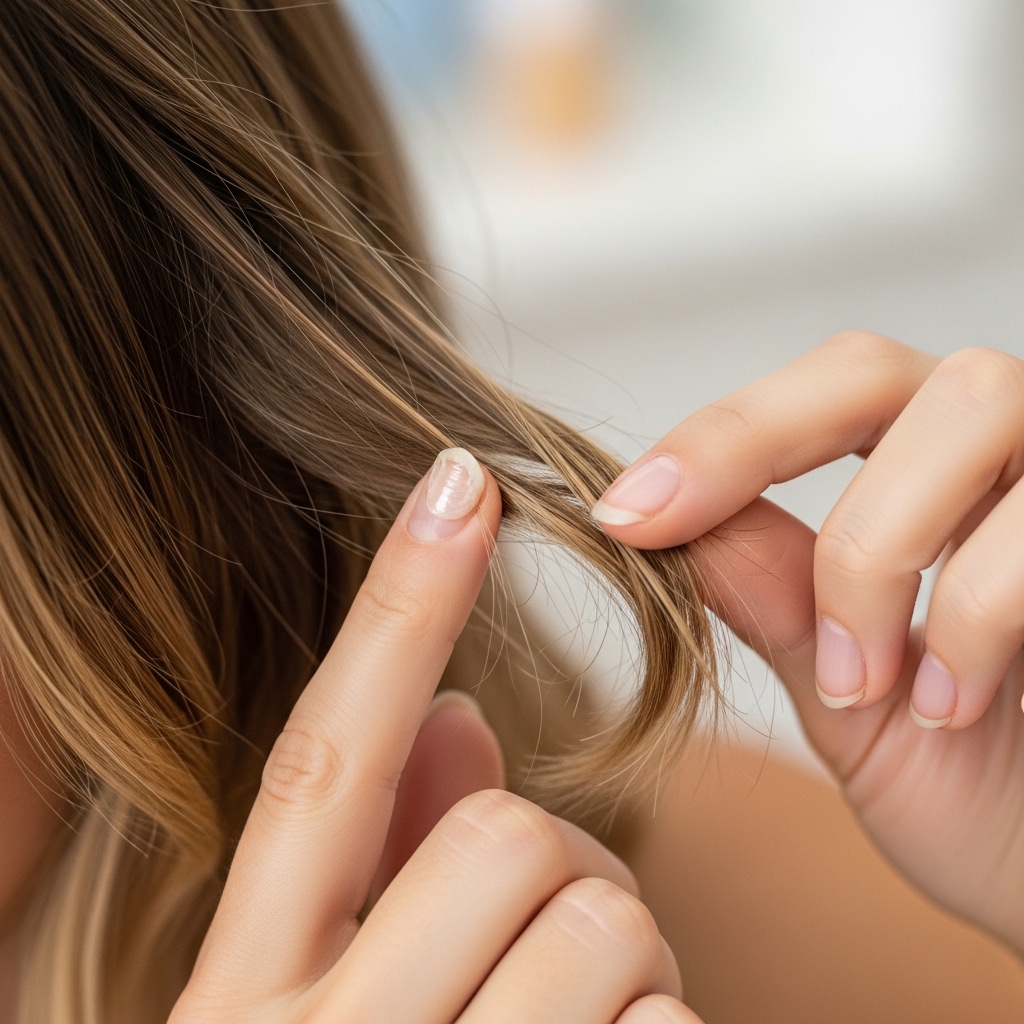
This is where the magic happens. Take a tiny amount of texturizing paste or wax on your fingertips. Rub your hands together to warm it up.
Then, gently pinch and twist the very ends of your hair, focusing on those layered pieces. This separates them and gives them that artistic, slightly undone finish. It makes your layers look defined and deliberate, not just frizzy.
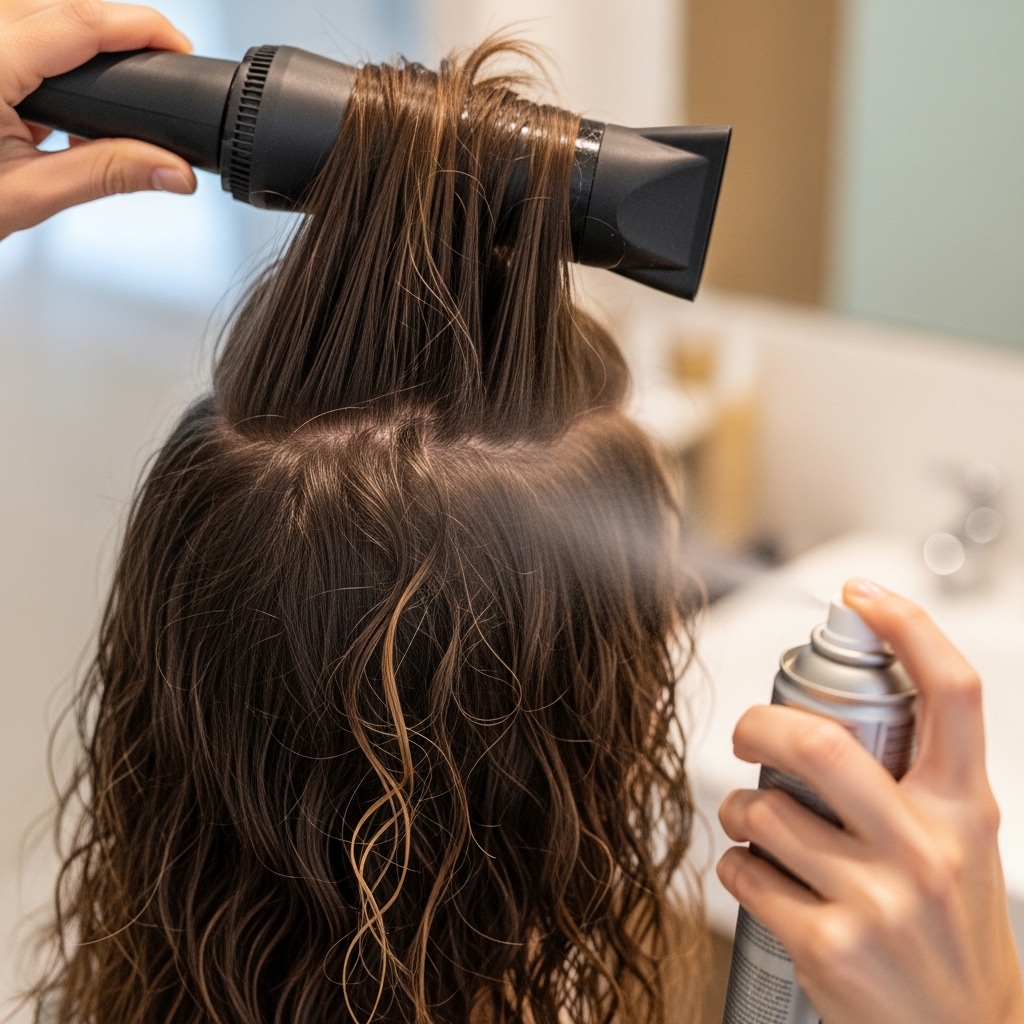
When to Use a Sea Salt Spray

Sea salt spray is your best friend for second-day hair or when you’re air-drying. It creates a natural, tousled wave from the get-go. For the best results, spray it into towel-dried hair, then scrunch with your hands.
You can let it air dry or use a diffuser. It gives a more matte, beachy texture as a base, which you can then enhance with your curling wand and texturizing spray later. It builds that foundation of “glitch.”
The Half-Up, Half-Down Secret
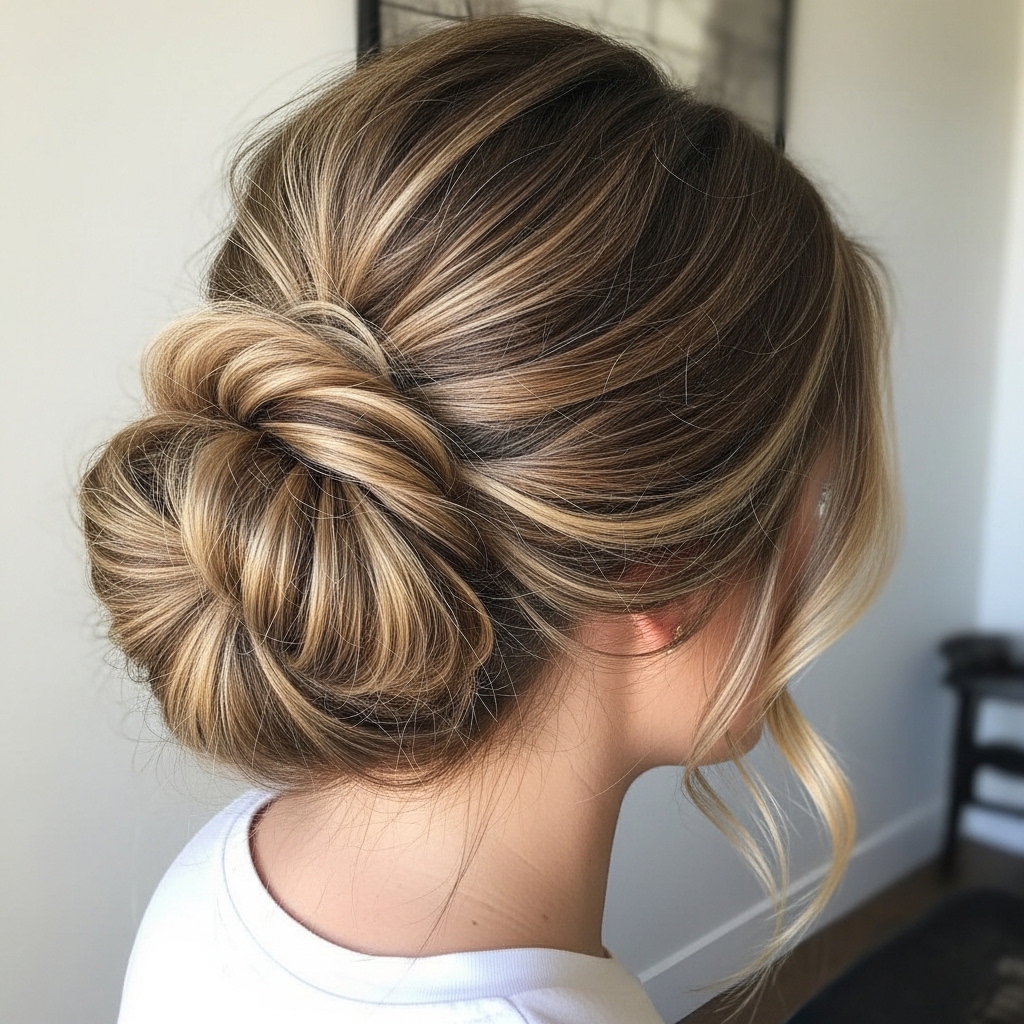
This style was made for the half-up ‘do. Pull the top section of your hair back, but keep it super loose. Use a clip or a scrunchie for a soft hold.
Pull out plenty of face-framing pieces and wispy bits around your ears. Then, gently tug on the half-up section to loosen it further and create volume at the crown. It’s an easy, put-together look that still shows off your amazing layers.
Styling for Second (or Third!) Day Hair

This style gets better with age. On day two, start with dry shampoo at the roots to soak up oil and add grip. Then, mix a little conditioner with water in a spray bottle and lightly mist the mid-lengths and ends.
Scrunch your hair to reactivate the waves and texture. Use your curling wand just on any pieces that fell completely flat. The existing texture will blend beautifully, making it even easier than day one.
Adding a Touch of “Quiet Luxury”
Glitchy glam can feel edgy, but you can soften it. Create a deep, clean side part. Tuck one side neatly behind your ear, leaving the other side out to frame your face.
This small, polished detail contrasts beautifully with the textured ends, giving you that effortless “quiet luxury” feel. It shows you thought about it, but not too much. It’s a perfect blend of trends.
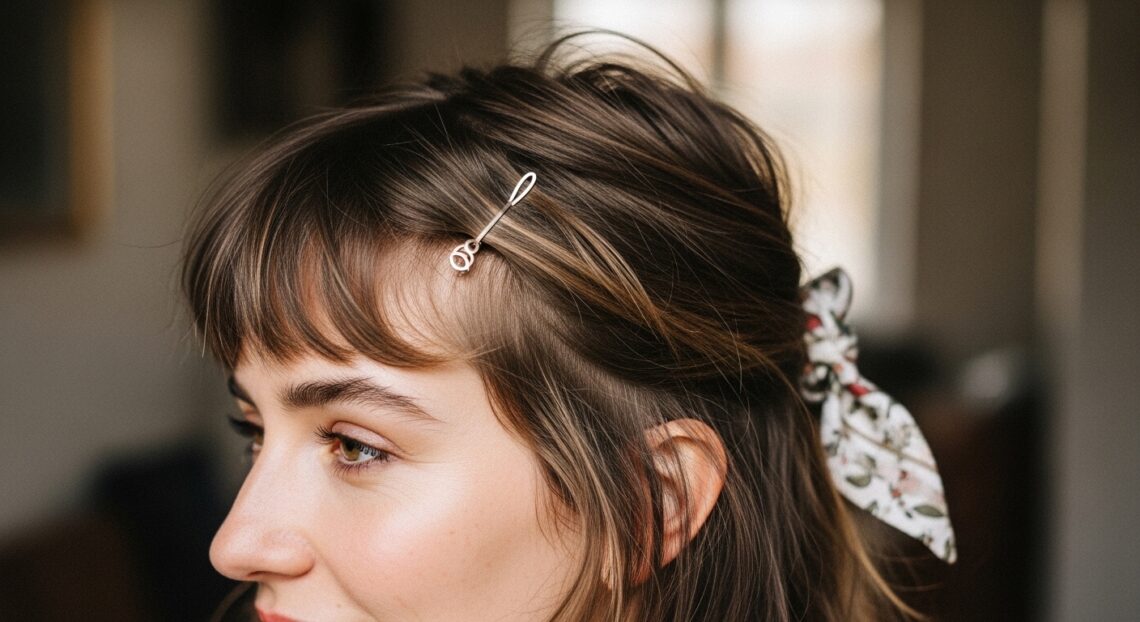
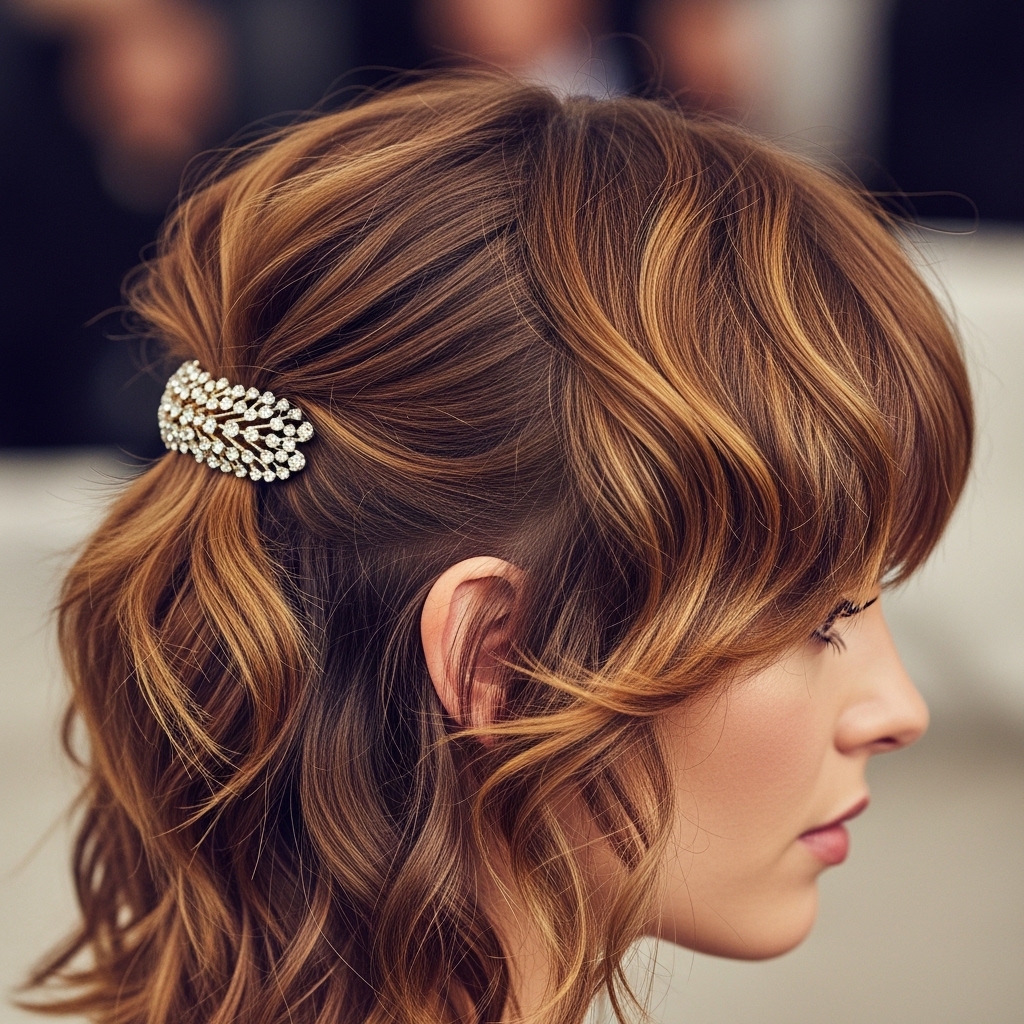
Accessorizing Your Shaggy Layers
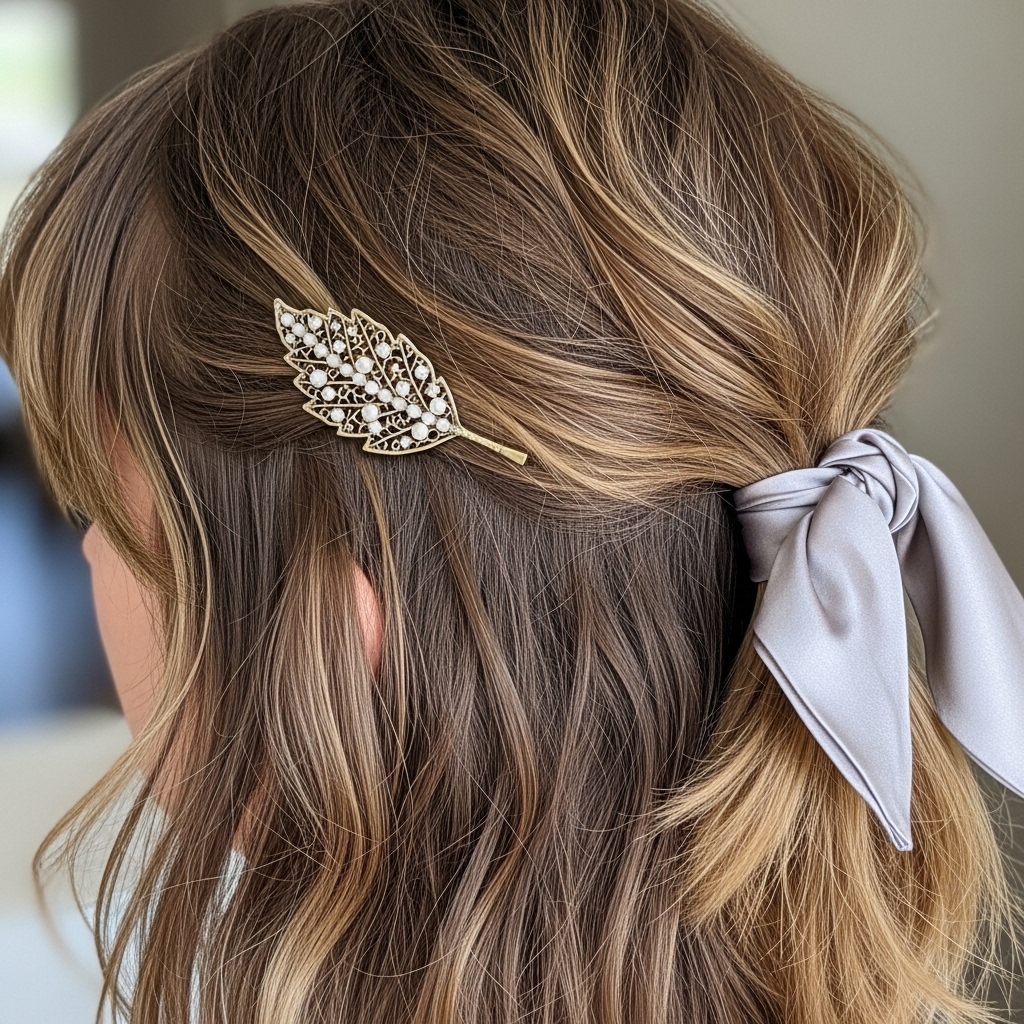
Keep accessories simple and strategic. A few tiny, pearl-encrusted clips can pin back a small section on one side. Or, use a thin silk scarf as a headband, tying it loosely at the nape of your neck.
Avoid big, bulky pieces that will squash your volume. The goal is to add a hint of something pretty or cool without covering up the hard work you put into creating all that beautiful texture and movement.
What to Avoid: Over-Smoothing
The biggest mistake is using too much smoothing product or brushing your hair out completely. Heavy serums, glosses, and fine-tooth combs are your enemy here.
You want separation, not slickness. If you need to tame a flyaway, use a tiny bit of paste on your fingertips and pat it down, don’t smooth a serum over the whole section. Embrace a little imperfection—it’s called “glitchy” for a reason.
Night-Out Glam Upgrade
To take this style from day to night, simply intensify it. Define a few more face-framing waves with your curling wand. Add a bit more texturizing spray for extra hold and separation.
Create a deeper side part and use a statement clip—something with a little sparkle or drama—to hold back one side. The contrast of the edgy texture with a glam accessory is pure glitchy glam magic and perfect for a night out.
Blending Different Hair Textures
If you have naturally wavy or curly hair, work with it! Use a diffuser to dry your hair, enhancing your natural pattern. Then, use your texturizing spray and paste to define clumps and separate ends.
The goal isn’t to make it pin-straight or create uniform curls. It’s to add shape and piece-y-ness to what you already have. Your natural texture is the best starting point for this look.
Quick 5-Minute Refresh Routine
Got no time? Here’s your speed run. Flip head over, spray dry shampoo at roots. Flip back. Lightly mist hair with water or a leave-in conditioner spray.
- Scrunch hair vigorously with your hands to wake it up.
- Take your curling wand and quickly re-curl 3-4 of the most visible face-framing pieces.
- Pinch ends with a dab of paste. Done in five.
Finding Your Personal Glitchy Vibe
This look is a template, not a rulebook. Play with it! Maybe you love more wave, or maybe you prefer it straighter with just textured ends. Perhaps you add a bold colored clip or keep it totally neutral.
Your version might lean into romantic goth hairstyles with a darker lip, or it might feel more clean-girl with a neutral tone. The “glitch” is your personal expression. Make it yours.
Maintaining Your Shaggy Cut at Home
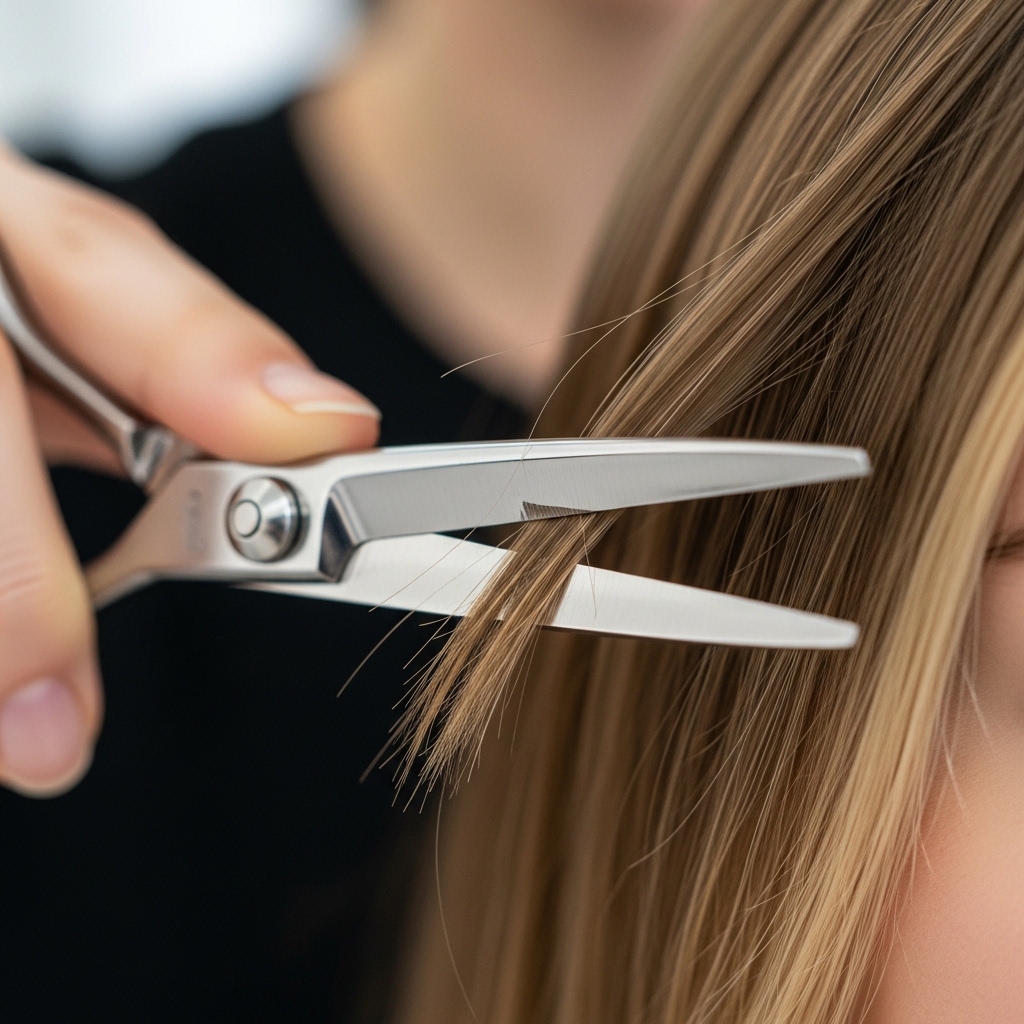
To keep your layers sharp between cuts, be very careful. Only trim if you’re confident. Use proper hair shears, not kitchen scissors.
You can “dust” the ends—take tiny vertical snips into the very tips of your hair to remove split ends without losing length. For face-framing pieces, cut them dry, exactly where they fall, and only take off a tiny bit. When in doubt, wait for your stylist.
My Favorite Products Right Now
I’m always testing, but my current go-tos for this look are: Oribe Dry Texturizing Spray for unbelievable volume, Bumble and Bumble Sea Salt Spray for the perfect base texture, and R+Co Badlands Dry Shampoo Paste for pinching ends.
These are investments, but a little goes a long way. For a great drugstore option, I love the Not Your Mother’s Beach Babe Texturizing Sea Salt Spray. It gives a fantastic, affordable grit.
So there you have it—your long hair doesn’t have to be boring or high-maintenance. With the right cut and these simple styling tricks, you can have that cool-girl texture every single day.
Remember, the goal isn’t perfection. It’s movement, personality, and a little bit of beautiful chaos. Once you get the hang of breaking up your curls and pinching those ends, it’ll become your fastest, favorite style.
Now I want to hear from you! What’s your biggest struggle with styling layers? Or do you have a holy-grail texturizing product I need to try? Spill your secrets in the comments below!
Save this post to Pinterest to keep all these tips handy for your next styling session!

