
Okay, let’s be real. Sometimes a regular braid just needs a little… more. You know that feeling? You want something pretty, a bit special, but you don’t have hours to spend in front of the mirror. I totally get it.
That’s why I’m obsessed with this idea right now. We’re talking about weaving ribbons right into your braids. It sounds fancy, but I promise it’s one of those easy upgrades that looks like you tried way harder than you did.
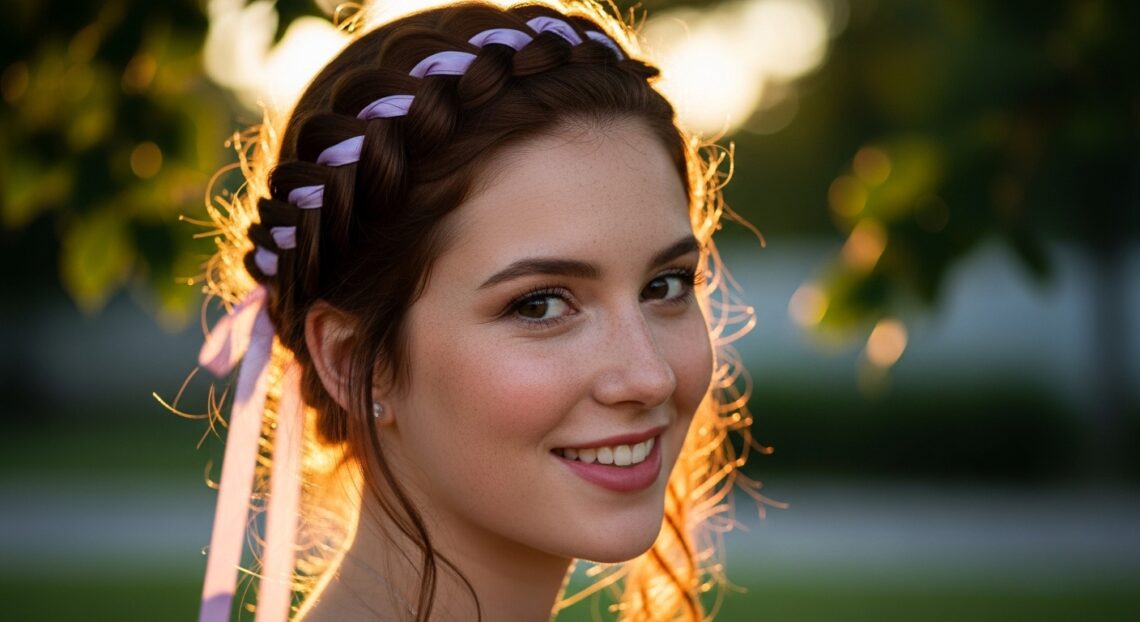
It gives off such a pretty, feminine vibe that works for a date night, a wedding, or just making your Tuesday feel a bit more romantic. It’s a perfect blend of sweet and stylish.
And the best part? You can adapt this trick to so many of the looks we love, from old money hair elegance to those softer romantic goth hairstyles. Let me show you exactly how to do it.
Why Add Ribbons to Your Braids?
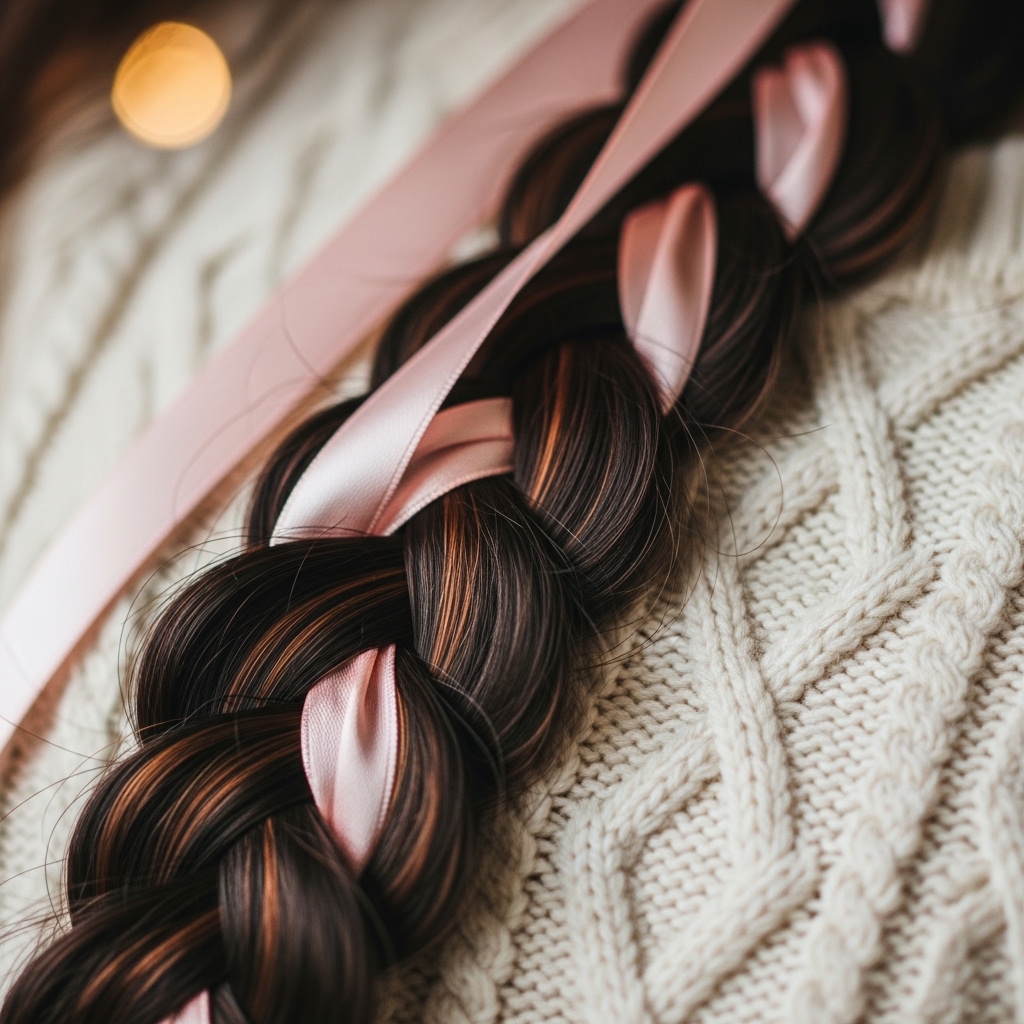
Think of a ribbon as your secret styling weapon. It instantly adds a pop of color, a touch of texture, and a whole lot of charm to any basic plait. It’s that detail that makes people say, “Wow, how did you do that?”
It’s also incredibly versatile. A satin ribbon feels luxe and soft, while a frayed gauzy one leans more boho. You can match it to your outfit or go for a classic neutral. It’s a simple way to personalize any hairstyle.
The Perfect Ribbons to Start With
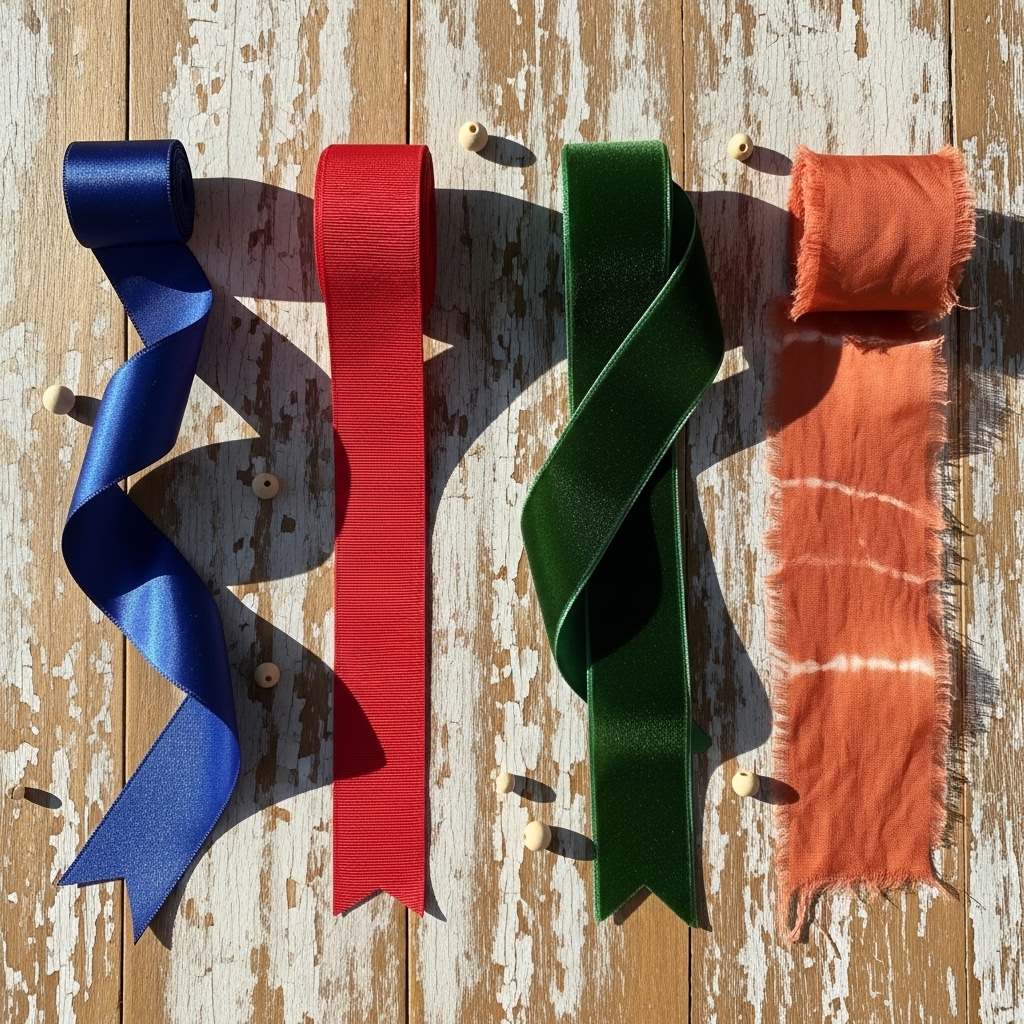
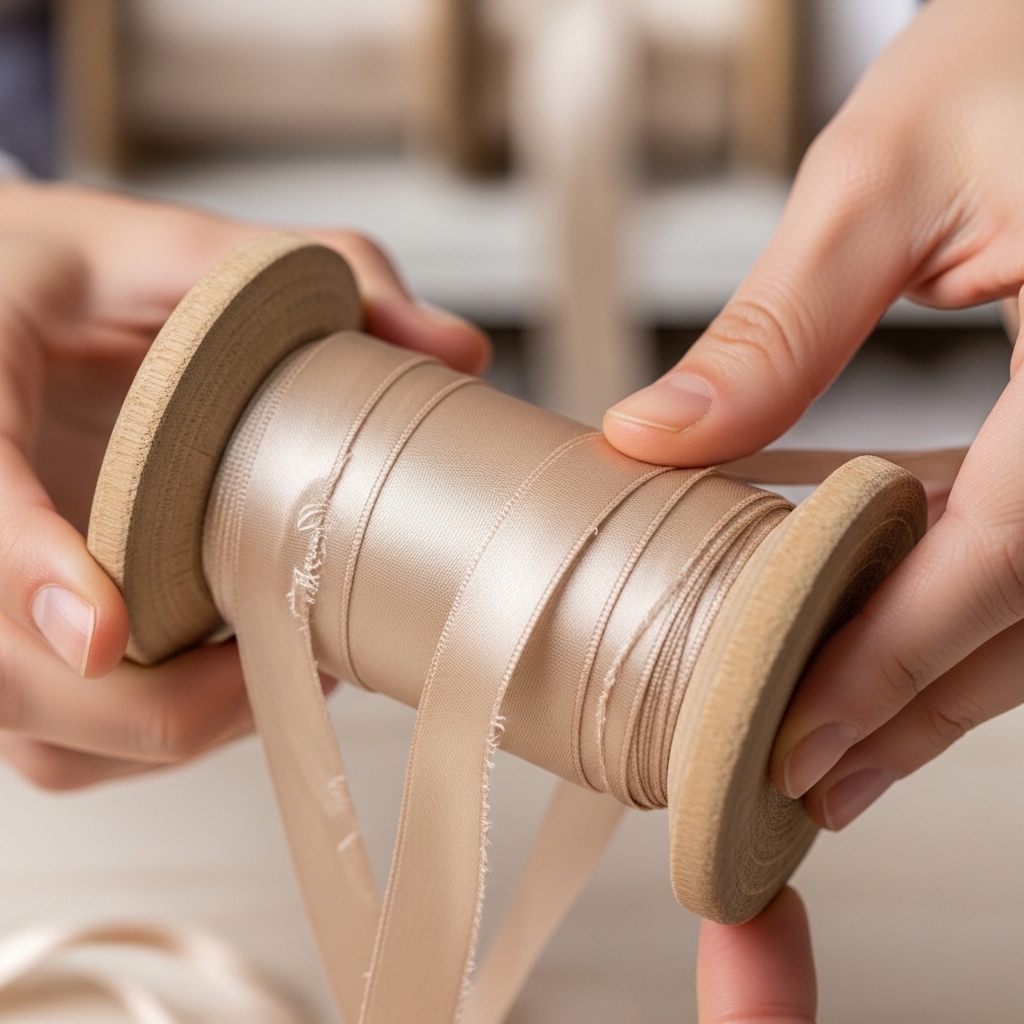
Don’t overcomplicate this! You likely have the perfect thing at home. Look for ribbons that are about 1/4 to 1/2 inch wide. Anything wider can get bulky and harder to braid.
- Satin Ribbon: Gives a sleek, shiny finish. Perfect for that quiet luxury bob vibe if you add a small braided section.
- Grosgrain Ribbon: Has a subtle textured finish and holds its shape well.
- Velvet Ribbon: Amazing for fall and winter, adds a rich, tactile feel.
- Pre-cut Fabric Strips: From an old scarf or silky shirt? Even better for a unique look.
Tools You’ll Need on Your Vanity
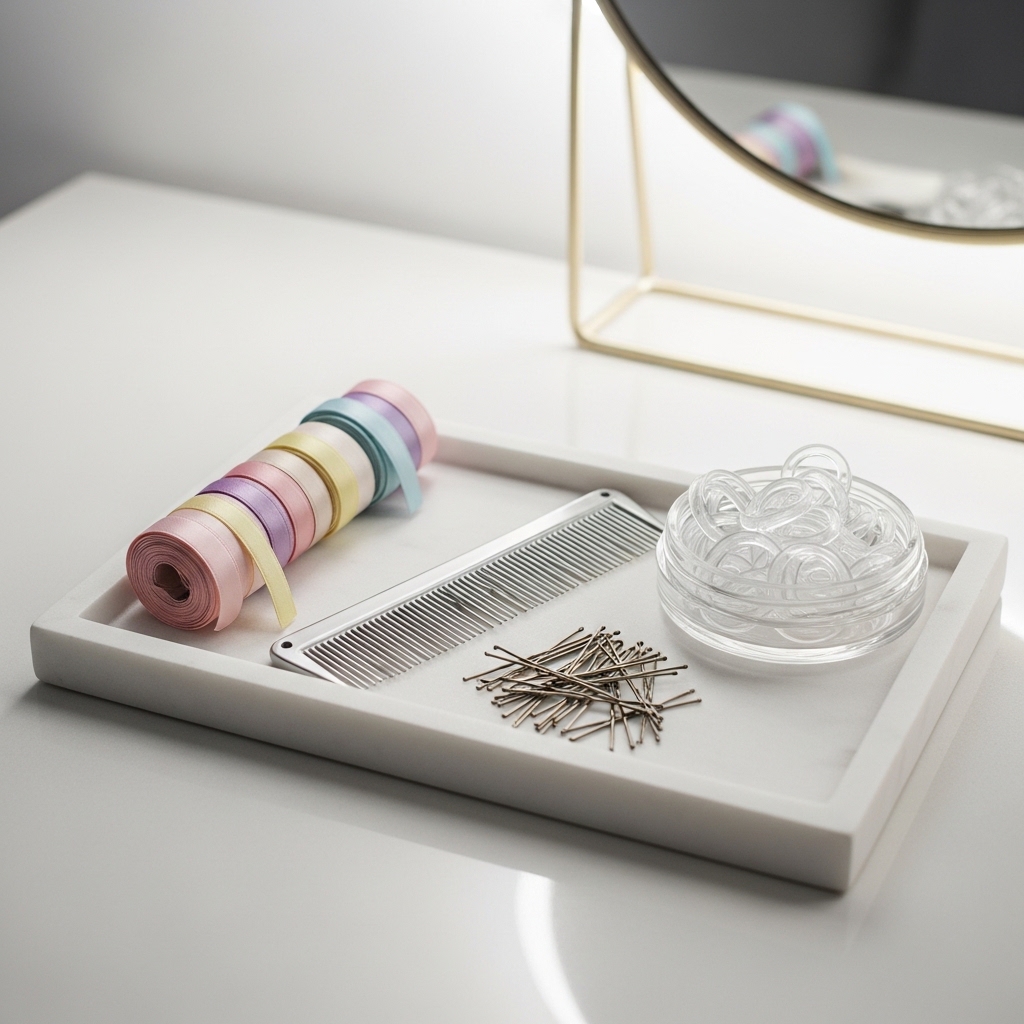
Gathering your tools first makes everything smoother. You won’t need much, which is why I love this technique. It’s all about working with what you have.
- Your chosen ribbons (cut to about 2-3 times the length of your hair)
- A fine-tooth comb and hair ties
- Small, clear elastic bands (they’re invisible!)
- A couple of bobby pins
- Light-hold hairspray or texture spray
Prepping Your Hair for Ribbon Braids
Start with hair that’s not freshly washed. Day-old hair has more texture and grip, which helps the ribbon stay put and keeps your braid from slipping apart. If your hair is very clean, spray a little texturizing spray at the roots.
Brush through to remove any tangles. You can do this on straight, wavy, or curly hair—the ribbon will look beautiful in any texture. Decide where you want your braid: a classic side braid, a crown braid, or even two pigtails.

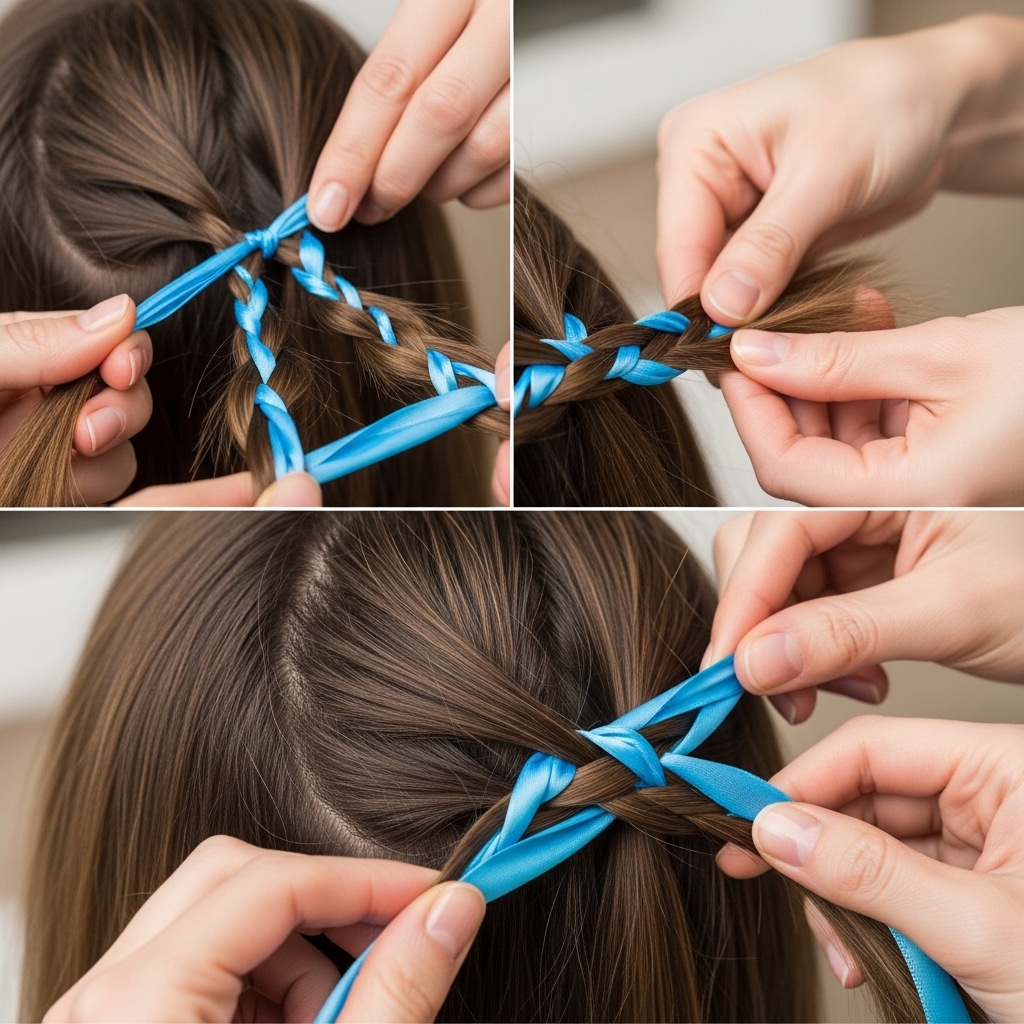
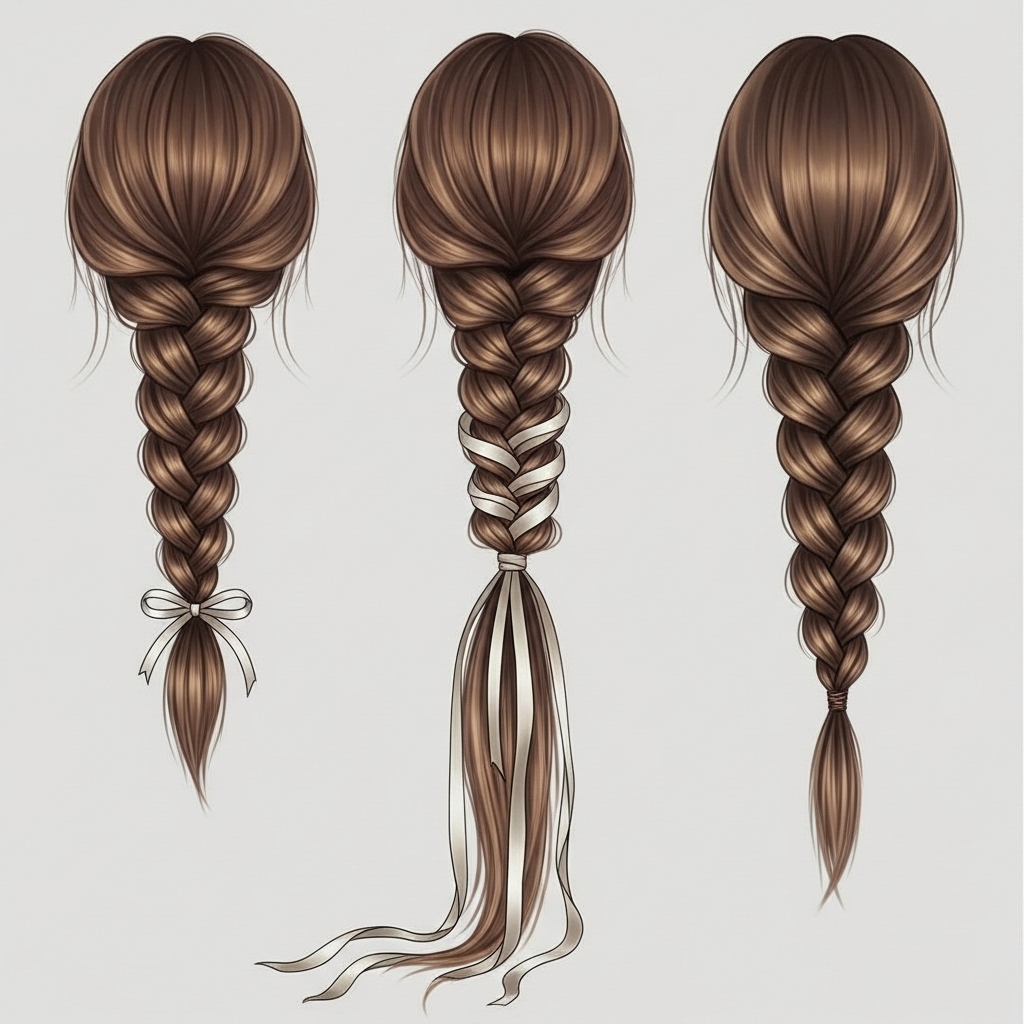
Classic Three-Strand Ribbon Braid
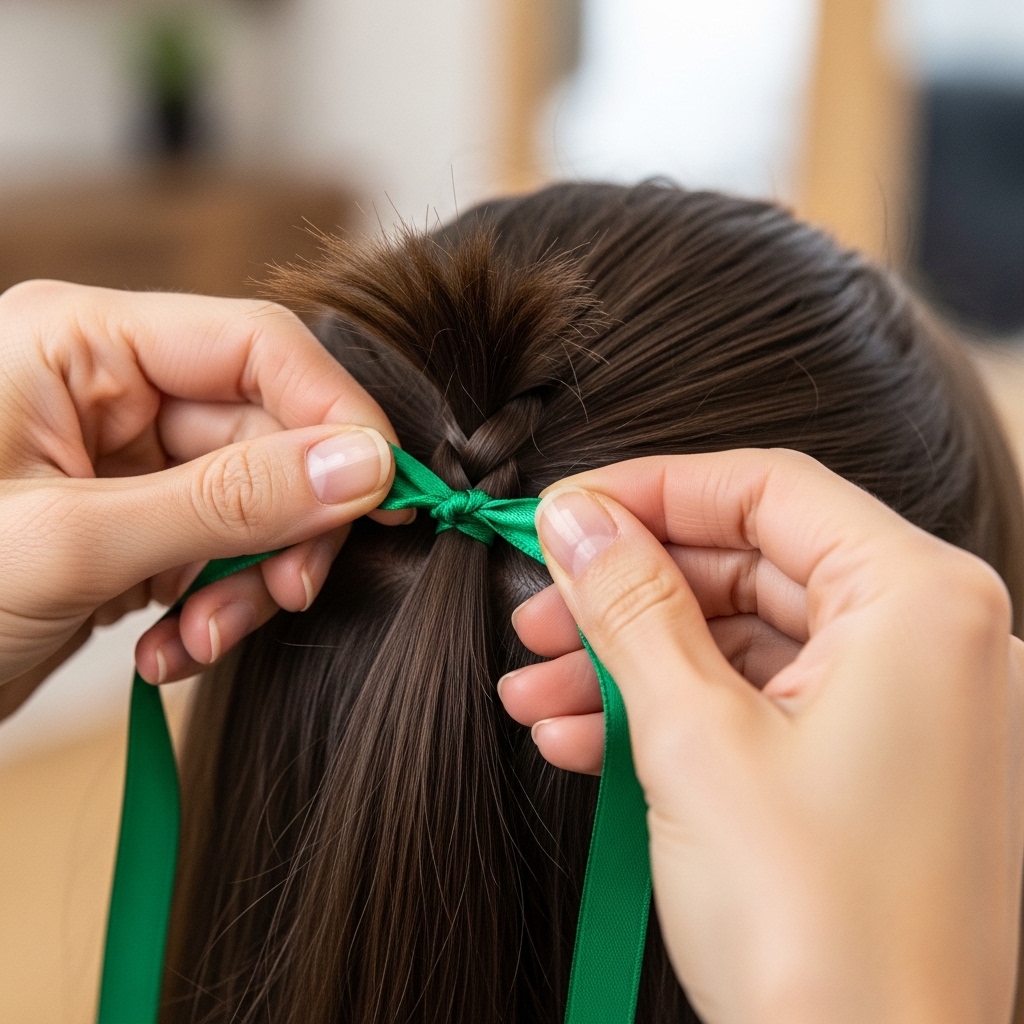
This is your foundation. Once you master this, you can do anything. Start by securing your ribbon to the base of your braid. You can tie it around the top elastic or simply hold it with the first section of hair.
- Divide your hair into three equal sections. Place your ribbon so it dangles down with the middle section.
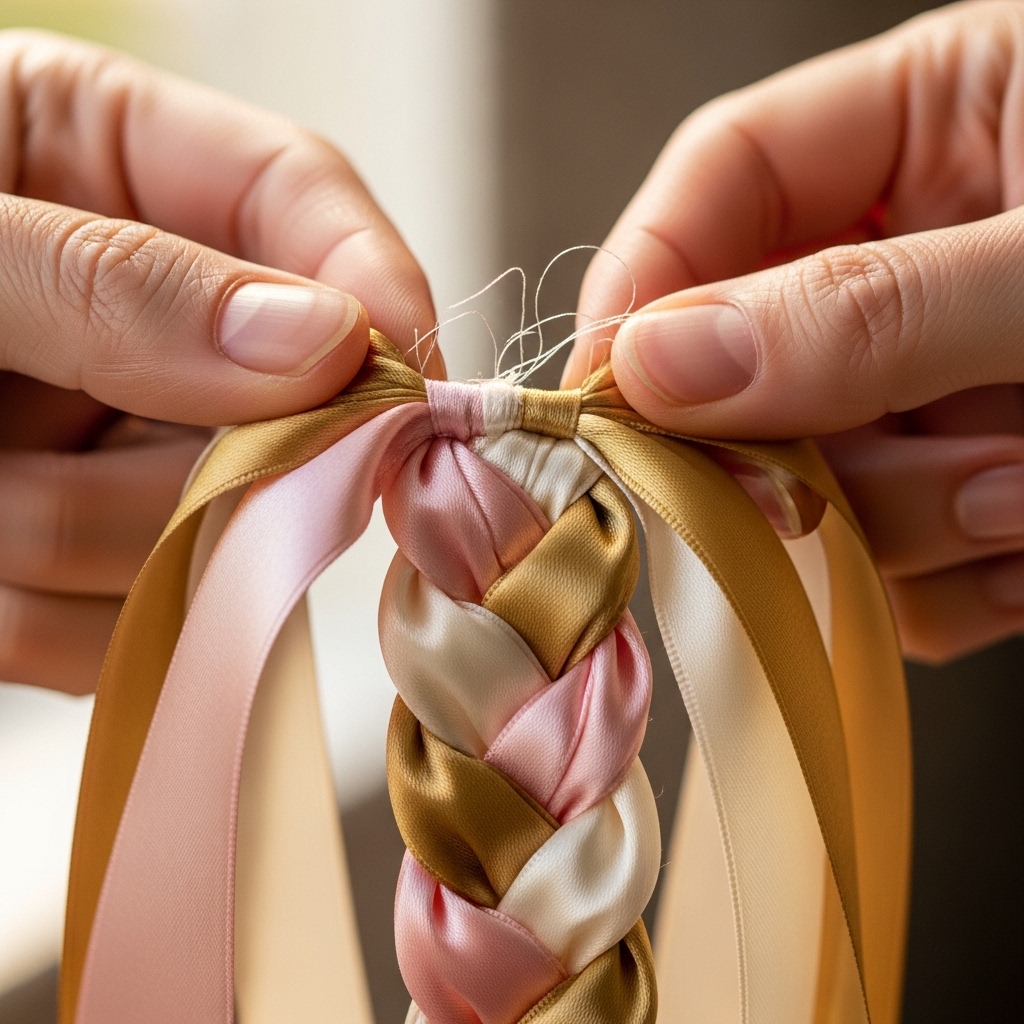
- Braid normally, but treat the ribbon as part of the hair strand it’s with. Cross the sections over, incorporating the ribbon each time.
- When you reach the end, secure with a clear elastic. You can tie the ribbon ends into a bow or let them flow with your hair.
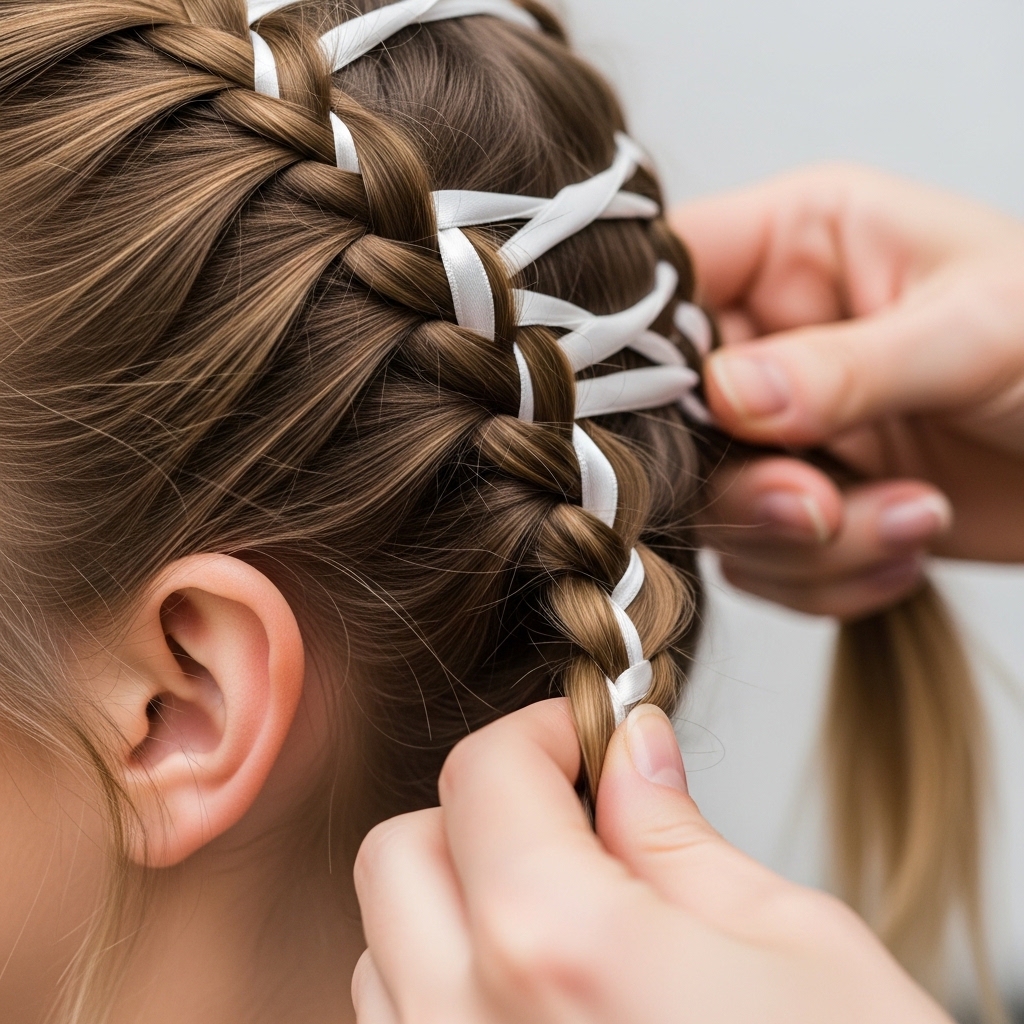
Adding Ribbons to a French Braid
This takes the classic up a notch for a gorgeous, woven effect from top to bottom. It looks intricate but follows the same simple logic. It’s a stunning look that fits right in with 2026 hairstyles leaning into detailed, personal touches.
Start your French braid at the crown. Hold your ribbon alongside the middle section as you begin. As you add hair from the sides into the braid, make sure the ribbon stays with its central strand, getting woven in and out.
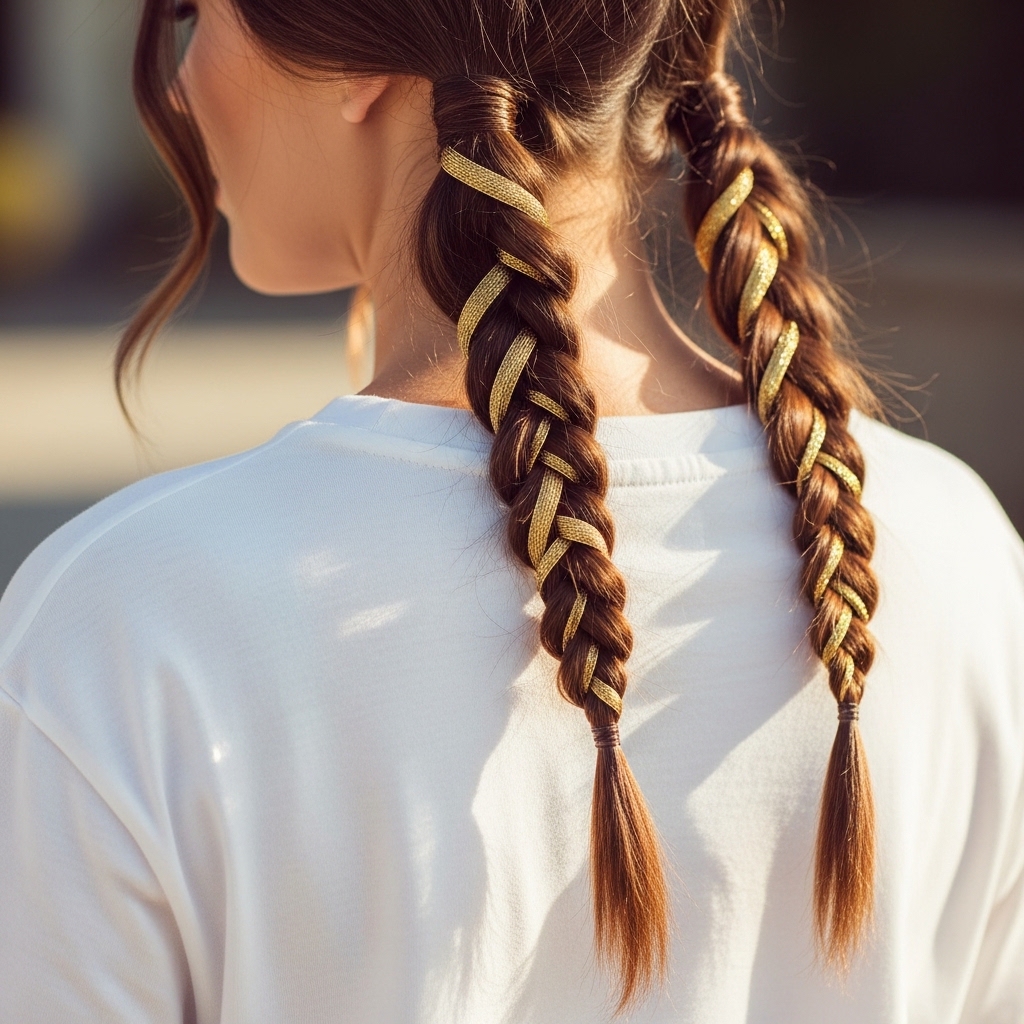
Pretty Ribbon Pigtails
Don’t save this just for a music festival! Ribbon pigtails are having a major moment. They’re playful, cute, and far from childish when done with intention. Think of it as a modern take on a classic.
Create a deep side part or two even sections. Braid each side with a ribbon, using the classic three-strand method. Keep them tight and neat for a polished look, or pull them gently apart for a fuller, softer bohemian feel.
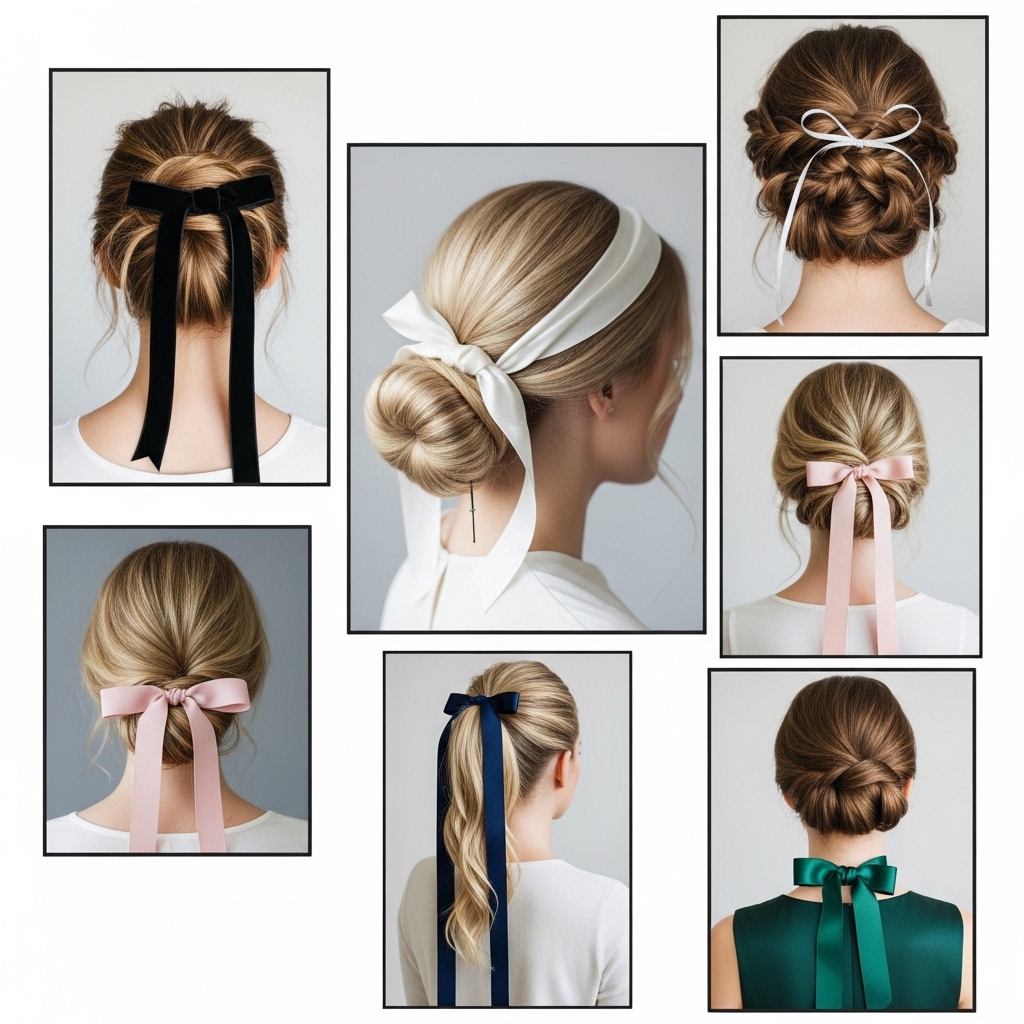
Half-Up Crown Braid with Ribbon
This is my go-to for summer parties or when I want to look put-together without much effort. It keeps hair off your face and looks incredibly elegant. The ribbon makes it feel extra special.
Take a section of hair from each temple, meeting at the back. Start a French or Dutch braid across the crown, incorporating your ribbon. Secure it at the end with bobby pins and a clear elastic. Let the rest of your hair flow down.

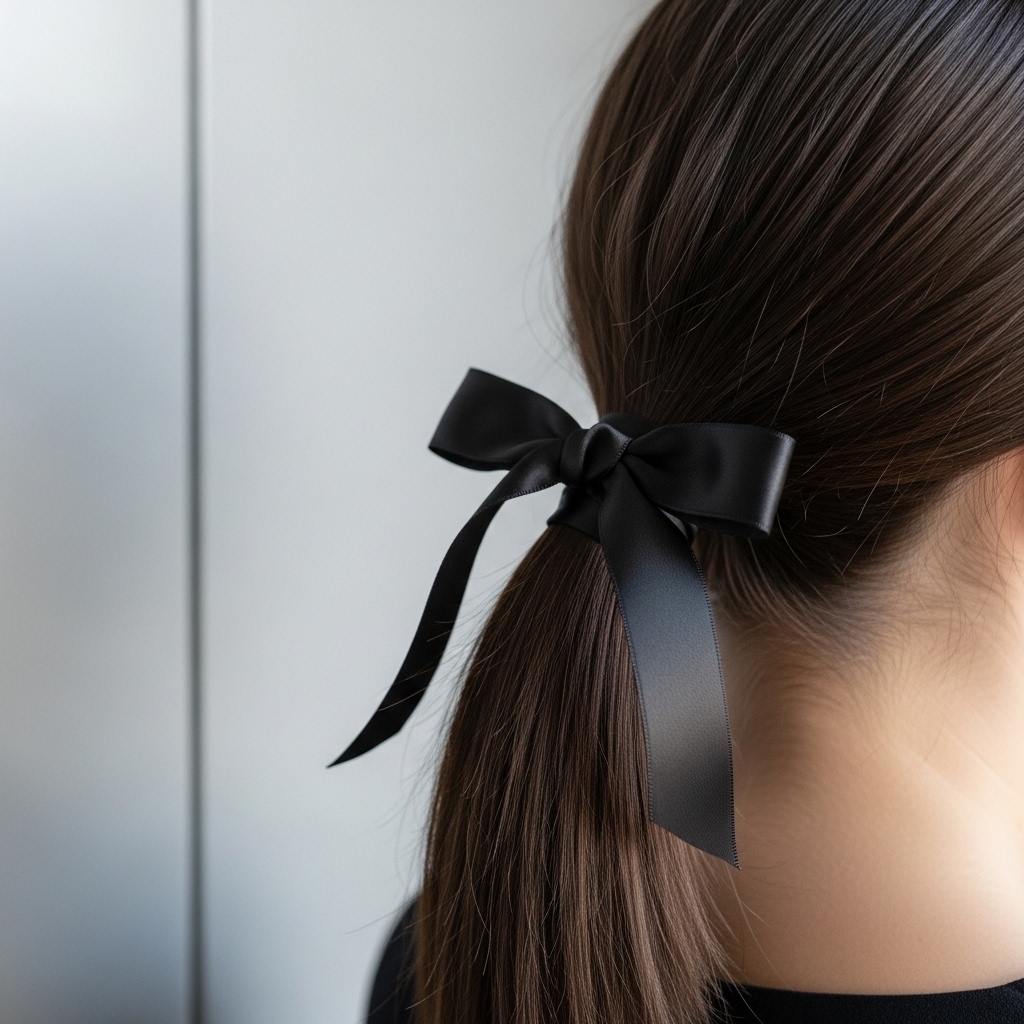
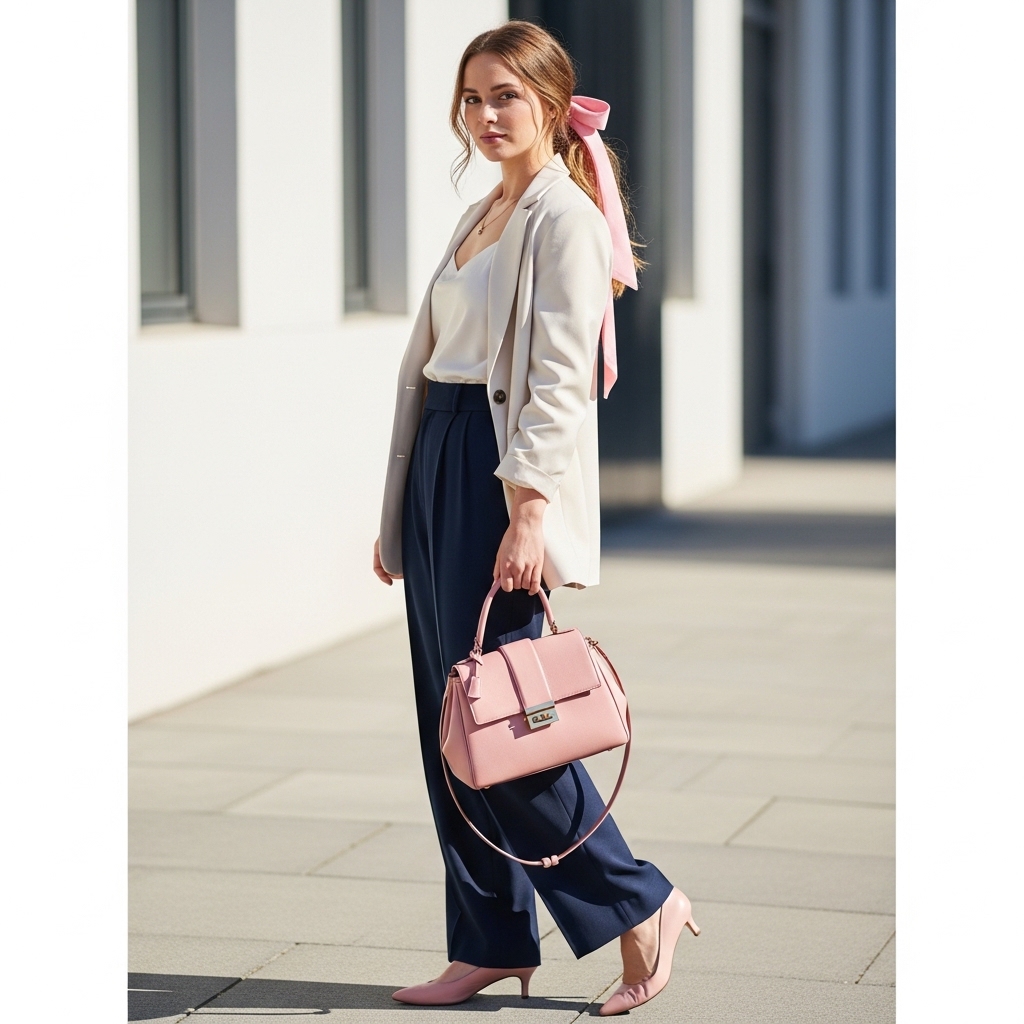
Ribbon-Accented Ponytail
Elevate your basic ponytail in two minutes flat. This is a genius trick for when you’re in a rush but need to look polished. It works on sleek, low ponytails or high, textured ones.
Create your ponytail first. Take a long ribbon and tie it around the base, covering the hair tie. Then, separate a small section of hair from the ponytail, wrap it around the base to hide the tie, and secure. Let the ribbon tails hang long.
Mixing Ribbon Colors & Textures
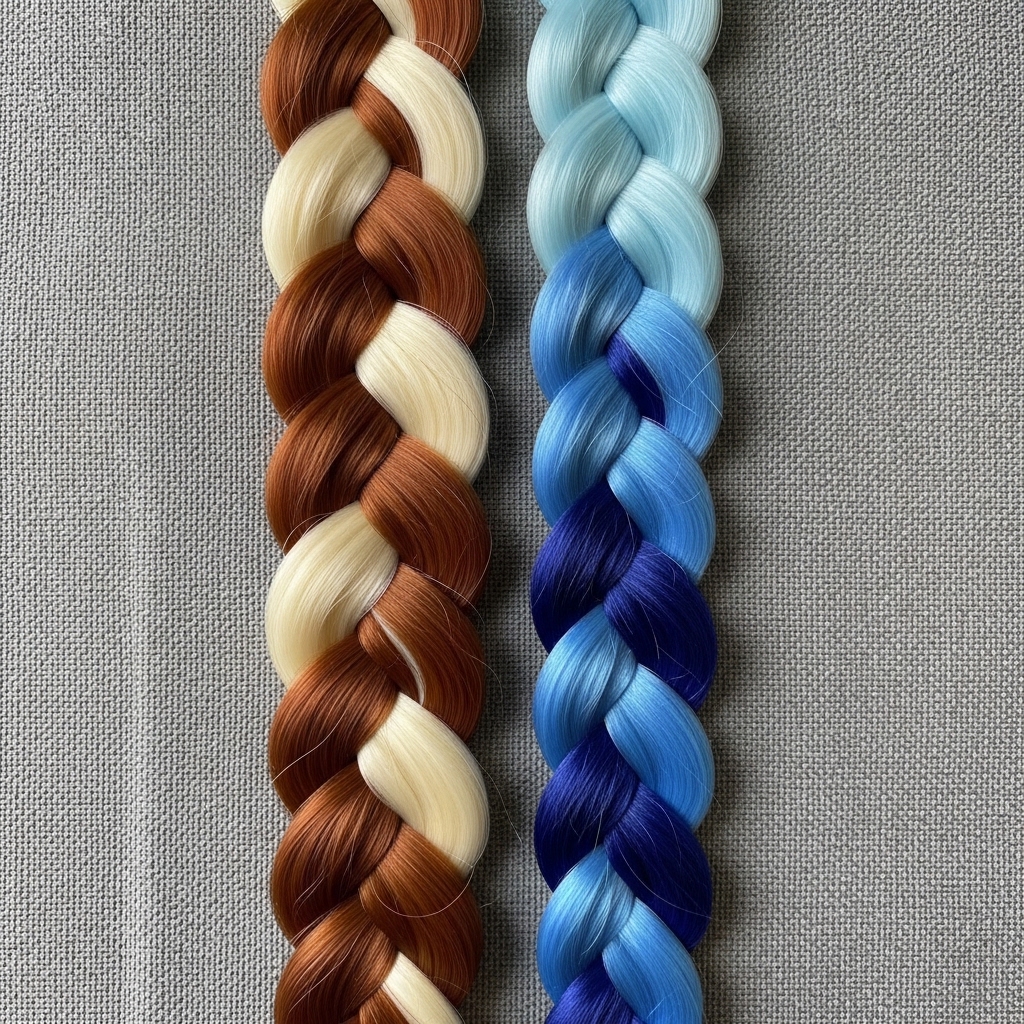
Why use just one? This is where you can really get creative and match your mood. Mixing a satin and a velvet ribbon creates amazing depth. Using two complementary colors can make even a simple braid a standout.
Try pairing a neutral with a pop of color, like cream and rust. Or go tonal with three shades of blue. Just remember to keep the widths similar so they braid together evenly. This is a fun nod to the playful side of glitchy glam hair.
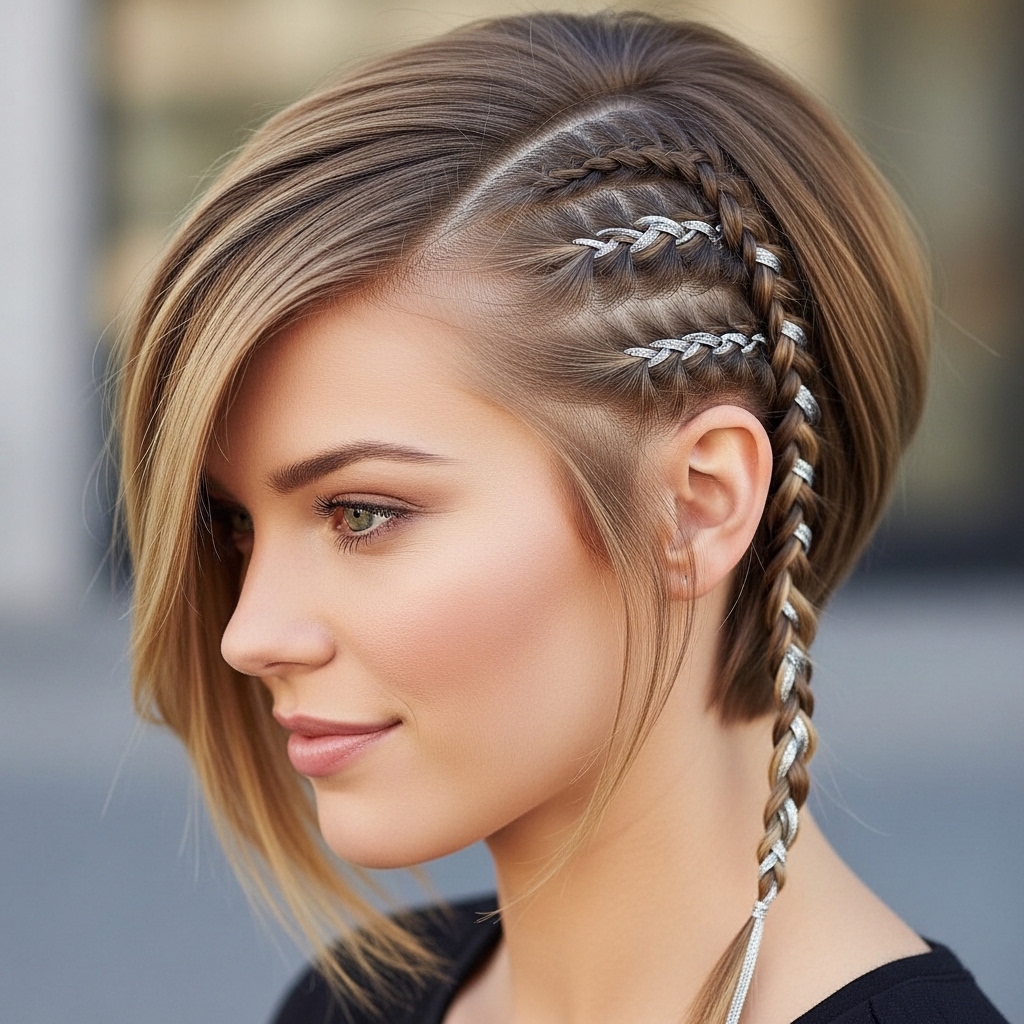
Adapting for an Asymmetrical Lob
Got a chic, angled cut? You can still play! A small, ribbon-laced braid along the longer side of an asymmetrical lob is absolute fire. It adds detail without overwhelming the sharp shape of your cut.
Take a small section of hair from the longer side, near your face. Braid a thin, three-strand braid with a delicate ribbon. Secure it behind your ear with a bobby pin, or let it fall forward over your shoulder.
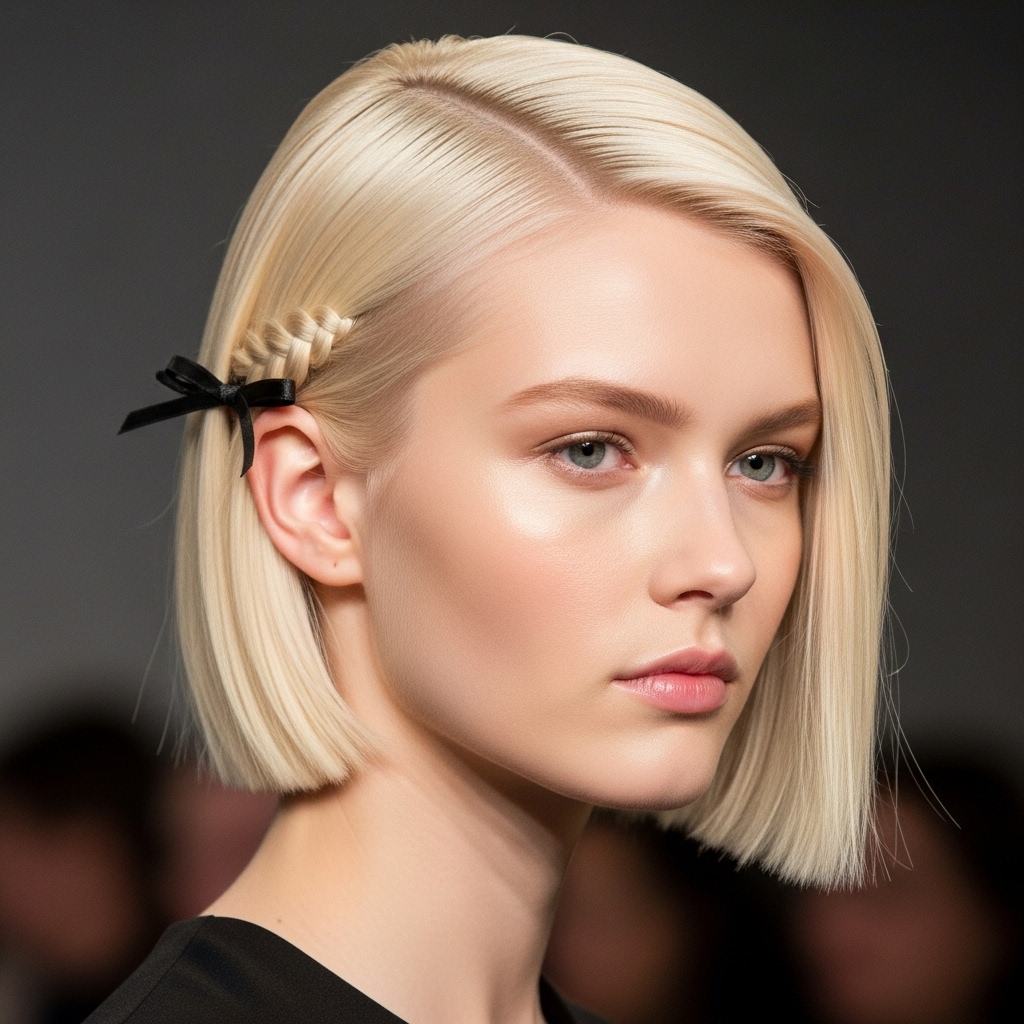
Ribbons on Short Hair & Bobs
Short hair friends, you’re included! On a quiet luxury bob or even a hime cut, you can add a tiny, ribbon-accented braid as an accent. It’s all about the subtle detail.
On a bob, try a small braid at the temple, pinned back. On a hime cut with longer front strands, braid a ribbon into just one of those front pieces. It’s a delicate, pretty touch that’s perfectly on-trend.
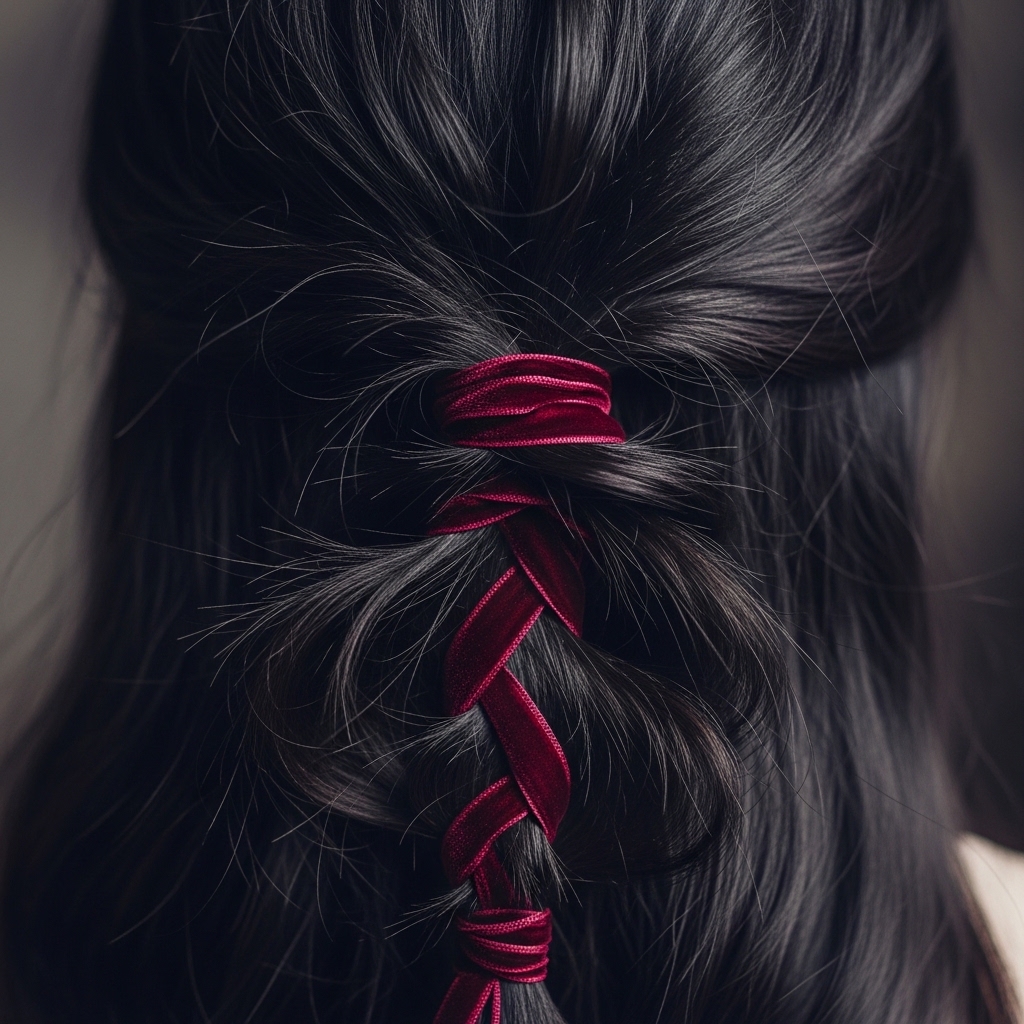
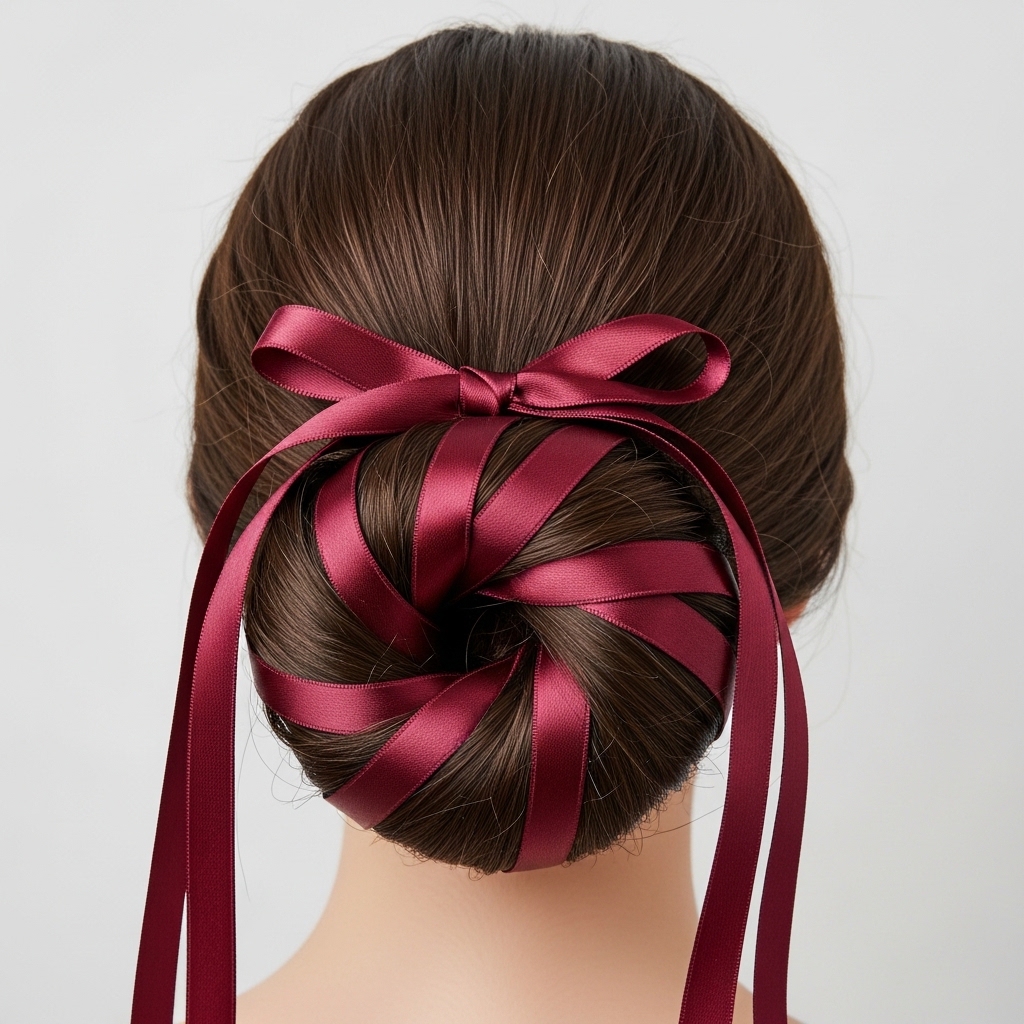
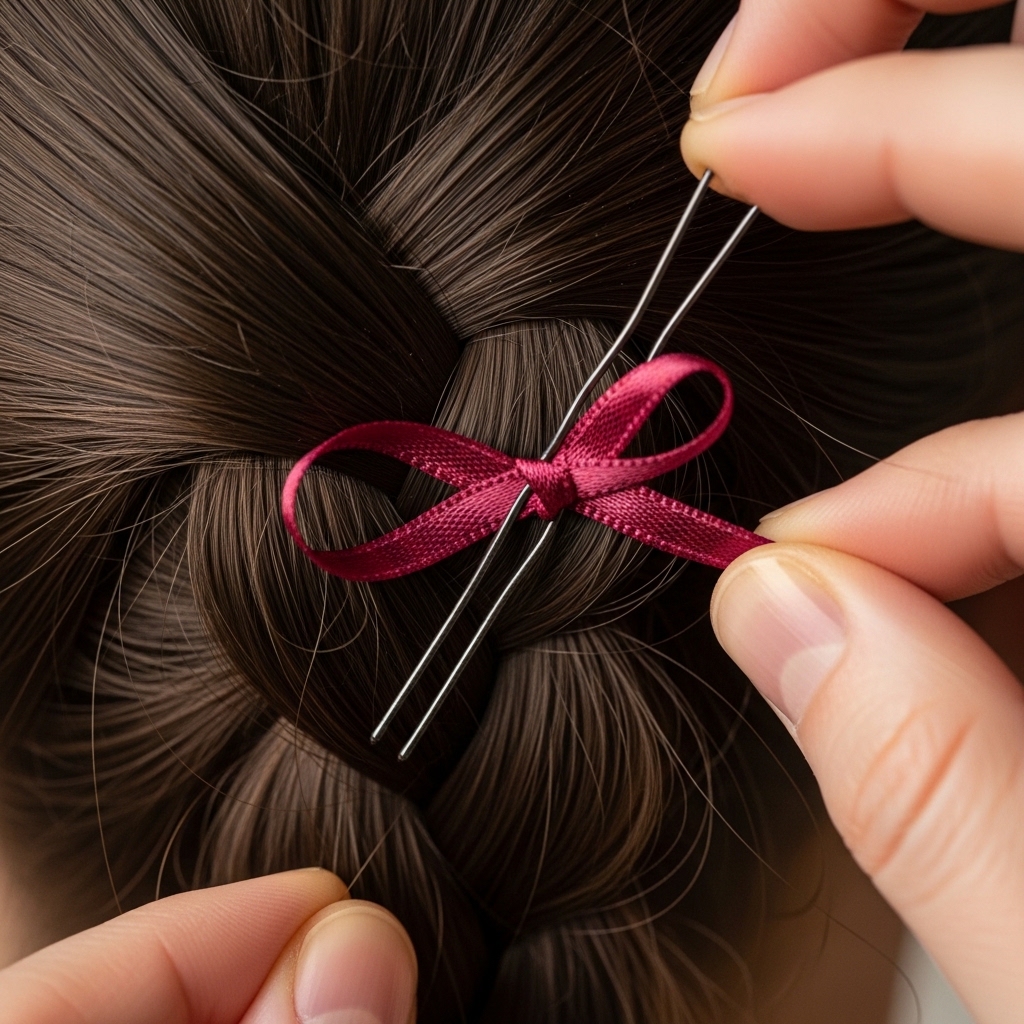
Creating a Romantic Goth Vibe
This style is perfect for those romantic goth hairstyles we all love. It’s soft, dark, and poetic. Think deep burgundy or black ribbons on dark hair, or even a deep purple on jet black.
Go for a loose, slightly messy braid—pull it apart gently after braiding. Use a velvet ribbon for that rich texture. Pair it with a vampire haircut with curtain bangs for the full, beautiful effect.
Securing Ribbons Without Slipping
The biggest question! The key is in the start. If you’re just adding a ribbon to a section, tie it tightly around the base of that hair section before you begin braiding. You can also knot it around the initial hair elastic.
For extra security, mist the ribbon lightly with hairspray before braiding—it gives the smooth surface a bit of grip. Clear elastics at the end are your best friend for a clean finish.
Making Your Braid Look Fuller
Want that lush, voluminous braid? After you’ve secured the end, gently pull on the outer loops of each braided section. Tug evenly all the way up to loosen and widen the braid.
This technique also helps the ribbon become more visible and integrated. Finish with a light mist of texturizing spray to hold the fullness. It creates that effortless, “I woke up like this” vibe.
Day-to-Night Ribbon Braid Upgrade
Wore your ribbon braid all day and have dinner plans? A 30-second upgrade is all you need. Carefully undo the end of your braid, remove the elastic, and twist the end into a low, loose bun.
Secure the bun with bobby pins, and wrap the remaining ribbon tails around the base, tucking the ends in. You’ve just created an elegant, romantic updo. It’s the ultimate quick-change magic.
Ribbon Care: Do’s and Don’ts
To make your ribbons last through multiple wears, a little care goes a long way. Try to avoid getting them overly wet or coated in heavy product, which can stain them.
- DO gently untie them after wearing.
- DO press them with a cool iron if they get wrinkled.
- DON’T use super sticky hairspray directly on them.
- DON’T sleep in them if you want to keep them crisp.
What to Do With the Ribbon Ends
The finish is important! You have so many cute options. A simple bow at the end is classic. For a more modern look, let the ends hang long and straight, trimming them to just below your hair ends.
You can also knot the ends together with the hair elastic to hide it, or even thread the ends back up into the braid and pin them for a seamless, no-tail look.
Matching Your Ribbon to Your Outfit
This is the fun part—tying your whole look together. You don’t have to match exactly. Pick up a secondary color in your print, or match the texture of your outfit (like silk ribbon with a silk blouse).
A neutral ribbon (black, white, cream, navy) goes with absolutely everything and feels very old money hair chic. It’s an accessory, just like your earrings.
Quick Fixes for Common Problems
Ribbon sticking out awkwardly? Gently push it back into the braid with a bobby pin from underneath. Ribbon too slippery? Tie a small knot in it partway down to create an anchor point within the braid.
If the braid feels too tight or gives you a headache, gently pull at the roots near your part to release a tiny bit of pressure. It should be pretty, not painful!
Inspiring Hairstyles to Try Next
Once you’ve mastered the ribbon braid, imagine where else you can add this pretty detail. Try it on a twisted bun, or weave a single ribbon through a sleek low chignon. The possibilities are endless.
It’s a technique that complements so many trends, from the clean lines of a quiet luxury bob to the edgy shape of a vampire haircut. It’s your tool to add a soft, personal signature.
Your Turn to Create Something Pretty
So, what do you think? I hope you’re feeling inspired to grab a ribbon and play. The beauty of this idea is there’s no wrong way to do it. It’s all about adding a little bit of your own personality to your look.
Start with a simple three-strand braid tonight while you’re watching your favorite show. See how it feels. I have a feeling you’re going to fall in love with this easy, pretty trick just like I did.
And that’s it! My complete guide to getting those gorgeous, laced-up braids. It’s one of those styles that looks like it came straight from a fancy salon, but really, it’s just you, a ribbon, and a few minutes of your time.
I love how something so simple can transform your whole look and make you feel so put-together. It’s the kind of style hack I live for—maximum impact, minimum effort.
Save this post to Pinterest so you always have the steps handy! And I’d love to know—what color ribbon are you going to try first? Tell me in the comments below!

