

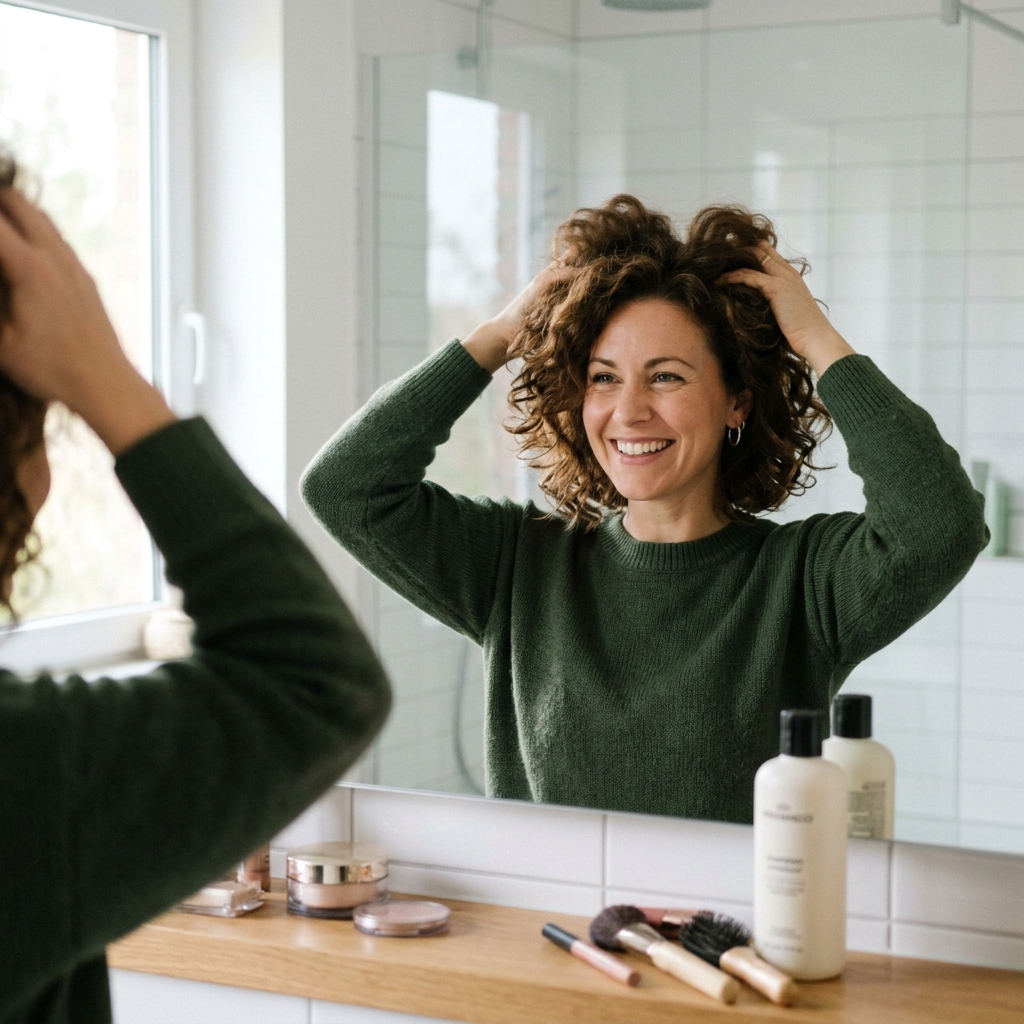
Hey friend. If you’re reading this, I bet you have thin hair and you’re dreaming of that perfect, sculpted bob. You know the one—it looks full, swings when you walk, and holds its shape all day. But right now, your hair feels flat by 10 AM. I get it. I’ve been there.
For years, I thought a voluminous bob was just for people with thick hair. I was so wrong. The secret isn’t just a haircut. It’s a full strategy, from the salon chair to your styling routine at home.
This isn’t about adding fake-looking volume. It’s about creating real, lasting body that looks and feels amazing. And I’m going to walk you through every single step. Let’s finally get you that hair.
Why Thin Hair Needs a Different Bob Blueprint
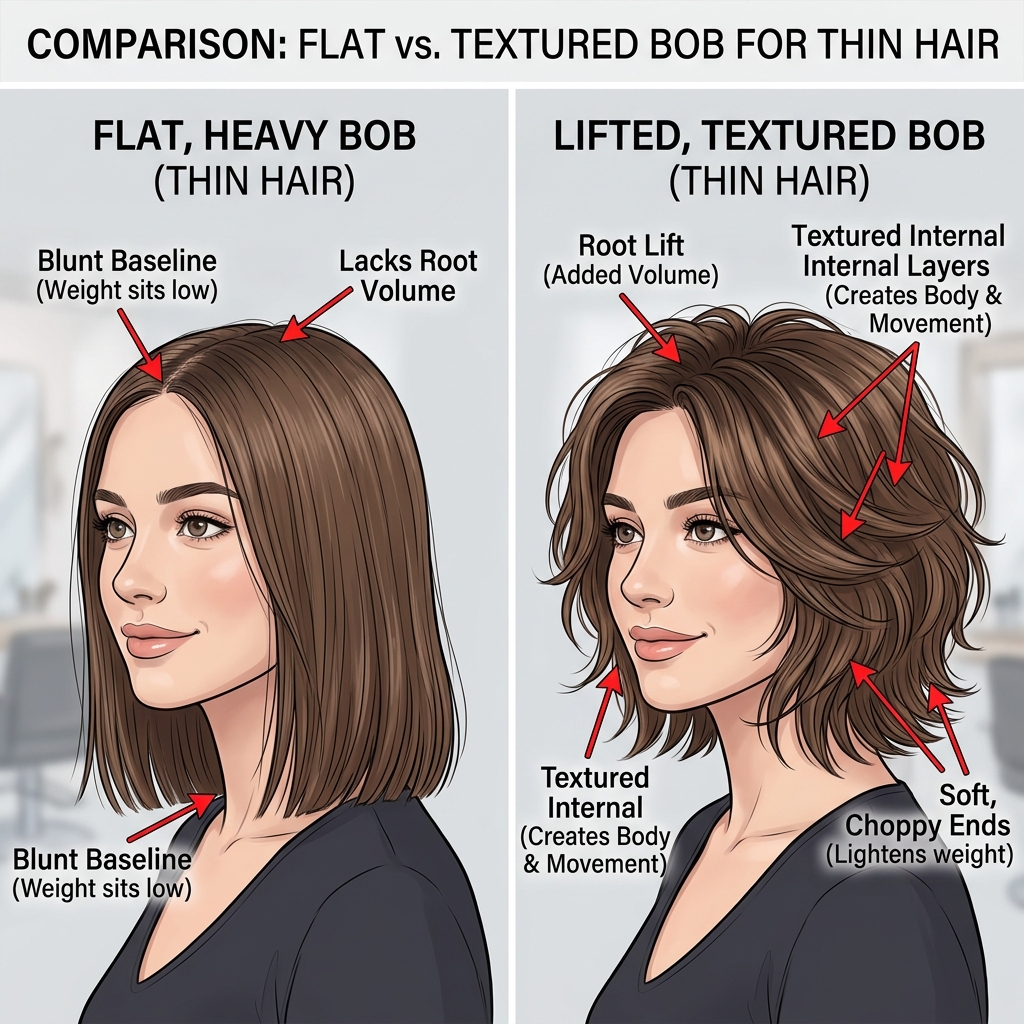
Not all bobs are created equal, especially for fine hair. A cut that’s too blunt or too heavy will just weigh you down. We need a blueprint designed for lift from the root.
This means strategic layering, precise texturizing, and the perfect length to create the illusion of density. Forget the one-size-fits-all approach. Your thin hair deserves a custom plan.
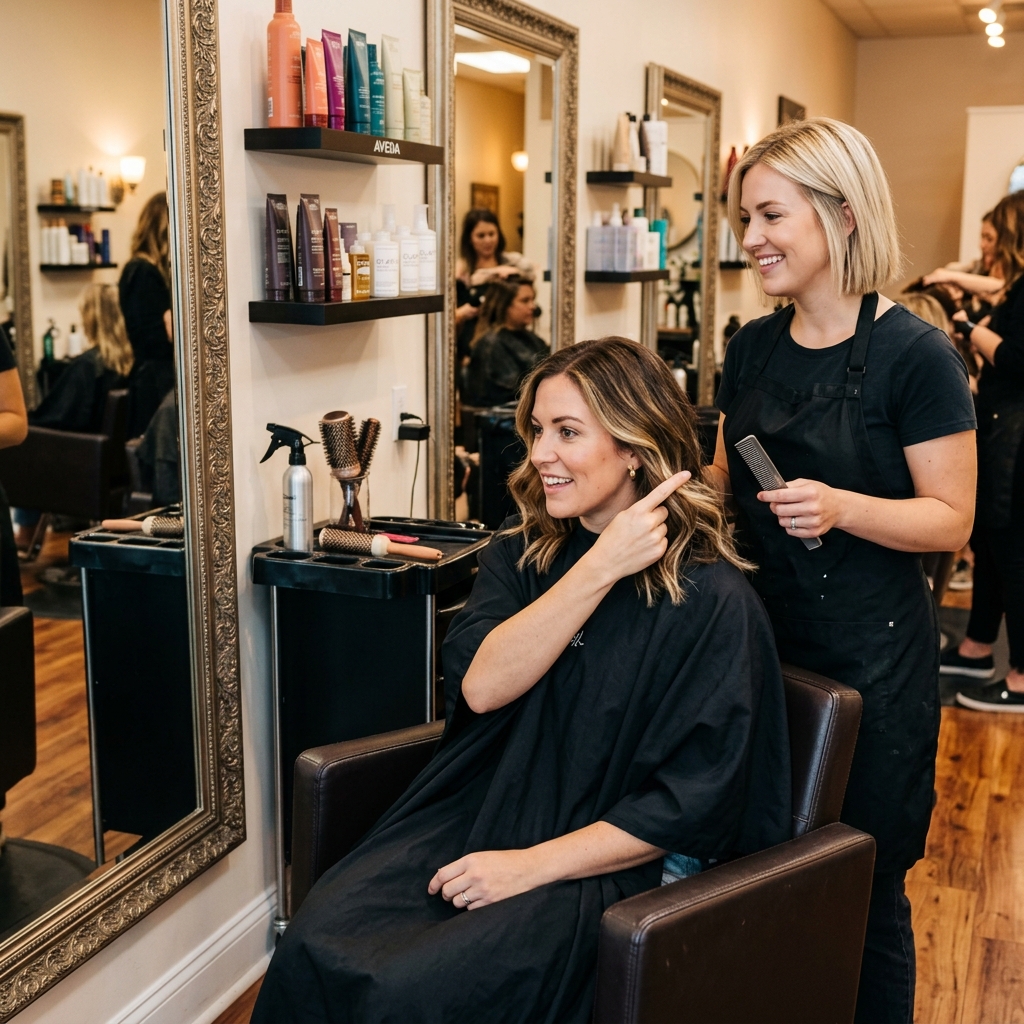
The Magic Words to Tell Your Stylist
Walking into the salon can be intimidating. Don’t just show a picture. Use these specific terms to get exactly what you want. This is your script.
- “I want interior layers for hidden volume.”
- “Please texturize the ends, don’t just blunt cut them.”
- “Can we keep the perimeter strong but remove interior weight?”
This language tells your stylist you understand your hair’s needs. It leads to a collaborative cut, not a guessing game.
Length Is Everything: Find Your Sweet Spot
For thin hair, length is your volume’s biggest enemy. Too long, and it drags down. Too short, and you lose the swing. The sweet spot is usually between the chin and the collarbone.
This range gives you enough weight to style, but not so much that it flattens your roots. It’s the foundation for all the 2026 hairstyles we’re seeing, from the asymmetrical lob to the classic quiet luxury bob.

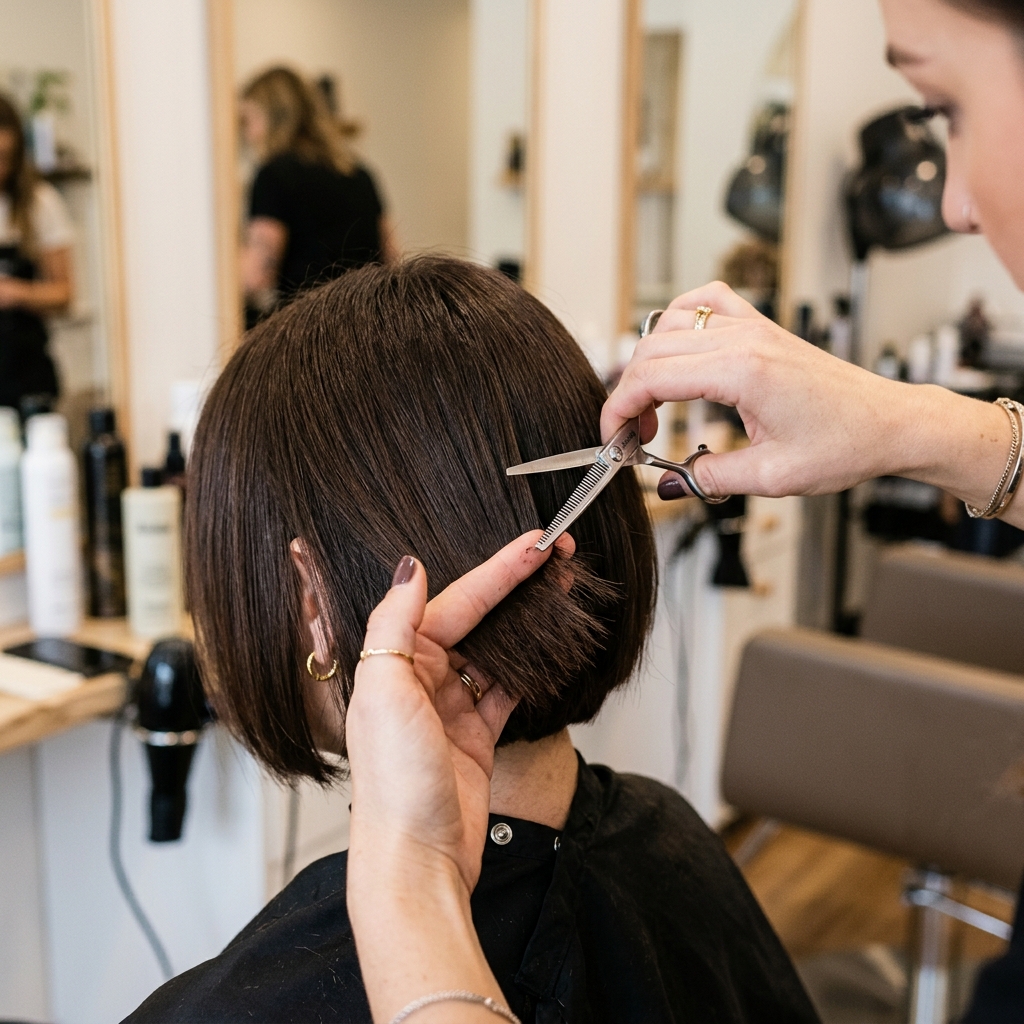
Interior Layers: Your Hidden Volume Secret
This is the #1 game-changer. Interior layers are cut on the inside of your hair, not the outside. They remove bulk from where it drags you down, without changing your solid outer shape.
The result? Your hair naturally lifts at the root because it’s lighter. From the outside, it just looks like a full, gorgeous bob. No one will see the clever architecture inside.

Texturizing vs. Thinning: Know the Crucial Difference
Never, ever let a stylist use thinning shears all over your hair. This can make ends look wispy and weak. Instead, ask for “texturizing.”
Texturizing is about strategic point-cutting to create separation and movement. It removes weight in specific spots to encourage lift, without sacrificing the integrity of your ends. It’s precise, not reckless.
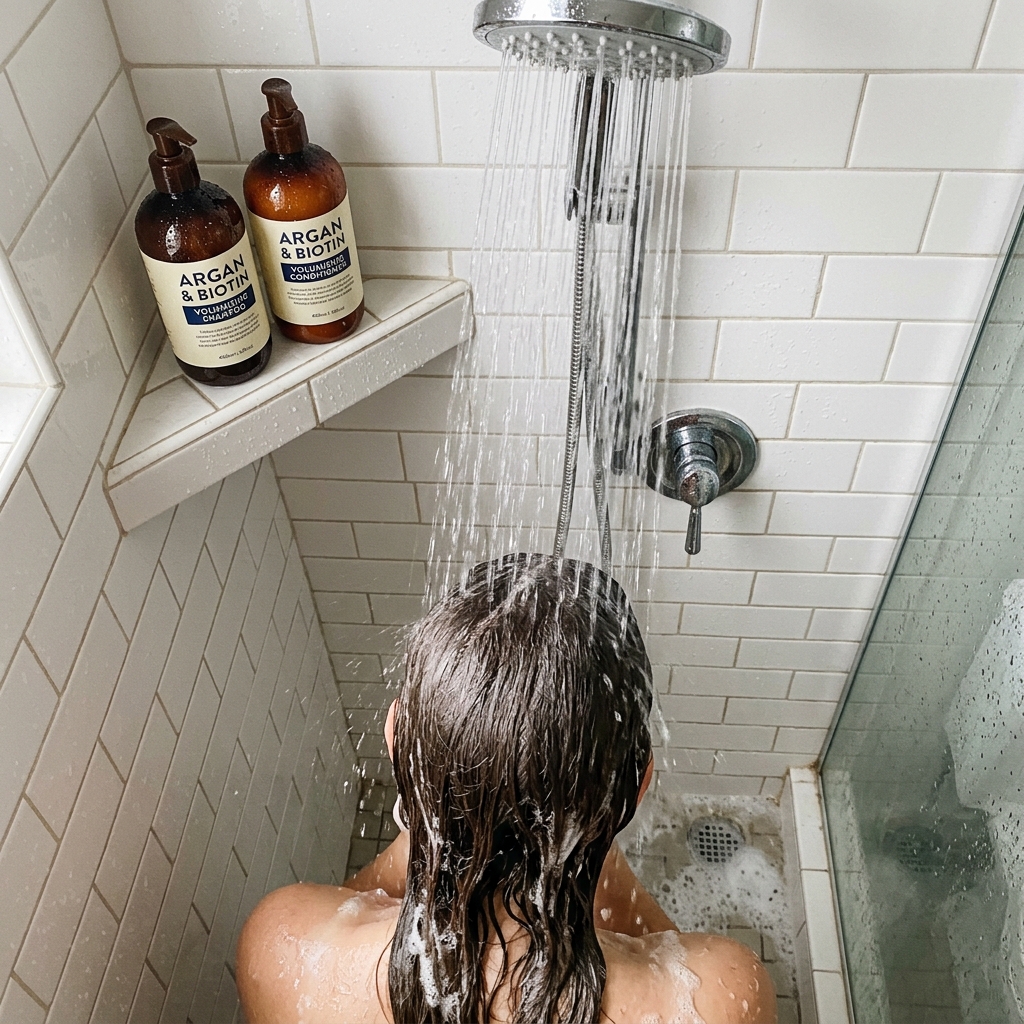
The Blow-Dry Prep That Makes All The Difference
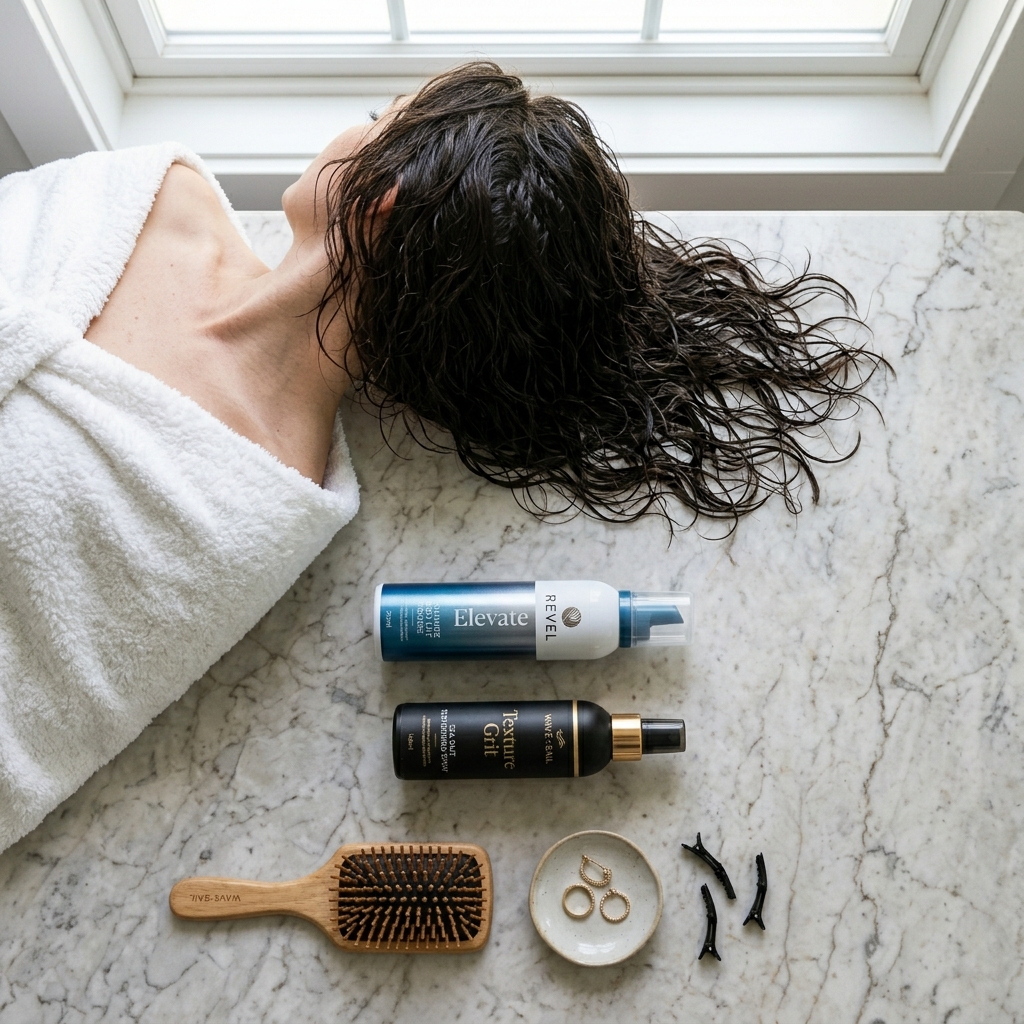
Styling starts in the shower. You need a clean, residue-free base. Use a clarifying shampoo once a week to remove buildup that flattens hair.
Then, a volumizing shampoo and conditioner focused on the roots. Apply conditioner only from the mid-lengths to ends. Rinse with cool water to seal the hair cuticle for extra shine.
Towel-Drying Mistake You’re Probably Making
Rubbing your hair with a towel creates frizz and breaks delicate strands. This ruins your smooth bob shape before you even start.
Instead, gently squeeze out excess water with your hands. Then, use a microfiber towel or an old cotton t-shirt to wrap your hair and blot it dry. Treat it like your favorite silk blouse, not a gym towel.

The Root-Lift Product Cocktail
Product is non-negotiable. But you need the right ones, in the right order. Apply to damp hair, focusing on the roots.
- A volumizing mousse or root-lift spray for body.
- A light-hold texturizing spray through the mid-lengths.
This combo gives you lift and separate, piece-y texture—the core of glitchy glam hair and that lived-in, expensive look.
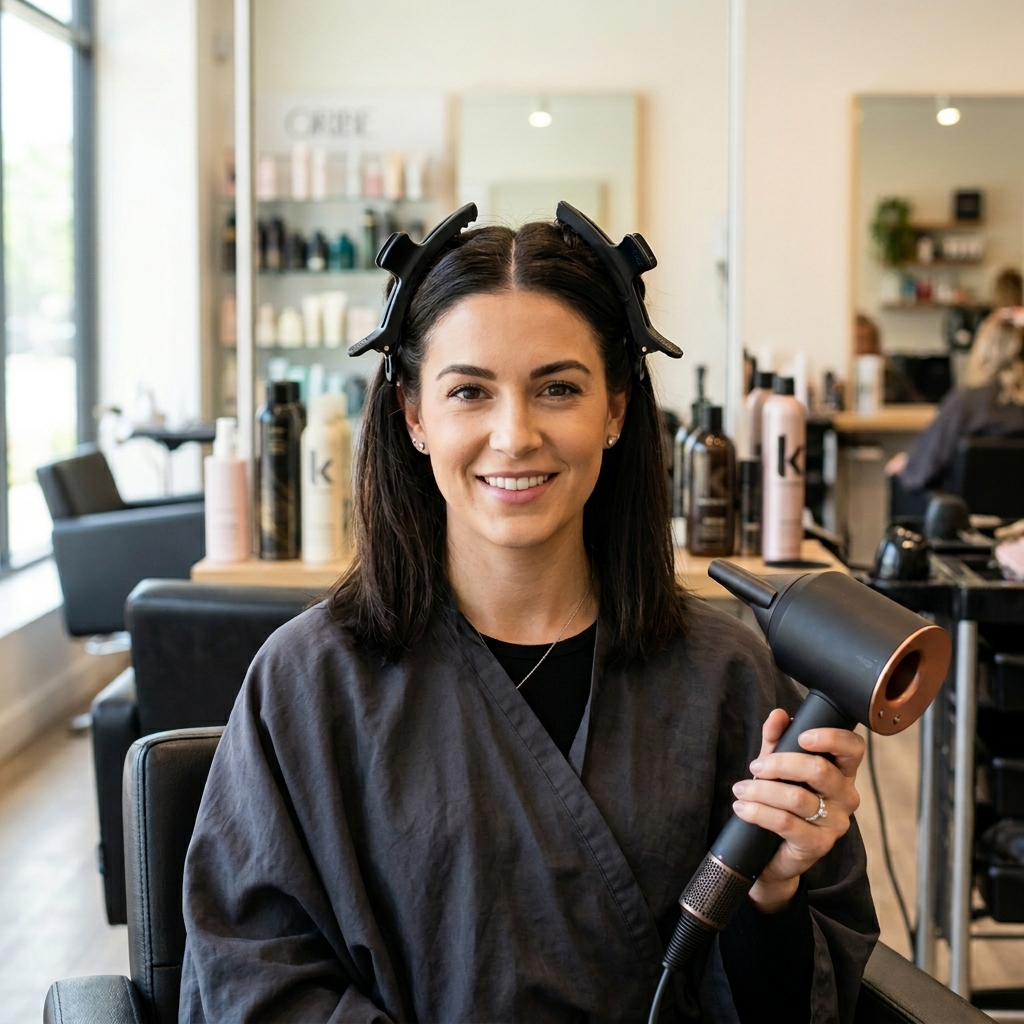
How to Section Your Hair for a Salon Blowout
Blow-drying all at once leads to flat spots. Section your hair to give every root attention. Use clips to separate.
- First, clip up the top half of your hair.
- Start drying the underneath sections at the nape of your neck.
- Work your way up and around your head, unclipping sections as you go.
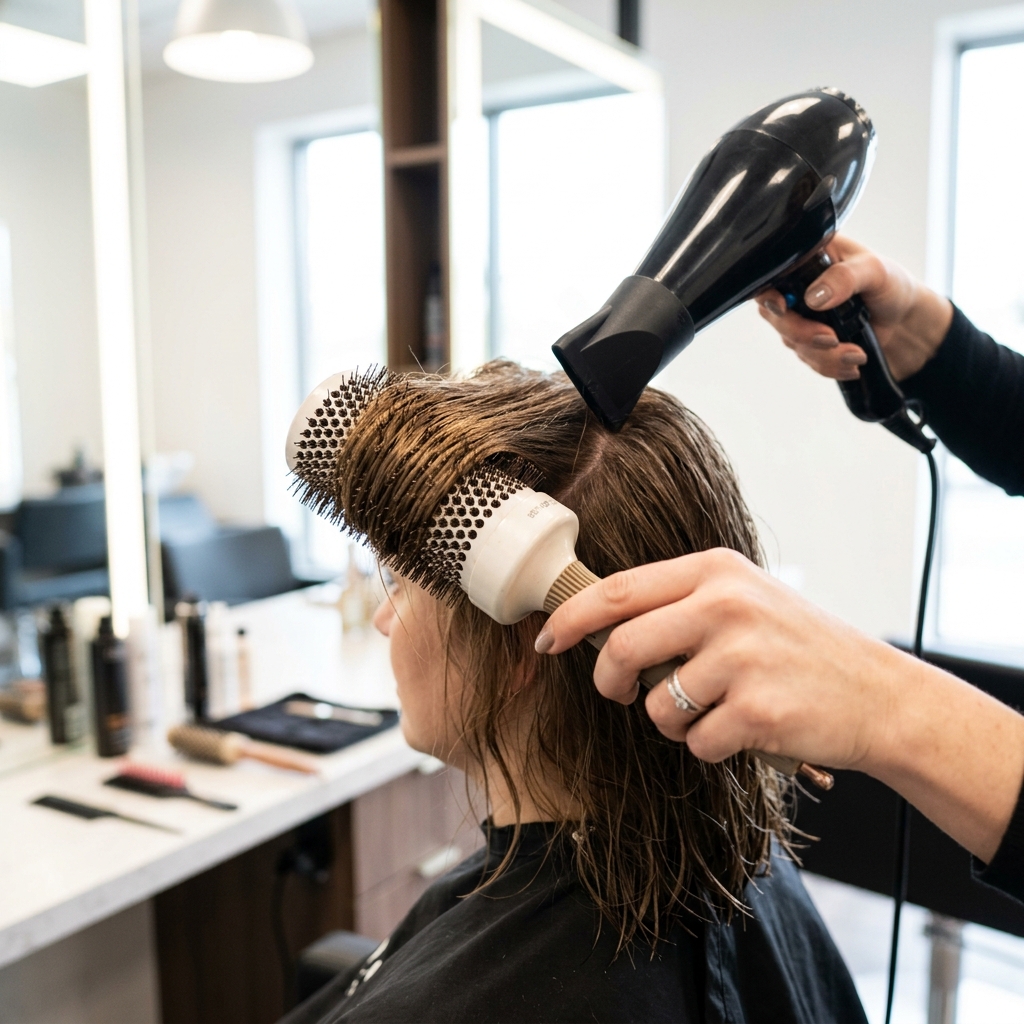
The Round Brush Technique for Maximum Lift
Use a medium-sized round brush. For the under-layers, roll the brush under, directing the hair upward. Hit it with the dryer, then let the curl cool on the brush.
For the top sections, pull the brush up and slightly back from your face. This creates lift at the crown. Cool air shot to set each section is the key to making volume last.
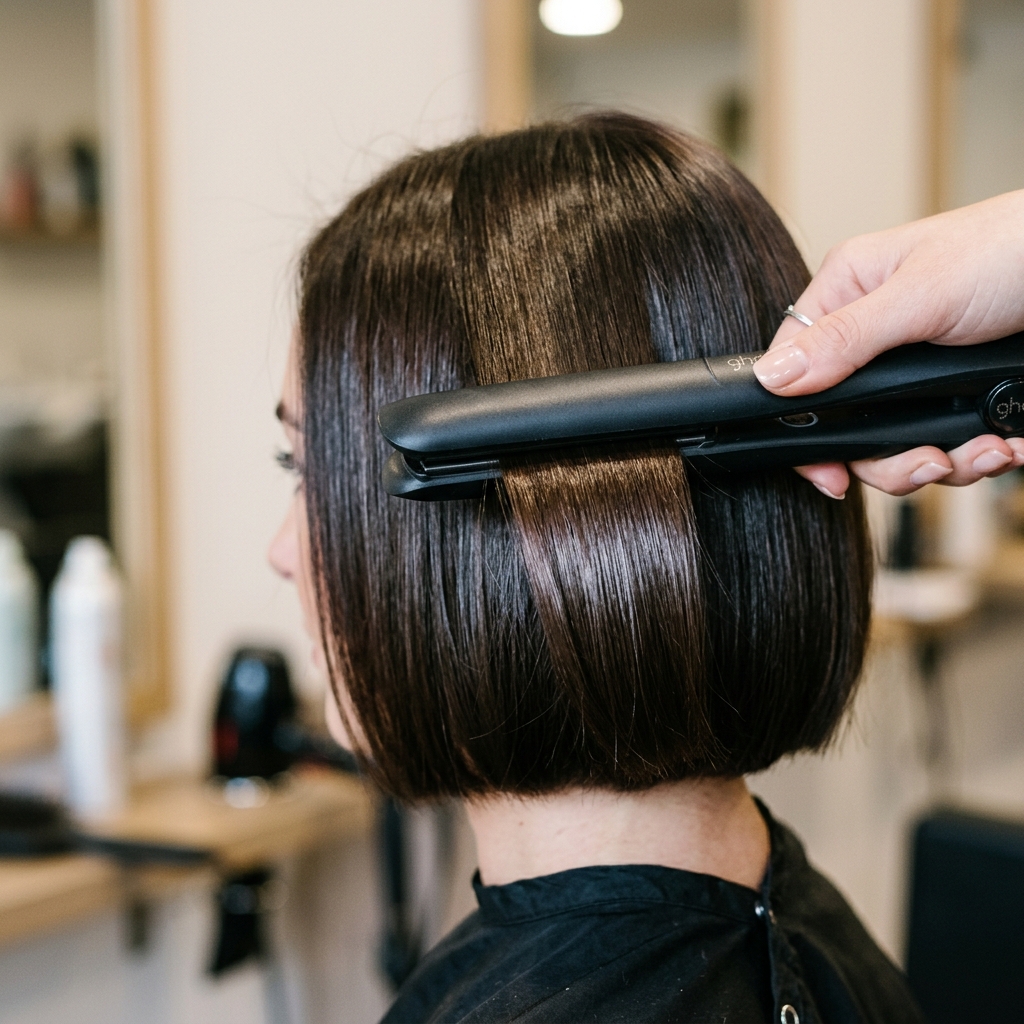
Flat Iron Tricks for a Sharp, Sculpted Shape
After blow-drying, use a flat iron to perfect the shape and add shine. Take small, vertical sections. Clamp the iron at the root, pause for a second, then glide down slowly.
At the ends, turn the iron inward just slightly to create a soft, controlled bend. This gives you that polished, old money hair finish—sleek but never stick-straight.
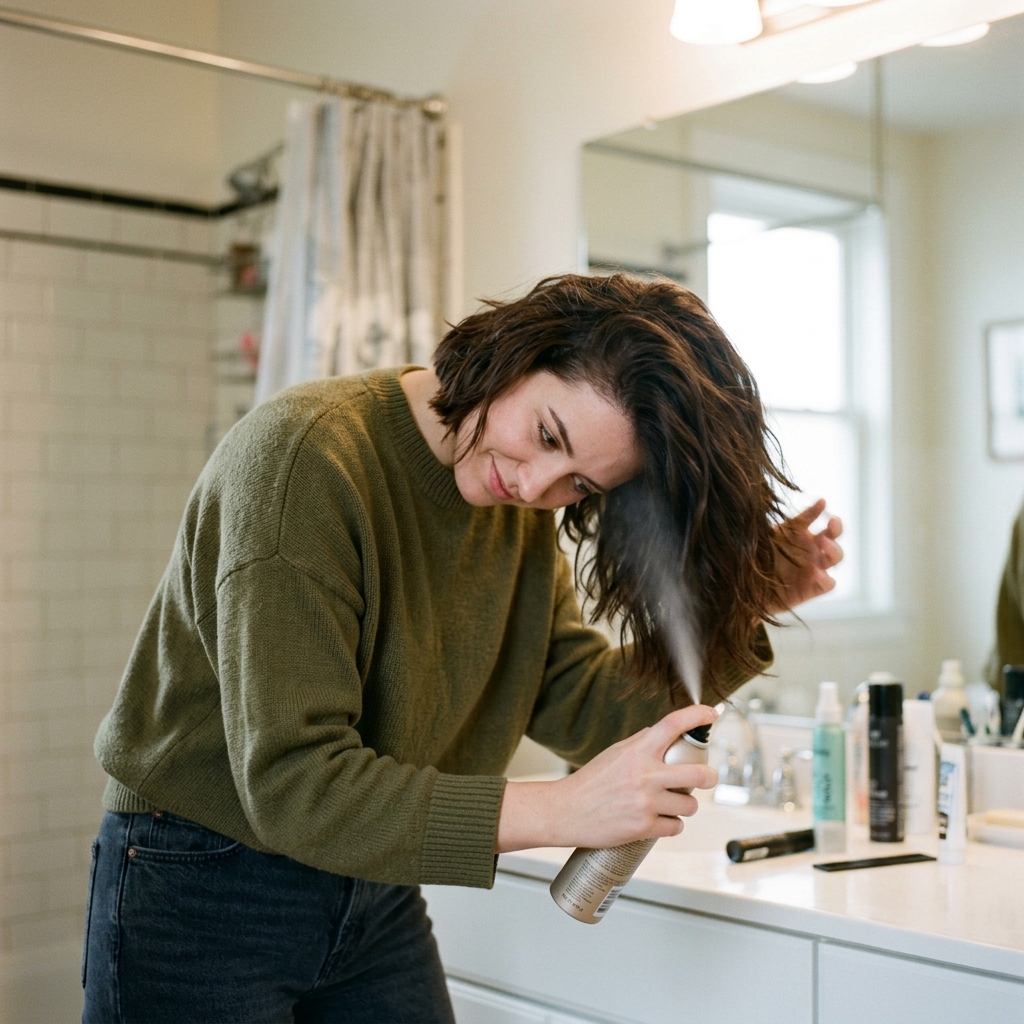
Creating “Faux” Thickness with Texture Spray
Once your hair is styled, flip your head over. Lightly mist a dry texturizing spray about 6 inches away, focusing on the mid-lengths. Flip back up and gently shake.
Use your fingers to separate the waves and create a piece-y effect. This adds visual thickness and that cool, effortless vibe. It’s the final touch for a sculpted look.
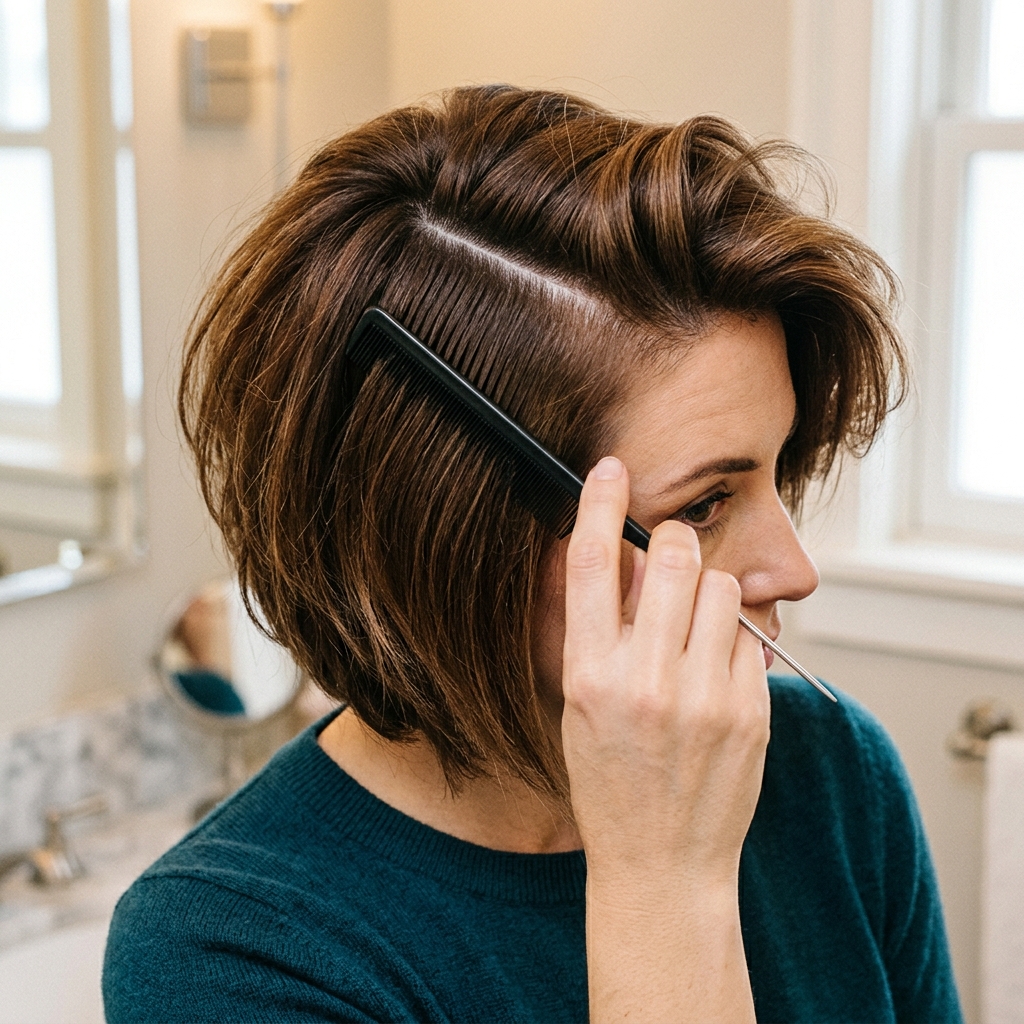
The Power of a Strategic Side Part
A deep side part is instant volume magic. It automatically lifts one side of your hair at the root, creating height and drama.
It also adds a touch of asymmetry, which feels modern and chic. Play with it. Even shifting your normal part half an inch can wake up your style and give a nod to the vampire haircut aesthetic.
Dry Shampoo: Not Just for Second-Day Hair
Use dry shampoo on *clean*, styled hair. I know it sounds weird, but a light dusting at the roots adds grit and hold that regular products sometimes can’t.
It helps your style resist going flat from natural oils. It’s your all-day volume insurance policy. Just don’t overdo it—a little goes a long way.

Nighttime Routine to Preserve Your Style
Don’t waste that perfect blowout! Before bed, loosely gather your hair at the crown of your head with a silk scrunchie. Make a very loose, high ponytail or pineapple.
Sleep on a silk pillowcase. This prevents friction and frizz. In the morning, take it down, shake it out, and refresh with a light spray. Your volume will still be there.

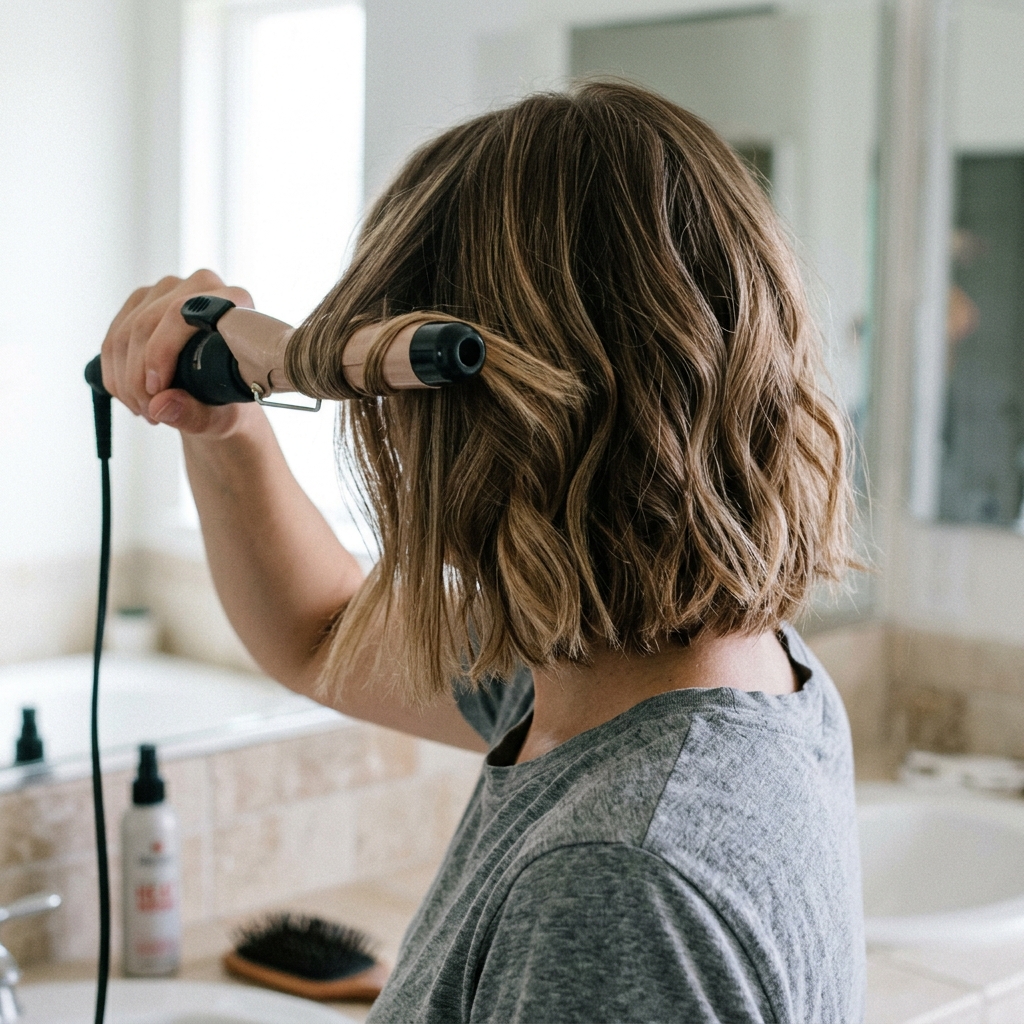
When to Add Waves for Even More Body
If you want a break from sleek, soft waves add incredible volume. Use a large-barrel curling iron, but don’t clamp the ends. Wrap 1-inch sections around the barrel, leaving the last two inches out.
Shake them out and run your fingers through. This creates a lived-in, romantic wave—perfect for a romantic goth hairstyles twist or just a day when you want extra bounce.
Accessories That Enhance (Not Flatten)
Choose accessories that work with your volume. A thin, delicate headband placed *behind* the volume at your crown. Small, claw clips to pin back just a front section.
Avoid heavy, wide headbands that press down on your roots. Think accent, not restraint. It’s a great way to play with trends like the hime cut fringe accent without the commitment.

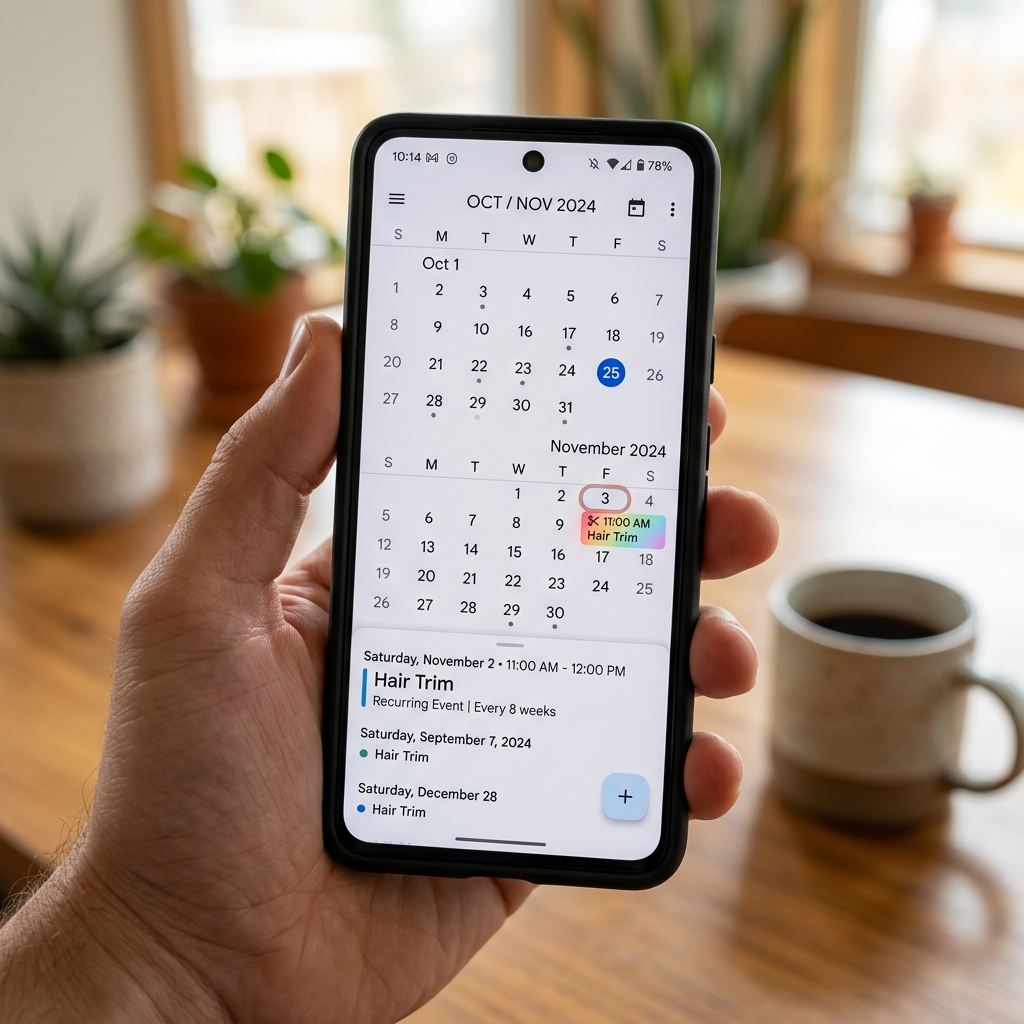
Trims Are Non-Negotiable: Mark Your Calendar
Thin hair shows split ends and damage faster, which kills volume. To keep your bob sculpted and healthy, get a trim every 6-8 weeks without fail.
This isn’t about taking off length, it’s about maintaining the shape and health of your ends. A fresh, clean line always looks fuller and bouncier.
What to Eat for Healthier, Stronger Hair
Volume starts from within. Hair is made of protein, so make sure you’re getting enough. Add biotin-rich foods like eggs and almonds.
Stay hydrated and eat plenty of omega-3s (found in salmon and walnuts) for shine. Healthy hair has more natural body and holds style better.
Mindsets That Hold You Back (Let Them Go)
Stop comparing your hair to someone with thick hair. Embrace its fine texture—it can be sleek, shiny, and elegant in a way thick hair often can’t.
Your goal isn’t to have different hair; it’s to make your hair the best, most voluminous version of itself. That sculpted bob is 100% within your reach.
Your Quick-Start Checklist for Tomorrow
Ready to put this into action? Here’s your go-list for your next wash day.
- Clarifying shampoo (if it’s been a week)
- Volumizing shampoo & conditioner
- Root-lift mousse and texturizing spray
- Round brush and blow-dryer with a concentrator nozzle
- Flat iron for polish
- Dry texturizing spray for finish
You’ve got this. One step at a time.
So there you have it. Every single secret I’ve learned to turn a flat bob into a sculpted, voluminous masterpiece on thin hair. It might seem like a lot of steps, but once you do it twice, it becomes a quick, easy routine.
Remember, it’s about the right cut, the right products, and the right techniques—all working together. Your dream hair isn’t a fantasy. It’s your next wash day.
Now I’d love to hear from you! Which tip are you most excited to try? Did I miss one of your thin hair hacks? Spill it all in the comments below! And if you found this guide helpful, save this post to Pinterest so you can always come back to it, and to help other women find their perfect bob blueprint.
Talk soon,
Hailey & Team

