
Okay, let’s talk about a hairstyle that feels like a secret. It’s for those of us who love the drama of romantic goth hairstyles but have a short cut. Maybe you have a chic bob, an asymmetrical lob, or even a playful pixie. You might think those soft, vintage waves are off-limits.
I’m here to tell you they’re absolutely not. This look is all about blending that soft, old-world romance with a darker, moody edge. Think less “vampire” and more “poet in a velvet chair.”
It’s a perfect way to add a touch of glitchy glam hair to your everyday look. And the best part? It’s way easier than it looks. I’ll walk you through every single step, from prep to final hold, using stuff you probably already have at home.
Let’s create some magic on your short hair.
What Are Romantic Goth Finger Waves?
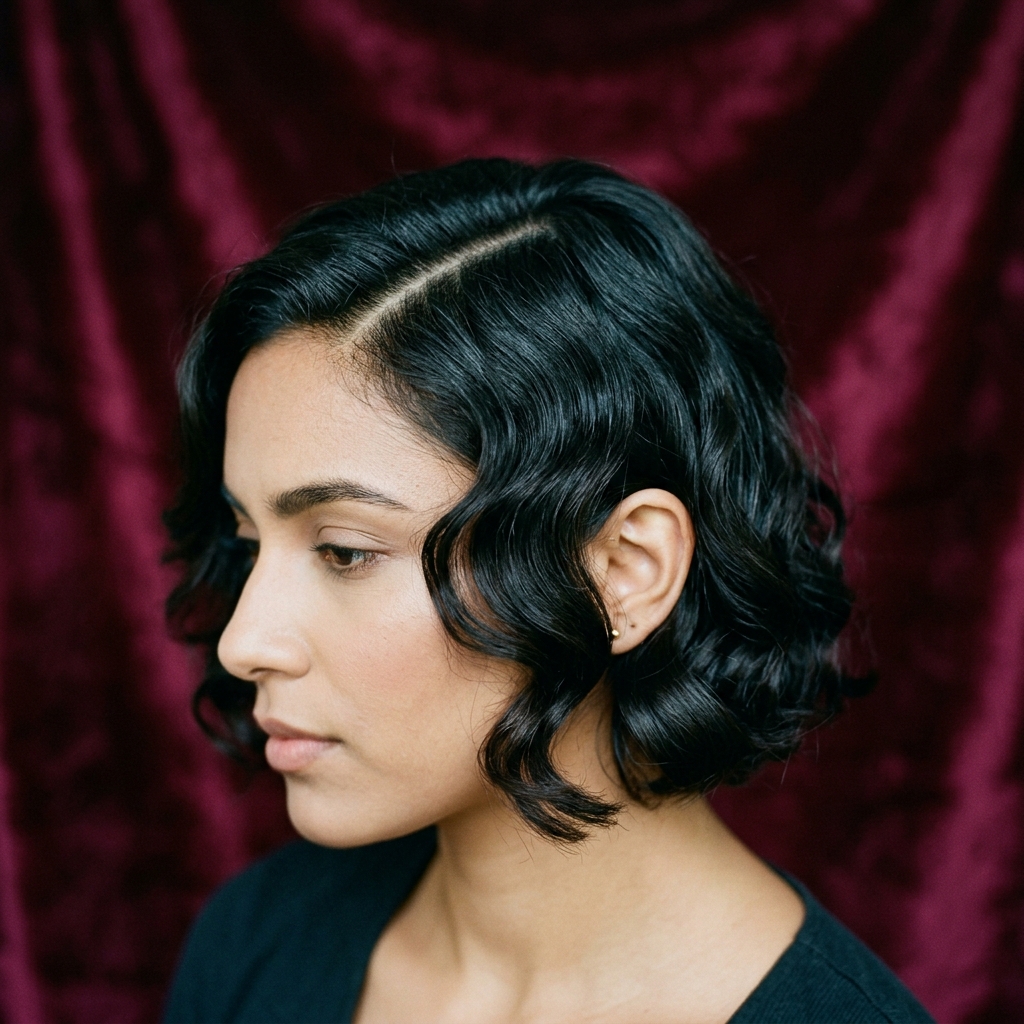
Let’s break down the vibe. This isn’t about scary or harsh lines. Romantic goth finger waves are a soft, textured take on the classic 1920s style. They combine the structured “S” shapes of traditional finger waves with a looser, more undone finish.
The “romantic goth” part comes from the feeling it creates—think melancholic beauty, vintage lace, and candlelight. It’s a gorgeous way to add intricate detail to short hair, turning a simple quiet luxury bob into something incredibly special and personal.
Why This Style Works So Well on Short Hair
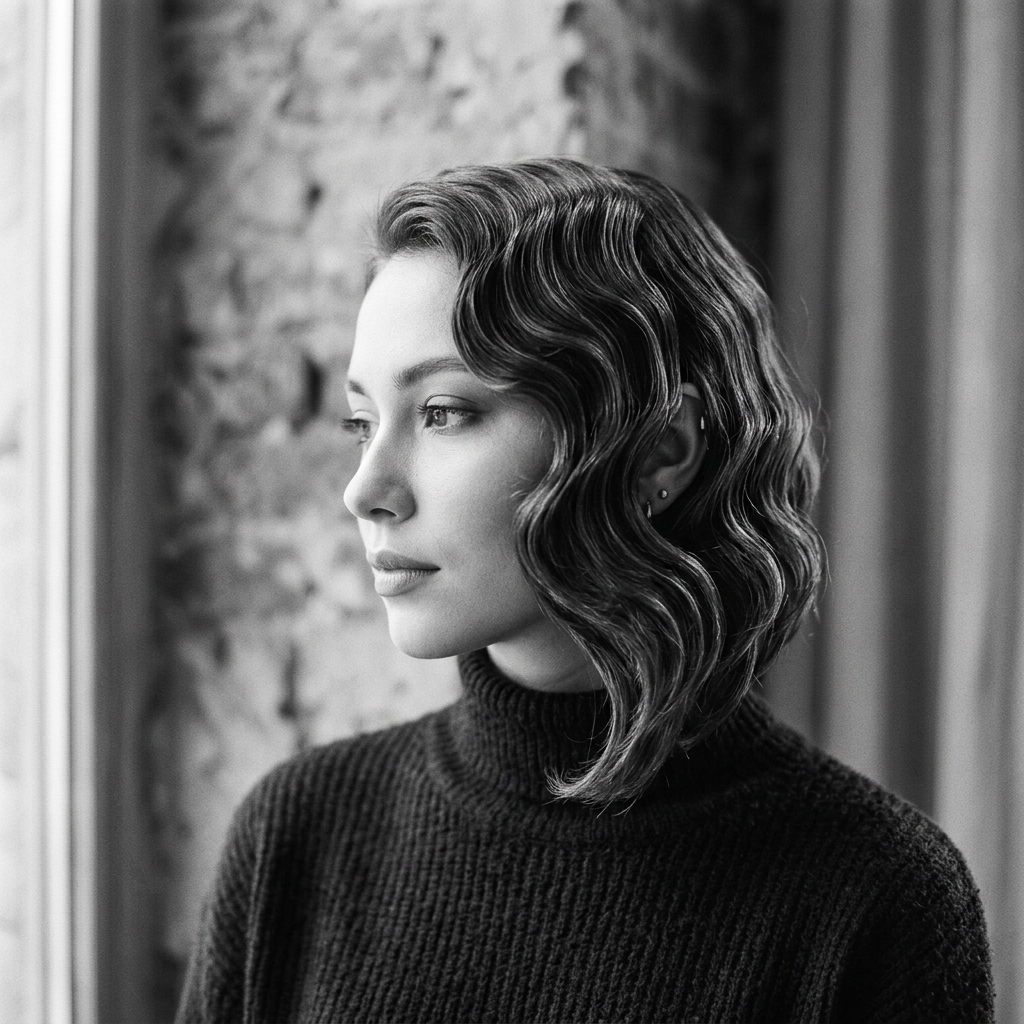
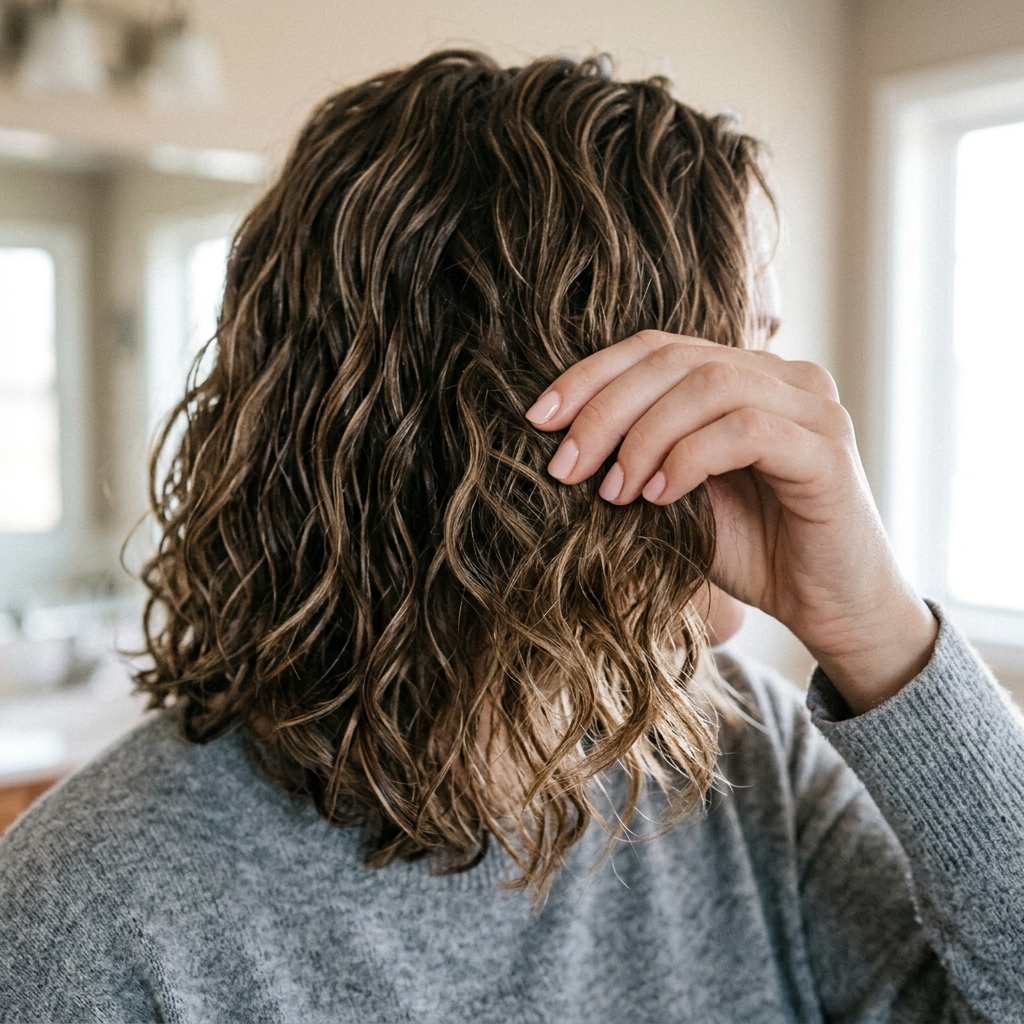
Short hair is actually the perfect canvas for this! With less length to weigh it down, the waves can really pop and hold their shape. Every curve and dip becomes a focal point.
Whether you’re rocking a blunt bob or a textured pixie, adding this wave pattern introduces movement and a touch of that old money hair intricacy. It transforms your cut from simple to statement, proving that short hair can be just as versatile and dramatic as long locks.
Tools You’ll Need to Get Started
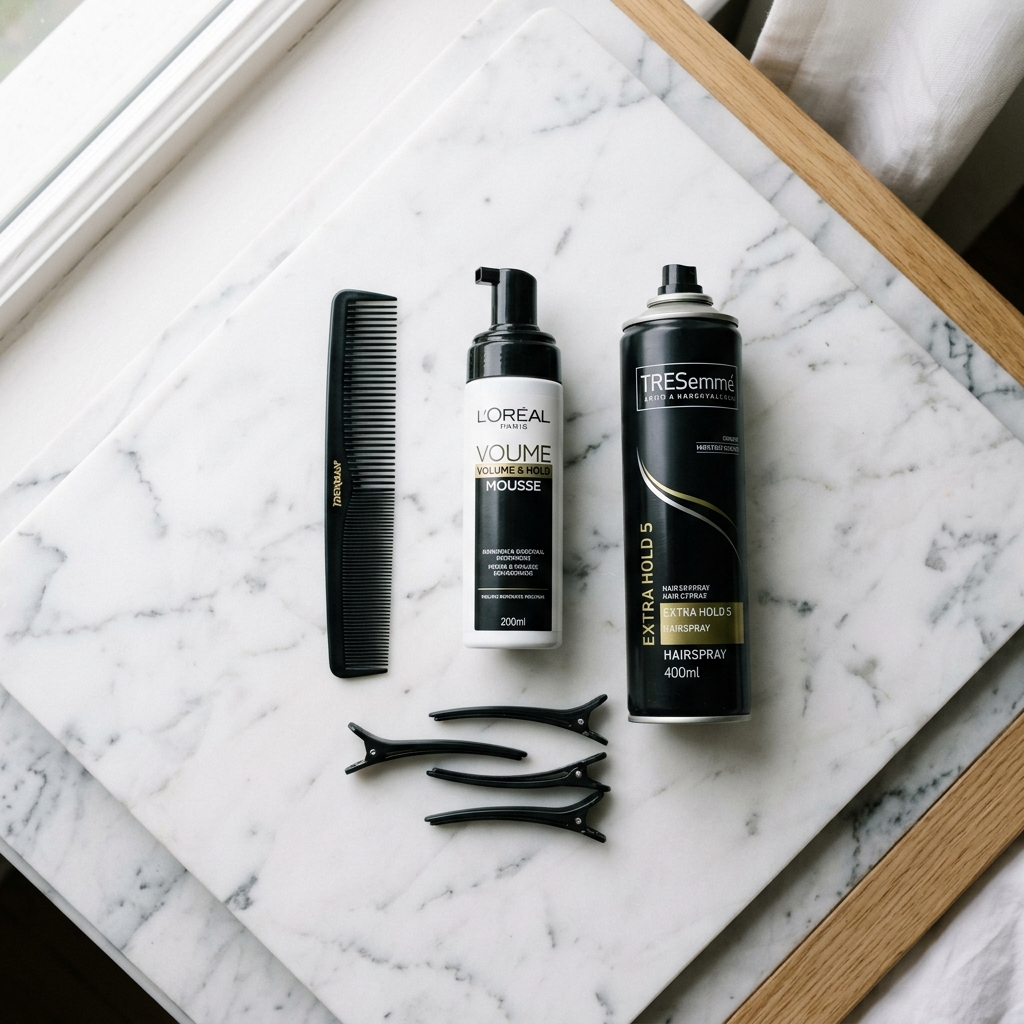
Don’t worry, no fancy salon equipment required. You likely have most of this already. Here’s your toolkit:
- A fine-tooth comb (this is non-negotiable for clean parts)
- A strong-hold styling mousse or gel
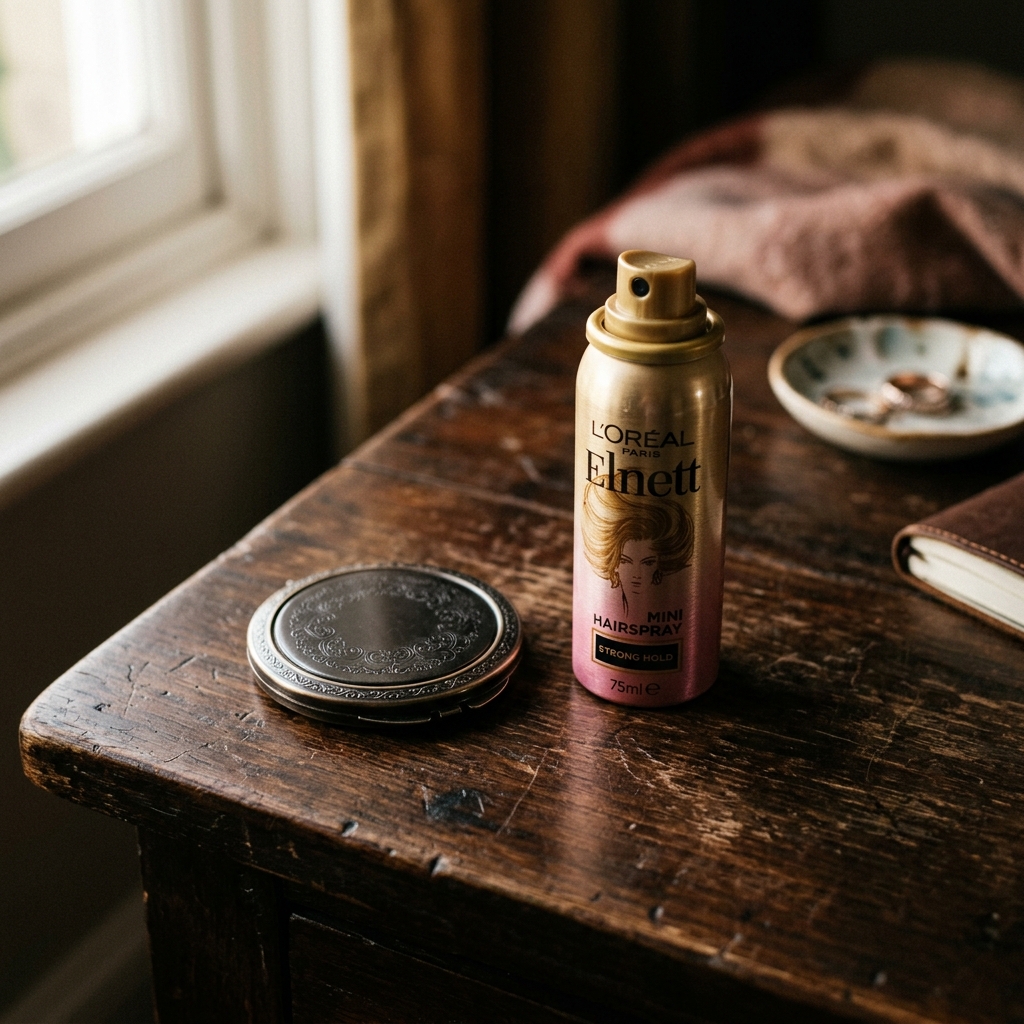
- A small, firm-hold hairspray
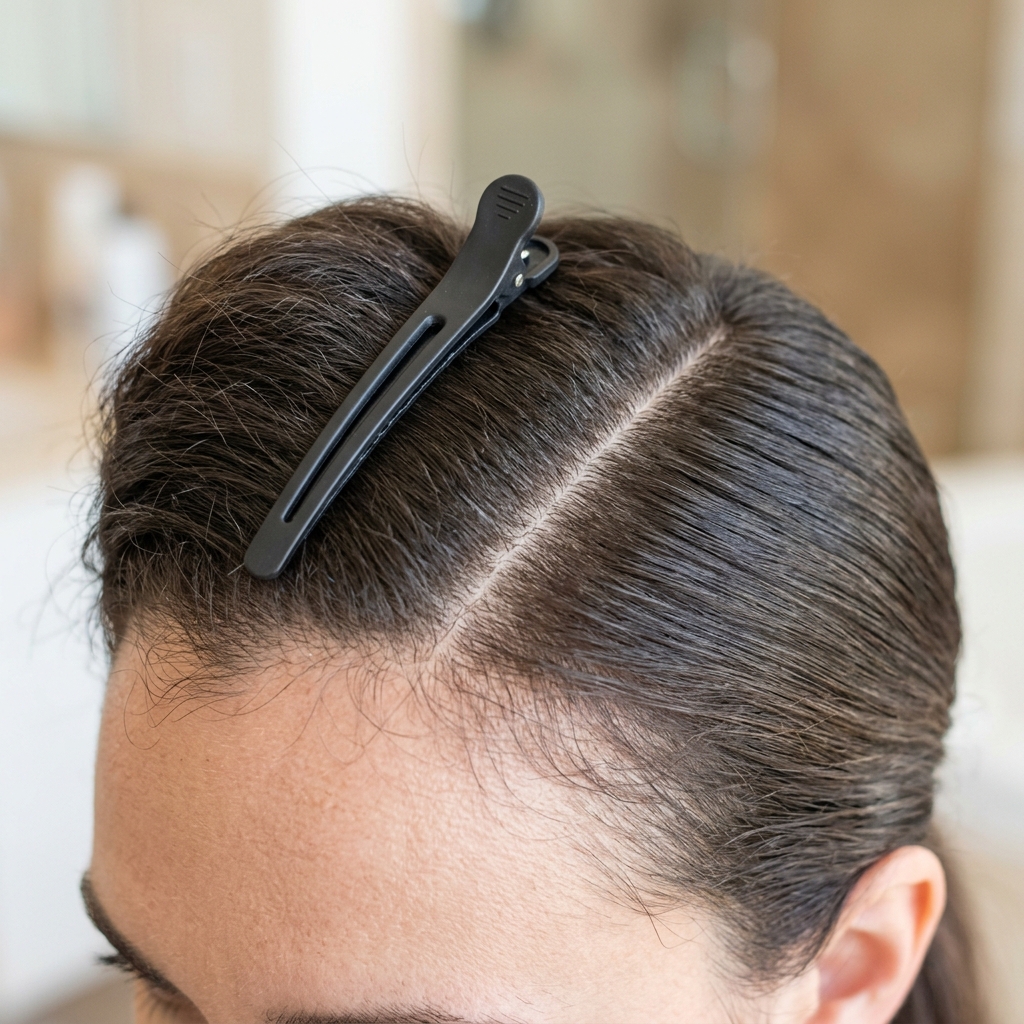
- Sectioning clips
- A small round brush (optional, for blow-drying)
- Your trusty blow dryer
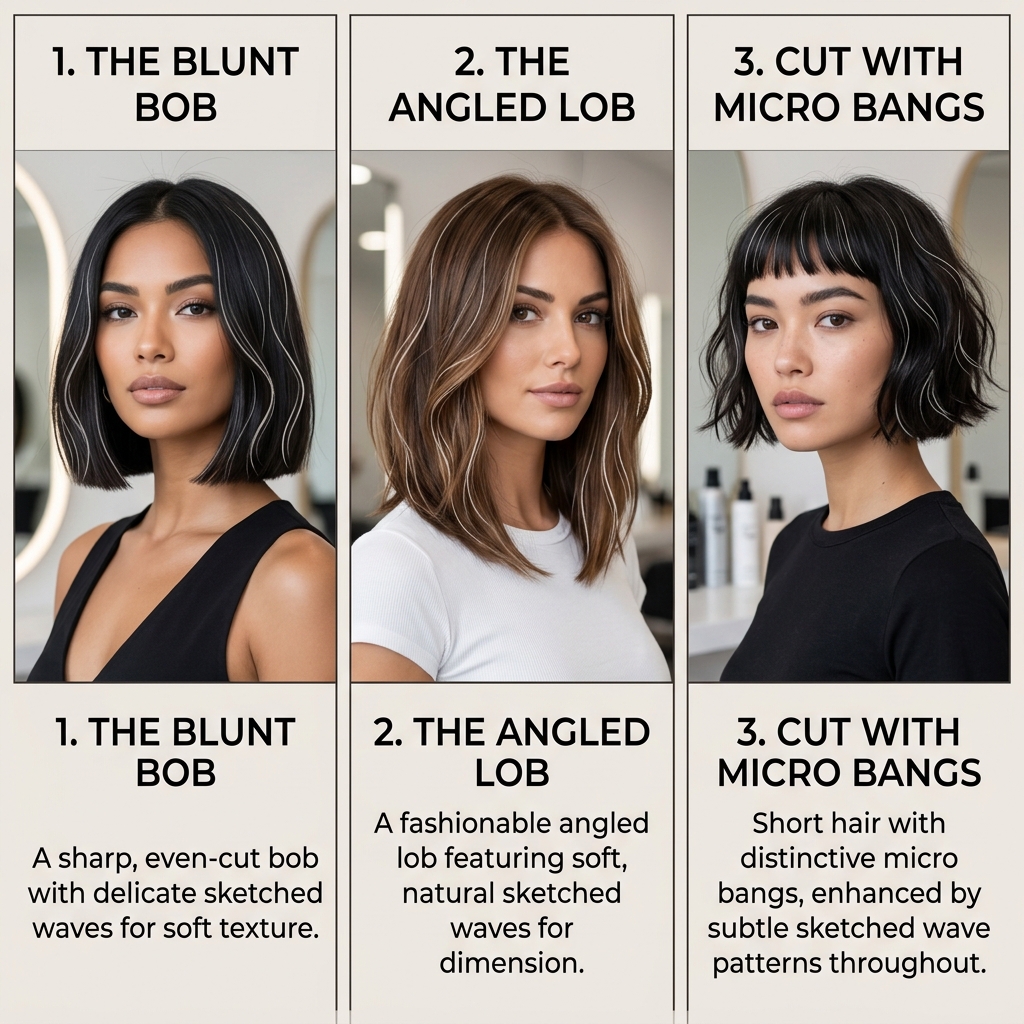
The Perfect Haircut Base: Cuts That Shine
This technique works on many short styles! It looks stunning on a one-length quiet luxury bob, adding unexpected texture. An asymmetrical lob gets amazing dimension as the waves follow the angle.
Even a hime cut or a vampire haircut with sharp bangs can be transformed—imagine waves starting just below a straight-across fringe. The key is having enough length on top to create at least one full “S” wave pattern.
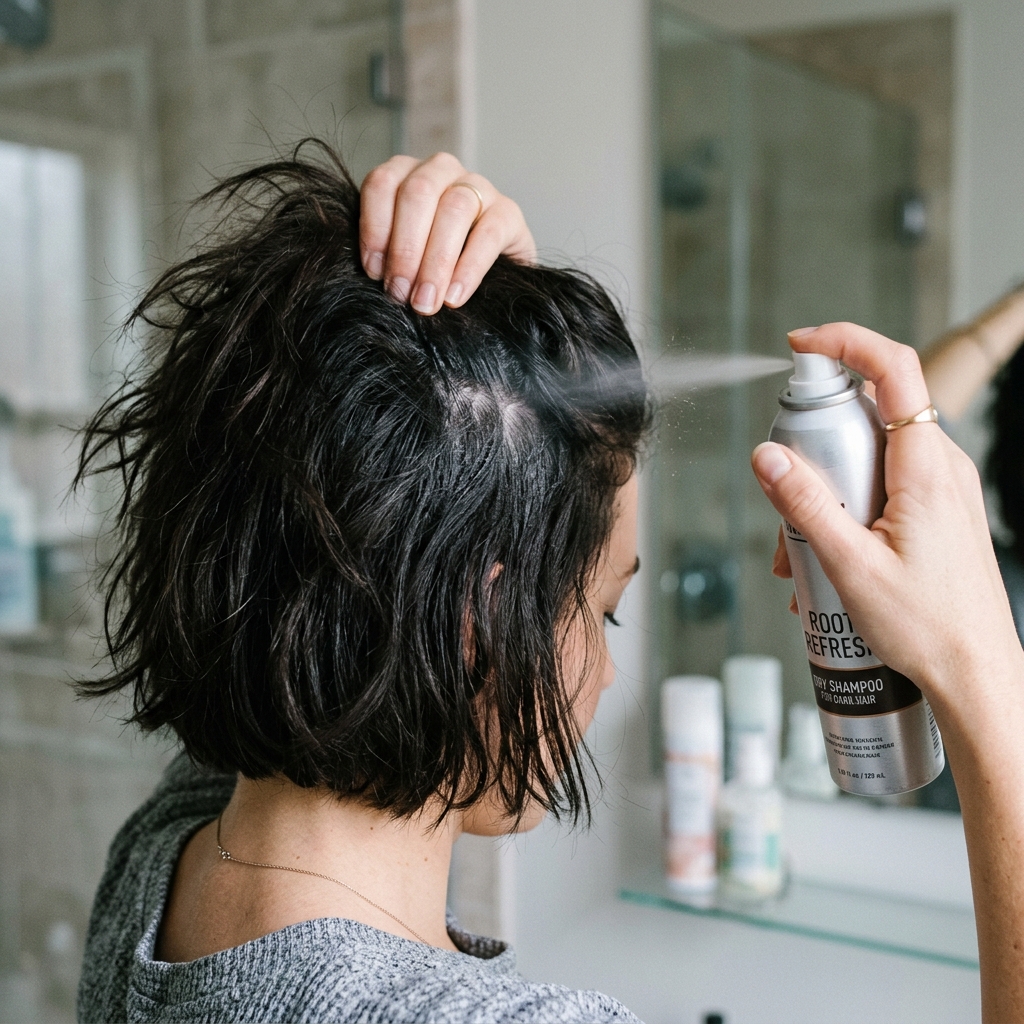
Step 1: Start with Day-Old Hair
Freshly washed hair can be too slippery and soft to hold this style well. For the best grip, start with hair that’s one or two days old. If you must wash it, don’t use a heavy conditioner on the roots.
Just give your roots a quick spray with dry shampoo or a texturizing spray. This gives the styling product something to hold onto and makes the whole process much easier and longer-lasting.
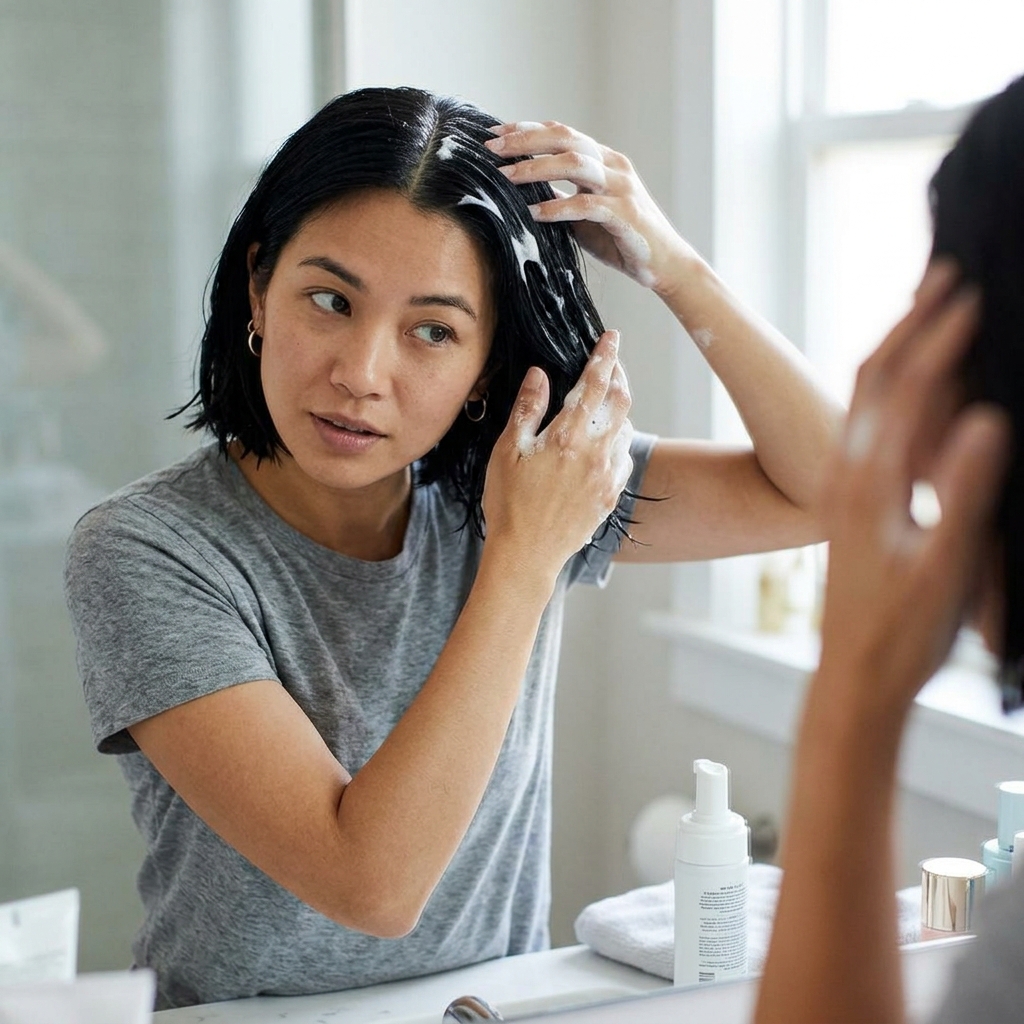
Step 2: Apply Your Styling Product
This is your foundation. Work with damp, towel-dried hair. Take a generous palm-sized amount of a strong-hold mousse or a firm-hold gel. Rub it between your hands and apply it evenly from roots to ends.
Make sure every strand is coated. You want a good, firm cast to form as it dries. This is what will lock those waves in place all day or night. Don’t be shy with the product!
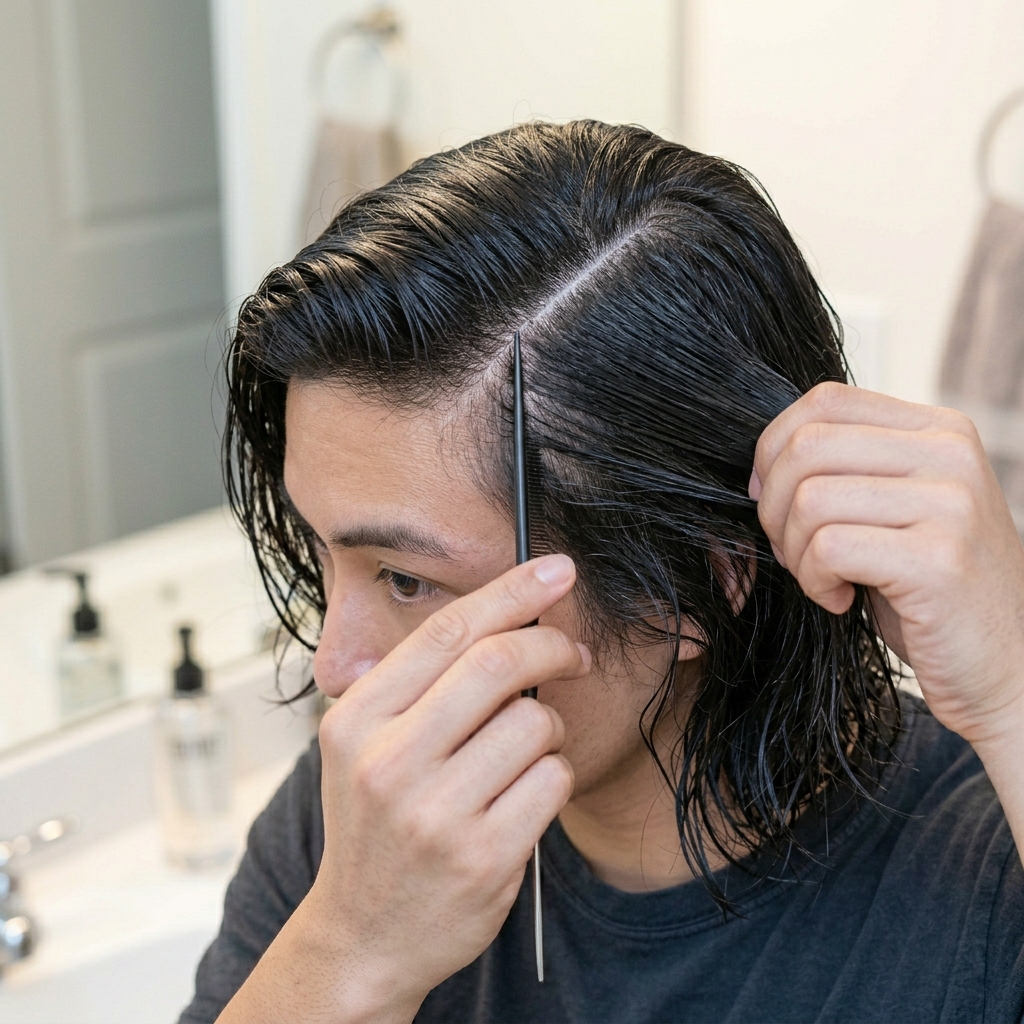
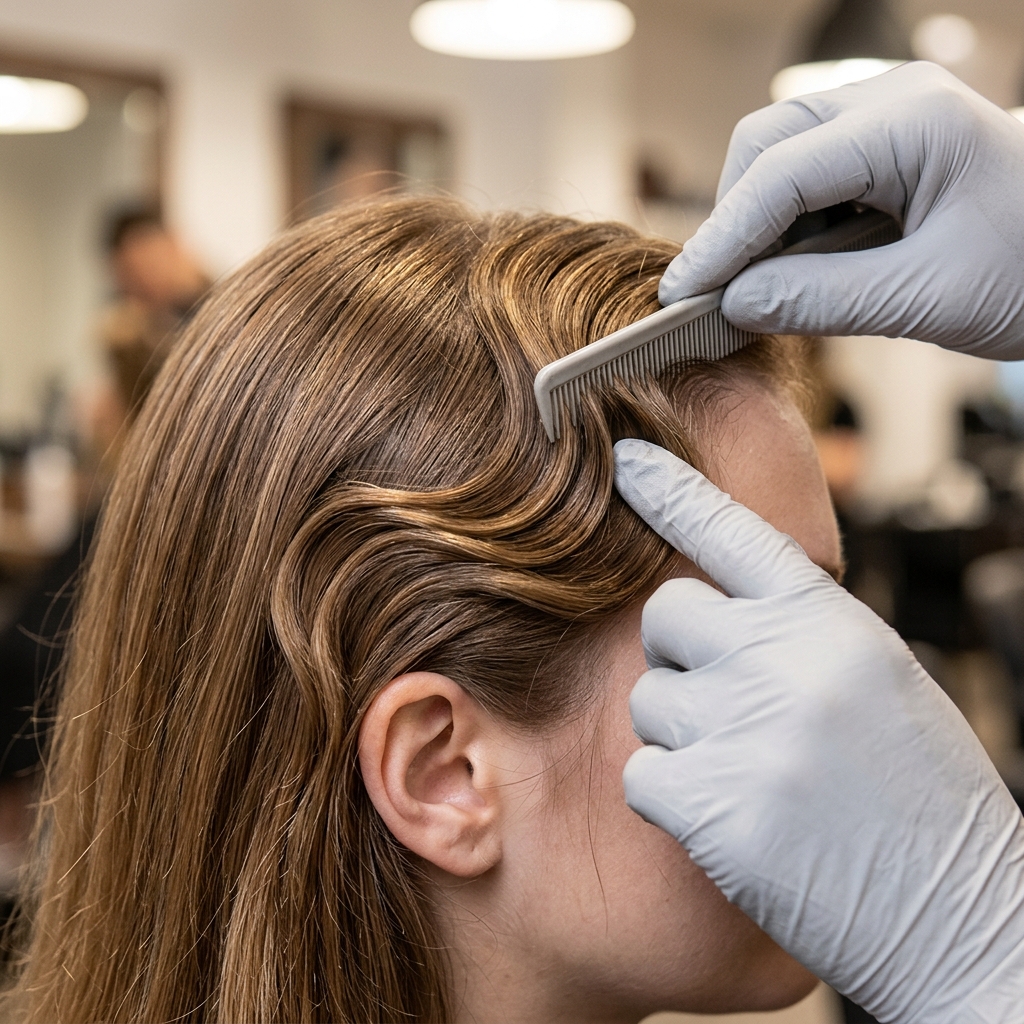
Step 3: Create Your Deep Side Part
Romantic goth finger waves almost always look best with a deep side part. It adds to the vintage, dramatic feel. Use the tail end of your fine-tooth comb to carve out a clean, deep part on your preferred side.
Comb all your hair over from that part. This smooth base is where you’ll start forming your first wave. A crisp part makes the final style look intentional and polished, not messy.
Step 4: Section Your Hair for Control
Don’t try to wave your whole head at once! Clip up the top section of your hair, about from your temple back and two inches wide. You’ll work in horizontal sections from the front hairline moving back.
Keep the rest of your hair clipped out of the way. Working in small, manageable sections is the secret to getting clean, defined waves instead of a frizzy mess.
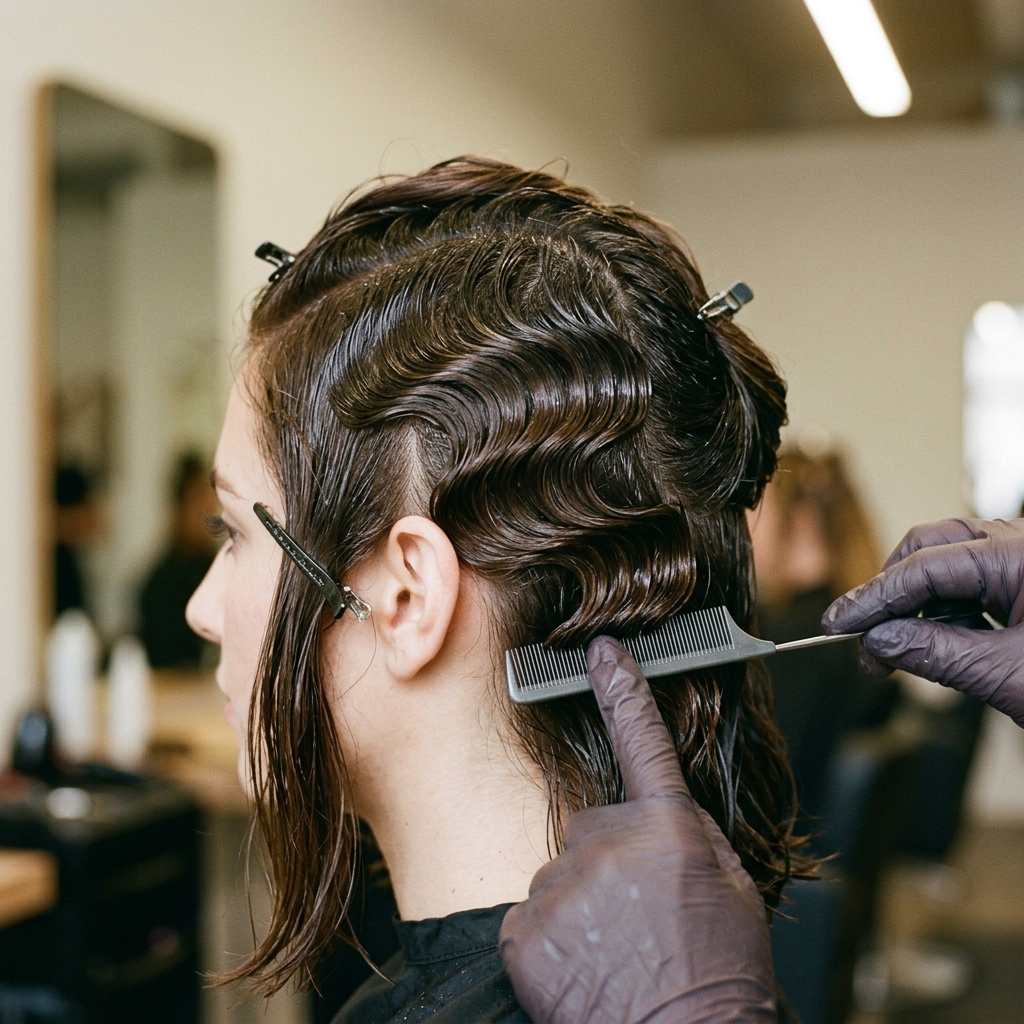
Step 5: Forming the First “C” Shape
Take your fine-tooth comb. On your first small section, comb the hair flat against your head. Now, using the side of your index finger (not your fingertip), press the hair into your scalp to form a “C” shape going away from your face.
Hold it there for a few seconds. The goal is to make a ridge. This is the beginning of your first “S” wave. The product should help it start to set.
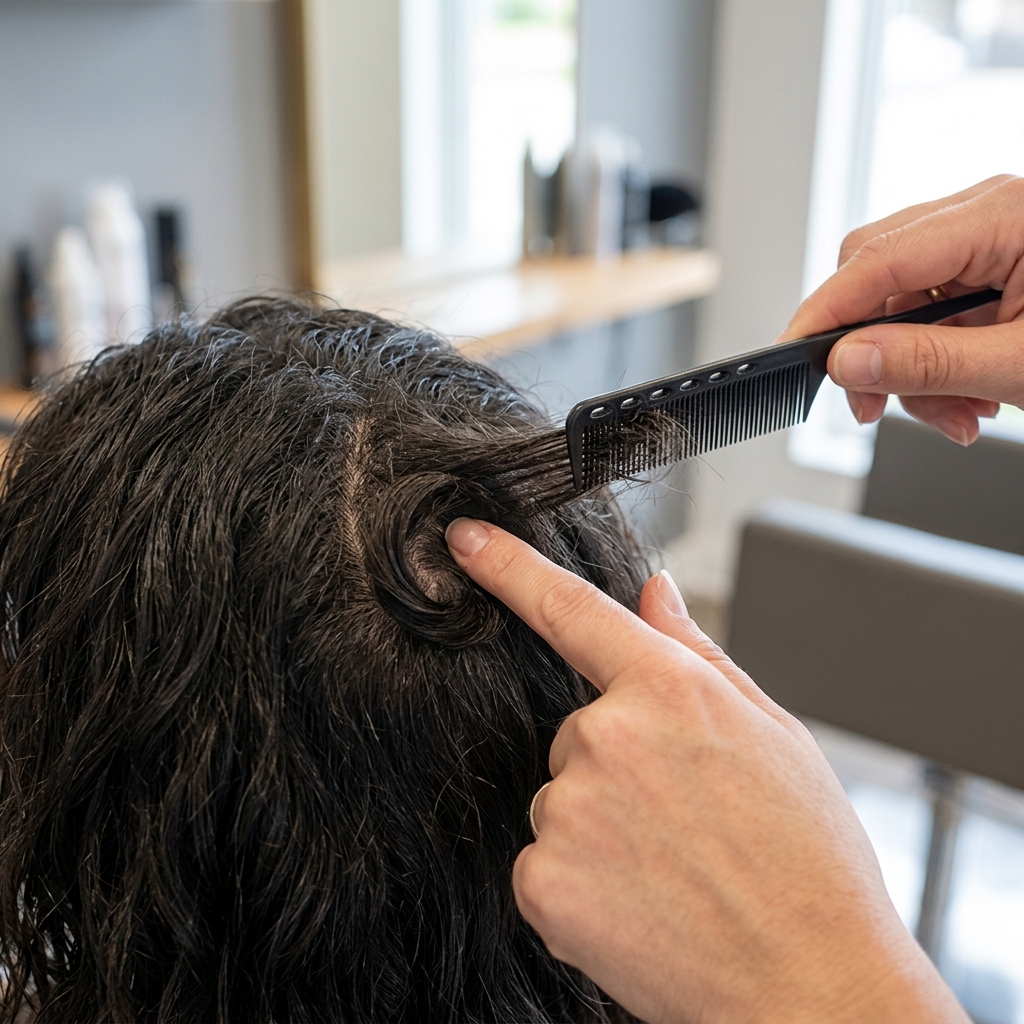
Step 6: Comb Over and Create the Second “C”
Here’s the magic. While still holding that first ridge with your finger, use the comb to gently comb the hair from the ridge *over* your finger, towards your face. This forms the second, opposite “C” of the “S”.
You’re essentially folding the hair over your guiding finger. Use the comb to smooth it into place, creating the second ridge right next to your finger.
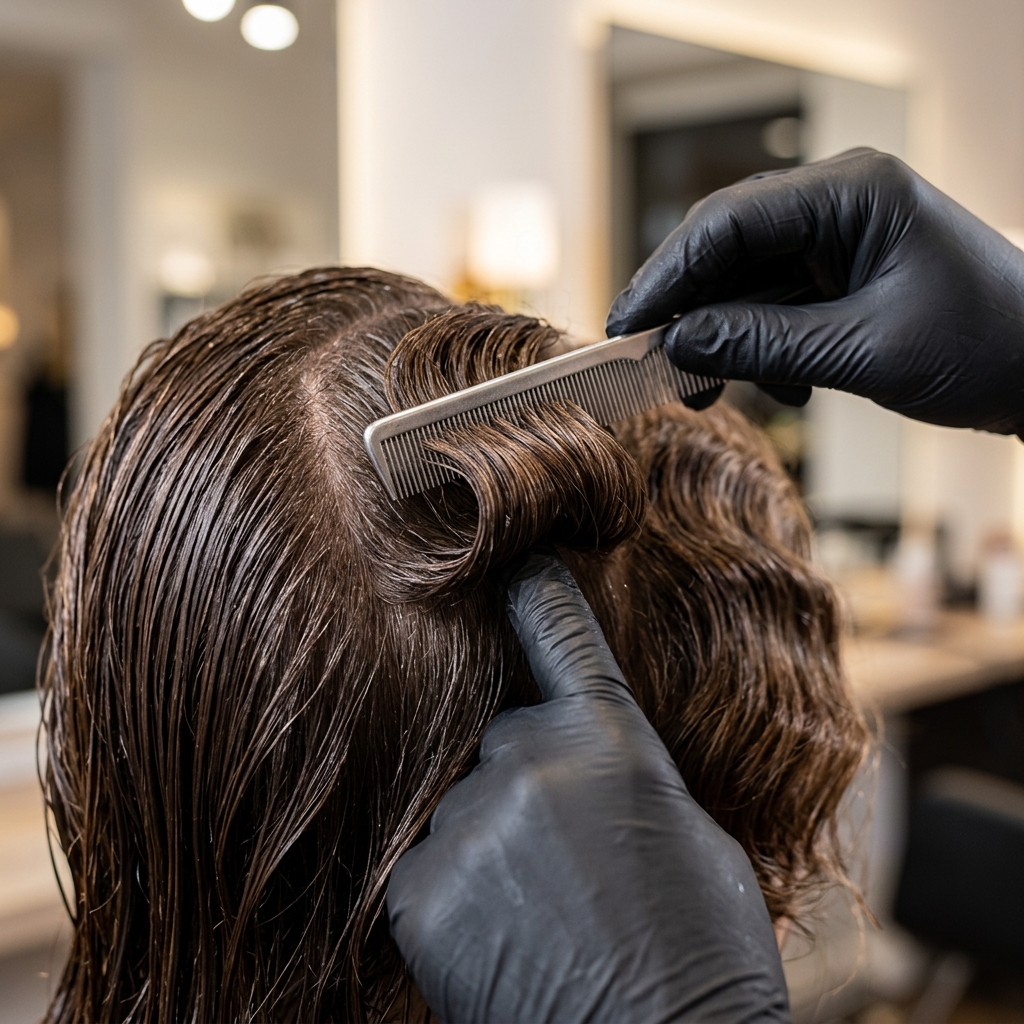
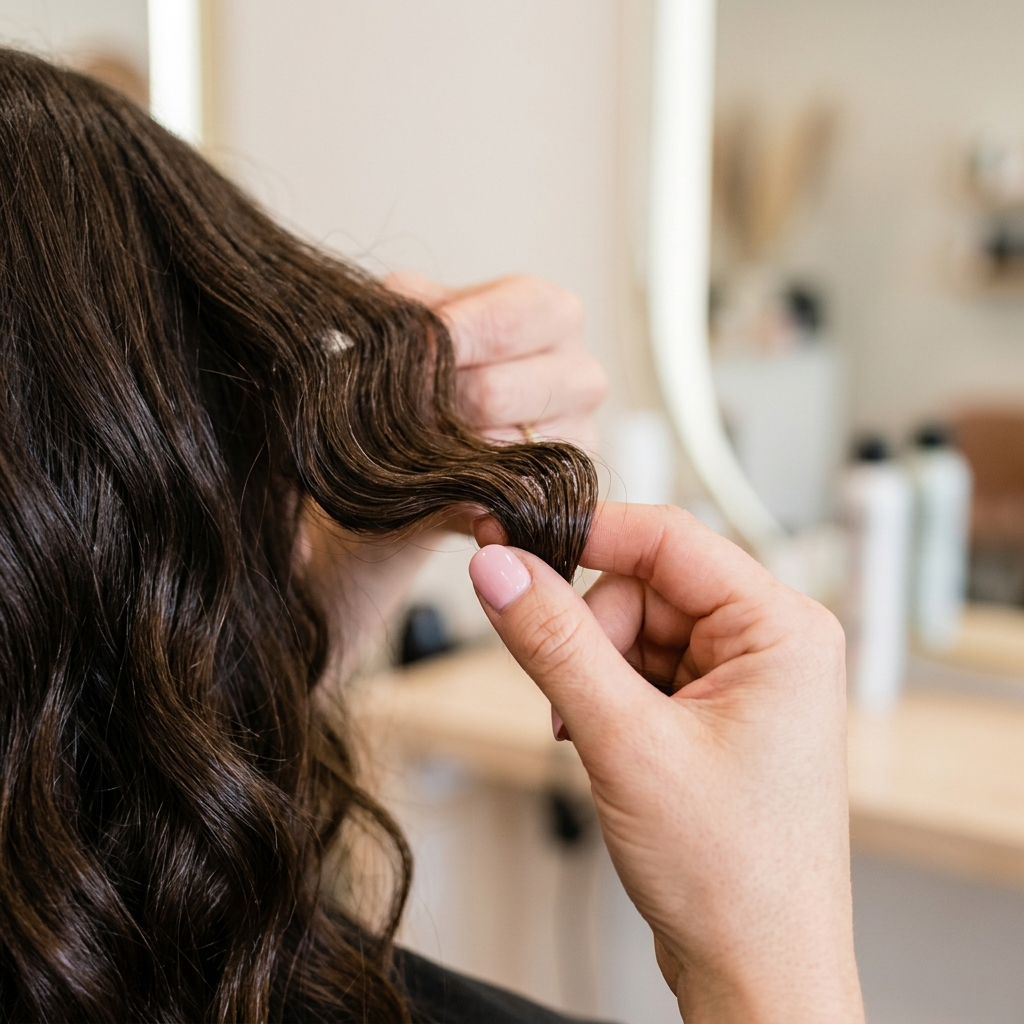
Step 7: Pinch and Hold the Wave
Now, carefully remove your guiding finger. You should see the start of a wavy ridge. Gently pinch the wave between your thumb and forefinger, holding the shape.
Keep pinching it for 10-15 seconds. This helps the product set in that exact formation. This pinch-hold is a game-changer for making the waves last on short hair.
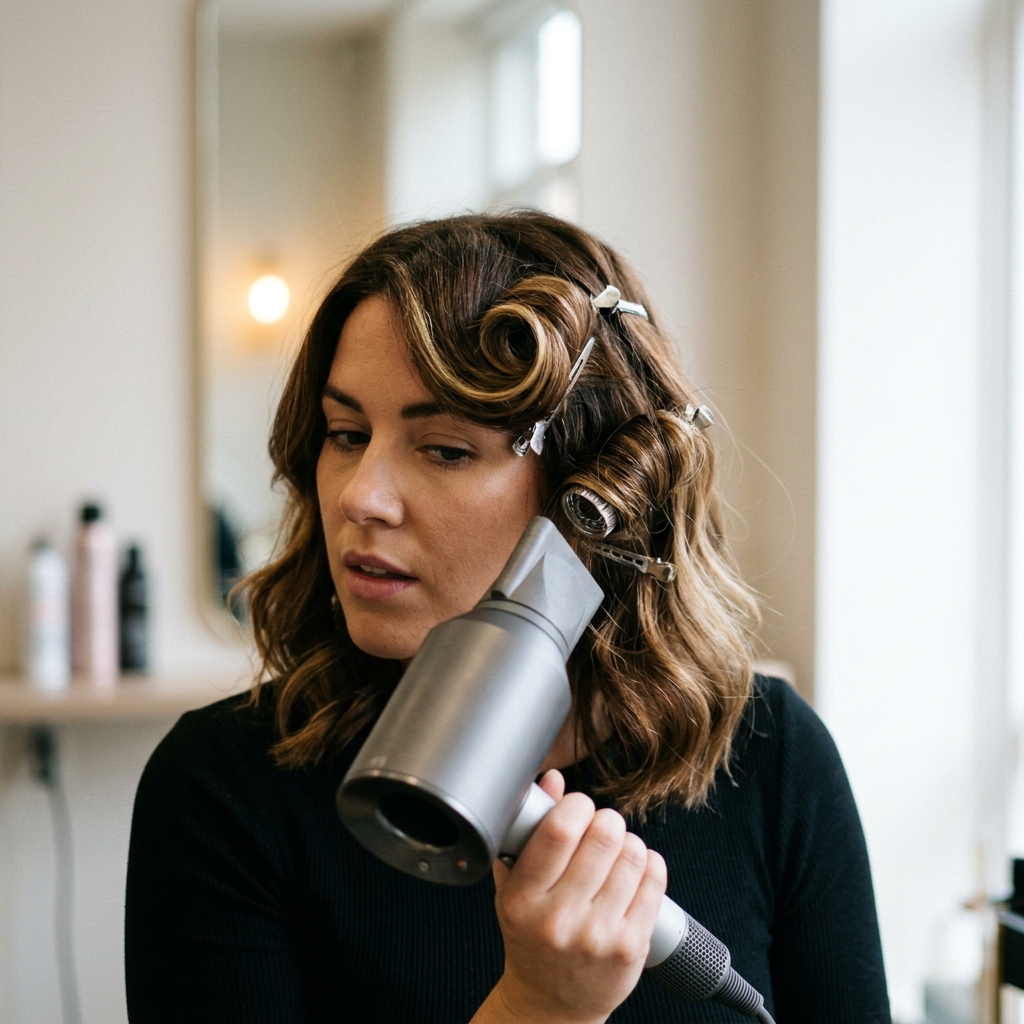
Step 8: Blow Dry the Section on Cool
While still pinching the wave, grab your blow dryer. Use the cool shot setting! Direct the cool air onto that pinched section for a good 20-30 seconds.
The cool air locks the shape in place by hardening the product. Heat would soften it and ruin the set. Patience here makes all the difference for all-day hold.
Step 9: Move to the Next Section
Unclip a little more hair from your top section. You want to overlap slightly with the previous waved section. Repeat the process: form the first “C” away from your face, comb over your finger to create the second “C”, pinch, and cool.
Continue this all the way back along that top horizontal section until you reach the back of your head. Consistency is key for a seamless look.
Step 10: Work Through All Sections
Once the top section is done, unclip the next lower horizontal section of hair. Repeat the entire process, making sure your new waves align with the pattern from the section above.
Work methodically from the front to the back, and from the top of your head down to the nape of your neck. For very short hair at the nape, you might just create one small wave.
Step 11: Styling the Opposite Side
The side with less hair (behind your deep part) is easier. Simply use your comb to guide it into a smooth, sleek shape that follows the direction of your waves.
You can create a smaller wave or two here if you have enough length, or just keep it smooth and tucked. Use a bit of gel on the comb to keep any shorter pieces in place.

Step 12: Dealing with Bangs or Face-Framing Pieces
If you have bangs or face-framing layers, integrate them! For a hime cut or micro bangs, keep them straight and bold as a contrast to the waves.
For longer pieces, you can continue a mini wave pattern into them or sweep them back into the waves. This is where you personalize the look to fit your exact cut.

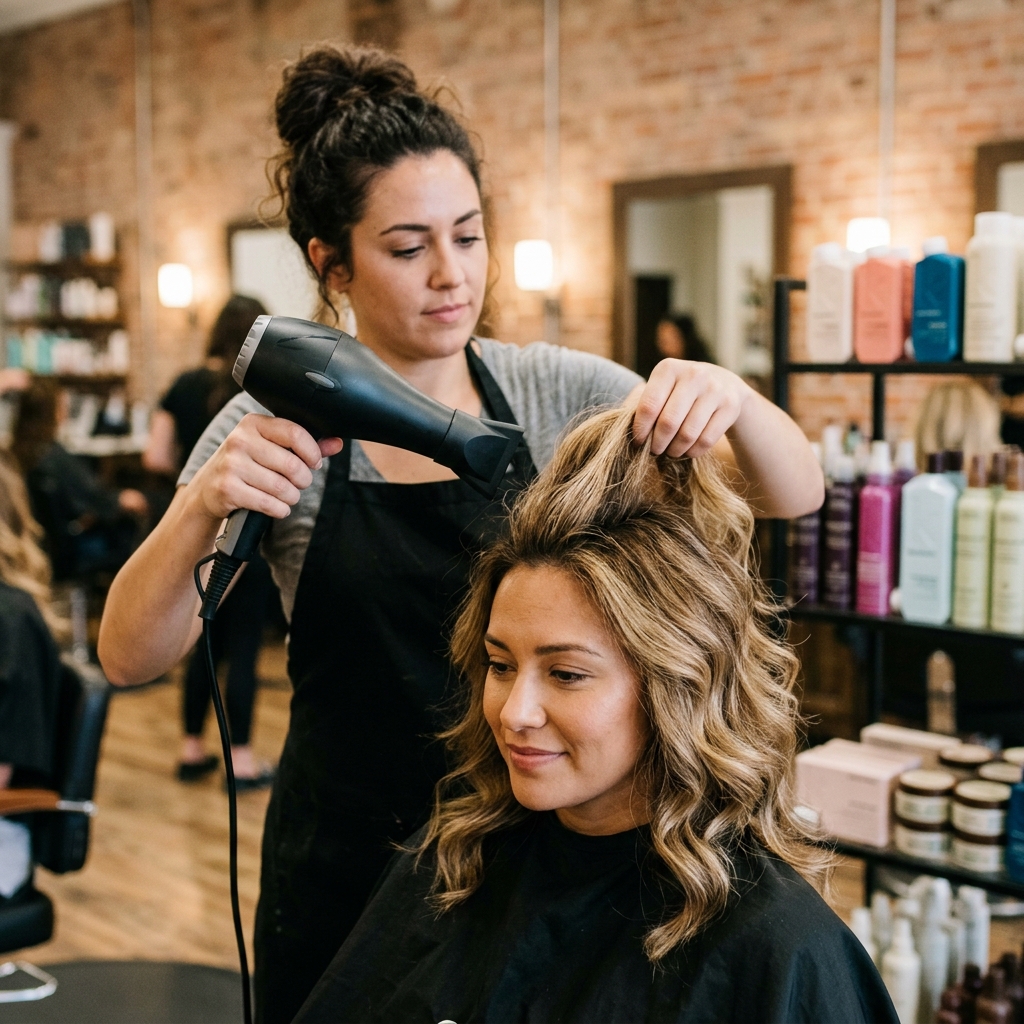
Step 13: The Final Dry and Set
Once all waves are formed and cool-set, do a final overall dry with your blow dryer on cool. Gently lift sections and dry the underside to ensure the product is fully hardened everywhere.
This final cool blast is your insurance policy for longevity. It makes sure every part of the style is locked in and ready to go.
Step 14: Breaking the Cast for Softness
Your hair will likely have a stiff, crunchy “cast” from all the product. This is good! To get that romantic, soft feel, you need to break it. Very gently, use your fingertips to scrunch the waves upwards.
Don’t use a brush or comb! Just gently scrunch and shake the roots with your fingers until the stiffness softens but the wave shape remains. This creates that perfect glitchy glam hair texture.
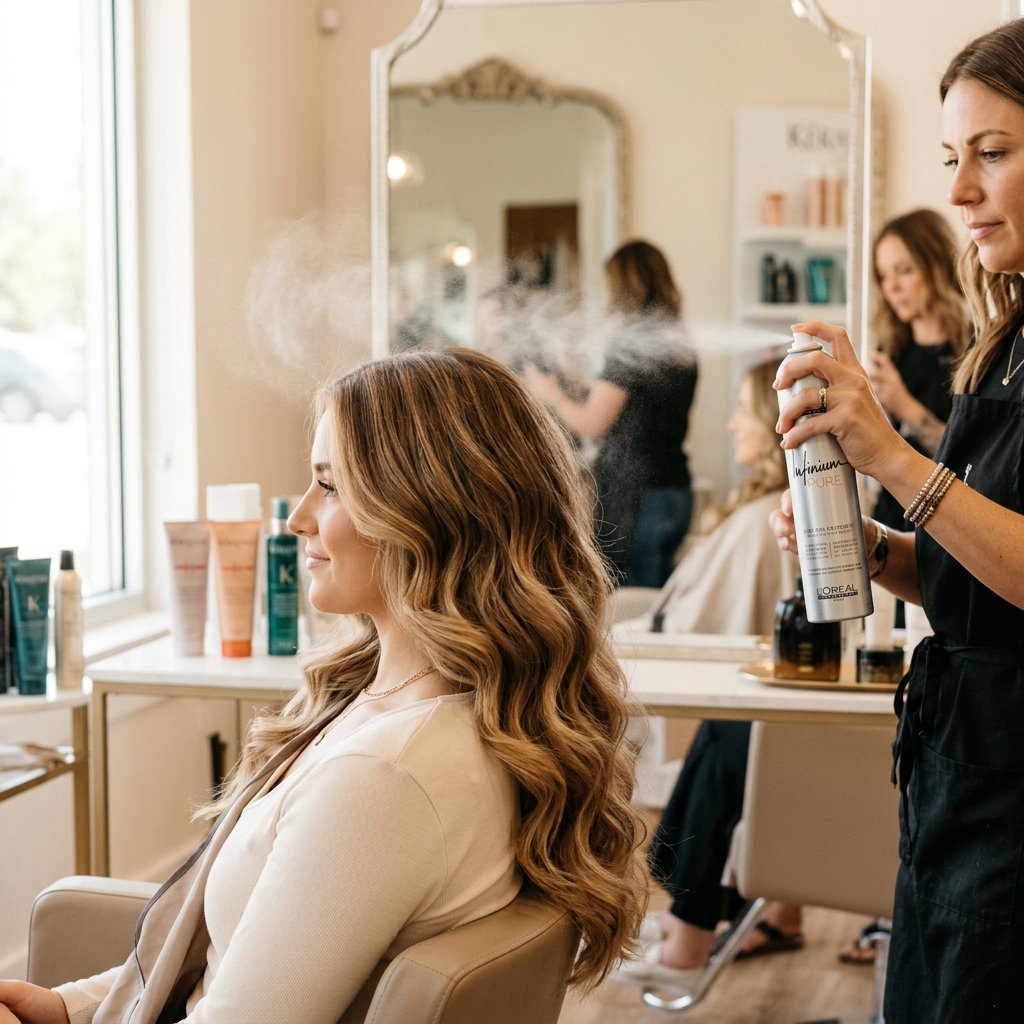
Step 15: Lock It All In with Hairspray
Hold a can of strong-hold hairspray about 10 inches away from your head. Give your entire style a light, even mist. Pay extra attention to the front wave ridges.
For an extra-secure hold, spray a little on your finger tips and gently glaze it over the wave peaks. This final step fights humidity and keeps everything exactly where you placed it.
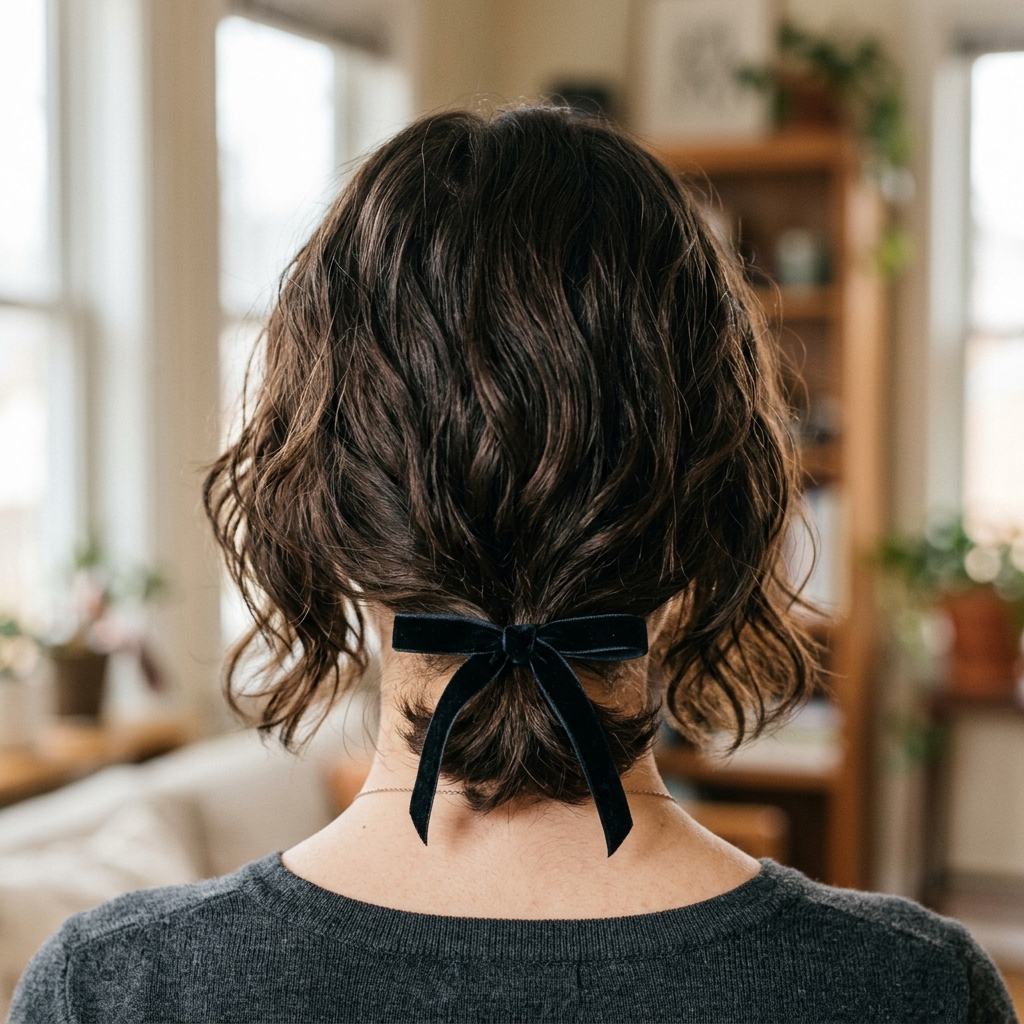
Pro Tip: Adding a Dark Accent
To really lean into the romantic goth aesthetic, consider a temporary dark accessory. A simple black velvet ribbon tied at the nape, or a single dark jeweled pin tucked into the waves near your part.
It’s those little details that tell the story. This can elevate your look from just wavy to a full 2026 hairstyles mood, blending vintage and edge perfectly.
How to Make This Style Last All Night
Carry a travel-size hairspray for touch-ups. If a wave starts to fall, don’t comb it—just re-pinch it and hold for a moment. A tiny bit of texturizing powder at the roots can also soak up any oil and add grip.
Mostly, just own it! As the night goes on, a little softening adds to the romantic, lived-in vibe. This style gets better with a bit of movement.
Troubleshooting: If Your Waves Won’t Hold
If they’re falling flat, you likely need more product or a stronger-hold formula. Try a gel instead of mousse. Also, ensure you’re using the cool shot on your dryer long enough to fully harden each section.
Short hair can be fine and slippery. Pre-styling with that dry shampoo for grit is crucial. Don’t get discouraged—it might take one or two tries to find your perfect product combo.
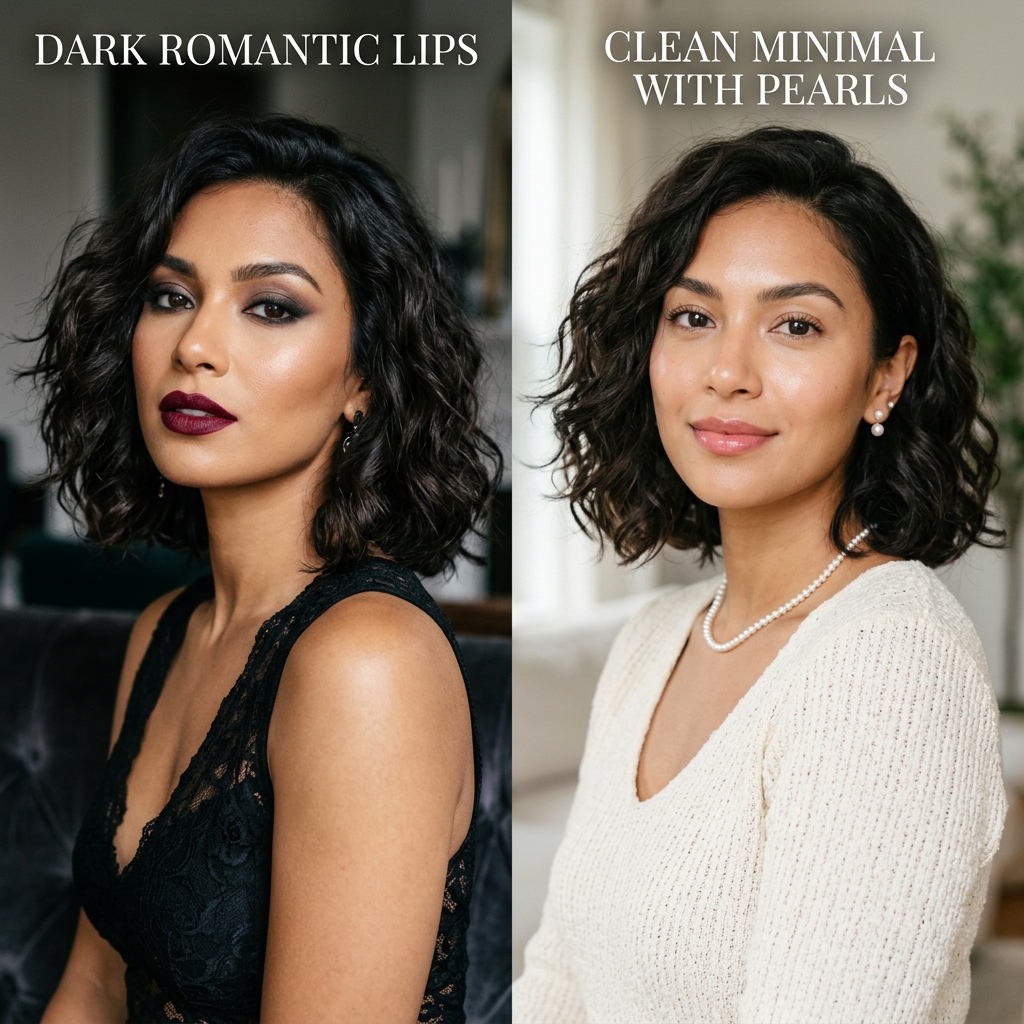
Adapting the Look for Different Vibes
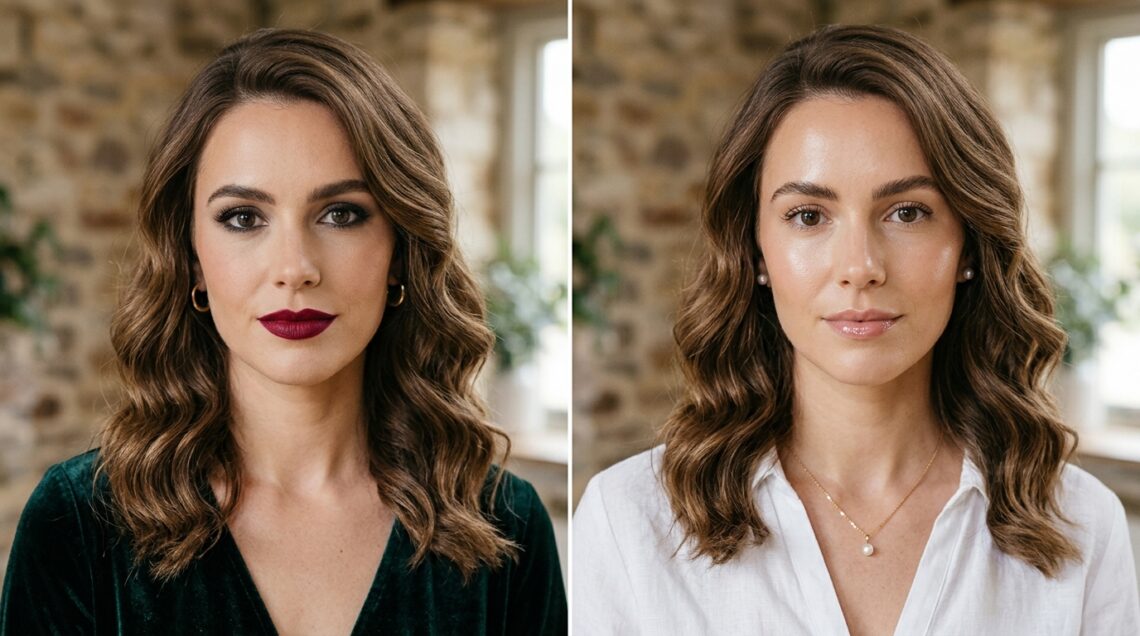
This technique is your base. For a full romantic goth look, pair it with dark lipstick. For an old money hair twist, keep your makeup fresh and wear pearl earrings.
For glitchy glam hair, mess up the waves a bit more and add a streak of colored mascara. It’s incredibly versatile. It can be your secret weapon for everything from a wedding to a concert.
Your New Go-To Signature Style
Once you get the hang of it, this becomes a surprisingly quick style. It’s a powerful way to express a softer, more intricate side of dark aesthetics. It turns heads because it’s unexpected and beautifully crafted.
It proves that short hair is never boring. You now have a gorgeous, vintage-inspired technique in your beauty toolkit that’s all your own. Wear it with confidence.
And that’s it! See? I told you it was possible. It might feel a little fiddly the first time, but like any new skill, it gets faster and easier with practice. The second or third time you try it, you’ll be a pro.
This look is such a beautiful reminder that our hair is our most personal accessory. With a little patience and the right technique, we can create any mood we want, no matter the length.
I’d love to see your creations! Did you try it on your bob or your lob? What product combo worked magic for you? Leave a comment below and tell me all about it.
Save this post to Pinterest so you can always find the steps when you’re ready to create your waves. Just hover over any image to pin it!

