
Hey you. So you’re scrolling, dreaming of a hairstyle that feels like a dark fairy tale, but you’re worried it’s all too complicated? I get it. We love the drama of romantic goth hairstyles, but we also love hitting the snooze button.
That’s why I’m obsessed with this look. It’s the perfect mix of undone, smudged waves and that soft, romantic edge. Think less “stage makeup” and more “just wandered out of a misty forest.” It’s surprisingly wearable.
And the best part? It’s seriously easy. We’re not doing any fancy braiding or heat styling for hours. This is a 20-minute, max, kind of vibe. Let’s ditch the intimidation and create some magic.
What Are Romantic Goth Smudged Waves?

Let’s break it down. This isn’t your classic, stark goth. Romantic goth hairstyles are all about softness meeting edge. It’s vintage lace, not just black leather.
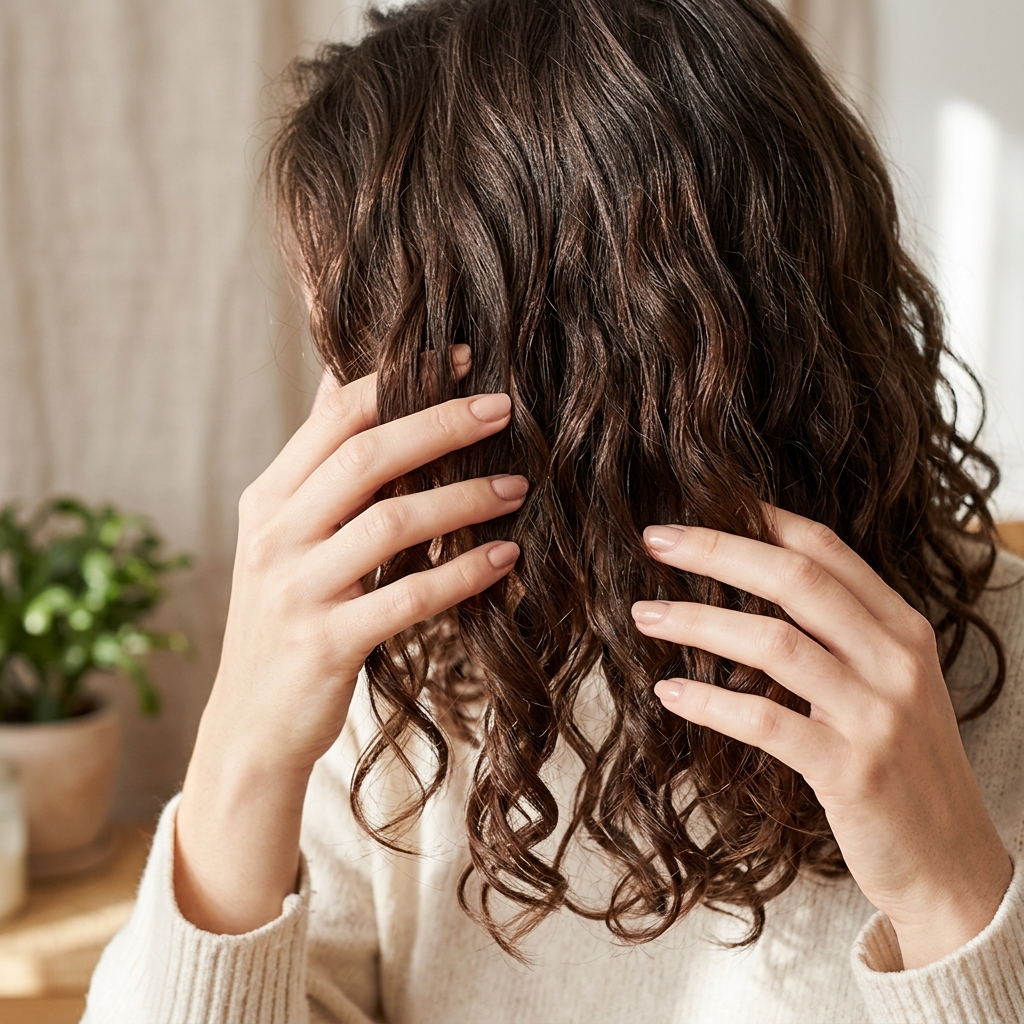
The “smudged” part is key. It means no harsh lines. Your waves should look blended, a little lived-in, and perfectly imperfect. It’s that glitchy glam hair effect where it looks cool without trying too hard.
Imagine old money hair, but dipped in a moonlit palette. It’s elegant, a bit mysterious, and has that quiet luxury bob feeling, just longer and wavier. It’s effortless drama.
Why This Hairstyle is EVERYTHING Right Now
If you’re looking at 2026 hairstyles trends already, you’ll see this vibe everywhere. It’s a huge part of the “dark academia” and “coastal grandmother but make it goth” wave. It’s timeless with a twist.
It works for so many occasions. A date night? Perfect. A moody coffee shop work day? Absolutely. It adds instant personality without saying a word.
Plus, it’s incredibly flattering. The soft waves frame the face beautifully, and the darker tones can make your features pop. It’s a confidence-booster for sure.
Tools You’ll Need (Super Simple, I Promise)

Don’t worry, we’re not buying a salon. You likely have most of this already. The goal is soft waves, not tight curls, so your tool choice matters.
- A 1 to 1.25-inch curling wand or iron. Barrel size is key for loose waves.
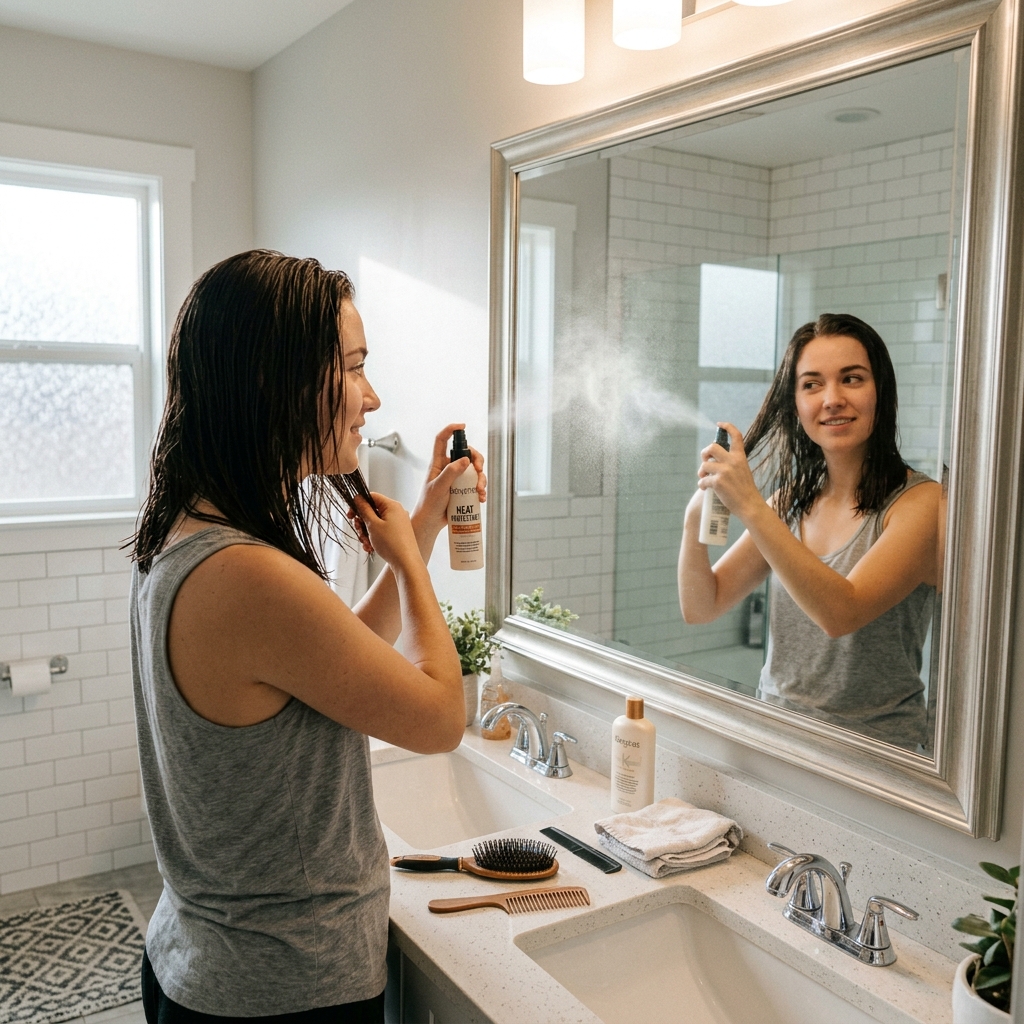
- Heat protectant spray. Non-negotiable for keeping your hair healthy.
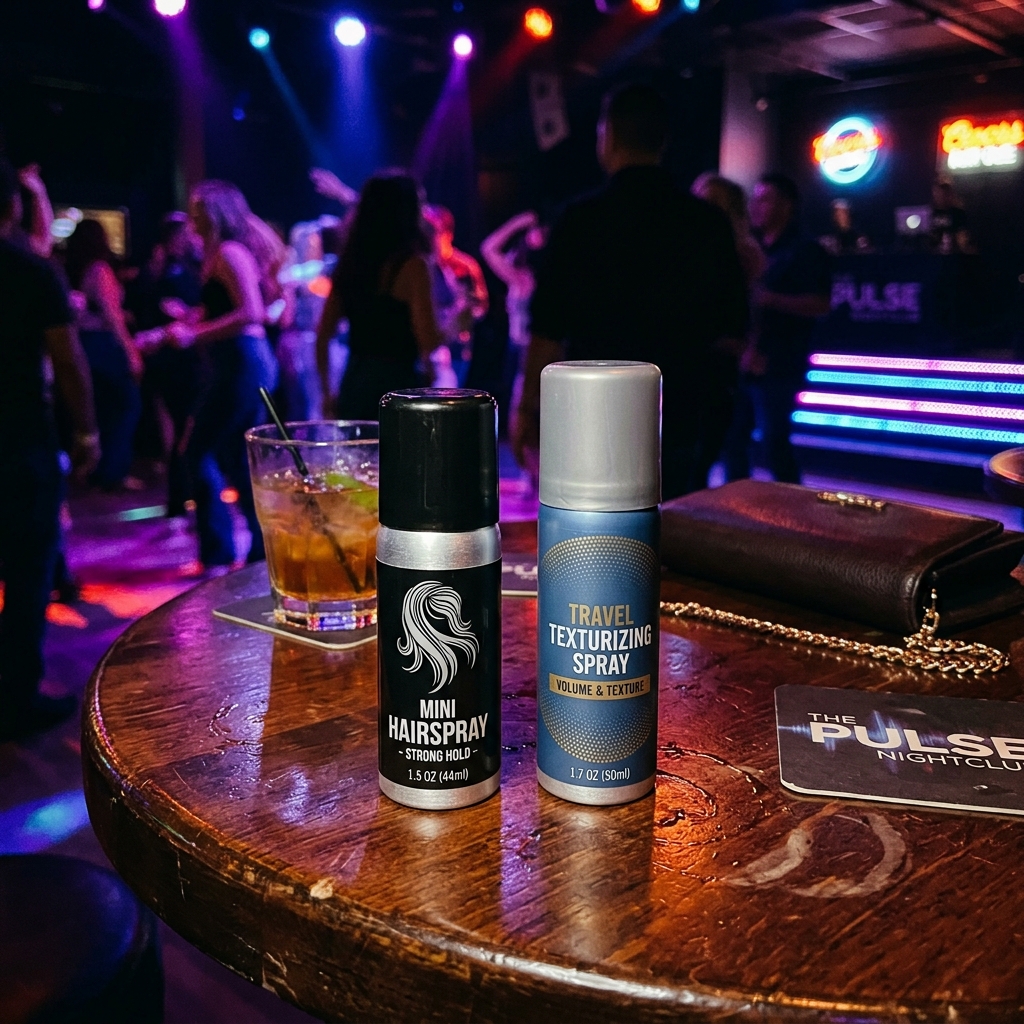
- A texturizing or sea salt spray. This is the “smudge” in smudged waves.
- Hairspray with a flexible hold. We want movement, not helmet head.
- A wide-tooth comb or just your fingers for finishing.
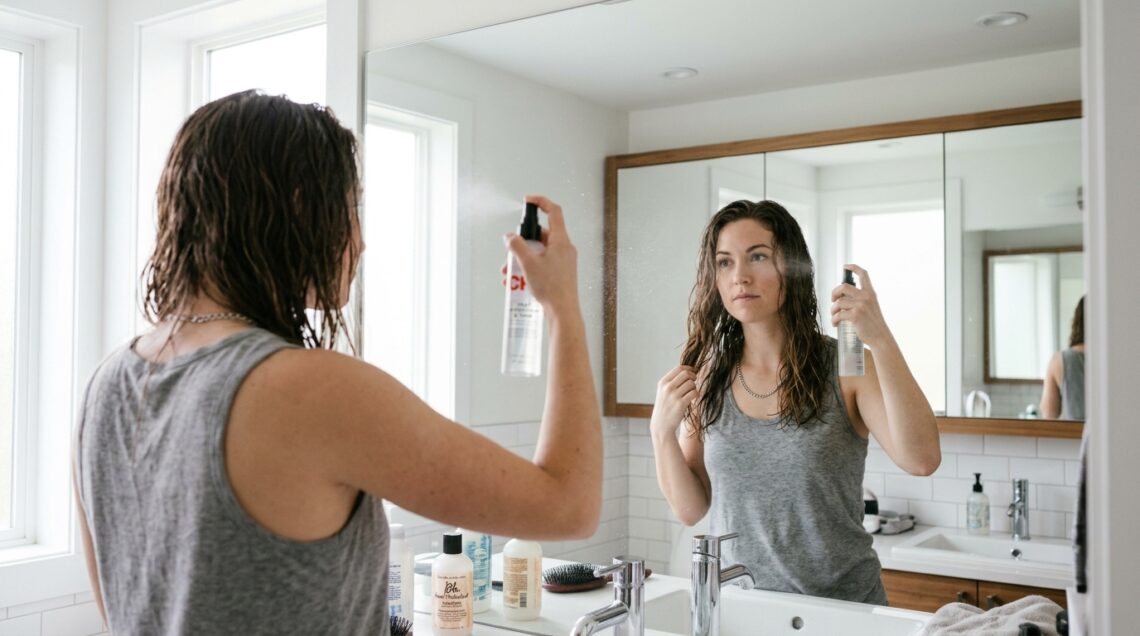
Start With The Perfect Base: Hair Prep
Great hair starts in the shower. For this style, you want a bit of grit, so if you can, style on second-day hair. It holds texture so much better.
If you’re washing, use a volumizing shampoo and conditioner. Towel-dry your hair gently and then apply your heat protectant from roots to ends.
I like to blow-dry my hair about 90% dry, leaving it just slightly damp. This helps the waves set without being too frizzy or too sleek. The texture is your best friend here.
Section Your Hair For Easy Wins
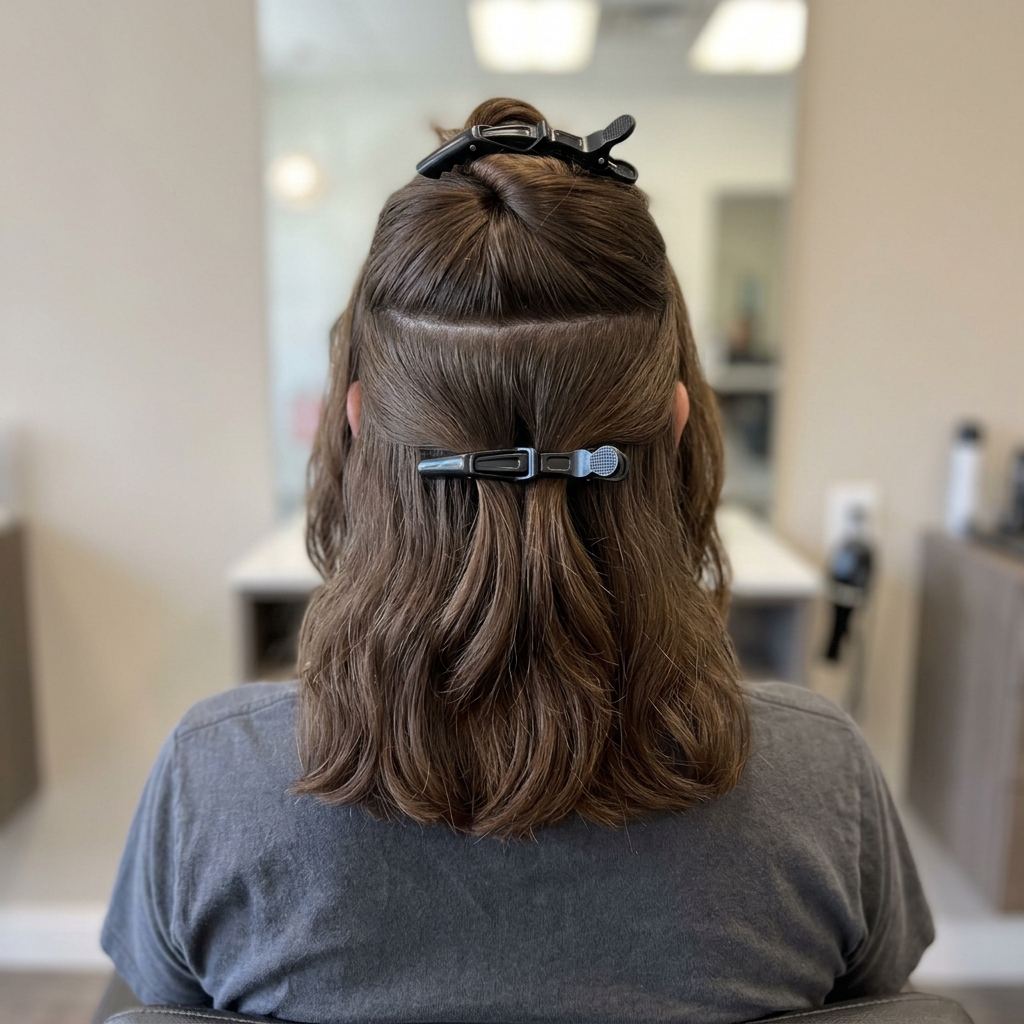
This step seems boring but trust me, it makes everything faster and more even. We’re not pros, and that’s okay! Sectioning is our secret weapon.
- Part your hair as you normally wear it (deep side parts work amazing for this look).
- Clip the top half of your hair up and out of the way.
- Split the bottom half into two smaller sections, left and right.
Working from the bottom up ensures you don’t mess up your waves as you go. It keeps the process clean and simple.
The Core Technique: Creating “Smudged” Waves
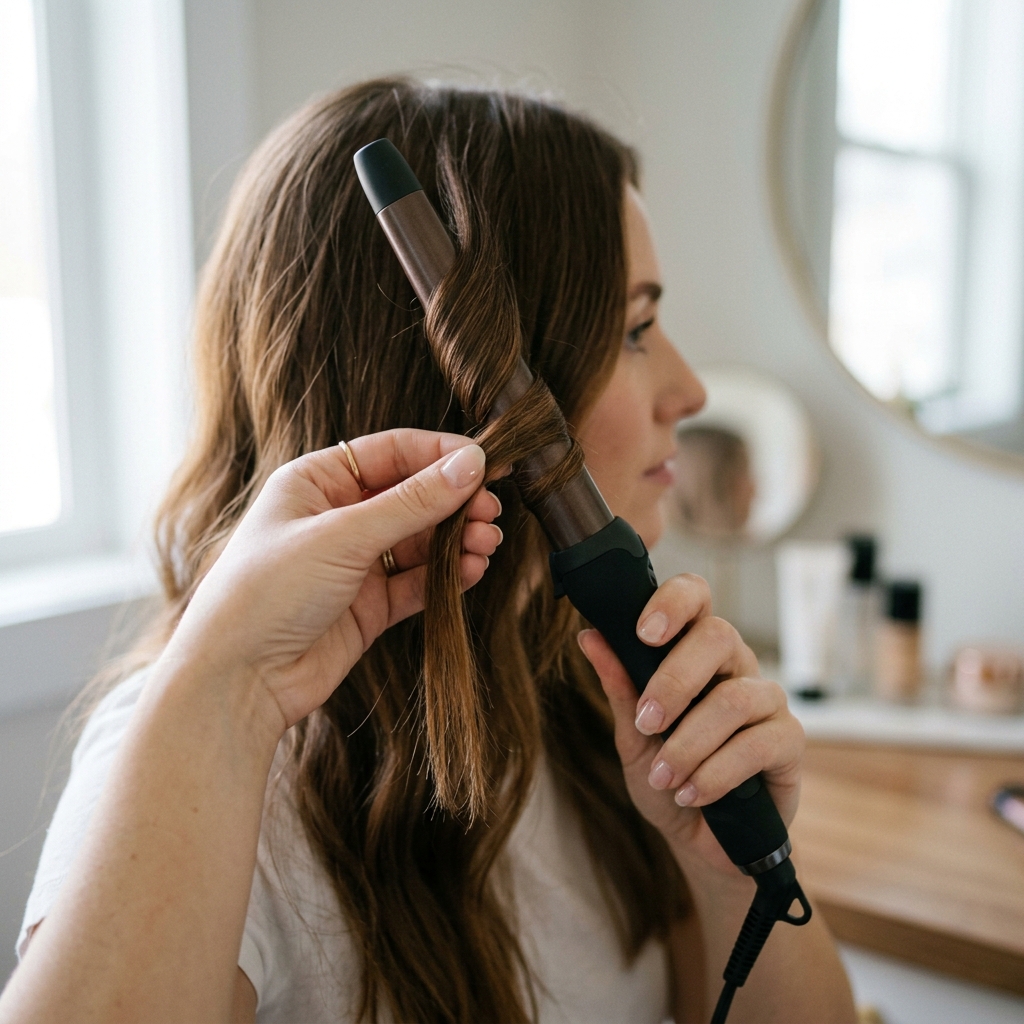
Here’s where the magic happens. The goal is waves, not ringlets. So we’re going to avoid wrapping the very ends of your hair.
- Take a two-inch section from your bottom layer. Spritz lightly with texturizing spray.
- Clamp the curling wand about halfway down the hair shaft, not at the end.
- Wrap the hair around the barrel away from your face, holding for only 8-10 seconds.
- Gently release the curl and do NOT touch it! Let it cool completely.
Direction Matters: Wrap Away From Your Face
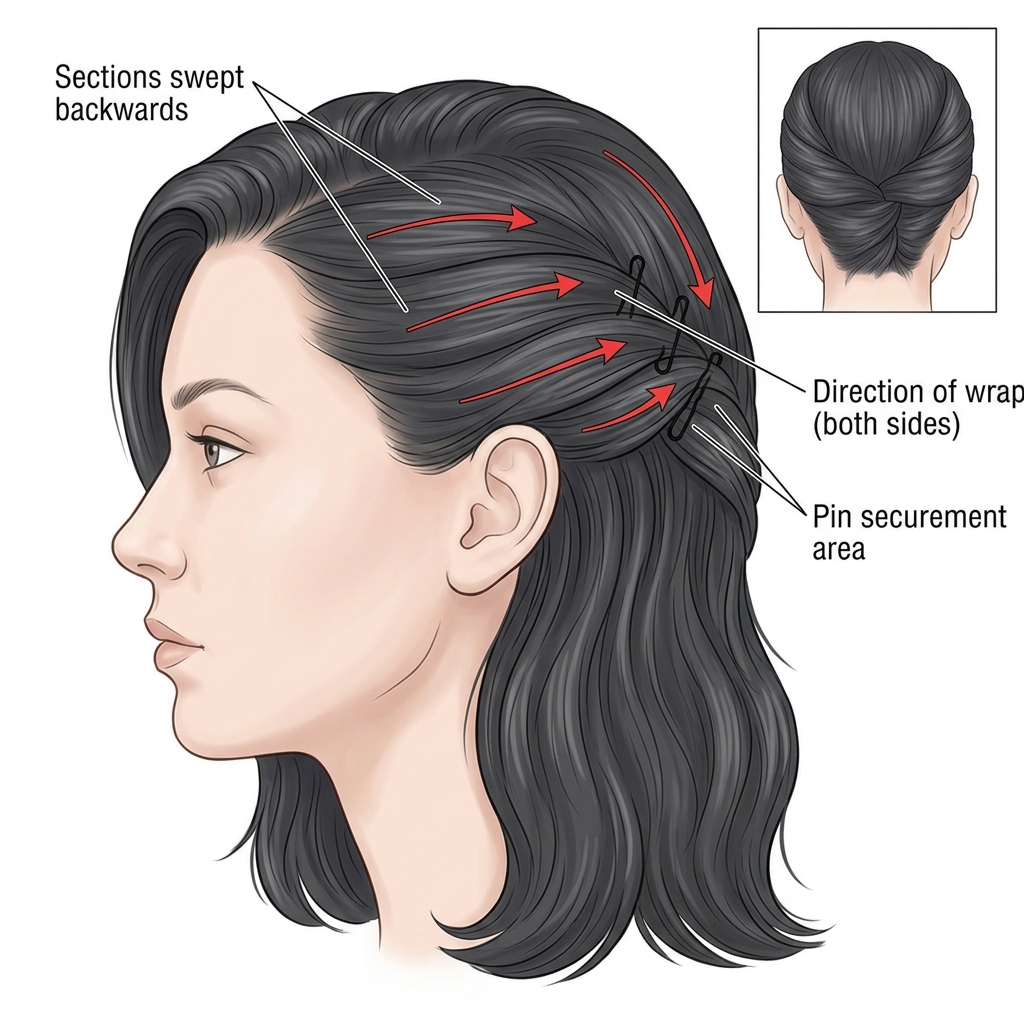
For the most flattering, romantic look, I always curl my hair away from my face. This opens up your features and creates a softer frame.
So, for both sides of your head, wrap the sections back and away. It might feel weird if you’re used to curling towards your face, but stick with it.
This direction also helps the waves blend together more naturally, contributing to that “smudged” effect we’re after. Consistency is key here.
Leave Those Ends Out!

This is the #1 tip for avoiding “prom curls” and getting that cool-girl vibe. Do NOT curl the last 1-2 inches of your hair.
Let those ends stay straight or just bend slightly with the heat. This creates an undone, effortless finish that looks modern and less “done.”
It’s a signature of glitchy glam hair and many vampire haircut styles—perfectly imperfect. It also makes the style look heavier and more romantic at the ends.
Working Through All Your Sections
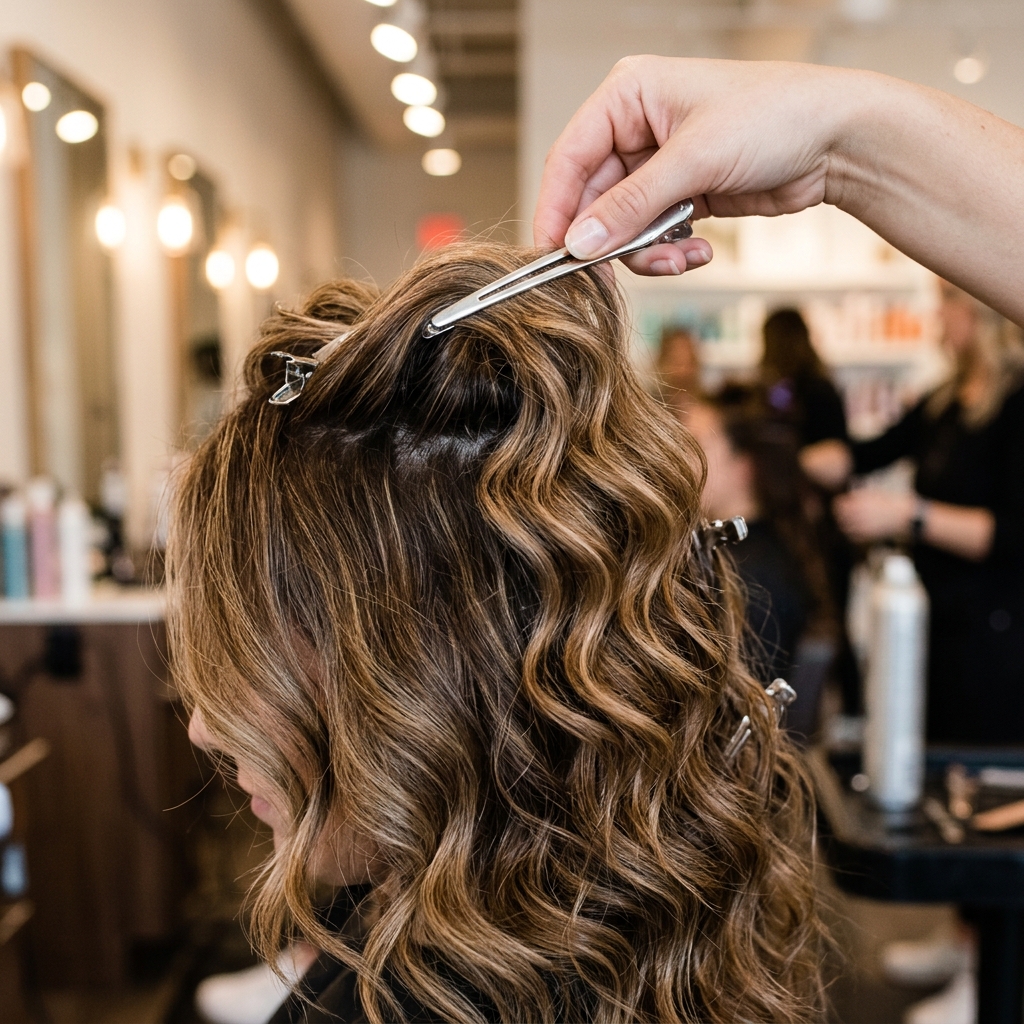
Once the bottom layer is done, unclip the next section. Remember to take smaller, two-inch subsections for even waves.
Repeat the exact same process: spray, clamp midway, wrap away, hold, release. Let every wave cool before moving on.
For the very top sections around your face, you can take even smaller pieces. These frame your face, so take your time. The crown section gives you that all-important volume.
The Cool-Down Rule: Don’t Touch!
I know, it’s tempting to run your fingers through it immediately. But don’t! You’ll break the wave pattern and create frizz.
Let all the waves cool down completely. This “sets” them. I usually do my makeup or pick my outfit while I wait.
Once the hair is cool to the touch, the shape is locked in. Then, and only then, can we start messing it up to make it perfect. Patience pays off.
How to Break & “Smudge” Your Waves
Now for the fun part! Take your wide-tooth comb or just your fingers. Starting at the roots, gently rake through your hair.
You’re not brushing it out. You’re separating the distinct curls you made so they blend into one, cohesive wave pattern. This is the “smudging.”
Shake your head from side to side, too. Let gravity help you. You want it to look like you woke up with these amazing, natural waves.
Adding Texture & Grit for Hold
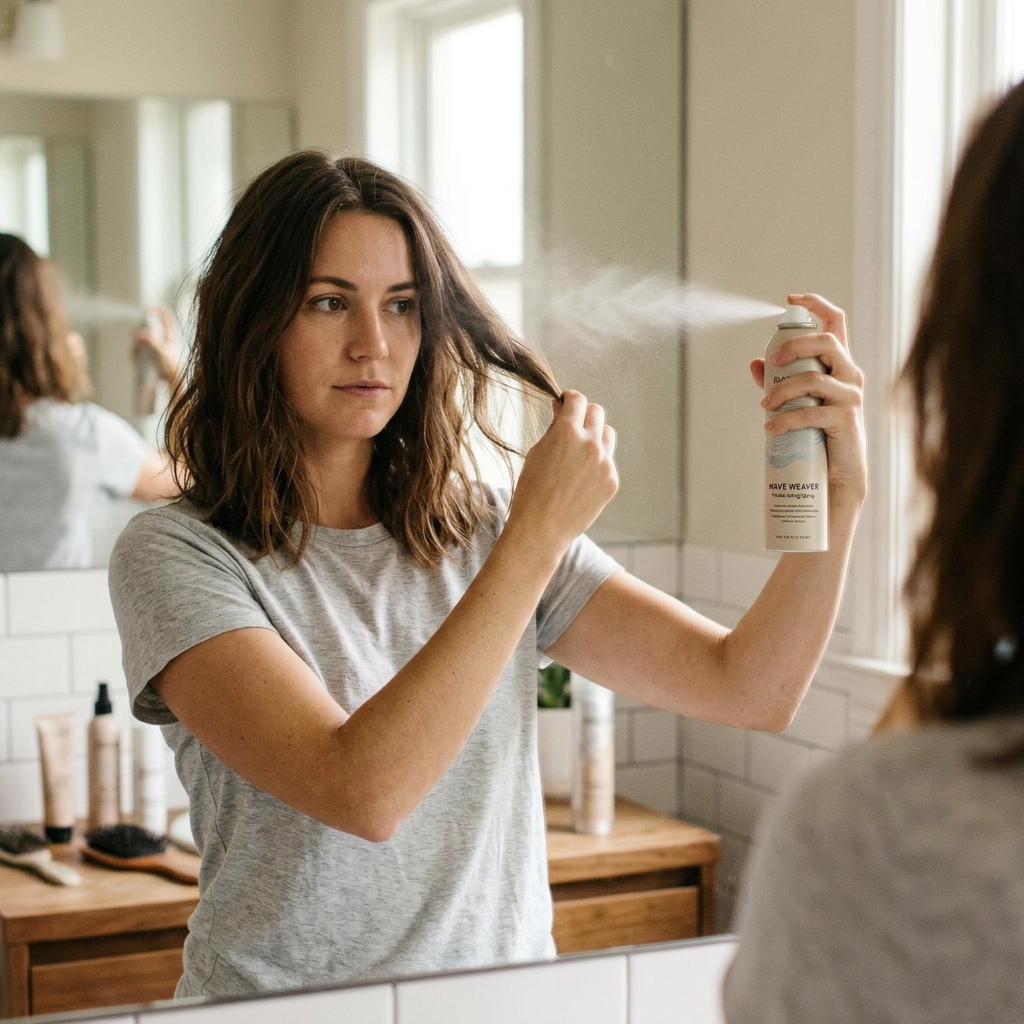
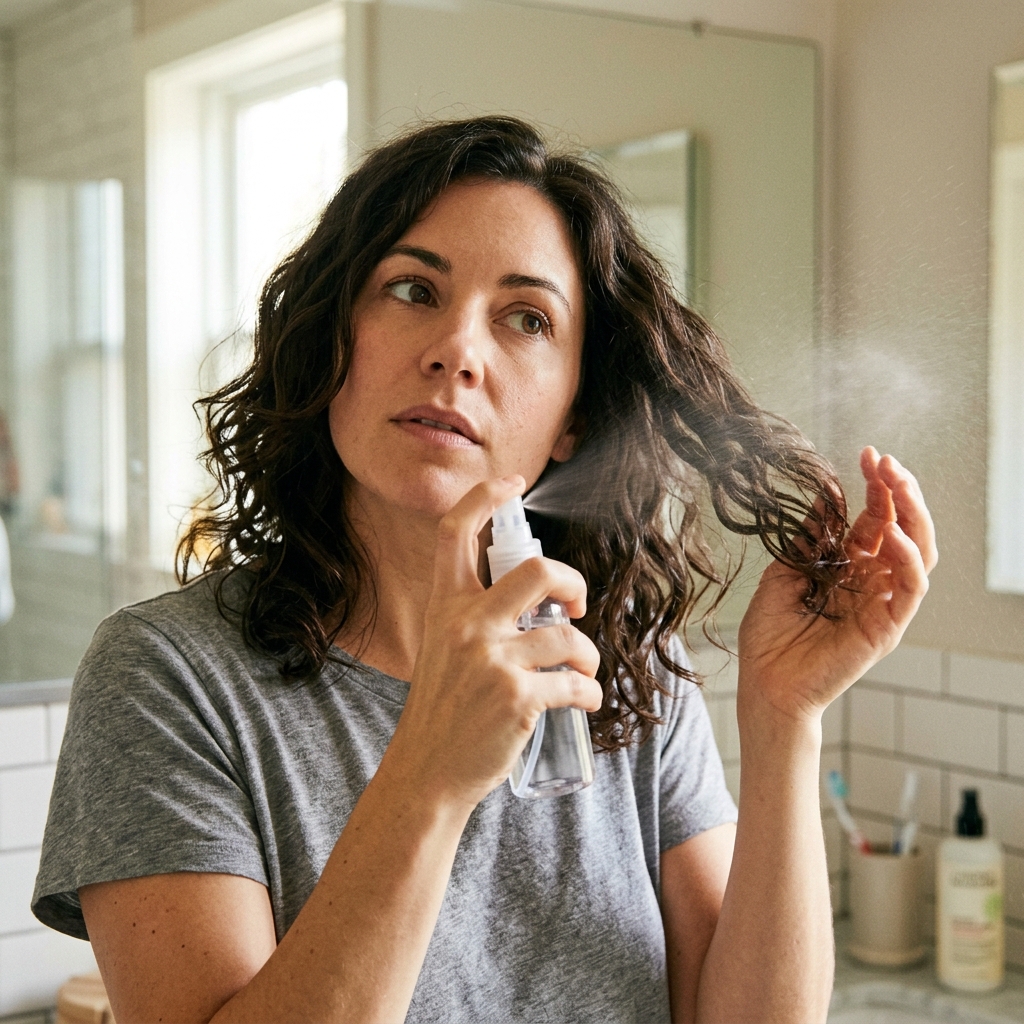
To keep that lived-in look all day, we need texture. Turn your head upside down and mist a texturizing or sea salt spray onto your mid-lengths and ends.
Avoid the roots unless you want extra volume. The spray adds a bit of grit and helps the waves hold their shape without being stiff.
You can also lightly crumple sections of your hair in your fist to enhance the wave pattern. This adds to that romantic, crushed-velvet texture.
Root Volume: The Final Touch
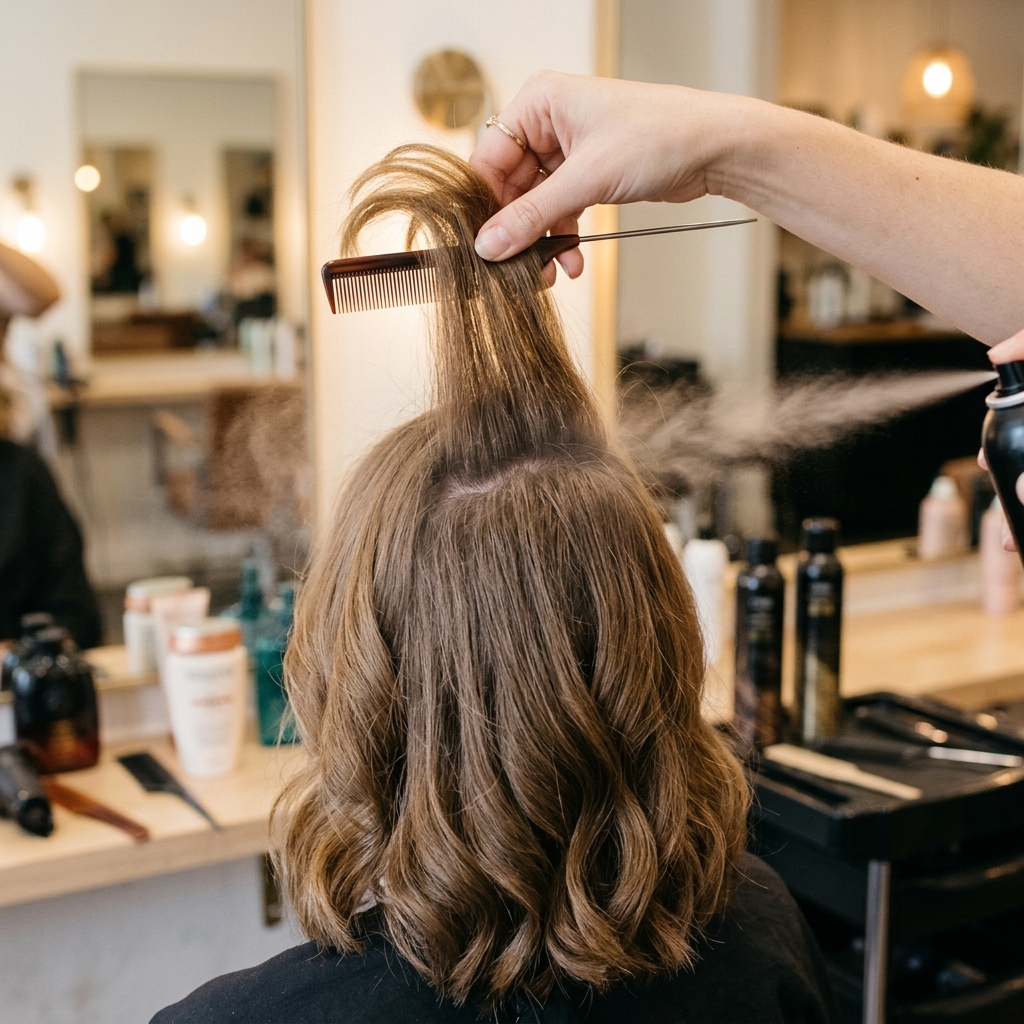
Flat hair at the roots kills the romantic vibe. For subtle volume, flip your head upside down again and give the roots a quick blast with your hairdryer on cool air.
You can also take a tail comb and gently tease just the very root area at your crown. Keep it light—we’re not going for 80s volume.
Spray a *tiny* bit of hairspray at the lifted roots for hold. This makes the style look more expensive and full, like an old money hair secret.
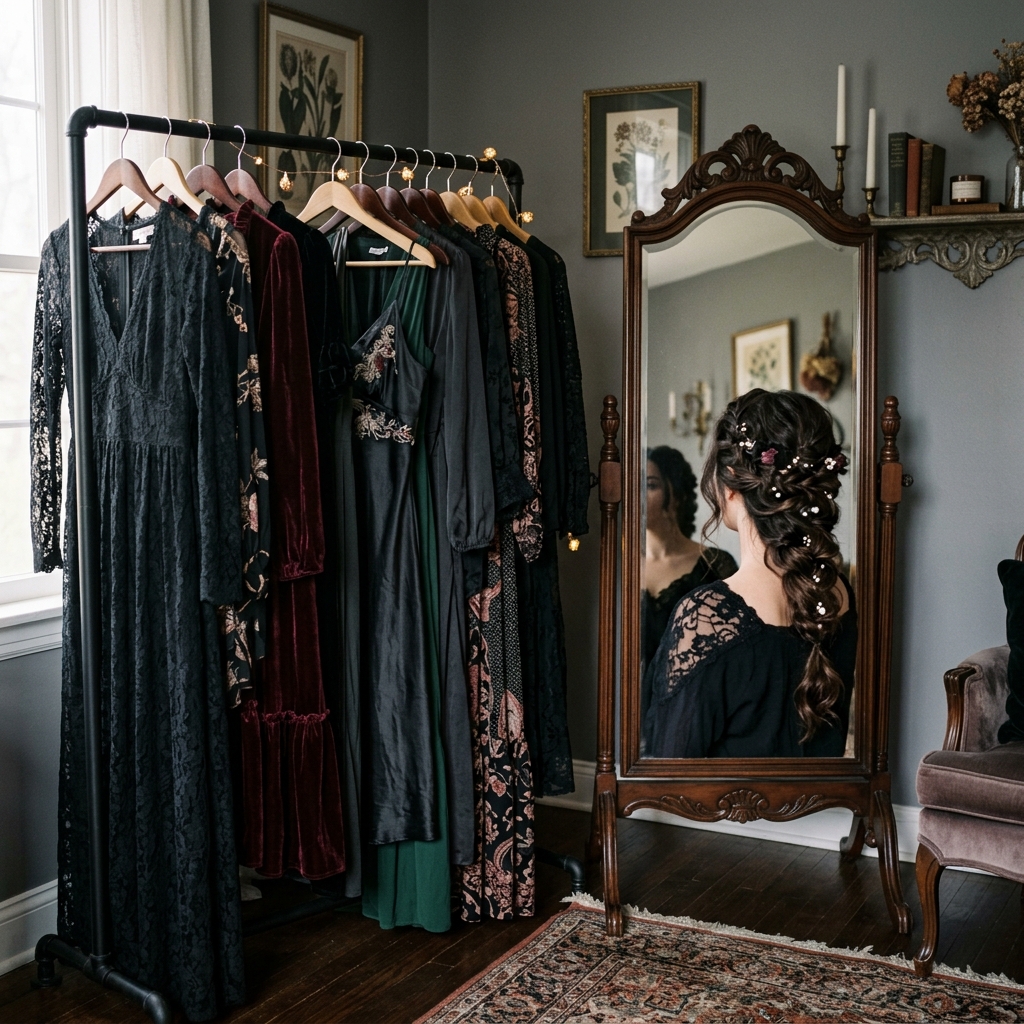
Styling With Accessories (The Goth Twist)
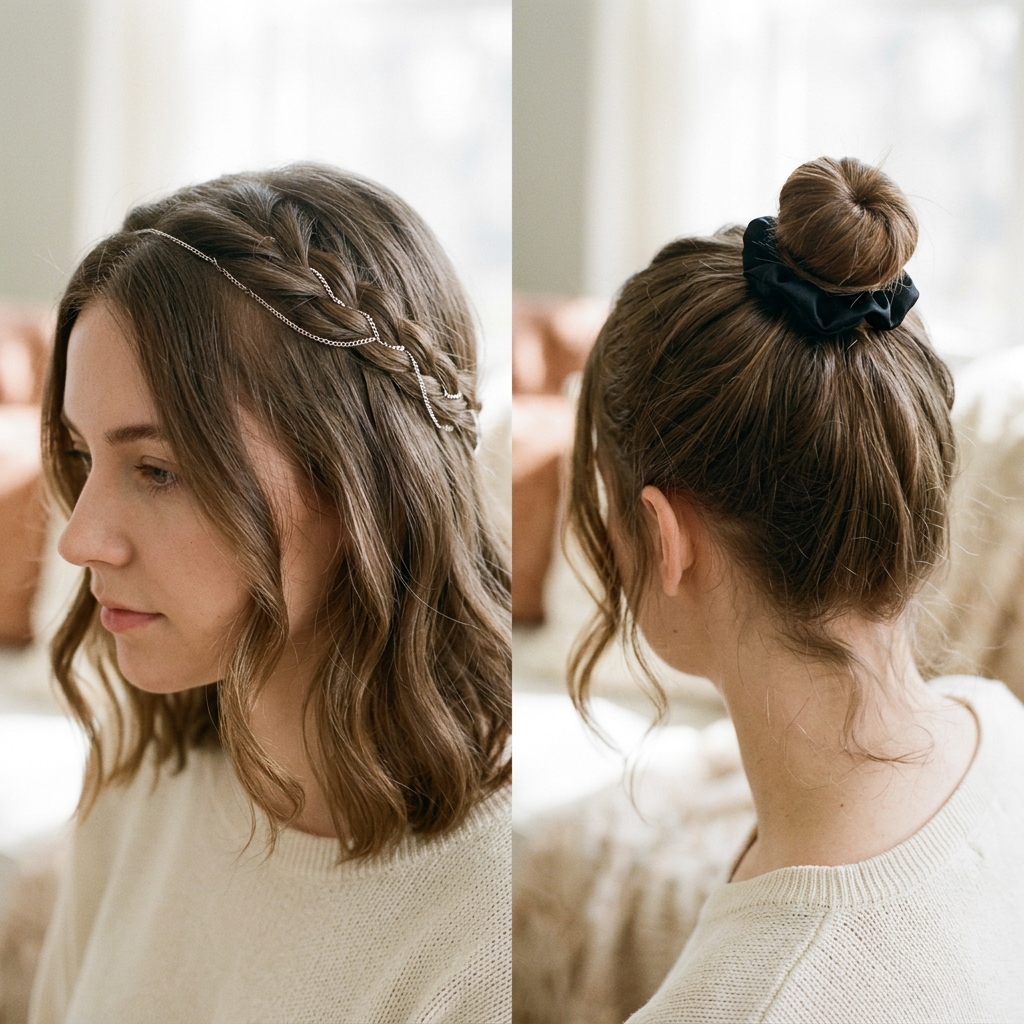
This is where you personalize it. Romantic goth isn’t just about the hair—it’s the details. Think delicate jewelry for your hair.
- Weave a thin silver chain or pearl strand into a small braid or section.
- Use a velvet or black silk scrunchie to create a half-up, loose pony.
- Add subtle, dark hair pins with motifs like moons, stars, or crosses.
Less is more. One accessory is usually enough to nail the aesthetic without going costume-y.
Adapting For an Asymmetrical Lob

Got a lob or an asymmetrical lob? This style works amazingly. The technique is identical. The shorter back will create a cool, stacked effect.
Focus the waves more on the longer front sections. The contrast between the sharper cut and the soft waves is stunning—it’s a modern take on the vampire haircut.
Use your texturizing spray to piece out the ends, especially on the shorter side. It adds an edgy, artistic finish to the quiet luxury bob shape.
What If You Have a Hime Cut?

The hime cut is made for this! Your long front strands (the “princess” parts) are the star. Curl those sections away from your face using our main technique.
Leave the blunt, bobbed back sections mostly straight or with just a slight bend at the ends. This highlights the dramatic structure of the cut.
It creates a beautiful mix of textures that’s pure romantic goth. It’s historical, dramatic, and absolutely eye-catching.
Making It Last All Day & Night
To keep your waves from falling, your final hold is important. Use a flexible-hold hairspray. Hold the can 12 inches away and mist over your entire head in a light cloud.
Throw a travel-sized texturizing spray and hairspray in your bag for touch-ups. If your waves drop, just scrunch a little spray into them to revive the shape.
Avoid touching your hair too much throughout the day. The oils from your hands can weigh down the texture and make it look greasy.
Quick Fixes For Common Problems

- Frizz: Rub a tiny drop of hair serum or even hand cream between your palms and gently smooth over the frizzy areas.
- Flat Waves: Spritz a *little* water mixed with texturizing spray on the limp section, scrunch, and let it air-dry or hit with a cool hair dryer.
- Too Perfect: Congrats, you curled too well! Just rake through it more vigorously with your fingers to break it up.
Day 2 Refresh: Even Better
This style often looks even better on day two! To refresh, mix water and a bit of conditioner in a spray bottle. Lightly mist your hair, focusing on the ends.
Scrunch your hair upwards to reactivate the wave pattern. Let it air dry or use a diffuser on low heat to speed it up.
Add a fresh hit of texturizing spray at the end. Day-two hair has natural oils that make the waves look even softer and more smudged.
How This Fits Into Your 2026 Style Arsenal
This isn’t a one-off trend. The romantic goth wave is part of a bigger shift towards personalized, expressive beauty. It mixes with quiet luxury and dark academia aesthetics perfectly.
Learning this technique teaches you how to create soft, undone texture—a skill you can use on so many other 2026 hairstyles, from sleek bobs to longer cuts.
It’s about developing a signature look that feels authentic to you, not just following a fleeting trend. That’s always in style.
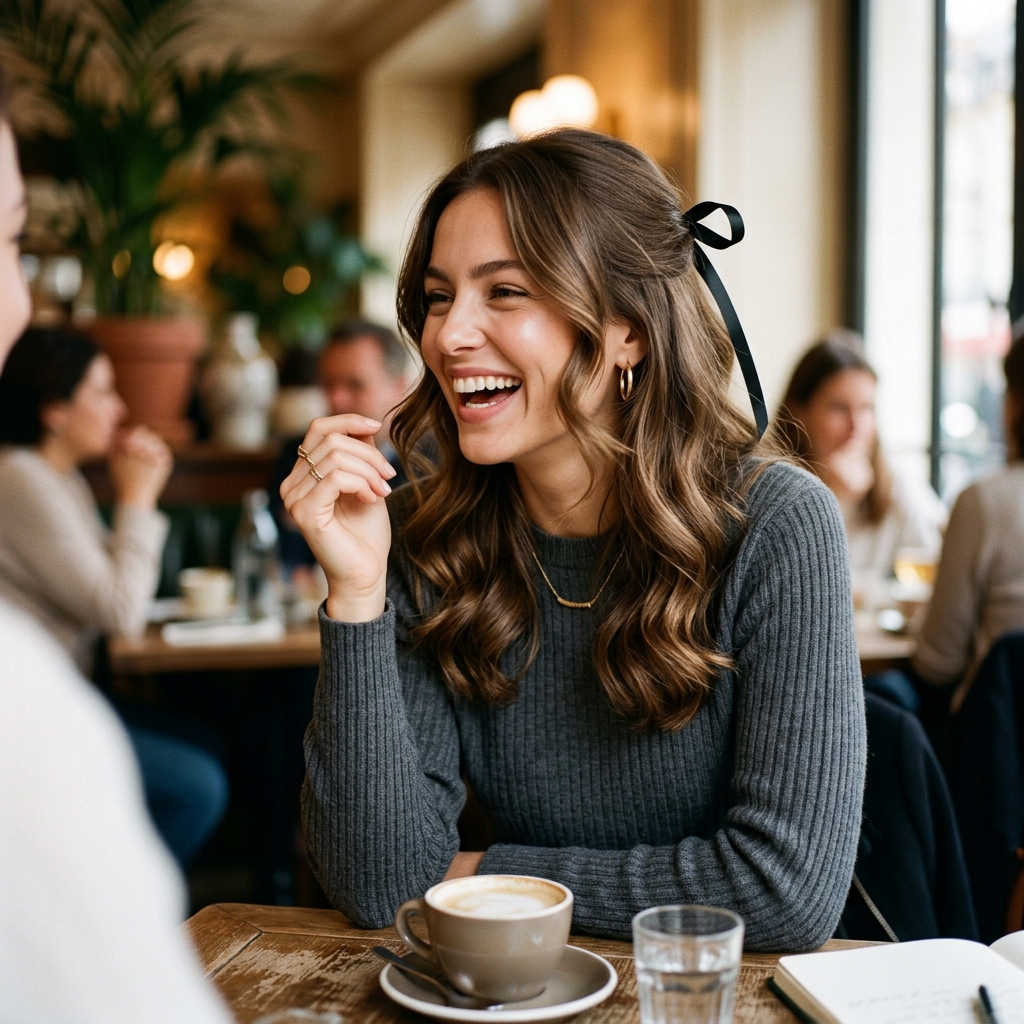
Your Confidence Is The Best Accessory
At the end of the day, the most important part of any hairstyle is how it makes you feel. This look is meant to give you a touch of mystery and a boost of “I woke up like this” cool.
Walk with your shoulders back. Own the drama. The best part about romantic goth anything is the confidence it inspires. It’s powerful, soft, and uniquely you.
Don’t strive for perfection. Strive for a style that makes you want to turn and look at yourself in every mirror you pass. That’s the real goal.
My Final Pep Talk & Next Steps
You’ve got this. Really. It might not be perfect the first time, but that’s okay. Hair is meant to be played with. Each attempt gets you closer to your ideal vibe.
Grab your tools, put on a good playlist, and give yourself 30 minutes to just experiment. There are no rules, only guidelines.
And remember, I’m right here with you. We’re all just figuring out what makes us feel our best, one smudged wave at a time.
Alright, friend, we did it. That’s the whole, no-stress breakdown for getting those dreamy, romantic goth waves. It looks complicated but it’s truly just a few simple steps repeated. The magic is in the smudging and the texture.
I hope you feel ready to try it. The coolest part about this style is how it evolves with you. Every time you do it, it’ll look a little different, a little more “you.”
If this sparked some inspiration, do me a favor? Save this post to Pinterest so you can find it easily next time you’re getting ready. And drop a comment below telling me what your go-to dark romantic accessory is—I need new ideas!
Can’t wait to see how yours turns out,
Hailey & Team

