
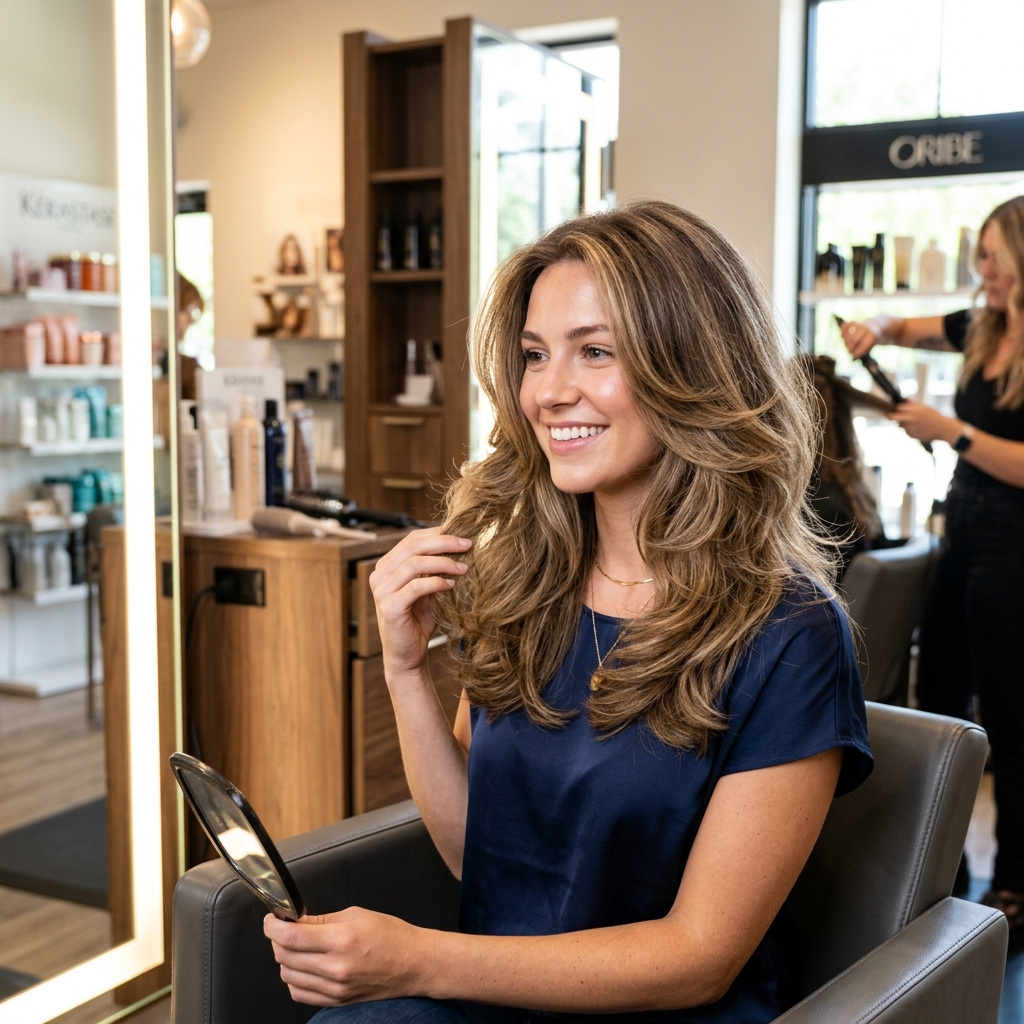
Okay, let’s be real. Sometimes you look at your long hair and just feel… bored. It’s healthy, it’s pretty, but it’s missing that cool-girl energy. That effortless, lived-in texture that looks like you just rolled out of bed and somehow nailed it.
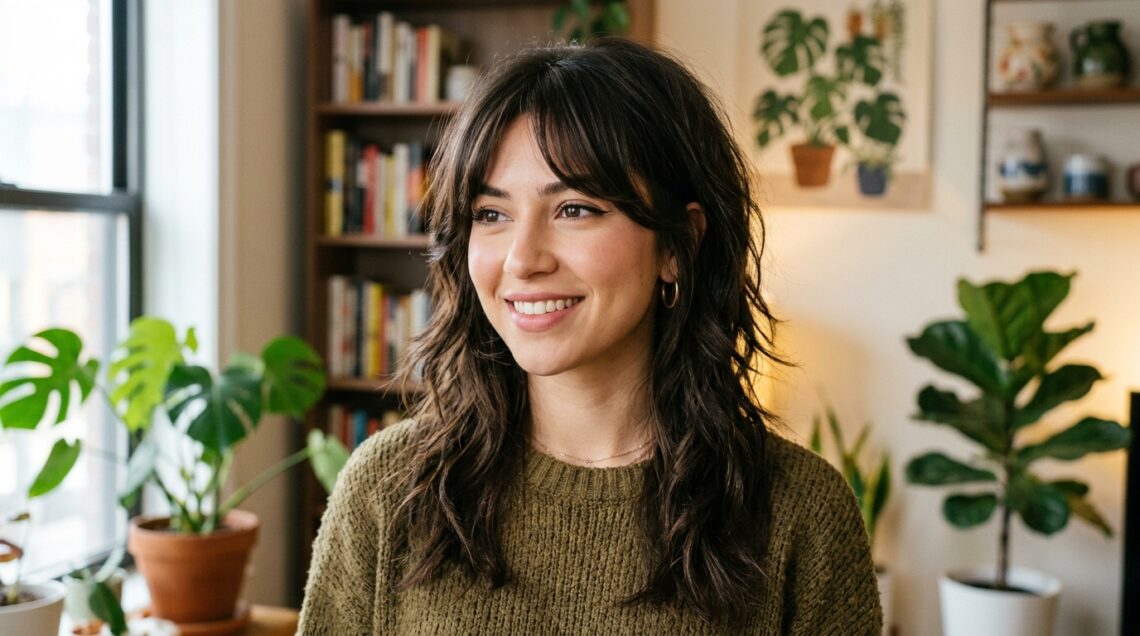
If you’re craving a change but aren’t ready for a major chop, let me introduce you to my current obsession: glitchy glam shaggy layers. It’s the perfect mix of undone and elegant, messy and chic.
Think of it as the lovechild of 2026 hairstyles edge and timeless cool. It gives you insane volume, movement, and a personality boost without sacrificing your length. And the best part? It’s surprisingly low-maintenance. Let’s break down exactly how to ask for it and style it at home.
What Is Glitchy Glam Hair, Exactly?
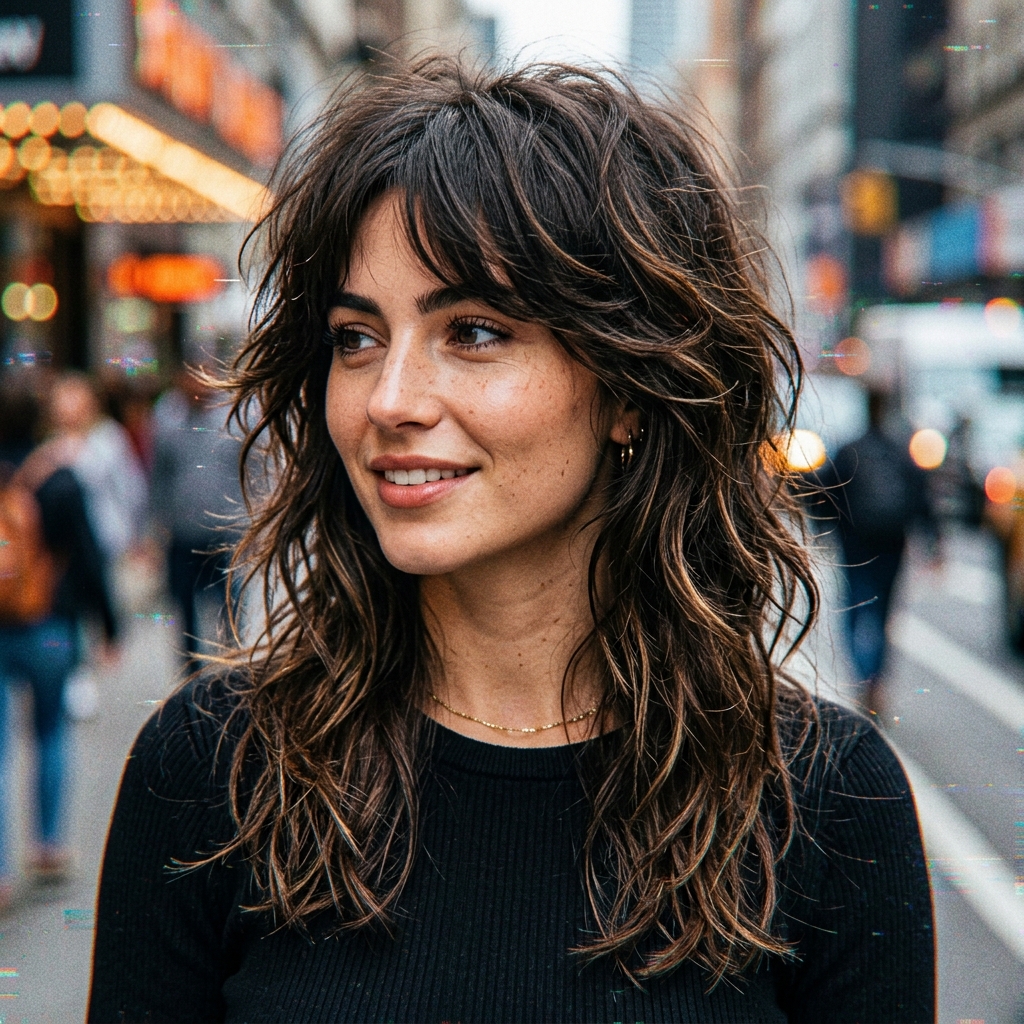
Glitchy glam is a vibe. It’s not one specific cut, but a styling philosophy. The “glitch” is that imperfect, textured, almost digital-error feel—choppy ends, piece-y layers, and a lived-in finish.
The “glam” is the softness and shine that keeps it from looking messy. It’s less rock-star shag and more quiet luxury bob‘s cooler, longer cousin. It borrows the texture from romantic goth hairstyles and the ease from old money hair, creating something totally unique and modern.
Why This Cut Works For Long Hair
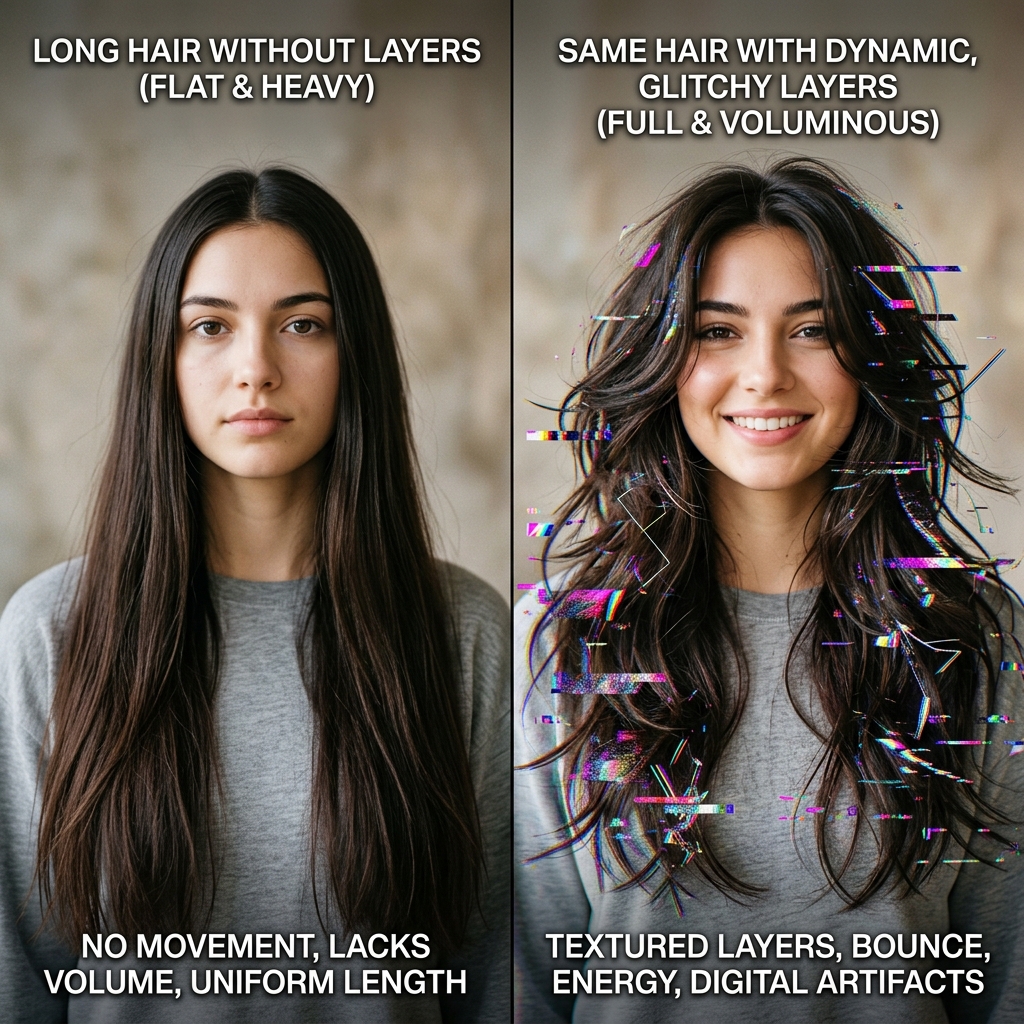
Long hair can get heavy, pulling volume from the roots and making your style look stagnant. Adding strategic, shaggy layers removes that weight. It instantly creates a shape around your face and gives your hair a backbone.
You get all the benefits of keeping your length while adding tons of body and swing. It’s a cut that does the work for you, making everyday styling faster and giving you that “I woke up like this” aura with minimal effort.
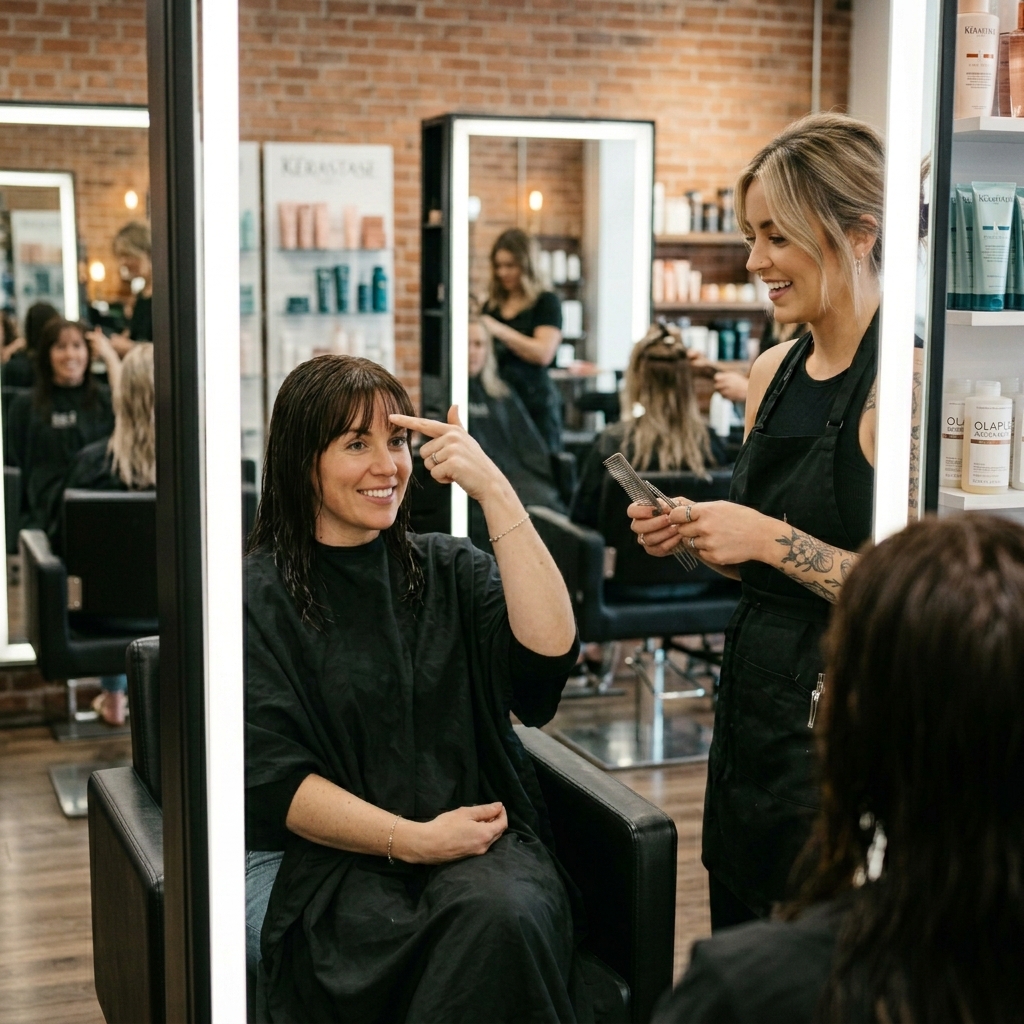
Inspiration vs. Reality: Bringing a Photo
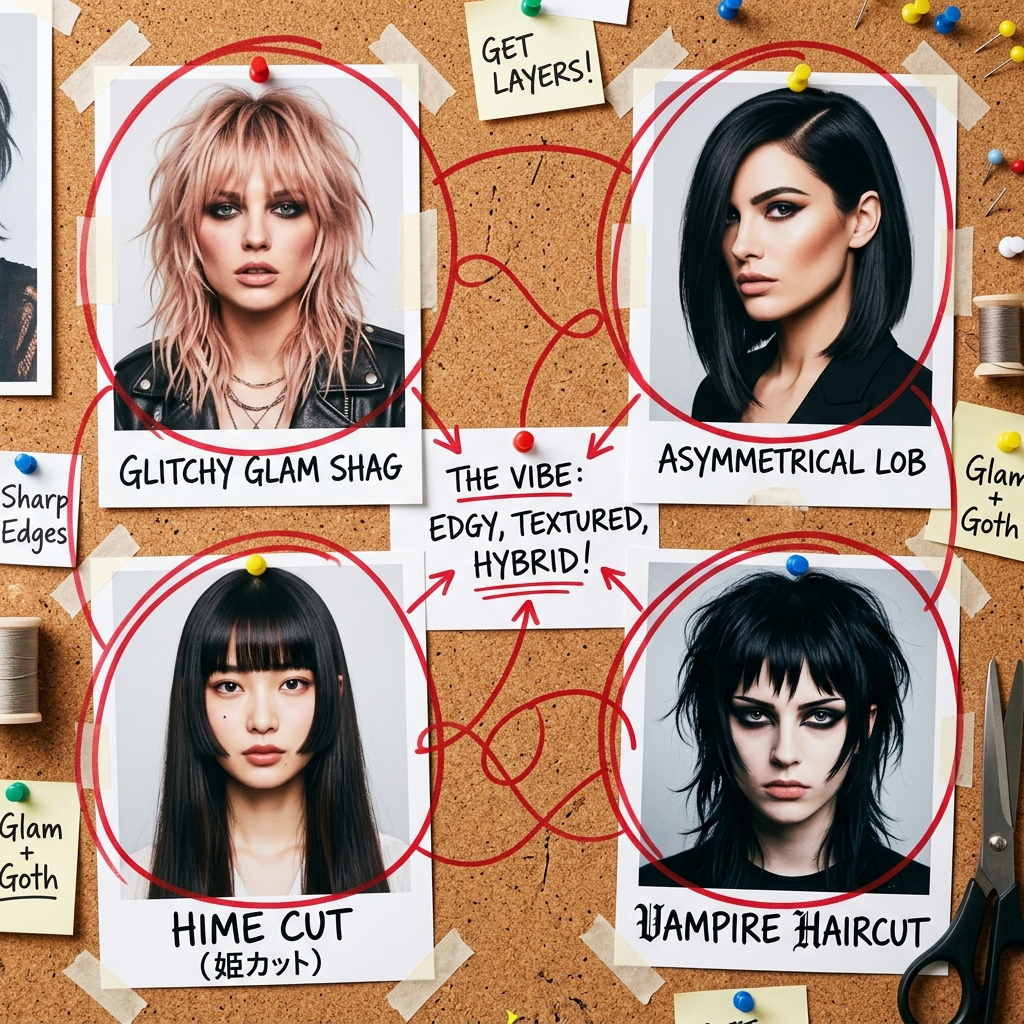
Always, always bring photos. But be smart about it. Your stylist isn’t a magician. Bring a main photo of the glitchy texture and layer placement you love.
Then, bring supporting photos. Say, “I love the texture of this vampire haircut, but I want to keep my length like this photo.” Or, “I like the front pieces of this hime cut, but blended into longer layers.” This gives a clear, achievable blueprint.
Key Phrases to Tell Your Stylist
Words matter in the salon. You want to be clear to avoid any misunderstanding. Ditch vague terms like “just a trim” or “add some layers.” Be specific.
- “I want shaggy, disconnected layers, not blended ones.”
- “Please texturize the ends heavily—chop into them with your shears.”
- “Keep my overall length, but build volume from the crown.”
- “I want a lived-in, piece-y finish, not a clean one.”
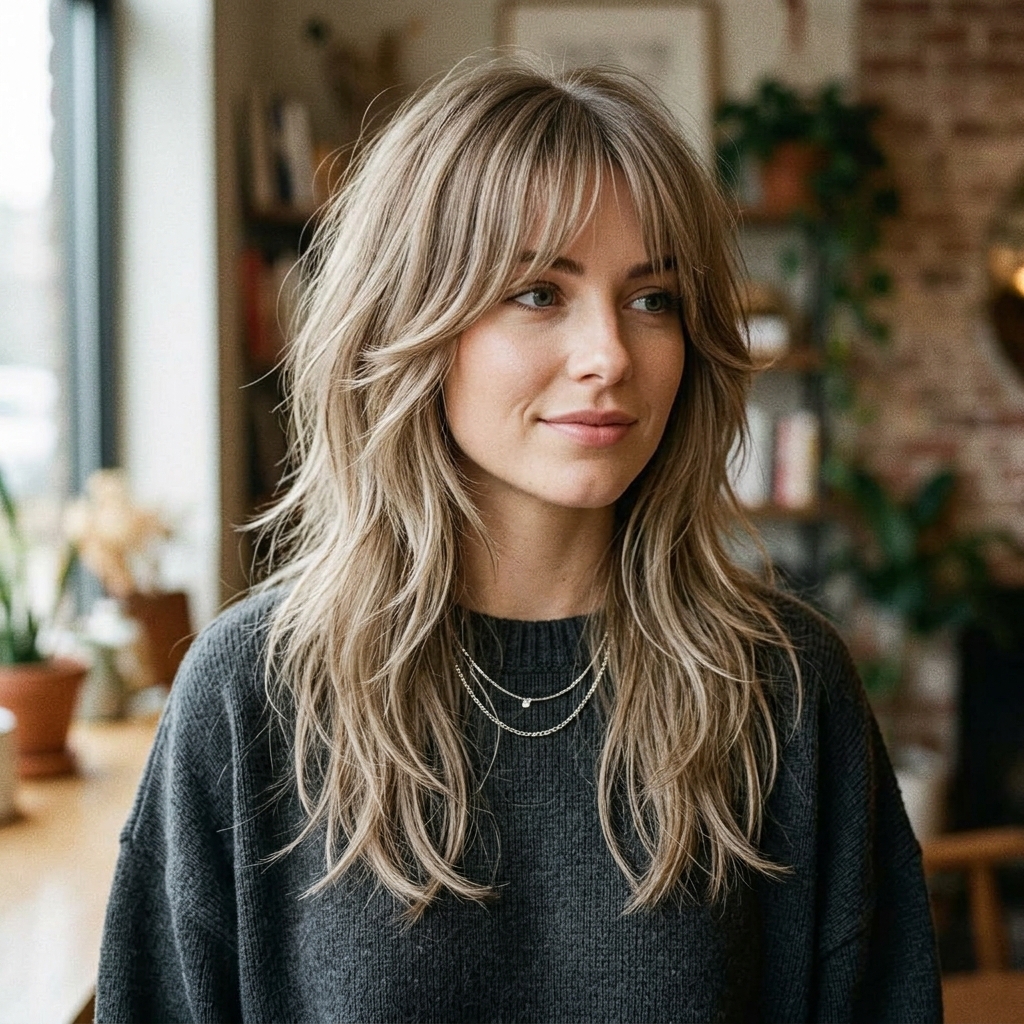
The All-Important Face-Framing Layers
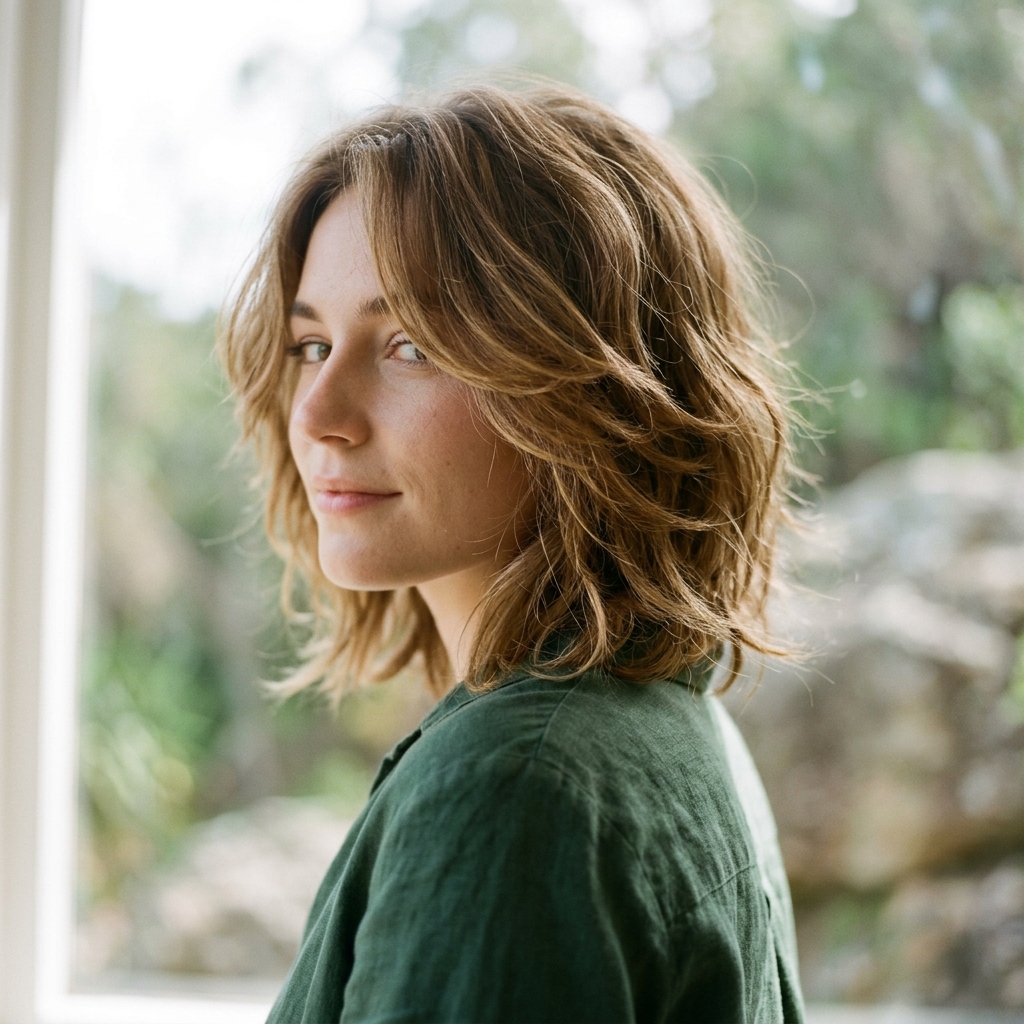
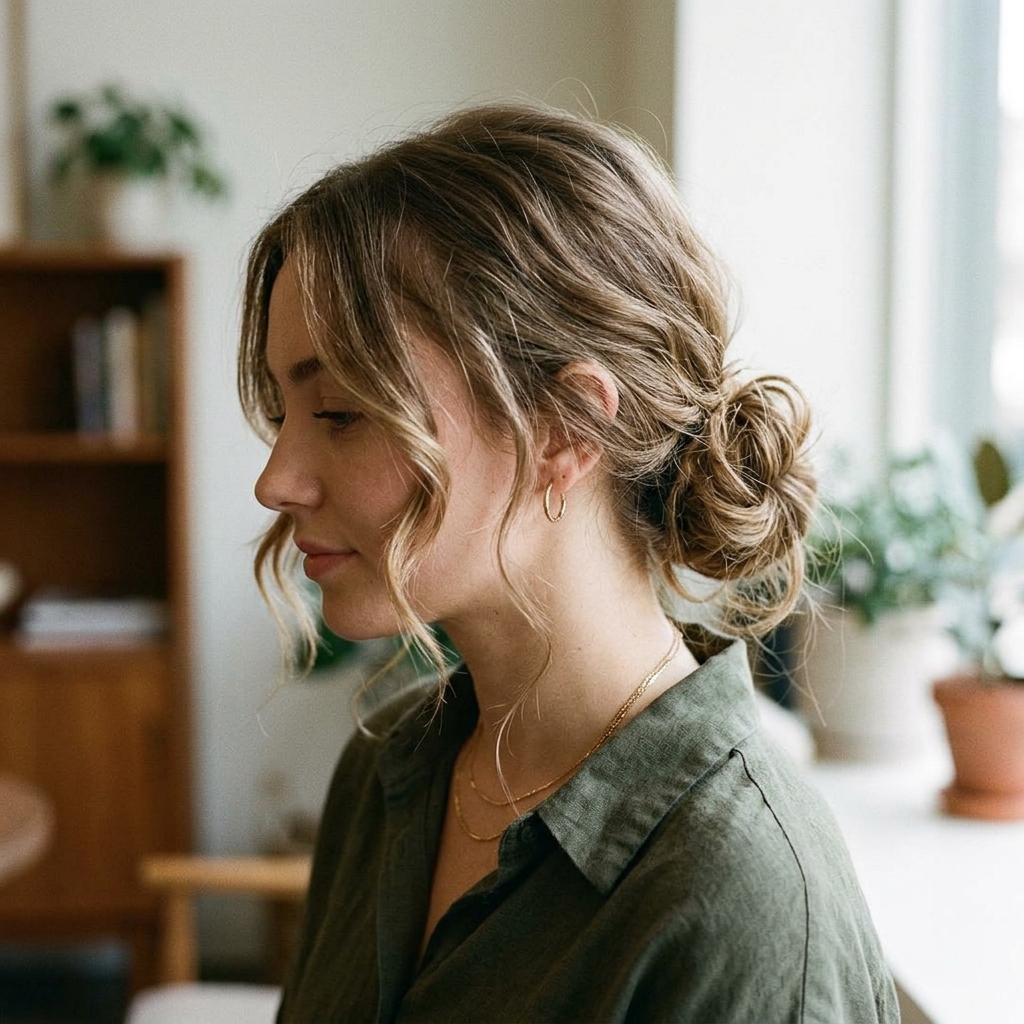
This is the heart of the glitchy glam look. The layers around your face are what give it that modern, edgy feel. They should be shorter, starting anywhere from your chin to your collarbone, and be very textured.
These pieces are what you’ll style to fall perfectly. They highlight your features and create that effortless “just pushed behind the ear” look. Ask for them to be cut at an angle, not straight across, for a softer grow-out.
Building Volume at The Crown
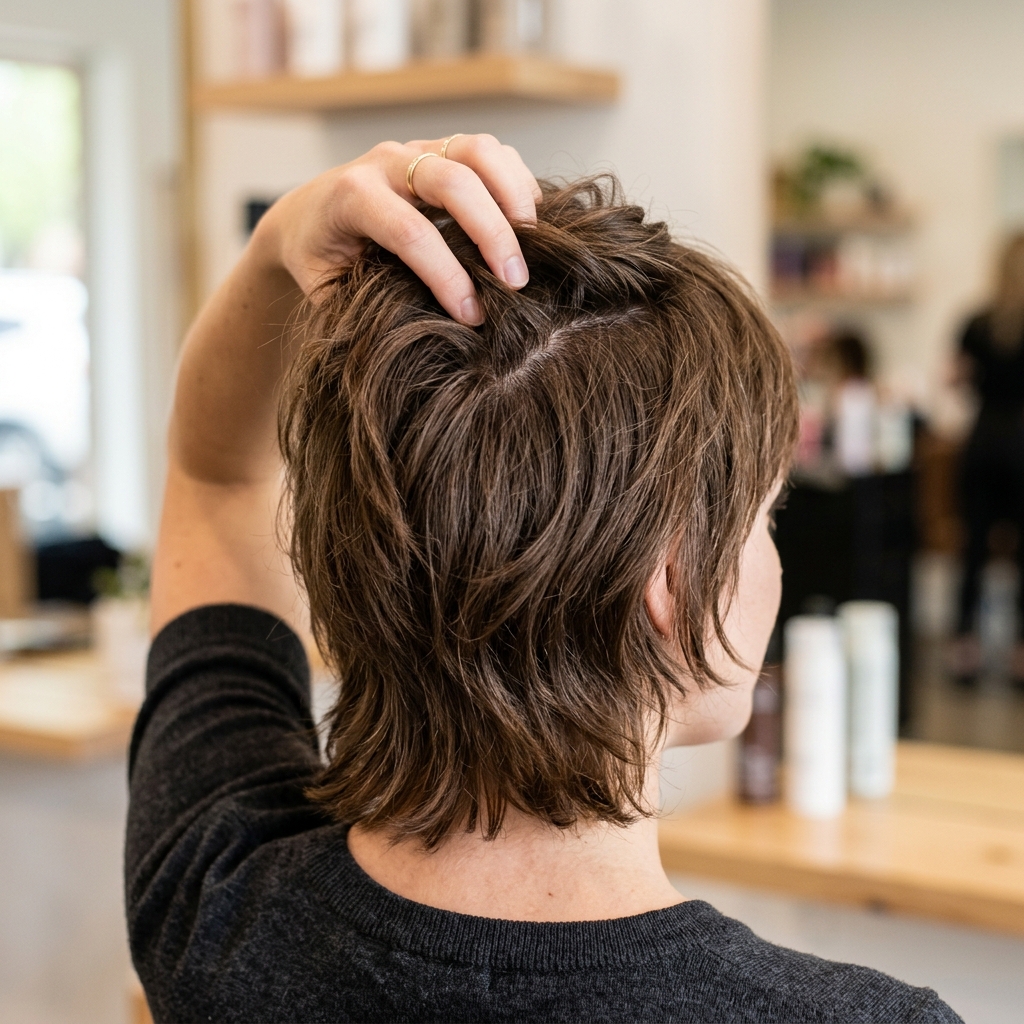
Flat hair on top is a no-go for this style. The goal is a gentle, rounded volume at the very crown of your head. This is achieved by cutting shorter layers in that top section.
These layers are hidden underneath when your hair is down, but they provide the necessary support to lift the hair at the roots. It’s the secret to that all-day body and prevents the style from falling flat by noon.
Texturizing vs. Thinning: A Critical Difference
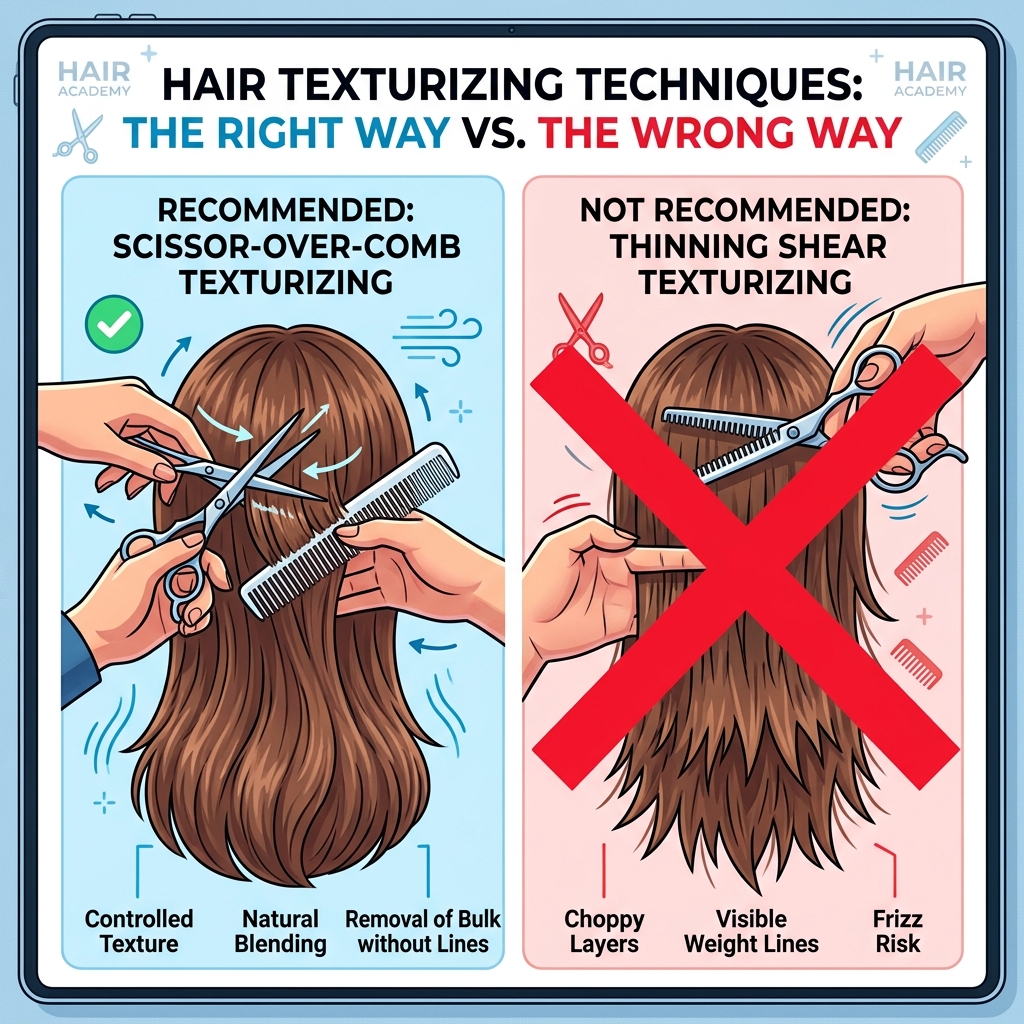
This is crucial. You want texturizing, NOT thinning. Thinning shears can make hair look frizzy, weak, and create a triangular shape. We don’t want that.
Texturizing is done with regular shears, point-cutting into the ends and mid-lengths to create separation and a choppy, broken-up finish. It removes bulk without removing density. Always tell your stylist, “Please use point cutting, not thinning shears.”
The Shaggy Layer Length Breakdown
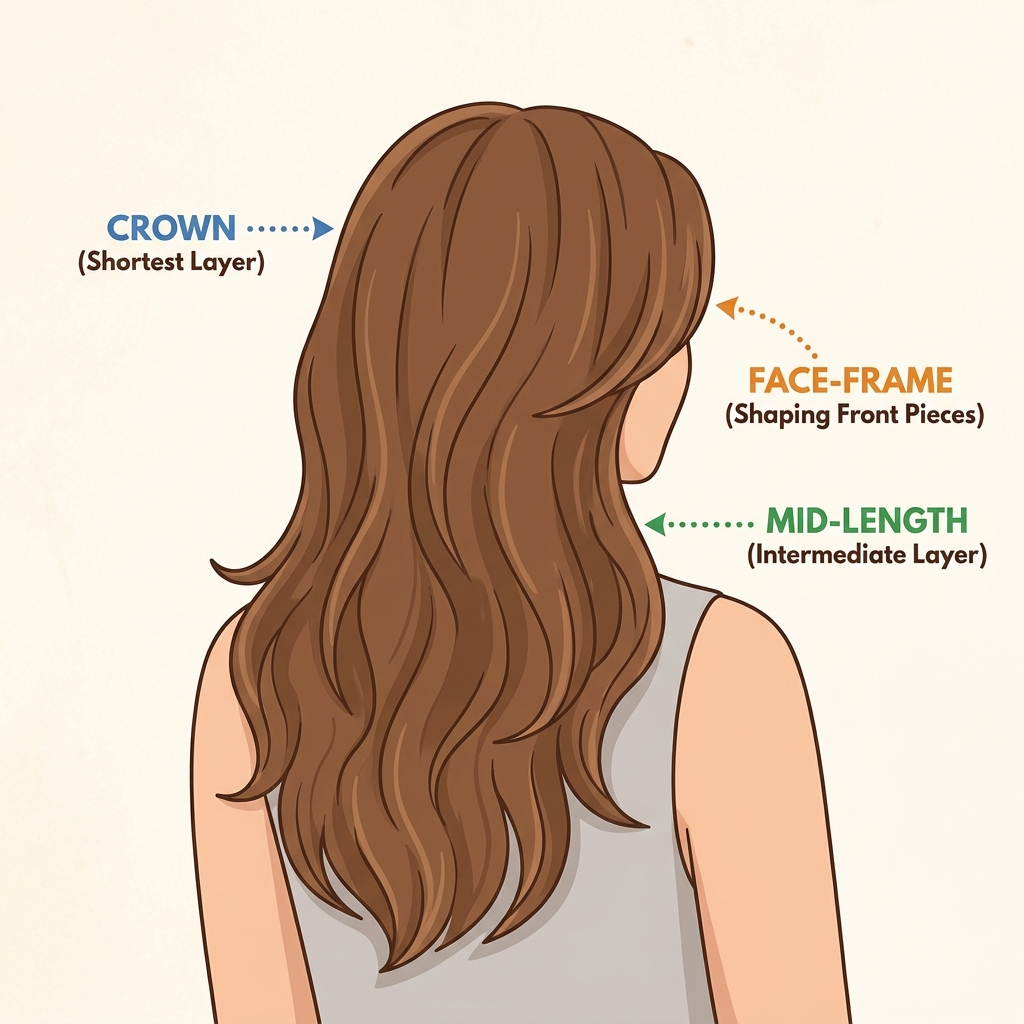
Let’s map it out. Think of your hair in three sections. The shortest layers are at the crown (for lift) and around your face. The next layer length should hit around your shoulders or collarbone.
The longest layer is your actual length at the back. The magic is in the big gap between these layers—they’re “disconnected.” This contrast is what creates the modern, shaggy effect and all that movement.
How to Style It: The Essential Tools
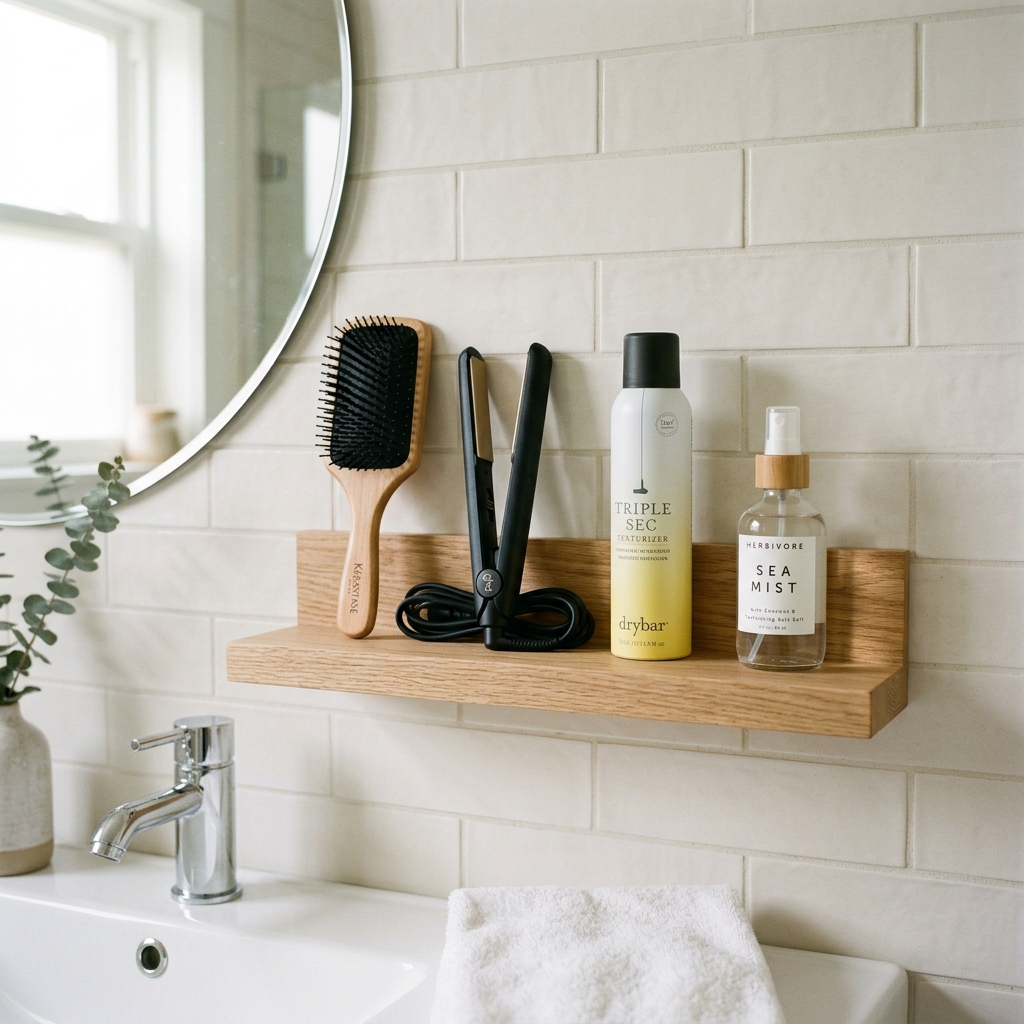
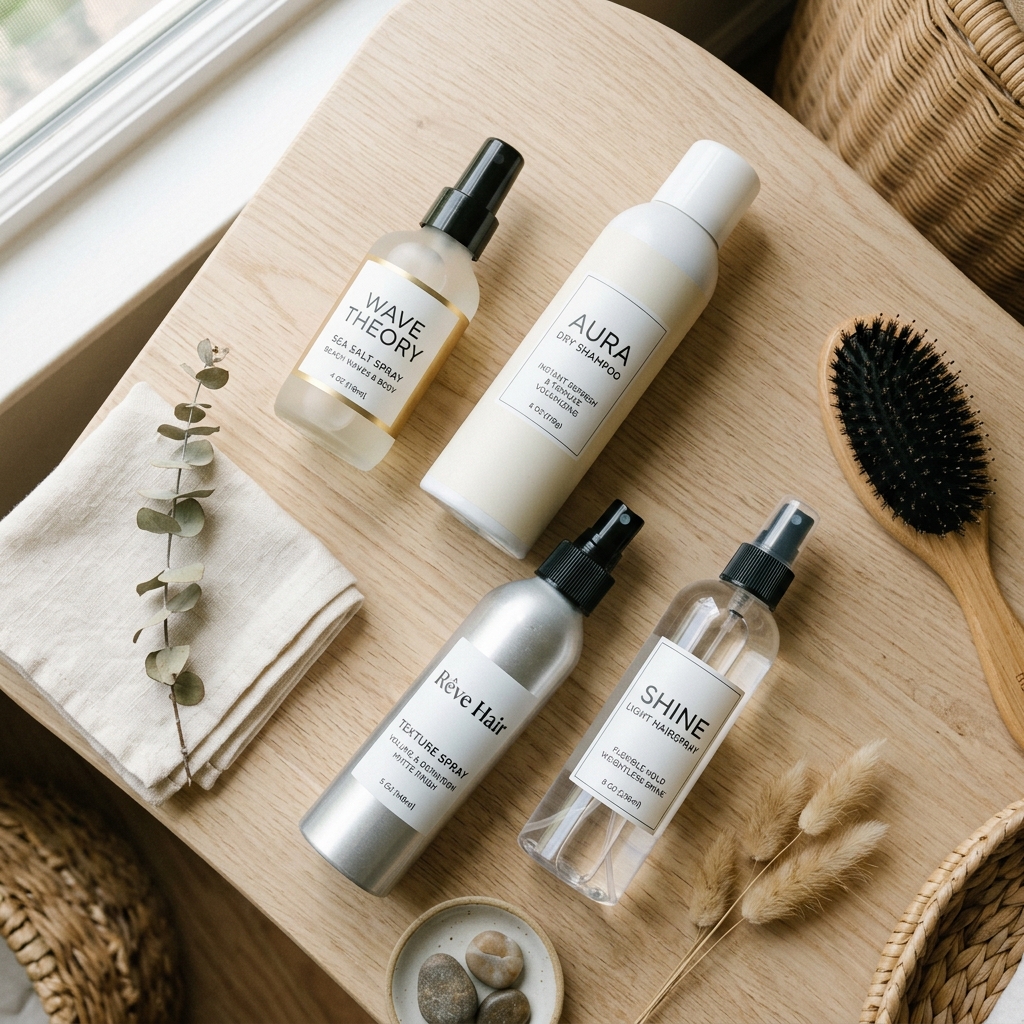
You don’t need a ton of tools. In fact, less is more. Your kit should be simple: a good paddle brush, a 1-inch flat iron (for waves and bending pieces), and a small round brush for blow-drying if you want more volume.
The real heroes are the products. A strong-hold texturizing spray is non-negotiable. A sea salt spray adds grit. A light-hold hairspray for finishing. That’s your core team.
Blow-Drying for Maximum Texture
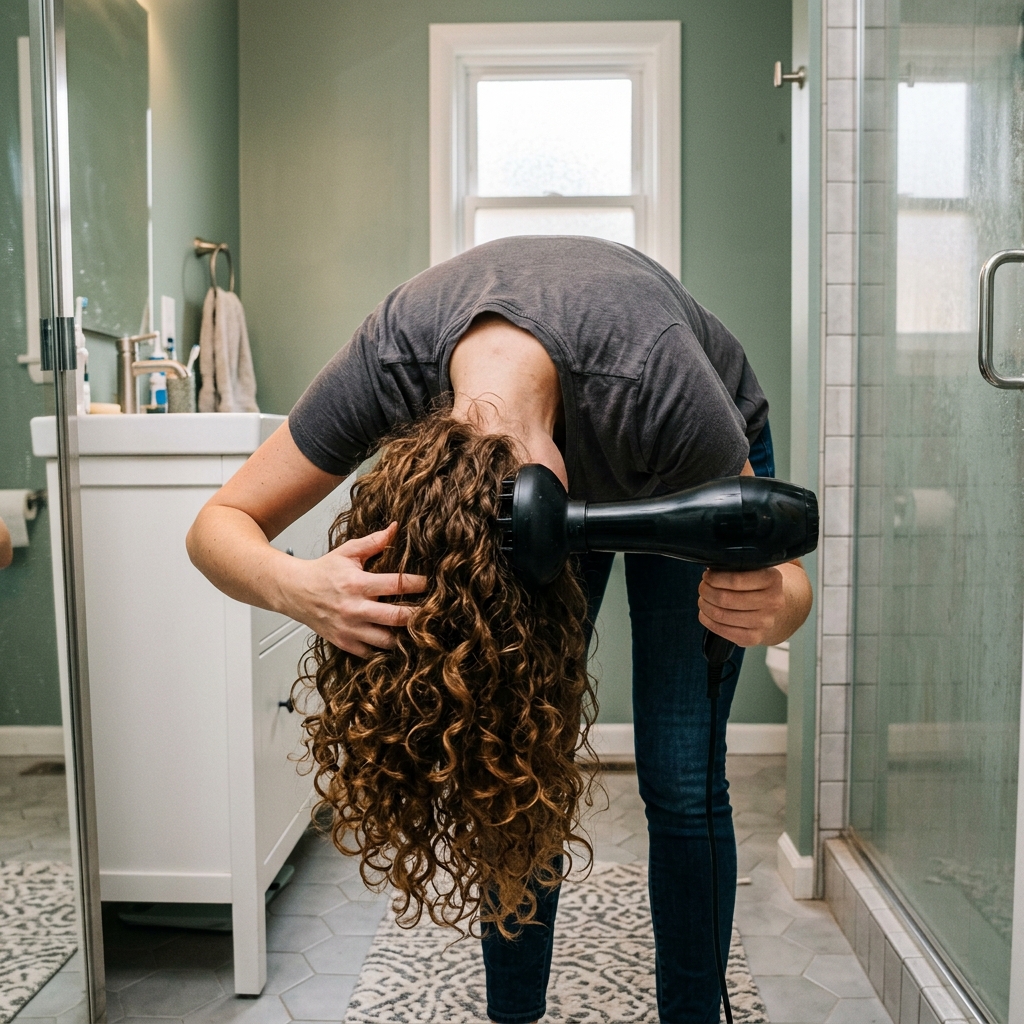
Start with towel-dried hair. Apply a volumizing mousse or root-lift spray at the crown. Then, flip your head upside down and blow-dry the roots until they’re about 80% dry.
This rough-dry technique creates instant volume. Don’t worry about being neat here. The messier the dry, the better the base for your texture. Use your fingers, not a brush, at this stage.
Creating the Piece-Y Ends with Iron
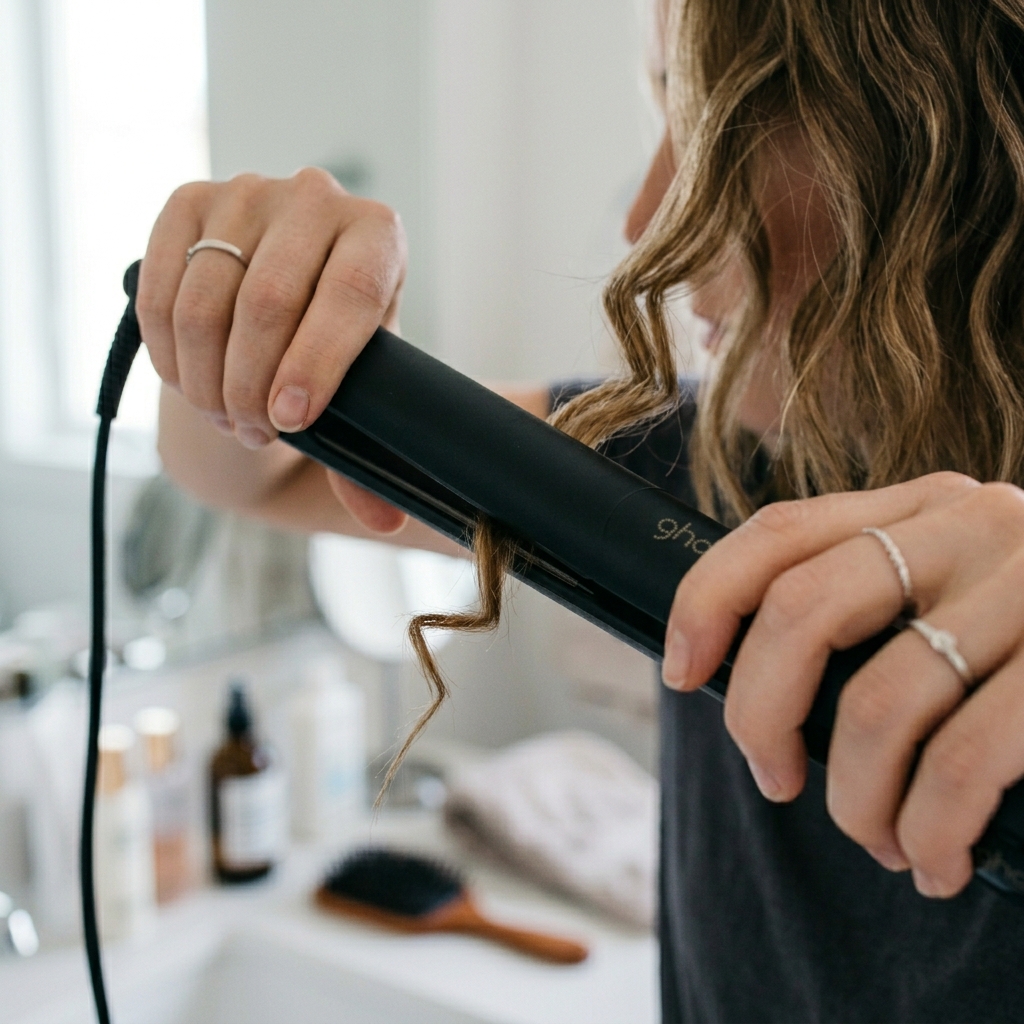
This is where the “glitch” comes in. Take very small, random sections of hair. Instead of curling them, clamp the flat iron mid-length and give it a slight bend or twist as you glide down to the end.
Alternate the direction of the bends—some forward, some back. Focus on your face-framing pieces and the very ends of your layers. You’re not making uniform curls; you’re creating kinks and bends for a broken-up look.
The Magic of Texturizing Spray
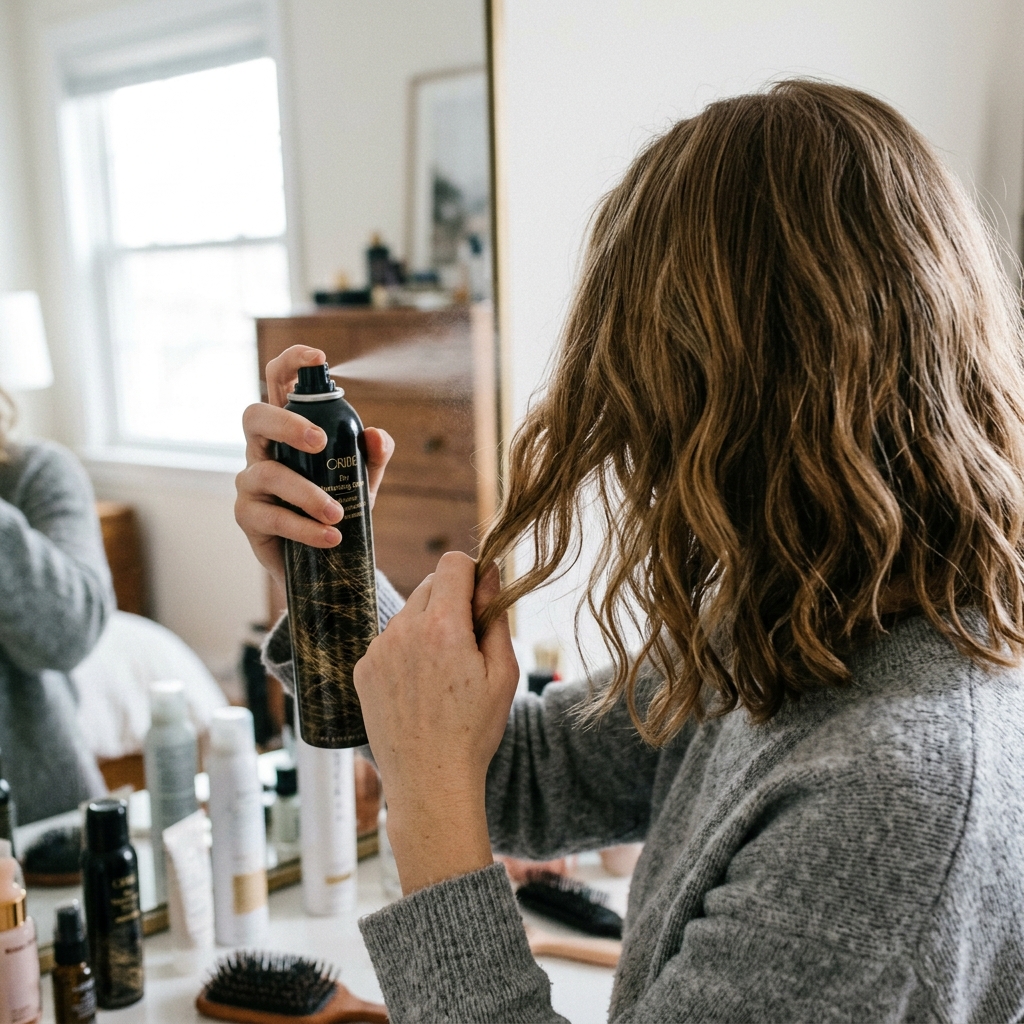
Once your hair is styled, let it cool. Then, take your texturizing spray. Hold it about 10 inches away and spritz it directly onto the mid-lengths and ends. Avoid the roots to prevent crunch.
Then, scrunch! Use your hands to scrunch the hair upwards. This breaks up any uniformity, adds grit and hold, and makes those piece-y ends really stand out. It’s the final touch that makes the style last.
Second-Day Hair: Making It Better
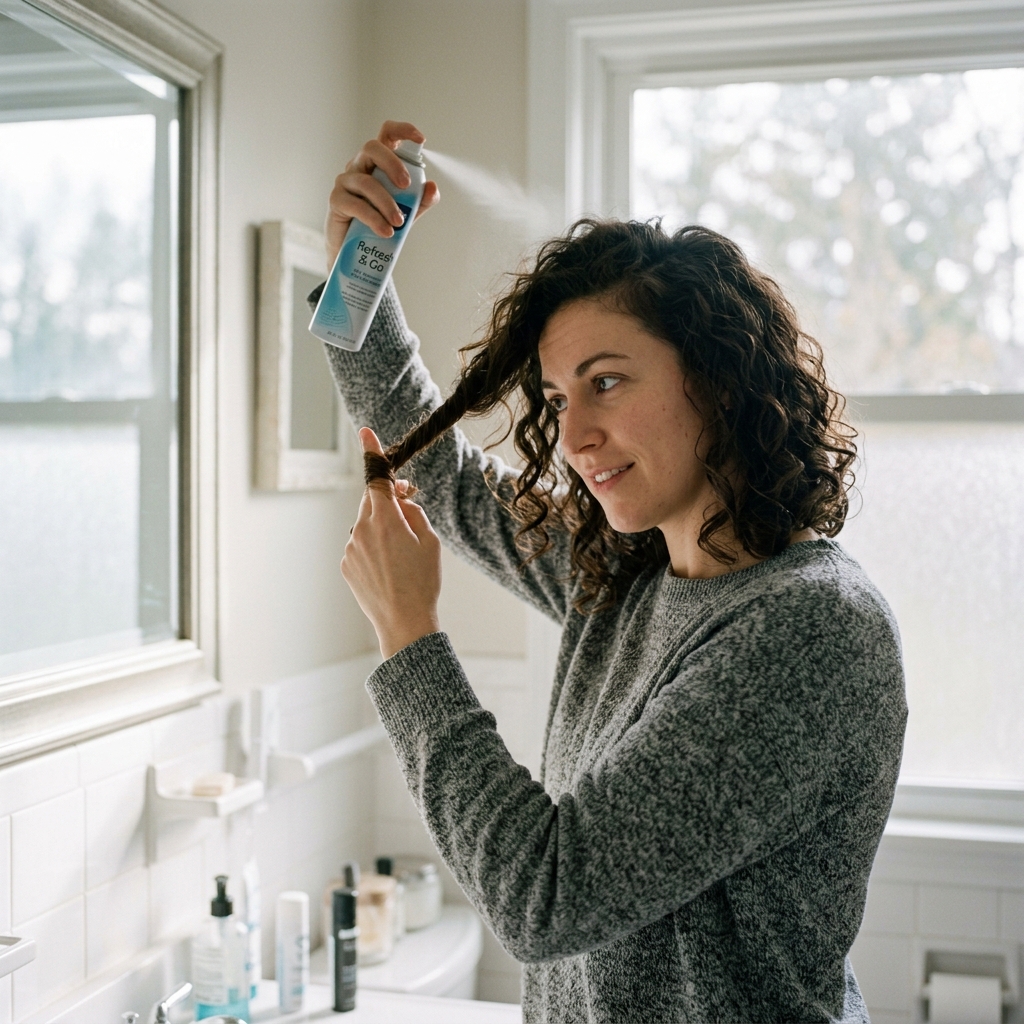
Honestly, this cut looks even better on day two or three. The natural oils add to the lived-in vibe. To refresh, start with a dry shampoo at the roots to soak up oil and add volume.
Then, lightly mist a mix of water and a drop of sea salt spray in your hands. Redefine a few key face-framing pieces by twisting them around your finger. That’s it. No heat needed.
Adapting the Look for Fine Hair
If you have fine hair, you might worry layers will make it look thinner. The key is to keep the layers longer and more blended than someone with thick hair. Avoid super-short face frames.
Focus on texturizing just the very ends. Use a volumizing powder at the roots instead of heavy sprays. This cut can actually make fine hair look thicker by creating the illusion of density and movement.
Adapting the Look for Thick Hair

For thick hair, this cut is a dream for removing weight. You can go for more dramatic, shorter layers and heavier texturization. Don’t be afraid to really chop into those ends.
The goal is to remove the bulk that weighs your hair down. You might need a stronger-hold texturizing paste to control and define the pieces. Embrace your natural texture—it will only add to the vibe.
When to Consider Bangs
Curtain bangs or a wispy fringe are a natural extension of this look. They are essentially the shortest face-framing layer. If you’ve ever wanted bangs, this is the cut to try them with.
They blend perfectly into the shaggy layers and grow out beautifully. Start with longer, cheek-skimming curtain bangs—they’re less commitment and frame your face beautifully, adding to that asymmetrical lob feel even on long hair.
Pairing with Color for Extra Dimension

Color can take this cut to the next level. Subtly placed highlights or a soft balayage make the layers pop even more. When lighter pieces fall on those textured ends, it creates a stunning, multi-dimensional effect.
Ask your colorist for a “lived-in” color with a lot of tone variation. This mimics the natural, sun-kissed look that works in perfect harmony with the undone texture of the cut.
Common Mistakes to Avoid

Let’s avoid tears in the salon chair. First, avoid letting a stylist who doesn’t get it “blend” your layers too much. The disconnect is intentional. Second, don’t let them use thinning shears, as we discussed.
Finally, don’t go too short with the face-framing layers on your first try. You can always cut more later. It’s easier to take hair off than to put it back on.
Maintenance & Trims Schedule

The beauty of this cut is that it grows out gracefully. But to keep that textured, healthy look, you’ll need regular trims. Aim for every 8-10 weeks.
This isn’t a full reshape every time—just a cleanup of the ends and a refresh of the texturization. Tell your stylist, “Just clean up the ends and re-texturize to maintain the shape.” It keeps the style looking fresh.
Quick Updos That Actually Work
All these layers make for amazing, effortless updos. A messy low bun or ponytail is instantly cooler because pieces naturally fall out. Simply gather your hair, but leave out your face-framing layers and some pieces at the nape of your neck.
Pull it loose, don’t make it tight. The layers create volume and texture in the updo itself, so it never looks slick or severe. It’s the perfect old money hair vibe for a hot day or a fancy event.
My Favorite Products for This Look
I’ve tried a million products. Here are my holy grails for this specific style. For texture: Living Proof Full Dry Volume Blast. For grit: Bumble and Bumble Surf Spray.
For refresh: Amika Perk Up Dry Shampoo. For hold: Oribe Superfine Hairspray. A little of each goes a long way. You don’t need them all at once—mix and match based on your hair’s needs that day.
Your Final Glitchy Glam Checklist
Before you head to the salon or pick up your styling tools, run through this list. Do you have 2-3 clear inspiration photos? Have you practiced the key phrases for your stylist?
Do you have a texturizing spray ready? Remember, the goal is effortless, cool texture—not perfection. Trust the process, and don’t over-style it. The messier, the better.
And there you have it! Your complete guide to getting the cool-girl, glitchy glam shag without the panic. This look is all about embracing imperfection and letting your hair have its own personality.
It’s a cut that works with you, not against you. It grows out beautifully, styles in minutes, and makes you feel like you just stepped out of a lookbook—even if you’re just running to the grocery store.
I want to see your transformations! Did you try this? What did you tell your stylist? Save this post to Pinterest to keep your inspiration handy, and let me know in the comments below what part of this guide helped you the most. Can’t wait to hear your stories!

