
Okay, let’s be real. You’ve seen that cool, slightly undone, effortlessly cool hair all over your feed, right? It’s not quite messy, not quite perfect. It’s got texture, it’s got movement, and it looks like you just rolled out of bed that way (in the best possible way). That, my friend, is the magic of glitchy glam.
If you’re bored of your long hair but the thought of a big chop gives you anxiety, this is your perfect middle ground. We’re talking about adding strategic, shaggy layers that create that “lived-in” luxury vibe. It’s a little bit rock and roll, a little bit old money hair, and 100% cool.
The best part? You can absolutely achieve this look without a total style overhaul. I’m breaking down everything, from how to describe it to your stylist to how to style it at home in five minutes flat. Let’s get into it.
What Is Glitchy Glam Hair, Exactly?
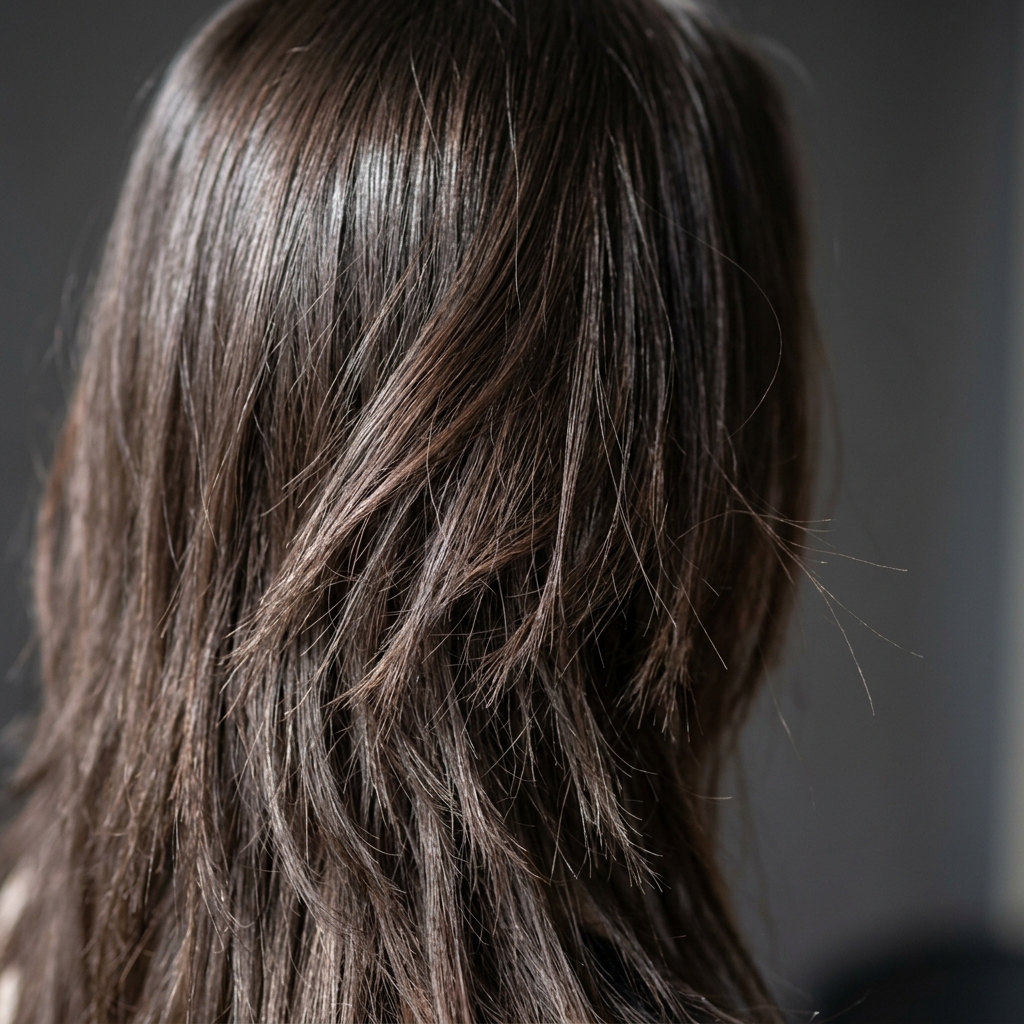
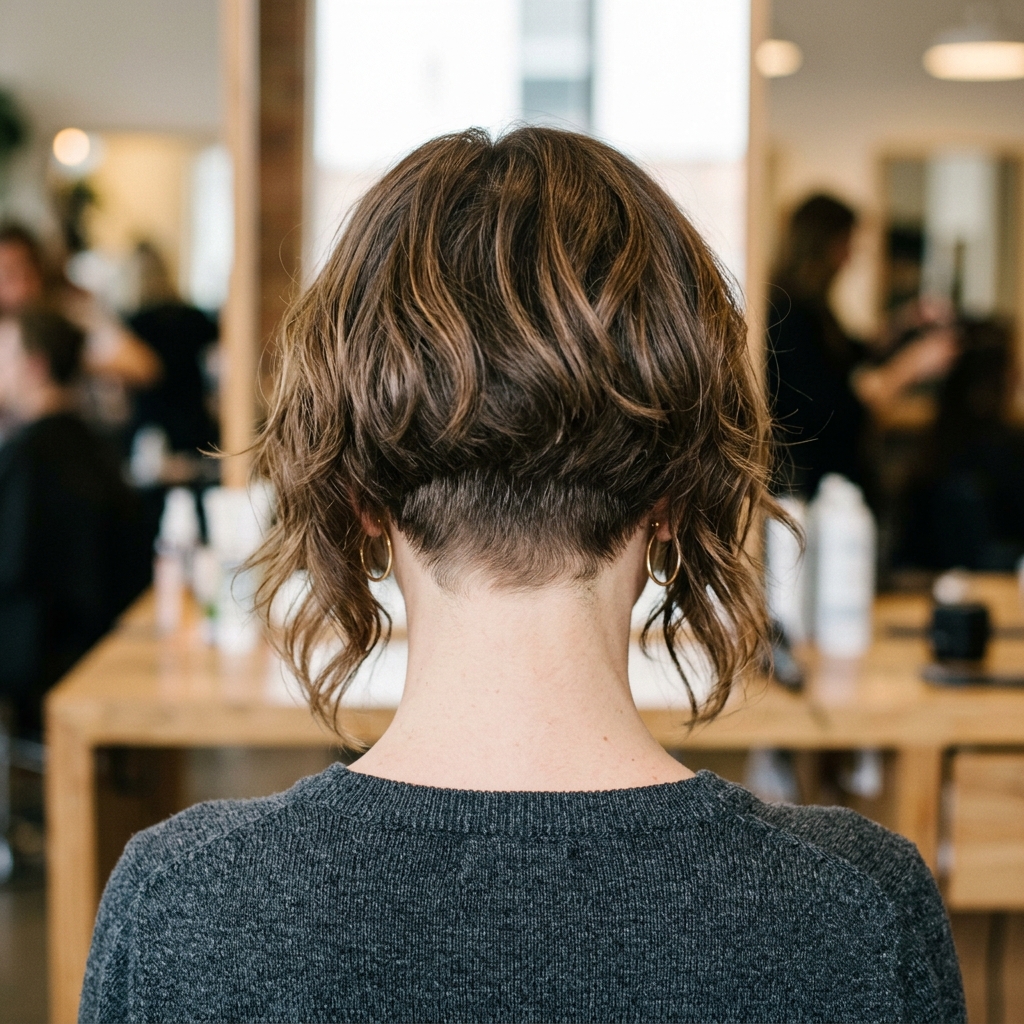
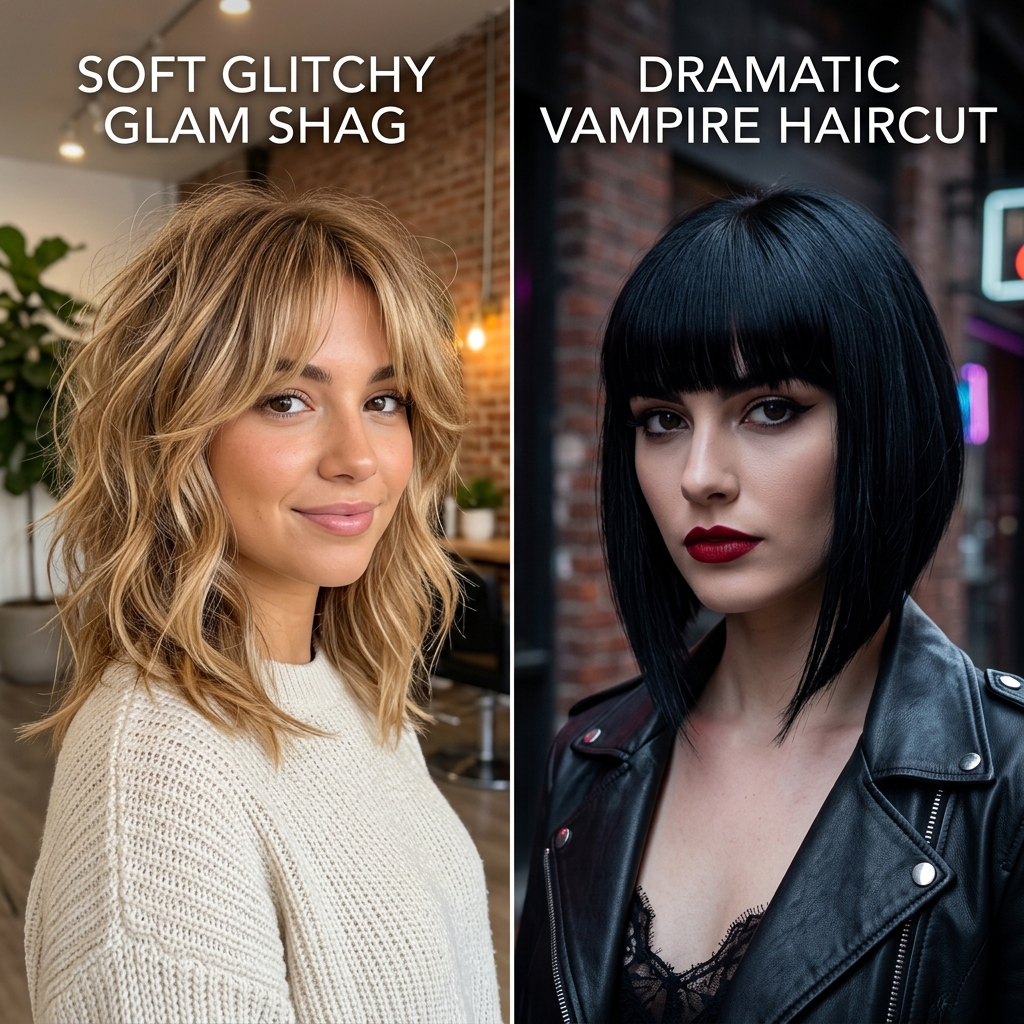
Think of glitchy glam as the digital-age lovechild of a 70s shag and modern, lived-in texture. It’s intentionally imperfect. The “glitch” is in the broken-up, piece-y layers and the contrast between polished roots and tousled ends.
It’s not a blunt cut or a sleek quiet luxury bob. It’s soft, it’s shattered, and it has tons of personality. This look fits right in with the 2026 hairstyles trend of personalized, low-fuss beauty. It’s for the girl who wants to look put-together but never overdone.
Why the Shaggy Layer Is Your Best Friend
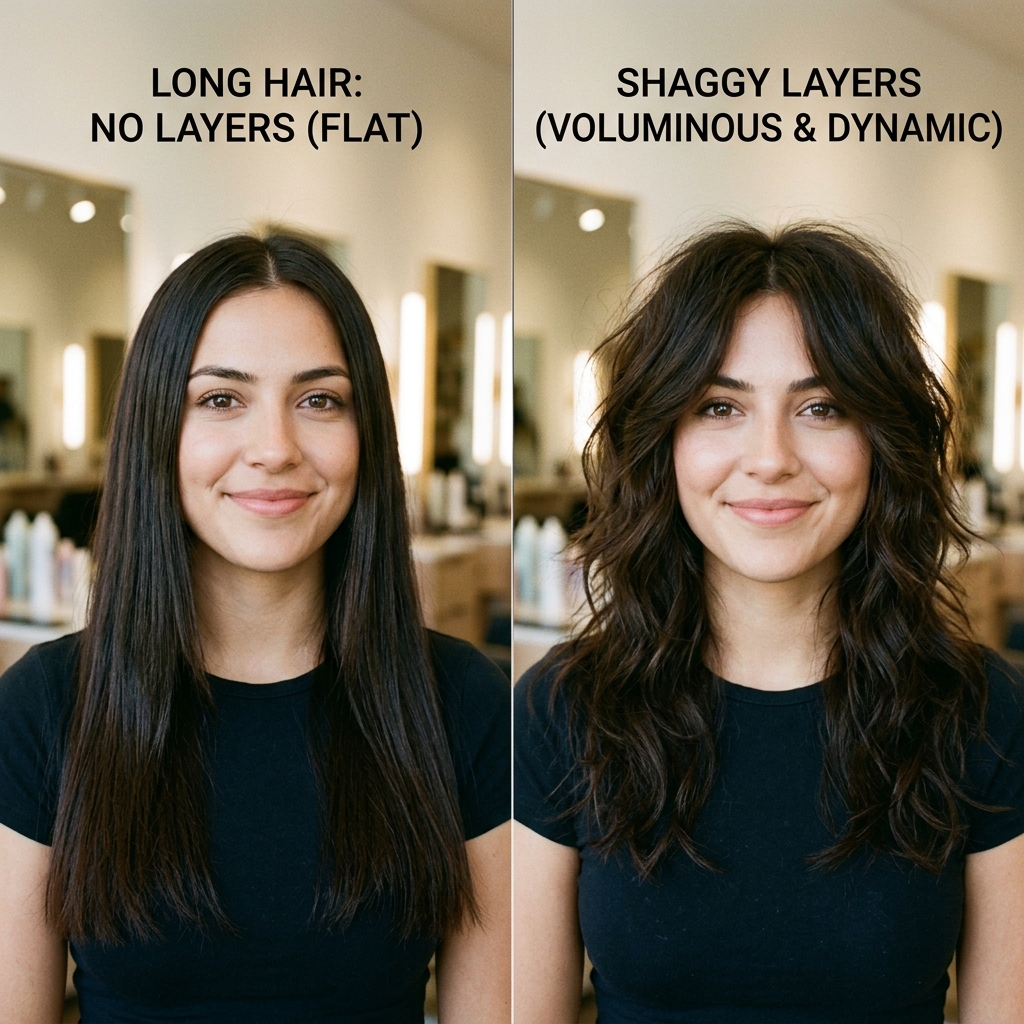
Long hair without layers can often feel heavy and lifeless. It just… sits there. Adding shaggy layers is the instant cure for hair boredom. They remove weight, create automatic volume at the crown, and give your hair a shape beyond “just long.”
These layers are the secret to that “I woke up like this” body and wave. They make styling easier because the hair has natural movement and places to go. It’s the ultimate practical cut for looking glamorous with minimal effort.
Bringing the Right Inspiration Photos
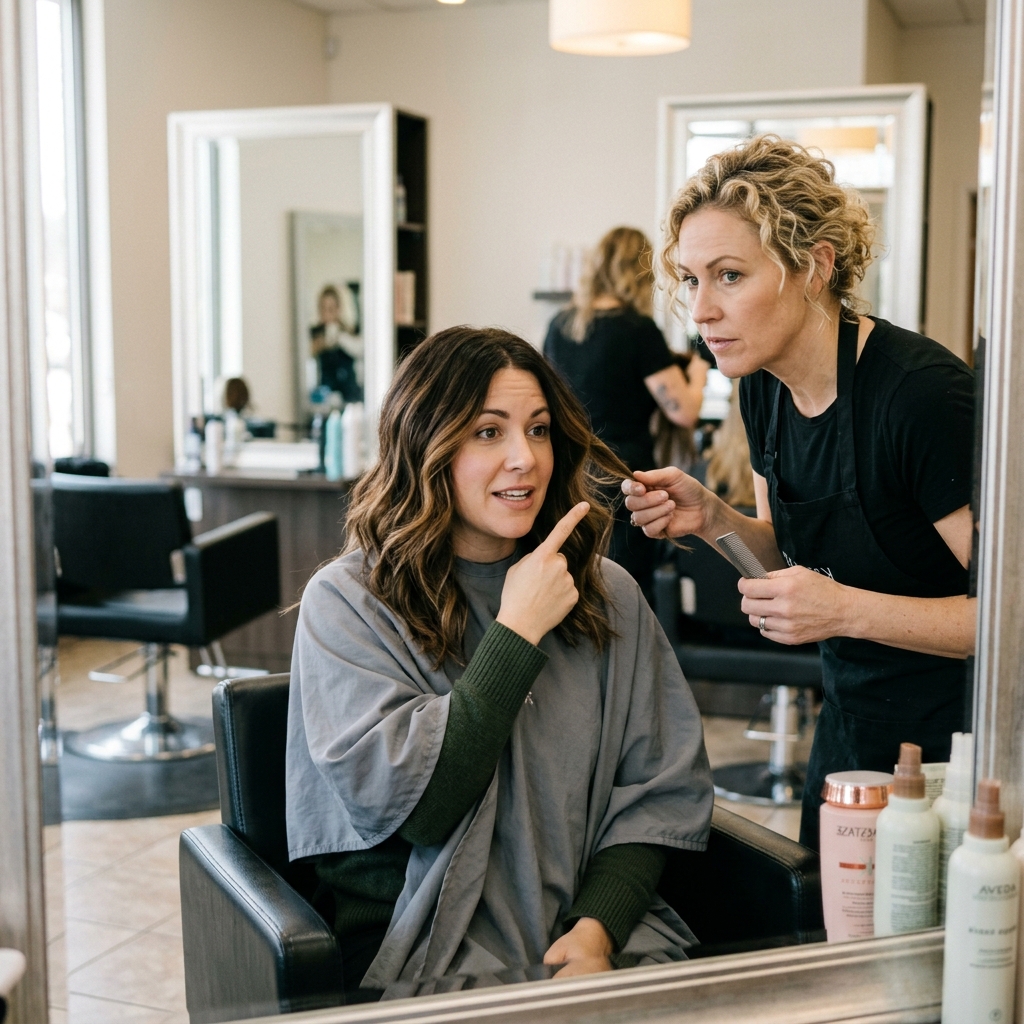
Words can fail us at the salon chair. “Shaggy” to you might mean “choppy” to your stylist. That’s why bringing pictures is non-negotiable. Don’t just say “glitchy glam”; show them.
Look for photos that highlight the texture you want. Search terms like “vampire haircut” or “romantic goth hairstyles” often have this aesthetic. Point out the pieces around the face and the uneven ends. A good visual is worth a thousand words.

Key Phrases to Tell Your Stylist
Once you have your photos, back them up with the right vocabulary. This ensures you and your stylist are on the same page. Use clear, descriptive language about the feel you want.
- “I want shattered, piece-y ends, not blunt or chunky.”
- “Let’s keep the length but add a lot of internal layers for movement.”
- “I love a disconnected layer around the face to frame it.”
- “The goal is lived-in texture, not a perfectly clean cut.”
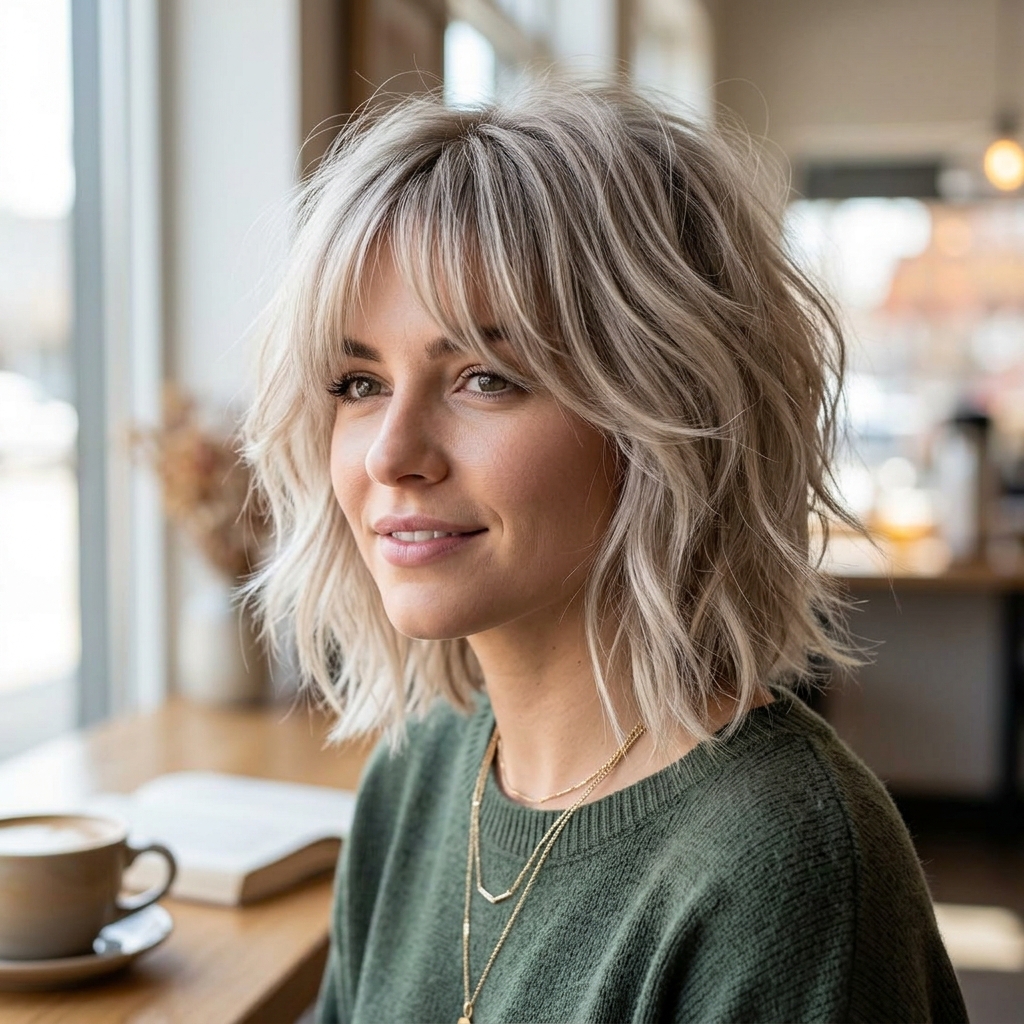
Face-Framing Layers Are Non-Negotiable
This is the heart of the glitchy glam look. Face-framing layers are shorter pieces cut to fall around your cheeks, jawline, and chin. They break up the solid curtain of hair and instantly add a cool-girl vibe.
These layers should be cut at an angle, not straight across. They can be longer or shorter depending on your comfort, but they must be blended into the longer lengths. This is what gives that modern, asymmetrical lob energy, even on long hair.

Asking for “Disconnected” Layers
In a traditional layered cut, each layer blends seamlessly into the next. For a glitchier effect, ask about a slightly “disconnected” technique. This means there’s a more noticeable jump between the lengths of certain layers.
This creates more dramatic texture and those iconic “pieces” that stick out in a cool way. It’s a bolder take, so show your stylist a picture of exactly how disconnected you want it. A little goes a long way here.
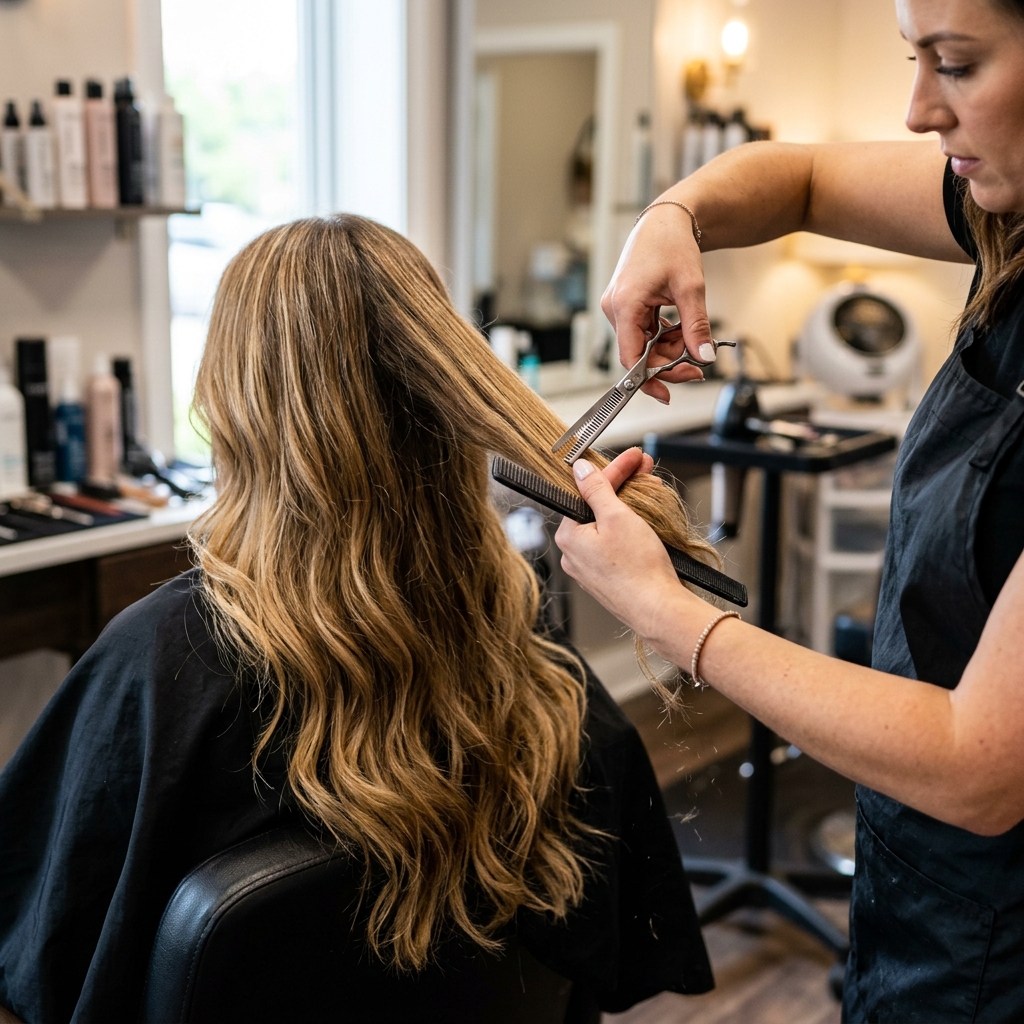
The Magic of Texturizing Shears
Your stylist’s best tool for this look is not a razor (which can make hair too fuzzy), but texturizing shears, also called thinning shears. These are scissors with teeth that remove strategic pieces of hair to soften lines.
They use them on the ends of your layers to “shatter” them, creating that soft, broken-up effect. It’s what prevents the layers from looking too heavy or helmet-like. This technique is the literal cut that creates the glam.
How to Style It: The Pre-Styling Prep
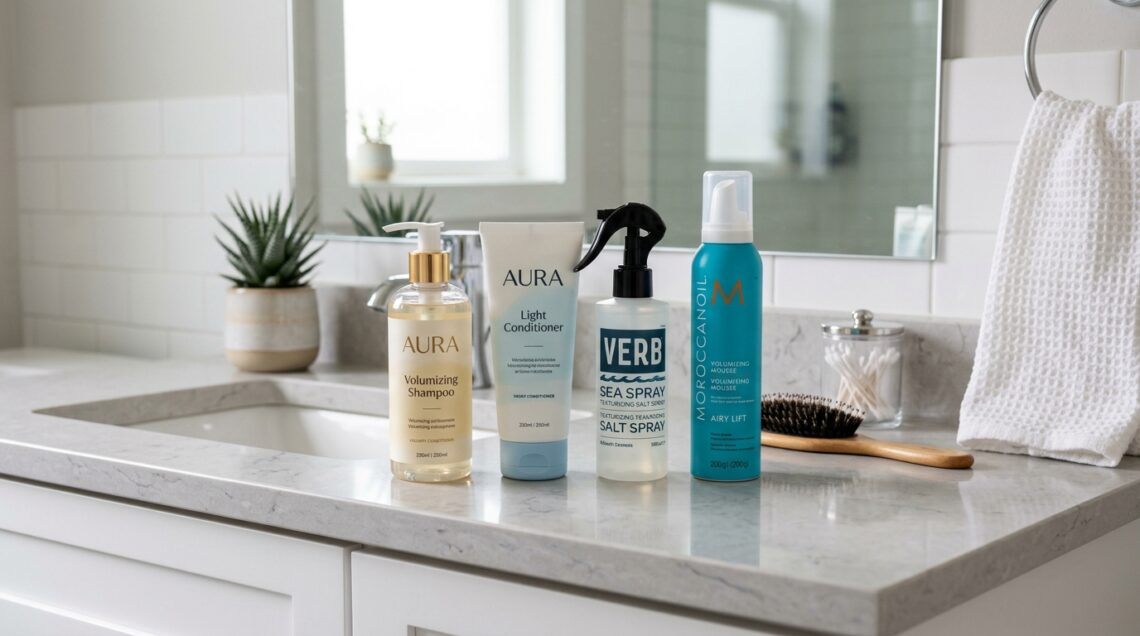
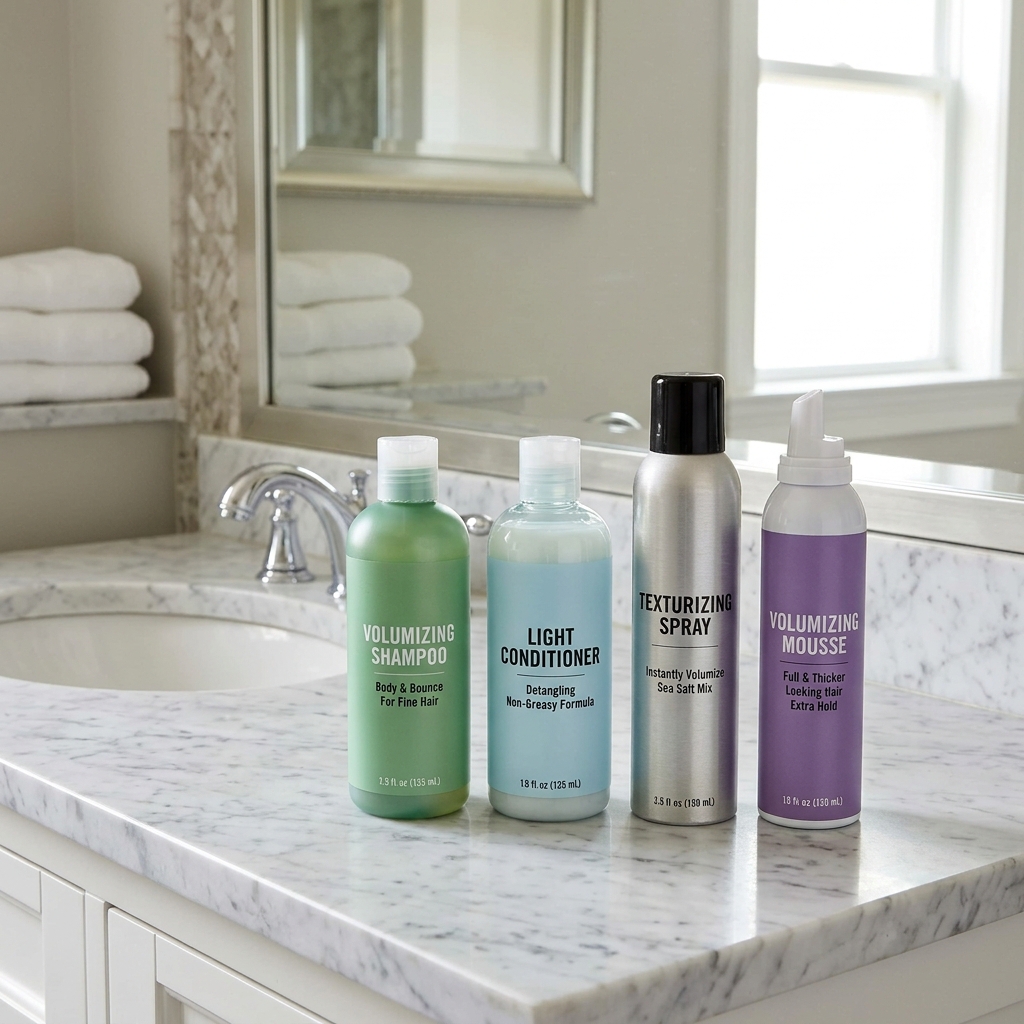
Great hair starts in the shower. For this texture, you need a good foundation. Skip heavy, smoothing shampoos. Opt for volumizing or texturizing formulas instead. A light conditioner is key—only apply it from the mid-lengths to ends.
When you get out, don’t rough-dry with a towel. Gently squeeze out water. Then, apply a volumizing mousse or a texturizing spray to damp roots and lengths. This gives your hair something to hold onto as it dries.
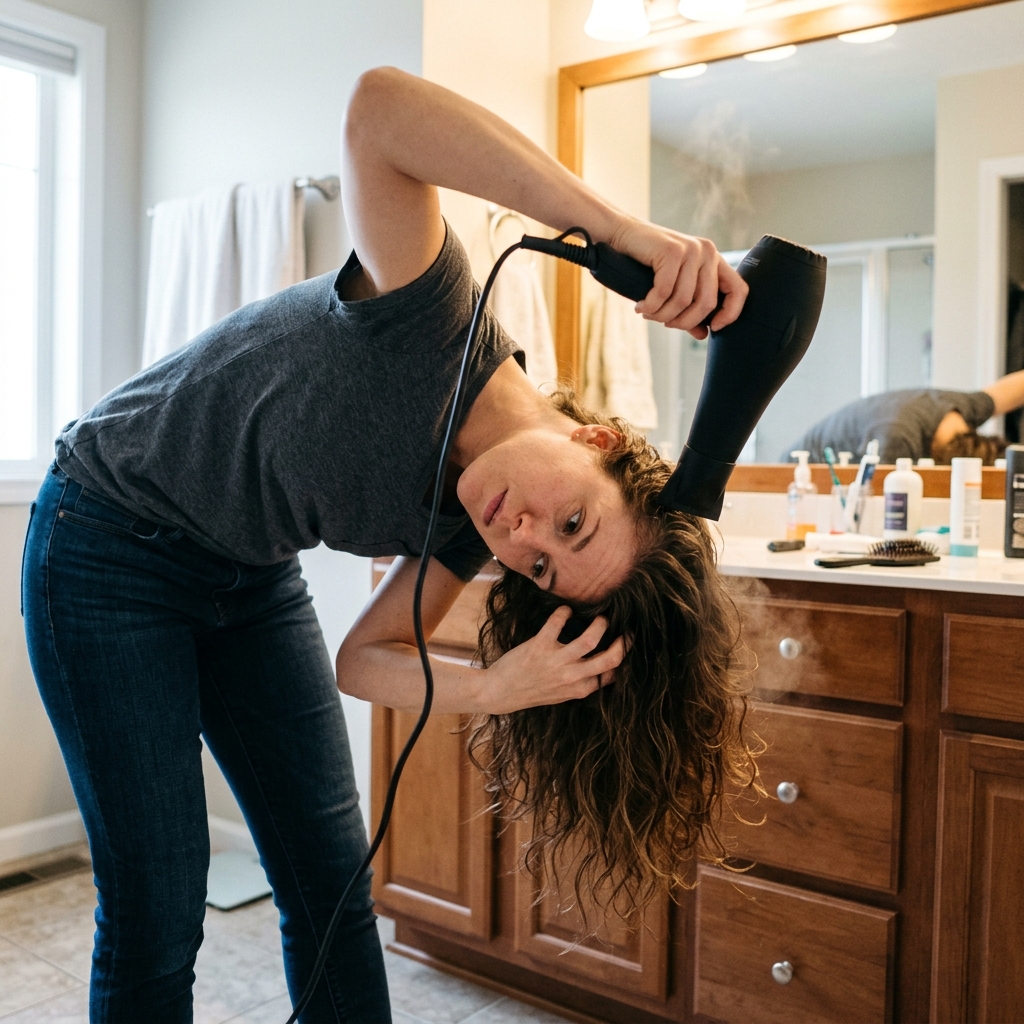
Blow-Drying for Maximum Volume
Your goal here is root lift. Flip your head upside down and blow-dry your roots until they are about 80% dry. Use your fingers to tousle at the roots. This creates instant, lasting volume at the crown.
Then, flip back up and use a round brush to smooth the top layer only. You want the top to be sleek-ish, contrasting with the textured underlayers. Let the ends curl around the brush instead of straightening them completely.
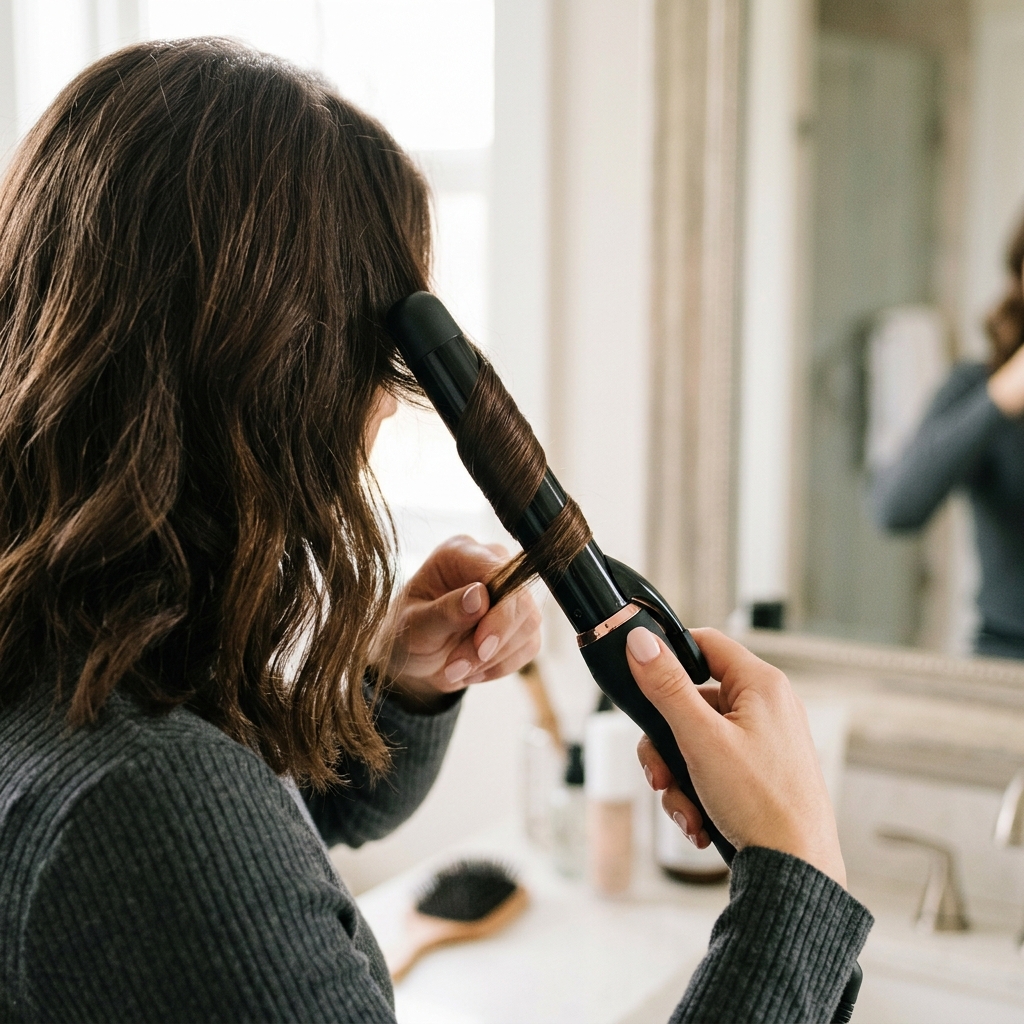
Creating the “Glitch” with a Curling Iron
You don’t want uniform curls. Grab a 1-inch curling iron or wand. Take random, vertical sections of hair—not neat horizontal ones. Wrap the hair around the barrel, but leave the ends out.
Hold for a few seconds, then drop the curl. Do NOT brush them out. Instead, once all sections are cooled, use your fingers to gently separate and twist a few pieces. This enhances the piece-y, glitchy effect.
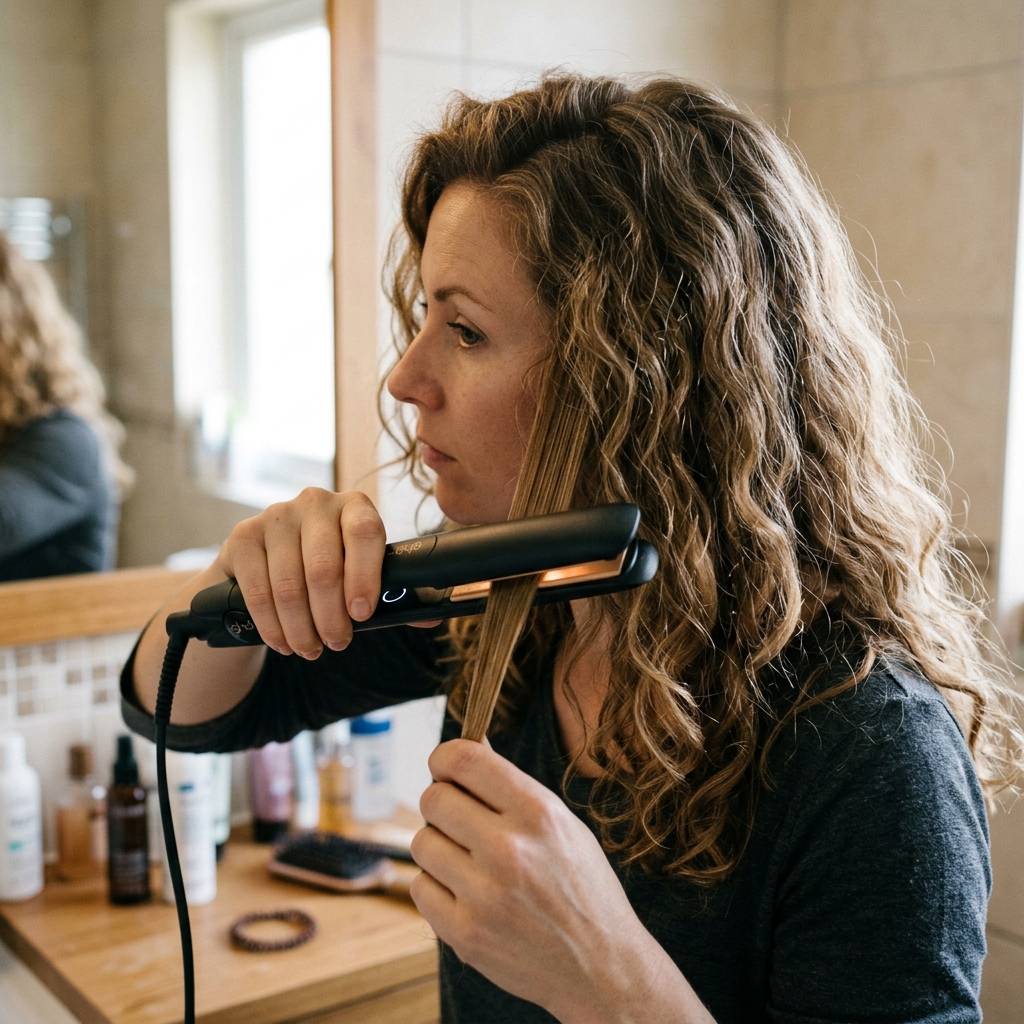
The Pin-Straight Pieces Trick
This is a pro tip for that authentic glitchy feel. After curling, select a few face-framing pieces or pieces around the crown. Take a flat iron and run it over them to make them pin-straight.
This contrast between wavy pieces and a few stark straight pieces is *chef’s kiss*. It looks intentional, edgy, and perfectly imperfect. It’s a signature move in many romantic goth hairstyles that translates perfectly here.
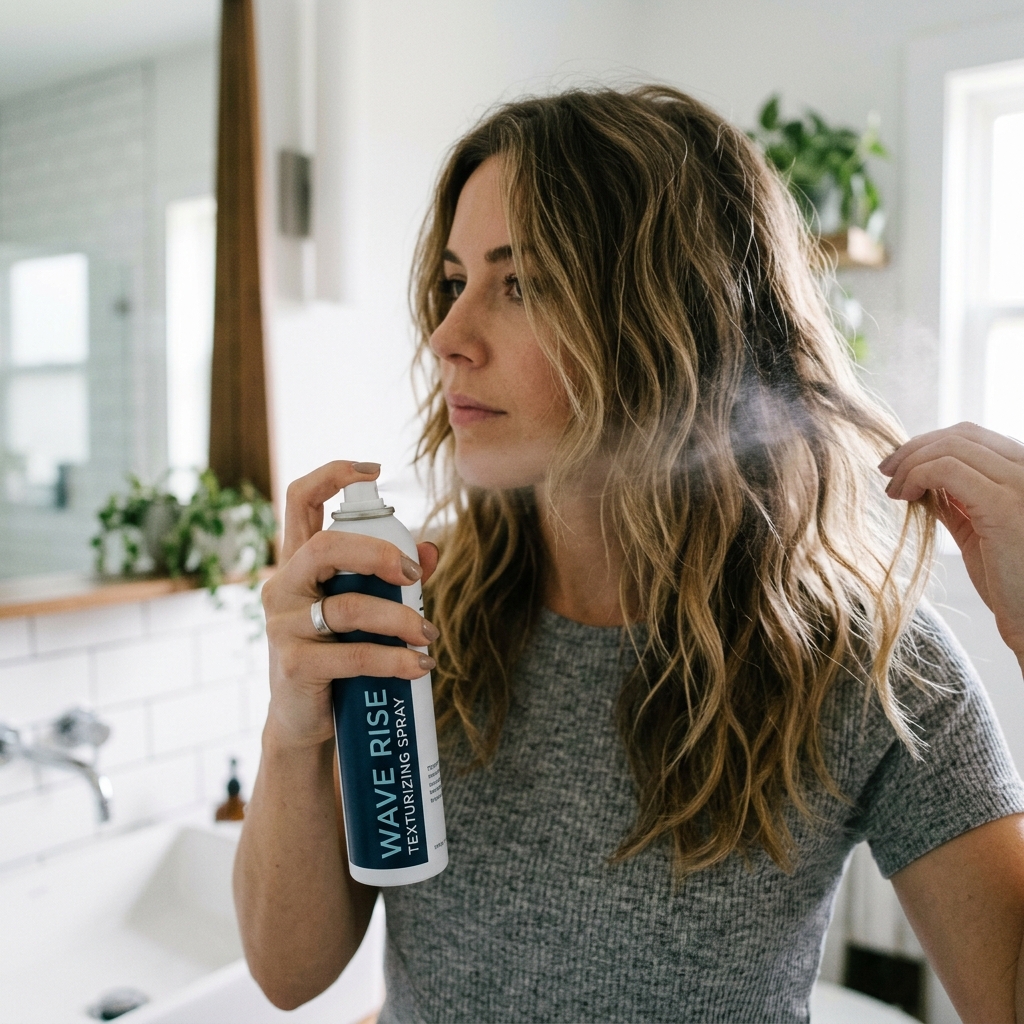
Texturizing Spray: Your Holy Grail
You cannot skip this product. A good texturizing spray is the final touch that makes the look. Hold the can 8-10 inches away and spritz it lightly all over, focusing on the mid-lengths and ends.
Then, use your hands to scrunch upwards. This adds grit, separation, and hold without crunch. It keeps the pieces defined all day. It’s the hair equivalent of setting spray for makeup.
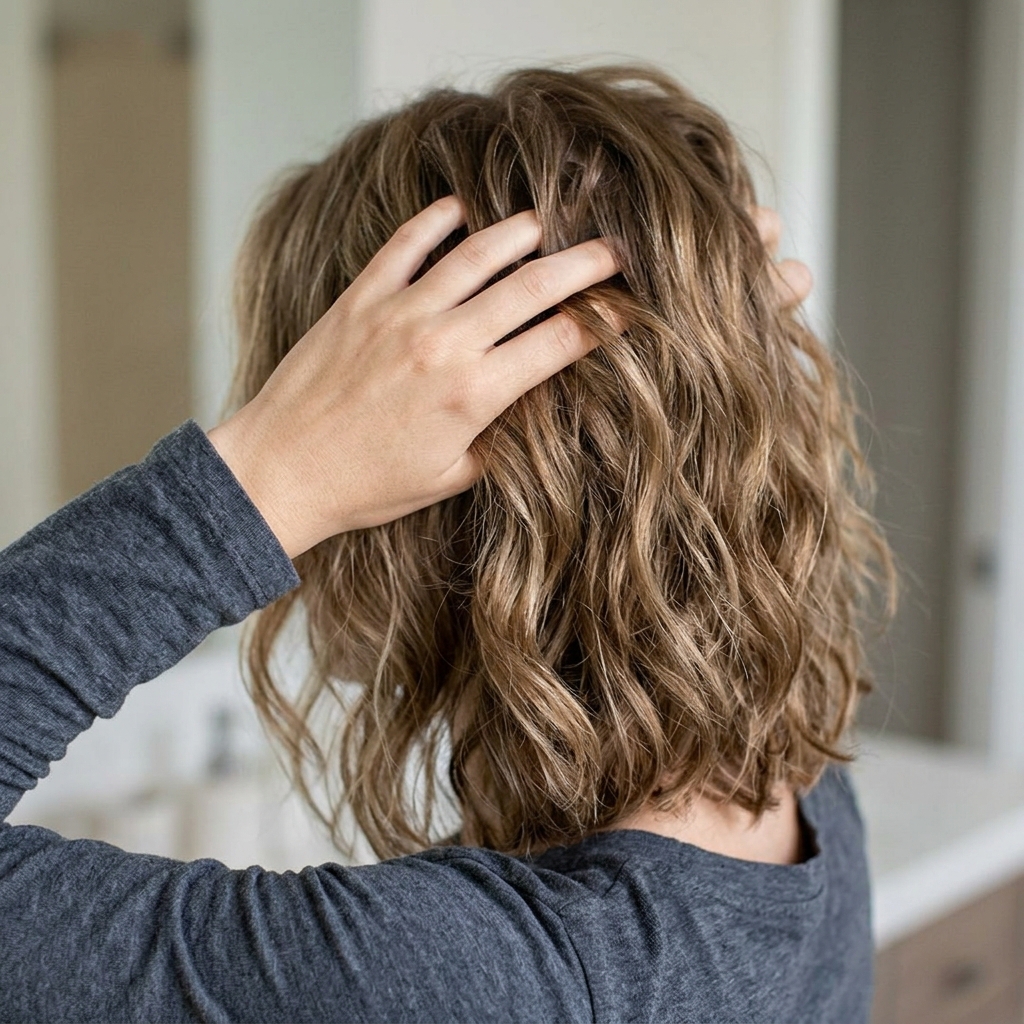
Breaking Up the Curls with Your Fingers
Never, ever use a brush on your curls after styling. Your fingers are your only tool. Gently rake them through your roots to loosen the style. Then, twist a few random pieces around your finger to define them.
Shake your head from side to side. The goal is to look like you ran your hands through your hair a bunch of times—because you did! This creates the soft, lived-in finish.
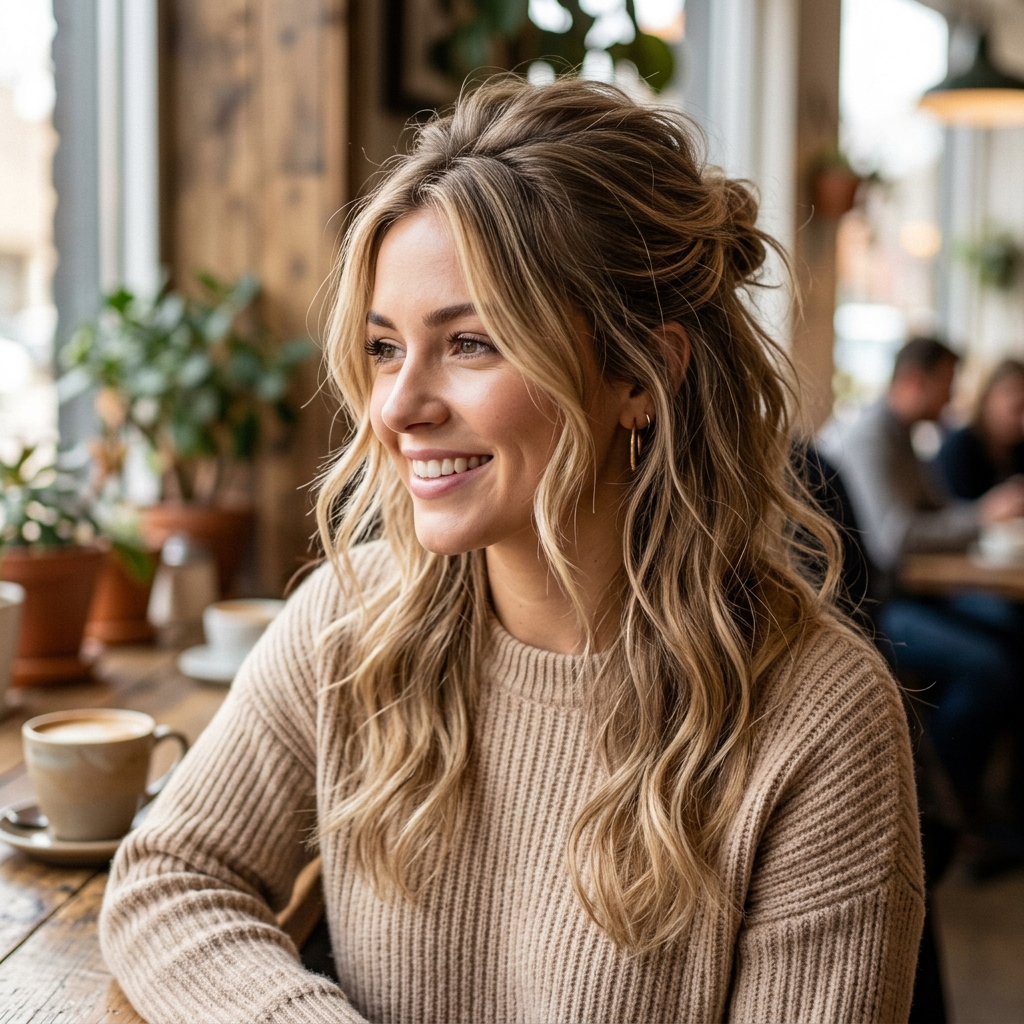
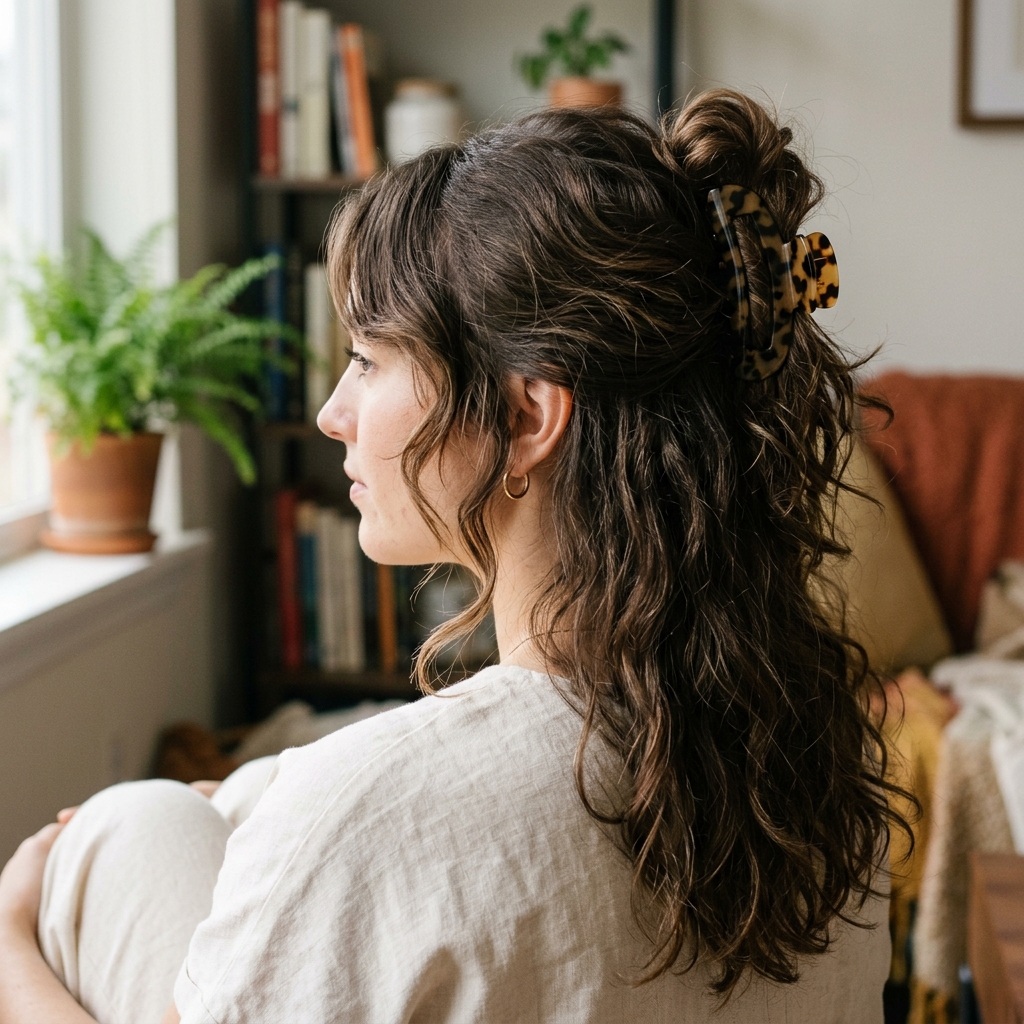
Mastering the Half-Up, Half-Down Look
This style was made for a half-up do. Pull the top section of your hair (from your temples back) and loosely secure it at the crown. The key is looseness. Pull out a few face-framing pieces immediately.
Then, gently tug at the hair in the tie to create more volume. The back layers will cascade down in a beautiful, textured mess. It’s elegant and cool, tapping into that old money hair ease.
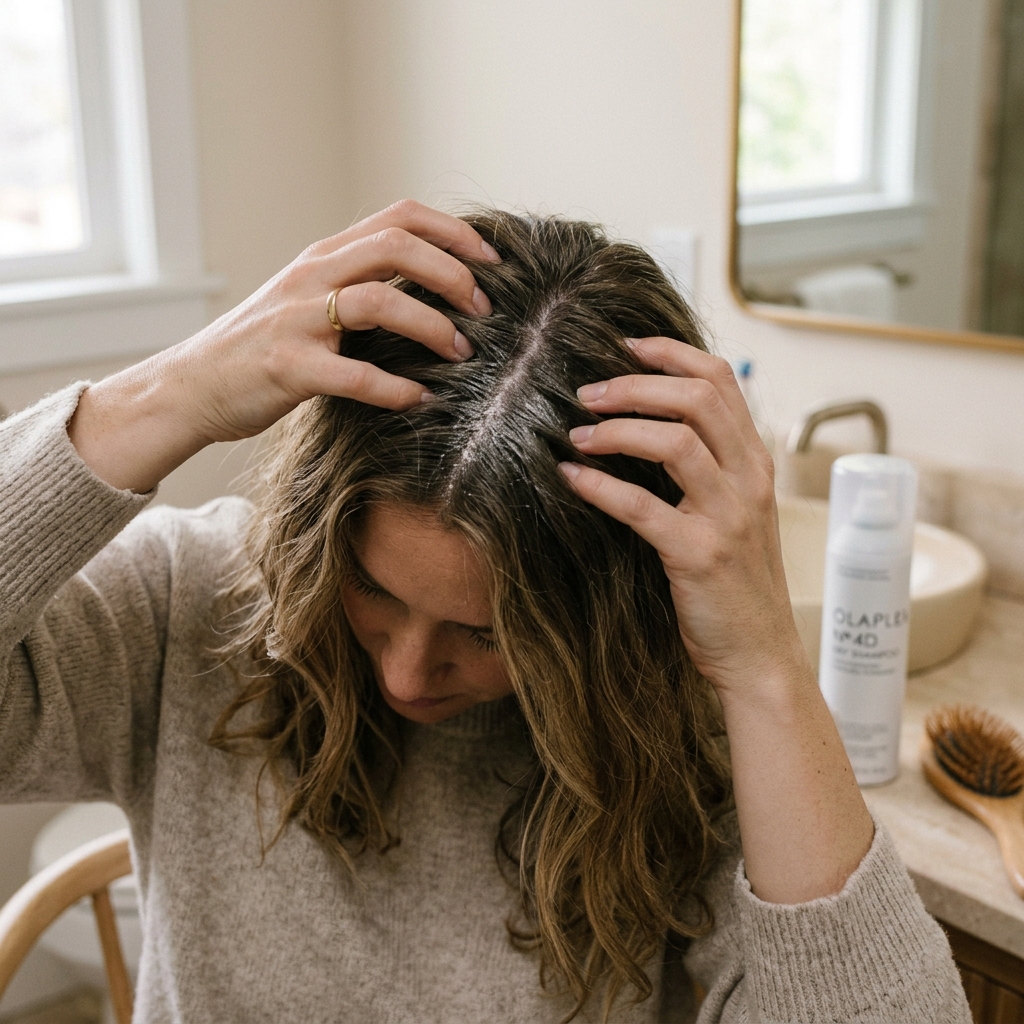
The Low-Maintenance Morning Refresh
You won’t need to fully style this every day. On day two or three, focus on reviving the roots. Spray a dry shampoo or texturizing spray at the roots and massage it in. This soaks up oil and adds volume.
For the ends, dampen your hands slightly with water and a drop of leave-in conditioner, then scrunch. This reactivates the wave pattern. A quick pass with the curling iron on any flat sections, and you’re done.
What If My Hair Is Super Straight?
You can still get this look! The cut will still give you amazing shape and movement. Styling will just require a stronger hold product. Use a strong-hold mousse on wet hair and blow-dry with volume.
Then, use a curling iron with a smaller barrel (3/4 inch) to create more defined waves. Finish with a strong-hold texturizing spray. The layers will give the straight hair something to “do,” preventing it from falling flat.
Adapting the Look for Thick Hair
Thick hair is a dream for this cut! The layers will help remove bulk and weight, making your hair feel lighter and more manageable. Be sure your stylist uses thinning shears strategically to remove internal weight without sacrificing fullness.
You might need a stronger-hold mousse to control volume, but embrace the body! The key is ensuring the layers are long enough to blend, so you don’t end up with a triangle shape.
Adapting the Look for Fine Hair
This cut is a miracle worker for fine hair. The layers create the illusion of thickness and volume that fine hair often lacks. The texturizing is crucial—it must be very light and subtle to avoid making hair look sparse.
Focus on root-lifting products and dry shampoo for volume. Avoid weighing hair down with heavy oils or creams. The piece-y ends will make your hair look fuller and more dynamic.
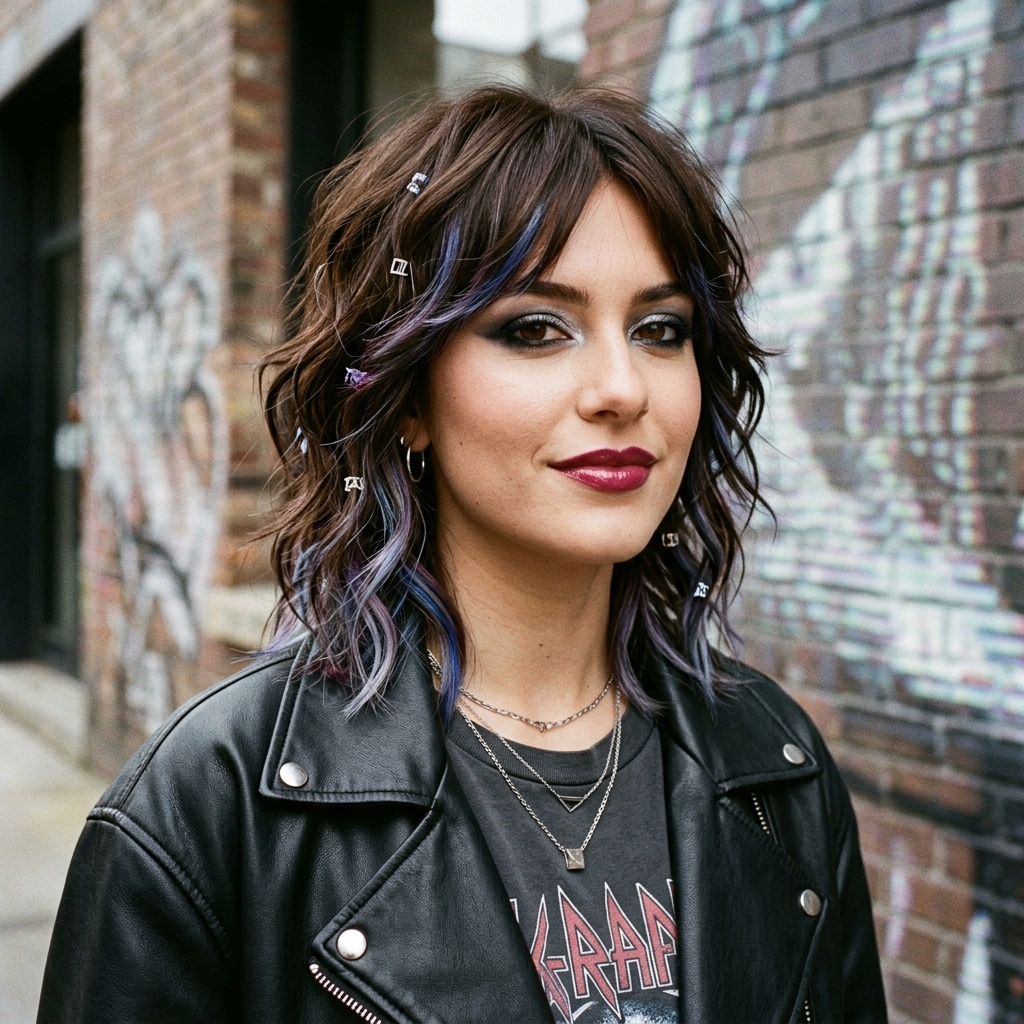
How This Differs from a Vampire Cut
You might see overlap, and that’s okay! The vampire haircut is a more extreme, dramatic subset of this trend. It often features much shorter, more dramatic face-framing layers (think hime cut bangs) and a sharper contrast.
Glitchy glam is generally softer, more blended, and more wearable for everyday. Think of the vampire cut as its edgier, more theatrical cousin. You can absolutely take inspiration from its texture.
Accessorizing Your Glitchy Glam Hair
Accessories look amazing with this textured hair. Slip-in claw clips hold the style perfectly because of all the layers. Try a sleek, thin headband for a touch of quiet luxury bob elegance against the messiness.
Simple barrettes on one side, or a few hidden bobby pins to pull back small sections, also add to that intentional, “glitched” aesthetic. Less is more—let the hair be the star.
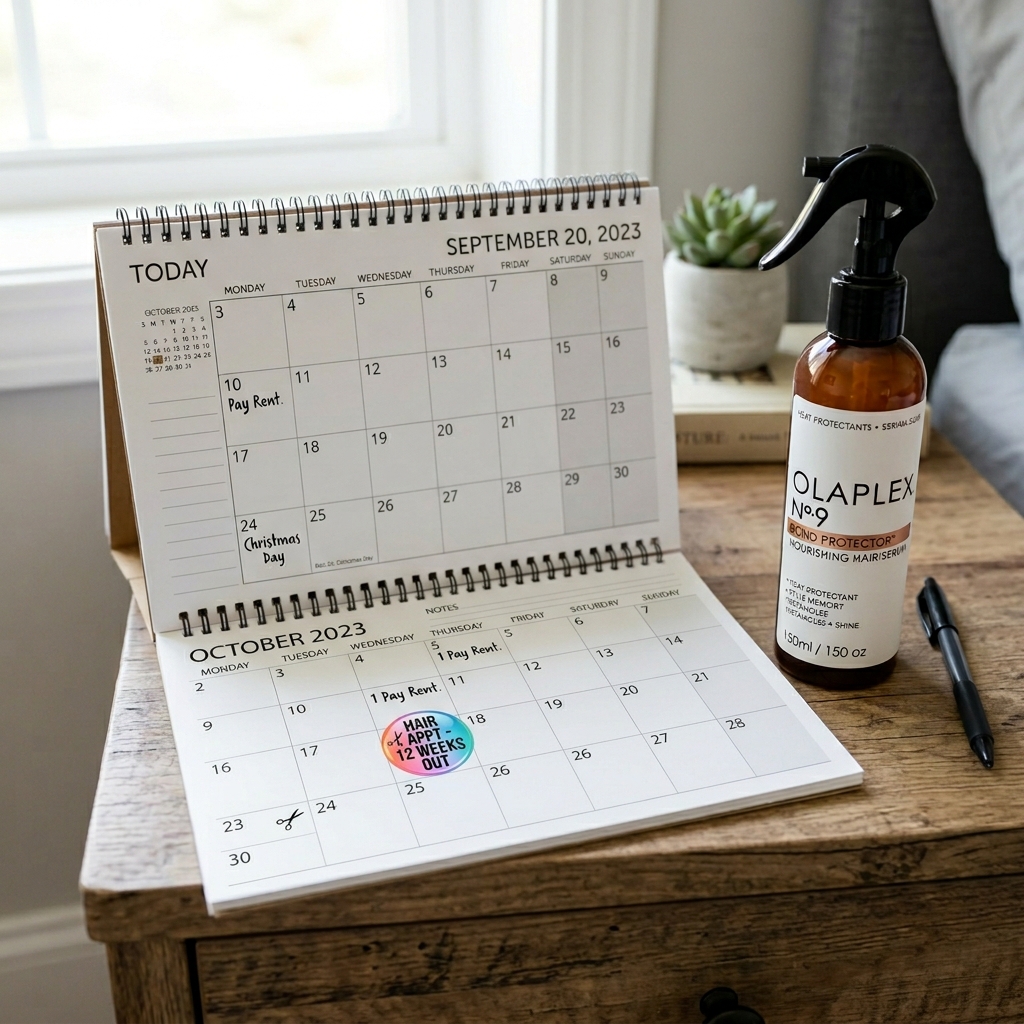
Maintaining Your Cut Between Appointments
To keep this cut looking fresh, get a trim every 10-12 weeks. You’re mainly maintaining the shape and preventing the ends from getting too heavy or losing their “shattered” look.
At home, use a heat protectant every time you style. Do a weekly hydrating mask on your ends to prevent dryness from all the texturizing. Healthy hair holds this style best.
Your Final Glitchy Glam Checklist
- Book a salon appointment with a stylist who does textured cuts.
- Gather 3-5 inspiration photos that show the texture you love.
- Use the key phrases: “shattered ends,” “face-framing,” “lived-in.”
- Invest in a volumizing mousse and a texturizing spray.
- Style with a curling iron, leaving ends out, and add a few straight pieces.
- Finish with your fingers, never a brush, and shake it out!
And there you have it! The complete guide to getting that hair you’ve been saving on your Pinterest board for months. It might seem like a lot of steps, but once you get the cut right, the styling becomes a five-minute ritual. It’s all about embracing the imperfect, piece-y beauty of it.
This look is so much more than a haircut. It’s a confidence boost. It’s that feeling of having a signature style that looks cool without trying too hard. Whether you’re channeling a bit of romantic goth vibe or just want your long hair to have more personality, these glitchy glam layers are the answer.
Save this post to Pinterest to keep this guide handy for your next salon visit! And I’d love to know—are you team “subtle layers” or ready to go full “vampire cut” dramatic? Tell me in the comments below!
