
Okay, let’s be real. The regular ponytail is a trusty friend, but sometimes you need a little more. More elegance, more security, more of that “I definitely have my life together” vibe. That’s where the magic of a laced-up ponytail comes in.
Think of it as the ultimate upgrade. It’s that perfect blend of intricate detail and total practicality. Your hair stays put all day, but it looks like you spent an hour on it (we’ll keep your secret).
Whether you’re headed to the office, a wedding, or just want to feel extra, this technique is your new best friend. I’ve gathered 22 ideas that range from simple to stunning. You’ll find something for every hair length and texture.
Best part? Most of these take less than five minutes once you get the hang of it. Let’s dive in and give your everyday style that elegant, secure twist it’s been craving.
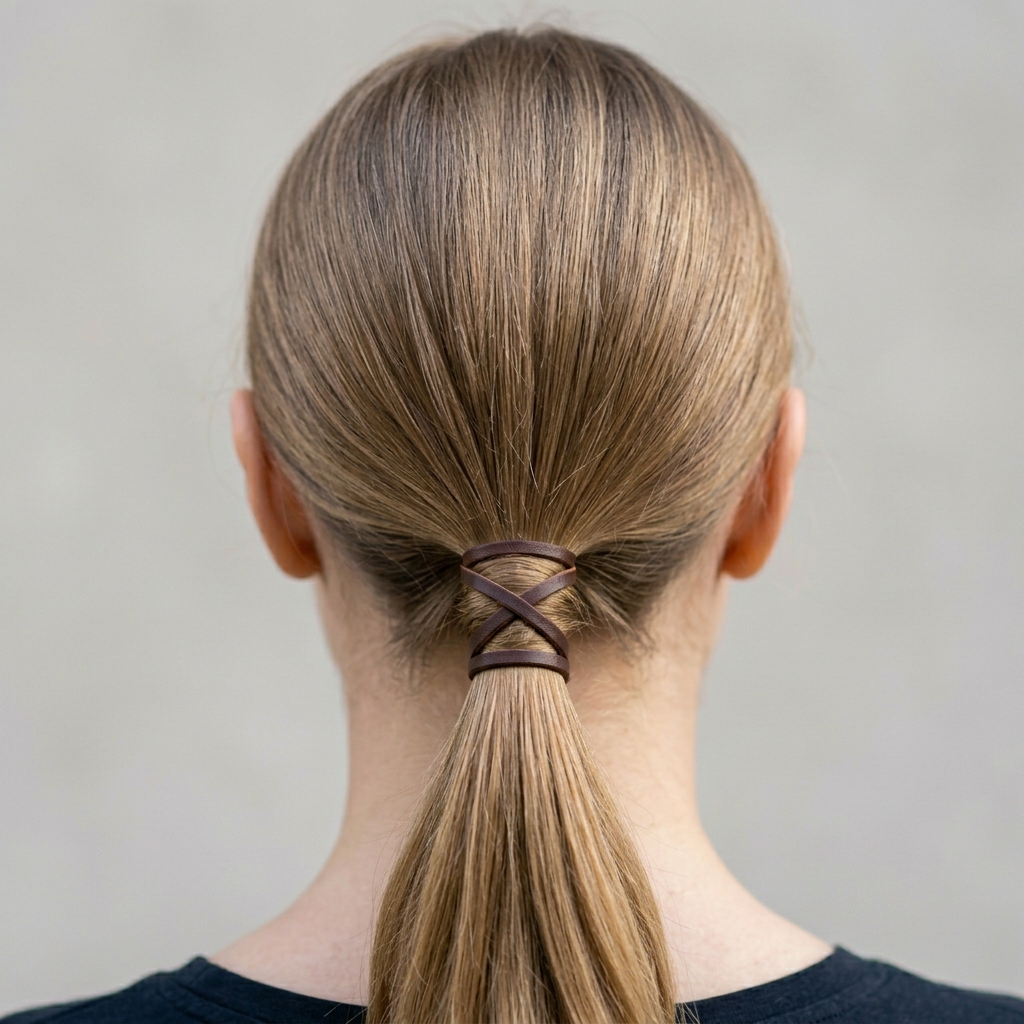
The Classic Criss-Cross
This is where it all begins. The classic criss-cross is the foundation for so many gorgeous looks. It’s simple, clean, and adds instant polish to a low or mid-height ponytail.
Perfect for work or a lunch date, it turns a basic style into something special. It works beautifully with sleek, straight hair or softly textured waves.
- Create a low ponytail and secure it with a clear elastic.
- Take a small section of hair from the ponytail and wrap it around the base to hide the band.
- Before pinning the wrap, split it into two strands. Criss-cross them over the base and pin underneath.
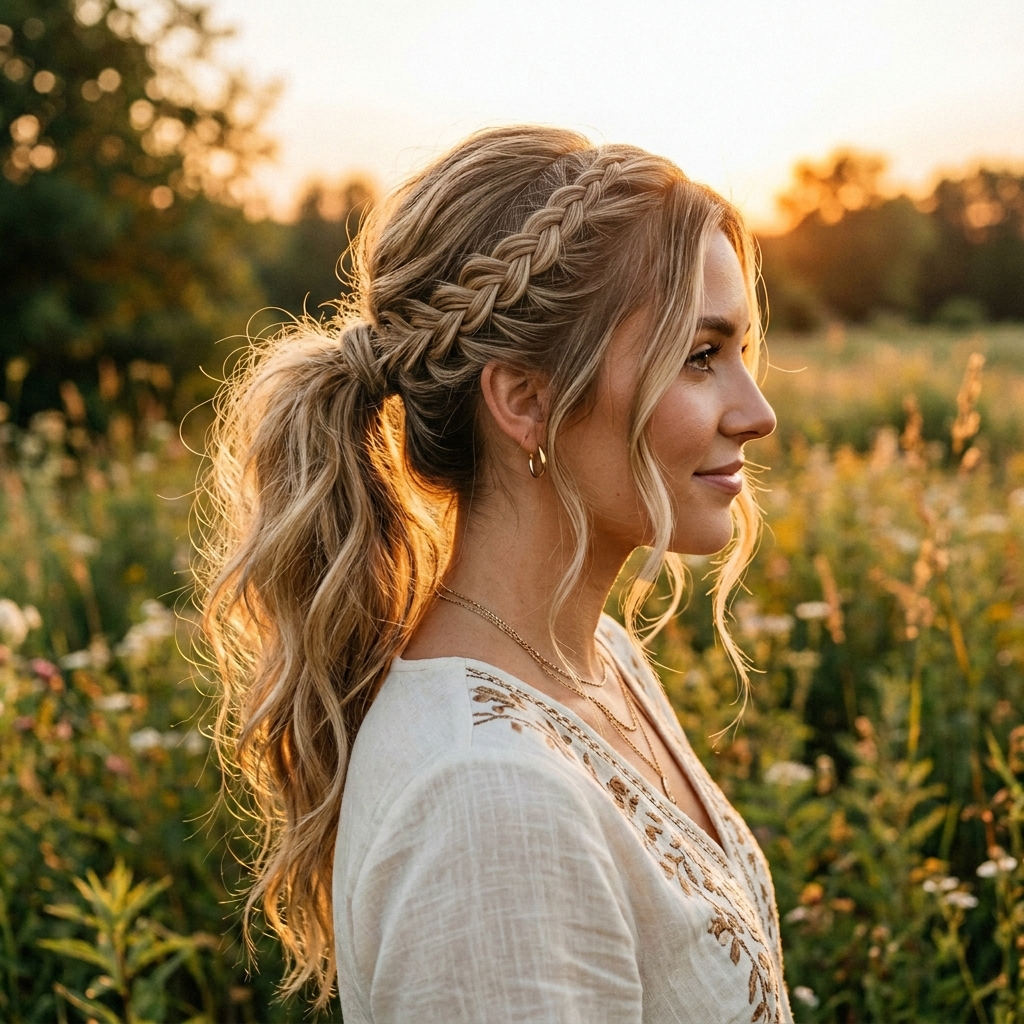
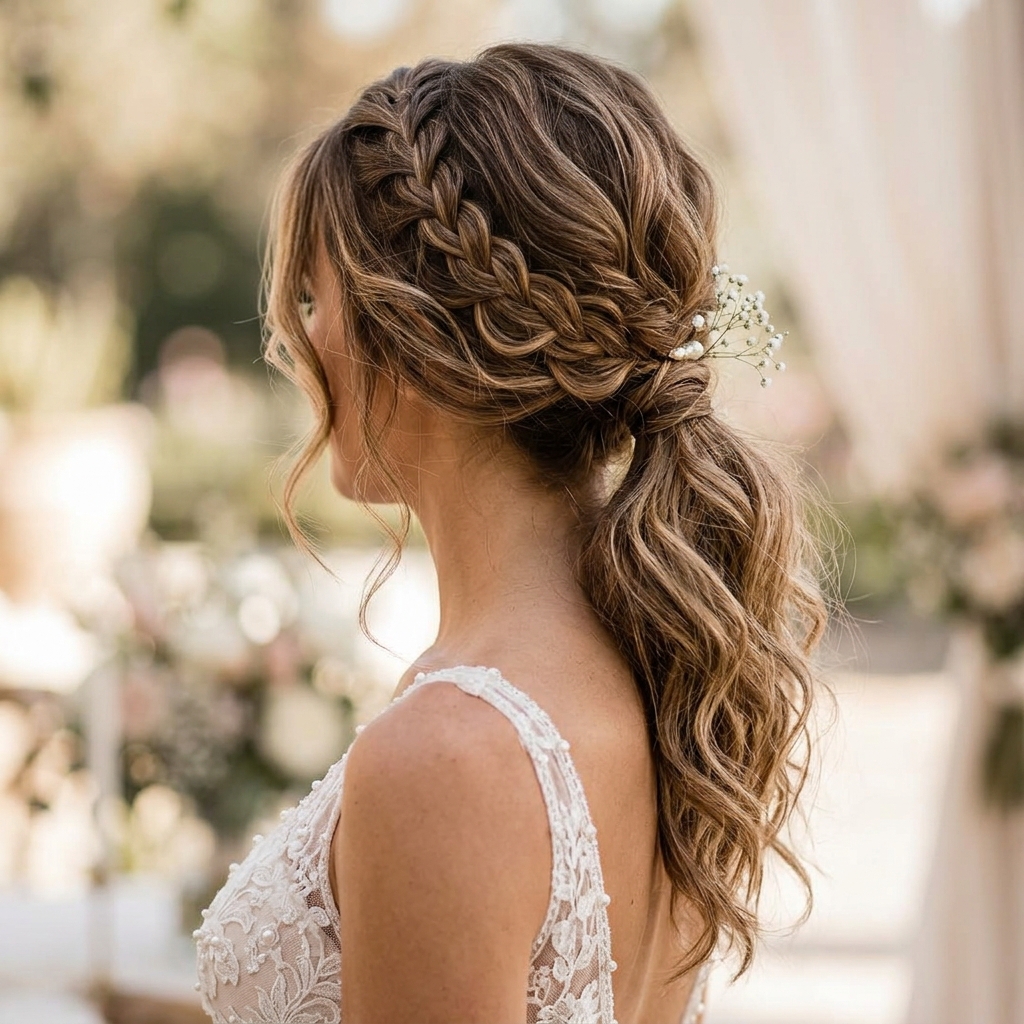
Boho-Chic Laced Braid
Want that effortless, festival-ready look without the fuss? This is it. We’re combining the lacing technique with a loose, piecey braid for major boho appeal.
It’s ideal for second or third-day hair, as a little texture helps the style hold and look even better. Pull out a few face-framing pieces to complete the vibe.
- Start with a mid-height ponytail. Divide a front section into three parts.
- Begin a loose French braid, but instead of adding hair from the sides, simply cross the strands over the ponytail base as you go down.
- Secure the end into the ponytail. Gently pull on the braid edges to make it fuller.
Double-Wrap Elegance
For a look that whispers quiet luxury bob energy, even on longer hair, try the double wrap. It’s minimalist and incredibly chic.
This method focuses on the base, creating a beautiful, jewelry-like detail. It’s one of my go-tos when I want to look polished in seconds flat.
- Make your ponytail and use a hair tie that matches your hair color.
- Take two small, separate sections from underneath the ponytail.
- Wrap one section around the base and pin. Repeat with the second section right next to it for a double-band effect.
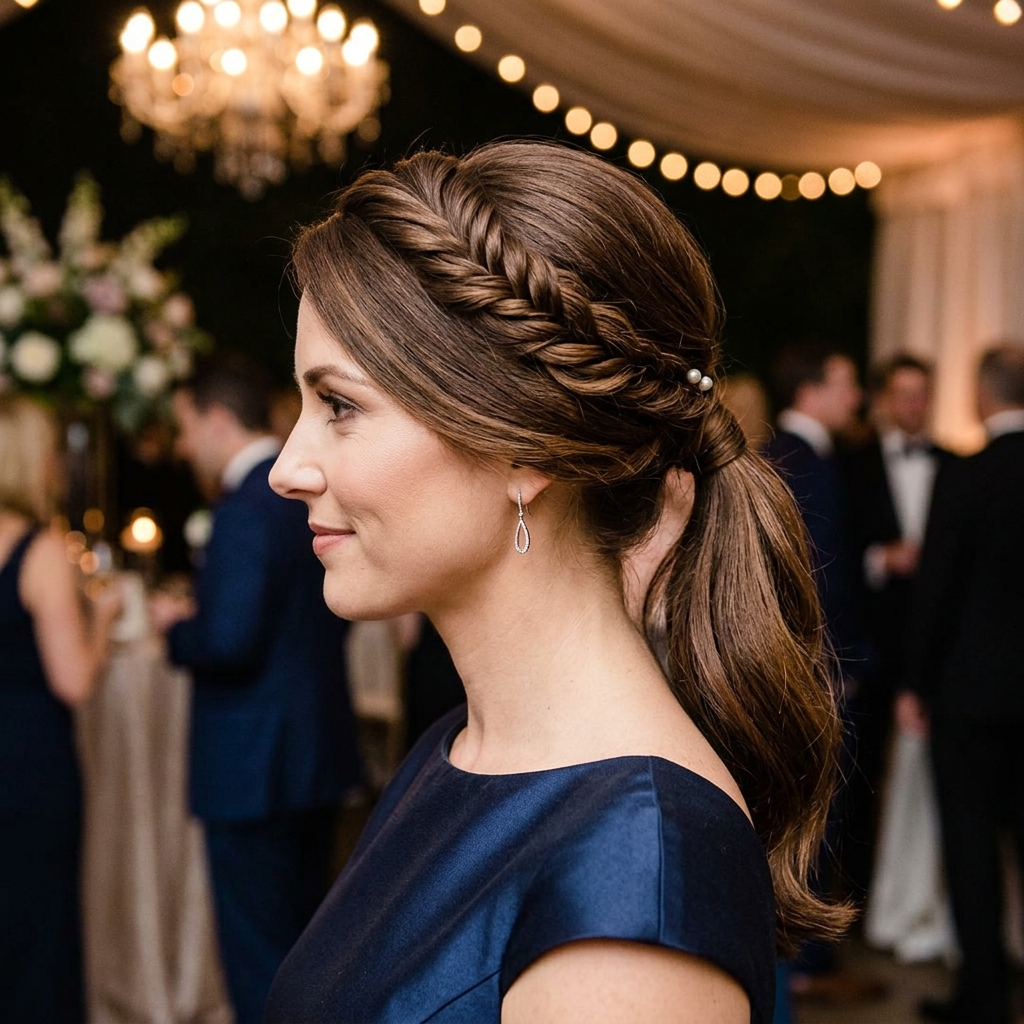
The Crown Lace
This style makes you feel like royalty. By starting the lace detail higher up, you create a beautiful crown effect that frames your face.
It’s stunning for special events and works with all hair lengths, even an asymmetrical lob. It pulls the look together in such a graceful way.
- Take a section of hair from each temple, leaving the front free.
- Cross these two sections over the crown of your head and secure them loosely at the back with a clip.
- Gather all your hair, including the crossed sections, into a ponytail at your desired height.
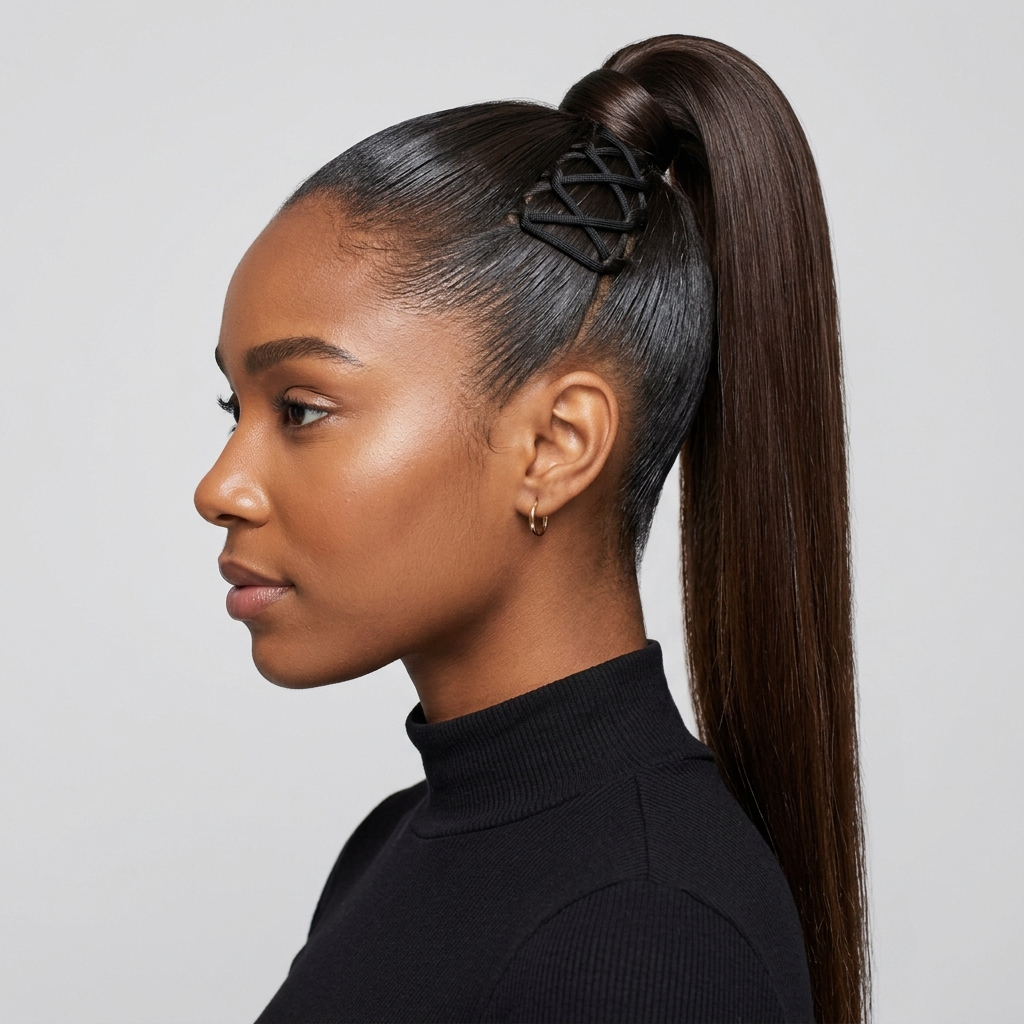
Secure High Ponytail
A high ponytail is timeless, but it can slip. Lacing it up solves that problem beautifully, giving you lift and security that lasts all day.
This is athletic, sleek, and powerful. For extra drama, make the lacing tight and visible. It’s a cornerstone of 2026 hairstyles that are both functional and fierce.
- Brush hair into a high, tight ponytail. Secure with a strong elastic.
- From the front, pick a small strand on the left side near your part.
- Cross it diagonally over the ponytail base to the right side and pin it underneath. Repeat on the other side.
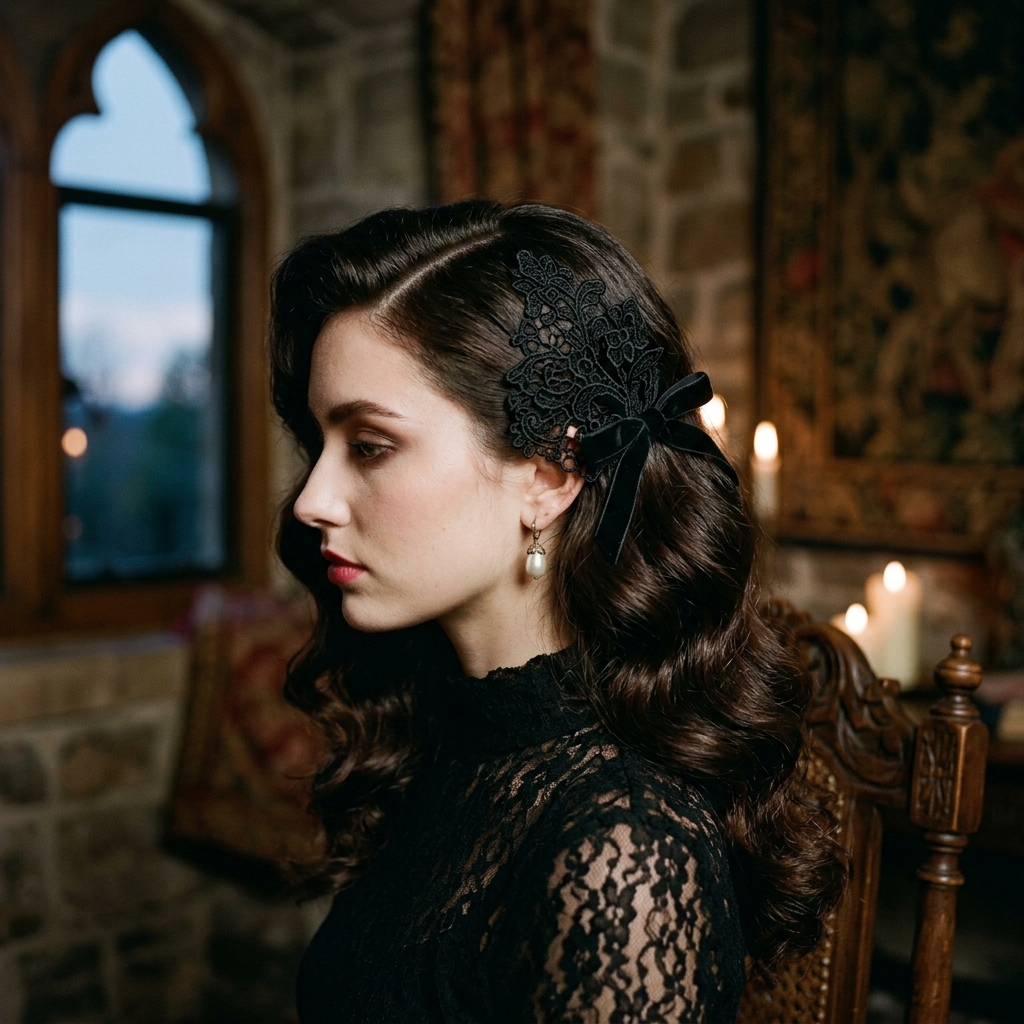
Romantic Goth Twist
Infuse some dark romance into your look. This idea takes the laced ponytail into romantic goth hairstyles territory with deep side parts and woven details.
It’s elegant with an edge. Think velvet ribbons (real or created from hair) and a slightly undone texture for a poetic, dramatic feel.
- Create a deep side part. On the heavier side, take a front section and begin a loose Dutch braid.
- After two stitches, stop adding hair and simply twist or lace the strand across your head toward the opposite ear.
- Gather all hair into a low ponytail at the nape, incorporating the laced section. Leave the braid undone at the end.
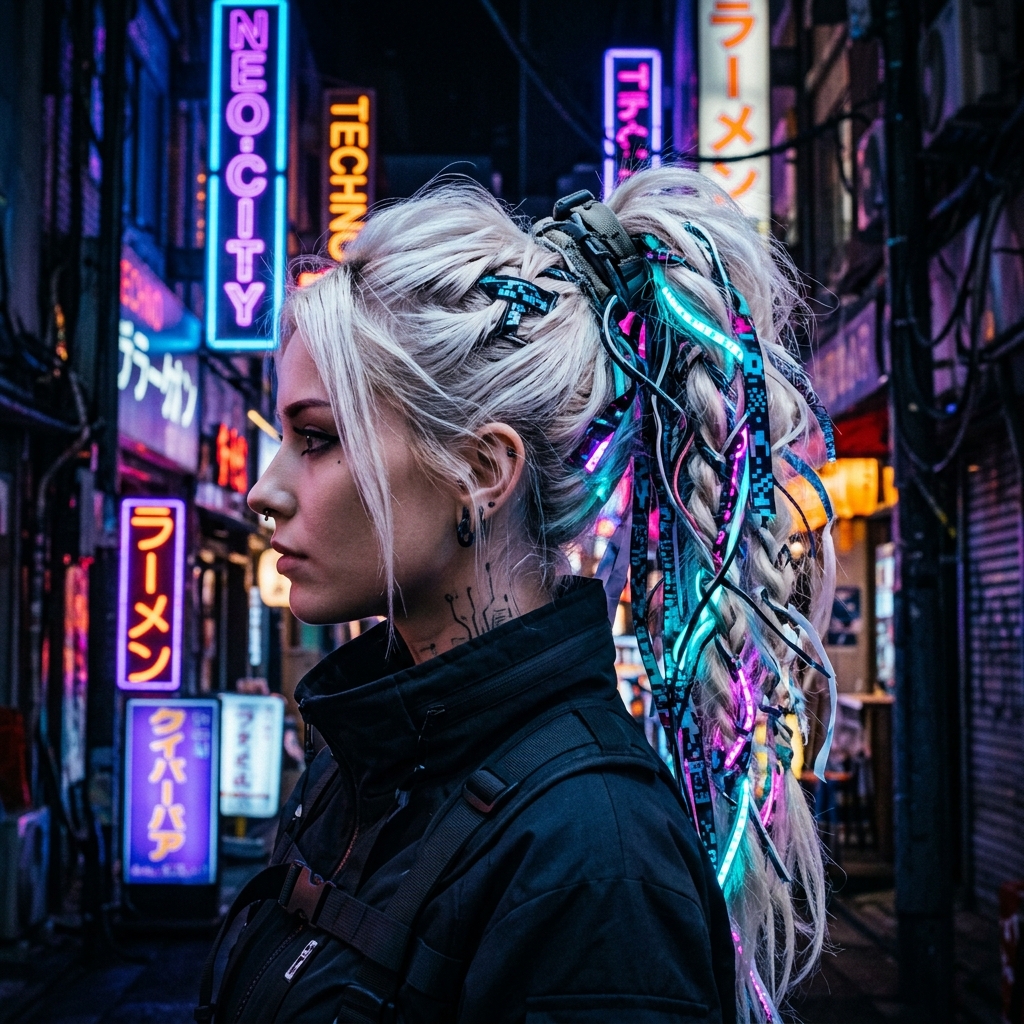
Glitchy Glam Lacing
Glitchy glam hair is all about intentional imperfection. This laced style plays with that by using smaller, irregular criss-cross patterns that look digital and cool.
It’s unexpected and perfect for a night out. Use a bit of texturizing spray to make the individual “laces” stand out more.
- Start with a mid-height ponytail. Don’t make it too neat.
- Pull out several very small, thin sections from the ponytail itself.
- Randomly cross and twist these thin sections around the base of the ponytail, pinning as you go. Let some pieces stick out slightly.
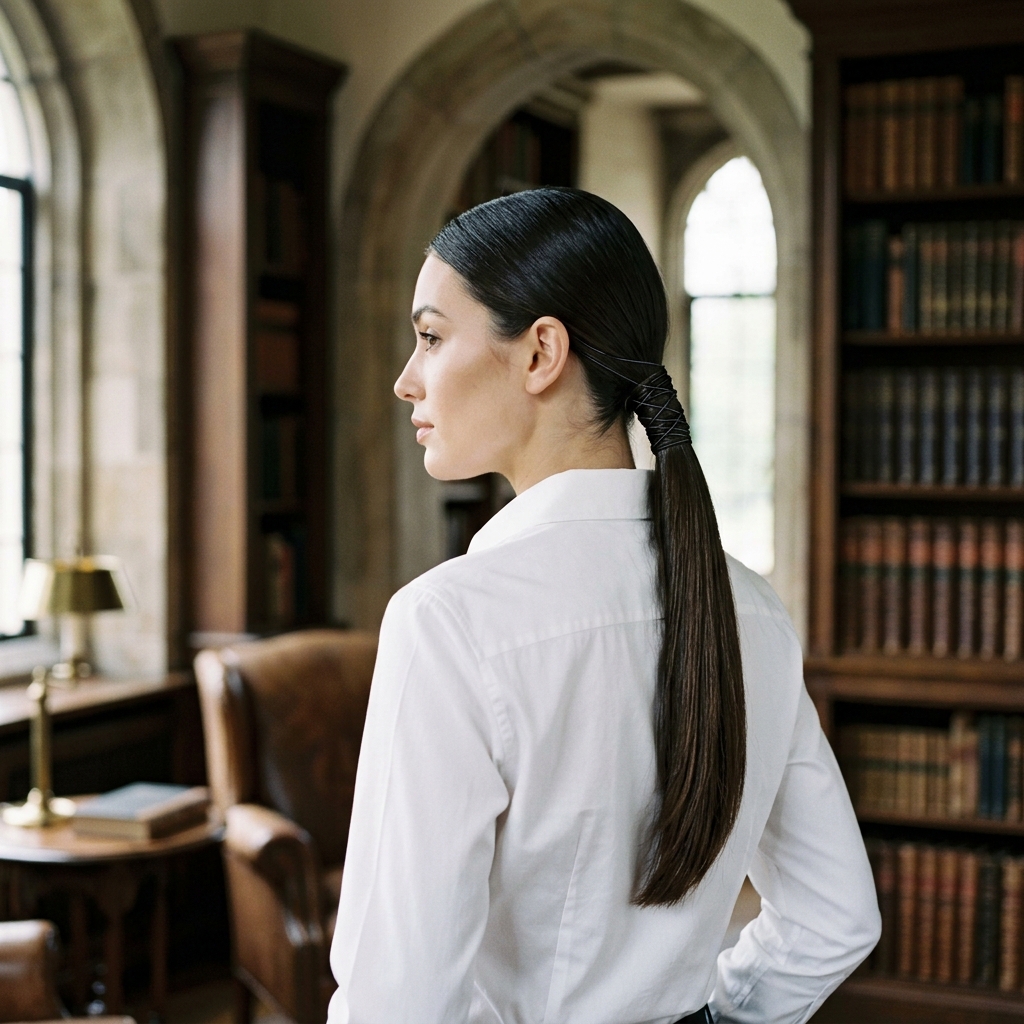
Old Money Aesthetic
The old money hair look is effortlessly polished. This laced ponytail version is supremely elegant, focusing on sleekness and a perfectly hidden technique.
It looks expensive and requires zero obvious accessories. The key is flawless, shiny hair and a lacing pattern that looks integrated, not added on.
- Apply a shine serum and brush hair into an impeccably smooth low ponytail.
- Take a one-inch wide section from underneath the ponytail.
- Split this section into two. Weave these two strands over-and-under each other, then wrap them neatly around the base as one. Pin invisibly.
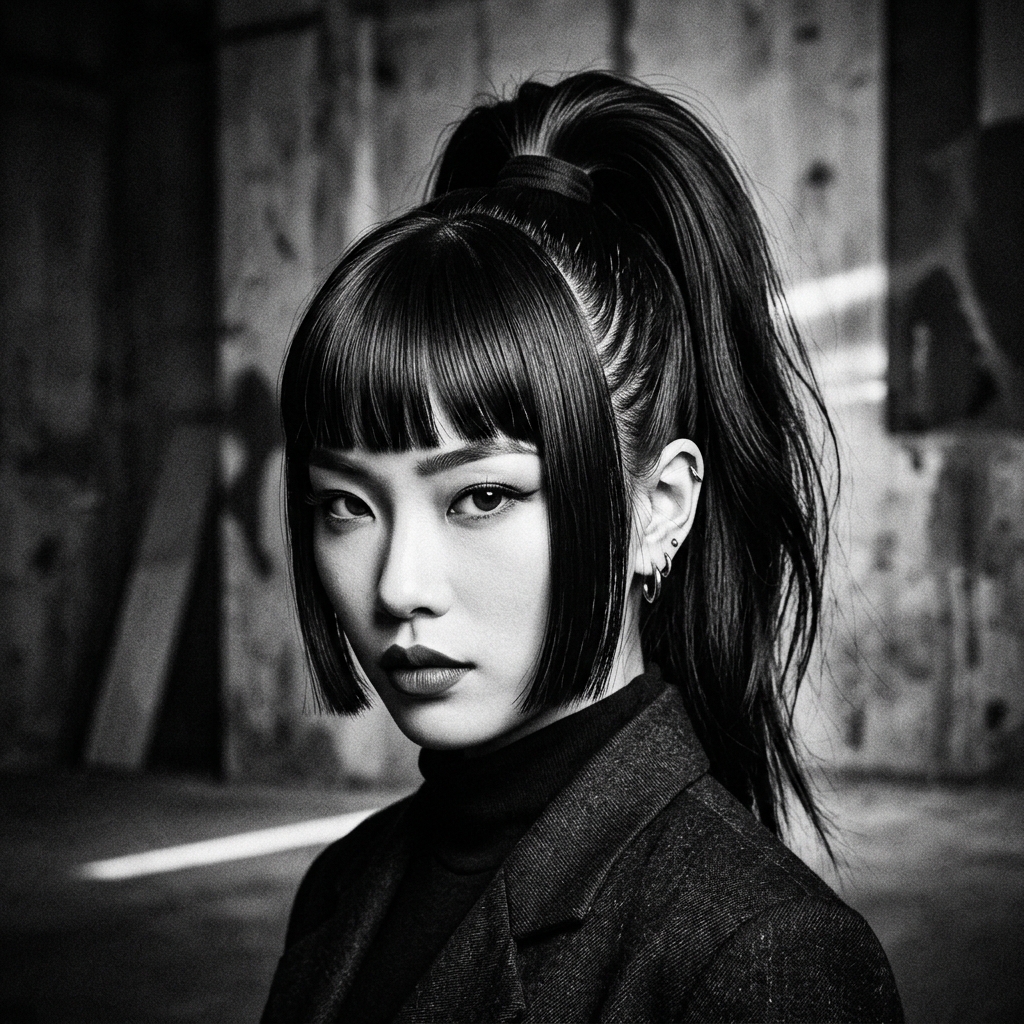
Hime Cut Accent
If you rock a hime cut or blunt bangs, this idea is for you. It beautifully incorporates the front pieces into the laced design.
The style highlights your cut’s structure while keeping hair secure and off your face. It’s both playful and deliberate.
- Gather the long back hair into a high ponytail, leaving the front hime sections and bangs free.
- Take one front section and sweep it back, crossing it over the ponytail base.
- Pin it, then repeat with the other side. You can leave the ends out to frame your face or tuck them in.
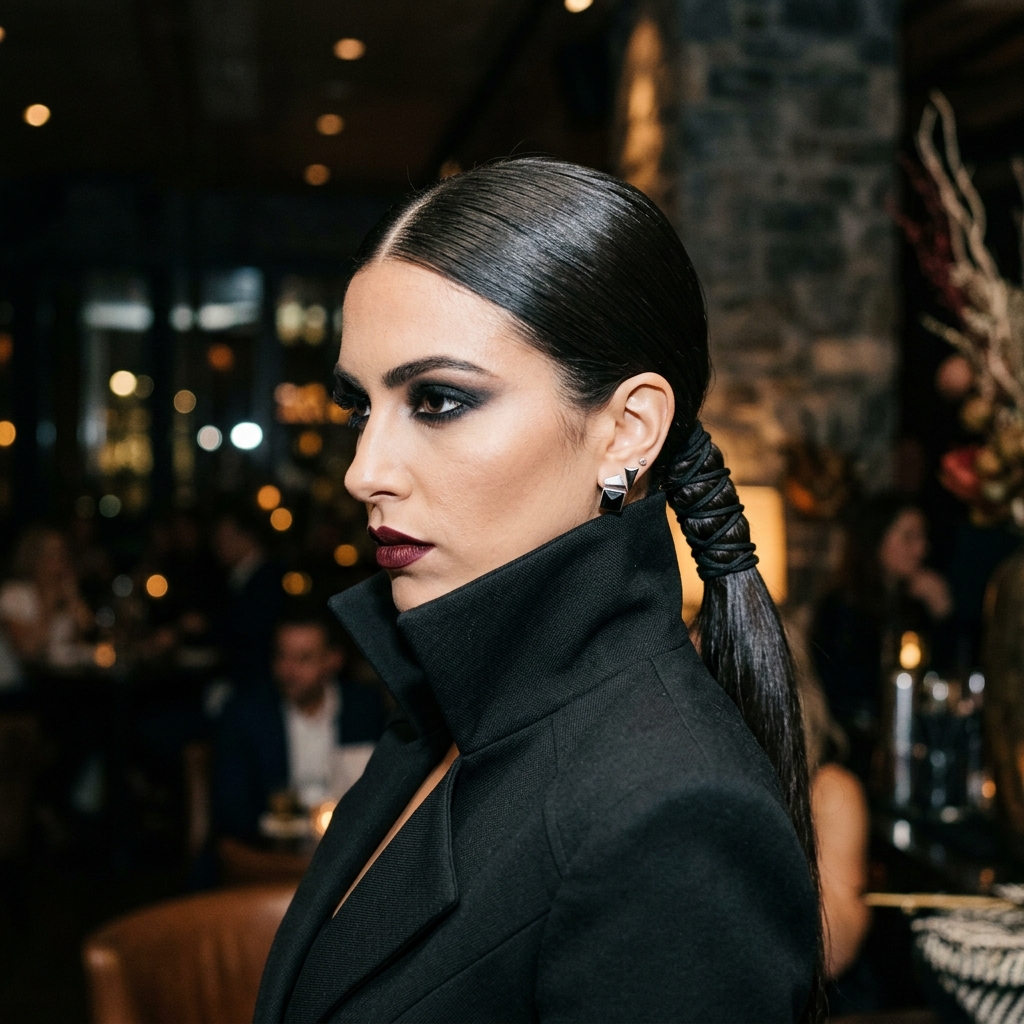
Vampire Chic
Channel your inner vampire with this sleek, severe, and utterly captivating style. It’s a natural fit with the vampire haircut trend, adding intricate detail to stark lines.
Think deep, dark hair, a center part, and lacing that looks almost architectural. It’s powerful and mesmerizing.
- Part hair down the center. Create a very tight, low ponytail.
- From the left side, take a narrow section from above the ponytail.
- Pull it tightly across the base to the right, pinning it under the ponytail. Repeat from right to left, creating a sharp “X” at the nape.
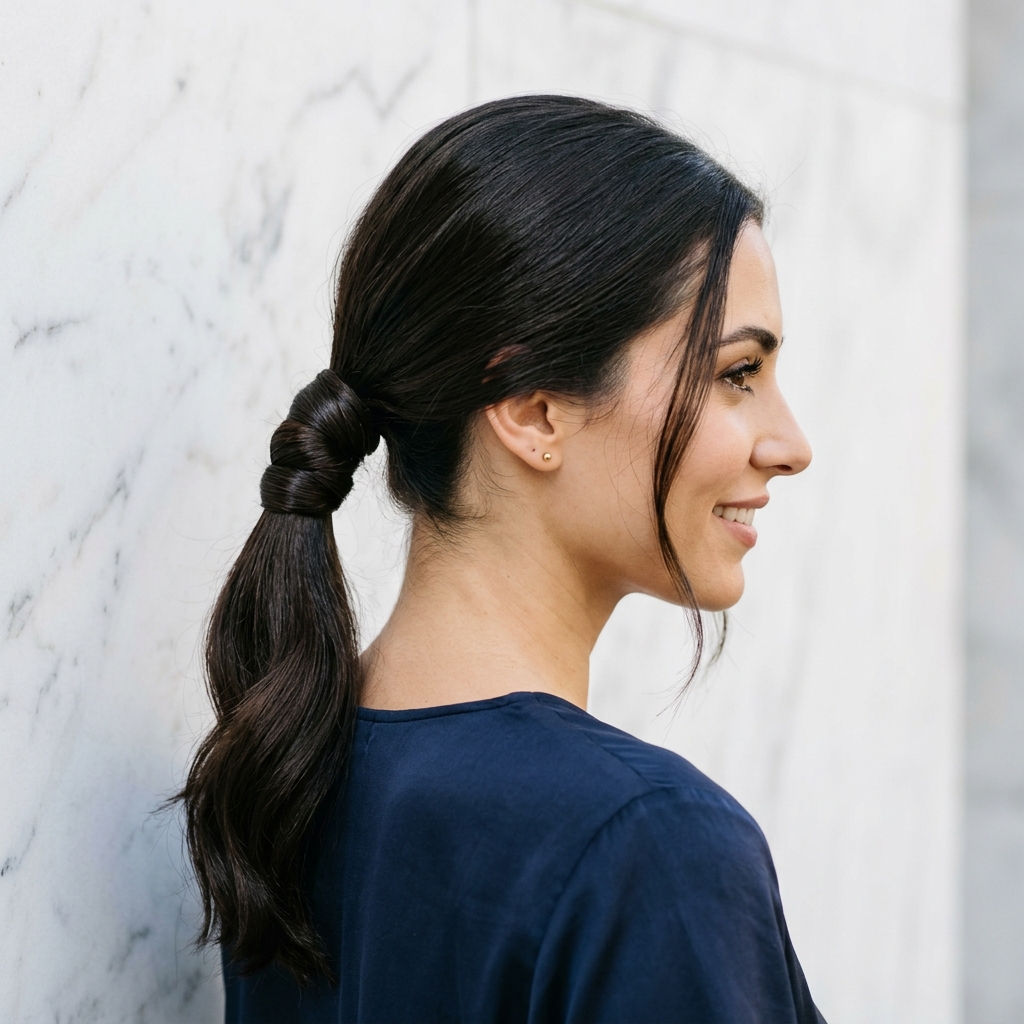
Twisted Rope Detail
Instead of simple strands, use twisted ropes of hair for your lacing. This adds volume and a beautiful, textural element to the look.
It’s a fantastic way to make fine hair appear thicker. The ropes catch the light differently, creating more visual interest.
- Create a side ponytail. Select two small sections from the top near your part.
- Twist each section tightly until they coil back on themselves.
- Cross these two twisted ropes over the ponytail base and secure them on the opposite side with bobby pins.
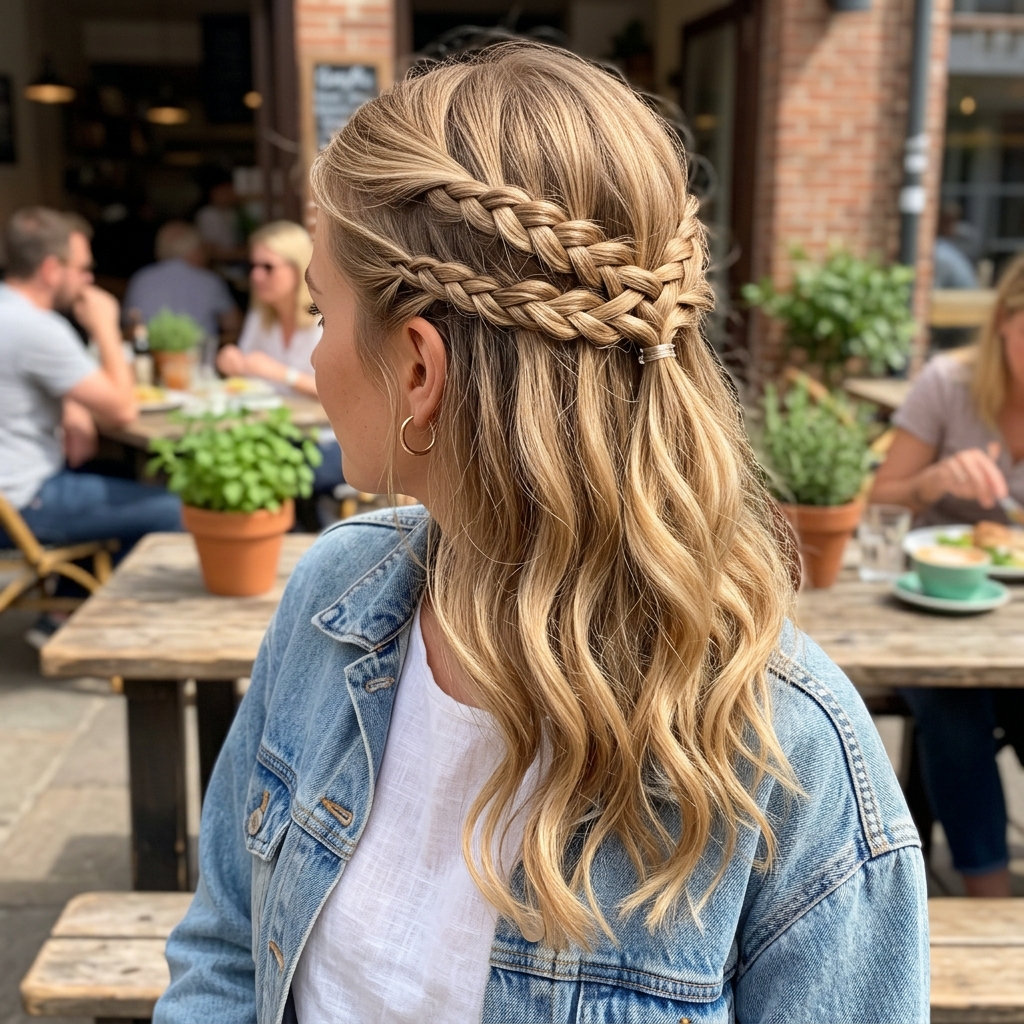
Half-Up, Laced Up
Why should full ponytails have all the fun? This half-up style uses lacing to create a secure and pretty section that holds all day.
It’s perfect when you want your hair down but need it off your face. The lacing becomes a beautiful focal point.
- Take a crown section of hair as if making a half-up ponytail, but don’t secure it yet.
- Split this section into two. Cross the right piece over the left, then add a little more hair from the right side into it.
- Cross the left piece over the right, adding a little hair from the left side. Secure the ends into a small half-up ponytail.
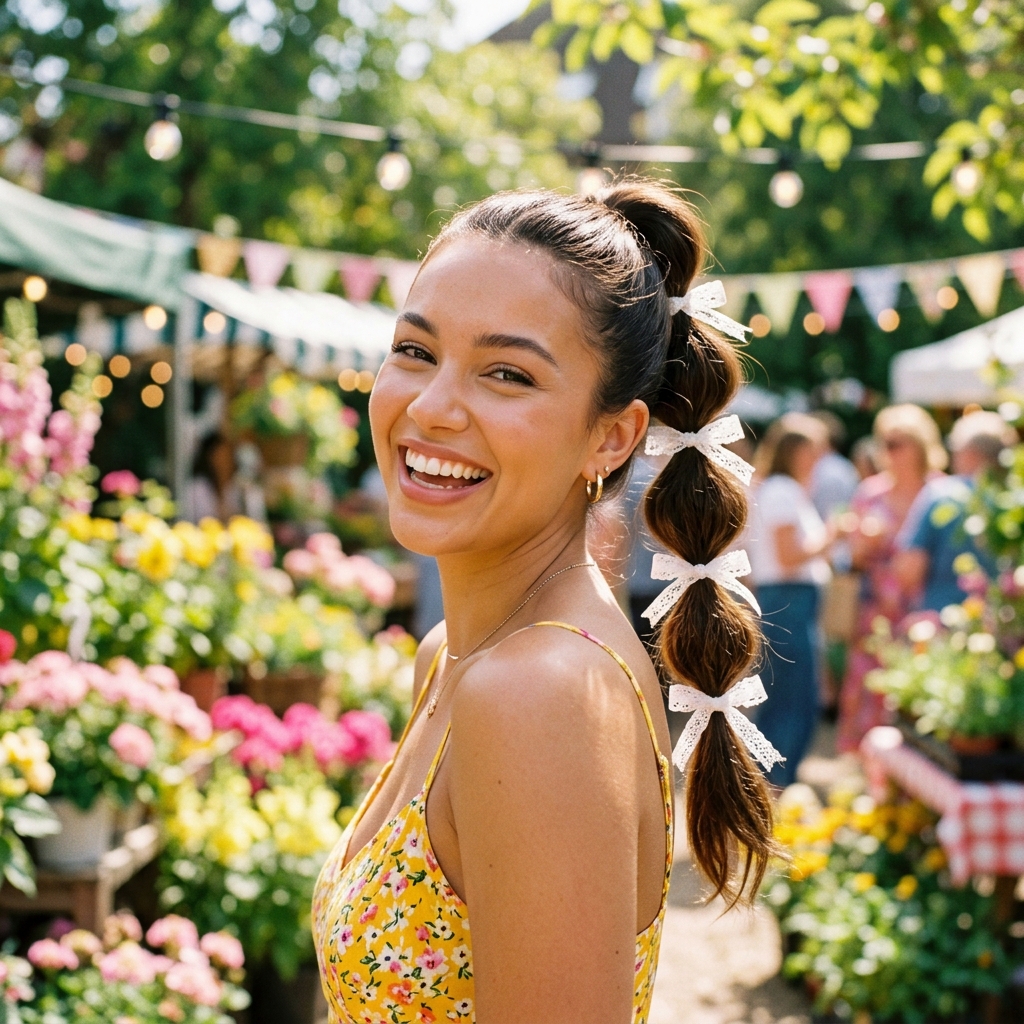
Bubble Ponytail with Laces
Combine two major trends! The playful bubble ponytail gets an elegant upgrade with subtle lacing between the bubbles.
It’s fun, youthful, and surprisingly sophisticated. This style is a total conversation starter and works best on longer hair.
- Create a high ponytail. Place additional elastics down the length of the tail, 2-3 inches apart.
- Gently puff out each section between the elastics to create “bubbles”.
- Between two bubbles, take a tiny strand from the ponytail and wrap it around the connecting elastic, pinning to hide it.
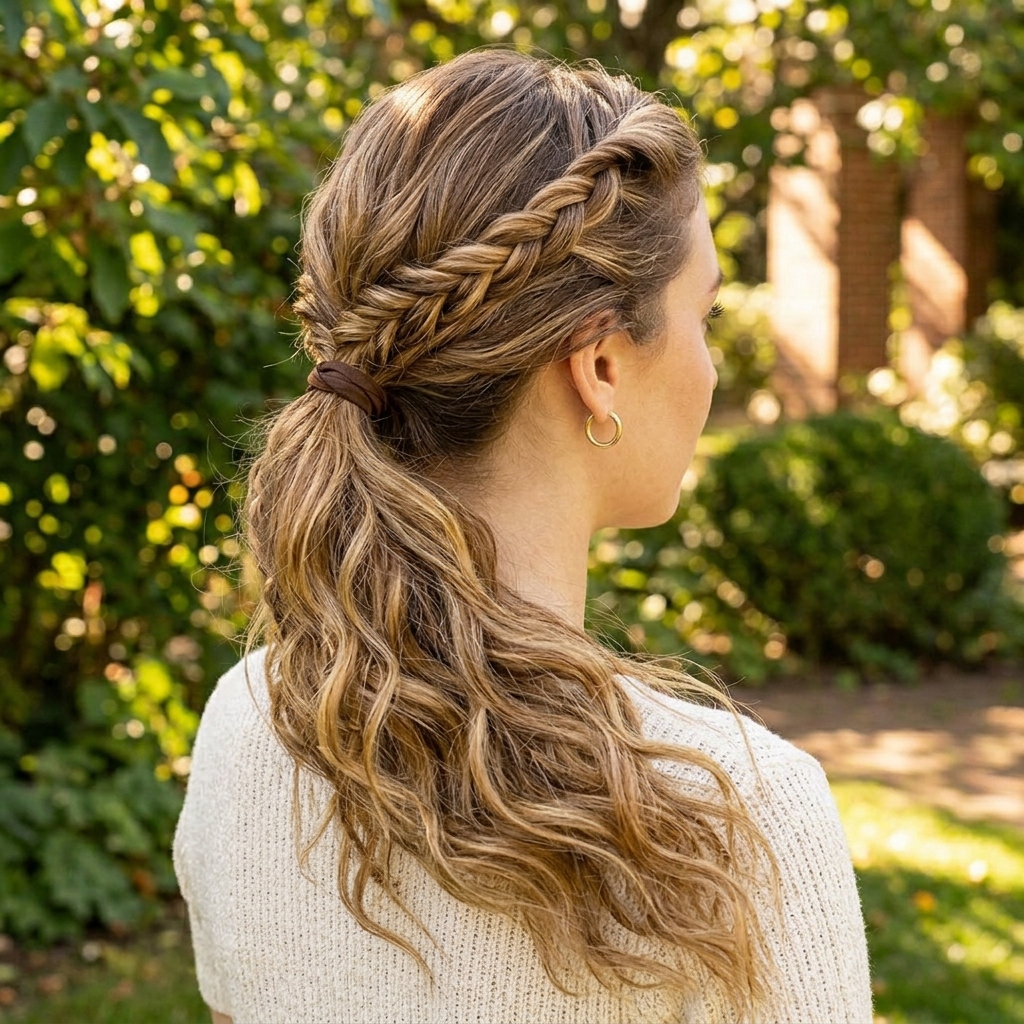
Fishtail Laced Base
Incorporate a fishtail braid into the lacing for a beachy, intricate look. It seems complicated but is just a simple braid used in a clever way.
This is ideal for textured or wavy hair, as the fishtail pattern holds beautifully and adds a bohemian flair to the secure base.
- Make a low side ponytail, but only secure it very loosely.
- From the top front, take a medium section and fishtail braid it back toward the ponytail.
- Once the braid reaches the ponytail base, wrap it around and use it to tightly secure the final ponytail, pinning the end.

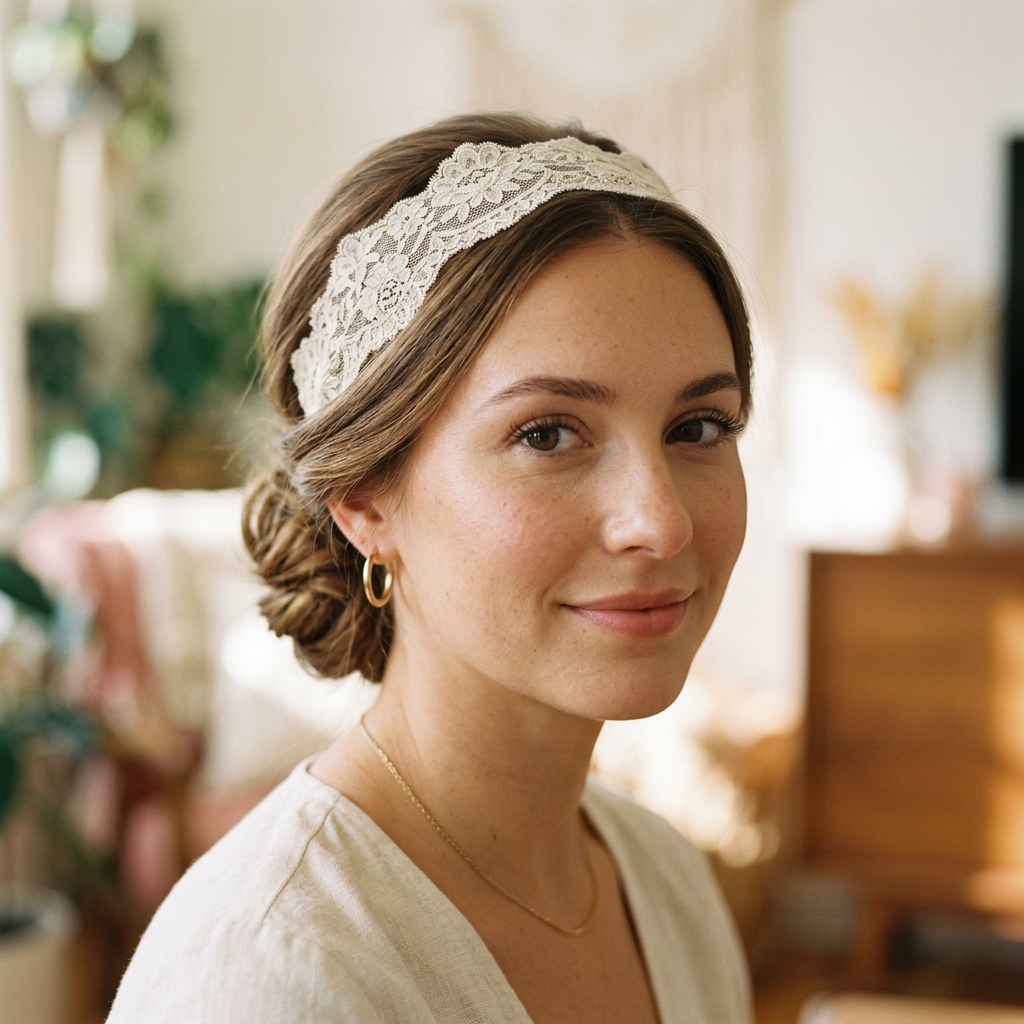
Accessorized with Ribbons
Use actual ribbons or leather cords as your “laces.” This adds color, texture, and a gorgeous, custom accessory to your style.
You can match your outfit or go for a contrasting pop. It’s an easy way to make a simple ponytail look utterly designed.
- Choose a slim ribbon. Create a mid-height ponytail, but tie it with the ribbon instead of a hair tie.
- Split the ponytail in half. Use the two long ends of the ribbon to lace through the hair, criss-crossing down the length.
- Tie the ribbon ends into a bow at the bottom, or tuck and pin them.

Dutch Braid into Laced Ponytail
This style gives you the best of both worlds: a detailed Dutch braid that seamlessly flows into a secure, laced ponytail.
It’s a fantastic active style that stays put, but looks polished enough for the office or running errands.
- Start a Dutch braid (braiding under) at your hairline, adding hair as you go.
- Braid back until you reach the crown, then stop adding new hair.
- Continue the simple braid for another inch, then incorporate it into a mid-ponytail. Use the braid tail to lace around the base.

Waterfall Lace Effect
Create a soft, cascading effect with this technique. It looks like delicate strands are weaving in and out of the ponytail, offering a ethereal feel.
It’s incredibly romantic and works beautifully for weddings or formal events. Use lots of hairspray on small sections for hold.
- Start with a low, loose ponytail. Pull out a few face-framing pieces.
- From one side, take a thin strand from above the ponytail. Loop it under the ponytail and pull it up through the other side, letting the end waterfall down.
- Repeat with 2-3 more strands on each side, pinning the loops underneath.
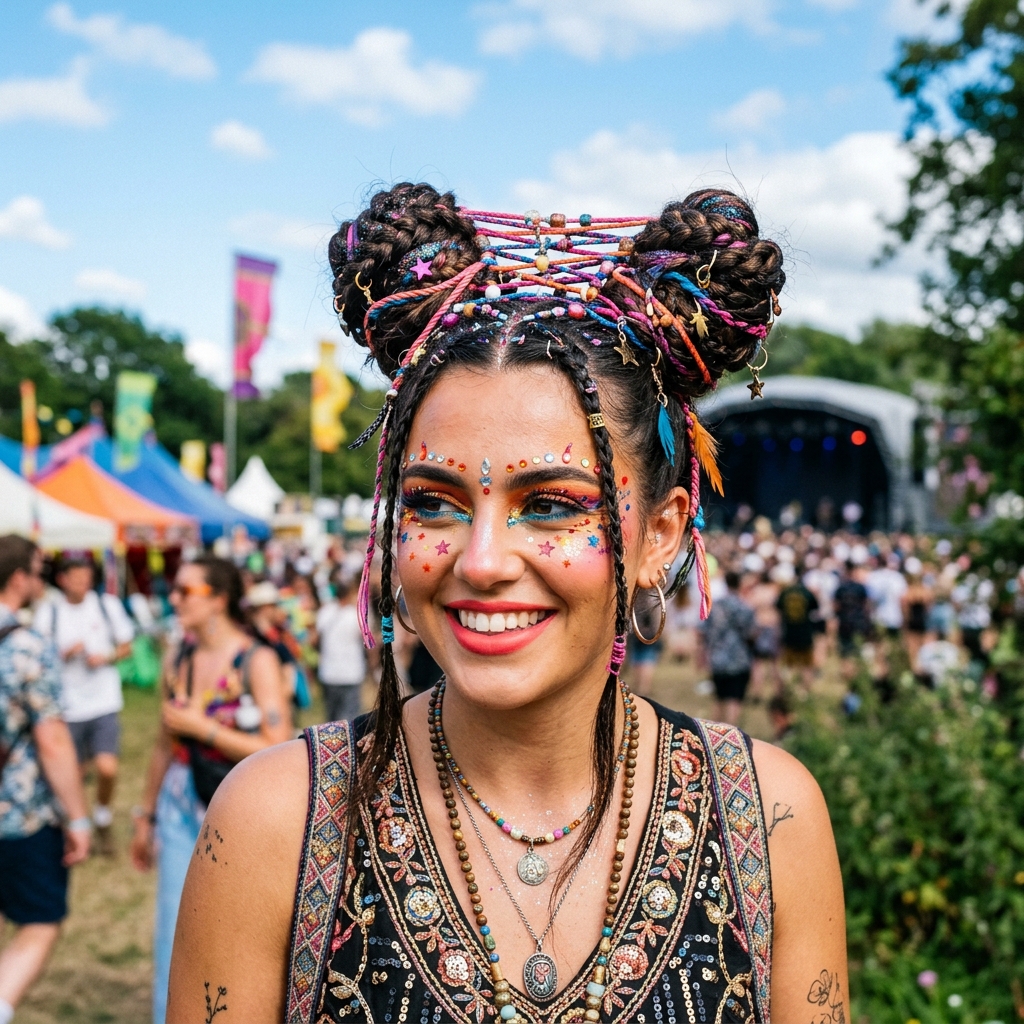
Space Buns with a Laced Bridge
Double the fun! Two high space buns connected by a laced detail across the crown. It’s playful, secure, and perfect for festivals or a fun day out.
This style keeps all hair completely off your neck and looks adorable from every angle.
- Part hair down the middle. Make two high pigtails.
- Twist each pigtail into a bun and secure.
- Take a small strand from the base of one bun, cross it over the crown, and tuck it into the base of the second bun. Repeat.
Twisted Halo Base
This style creates the illusion of a halo braid but culminates in a ponytail. The lacing wraps around the entire head, offering unparalleled security and a stunning 360-degree view.
It’s a bit more advanced but so worth it. All your hair is anchored in place, perfect for windy days or long events.
- Start with a small French twist along the hairline, from one temple around to the other.
- Once you reach the other side, combine the twisted section with the rest of your hair.
- Gather everything into a ponytail at your desired spot. The twisted section will act as a laced headband.
Knotted Detail Ponytail
Use simple knots instead of crosses for a nautical, textured look. Knots hold incredibly well and add a unique, artisanal touch to your style.
This works great on slightly damp or textured hair for better grip. It’s casual but looks intentionally cool.
- Make a low, slightly off-center ponytail.
- Pull two small sections from either side of the base.
- Tie them together in a single overhand knot directly over the ponytail base. Tuck the ends in and pin.

