
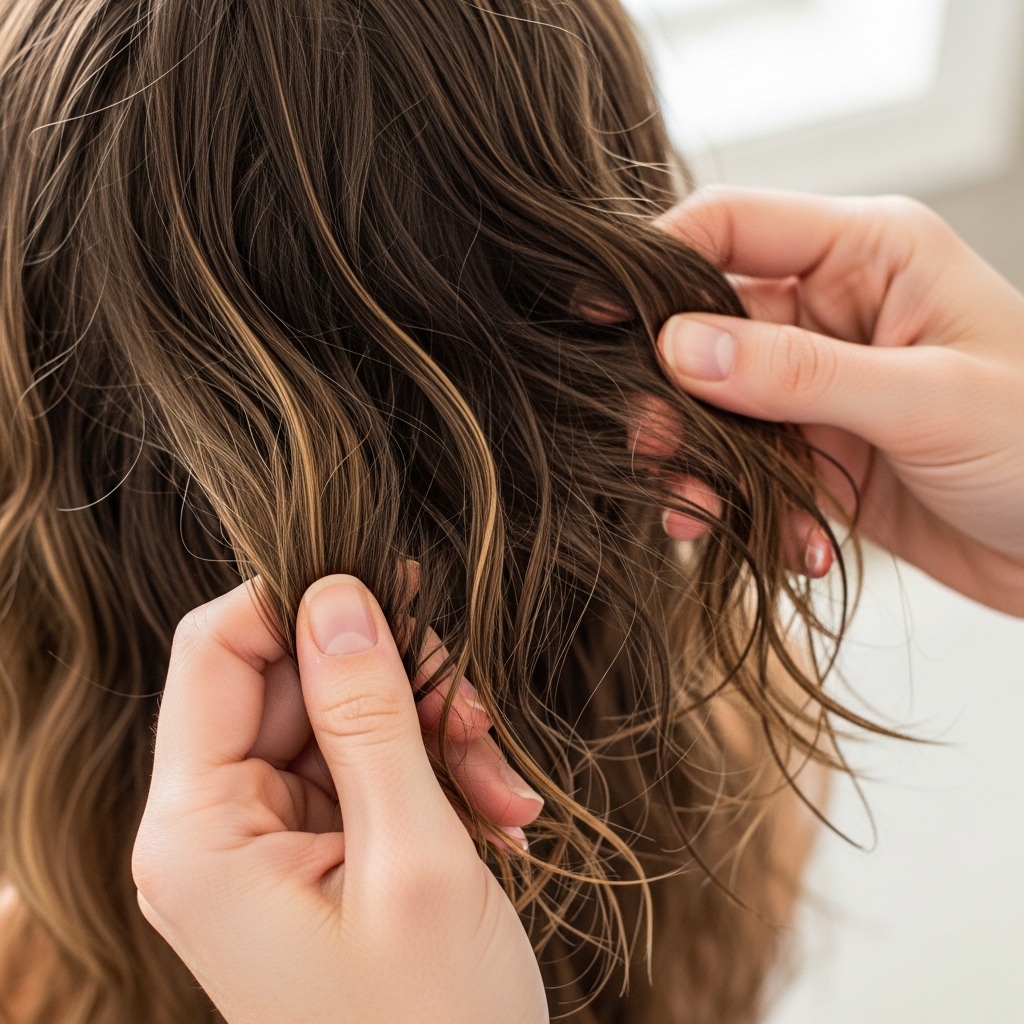
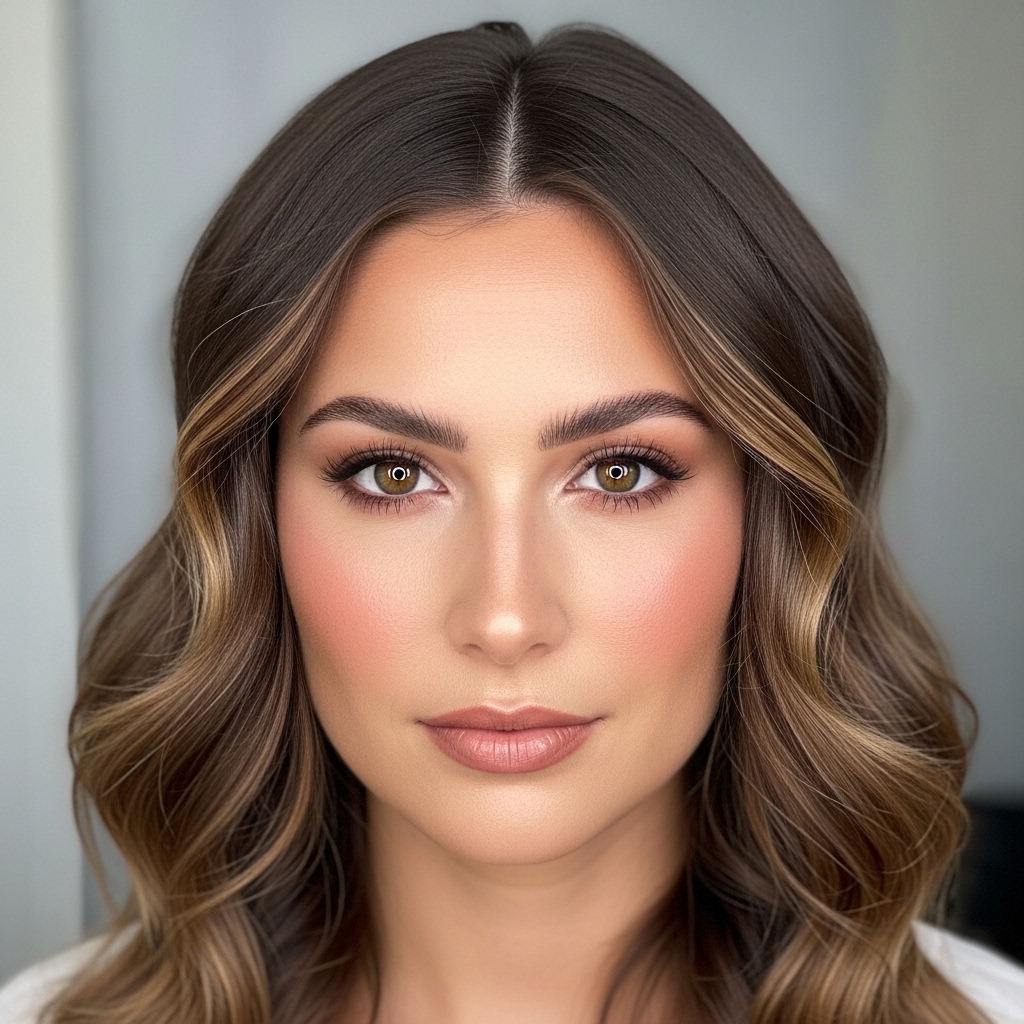
Okay, let’s be real. Sometimes you want to look put-together without looking like you tried. That’s the magic of messy waves. They’re the ultimate “I woke up like this” vibe, but better.
This year, it’s all about adding a little intentional chaos. Think less “beach day” and more “glitchy glam.” It’s that cool, slightly undone texture that feels modern, effortless, and seriously chic.
Whether your hair is long, short, or somewhere in between, there’s a way to rock this look. I’ve rounded up 23 of the best ways to wear messy waves, from casual day-out styles to ones with a bit of an edge.
Grab your favorite texturizing spray and let’s dive in. These ideas are quick, doable, and guaranteed to upgrade your casual cool factor instantly.
The Classic “Second-Day” Texture Wave
This is where it all begins. The best messy waves start with hair that isn’t squeaky clean. Day-old hair has that perfect grip and natural volume that holds style so much better.
If you just washed it, no worries. A quick spritz of dry shampoo at the roots will soak up any shine and add that essential grit. Then, focus your curling iron or wand on mid-lengths to ends, leaving the roots straight for a more relaxed feel.
The Low Bun with Wispy Escapees
Pull your hair back into a loose, low bun—the kind you make with a single hair tie and zero precision. The goal is softness, not sleekness. After it’s up, gently pull out a few face-framing pieces and some shorter bits around your neck.
Use your fingers to twist these escaped pieces slightly. Then, mist them lightly with a flexible hold spray. This style is pure quiet luxury hair, feeling both elegant and completely effortless for any busy day.
The Half-Up, Half-Down Voluminous Crown
Take the top section of your hair, from about your temples back. Gently tease it at the crown for a little lift, then secure it loosely with a clip or tie. Don’t pull it tight—let the back fall freely.
Now, run your fingers through the bottom waves to separate them and enhance the texture. This style gives you the best of both worlds: it keeps hair out of your face while showing off your gorgeous, glitchy glam waves.
The Tousled Ponytail with a Tease
Flip your head over and gather all your hair into a high ponytail. Before you secure it, lightly backcomb the hair at your crown for instant volume. Secure with a tie, but on the last loop, don’t pull the hair all the way through.
You’ll create a loose, folded effect. Then, pull the ponytail itself apart to widen it and accentuate the waves. A few tugs around the hairline soften everything. It’s athletic, cool, and takes two minutes.

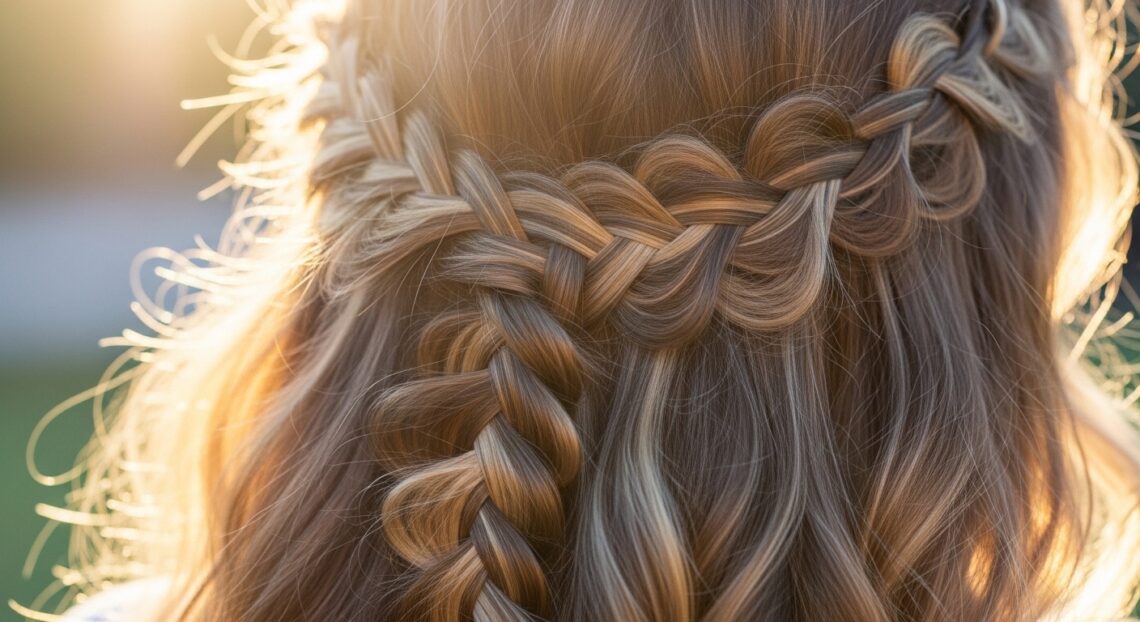
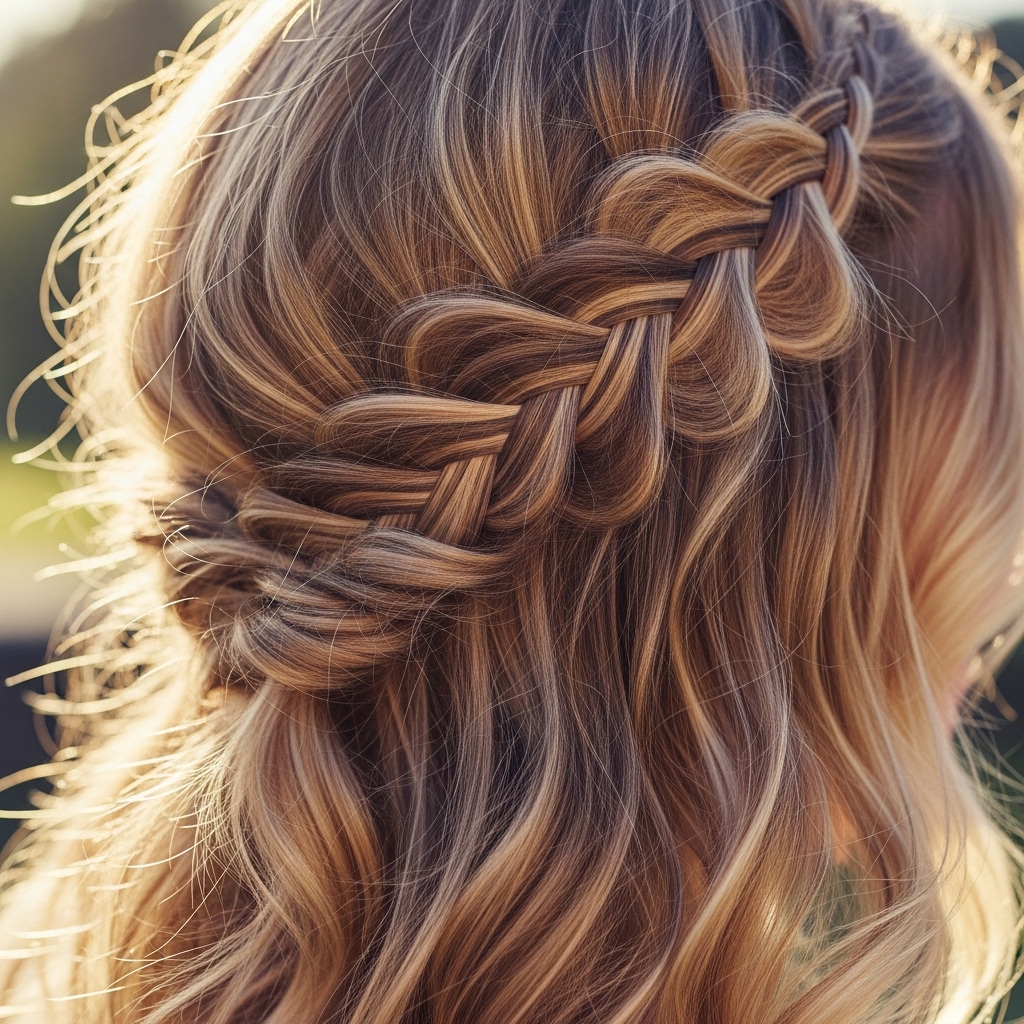
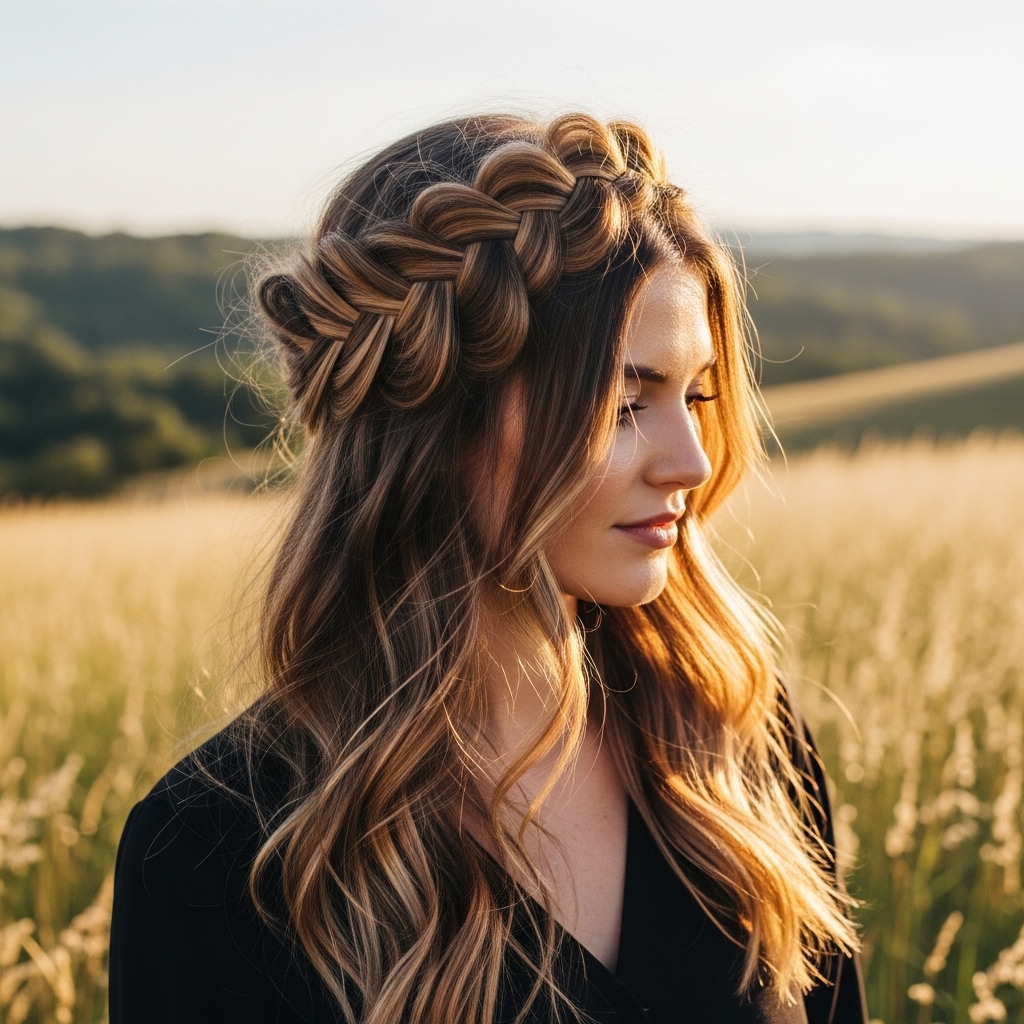
The “Barely There” Braid Accent
This isn’t a full braid. It’s a detail. Take a small section of hair near your part and create a simple, loose three-strand braid. Braid it down about halfway, then secure it with a clear elastic.
Gently tug on the sides of the braid to make it wider and messier. Let it blend into the rest of your wavy hair. It adds a boho, romantic touch to your look without any fuss.
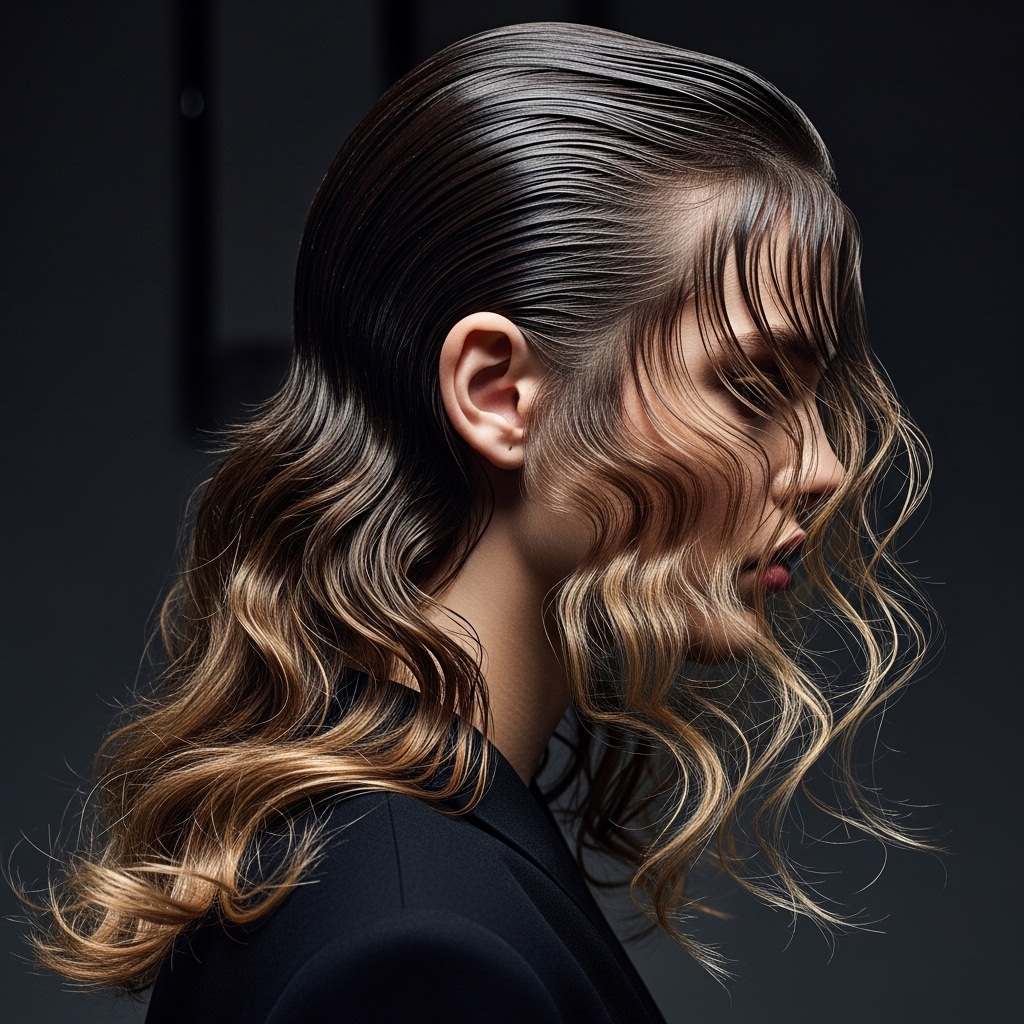
The Wet-Look Wavy Mix
For a dose of downtown cool, mix textures. Start with your dry, wavy hair. Then, take a strong-hold gel and rub it between your palms until it’s a thin film.
Smooth it over just the top layer of your hair, focusing on the canopy and face-framing pieces. This creates a slick, “wet” contrast against the dry, messy waves underneath. It’s a bold take on 2026 hairstyles.
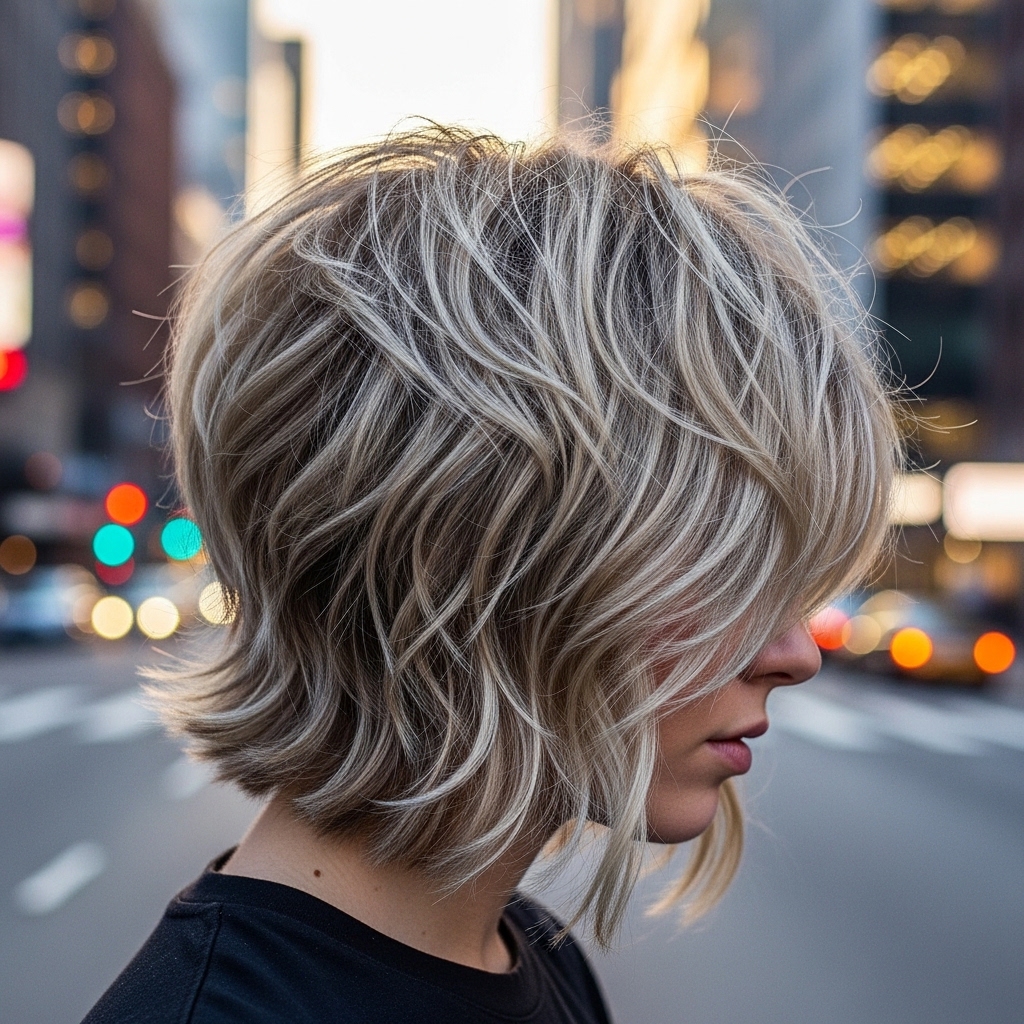
The Messy Waves on a Bob
If you have a bob or lob, messy waves create amazing shape. Use a small-barrel curling wand and wrap random sections away from your face. Curl some under, some over, for true chaos.
The key is to keep the waves tight and springy, not loose and flowing. Once cooled, rake through with your fingers and a texturizing paste. This adds a rock-and-roll edge to a classic cut.
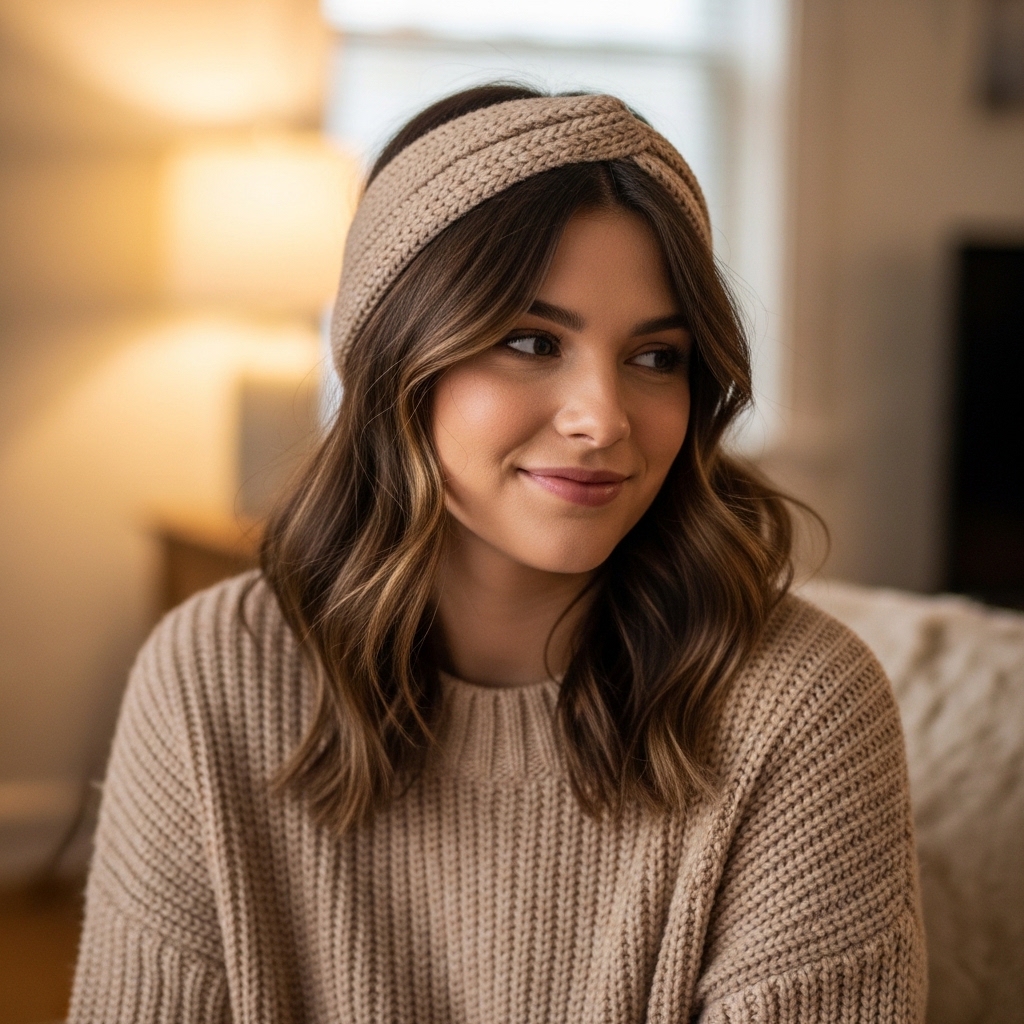
The Headband Styling Trick
A simple fabric headband is your secret weapon. Place it over dry, wavy hair. Then, using the tip of a comb or your finger, gently pull out small sections of hair over the band, especially around your face.
Pull and fluff these sections to blend them with the rest of your waves. It instantly creates a styled, retro-inspired look that still feels perfectly undone. It’s old money hair made easy.
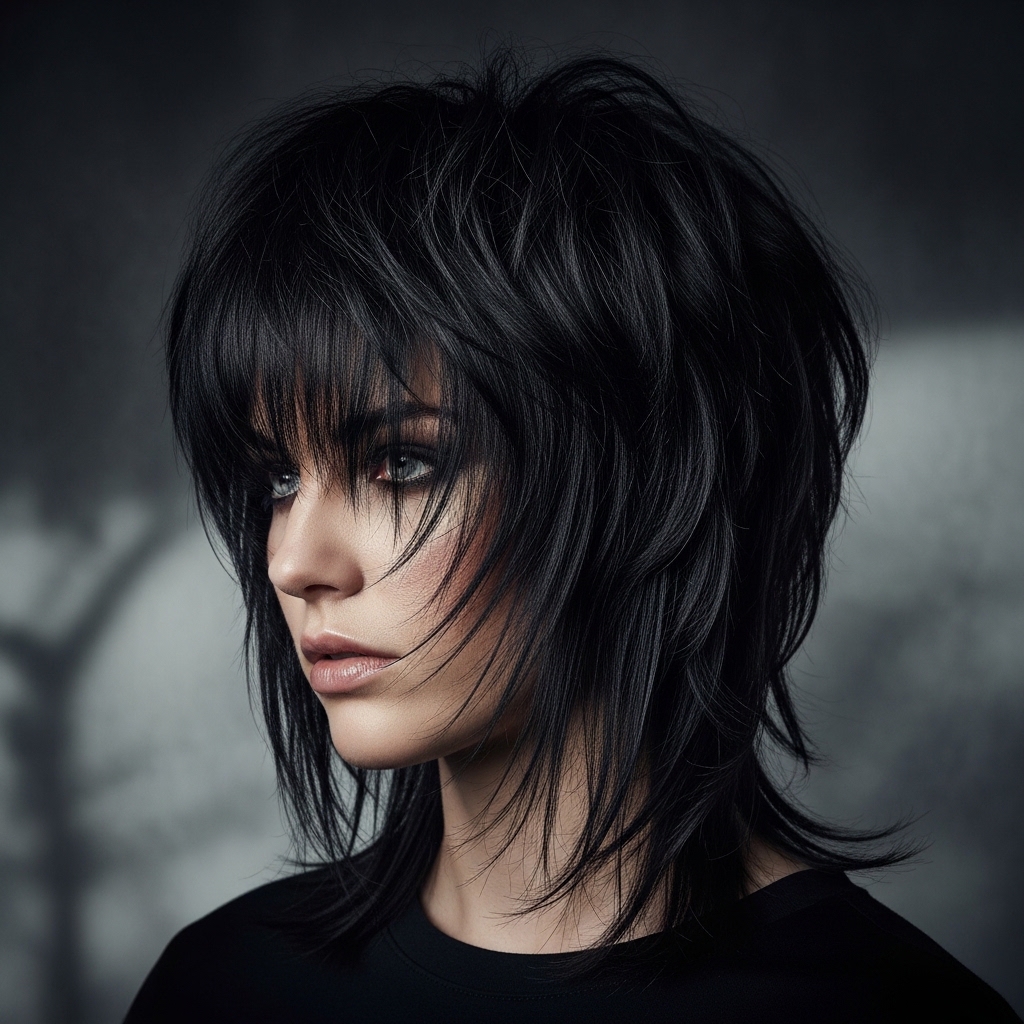
The “Vampire Cut” Texture
The vampire haircut is all about sharp, heavy layers and lots of texture. To style it wavy, focus on defining those ends. Use a waver iron or flat iron to create zig-zag bends in the shorter, layered pieces.
Keep the roots flat and let the ends do all the chaotic work. Finish with a strong-hold hairspray for that “undead but fabulous” vibe. It’s a top pick for romantic goth hairstyles this season.
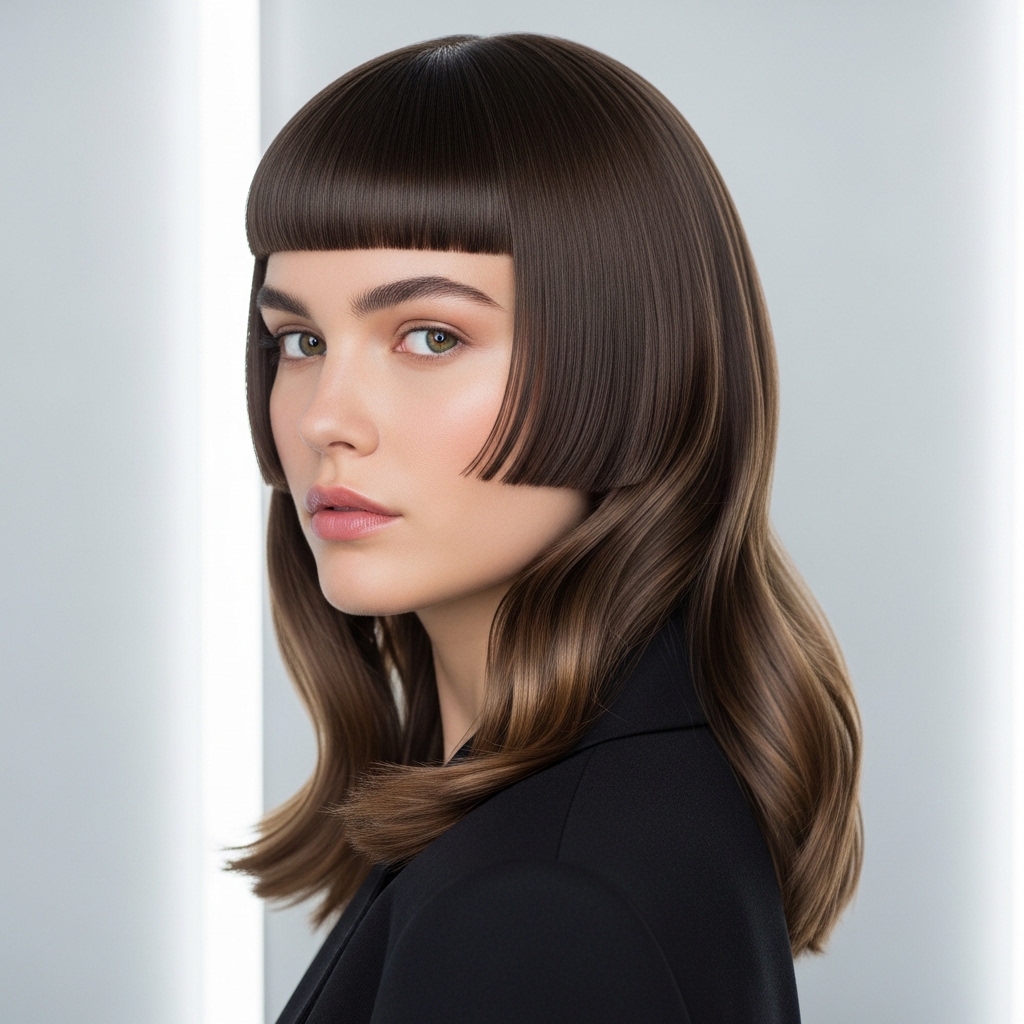
The Hime Cut with Soft Waves
The hime cut, with its distinctive straight-across fringe and long sidelocks, gets a soft update with waves. Keep the fringe and face-framing pieces blunt and straight for contrast.
Then, add loose, messy waves only to the longer hair at the back. This blend of structured and soft is incredibly striking and modern, playing with geometry and texture.
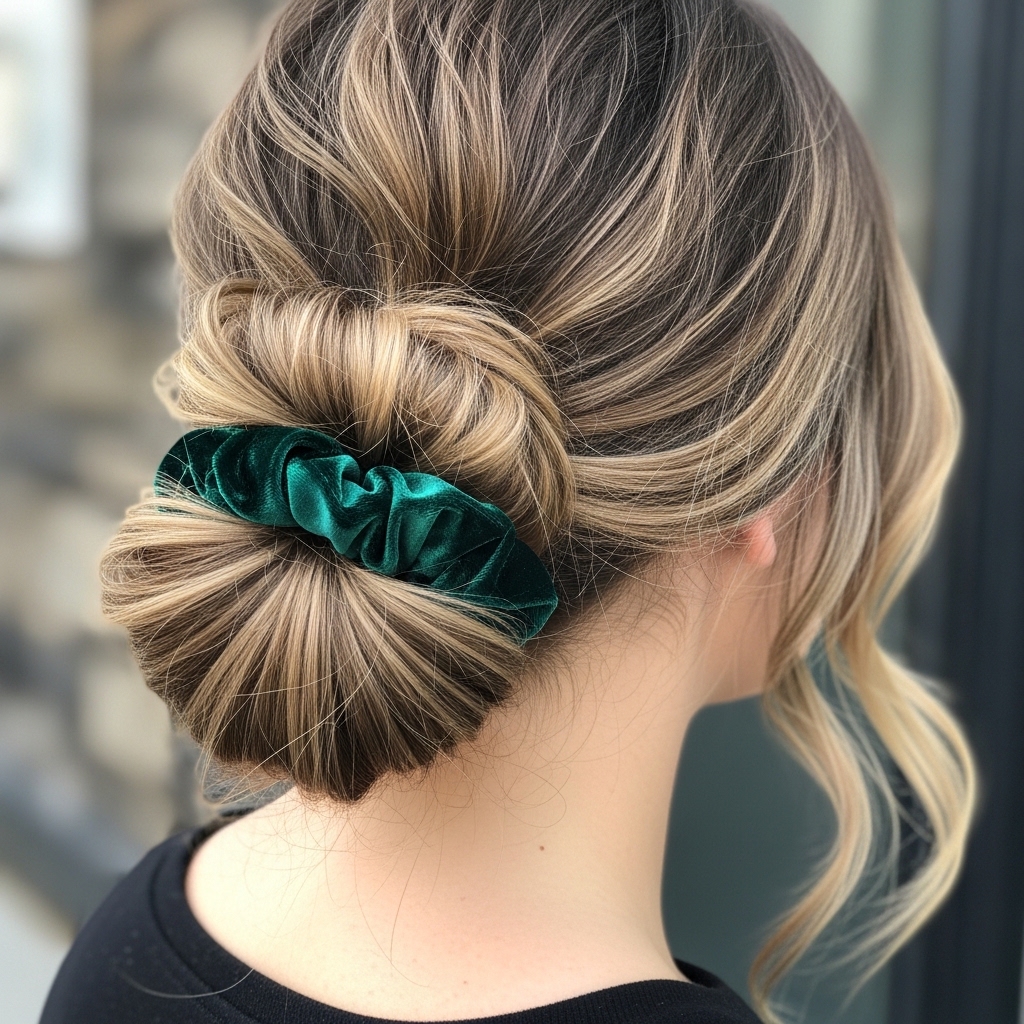
The Scrunchie-Based Updo
Gather your hair as if for a ponytail, but twist it loosely into a bun at your nape. Use a large, fabric scrunchie to hold it in place—wrapping it multiple times for a secure but soft hold.
Pull out waves all around the edges and even loosen the bun itself. The scrunchie adds a pop of color or texture, making this the ultimate easy, run-out-the-door style.
The Deep Side Part Volume
Switch your part dramatically to one side. This simple move instantly adds volume and a touch of drama. Blow-dry or brush your hair to follow the new deep part.
Then, create your messy waves as usual. You’ll find they fall in a much more dynamic, red-carpet way. It’s a five-second change that makes a huge difference, perfect for a quiet luxury bob.
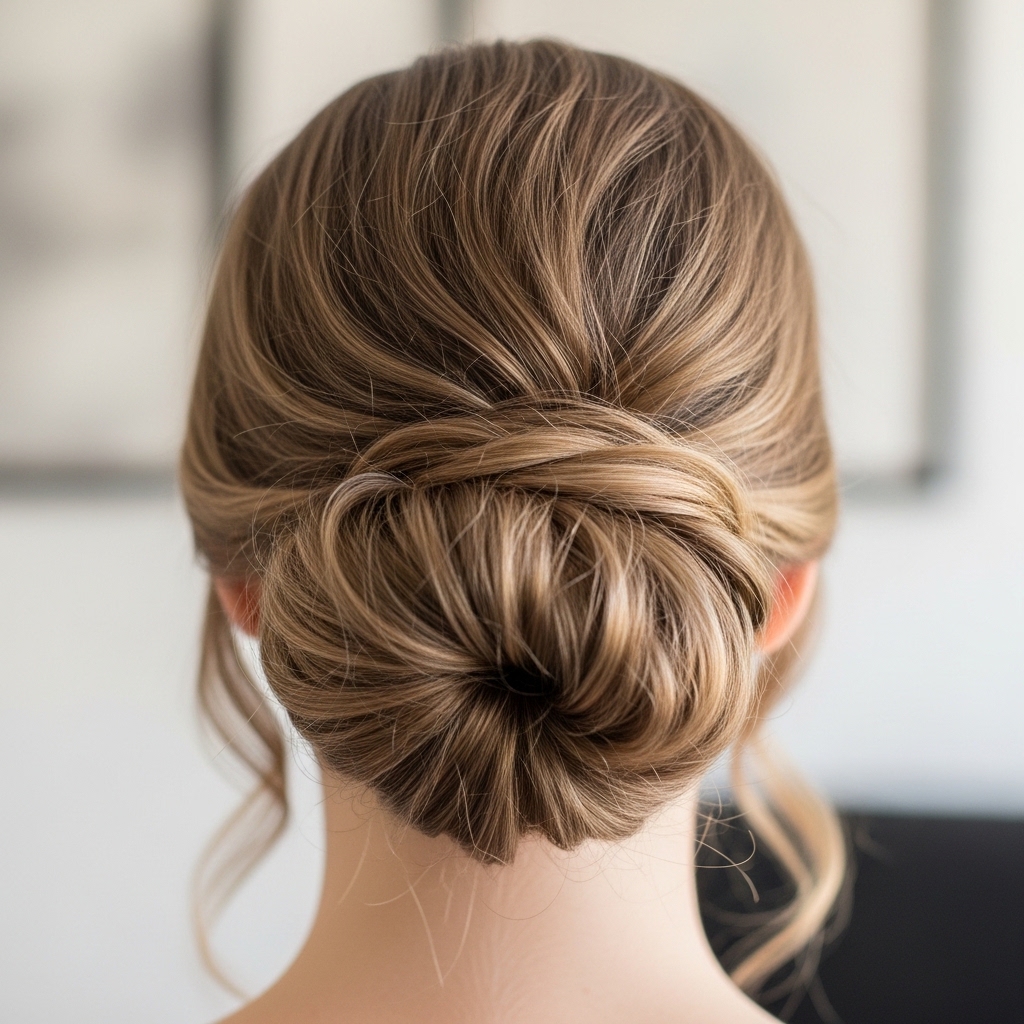
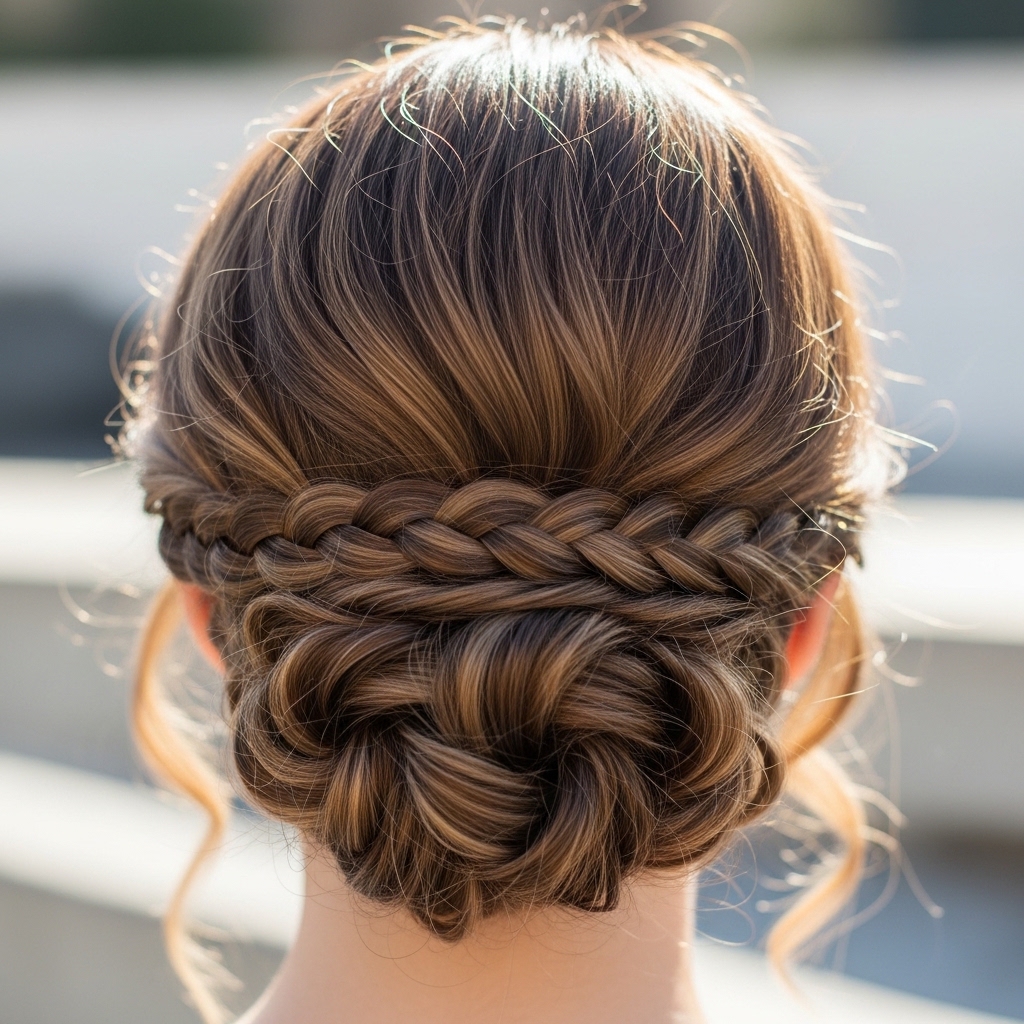
The Twisted Rope Updo
Split your hair into two large sections. Twist each one tightly until they begin to coil on themselves. Then, twist the two twisted sections together around each other into a low bun.
Secure with pins. The result is a beautifully textured, rope-like updo. Pull it apart gently and let those wavy ends peek out. It looks intricate but is surprisingly simple.
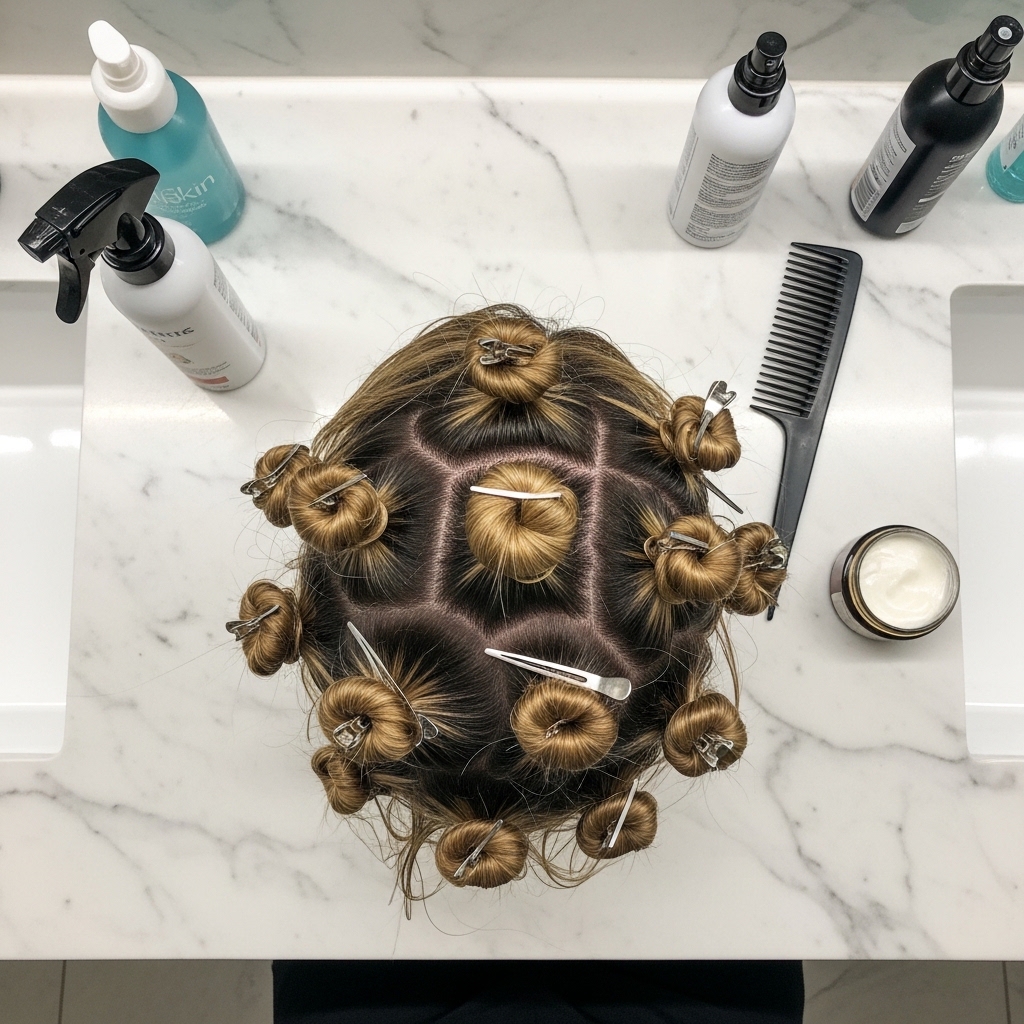
The Clip-and-Curl Method
For heat-free waves, try this. While your hair is slightly damp, divide it into 4-6 sections. Twist each section tightly, then coil it into a flat bun against your head, securing it with a clip.
Let it air dry or use a diffuser. When you take the clips out, you’ll have gorgeous, defined, frizz-free waves. Gently separate them with your fingers for the perfect messy finish.
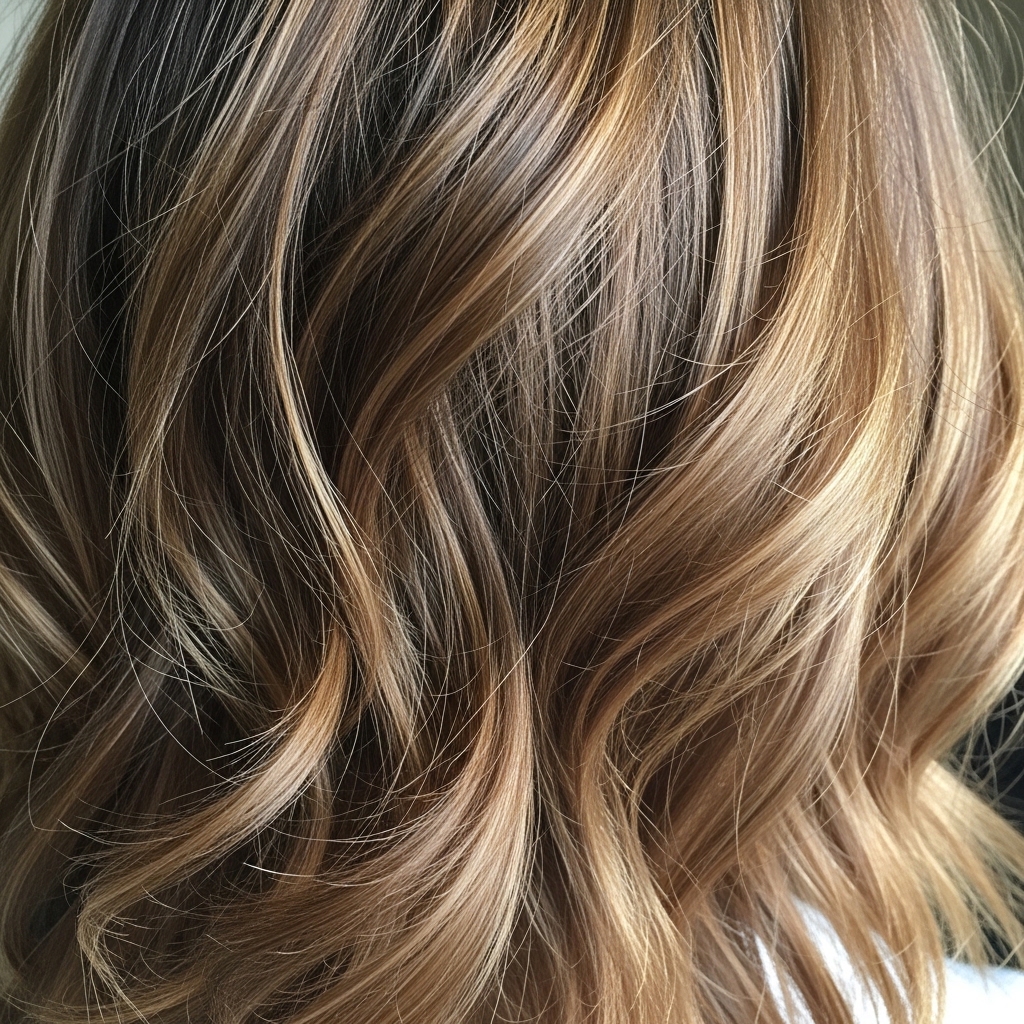
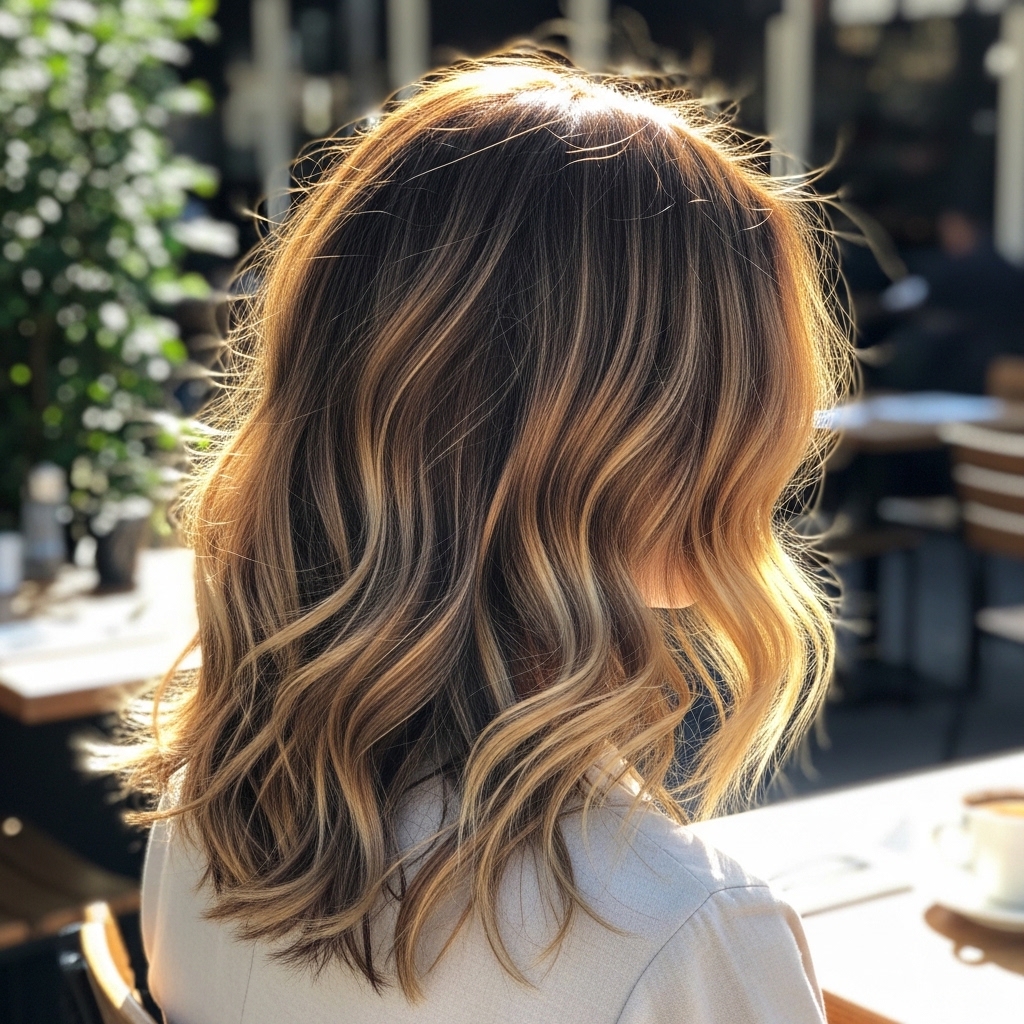
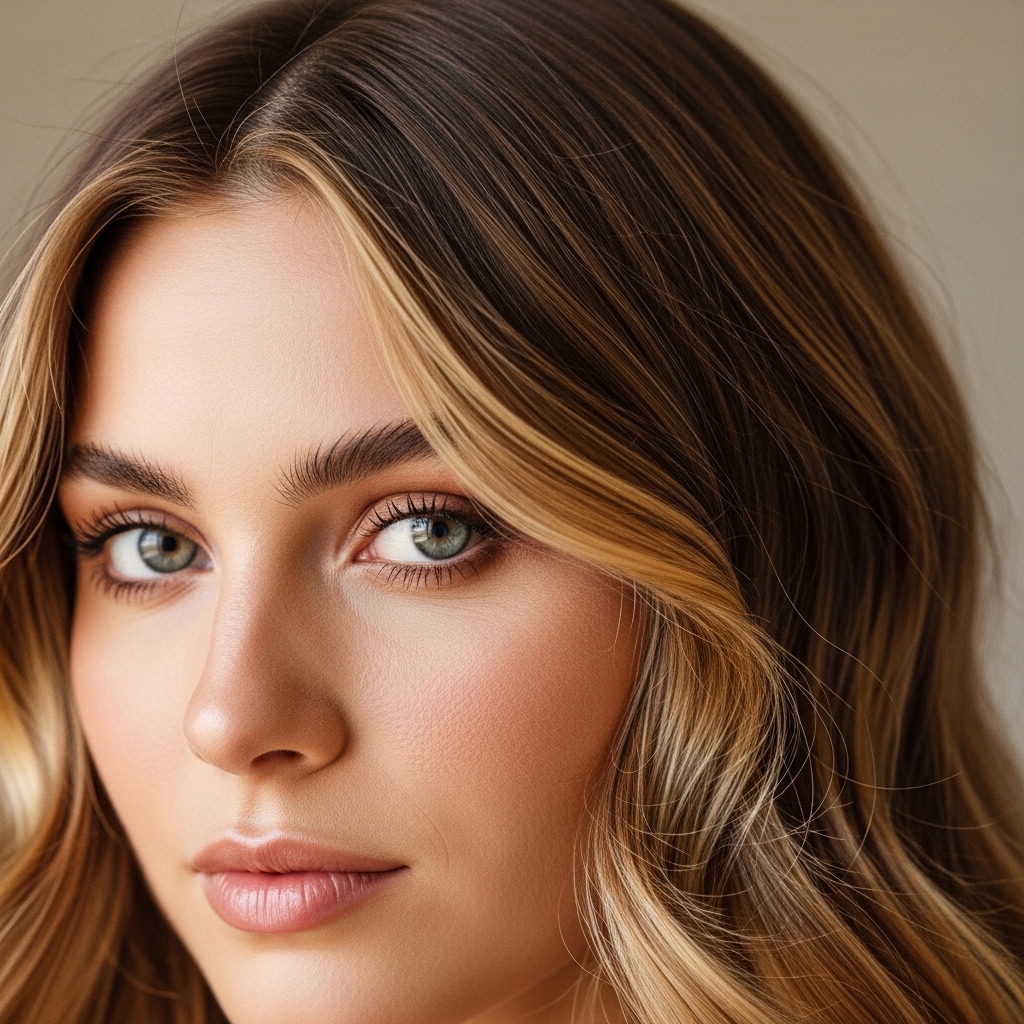
The “Lived-In” Color Dimension
Messy waves look incredible on hair with subtle balayage or face-framing highlights. The movement of the waves makes the color play and dimension even more noticeable.
When styling, use a shine spray or a light oil on your ends to make those color variations pop. This adds to the overall rich, glitchy glam hair effect, like you just stepped out of a salon.
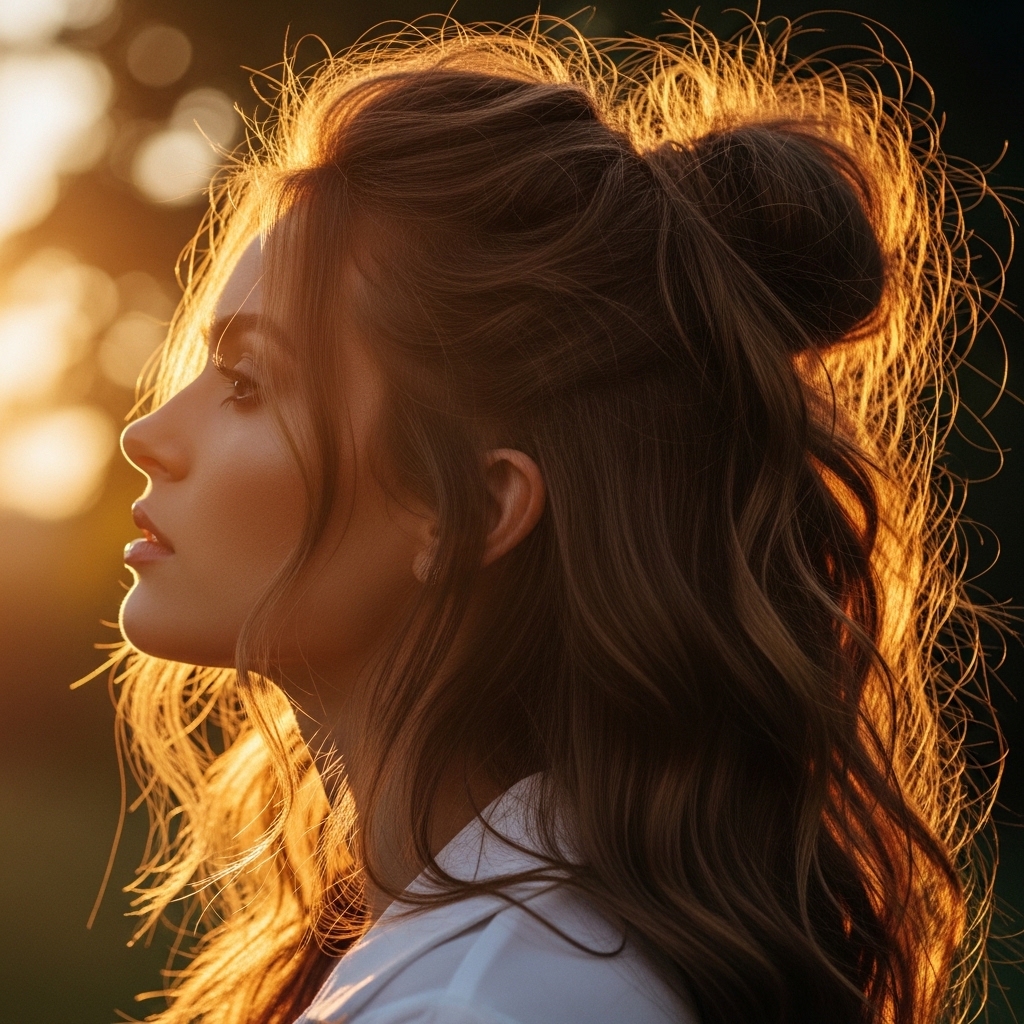
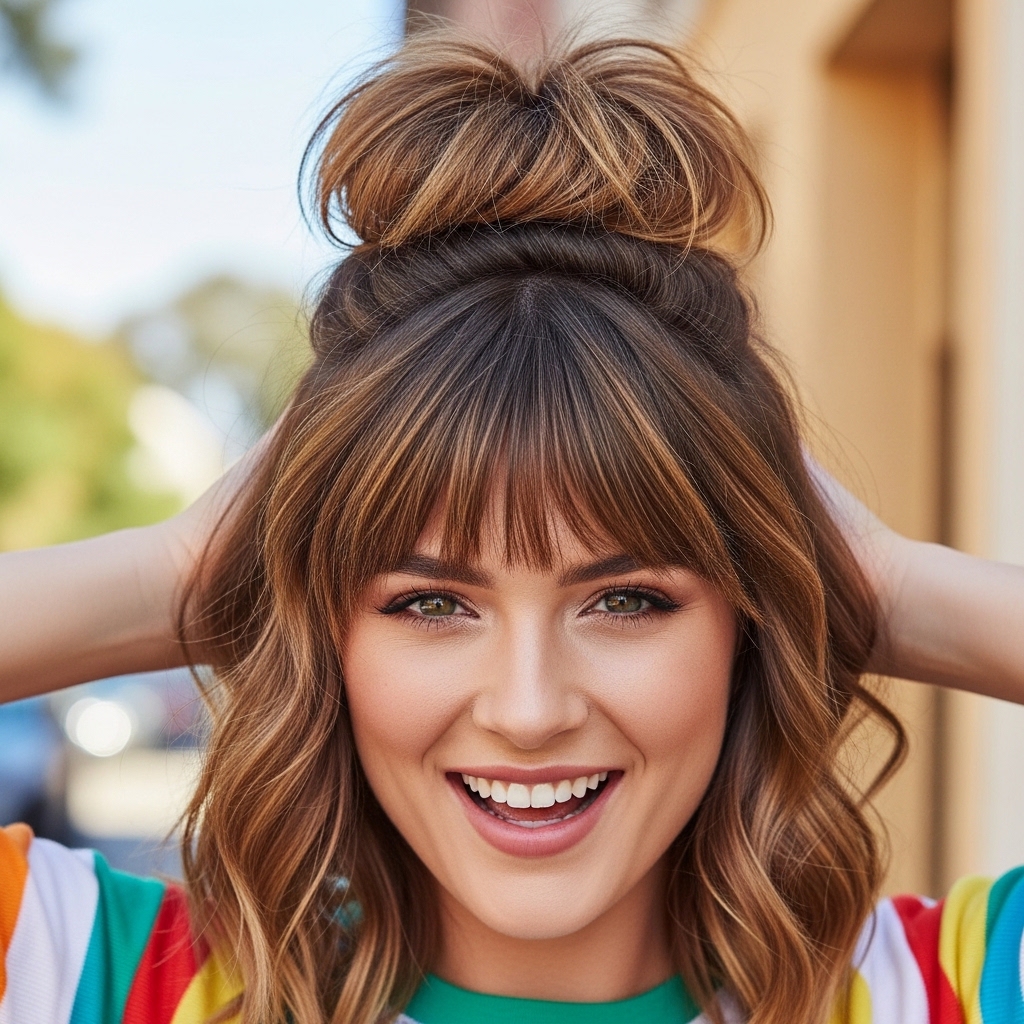
The Pineapple Puff for Shorter Hair
If you have a shag or a lob, gather the very top section of your hair at the crown. Pull it up and forward, securing it at the front of your crown with a small clip, creating a “pineapple” puff.
Let the rest of your waves fall around it. This adds playful height and keeps shorter layers off your face, perfect for showing off an asymmetrical lob’s shape.
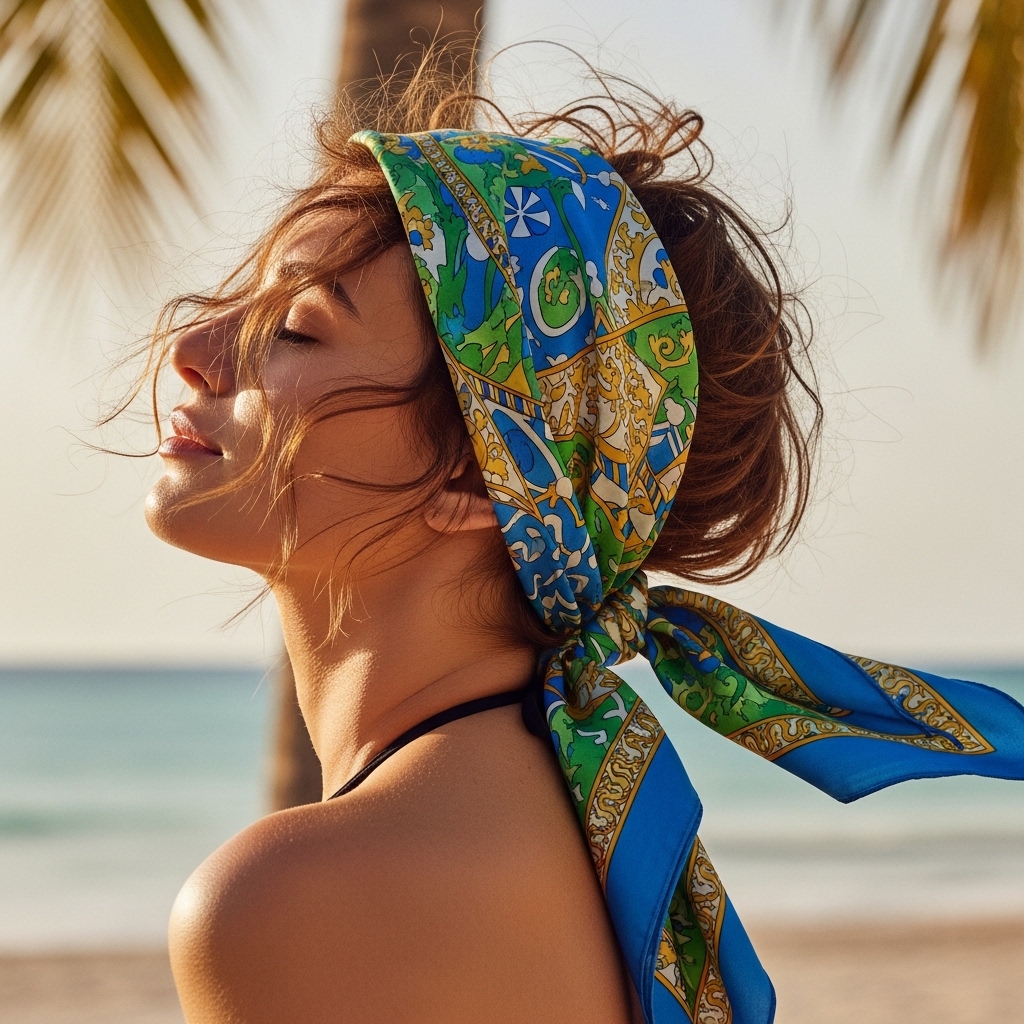
The Knotted Headscarf Detail
Fold a square silk scarf into a triangle and then into a long band. Tie it around your head, letting the ends fall over your wavy hair. You can also tie it at the nape of your neck like a bandana.
It instantly polishes your messy waves, giving a vintage, jet-setter feel. It’s the easiest way to look like you put in major effort when you really didn’t.
The “Undone” French Twist
Gather hair at your nape and twist it upwards, laying it against your head. Instead of pinning it neatly, use just two or three large clips to loosely hold the twist in place.
Let pieces fall out naturally along the twist and at the sides. This is the modern, deconstructed version of a classic, fitting right into the old money hair trend but with a relaxed twist.
The Salt Spray Soaked Ends
For a truly beachy, piecey finish, focus your product on the ends. After waving your hair, take a sea salt spray and lightly mist just the bottom few inches.
Then, use your hands to scrunch and separate those ends. This dries them out slightly (in a good way), creating that separated, gritty texture that defines the best messy waves.
The Face-Framing Curtain Wave
Isolate the two sections of hair that frame your face. Using a curling wand, wrap these sections away from your face, holding for just a few seconds to create a soft bend, not a tight curl.
Brush them out gently with your fingers. This highlights your features and makes the rest of your messy waves look more intentional. It’s a subtle trick with big impact.
The Pinned-Back Sides
Take two small sections from the front of your hair, near your temples. Twist each one lightly back and secure it behind your ear with a bobby pin that matches your hair color.
Keep the pins hidden. This tiny action keeps hair off your face and adds a sweet, polished touch to your otherwise carefree waves. So simple, so effective.
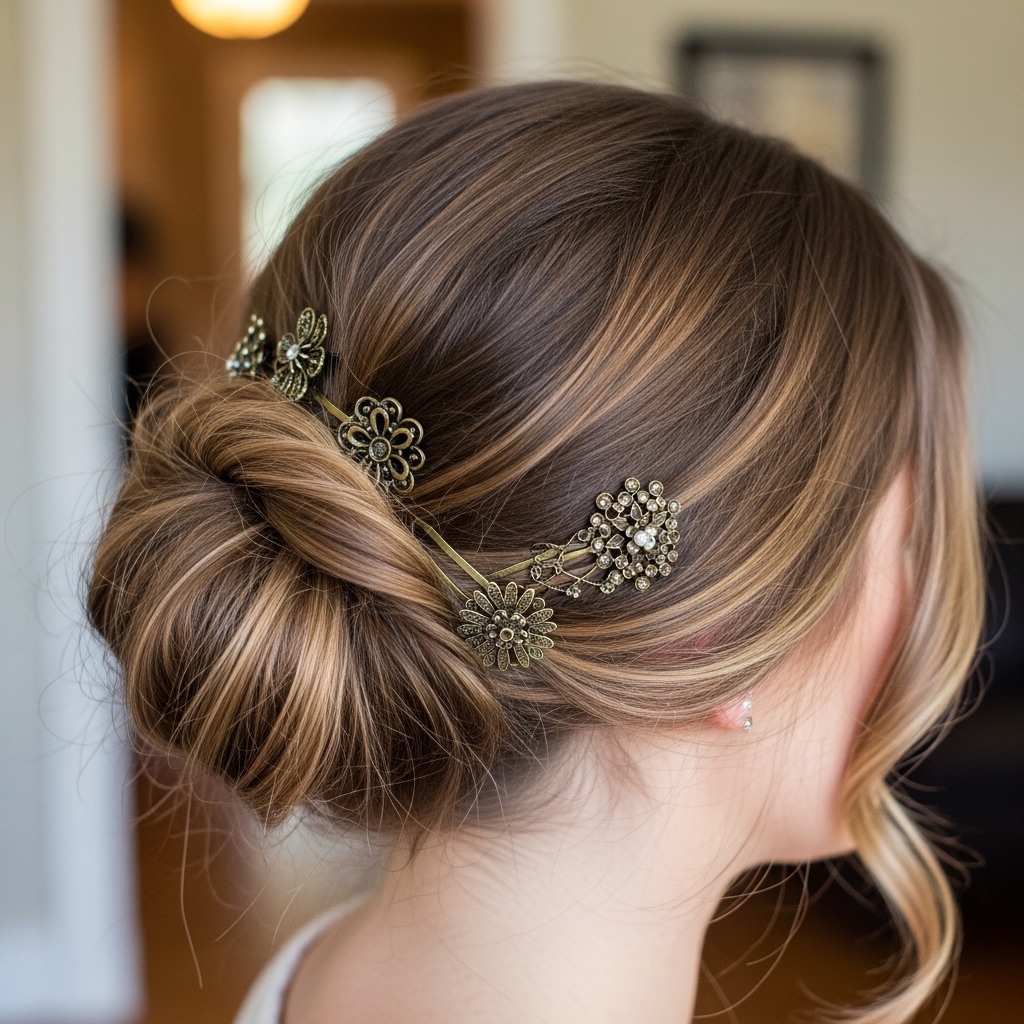
The “Milkmaid” Braid Crown
Create two low pigtails, one on each side. Braid each one into a simple three-strand braid. Then, take each braid and pull it across the top of your head, pinning it in place to form a crown.
Tug the braids to make them fuller and messier. Let your wavy hair flow down from underneath. It’s a feminine, festival-ready look that works for everyday, too.
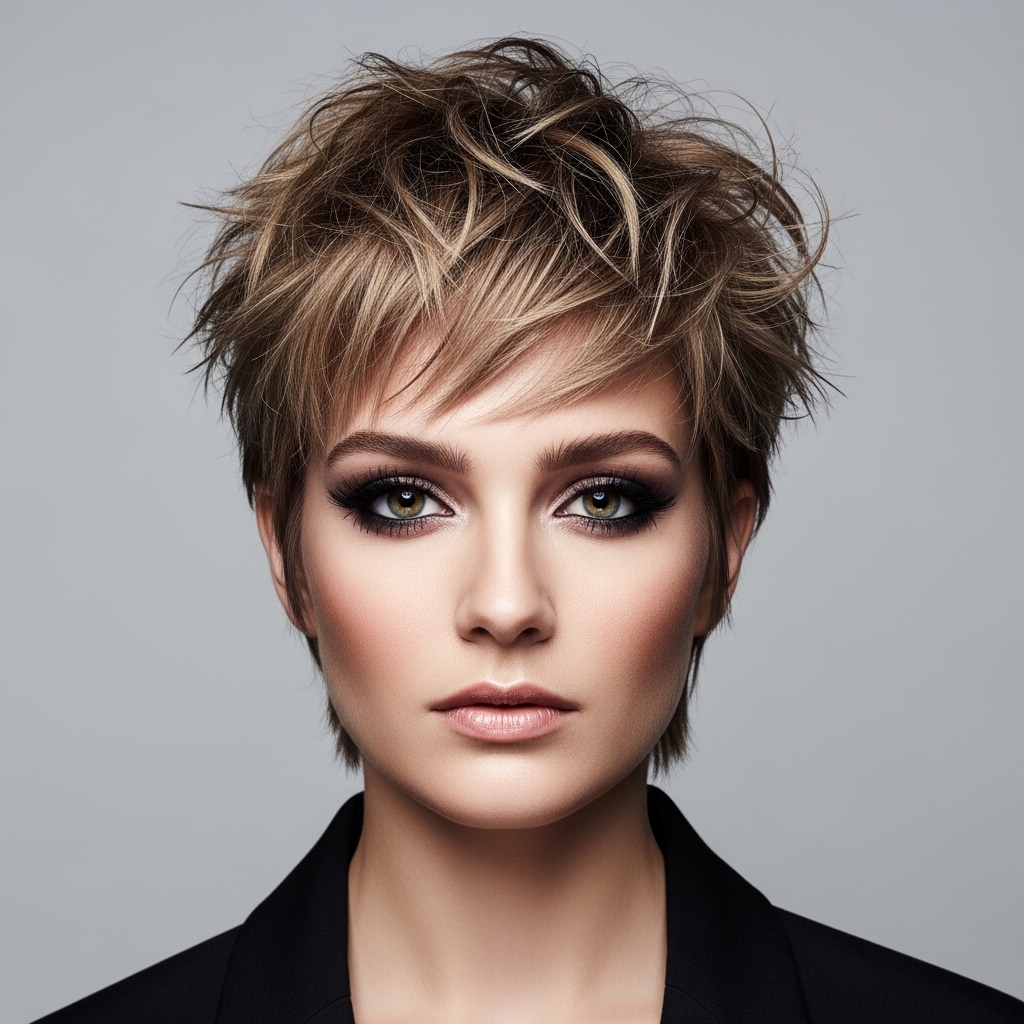
The Textured Pixie for Short Hair
Short hair can rock messy texture too! Work a strong pomade or wax between your palms. Then, rake your hands through your dry pixie cut, focusing on the ends and layers.
Push pieces up and out to create choppy, piecey separation. The goal is spiky, touchable texture that looks cool and modern. It’s a bold statement in the 2026 hairstyles scene.
The Overnight Sock Bun Wave
This is a classic for a reason. Take a clean sock (ankle style) and roll it into a doughnut. Pull your hair through it like a ponytail, then spread your hair evenly around the sock and roll it down to your scalp.
Secure with bobby pins and sleep on it. In the morning, unroll for perfect, heatless waves. Gently separate them for that signature messy, glitchy glam finish.
And there you have it! Twenty-three ways to make messy waves your signature look. The best part about this trend is that perfection is the enemy. The more you play, separate, and tousle, the better it gets.
Remember, the goal is to look and feel cool, confident, and like you have better things to do than fuss with your hair. These styles let you do exactly that. They work for every hair length and type, just adapt the technique to what you’ve got.
I’d love to hear which one you’re trying first. Did you spot your next go-to style? Tell me in the comments below!
Save this post to Pinterest to keep all these glitchy glam ideas handy for your next hair day!

