
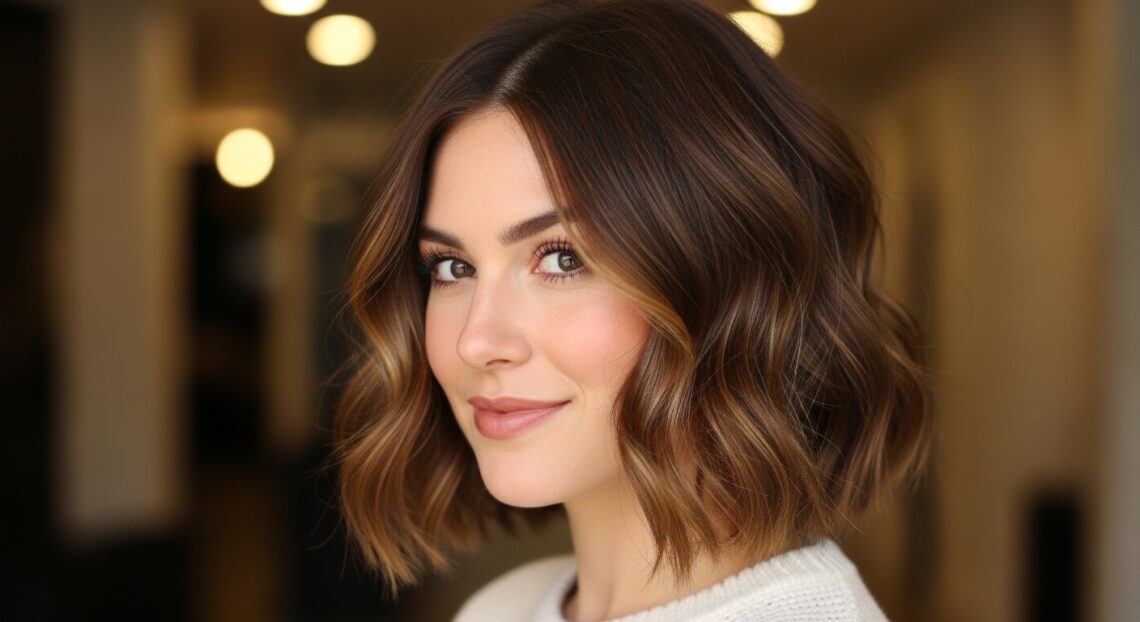
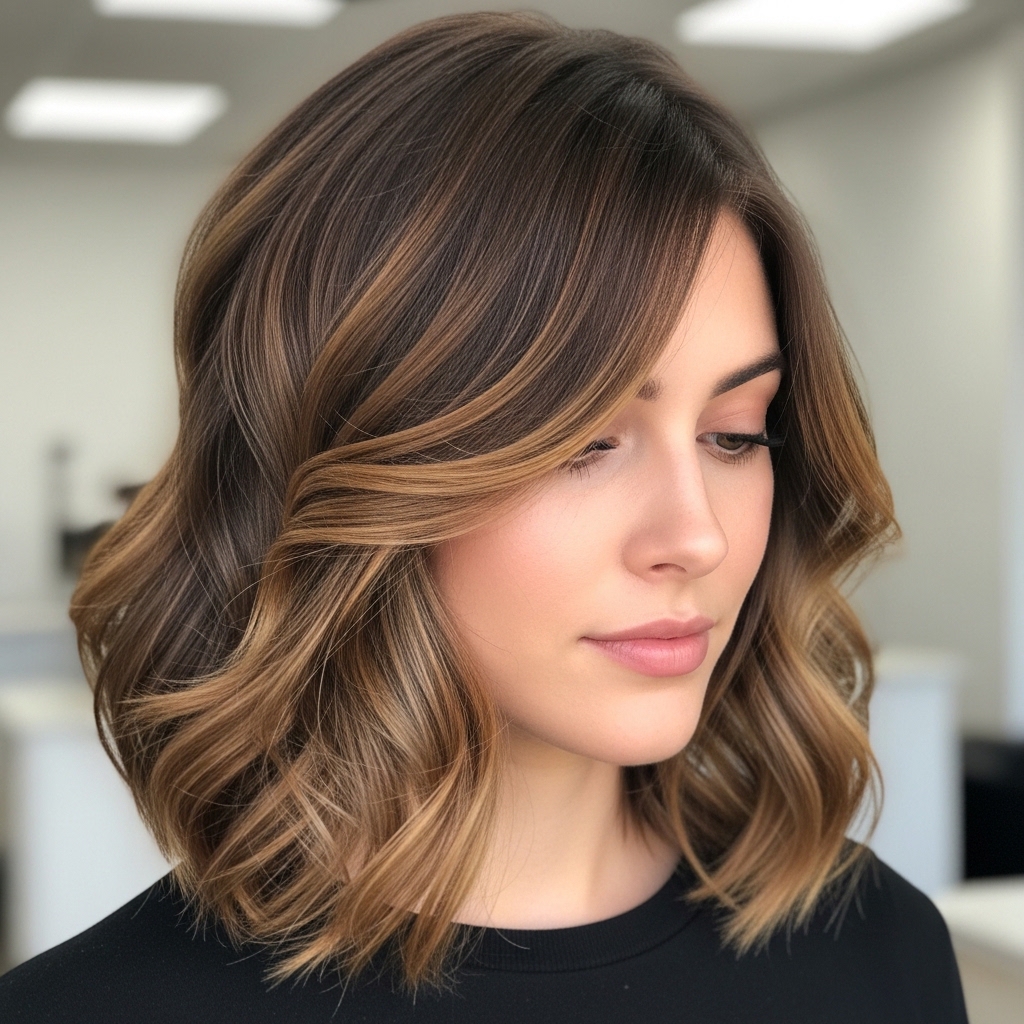
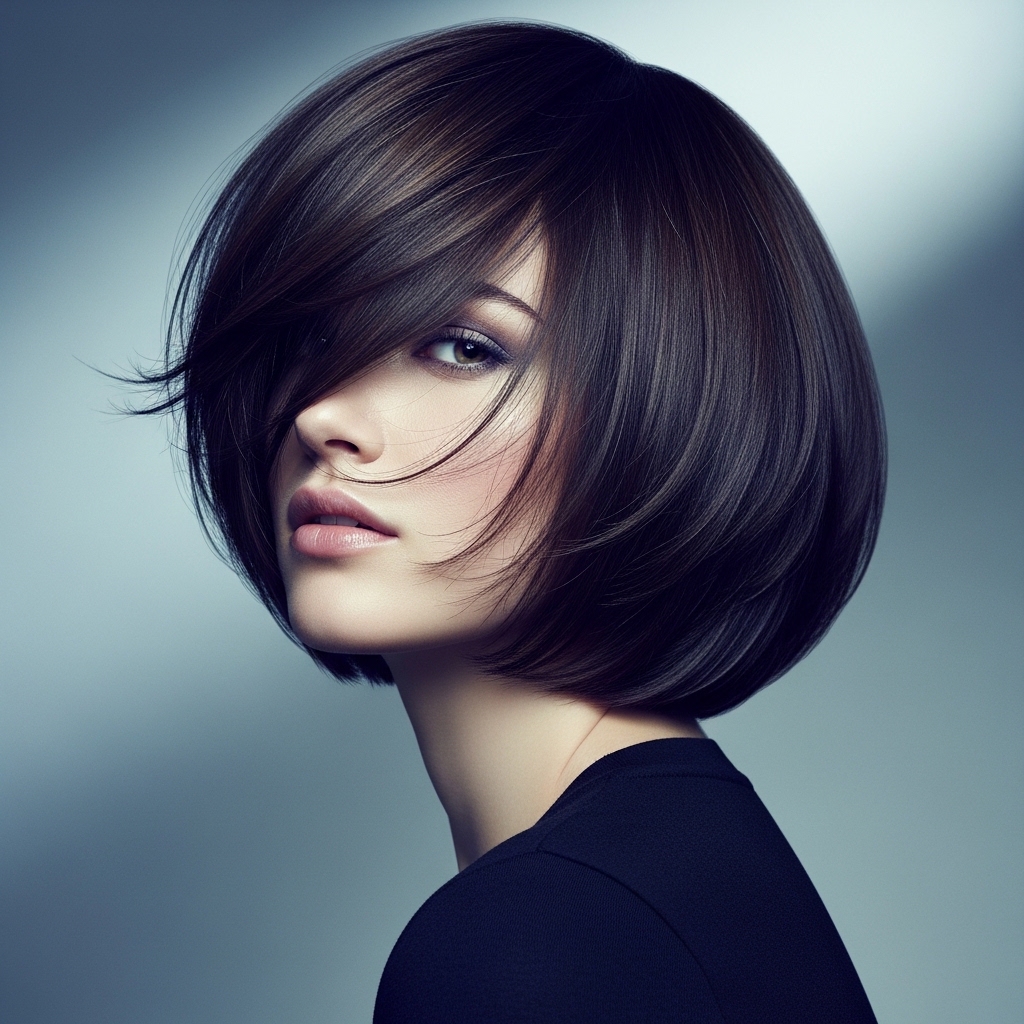
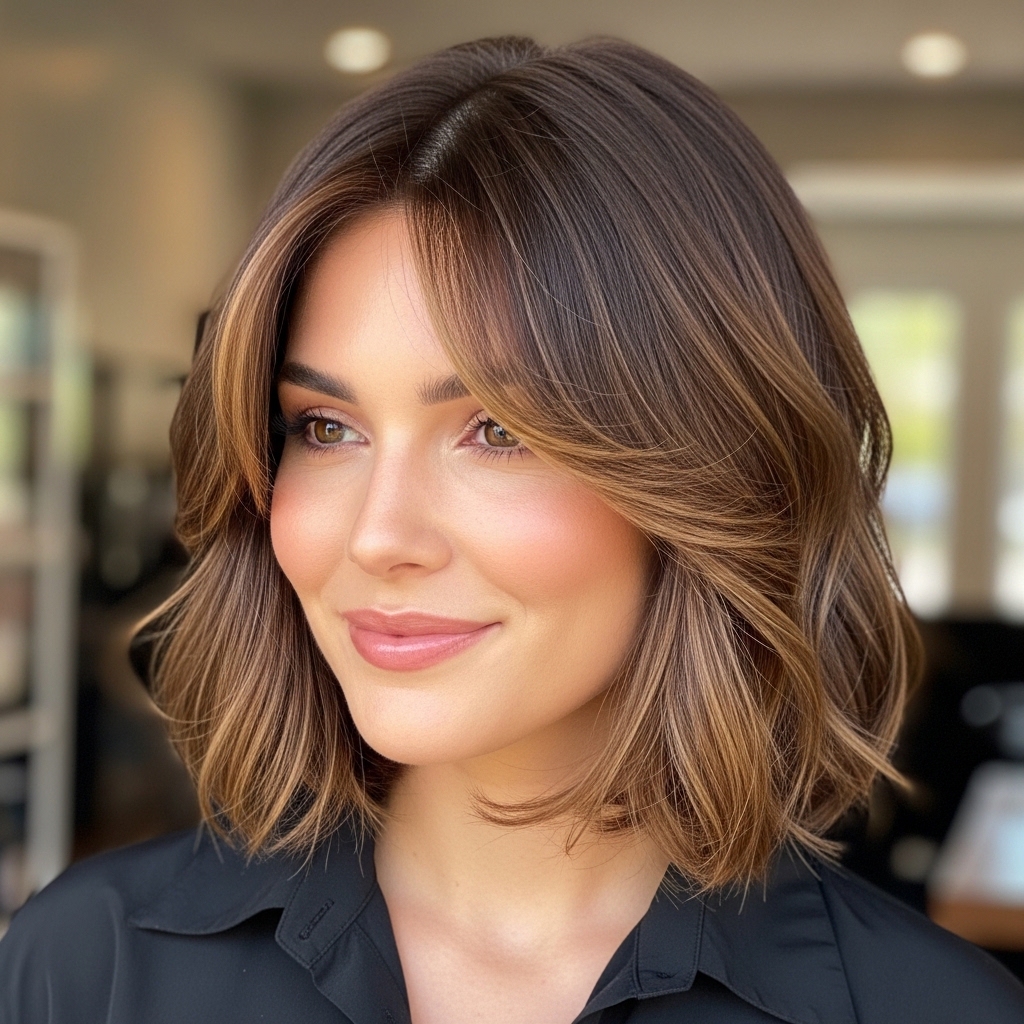
Okay, let’s talk about a hairstyle that’s absolutely everywhere right now, and for good reason. The sculpted bob with a deep part is that perfect mix of chic and effortless. It feels like the ultimate quiet luxury bob—polished but not fussy, and it works for so many of us.
Maybe you’ve seen it on your feed and thought it looked too complicated to do yourself. I get it. But I promise, it’s all about the right prep and a few key techniques. This isn’t about creating a stiff, helmet-like shape.
We’re going for that lived-in, expensive-looking vibe. Think of it as your go-to for that “I woke up like this, but better” energy. Whether your style leans more classic or you’re into the edgier side of 2026 hairstyles, this cut and style is incredibly versatile.
By the end of this guide, you’ll know exactly how to create this look at home. It’s quicker than you think and will become your new signature. Let’s get into it.
Why This Bob is Your Next Favorite Style
This isn’t just any bob. The sculpted version with a deep side part has serious attitude. It combines structure with softness in a way that feels modern and timeless all at once.
It’s a cornerstone of the old money hair aesthetic—that undeniably chic, quality-over-trends look. But with the right styling, it can easily tap into other vibes, like the sharpness of a vampire haircut or the soft romance of certain romantic goth hairstyles.
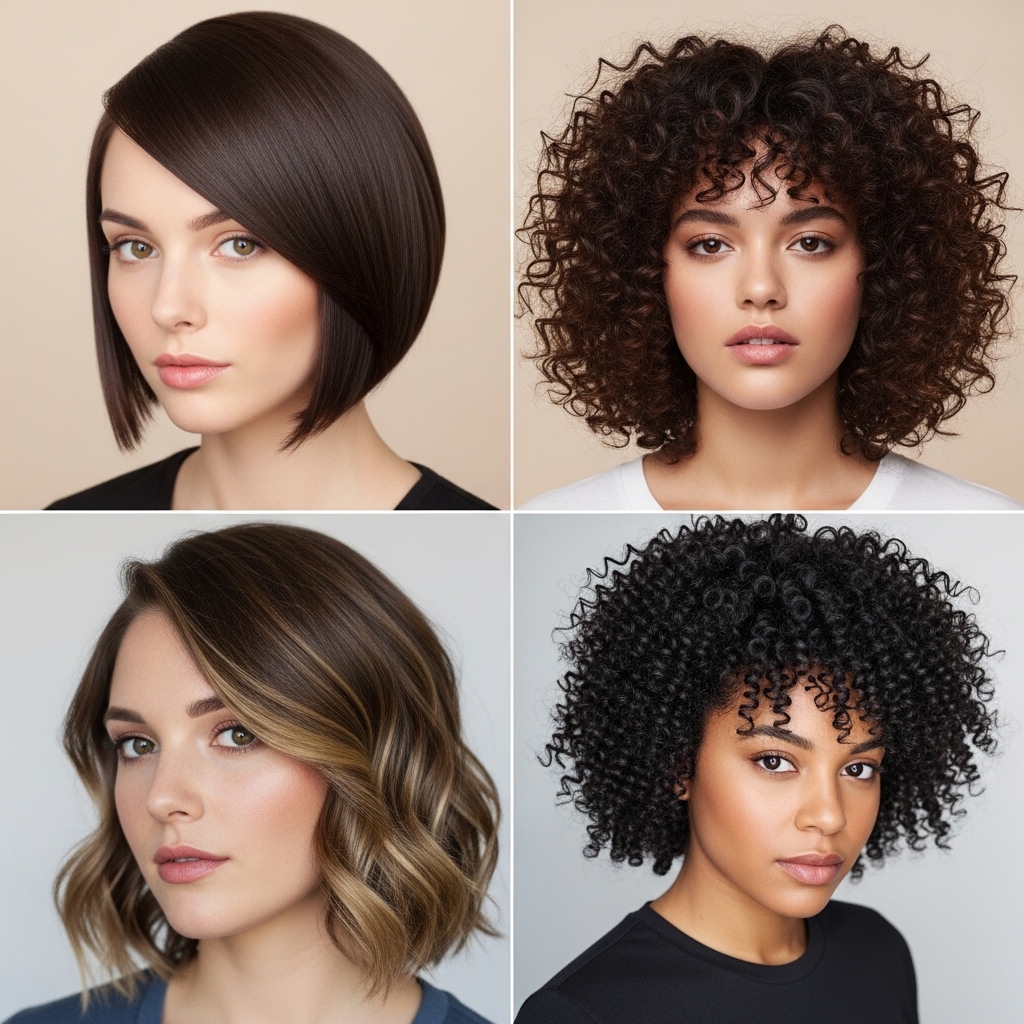
The deep part creates instant volume and drama, framing your face beautifully. It’s a look that says you know what you’re doing, without having to say a word. It works on straight, wavy, and curly textures, which we’ll cover how to adapt.
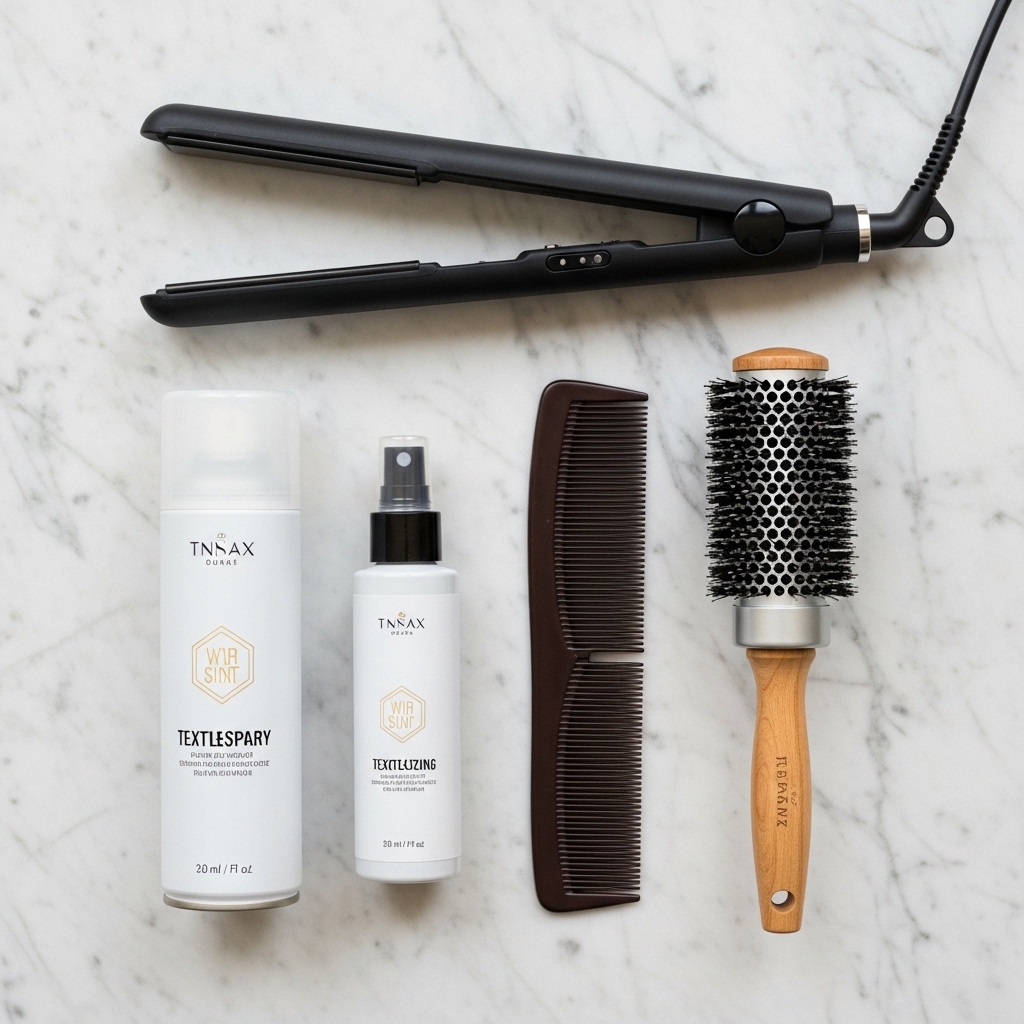
Tools You Absolutely Need to Get Started
Gathering the right tools is half the battle for a salon-quality result at home. You don’t need a pro’s entire kit, but these items are non-negotiable.
- A high-quality flat iron with rounded edges (1-inch plates are perfect).
- A fine-tooth comb for creating that sharp, clean part.
- A vented brush or a medium-round brush for blow-drying.
- Strong-hold hairspray (a flexible formula is best).
- A texturizing spray or light-hold mousse for root lift.
Having these on hand will make the entire process smooth and predictable. Trust me, using the right brush makes all the difference in building that base volume.
Step 1: The Perfect Wash & Prep Routine
Great style starts in the shower. For this look, you want a clean, but not stripped, base. Use a volumizing shampoo and a lightweight conditioner, focusing it only on your mid-lengths to ends.
When you get out, towel-dry gently. Don’t rub! This is when you apply your prep products. I spray a volumizing mousse or a texturizing spray directly at my roots while my hair is still damp.
This gives you that essential grip and lift from the very beginning. It’s the secret to making the style last all day and fighting flatness. Let your hair air-dry about 50-75% before you start with heat.

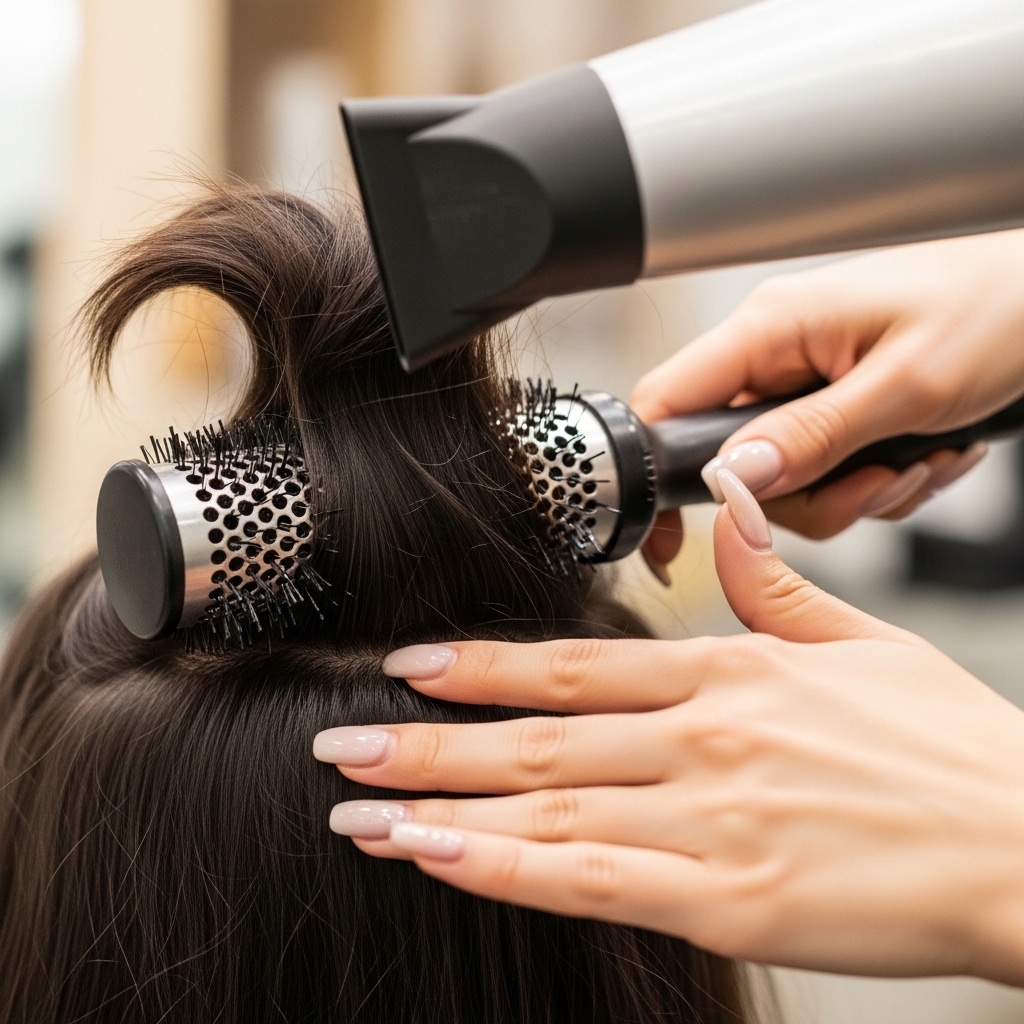
Step 2: Master the Blow-Dry for Maximum Lift
This step is all about building the foundation. Using your vented or round brush, start blow-drying your hair in sections. Always direct the airflow down the hair shaft for smoothness.
For the deep part, you need to train your hair early. Before it’s fully dry, use the fine-tooth comb to create your deep side part. Then, blow-dry the hair on the heavier side straight down.
For the side with less hair, blow-dry it back and away from your face. This counter-directional drying is what gives you that gorgeous, natural volume at the root. Don’t skip this!
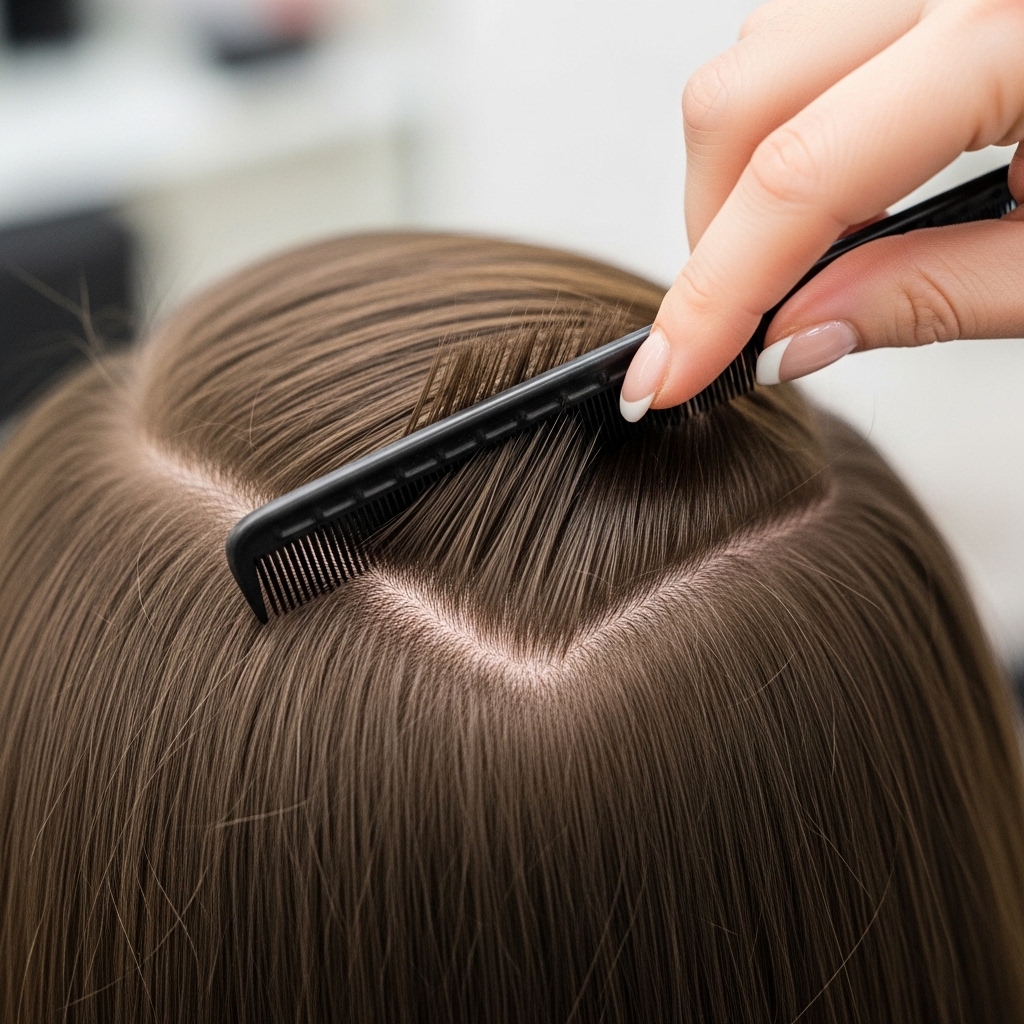
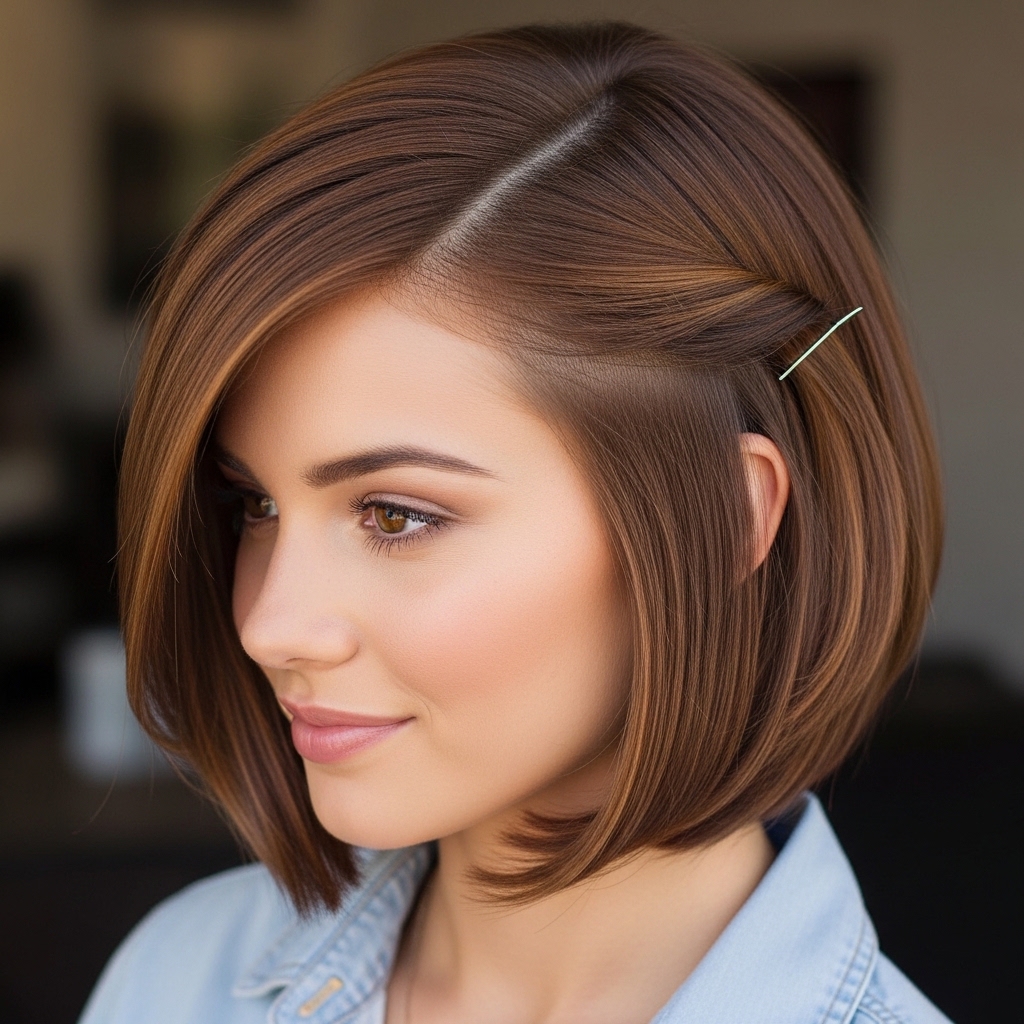
Step 3: Creating That Razor-Sharp Deep Part
Now, let’s define it. With your hair fully dry, take your fine-tooth comb again. Start from the front of your hairline and drag the comb back in a straight, decisive line.
Don’t be shy! A true deep part starts about two inches in from the edge of your eyebrow. Use the end of the comb handle to perfect the line if needed.
Once the part is clear, gently brush each side into place. You should already see the dramatic shape coming to life. This deep part is a key element of the glitchy glam hair trend—intentional, sharp, and a little unexpected.
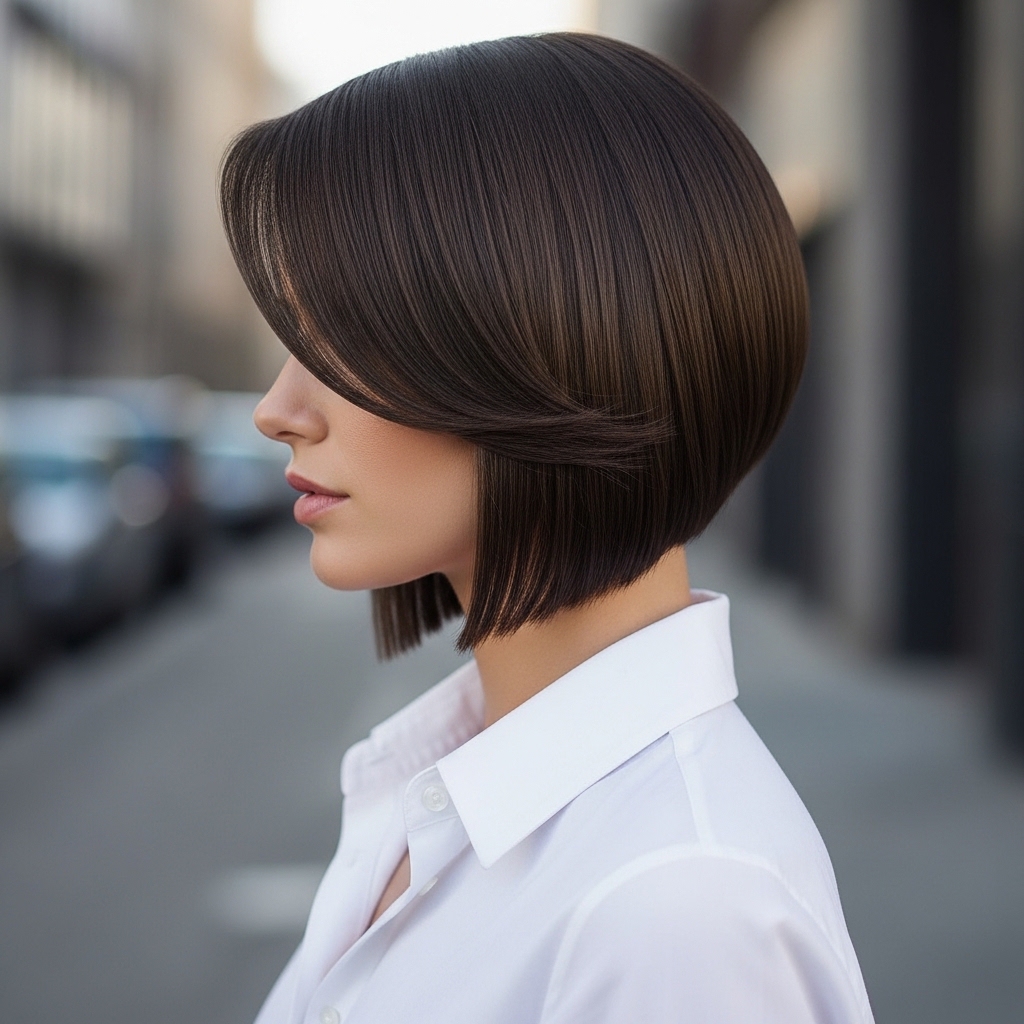
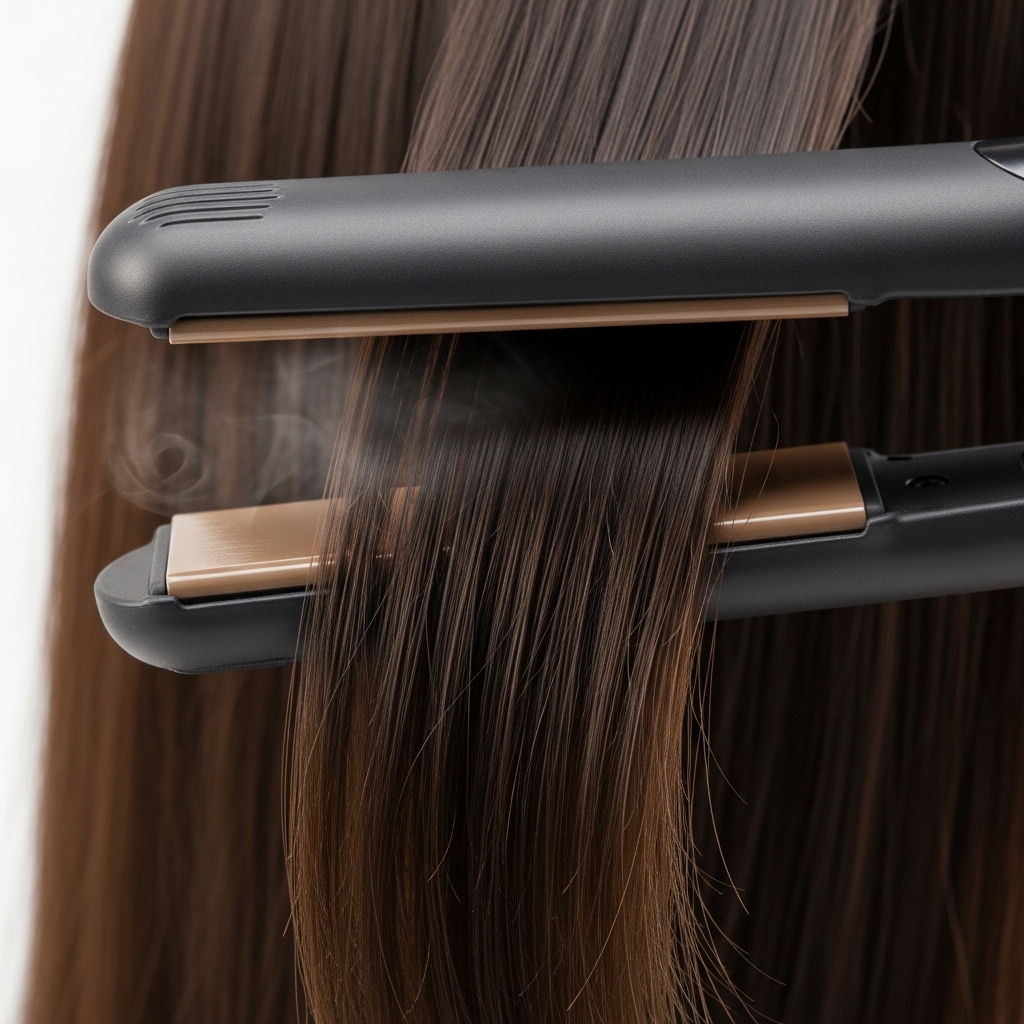
Step 4: Flat Ironing for the Sculpted Shape
This is where the magic happens. Take small, horizontal sections of hair. Starting at the root, clamp the flat iron and slowly glide it down, turning the wrist inward as you go.
This turning motion is what creates the “sculpted” effect—it bends the hair under, giving it that rounded, cocoon-like shape instead of just being pin-straight. Work from the back of your head to the front.
On the side with more hair, iron everything under. On the shorter side, you can iron it under or slightly back away from the face for a subtle asymmetrical lob feel.
Step 5: Flipping & Setting the Volume
Once all your hair is ironed, flip your head upside down. Gently run your fingers through your roots to break up any stiffness and encourage even more volume.
While you’re still flipped, give a light mist of flexible-hold hairspray to the underside at the roots. This is a pro trick for all-day hold.
Flip back up, and quickly readjust your part and the fall of the hair with your fingers—not a brush. You want to maintain that soft, lived-in texture you just created.

How to Adapt It for Wavy or Curly Hair
If you have natural texture, this look is still for you! The goal is polished definition. After washing, apply a curl-defining cream. Blow-dry with a diffuser to enhance your pattern, focusing on lifting the roots at your new deep part.
Once dry, use your flat iron only on the top canopy layer to smooth and sculpt the very surface, leaving the underneath layers curly. This gives you that controlled, quiet luxury shape on top with your beautiful texture peeking through.
The deep part will look incredible and give major drama to your curls. Finish with a light-hold spray to fight frizz without crunch.
Adding a Romantic, Softer Vibe
Want to lean into the romantic goth hairstyles aesthetic? It’s all in the details. After styling, take a small section of hair from the front on the heavier side.
Twist it loosely back and secure it with a small, elegant pin just behind your ear. Or, add a few face-framing pieces with a small curling iron for soft bends.
This breaks up the severity and adds a touch of poetic softness. Think less sharp corporate, more romantic heroine. A deep side part is perfect for these little accent pieces.
Getting the Edgy “Glitchy Glam” Look
The glitchy glam hair trend is about intentional imperfection. To get this vibe, after styling, deliberately pull out a few very fine, wispy strands around your face and nape.
Mist them with a strong-hold spray and gently crinkle them with your fingers. You can also use a tiny bit of pomade to piece out the very ends of your bob, making them look slightly separated and “glitched.”
It contrasts the perfect sculpted shape with these raw, textured details. It’s cool, editorial, and surprisingly easy to do.
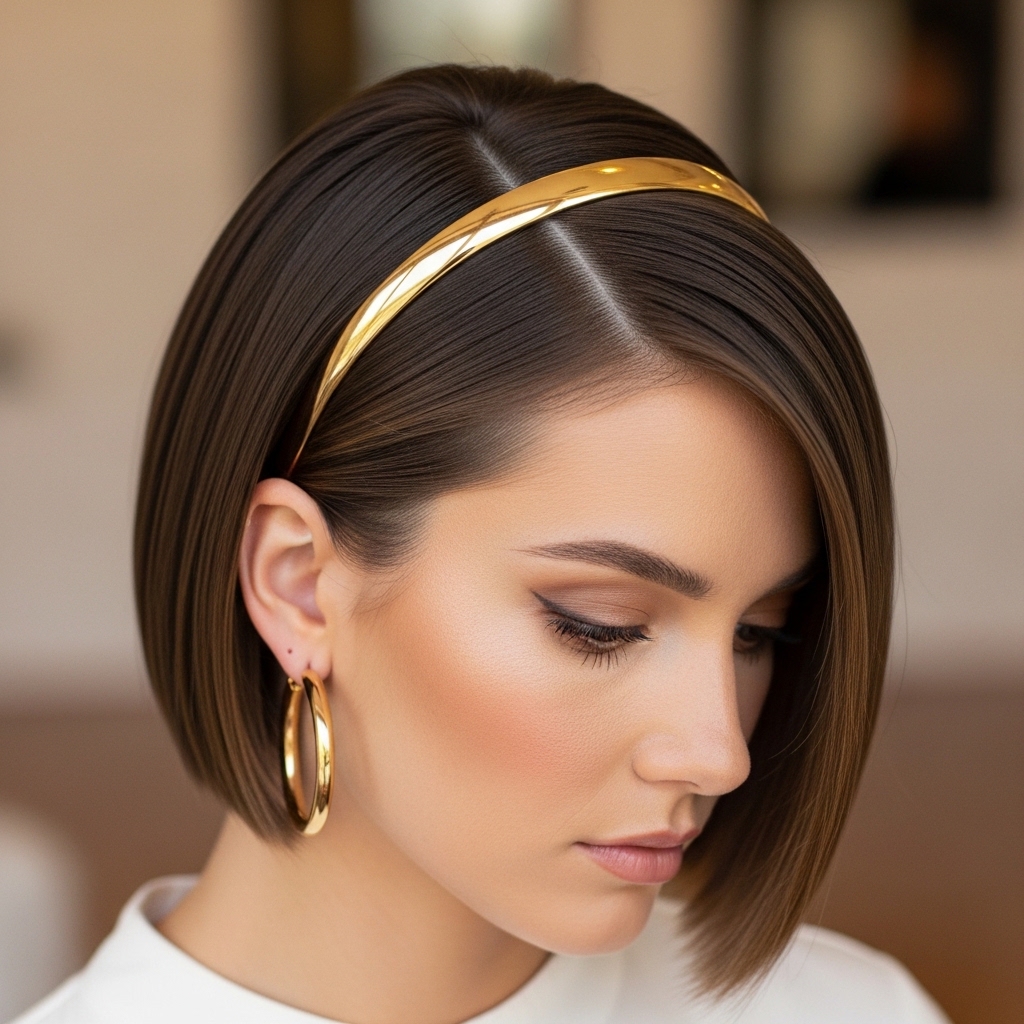
Accessorizing Your Sculpted Bob
Accessories take this style to another level. A simple, thin headband worn just behind the hairline looks incredibly chic. Or, add a few small, decorative clips on the side with less hair.
For evening, think sleek barrettes or a single statement earring on the exposed side of the deep part. This style also looks amazing with bold earrings, as it keeps the neck and ear area clear.
It’s a minimalist canvas that lets your accessories truly shine. Even a simple silk scarf tied as a headband screams old money hair elegance.
Making It Work with Bangs or Fringe
Have bangs? This style is a dream. A deep part with curtain bangs is a classic combo. Style your bangs as usual, blending them into the longer lengths of your bob.
If you have a fuller fringe, keep them piecey and textured, and let the deep part start behind them. For something really dramatic, consider the influence of a hime cut—those straight-across front pieces—and pair them with this deep-part bob. The contrast is stunning.
The key is to ensure your bangs and your bob feel like one cohesive shape, not two separate entities.
Quick Morning Refresh Routine
You won’t need to fully restyle every day. In the morning, simply flip your head over and spritz some dry shampoo or texturizing spray at the roots. Massage it in.
Use your fingers to re-establish your deep part. If the ends look a little slept-on, quickly run the flat iron over just the outer layer to reintroduce that sculpted curve.
This should take you five minutes max. The beauty of this cut is that it gets better on day two and three with a little refresh.

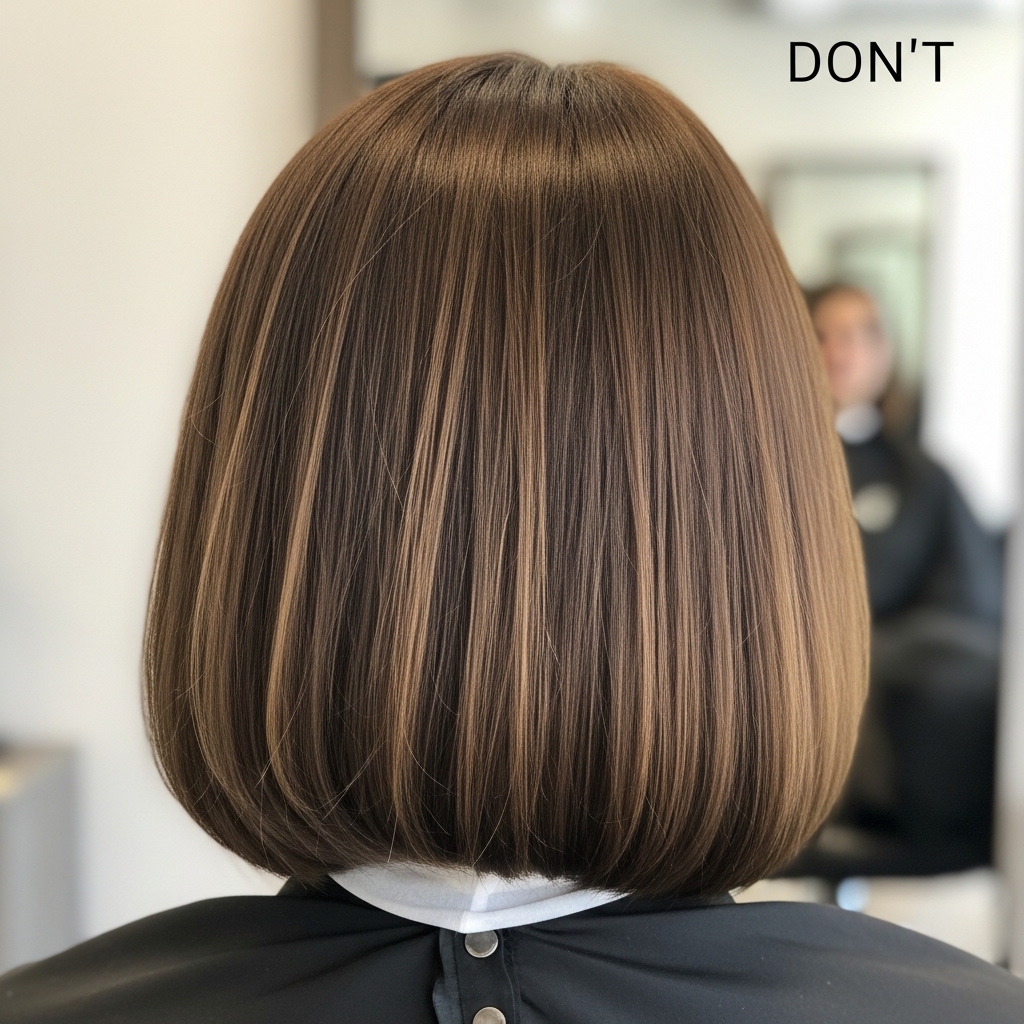
Common Mistakes to Avoid
Let’s troubleshoot. First, avoid using too much product, which can weigh down the roots and kill your volume. A little goes a long way.
Second, don’t make your flat iron sections too thick. Thin sections mean more control and a smoother, more sculpted result. Third, don’t forget to turn your wrist when ironing!
Just pulling it straight down gives a different shape. And finally, don’t be afraid of the deep part—commit to it for the full effect.
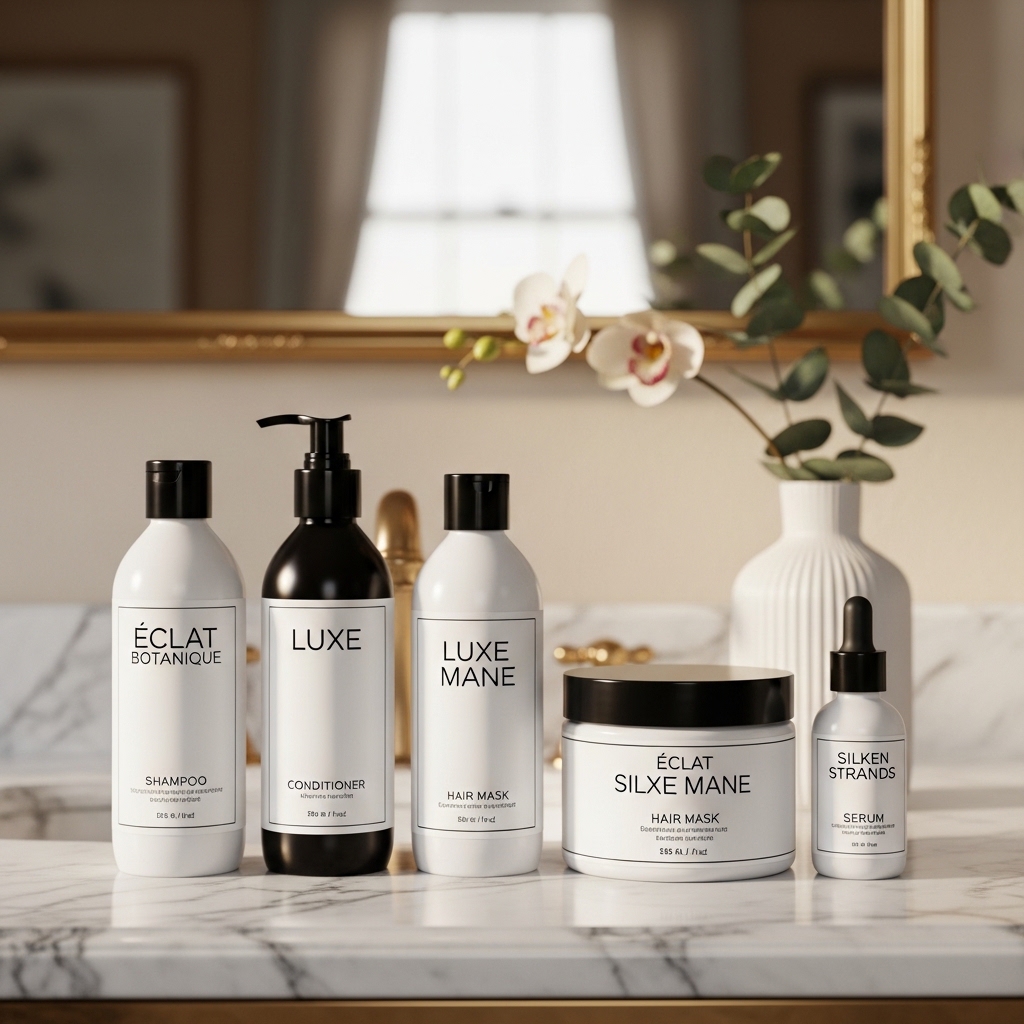
Products I Swear By For This Look
I’ve tested a lot. For volume, I love a mousse like Living Proof Full Thickening Mousse. For texture, Oribe Dry Texturizing Spray is magic.
My go-to hairspray is the Kenra Professional Volume Spray 25—it holds without being crunchy. For heat protection, anything from the Color Wow brand is fantastic.
Having two or three core products you love makes styling so much easier and more consistent. Invest in good staples.
Is This Cut Right For You?
This sculpted bob is surprisingly universal. It works for most face shapes because the deep part and length can be adjusted. Oval, round, square—it flatters them all.
If you have very fine hair, the styling techniques here will give you amazing body. If you have thick hair, it provides beautiful shape and control.
It’s a confident cut. If you’re ready for a change that feels polished and modern, this is it. It’s a staple for a reason, and a key part of the 2026 hairstyles conversation.
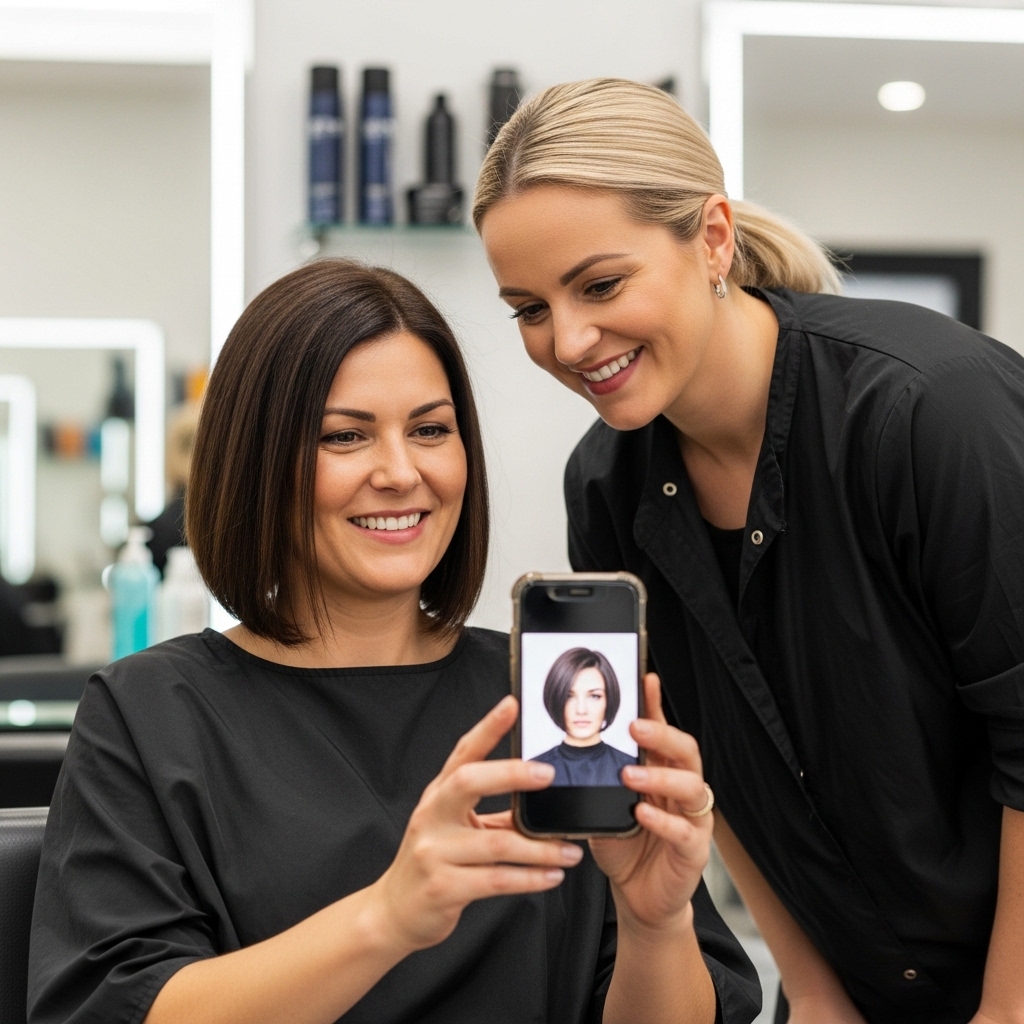
How to Talk to Your Stylist
Bring pictures! That’s the best advice. Ask for a “blunt bob that hits at the jawline with a deep side part.” Specify that you want it “sculpted” or “rounded under,” not just stacked.
Mention you want enough length on the shorter side to tuck behind your ear. A good stylist will also consider your hair’s natural growth patterns when placing the part.
Clear communication ensures you walk out with the exact cut that’s easy for you to style at home.
Transitioning from a Longer Style
Thinking of making the chop from long hair? Do it! A bob is liberating. If you’re nervous, ask your stylist for a longer version first—maybe a lob that grazes your collarbone.
You can always go shorter later. The deep part will feel like a fresh, new look instantly. It’s a fantastic way to ditch damaged ends and get hair that feels full and healthy again.
Many of the vampire haircut and modern shag styles start with a strong bob foundation, so you’re in good company.
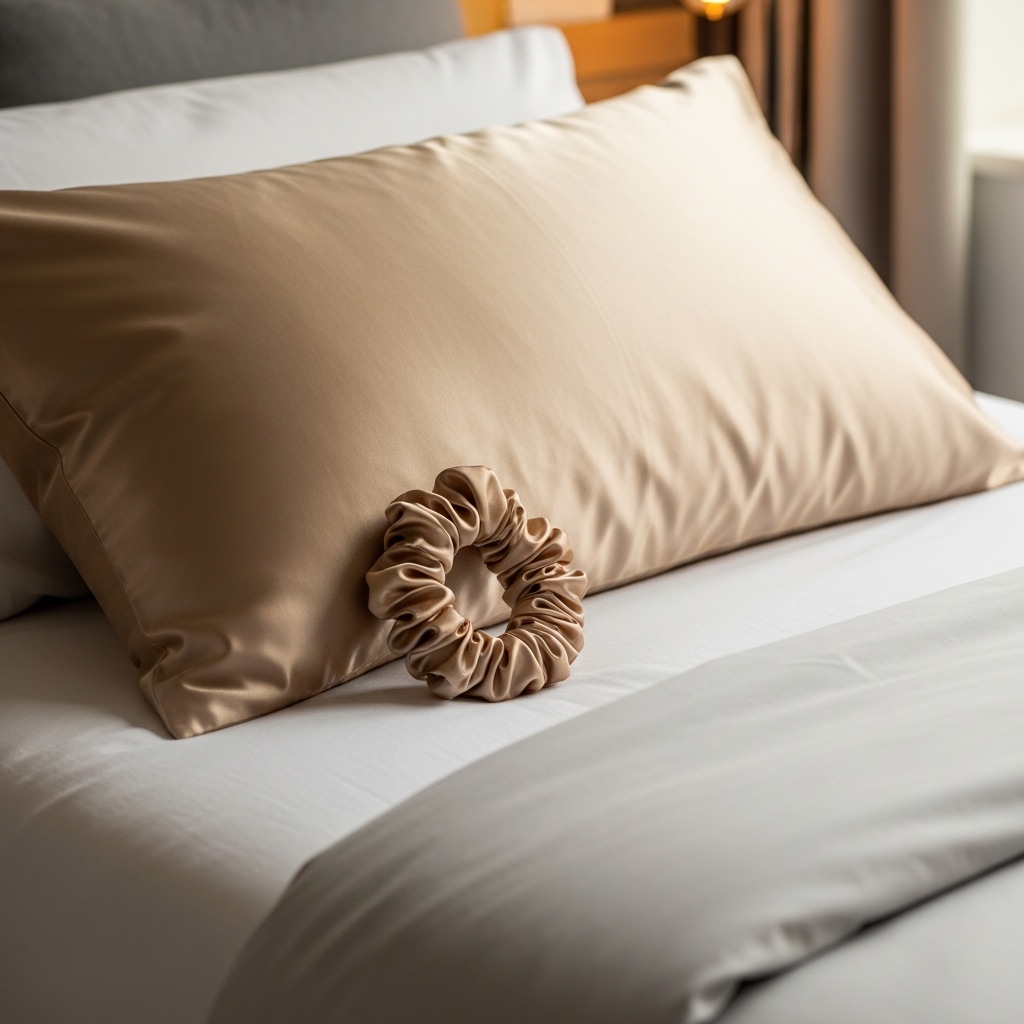
Nighttime Care to Maintain Your Bob
Protect your style while you sleep. The best thing you can do is sleep on a silk or satin pillowcase. It reduces friction, so your style stays smoother and your part doesn’t get as messed up.
You can also loosely pull your hair into a very high, loose ponytail on top of your head with a silk scrunchie (called a “pineapple” if you have curls). This preserves the root volume.
A little care at night means way less work for you in the morning.
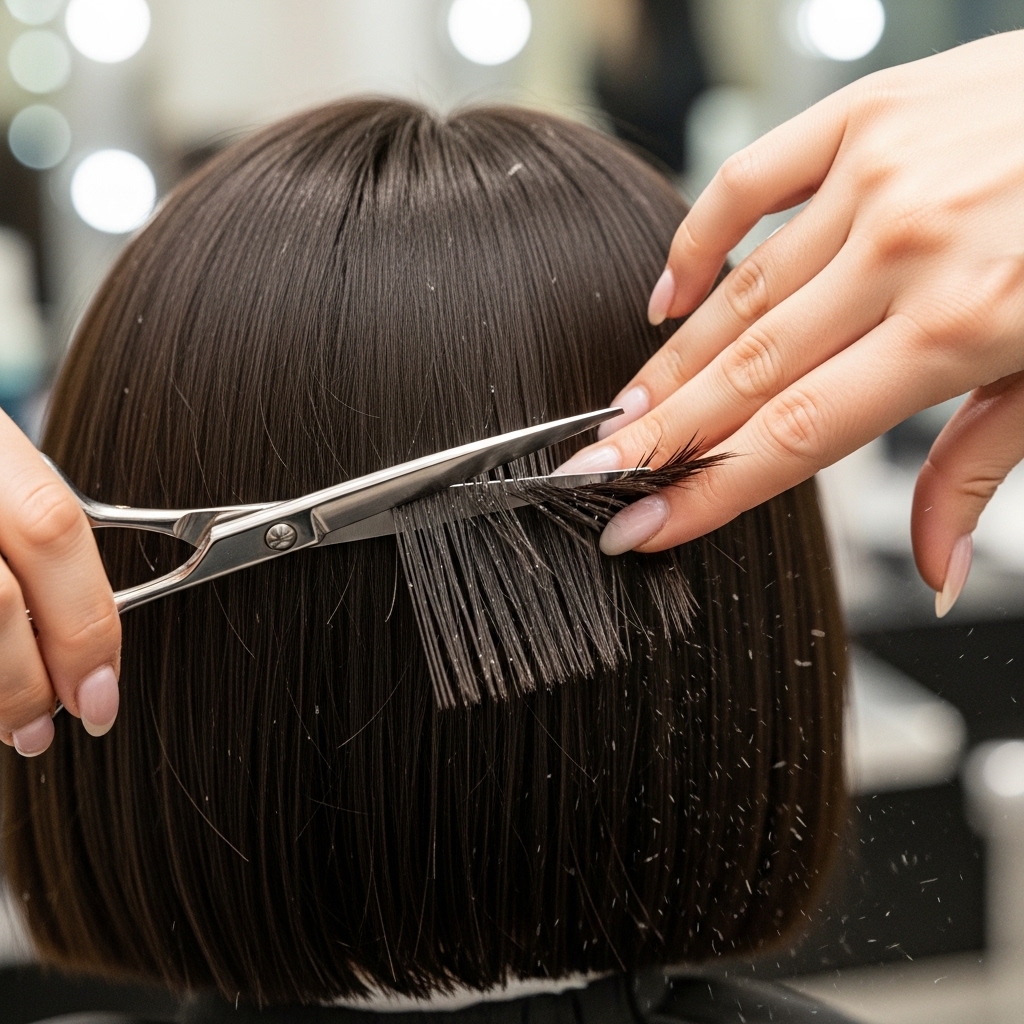
When to Get a Trim
To keep this bob looking sharp, regular trims are key. I recommend every 6-8 weeks. The sculpted shape relies on a clean, blunt line.
As soon as you see the ends starting to fray or lose their perfect line, book an appointment. It’s not just about length; it’s about maintaining the geometric shape that makes this style so special.
Staying on schedule makes your life easier and your hair look expensive all the time.
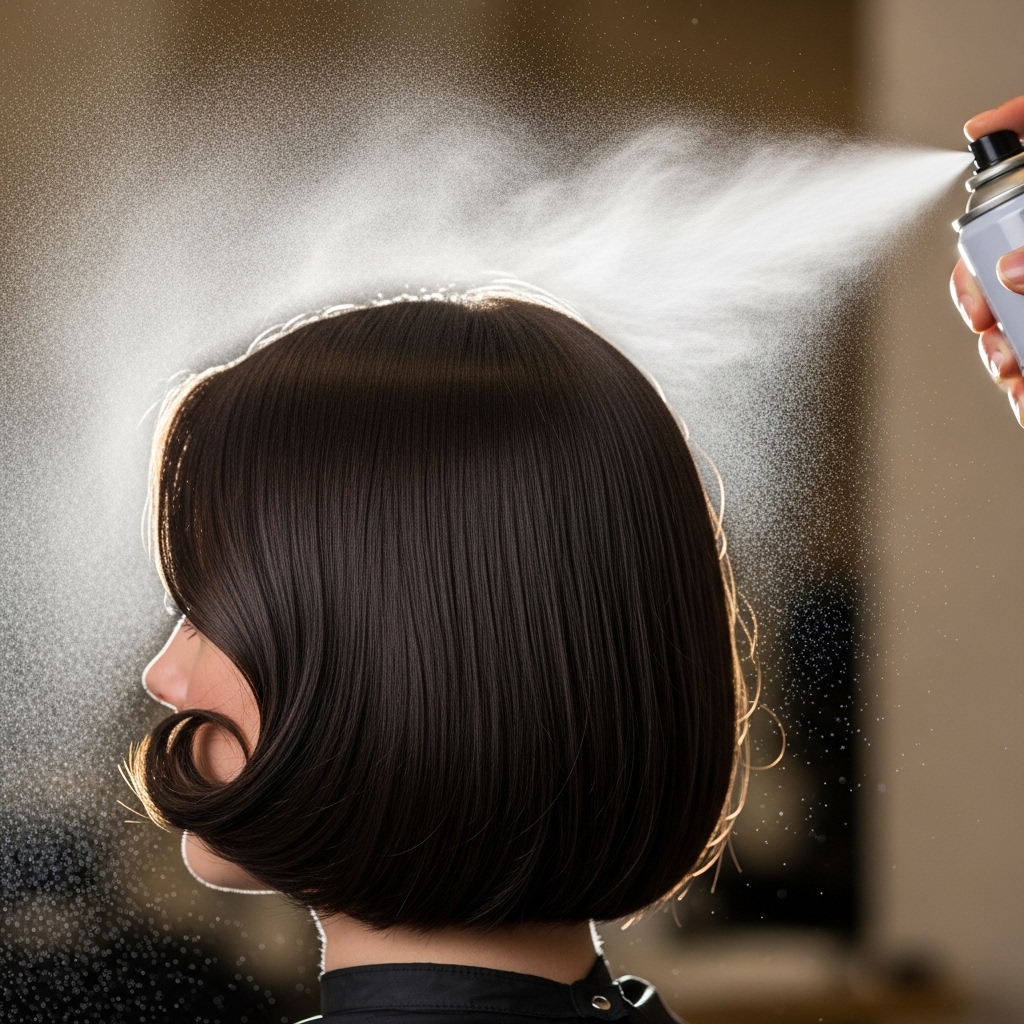
Final Touch: The Signature Hairspray Hold
You’re almost done! For the final hold, hold your hairspray about 10 inches away from your head. Do a quick, all-over mist.
Then, for extra insurance, spray a tiny amount on your fingertips and gently glaze over the surface layer of hair, especially around the deep part. This seals the style without making it look stiff or helmet-like.
You want movement, not a freeze-frame. A flexible hold spray is your best friend for this finish.
Your New Go-To Style
And there you have it! The sculpted bob with a deep part is officially in your styling arsenal. It might take one or two tries to get the flat iron motion perfect, but once you do, it’s a five-minute style.
This look carries you from school drop-off to a dinner date effortlessly. It’s that perfect blend of put-together and personal. It works with your natural texture and lets you play with different aesthetics, from classic to edgy.
I truly think it’s one of the most flattering, modern cuts out there. It’s a style that makes you feel confident the second you walk out the door.

