
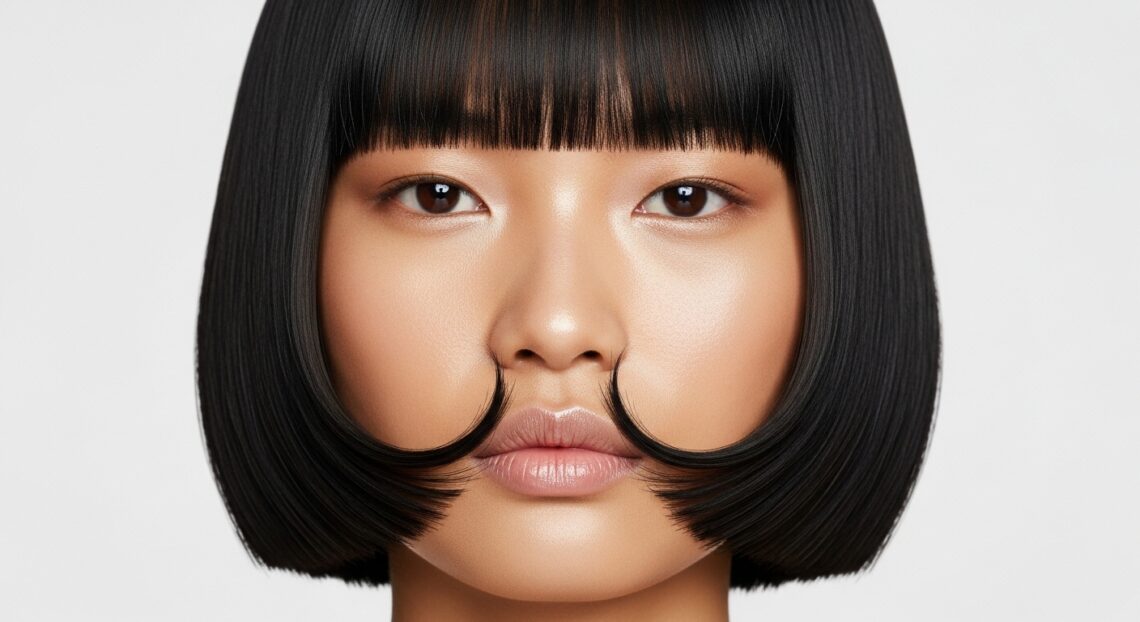
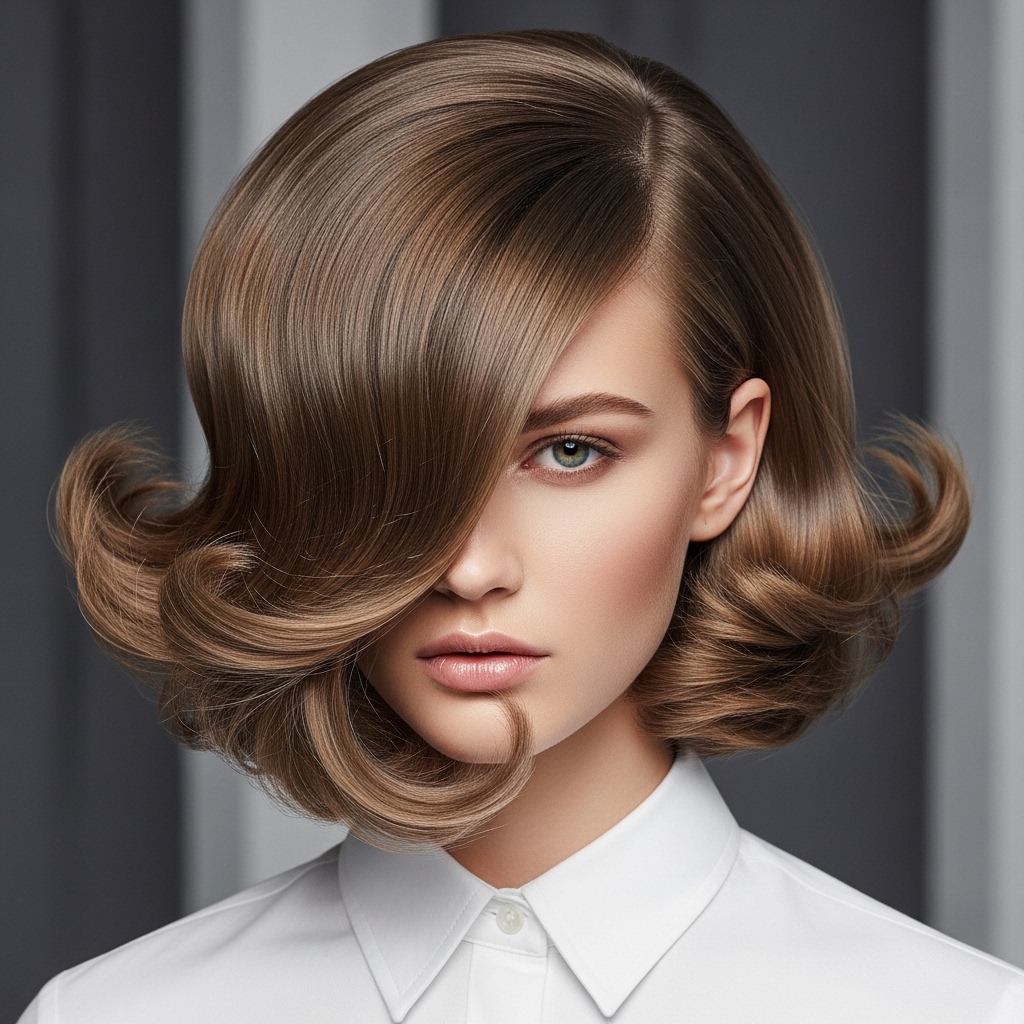
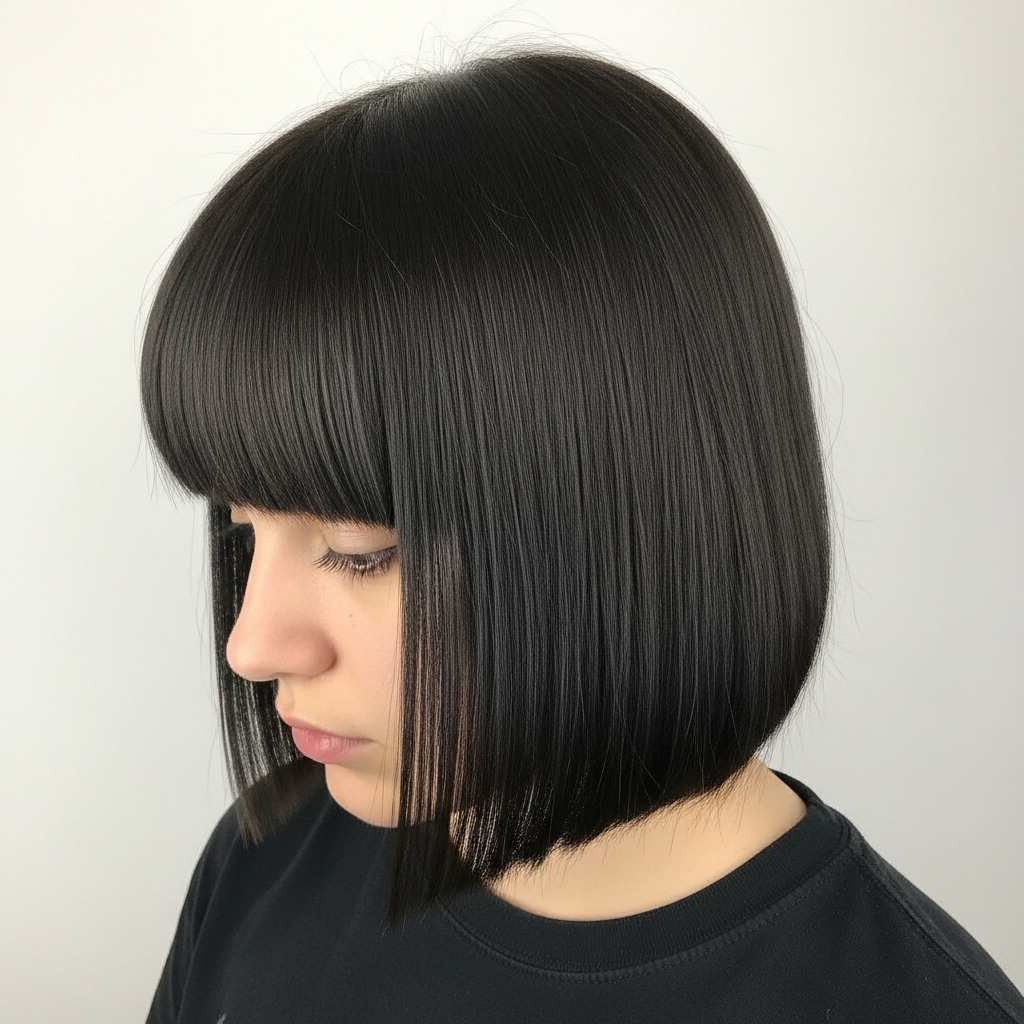
Okay, let’s talk about a hairstyle that’s having a major moment. We’re seeing the hime cut everywhere, from romantic goth hairstyles to quiet luxury bob vibes. It’s that stunning, face-framing Japanese cut with straight-across bangs and dramatic, sharp lengths at the sides and back.
But if you have thin hair like me, your first thought might be, “That will look flat on me.” I totally get it. Volume is our holy grail. The good news? This cut is actually a secret weapon for creating the illusion of thicker, fuller hair.
With the right technique and styling, you can absolutely rock this look. It’s a perfect blend of edgy and elegant, fitting right in with 2026 hairstyles that are all about personalized statement pieces. Let me show you how to get the hime cut of your dreams, tailored for fine hair.
What Exactly Is a Hime Cut?
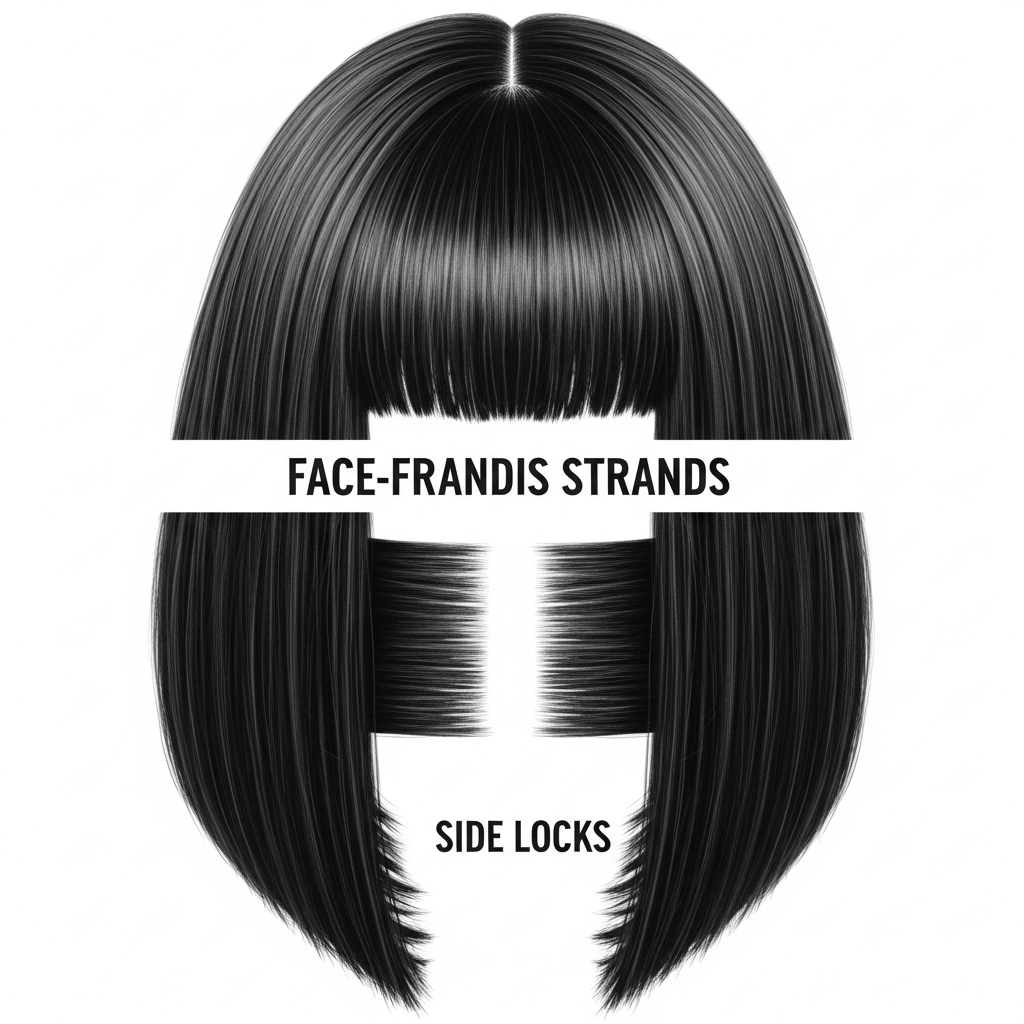
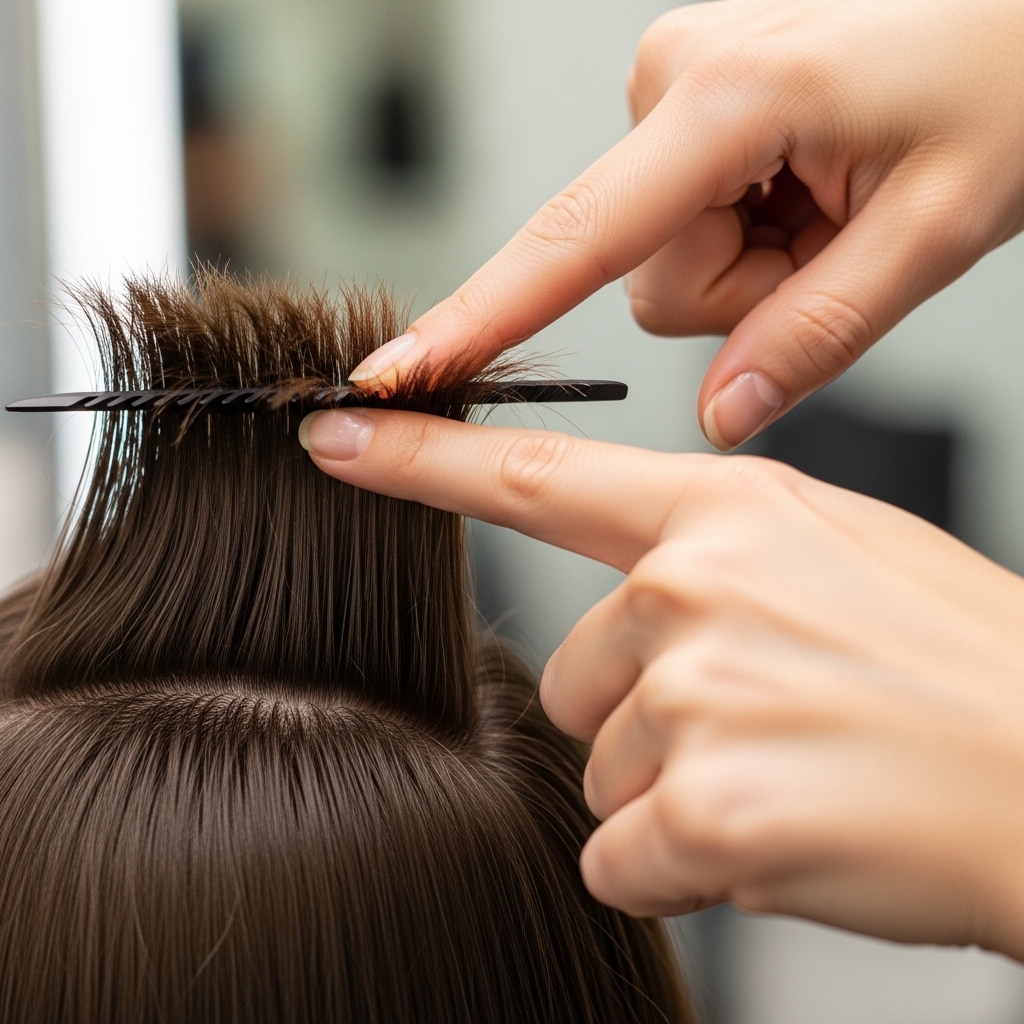
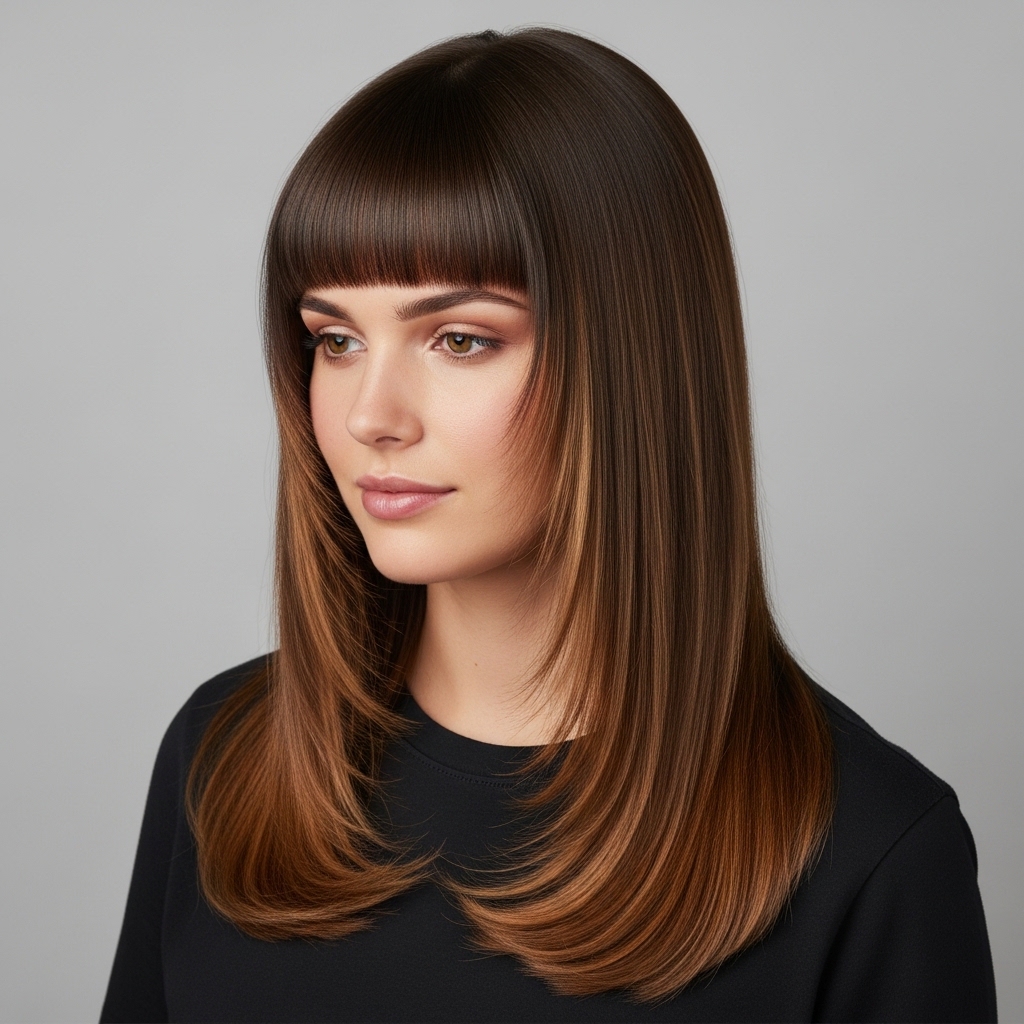
The traditional hime cut, or “princess cut,” is defined by three key sections. First, those blunt, straight-across bangs. Second, the “hime” sections—these are the long, usually jaw-length or longer strands that frame your face on both sides. Third, the remaining back hair is kept long.
It creates a beautiful, structured shape that draws attention to your eyes and cheekbones. While it has historical roots, today’s version is a chameleon. It can be adapted to so many aesthetics, from a sharp vampire haircut to a softer, more old money hair feel.
Why It’s Surprisingly Great for Thin Hair
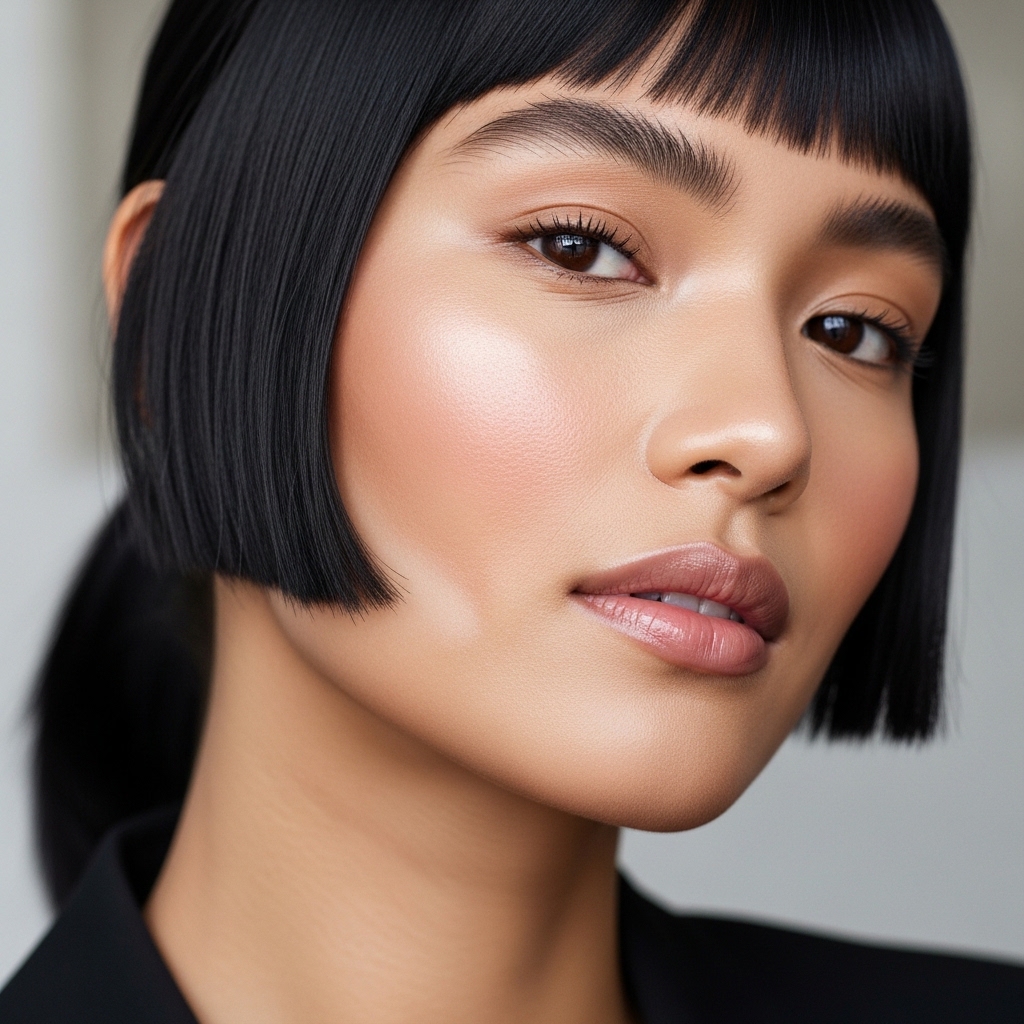
This might sound counterintuitive, but all that sharp, blunt cutting is a gift for fine hair. When you have fewer strands, each one needs to work harder. Blunt cuts create a solid, clean line at the ends, which makes your hair look denser and more substantial.
The face-framing layers are the real magic. They break up the hair around your face, adding movement and dimension right where people look. This stops thin hair from falling in one flat sheet. It’s a strategic way to build visual interest and body from the roots down.
The Essential Consultation: Talking to Your Stylist
Never skip the consultation! This is your chance to be super clear. Bring photos, but more importantly, explain your hair type. Say, “I have fine, thin hair and I want a hime cut that adds maximum volume.”
Discuss these key adjustments for thin hair:
- Bangs: They shouldn’t be too heavy or thick. Ask for them to be textured or slightly thinned at the ends.
- Hime Sections: Their length and weight are crucial. They should be cut to graze your cheekbone or jaw to lift.
- Back Length: Keeping some length in the back can help balance the face-framing pieces.

Key Adjustment: The Face-Framing Length
For volume, where your hime sections end is everything. If they’re cut too long, they can drag down your features and look limp. The sweet spot for fine hair is usually at the cheekbone or just below the jaw.
This shorter length creates a lifting effect. It pulls the eye upward and allows those pieces to swing and move more freely, which automatically creates body. Think of it like a glitchy glam hair move—it’s an intentional break in the line that adds dynamism.
Key Adjustment: Adding Light Layers
I’m not talking about 90s-style layers that remove weight. For us, weight at the ends is good. Instead, ask your stylist for “hidden” or “interior” layers. These are cut underneath, around the crown and back.
These layers do the heavy lifting. They remove bulk from where it sits flat on your head and redistribute it to help the hair “stand up” from the root. It’s the invisible architecture for your volume, a trick used in many 2026 hairstyles for fine hair.
The Perfect Products for Fine Hair Volume
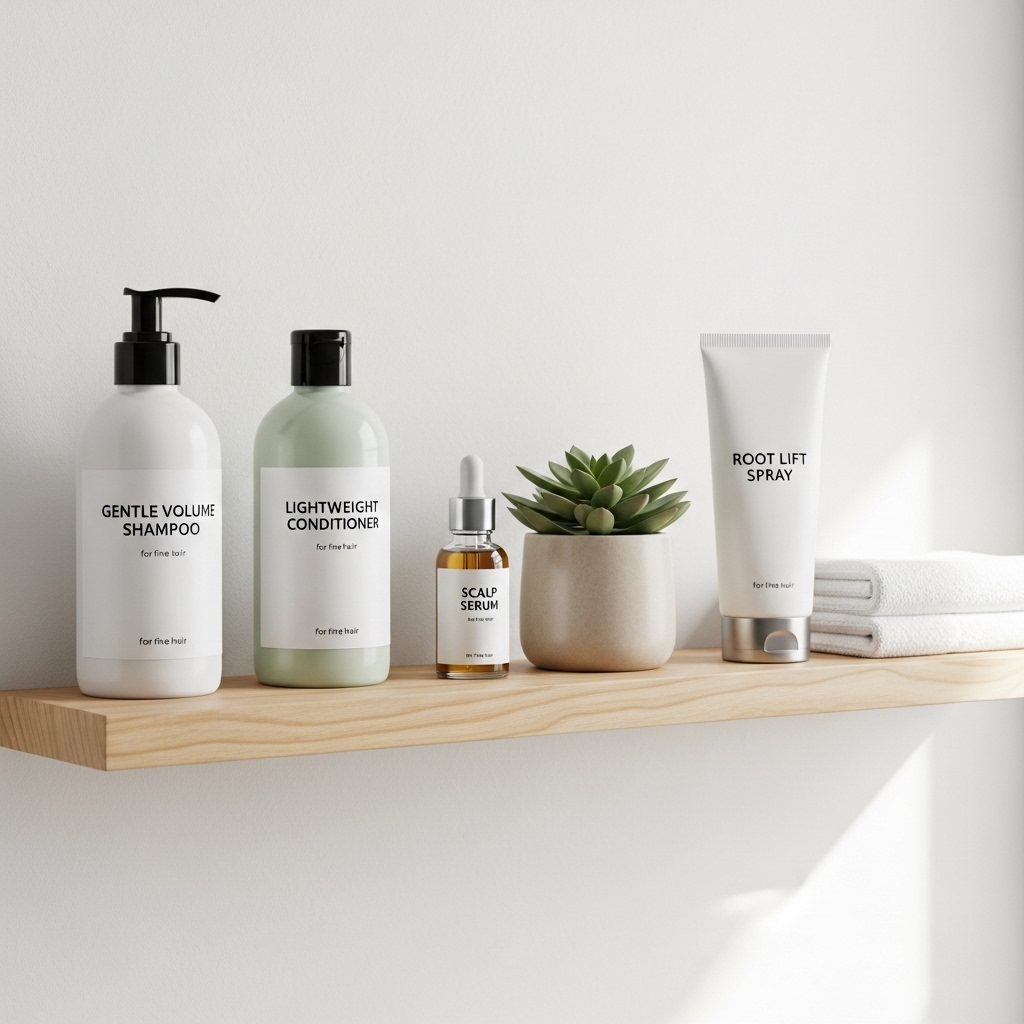
Product choice is non-negotiable. You need lightweight heroes that build body without residue. Start with a volumizing shampoo and conditioner. Always apply styling products to damp hair for even distribution.
Your core toolkit should include:
- A root-lifting spray or mousse.
- A lightweight texturizing spray (not a heavy dry shampoo).
- A flexible-hold hairspray for fine hair.
Avoid heavy oils or creams on your roots at all costs.
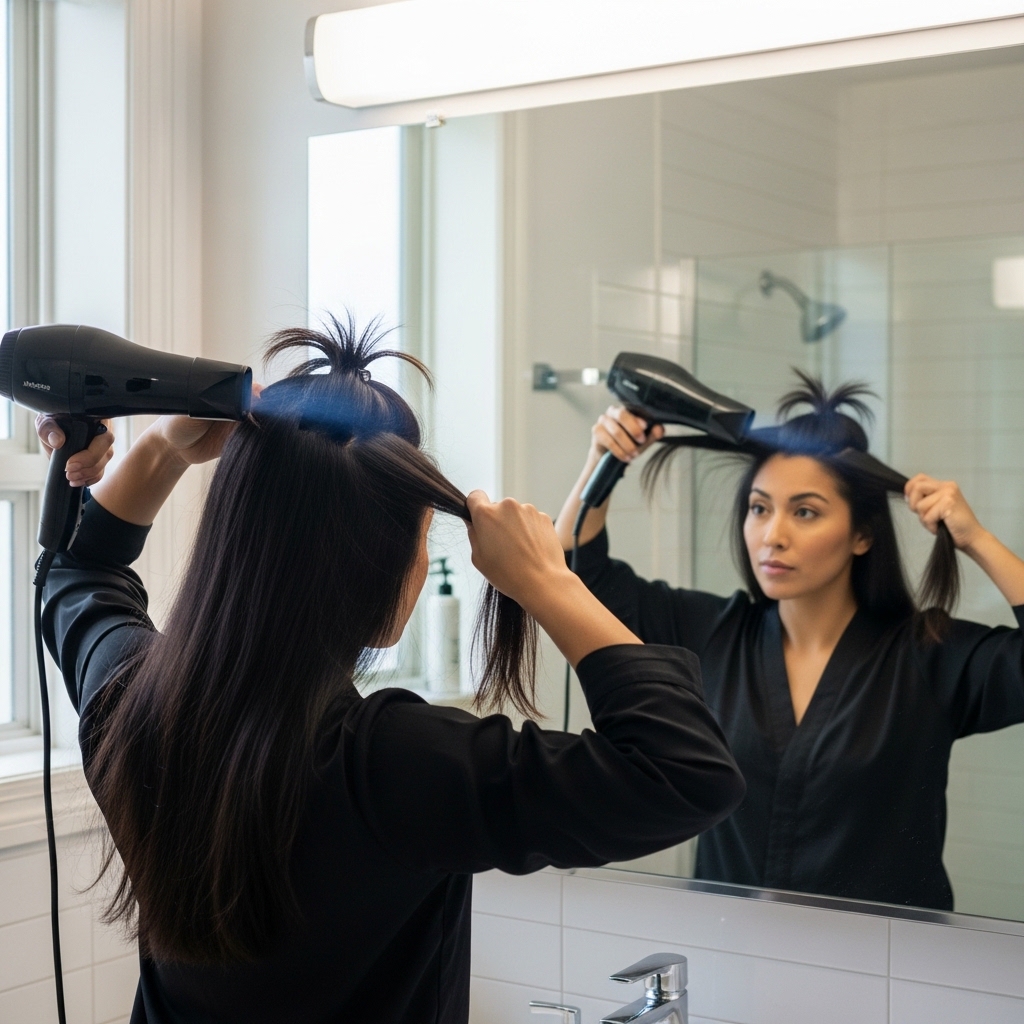
Step-by-Step: Blow-Drying for Maximum Lift
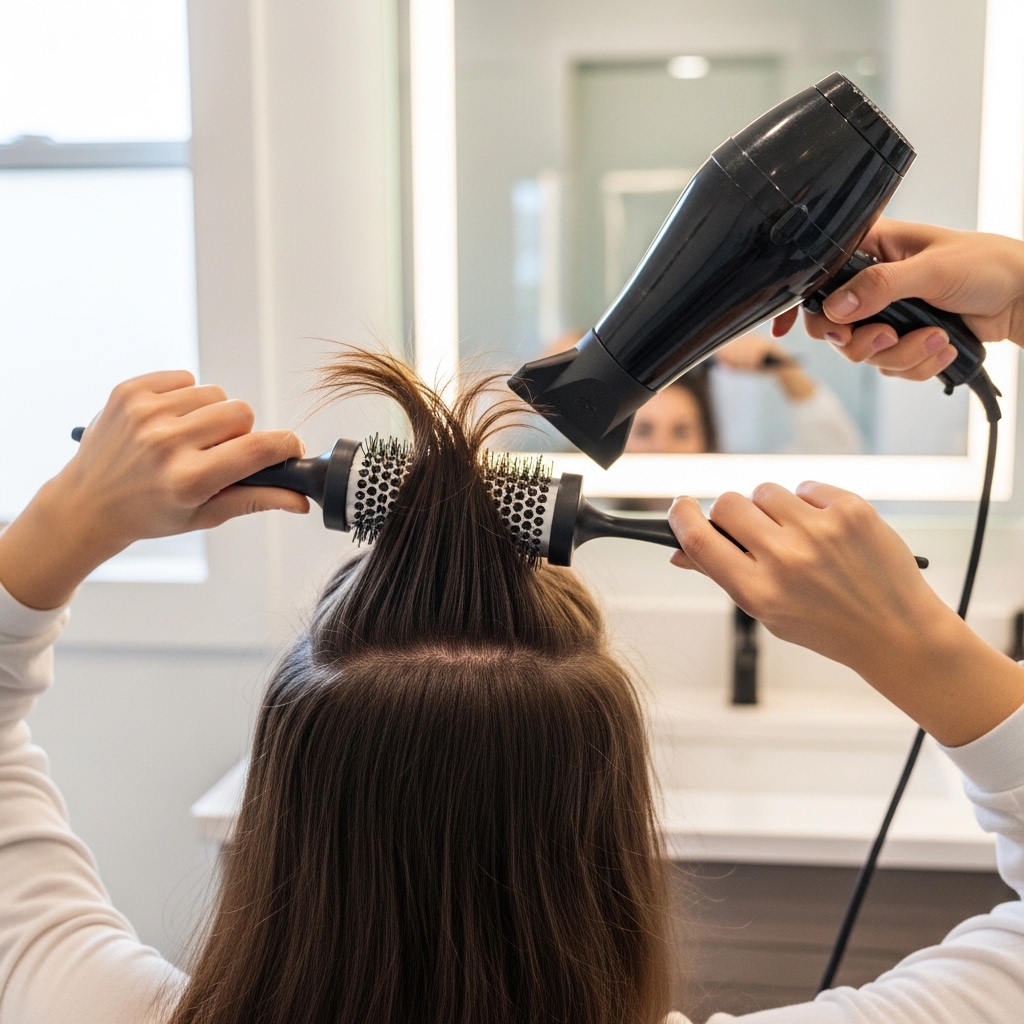
How you dry your hair is 80% of the volume battle. After towel-drying, apply your root lifter. Then, flip your head upside down. Dry your hair on medium heat and high speed until it’s about 80% dry this way.
This rough-dries the hair at the roots in the opposite direction, creating instant lift. Flip back up, and use a round brush to finish. Direct the roots upward and away from your face as you dry each section. This sets the volume in place.
Mastering the Round Brush Technique
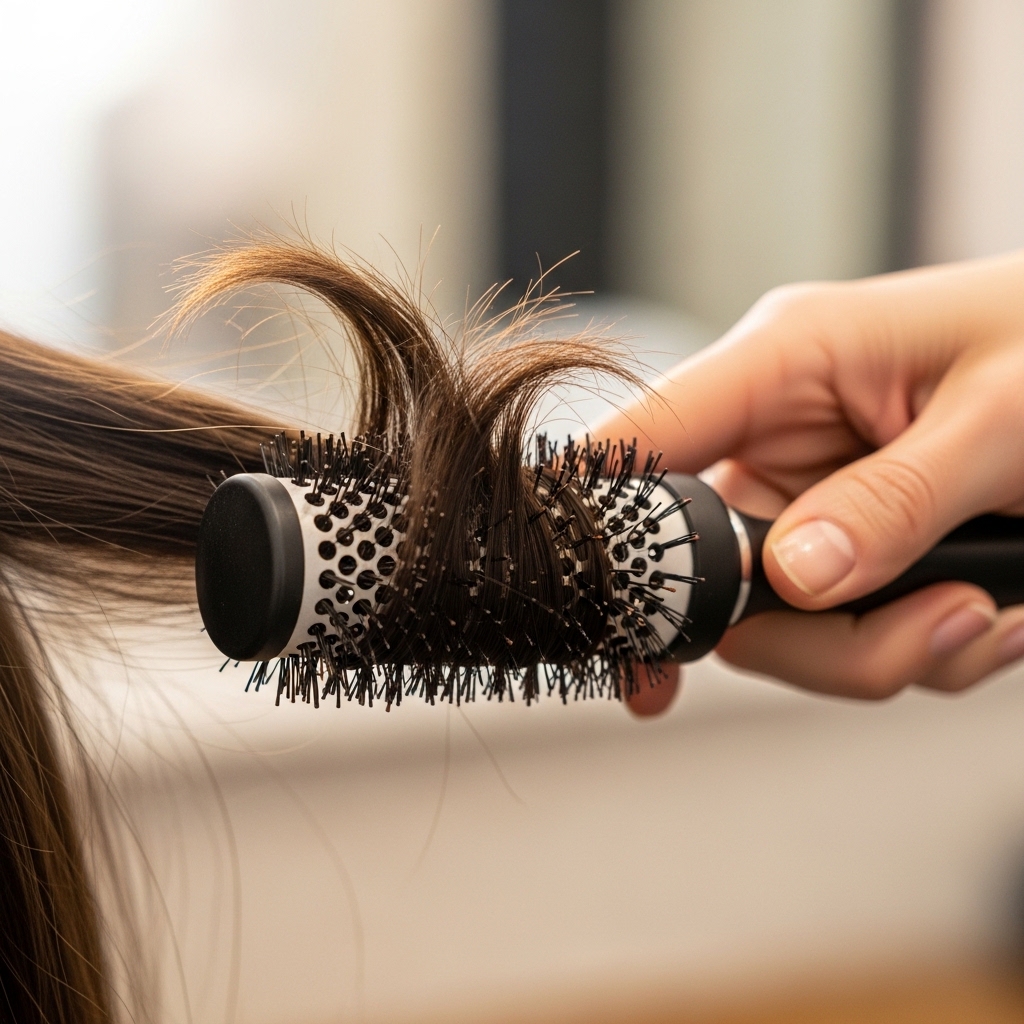
The round brush is your best friend. For the hime sections and bangs, use a smaller diameter brush. Wrap the hair around the brush, pull it slightly upward and outward, and hit it with the dryer’s heat.
Let the section cool on the brush for a few seconds before releasing. This “sets” the curl and volume. For the back, use a larger brush, rolling sections upward at the roots to create body. This technique gives you that polished, quiet luxury bob level of smoothness with fullness.
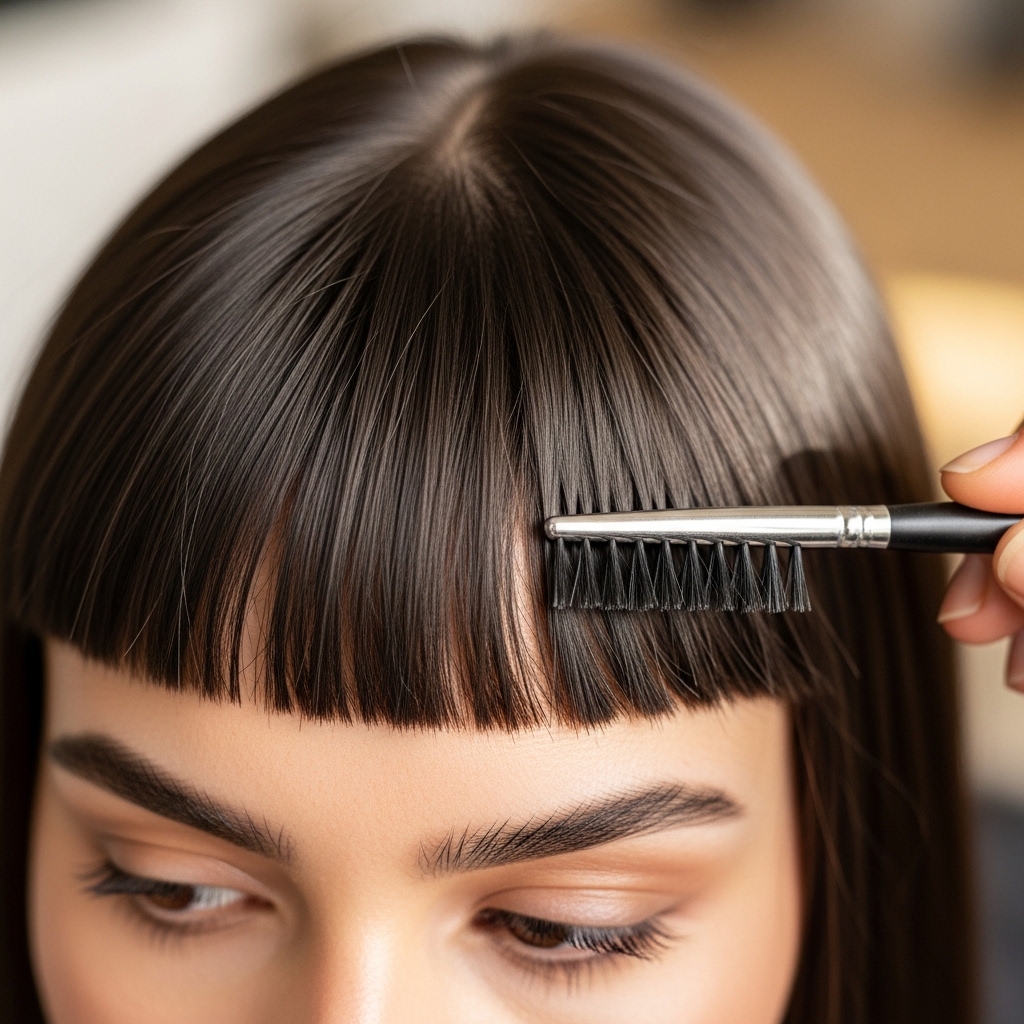
How to Style Your Blunt Bangs
For bangs on fine hair, you want them to be soft, not a solid helmet. After washing, blow-dry them straight down first to set their shape. Then, take a small round brush (or even a toothbrush!).
Spritz the brush lightly with hairspray. Gently brush the bangs back and forth, lifting slightly at the roots. This adds a bit of piece-y texture and prevents them from looking too dense or flat against your forehead.
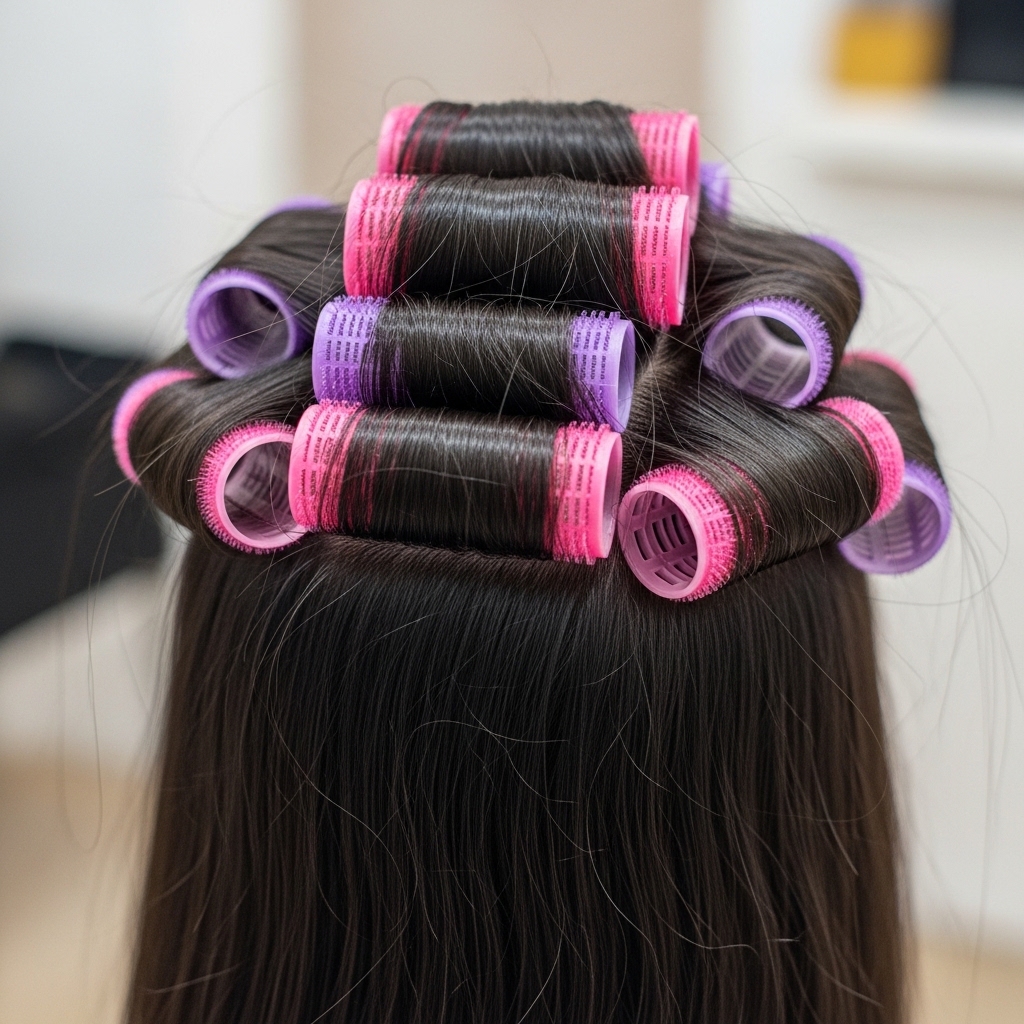
The Magic of Velcro Rollers
For next-level volume, don’t put the hot tools away just yet. After blow-drying, place 2-3 medium-sized velcro rollers at the crown of your head. Spritz them lightly with hairspray first for extra hold.
Let your hair cool completely—do your makeup, get dressed. When you take them out, you’ll have incredible, bouncy volume that lasts all day. It’s the easiest way to get that glamorous, retro-fullness that complements the hime structure so well.
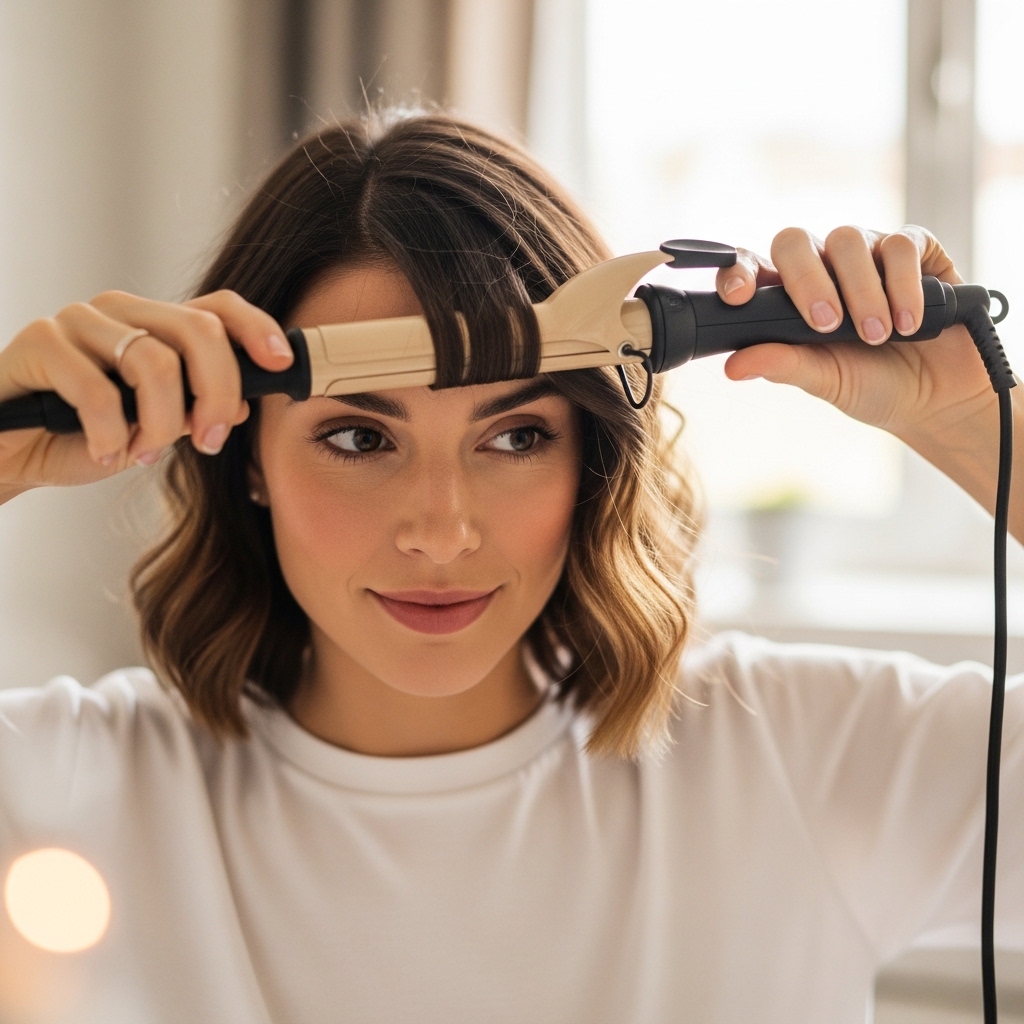
Using a Curling Iron for Piece-Y Texture
You don’t want uniform curls. The goal is piece-y, separated texture. Take small, random sections of your hime pieces and the hair around your face. Wrap them away from your face on a 1-inch iron, but only for a second.
Don’t clamp and curl all the way down. Just give the mid-lengths to ends a slight bend. Immediately run your fingers through it to break it up. This adds a romantic goth hairstyles touch of undone texture that makes hair look thicker.
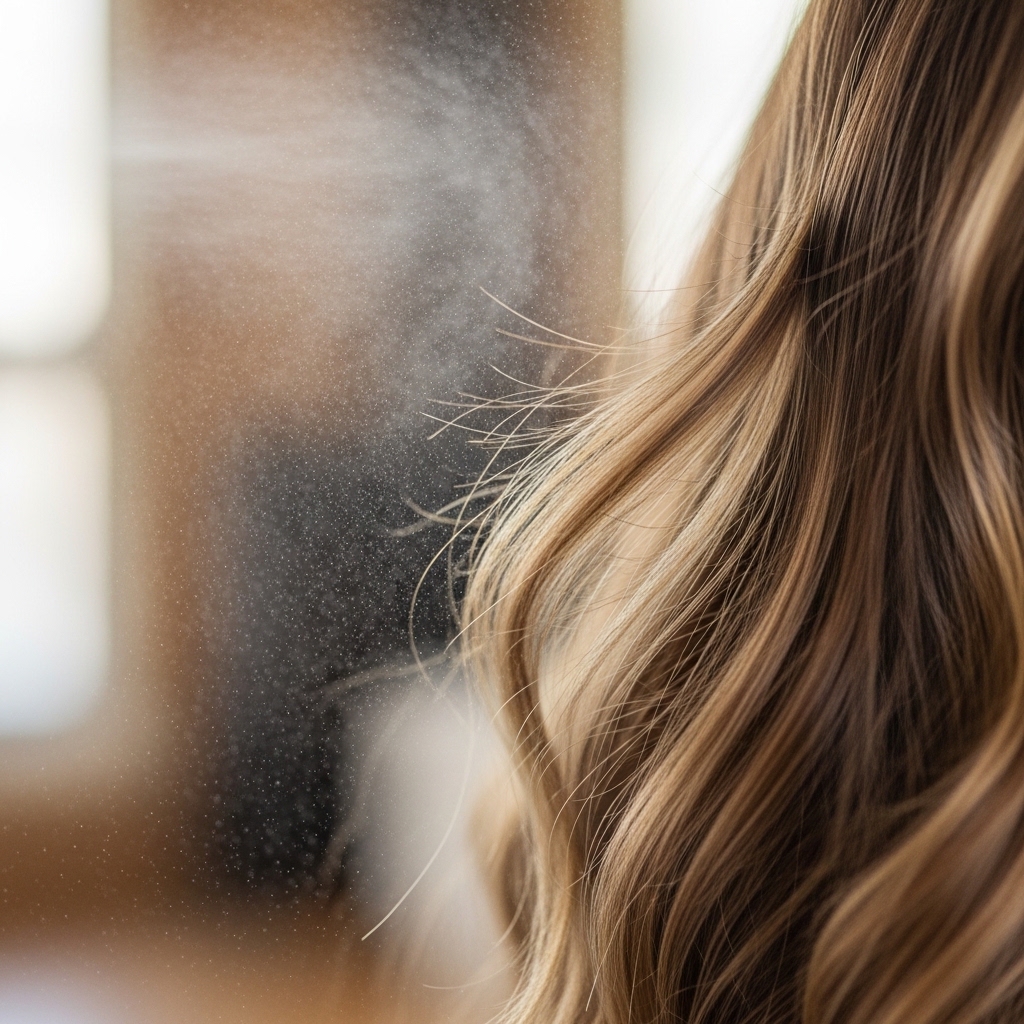
The Power of Texturizing Spray
This is your secret weapon for day-two hair and beyond. Once your style is complete, hold a texturizing spray about 10 inches away. Lightly mist the mid-lengths and ends of your hime sections and the under-layers at the back.
Then, gently scrunch upwards with your hands. This creates separation, grit, and hold without stiffness. It’s the key to that lived-in, glitchy glam hair aesthetic where everything looks effortlessly full and piece-y.
Creating an Asymmetrical Lob Variation
Love the hime but want something more modern? Try an asymmetrical lob version. Ask your stylist to keep one hime section longer (maybe collarbone length) and one shorter (jaw length).
The back is cut into a lob (long bob). This asymmetric weight distribution naturally creates volume and movement as the different lengths interact. It’s a fierce, fashion-forward take that still uses all the same volume-boosting tricks.
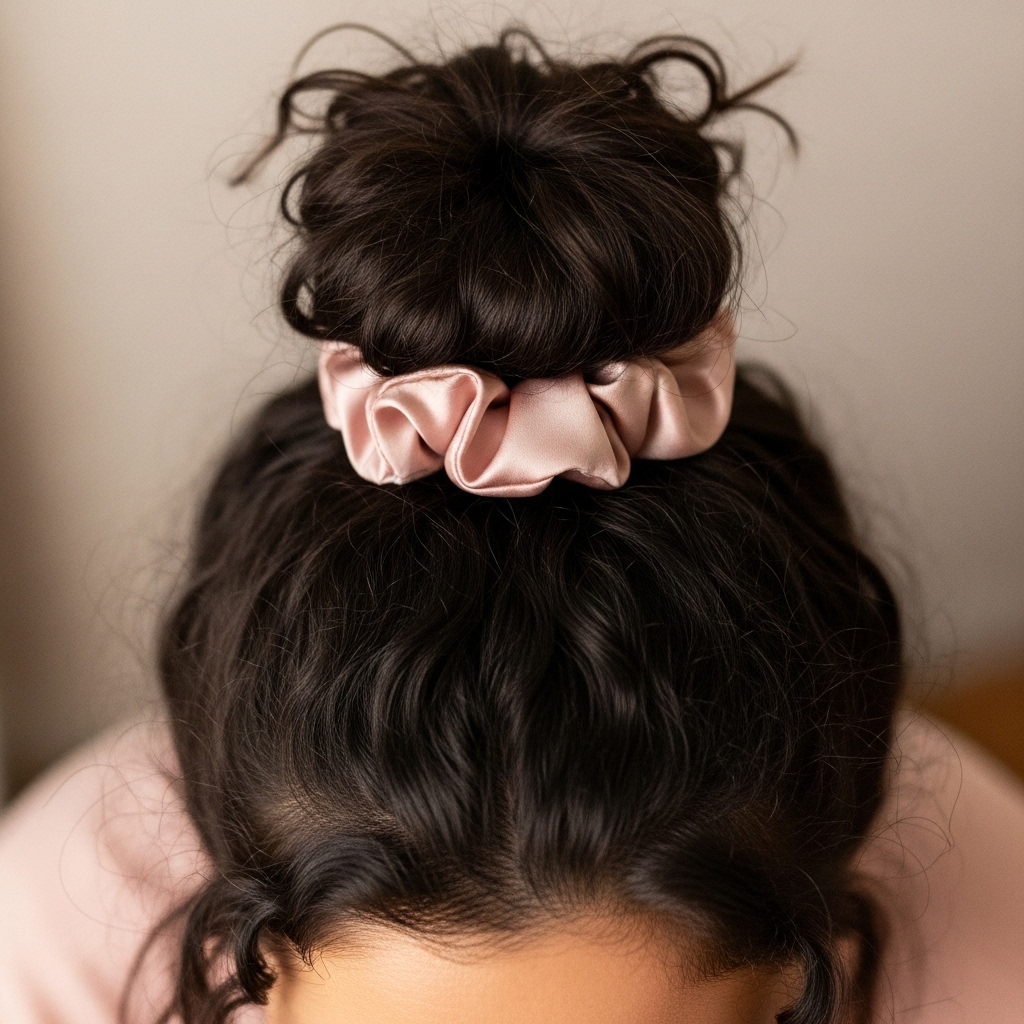
Nighttime Routine to Preserve Volume
Don’t let your hard work flatten overnight. Before bed, loosely gather your hair at the very top of your head into a soft scrunchie. This is called a “pineapple.” It keeps the roots elevated and prevents you from crushing the style while you sleep.
If your bangs need help, you can also use a large, soft roller or simply clip them to the side. In the morning, take it down, flip your head, give the roots a light shake, and refresh with a tiny bit of texturizing spray.
Quick Morning Refresh Routine
Morning you will thank night-before you! Start by flipping your head over and massaging your scalp with your fingertips. This reactivates the volume. If the crown is flat, use a dry shampoo spray at the roots—not just for oil, but for grip.
Blast the roots with the cool shot on your dryer for 30 seconds while lifting them with your fingers. Redo the slight bend on any hime pieces that went flat with a quick tap of the curling iron. You’ll be done in five minutes.
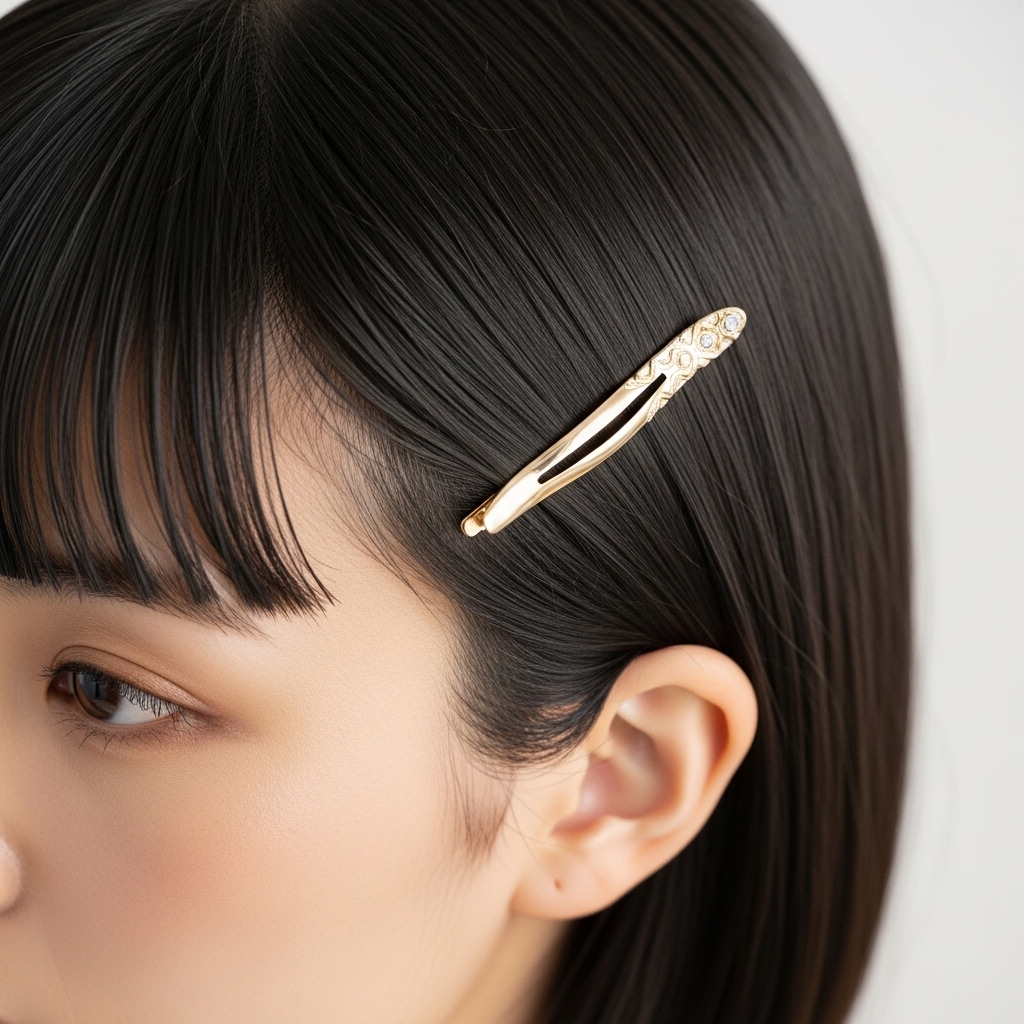
Accessories That Enhance the Cut
The right accessories can make your hime cut pop. Small, delicate clips placed just behind the hime sections can pull hair back and create lift at the same time. Think old money hair elegance with a simple barrette.
Headbands are also amazing. Push your bangs down and place a thin headband right where your bangs end. This pushes the hime pieces forward and the back hair up, creating automatic volume and a very chic, finished look.
Common Mistakes to Avoid
Let’s avoid some pitfalls. First, over-thinning the ends. You want a blunt, clean line. Second, using heavy, wax-based products that will weigh down your fine strands instantly. Third, cutting the bangs too wide—they should frame just the inner corners of your eyes.
Also, avoid flat-ironing your entire head bone-straight. This will squash all your volume. Embrace a little bend and texture. The goal is controlled shape, not plastered-down hair.
Color Ideas to Boost Dimension
Color can be a volume cheat code! Subtle highlights or a shadow root technique add visual depth, making hair look instantly thicker. Ask for fine, babylight highlights around the face and crown.
This contrast makes each section of the hime cut stand out more. A darker root melting into a slightly lighter length creates incredible dimension, perfect for both vampire haircut drama and softer, more natural looks.
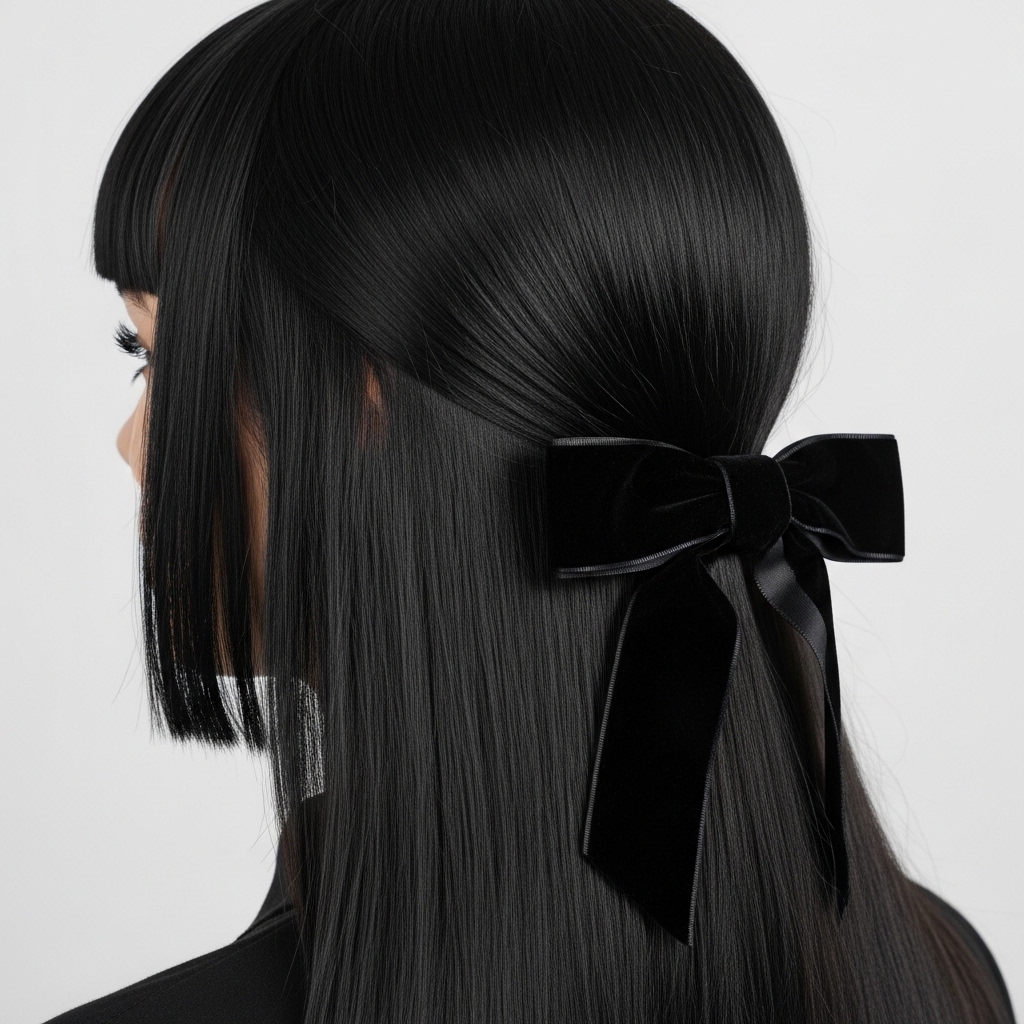
Inspiration: The Romantic Goth Hime
For a darker, romantic take, lean into the romantic goth hairstyles aesthetic. Keep the cut sharp, but play with deep, rich colors like black or burgundy. The volume is key here—think big, romantic root lift with piece-y, textured ends.
Accessorize with dark velvet ribbons or ornate clips. The contrast between the structured cut and the soft, voluminous styling is absolutely stunning and full of personality.
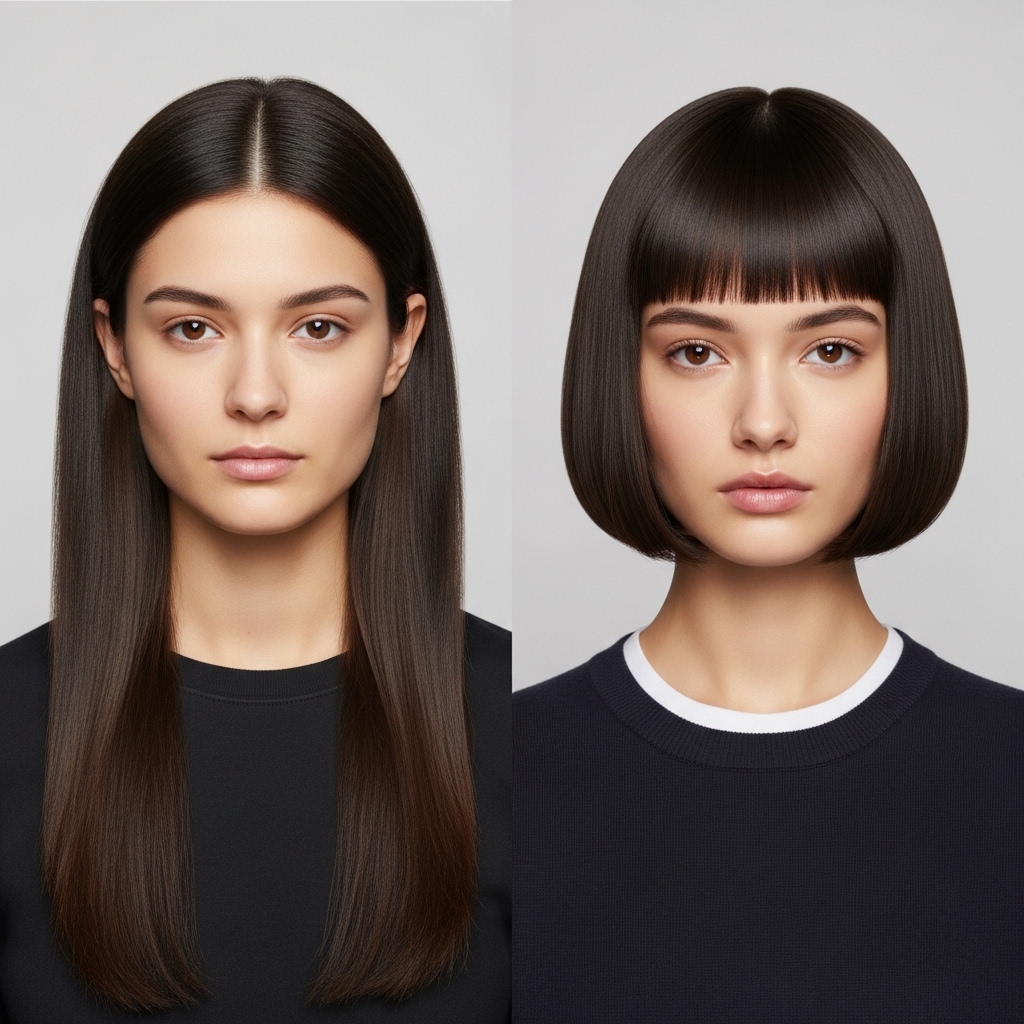
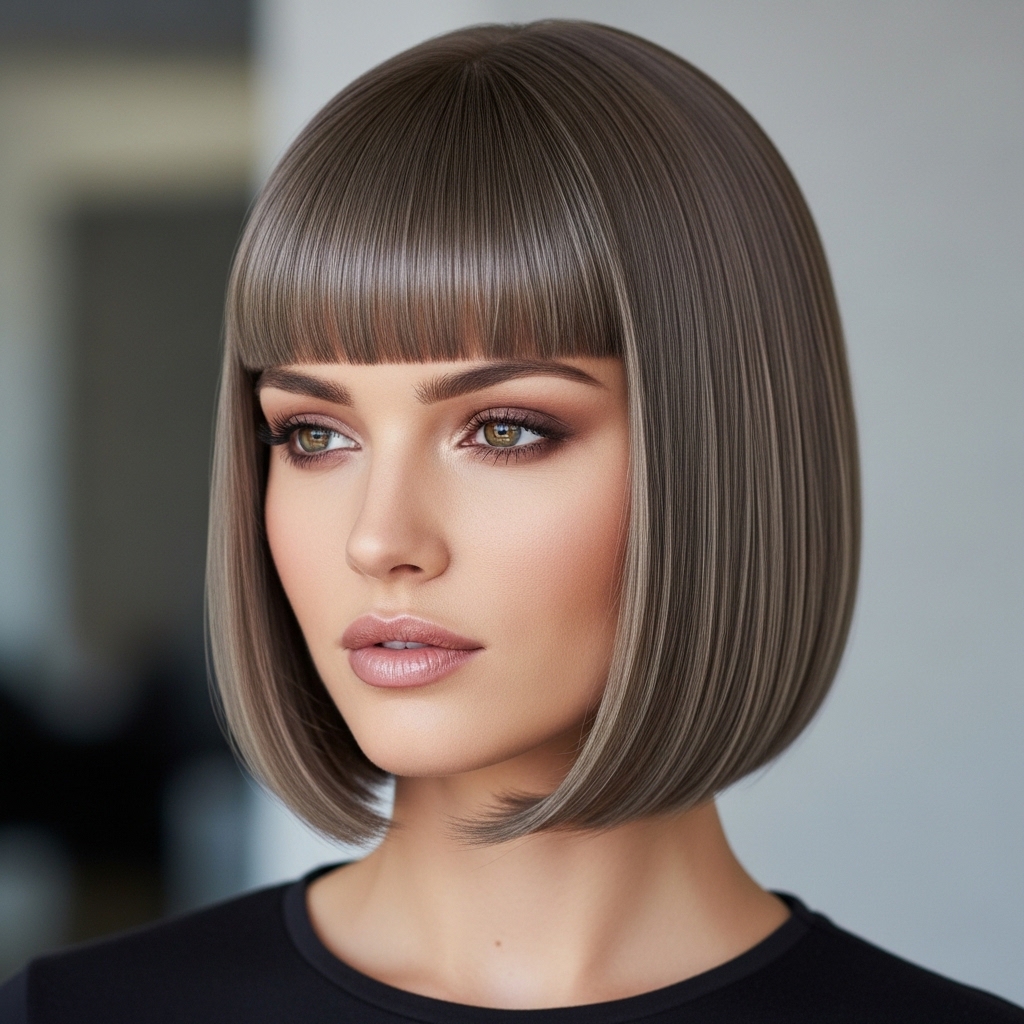
Inspiration: The Quiet Luxury Bob Hime
This is all about polished, understated wealth. Imagine a hime cut with a slightly shorter back, edging into bob territory—a quiet luxury bob hybrid. The hair is impeccably smooth, with mirror-like blunt ends and immense, healthy shine.
The volume is smooth and built from the root, not textured. It looks expensive, effortless, and perfectly groomed. It’s a powerful, sophisticated take on the trend.
When to Get a Trim
To maintain this shape and its volume-boosting power, regular trims are essential. Fine hair shows split ends faster, which can make the ends look wispy and thin. Aim for a small trim every 8-10 weeks.
This isn’t about taking off length, but about “resetting” the blunt lines and removing any thin ends. Tell your stylist, “Just a dusting to keep the ends blunt and full.” It makes all the difference.
Your Volume Toolkit Checklist
Let’s recap your must-haves:
- Volumizing shampoo & conditioner
- Root-lifting spray or mousse
- A small and medium round brush
- 1-inch curling iron for texture
- Lightweight texturizing spray
- Flexible-hold hairspray
- Velcro rollers (for extra oomph)
- A silk scrunchie for sleeping
With these, you’re equipped to build amazing volume every day.
So there you have it—the full playbook. The hime cut isn’t just for those with thick hair; it’s a brilliant optical illusion waiting to happen on fine hair. It gives you a strong shape to build on, and with these techniques, you can create volume that lasts all day.
Remember, it’s all about the right cut, the right products, and a few minutes of strategic styling. This look is so versatile, letting you play with different aesthetics, from sharp and edgy to soft and romantic.
I’d love to hear from you! Are you thinking of trying the hime cut? Or do you have your own fine hair volume secrets? Share them in the comments below—let’s help each other out.
Save this post to Pinterest to keep all these tips handy for your next salon visit!

