
Hey friend. Let’s be real for a second. How many times have you stood in front of the mirror with a hot tool in your hand, already dreading the heat damage and the time it’s going to take? I’ve been there too. That’s why I’m on a mission to prove that looking polished doesn’t require a 45-minute styling session.
This is all about embracing your natural texture and working with it, not against it. We’re saying goodbye to fried ends and hello to healthy, shiny hair that has movement and life.
Think of this as your guide to looking put-together with minimal effort. I’m sharing my absolute favorite low-heat and air-dry tricks that lead to styles that are anything but basic. Get ready to save so much time and give your hair a much-needed break.
Why Your Hair Needs a Heat Break (Like, Now)
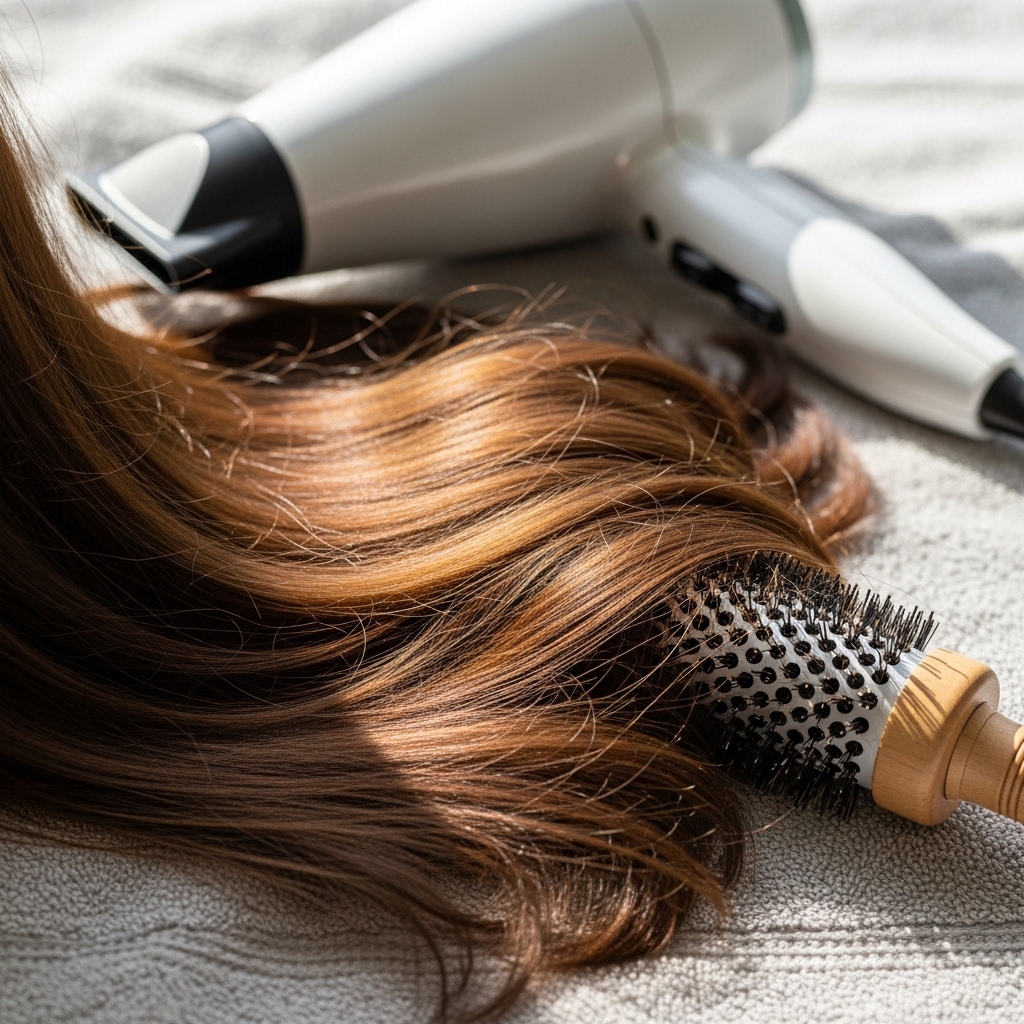
We love a sleek blowout, but daily heat is a fast track to dull, brittle hair. It strips away moisture, leaving your strands looking fried and feeling rough. Giving your hair a rest allows its natural shine and health to come back to the surface.
Plus, constant styling can actually work against your natural texture. A low-heat routine lets you discover what your hair really wants to do. You might find you have a beautiful wave pattern you never knew was there!
The Golden Rule: Start With a Great Cut
The absolute foundation of any good air-dry style is a great haircut. The right shape will naturally fall into place as it dries. Tell your stylist you want a cut that works with your texture and requires minimal heat.
This is where trends like the asymmetrical lob or a soft quiet luxury bob shine. These cuts are designed with precision, so they look intentional even when you do nothing. A fresh trim is the best first step.
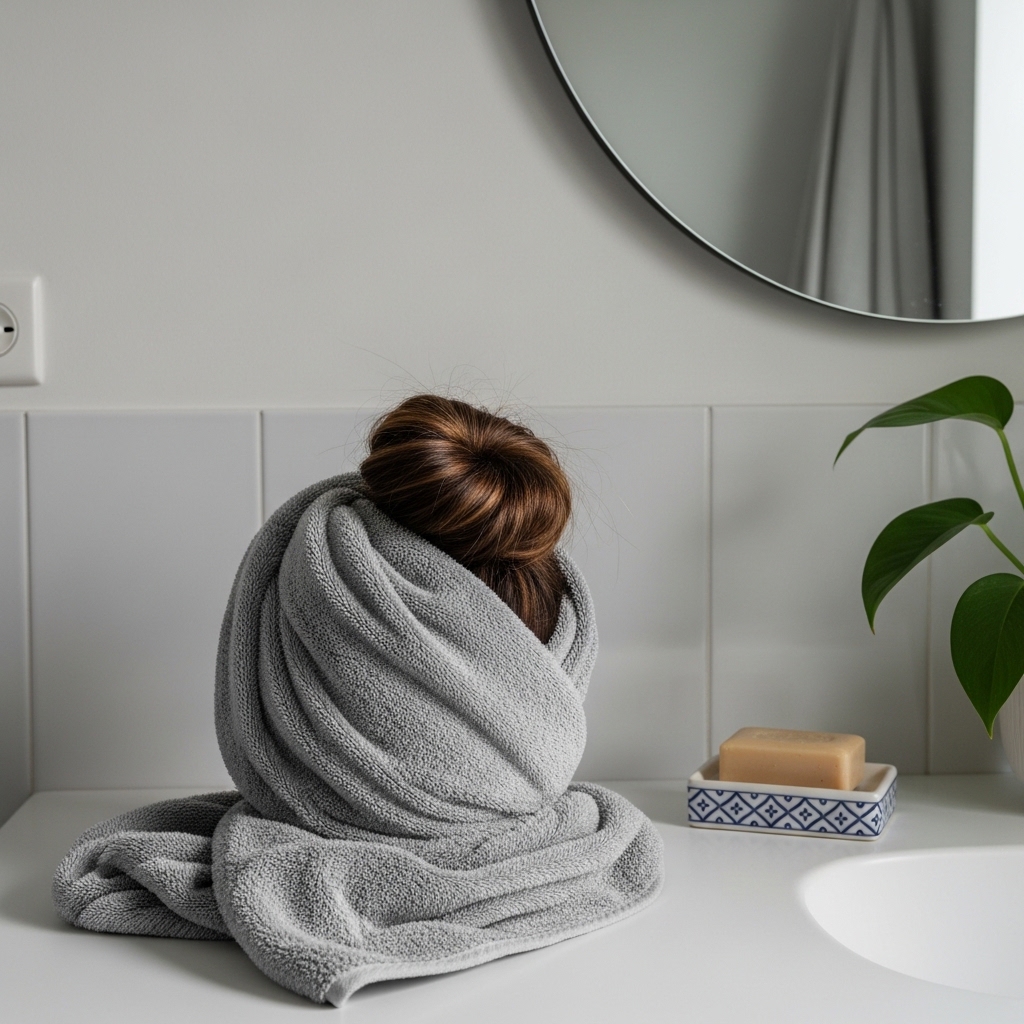
Your Wash Day Game Changer: Microfiber
Ditch the regular bath towel! It creates so much frizz and friction. A microfiber towel or a simple old cotton t-shirt is a game-changer for air-drying. They absorb water gently without roughing up the hair cuticle.
After washing, gently squeeze out excess water with your hands. Then, wrap your hair in the towel or t-shirt for 10-15 minutes. This soaks up the drip without the damage. It’s the simplest trick for smoother results.
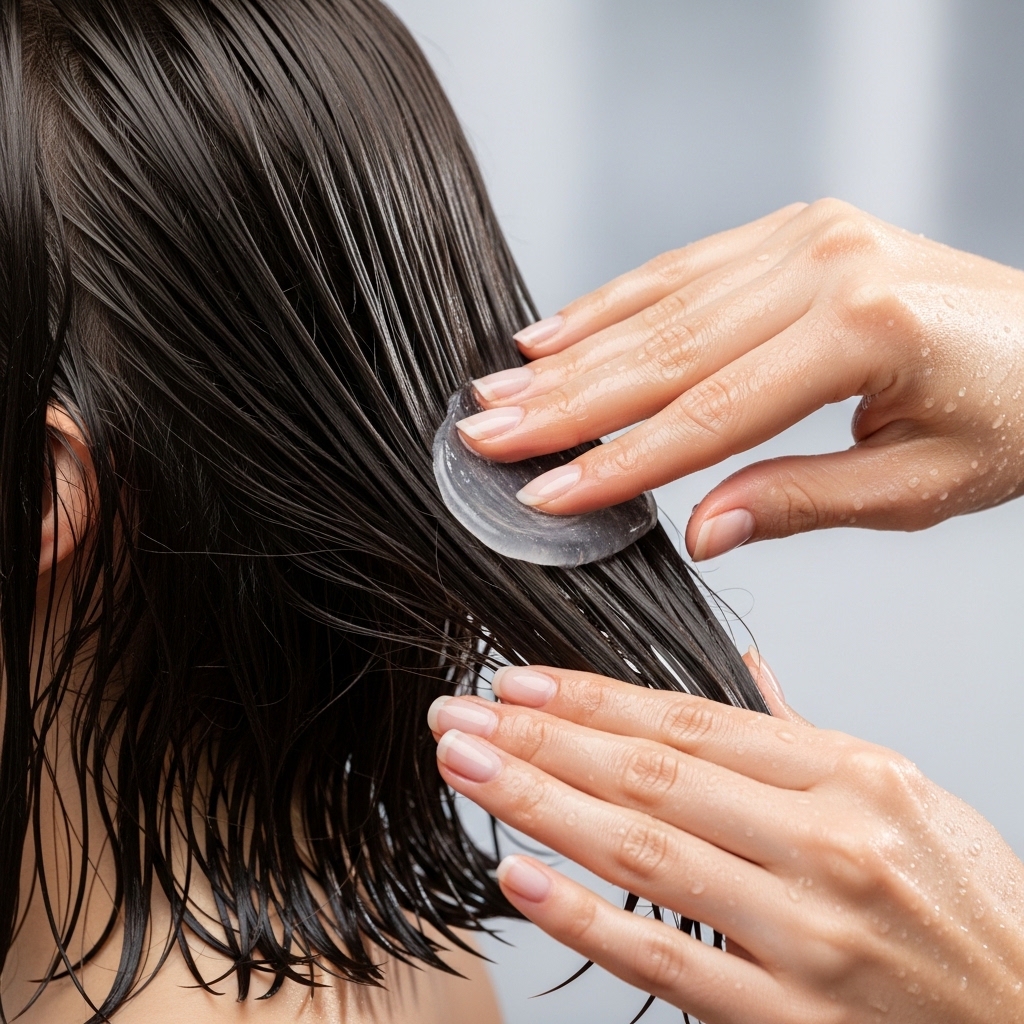
The Magic of the Right Leave-In Conditioner
This is your non-negotiable product. A good leave-in conditioner detangles, adds moisture, and forms a protective barrier. It fights frizz before it even starts and helps your hair dry evenly and softly.
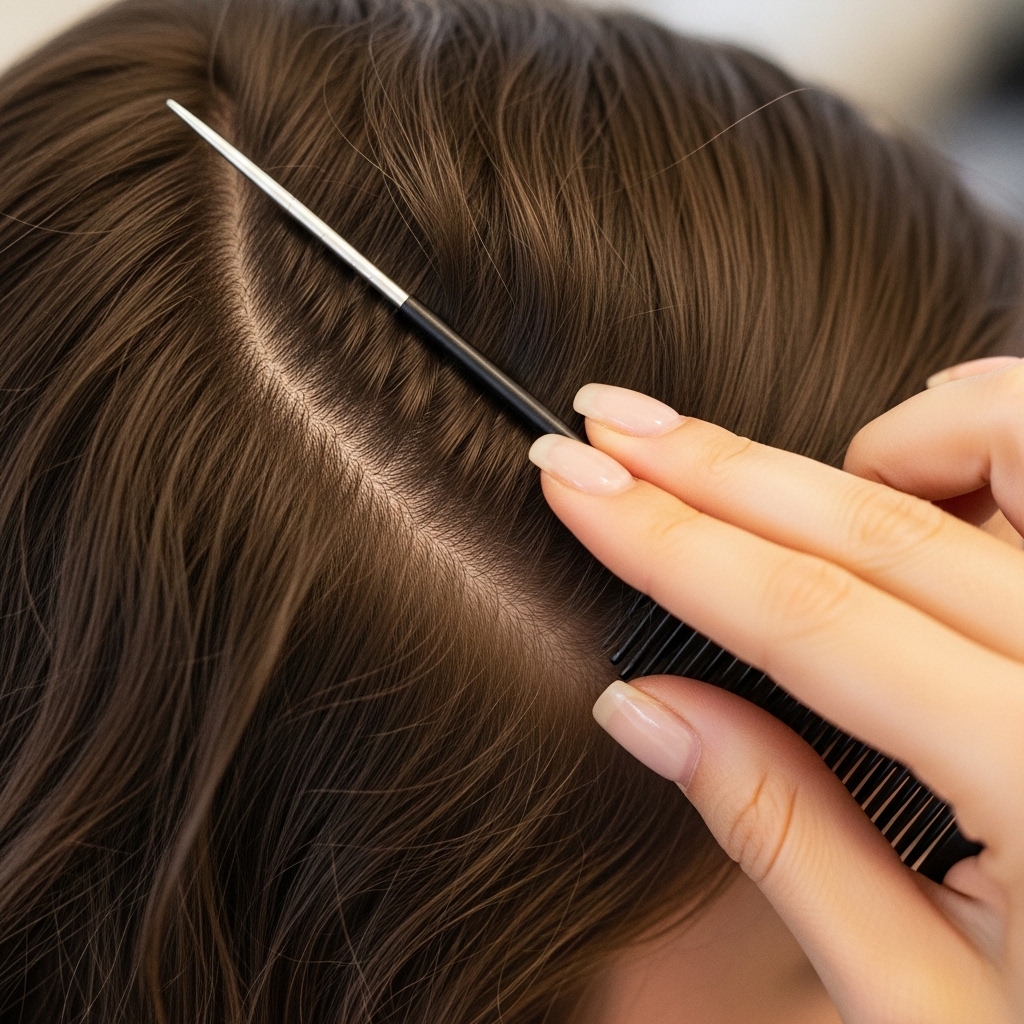
Apply it to soaking wet hair, focusing on your mid-lengths to ends. Use a wide-tooth comb to distribute it evenly. Look for formulas with ingredients like glycerin or aloe vera for hydration without heaviness.
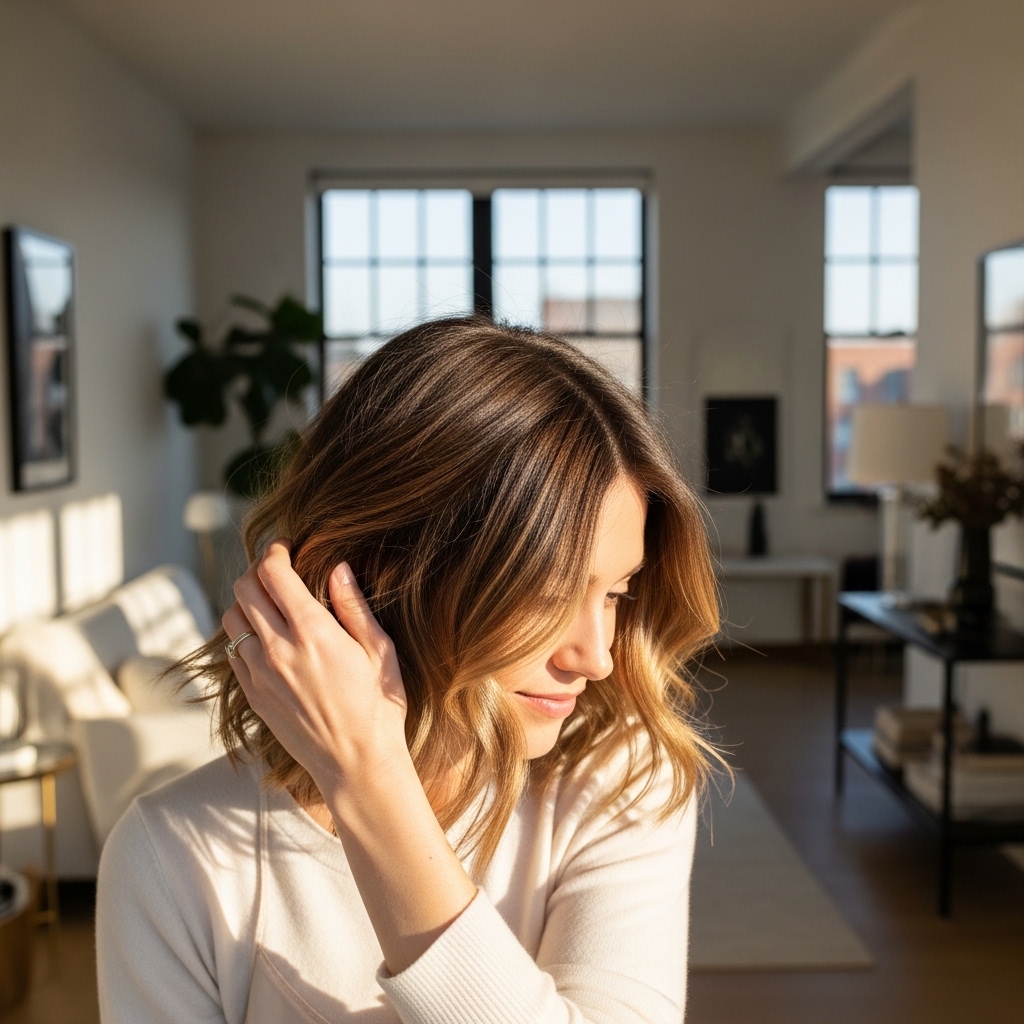
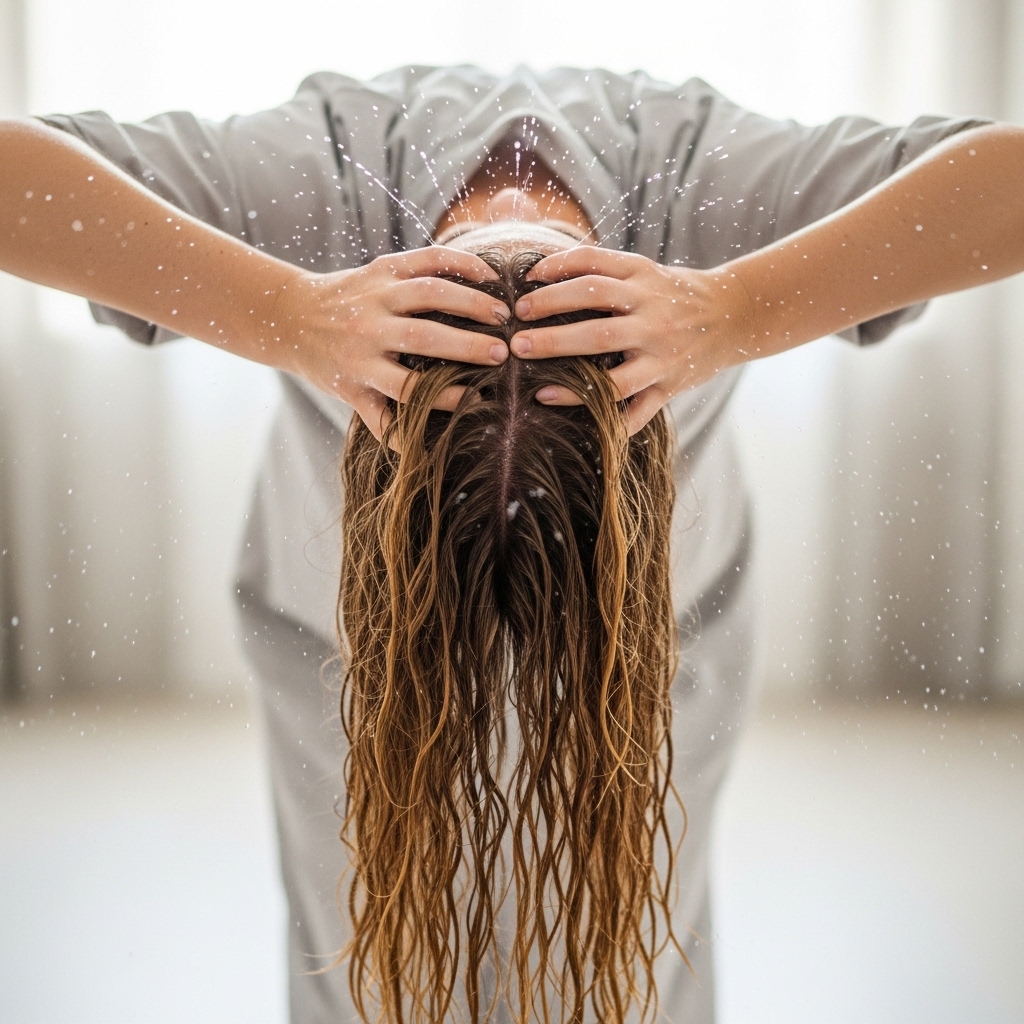
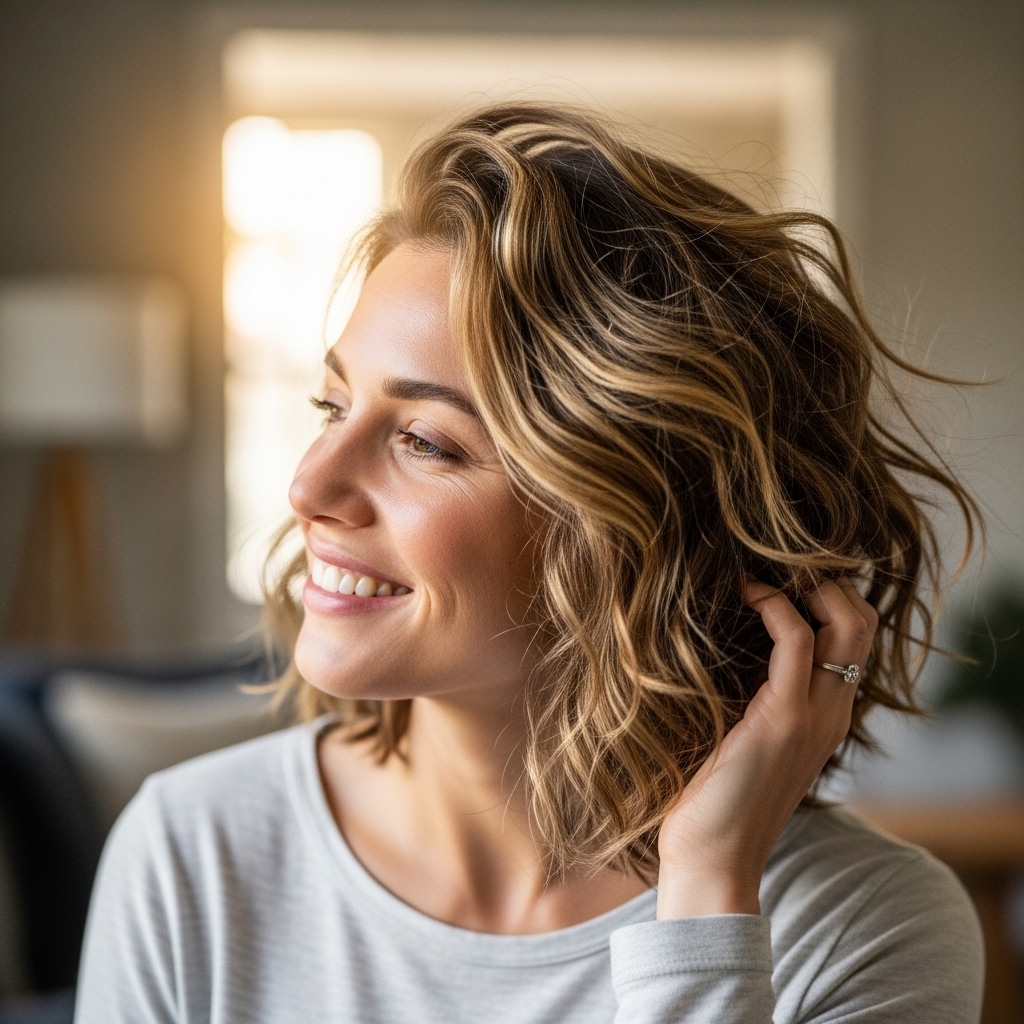
Scrunching: Your Best Friend for Waves
If you have any natural wave or curl, scrunching is your secret weapon. After applying your products, flip your head upside down. Gently cup sections of your hair and squeeze upward towards your scalp.
Do this all over your head to encourage your natural wave pattern. Then, try not to touch it as it dries! This method creates beautiful, piece-y texture that looks effortless and cool.
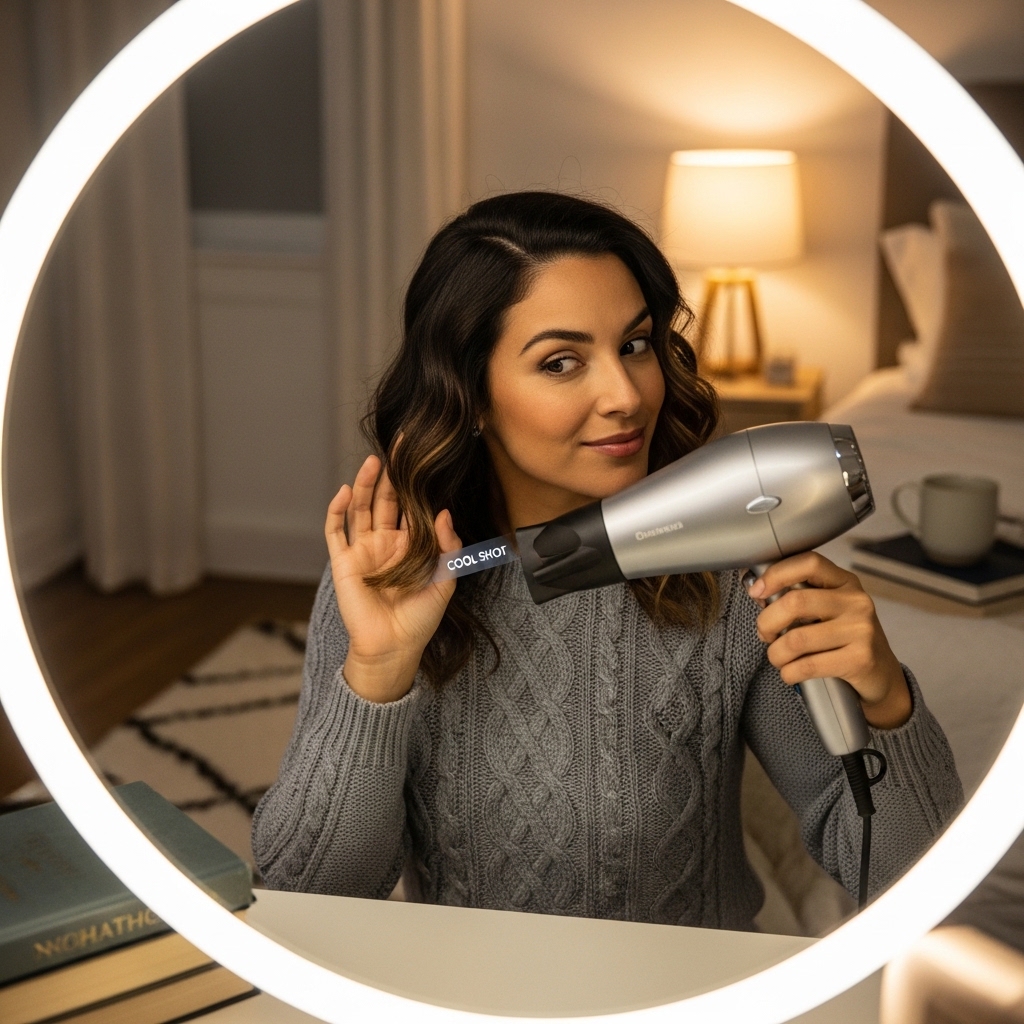
Creating “Air-Dry” Waves With a Cold Shot
Okay, this is the *only* heat we’re using, and it’s minimal. Once your hair is about 90% dry, you can add some loose waves. Use a curling wand or a flat iron on a very low heat setting.
Wrap large sections of hair around the barrel, hold for a few seconds, and release. The key? Finish each section with a blast of the cool shot button on your dryer. This sets the wave without the crispy, hot feel.
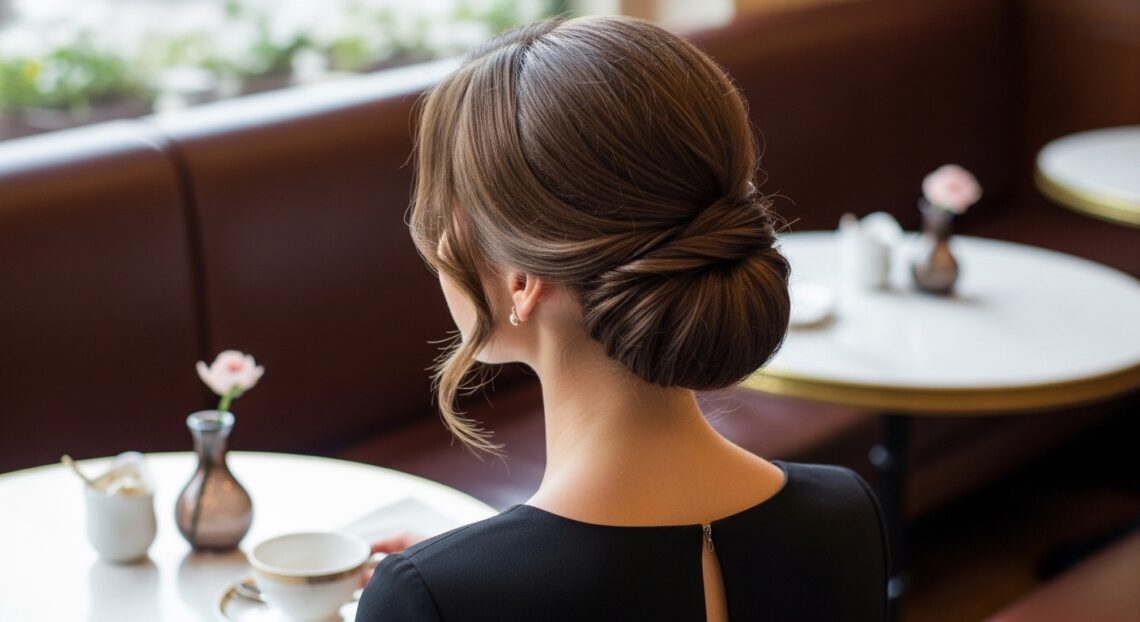
The Polished Air-Dried Bun
This is the ultimate polished-in-two-minutes style. Start with day-old hair that has some natural texture from your air-dry. Pull your hair into a low, loose ponytail but don’t pull the last loop of the hair tie through.
You’ll have a loop. Gently twist and fan out the loop, then pin it flat against your head with bobby pins. Pull out a few face-framing pieces. It looks elegant, intentional, and took you no time at all.
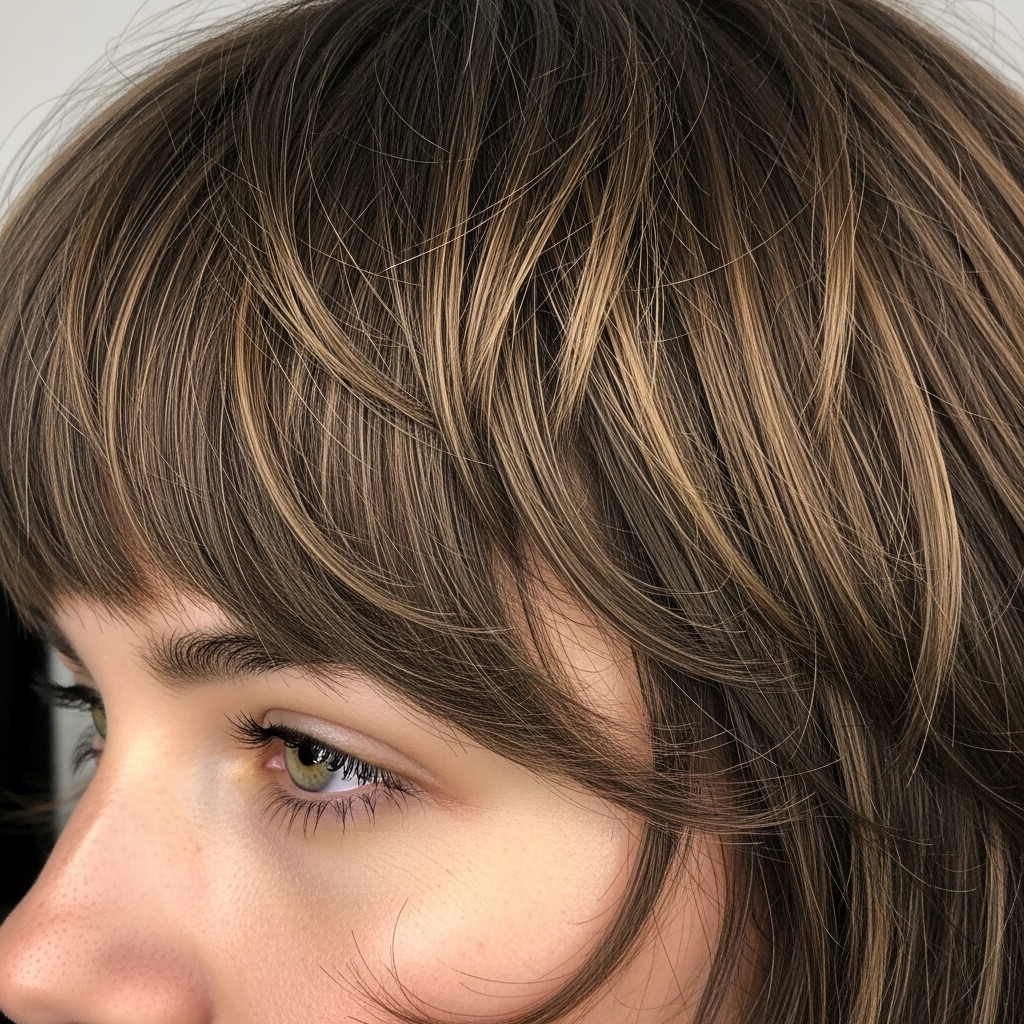
Mastering the “Lived-In” Part
A deep side part or a zig-zag part instantly makes air-dried hair look styled. It breaks up the hair at the roots, creating volume and a deliberate look. Use the end of a comb to create a clean line.
For even more texture, after your hair is dry, use a tiny bit of texturizing paste on your fingertips. Rub it into the roots at your part to add separation and a piece-y, modern feel.
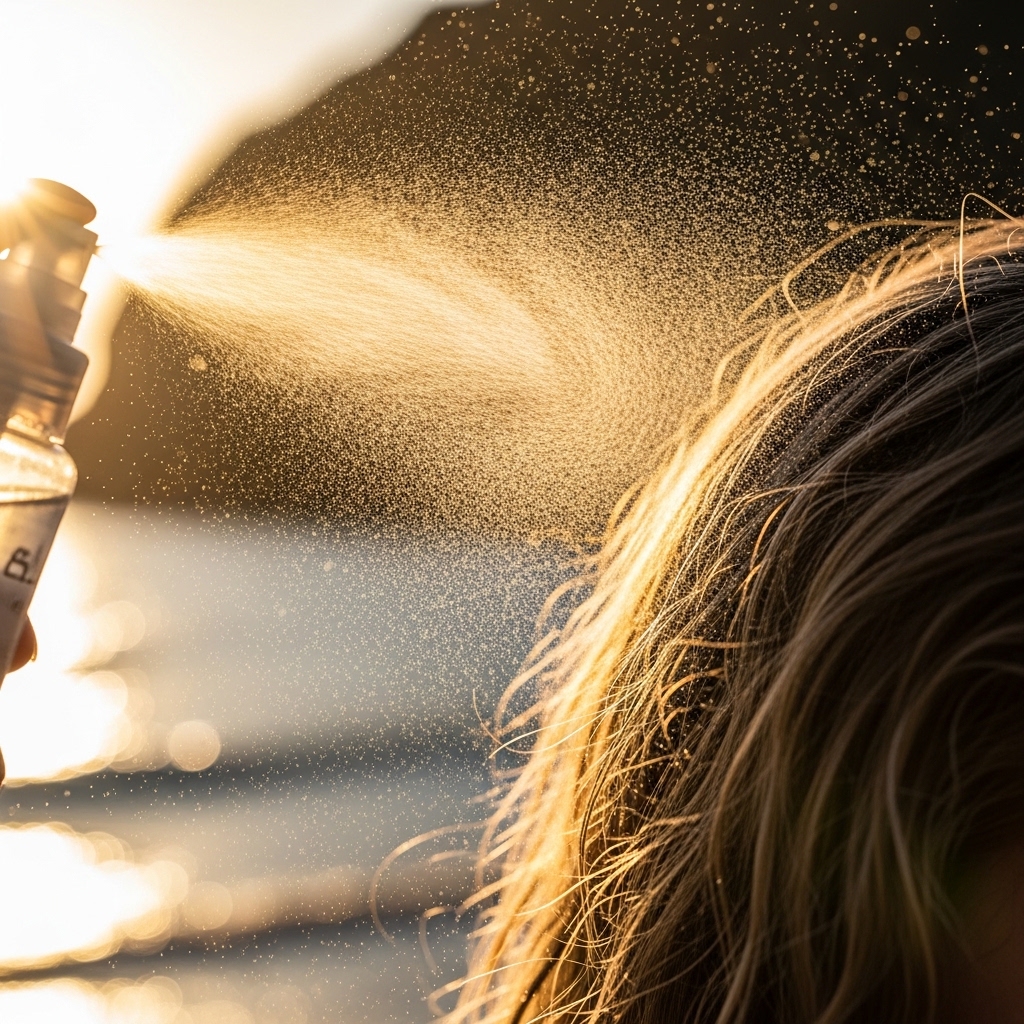
Texture Spray: The Final Touch
When your hair is completely dry, a texture or sea salt spray is your finishing move. Hold the bottle about 10 inches away and mist it lightly all over, focusing on the mid-lengths.
Then, gently scrunch again or run your fingers through your roots. This adds grit, separation, and that perfect “I woke up like this” vibe. It also helps your style last into day two and three.
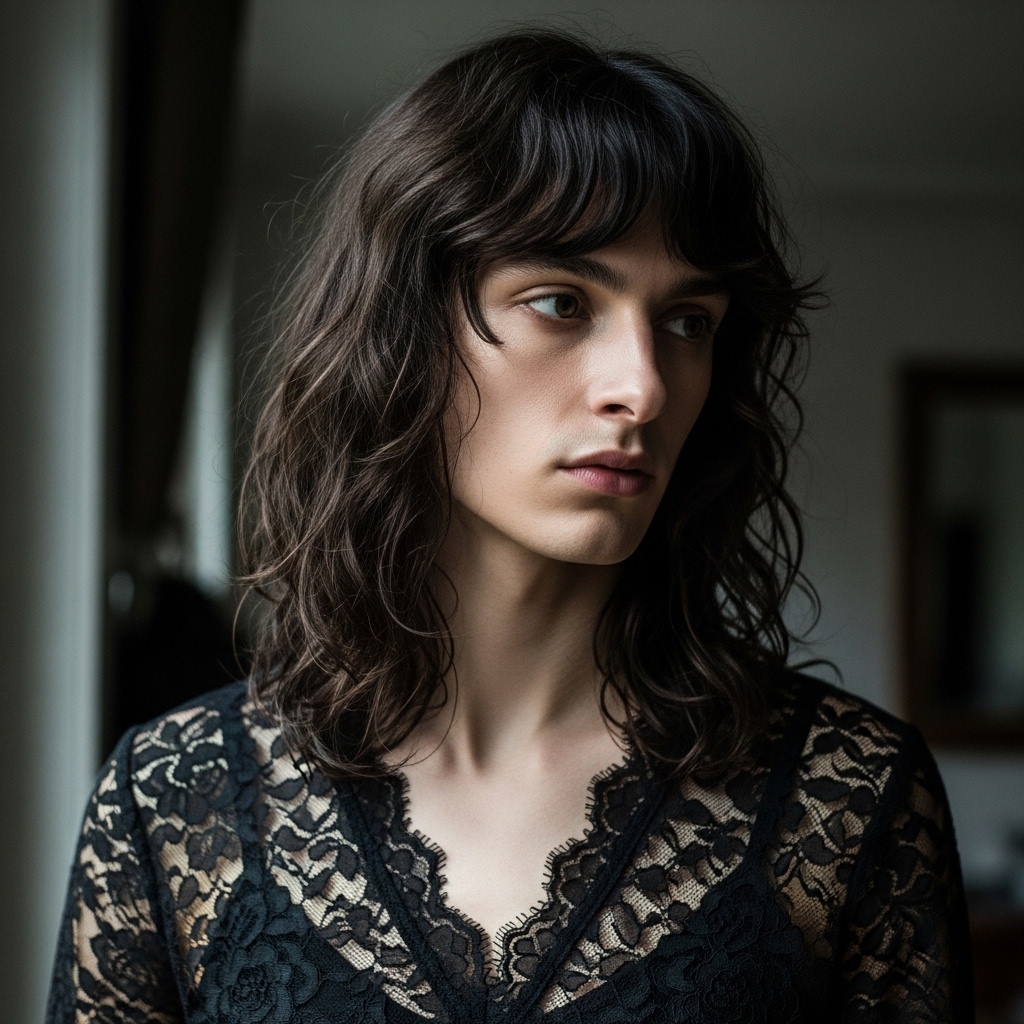
Embracing the Romantic Goth Vibe
Air-drying is perfect for achieving those soft, romantic goth hairstyles or a vampire haircut aesthetic. The key is deep, dark hair with intentional texture. After air-drying, use a light pomade to define just the ends.
Add a few face-framing layers or curtain bangs that dry with a soft bend. The look is moody, elegant, and perfectly undone—no flat iron required. It’s all about the shape and the natural flow.
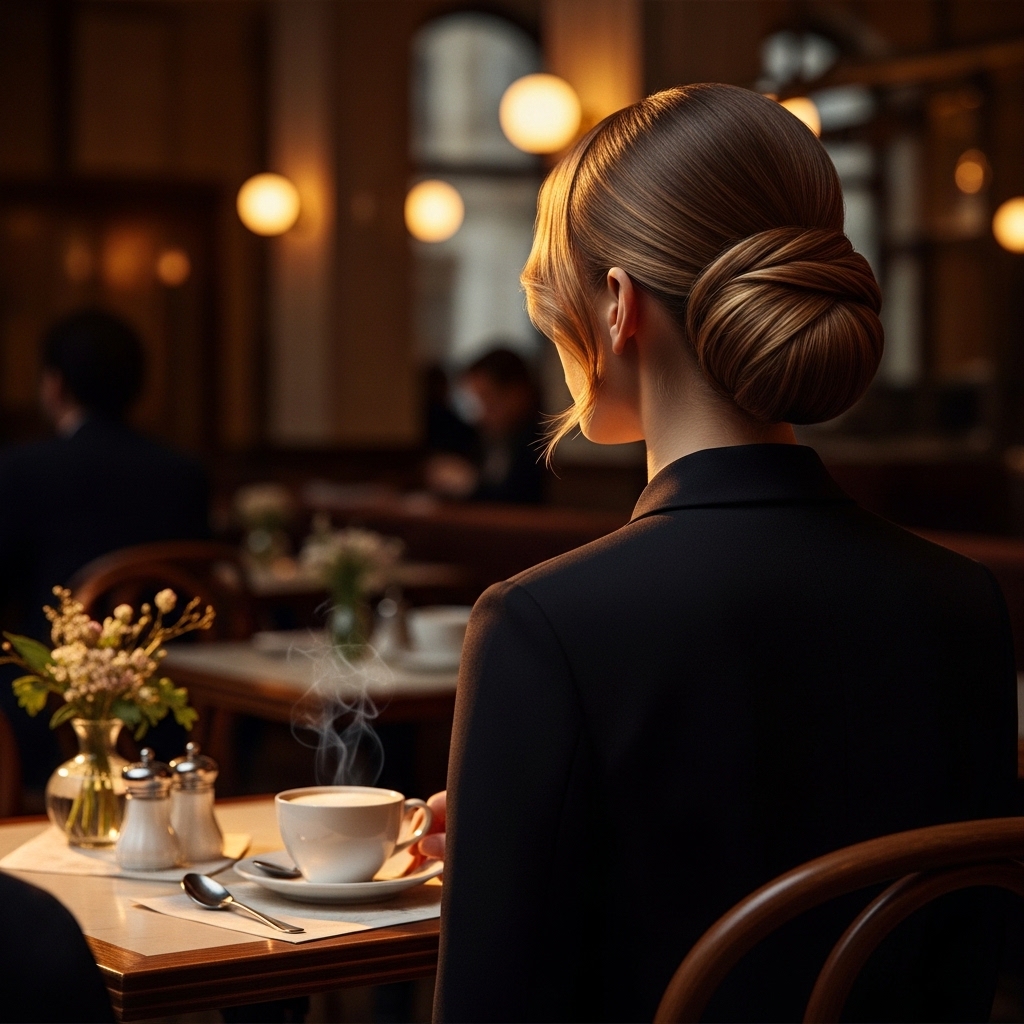
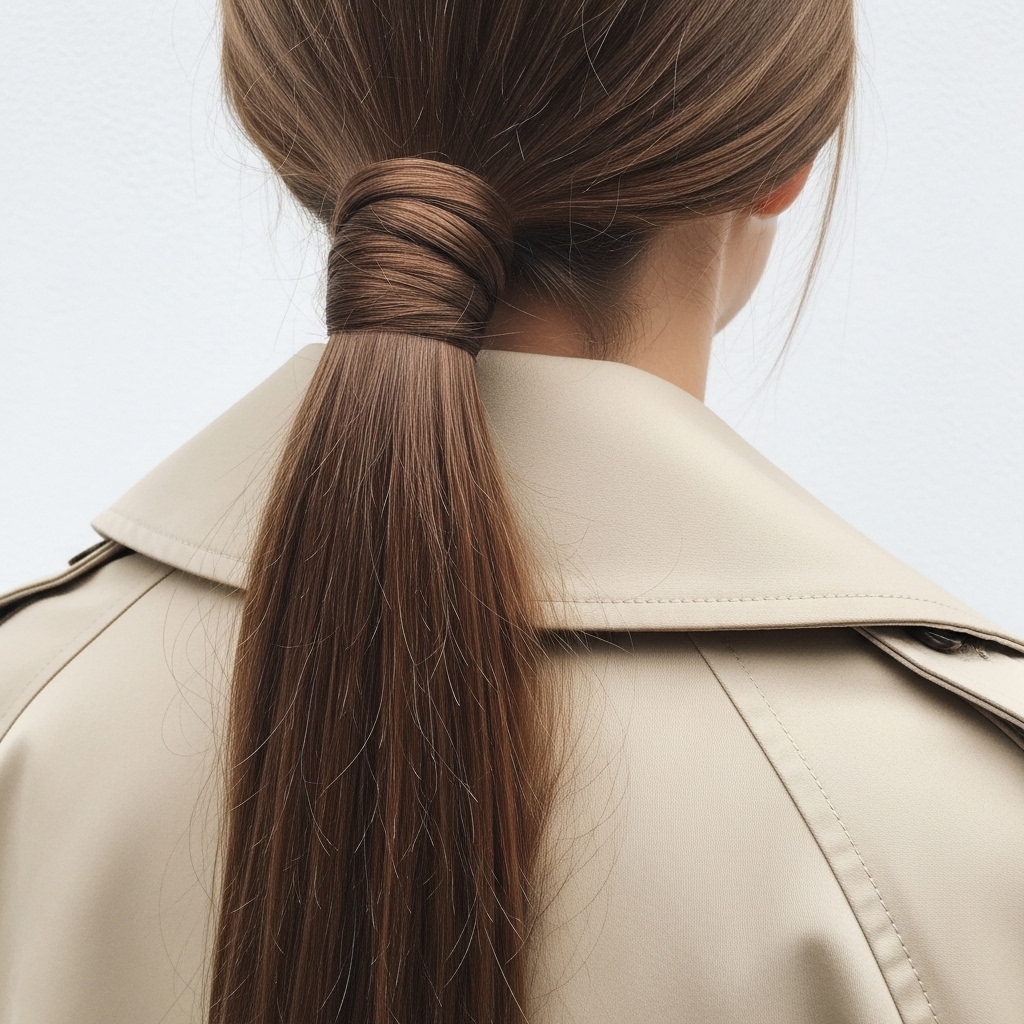
The Sleek “Old Money” Ponytail
Old money hair is all about impeccable, healthy-looking hair. A low-heat route is perfect. To get that sleek ponytail, apply a smoothing cream to damp hair and let it air-dry straight.
Once dry, brush it back into a low ponytail. Use a soft bristle brush to smooth any bumps. Secure it, then take a small piece of hair from the ponytail to wrap around the base, hiding the hair tie. It’s polished perfection.
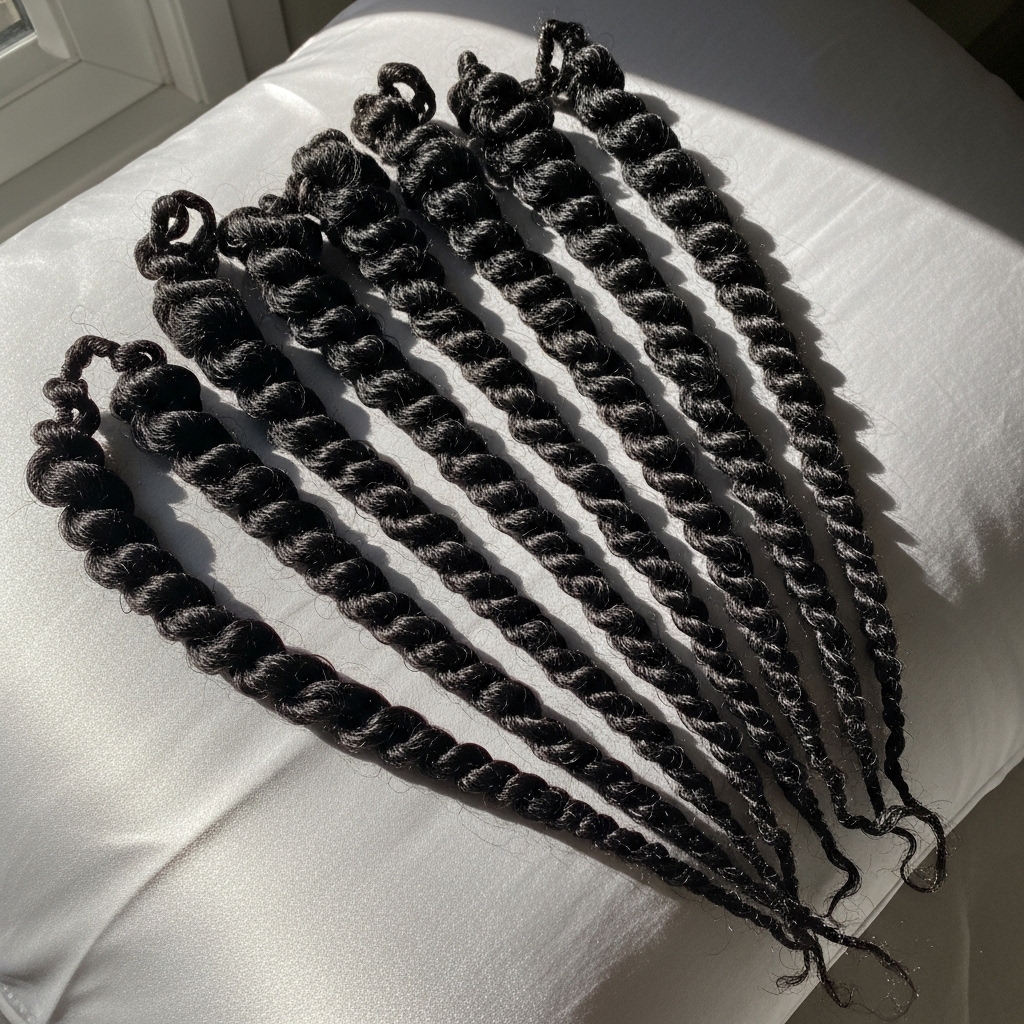
Twists for Overnight Texture
This is a true zero-heat method. On damp hair, apply a styling cream. Then, split your hair into 4-6 sections and twist each one tightly from root to end. Secure the ends with a small coil-friendly hair tie.
Sleep on it! In the morning, unravel the twists and gently separate the waves with your fingers. You’ll have beautiful, uniform waves without any heat. It’s a foolproof way to wake up styled.
The “Glitchy Glam” Piece-Y Effect
For that intentional, disconnected look of glitchy glam hair, air-drying is a great start. Once dry, use a tiny bit of wax or strong-hold paste. Pinch individual strands, especially shorter layers or bangs.
Pull them out to create deliberate, piece-y sections that stand apart from the rest of the hair. The contrast between smooth air-dried lengths and these textured pieces creates the modern, edgy effect.
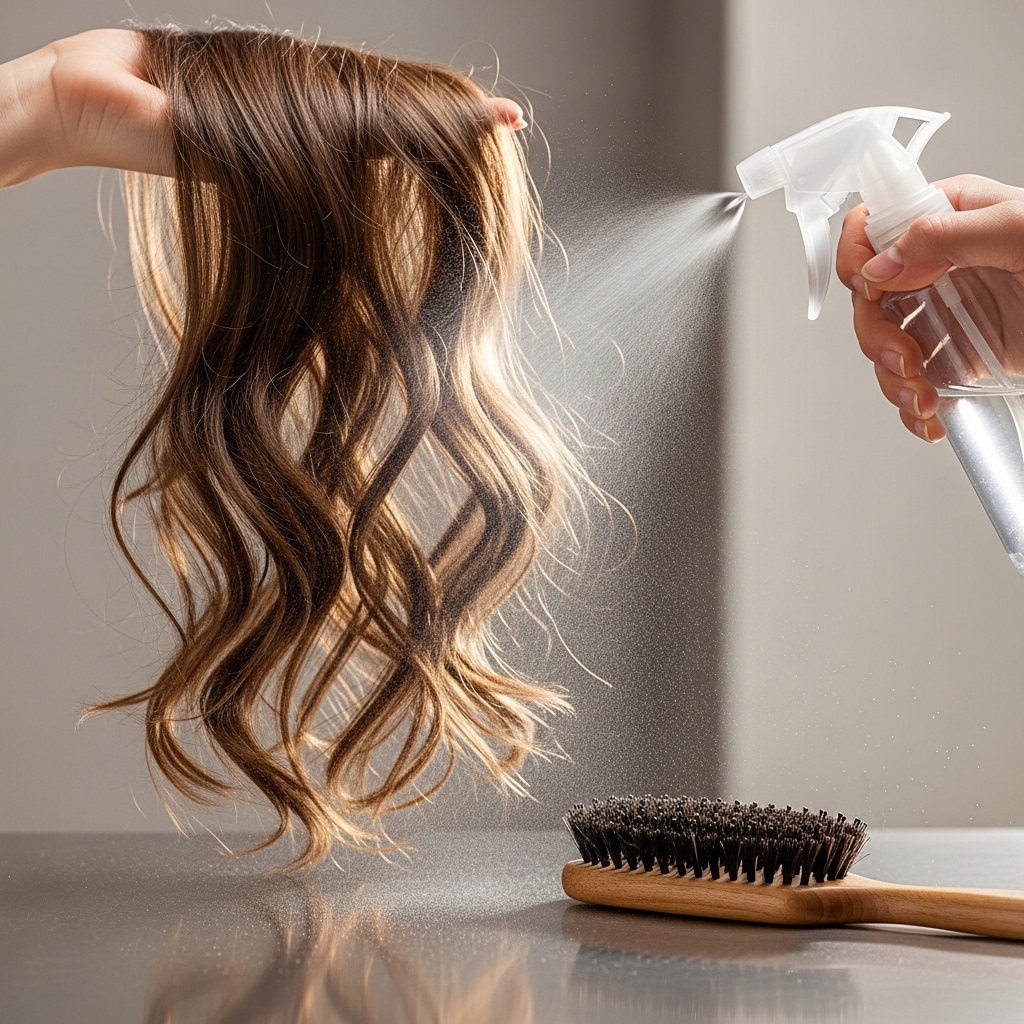
Refresh, Don’t Rewash
Your second and third-day hair is often the best for these styles! To refresh, don’t just spray water all over. Mix a bit of leave-in conditioner with water in a spray bottle.
Lightly mist the mid-lengths and ends, then scrunch. For the roots, use a dry shampoo to soak up oil and add volume. This revives the shape and texture without making your hair look wet or weighed down.
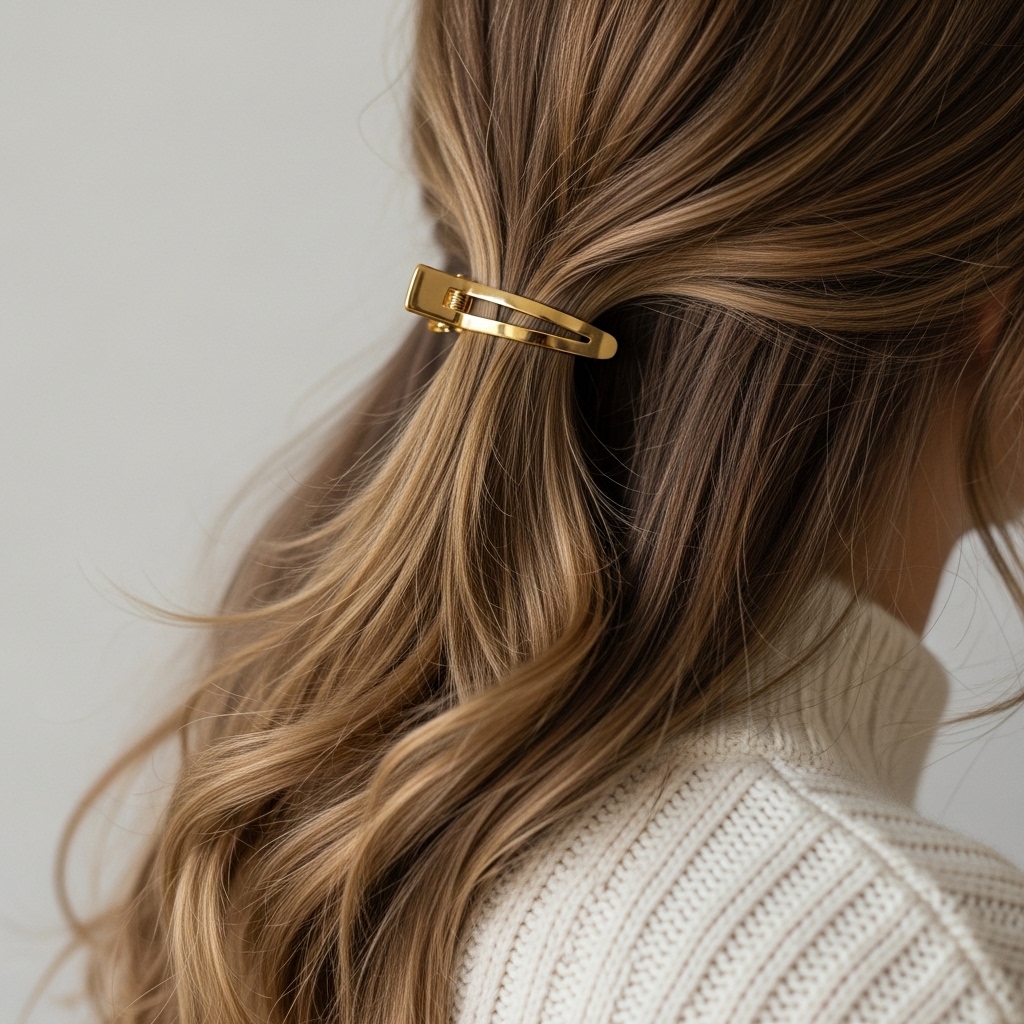
Accessorize to Elevate
A simple accessory can make an air-dried style look incredibly deliberate. Think sleek claw clips, a simple silk scarf tied around a low ponytail, or delicate gold hair pins.
Just gathering one side back with a pretty pin or clipping your curtain bangs away from your face adds an instant polished touch. It draws the eye and shows you made an effort, even if it took five seconds.
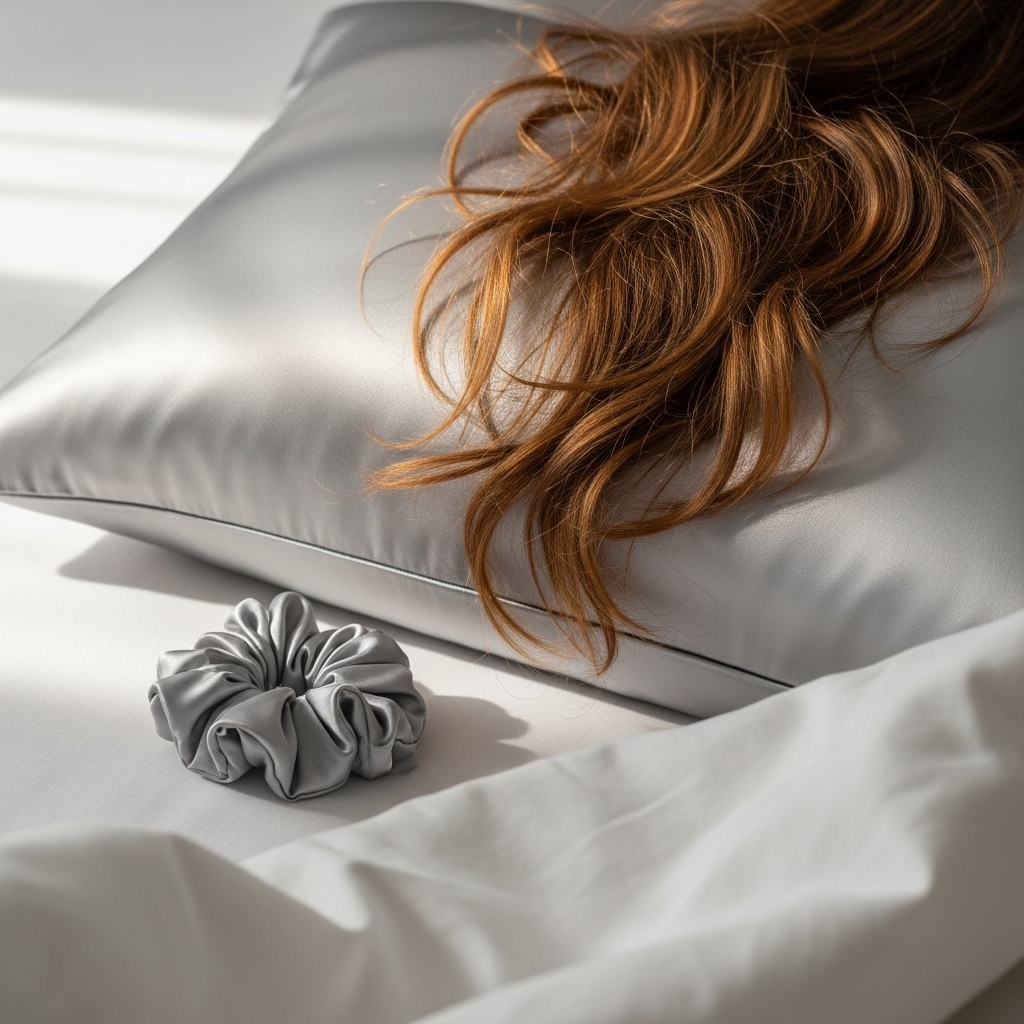
Protect Your Hair While You Sleep
To make your air-dried style last, your nighttime routine matters. Sleep on a silk or satin pillowcase. It creates less friction than cotton, so you wake up with less frizz and your waves intact.
You can also loosely pull your hair up into a high, loose bun on top of your head with a silk scrunchie. This preserves volume at the roots and prevents it from getting flattened and crazy overnight.
The Hime Cut Made Easy
The dramatic hime cut (with its straight-across front locks) can be low-heat! The blunt lines do the talking. After washing, apply a straightening balm and let it air-dry straight.
Once completely dry, you may only need to use a flat iron on the two front sections to get them perfectly blunt. The rest of the cut can be left in its natural, air-dried state for a cool contrast.

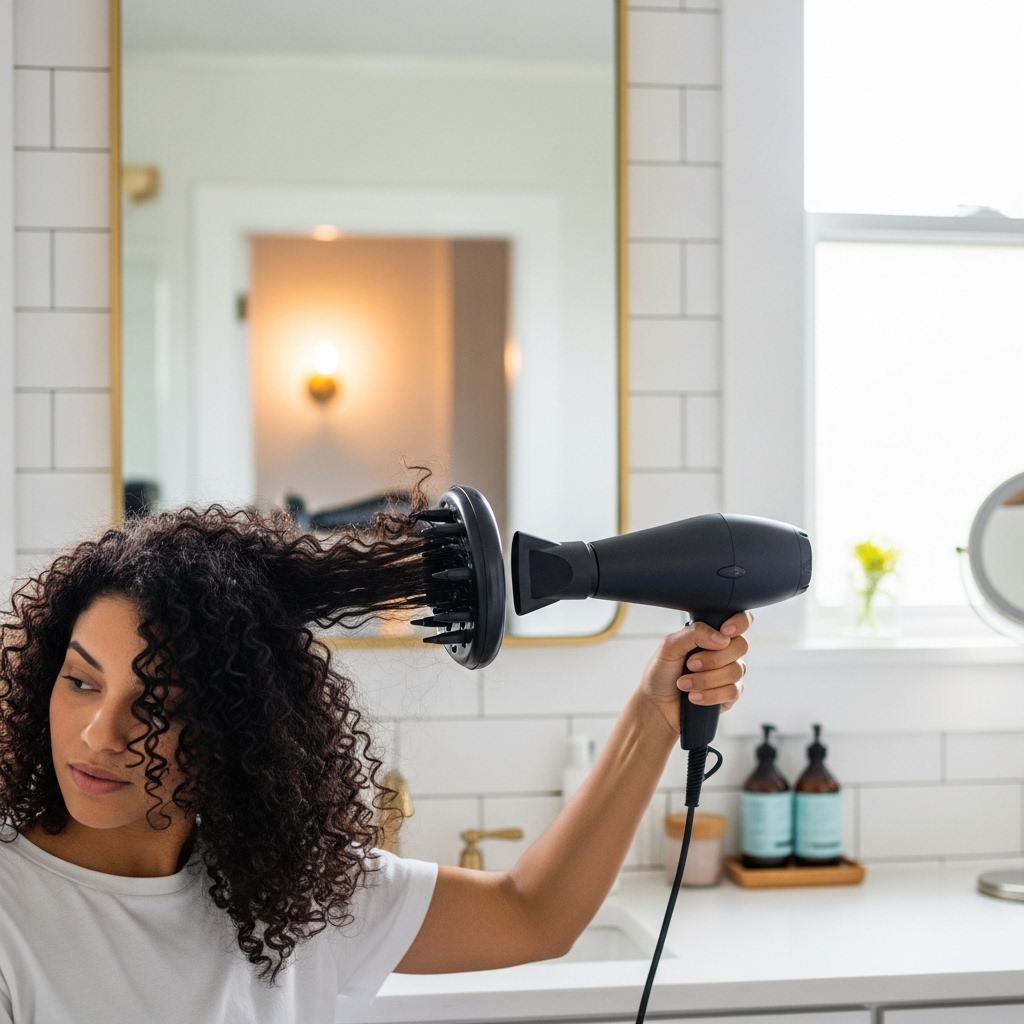
When to Use a Diffuser (The Right Way)
If you have curls or very dense hair, a diffuser is a low-heat helper. Attach it to your dryer on a low heat and low speed setting. Cup sections of your hair into the diffuser bowl and hold it in place without moving.
Let the gentle heat and air flow around the curl until it’s mostly dry, then move on. This speeds up drying without causing frizz and actually enhances your natural curl pattern.
Finding Your Signature Style
The beauty of this routine is finding what works for you. Maybe it’s a quiet luxury bob with a side part. Maybe it’s a vampire haircut with piece-y texture. Play with different parts, products, and techniques.
Your hair will tell you what it likes. The goal is a style that feels authentic, looks polished, and takes minimal time. That’s the real win. This is how you build a personal look that lasts.
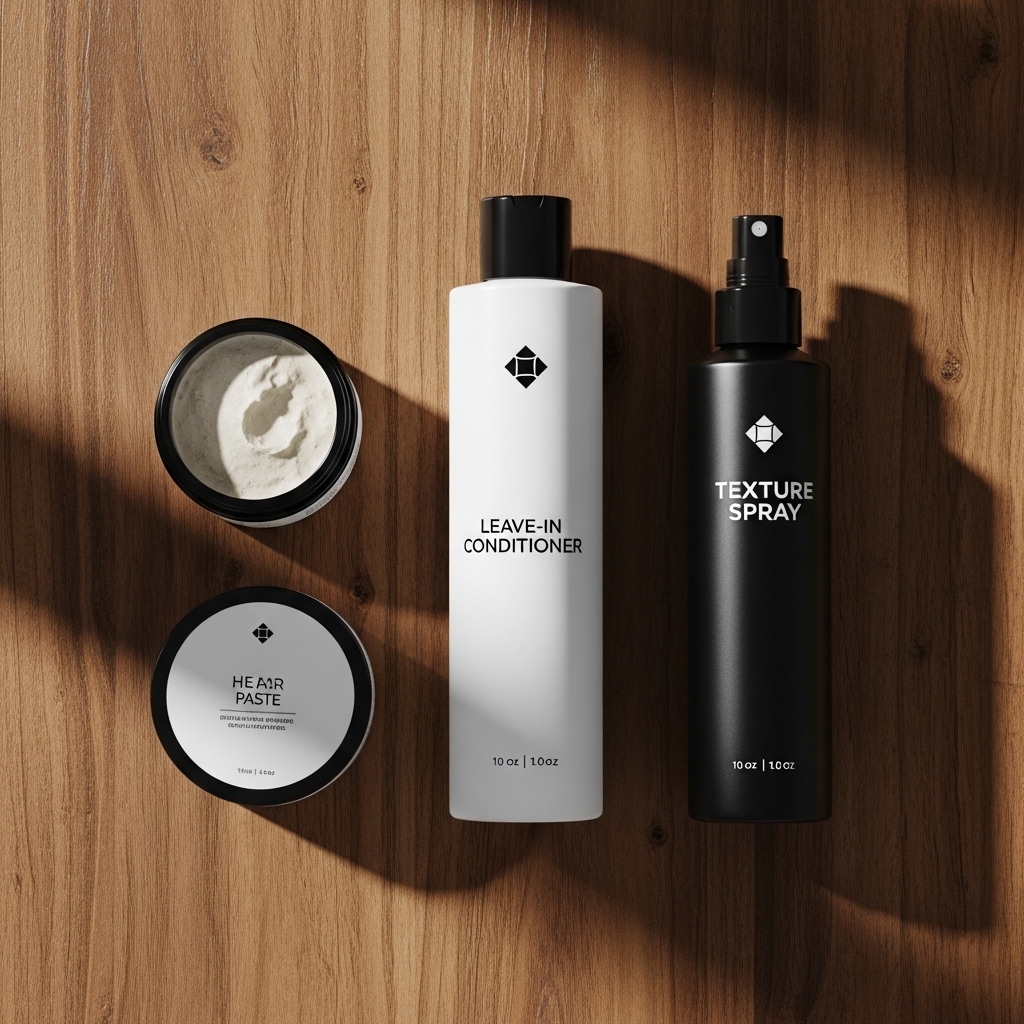
My Current Favorite Products
I get asked all the time what I actually use. Here’s my current low-heat lineup: A hydrating leave-in conditioner, a light texturizing spray, a strong-hold paste for pieces, and a smoothing cream for ponytails.
You don’t need a lot! Invest in one or two good multi-tasking products. Drugstore or high-end, look for words like “texturizing,” “defrizzing,” or “curl enhancing” to help you choose.
Your Hair Will Thank You
After just a week or two of minimizing heat, you’ll likely notice a difference. Your hair will feel softer, look shinier, and have more bounce. Split ends will be less of a constant battle.
It’s not about never using heat again—it’s about making it the exception, not the rule. Giving your hair a chance to recover is the most luxurious thing you can do for it. Healthy hair is always in style.
So, that’s my whole playbook. It’s really about shifting your mindset from “styling” to “guiding.” You’re working with what you have and letting your hair do its beautiful thing, with just a little help.
I promise, once you get your routine down, you’ll save so much time and stress in the morning. And your hair will feel so much better. It’s a win-win.
Did you find a trick here that you’re excited to try? Save this post to Pinterest so you can come back to it anytime! And tell me in the comments—what’s your biggest hair frustration that you want to solve?
Love, Hailey & Team
