
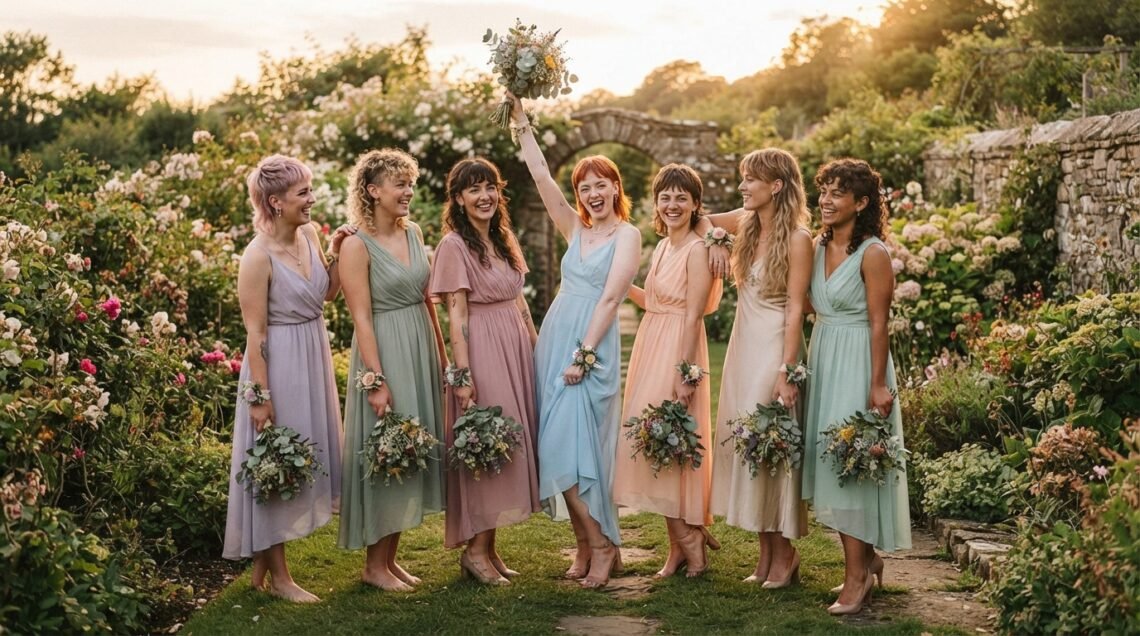
Your Bridesmaid Hair, But Make It You
So your best friend is getting married, you’re in the lineup, and you want a hairstyle that actually feels like you. The modern mullet is the answer nobody saw coming. It’s soft, it’s textured, and it photographs beautifully.
I’ve been collecting mullet inspiration for months, and 2026 is the year this cut went from edgy to genuinely elegant. You can keep it subtle or lean all the way in.
Below you’ll find 35 modern mullet haircuts for bridesmaids, from a quiet luxury take to something a little more romantic goth. Each one comes with quick styling notes so you can show your stylist exactly what you mean. Let’s find your cut.
Why Mullets Work So Well for Bridesmaids in 2026

Bridesmaid hair has one job: it has to look good in a hundred photos and survive a long day. A mullet does both. The short layers keep the front light, while the length in back gives you something to pin, curl, or braid.
It also plays well with almost every dress neckline and works whether you’re walking down an aisle or dancing at 11 p.m.
- Texture means volume that holds through the ceremony
- Short front layers frame your face in group shots
- Easy to half-up, braid, or add clips to
- Feels modern without shouting for attention
1. The Soft Shag Mullet
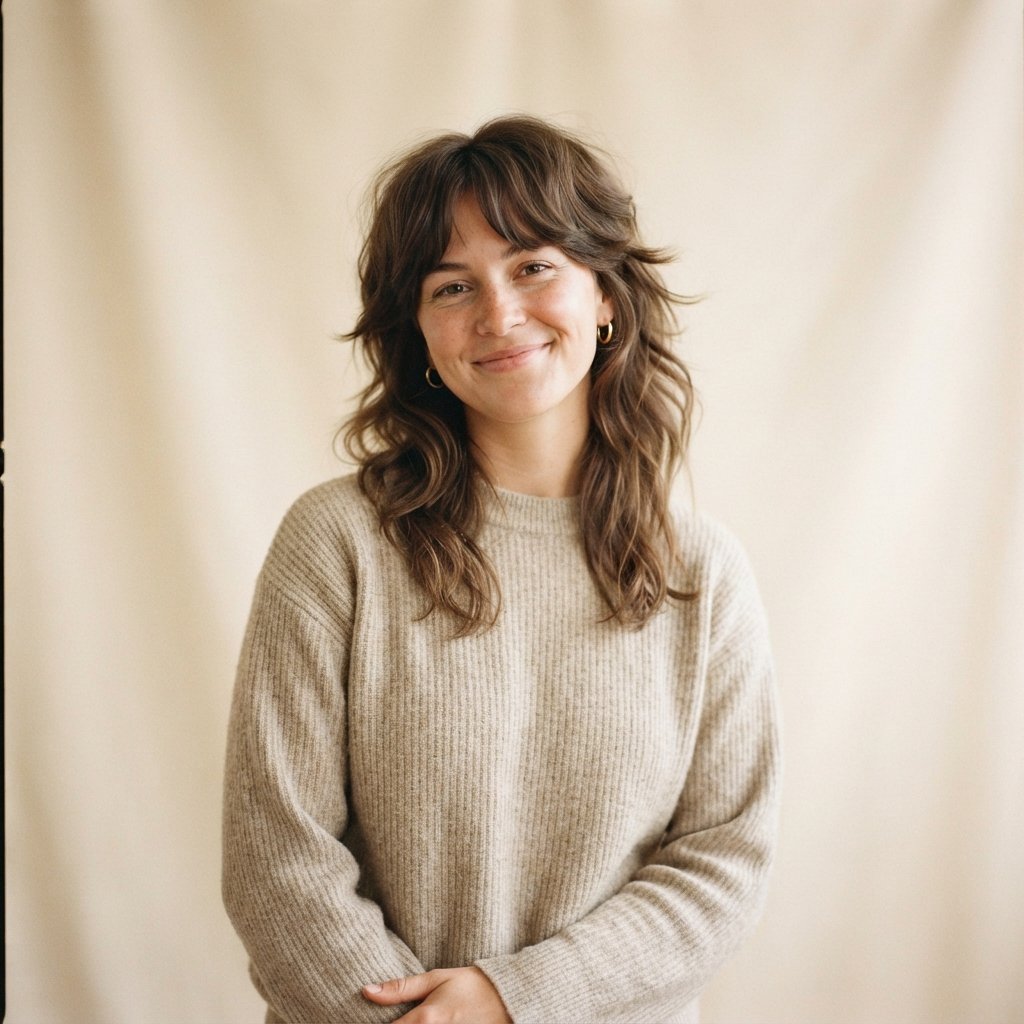
This is the entry point I recommend to almost every bridesmaid. The soft shag mullet keeps the shape of a mullet but rounds off the edges, so nothing feels harsh. Think blended layers, a soft fringe, and a lot of movement.
It suits straight, wavy, and slightly curly hair. Ask for long face-framing pieces you can tuck behind your ear during the ceremony.
Style it with a texturizing spray and a light mist of flexible hold. Skip heavy gels. You want it to look like you woke up like this, which is the whole energy of 2026 hairstyles.
2–4. Baby Mullet, Subtle Mullet, Feathered Mullet
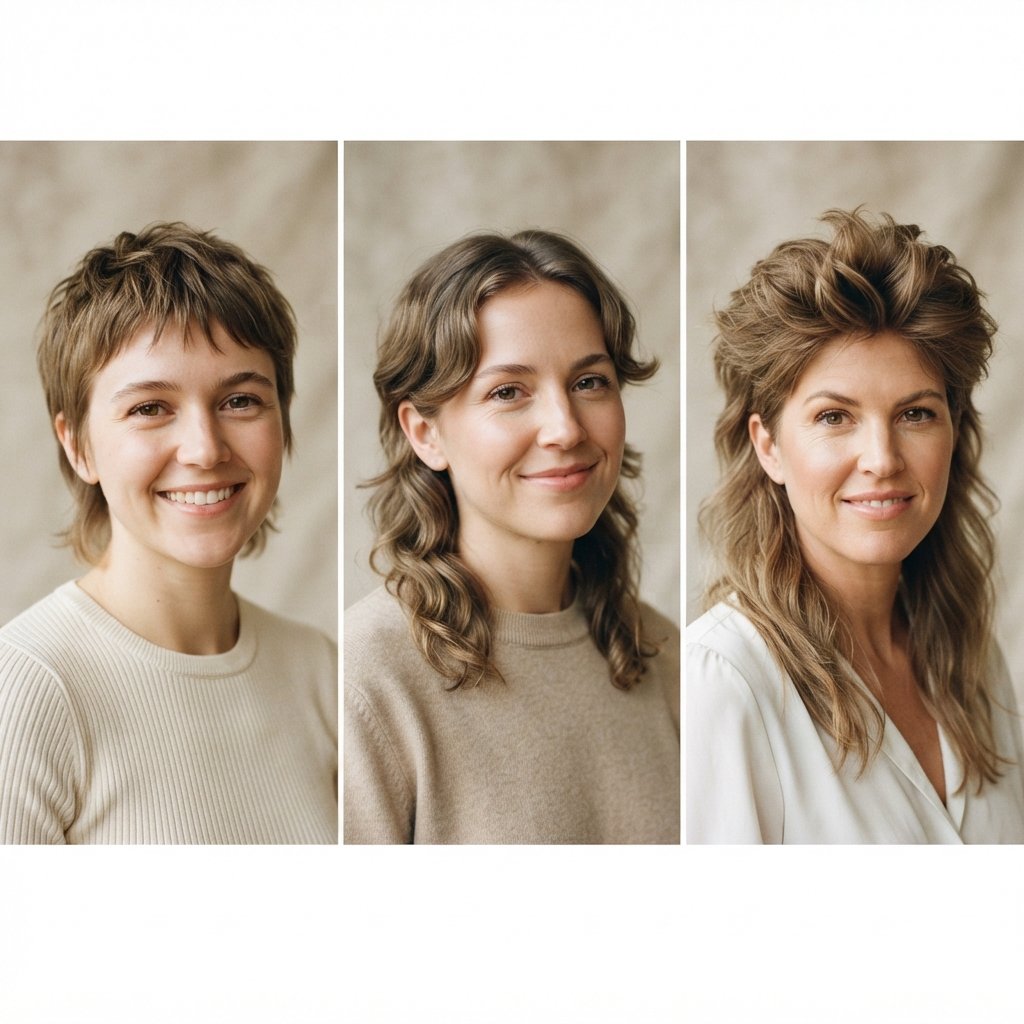
Not ready to commit? These three options keep things gentle.
- Baby mullet: just a hint of extra length in back with short layers around the jaw. Very wearable, very safe.
- Subtle mullet: a longer fringe and soft taper so it reads as a shag from the front and a mullet from the side.
- Feathered mullet: lots of wispy ends, super light, and it moves like a dream in photos.
All three are smart picks if the bride wants a traditional look with a little personality from her bridesmaids.
5–6. Textured Curly Mullet and Coily Mullet
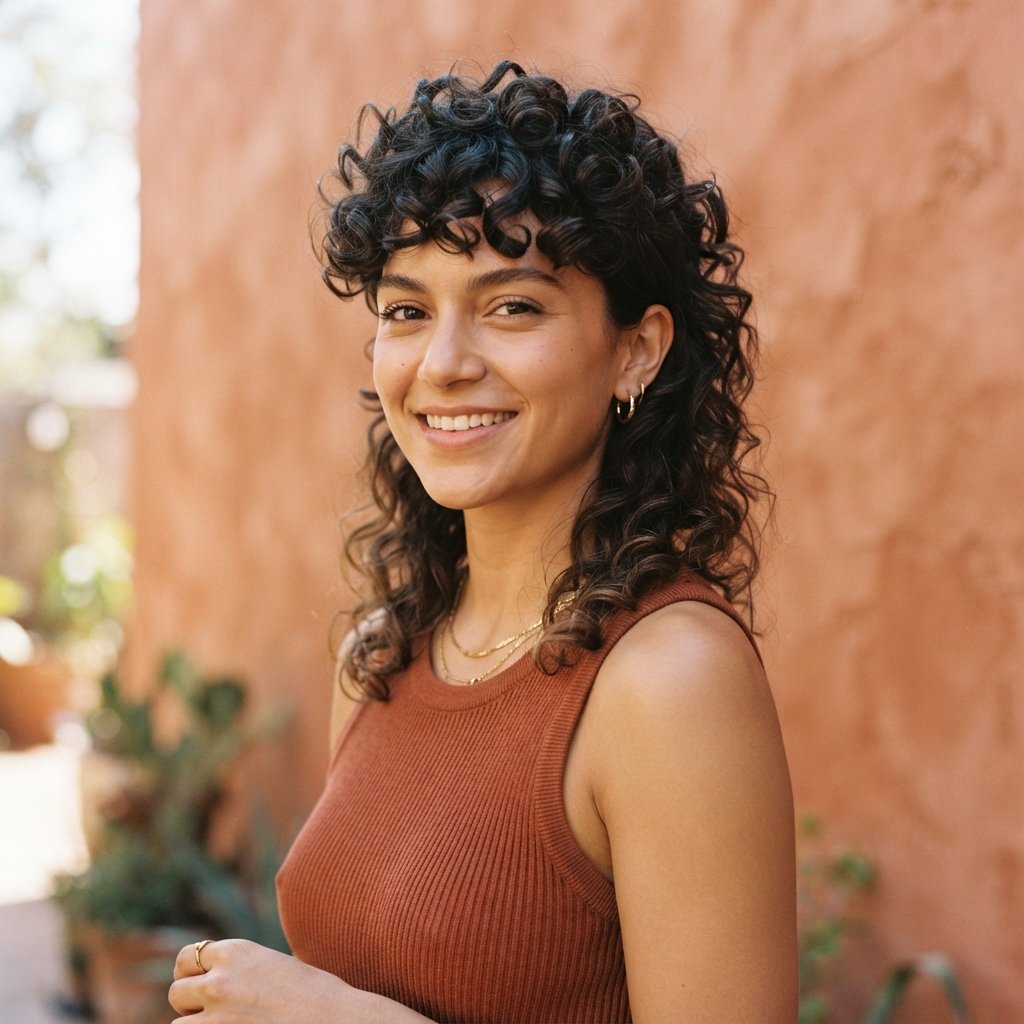
Curly hair was made for this cut. The short crown layers let your curls spring up, while the back length gives you weight and shape.
Ask your stylist to cut your curls dry so they can see how much each layer will shrink. That single step saves months of regret.
For a coily mullet, keep the taper clean around the sides and let the top and back do the talking. On wedding day, use a curl cream and diffuse, then pick out the shape with your fingers. A tiny bit of oil on the ends adds shine in flash photos.
7–8. Asymmetrical Lob Mullet and Wavy Lob-Mullet

If you love the asymmetrical lob but want a little more edge, this is your moment. Keep the overall length around the collarbone, then add mullet layers only on one side.
It’s flattering on almost every face shape and looks especially good with a one-shoulder dress.
The wavy lob-mullet is the softer sibling: collarbone length all around, light layers, and a loose S-wave. Reach for a 1.25-inch curling iron, wrap away from your face, and shake it out. Both styles are basically made for outdoor spring weddings.
9–10. Vampire Haircut Mullet and Romantic Goth Mullet
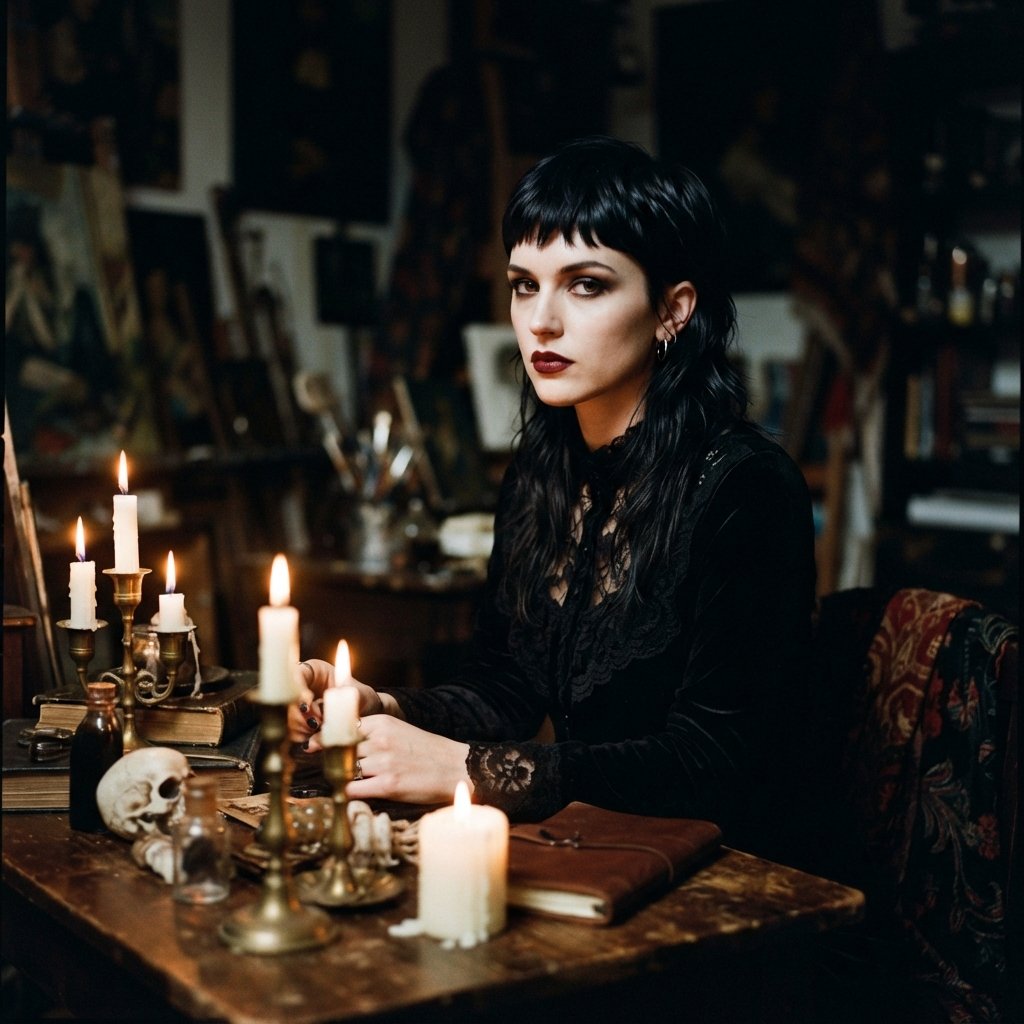
The vampire haircut is everywhere right now, and it translates into a mullet beautifully. Think deep side part, smooth glossy top, and sharply angled layers around the cheekbones.
Keep the back long and slightly tapered so it feels intentional instead of costumey.
For romantic goth hairstyles, soften it. Add a loose braid at the crown, a velvet ribbon, or a few face-framing tendrils. Deep burgundy or black hair with a satin finish looks incredible next to soft blush or champagne bridesmaid dresses. It’s dramatic in the best way without stealing the moment.
11–12. Quiet Luxury Mullet and Old Money Hair Mullet
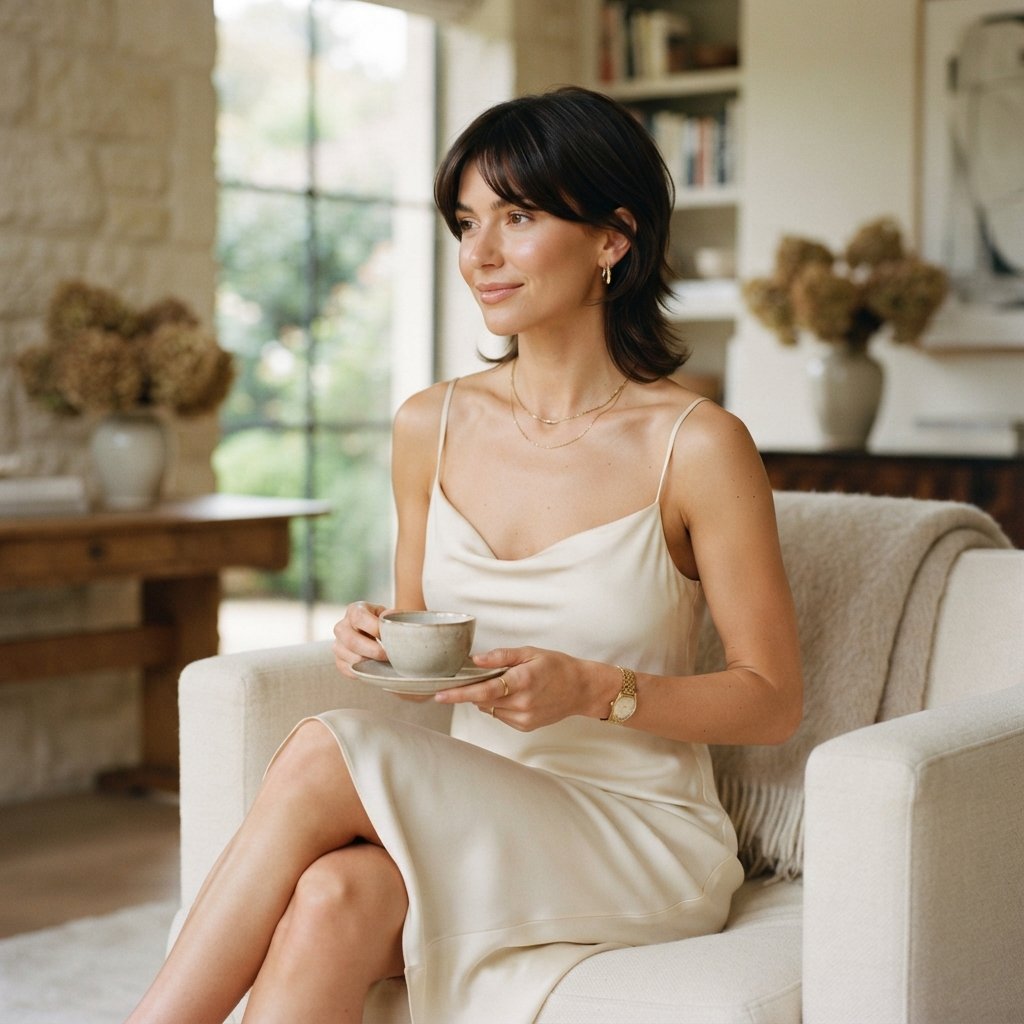
Yes, you can have a quiet luxury mullet. The trick is polish. The quiet luxury bob idea translates here as a smooth, brushed-out finish with layers that stay close to the head.
No heavy texture spray, no piecey ends. Just clean shine and a subtle taper in the back.
Old money hair is the same story: healthy, glossy, and effortless. Blow-dry with a round brush, use a light serum on the ends, and tuck one side behind your ear. Add a simple pearl stud and you’re done. This is the version to choose if the wedding is formal or black tie.
13–14. Glitchy Glam Mullet and Platinum Mullet
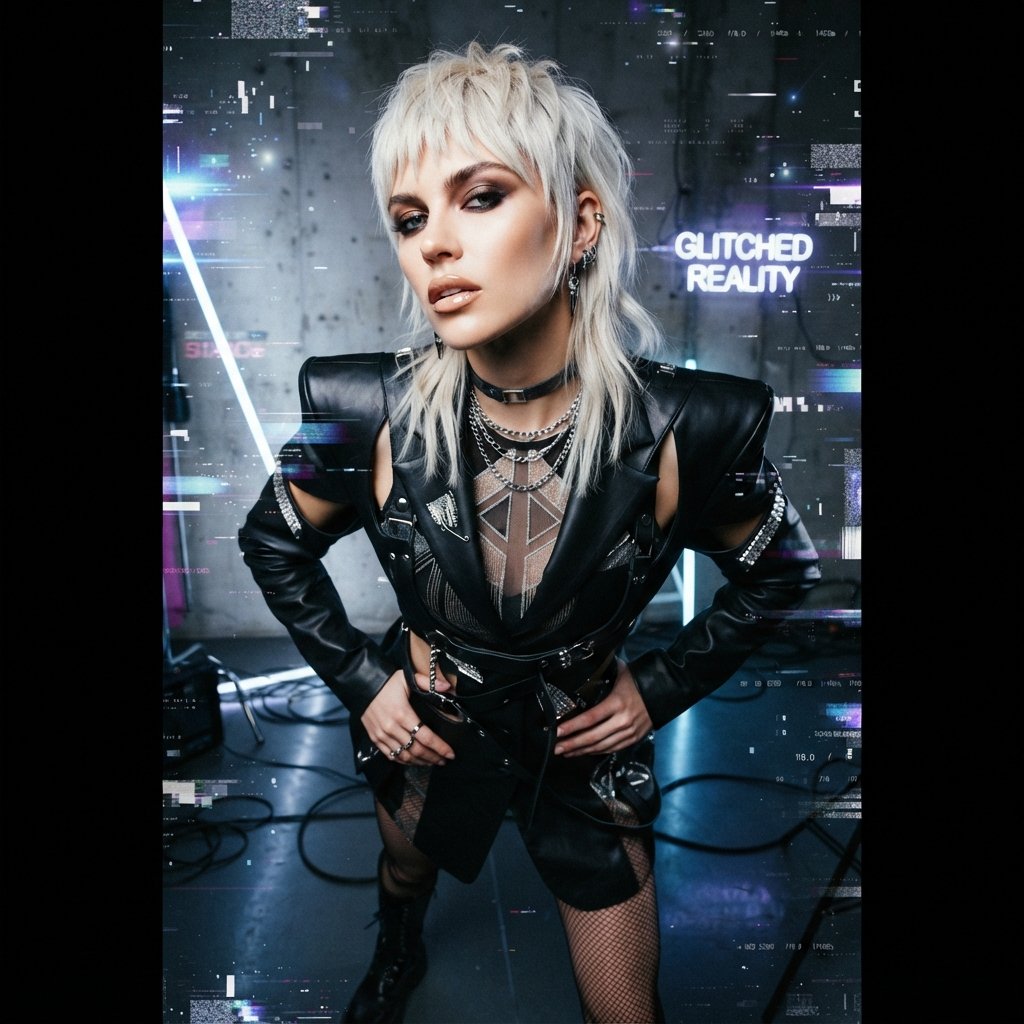
Want to be the bridesmaid everyone remembers? Glitchy glam hair is playful and a little futuristic. It’s all about sharp, uneven ends, high shine, and layers that look almost graphic.
Ask for blunt micro-layers through the fringe and a clean taper in back.
Pair it with a platinum mullet if you’re ready for a big color change. Just do it at least three weeks before the wedding, and book a gloss the week of. Bright platinum needs a purple shampoo and a bond treatment, so plan a little extra care into your routine.
15–16. Hime Cut Mullet and Micro Bangs Mullet
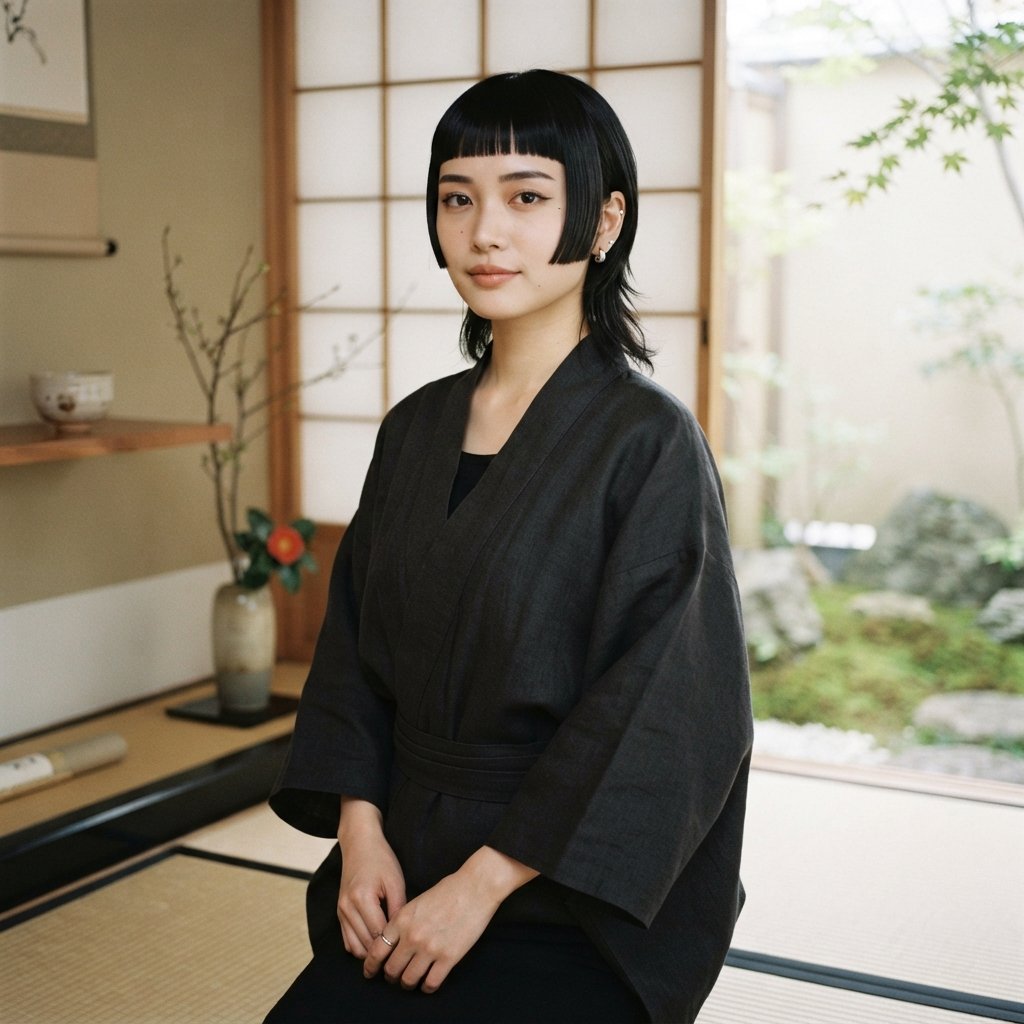
The hime cut has blunt cheek-length side pieces, and it blends into a mullet shockingly well. Keep the sides sharp, then let the back fall long and layered.
It’s sleek, a little mysterious, and looks amazing in profile photos.
The micro bangs mullet goes the other way: tiny, barely-there fringe with soft layers around the face and length in back. It’s great if you have a strong jawline or a round face and want to open things up. Bring a photo. Bangs grow fast and you don’t want surprises two weeks out.
17–18. Blunt Straight Mullet and Slick-Back Mullet
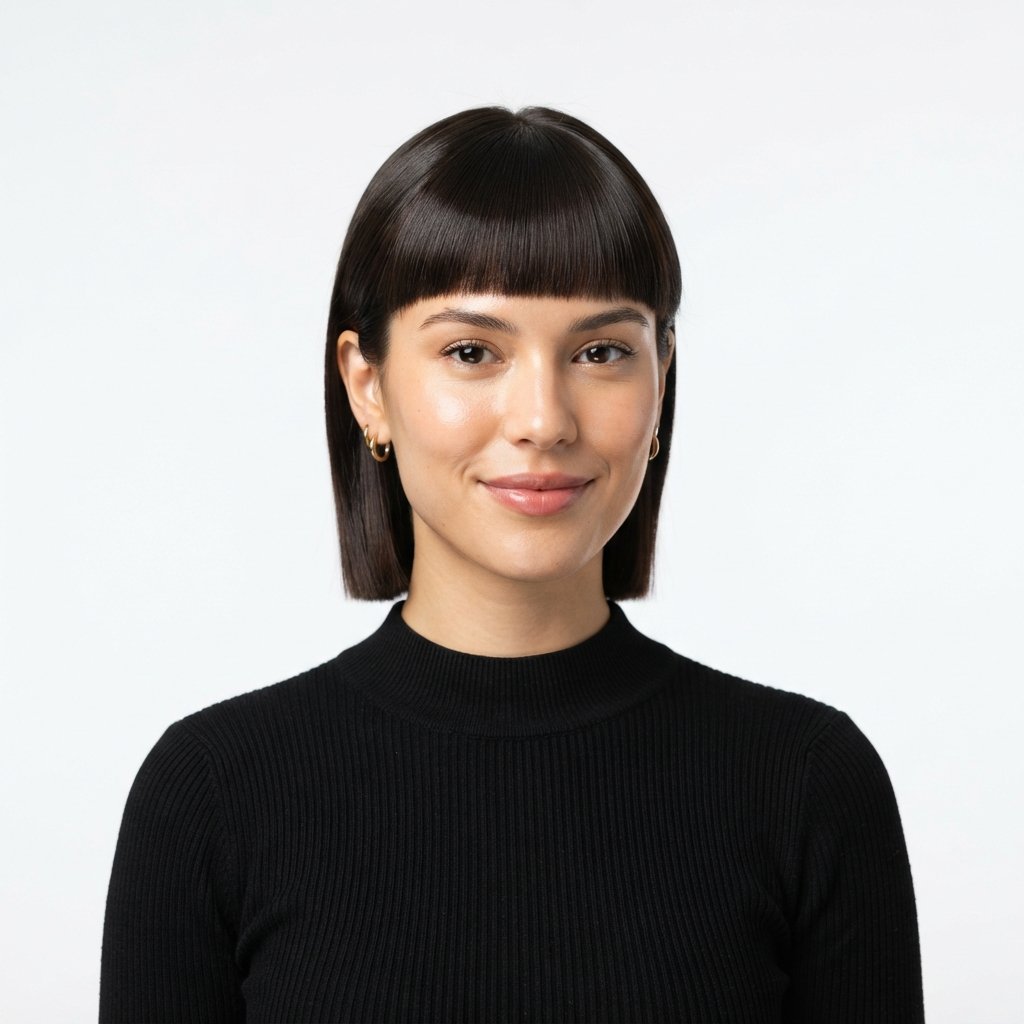
Straight hair makes a mullet look extra modern. The blunt straight mullet keeps ends sharp and clean instead of wispy. Ask for a one-length fringe and precise layers so it reads as intentional.
Flat iron on low heat and finish with a shine spray.
The slick-back mullet is my favorite for busy wedding days. Comb the top and sides back with a flexible gel, leave the back loose, and you’re set. It stays put through photos, dinner, and dancing, and it looks incredible with statement earrings.
19–20. Curtain Bang Mullet and Deep Side Part Mullet
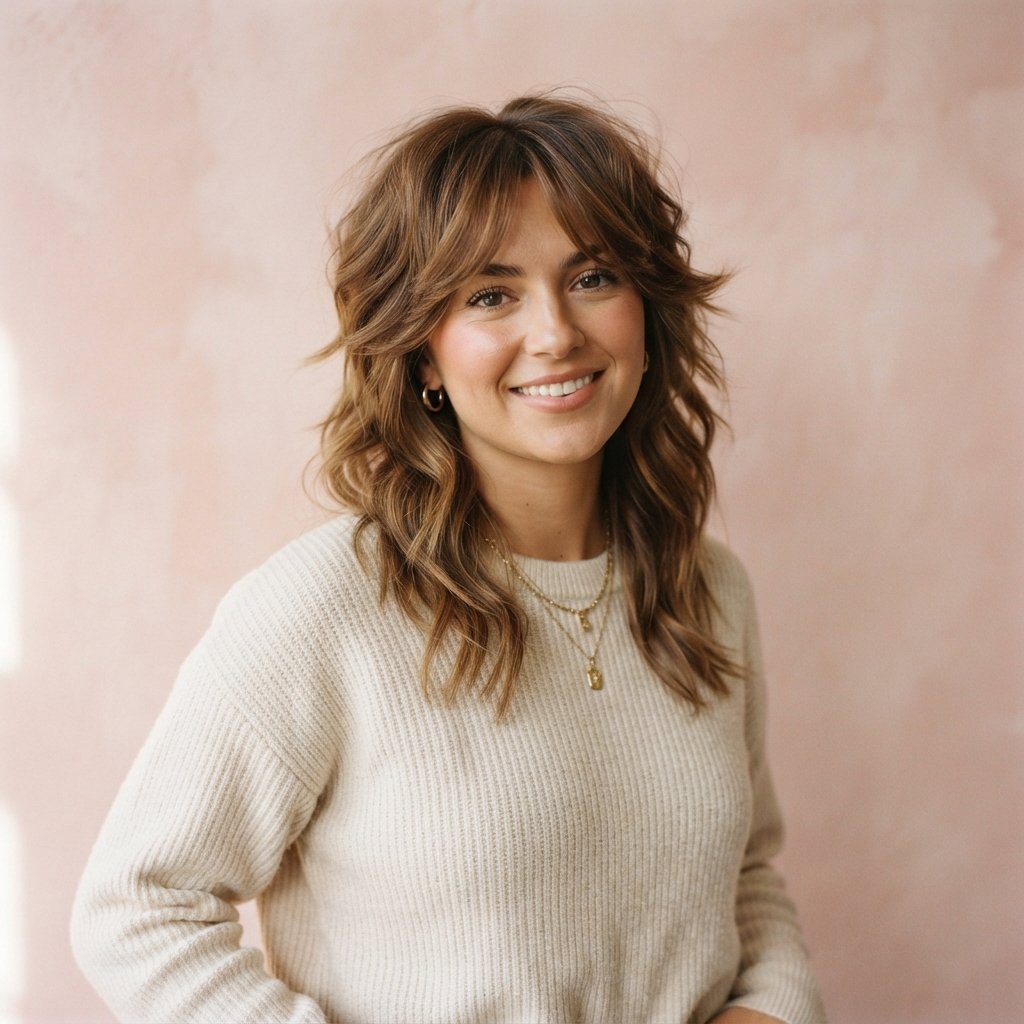
Curtain bangs are the friendliest fringe out there, and they soften a mullet instantly. The curtain bang mullet keeps the front split and airy, with layers that flow into the back.
Blow-dry the bangs with a round brush going outward, then set with a light mist. It frames the face beautifully in close-up photos.
The deep side part mullet adds instant drama with zero effort. A strong part plus a low, glossy finish makes the whole cut look expensive. Tuck the shorter side behind your ear and let the long side sweep across your forehead.
21–22. Wolf Cut Mullet and Bixie Mullet

The wolf cut and the mullet share DNA, so blending them makes sense. A wolf cut mullet has choppier layers on top and more length in back, with a lot of natural texture.
It’s low maintenance and looks great slightly undone, which is perfect if you’re doing your own hair.
A bixie mullet sits between a bob and a pixie, with short layers around the ears and just enough length in back to keep the silhouette. It’s brave, it’s chic, and it’s very 2026. If you’re nervous, ask for a longer version first so you can grow into it.
23–24. Pixie Mullet and Spiky Mullet
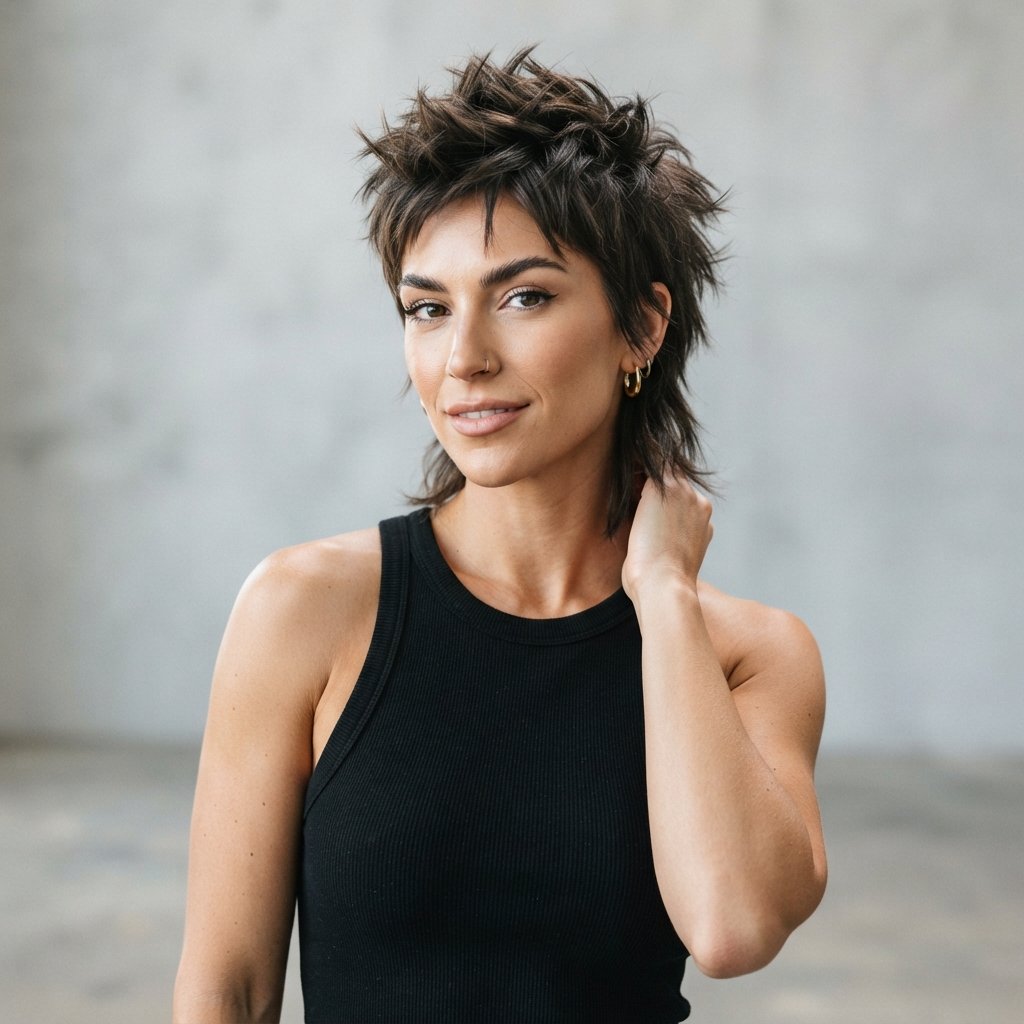
Short hair bridesmaids, this one’s for you. The pixie mullet keeps the top textured and the back slightly longer, so you get that mullet silhouette without much length.
It’s easy to style with a little paste and your fingers.
The spiky mullet leans rock and roll. Use a matte clay on damp hair, scrunch the top, and let it dry. If the wedding is formal, keep the spikes soft and piece the ends rather than pointing them up. Add a tiny pearl clip on one side to bridge the gap between edgy and elegant.
25–26. Long Layers Mullet and Flipped-End Mullet
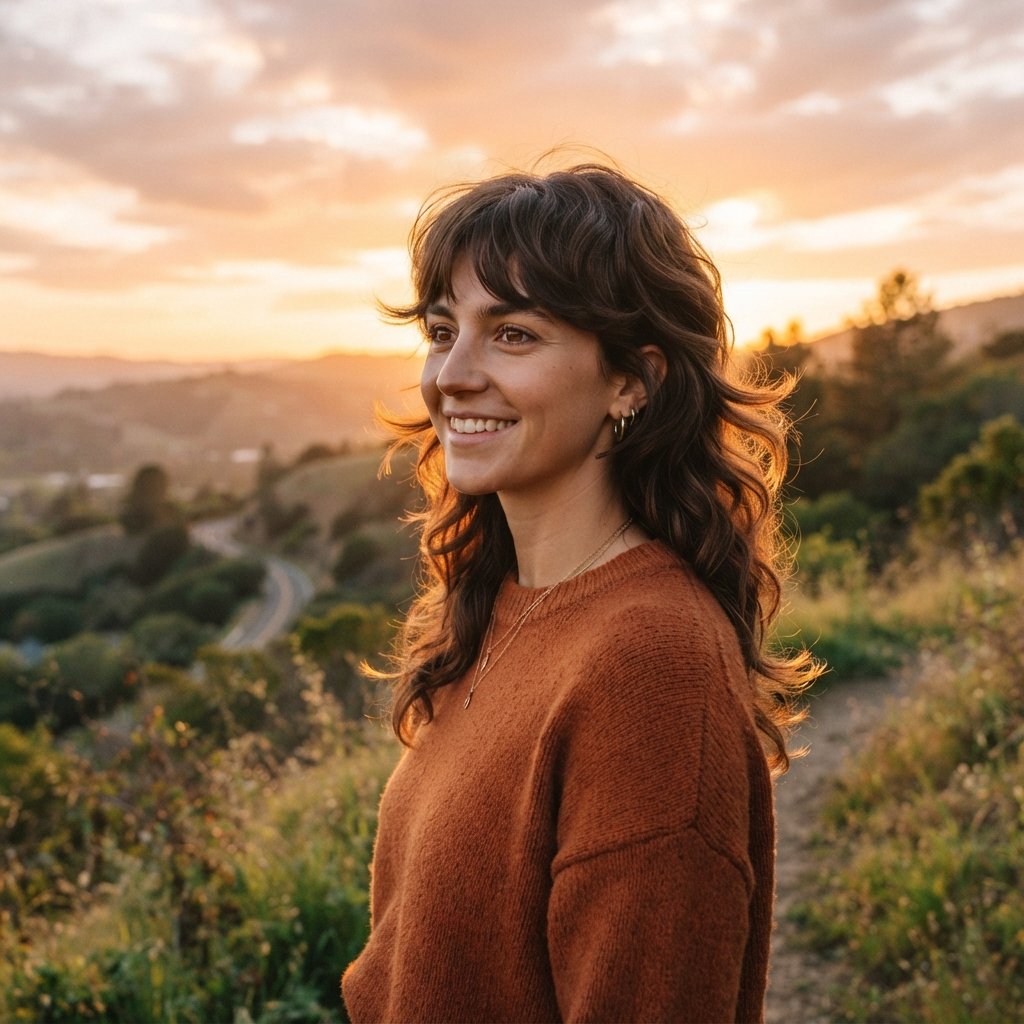
If you love your length, don’t lose it. The long layers mullet keeps everything past the shoulders and just adds face-framing layers and a slight taper at the crown.
It’s the safest way to try this trend and still feel like yourself.
The flipped-end mullet is the fun version. Blow-dry the ends outward with a round brush so they flick away from your neck. It’s a little retro, a little cheeky, and it looks fantastic with a fit-and-flare bridesmaid dress. Set the ends with a light hairspray so they hold through photos.
27–28. Space Bun Mullet and Braided Mullet
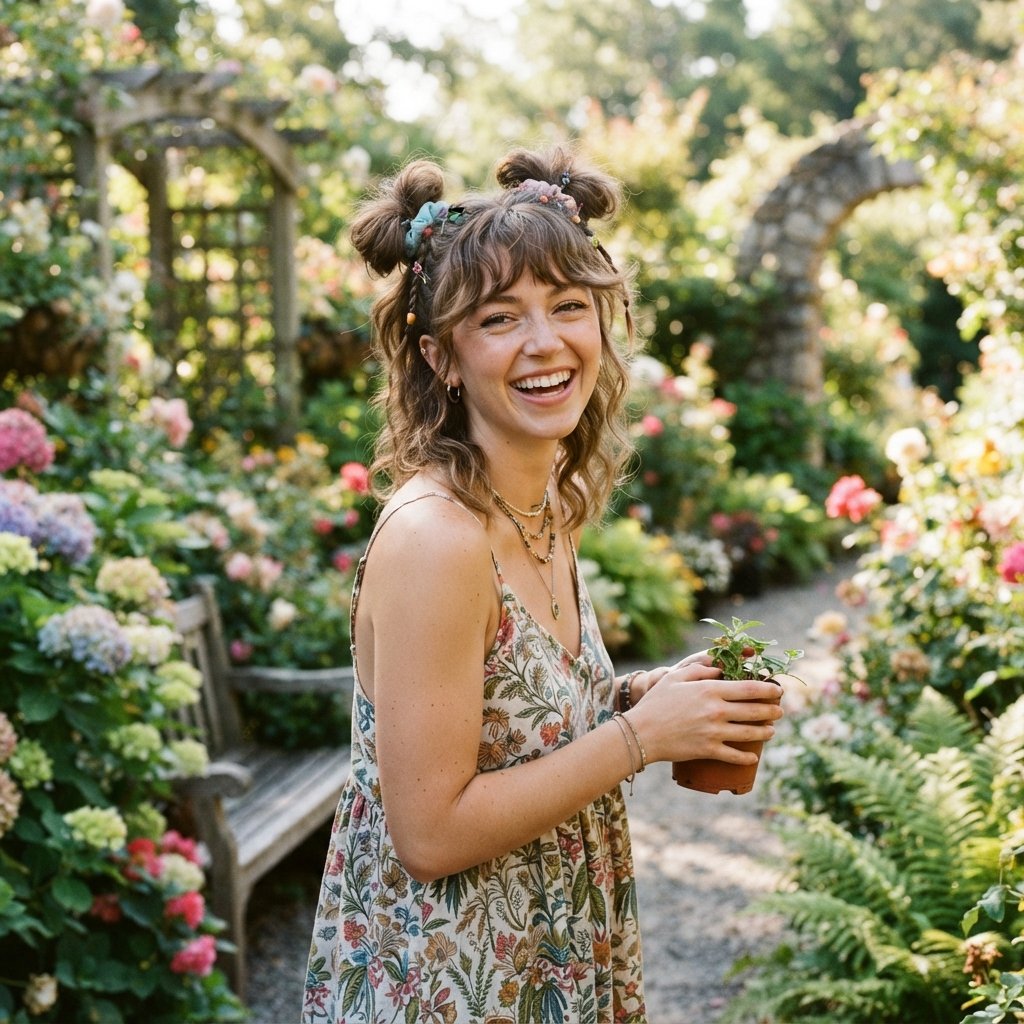
Here’s where a mullet becomes a styling playground. The space bun mullet pulls the top into two small buns and leaves the back down. It’s playful but still tidy enough for a wedding.
Don’t pull everything tight. Leave a few soft pieces around your face.
The braided mullet is my go-to for outdoor ceremonies. Braid two small sections on either side, pin them back, and leave the rest loose. A loose fishtail at the crown also works beautifully. Both styles keep hair off your face during the ceremony while still showing off your layers.
29. Half-Up Mullet with a Veil
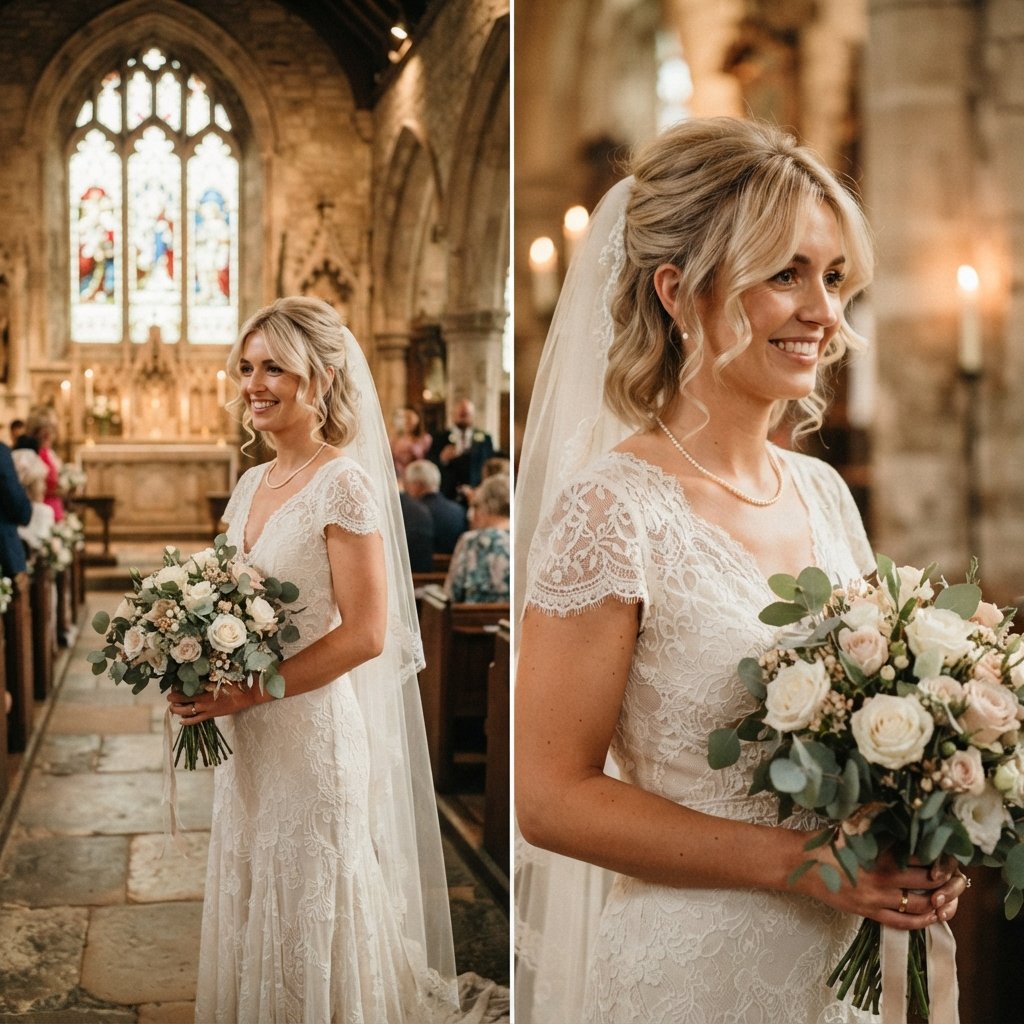
If the bride wants everyone in a veil or hairpiece, a half-up mullet is the move. Gather the top section, twist it loosely, and pin it low so the veil can sit right under it.
Keep the rest of the mullet out and textured.
Ask your stylist to place pins so the veil combs don’t fight your layers. A little backcombing at the crown gives the pins something to grip. This look works beautifully with soft tendrils framing the face, and it photographs well from every angle.
30–31. Pearl-Clip Mullet and Twisted Mullet

Accessories are the easiest way to make a mullet feel bridal. The pearl-clip mullet takes any cut and elevates it with two or three small pearl pins above one ear.
Keep it to one side so it doesn’t look crowded.
The twisted mullet uses small twists along the hairline, pinned back loosely. It’s basically a soft, undone take on a half-up style, and it gives short layers somewhere to go. Both options take five minutes and photograph beautifully in close-ups.
32–33. Chunky Highlight Mullet and Copper Mullet
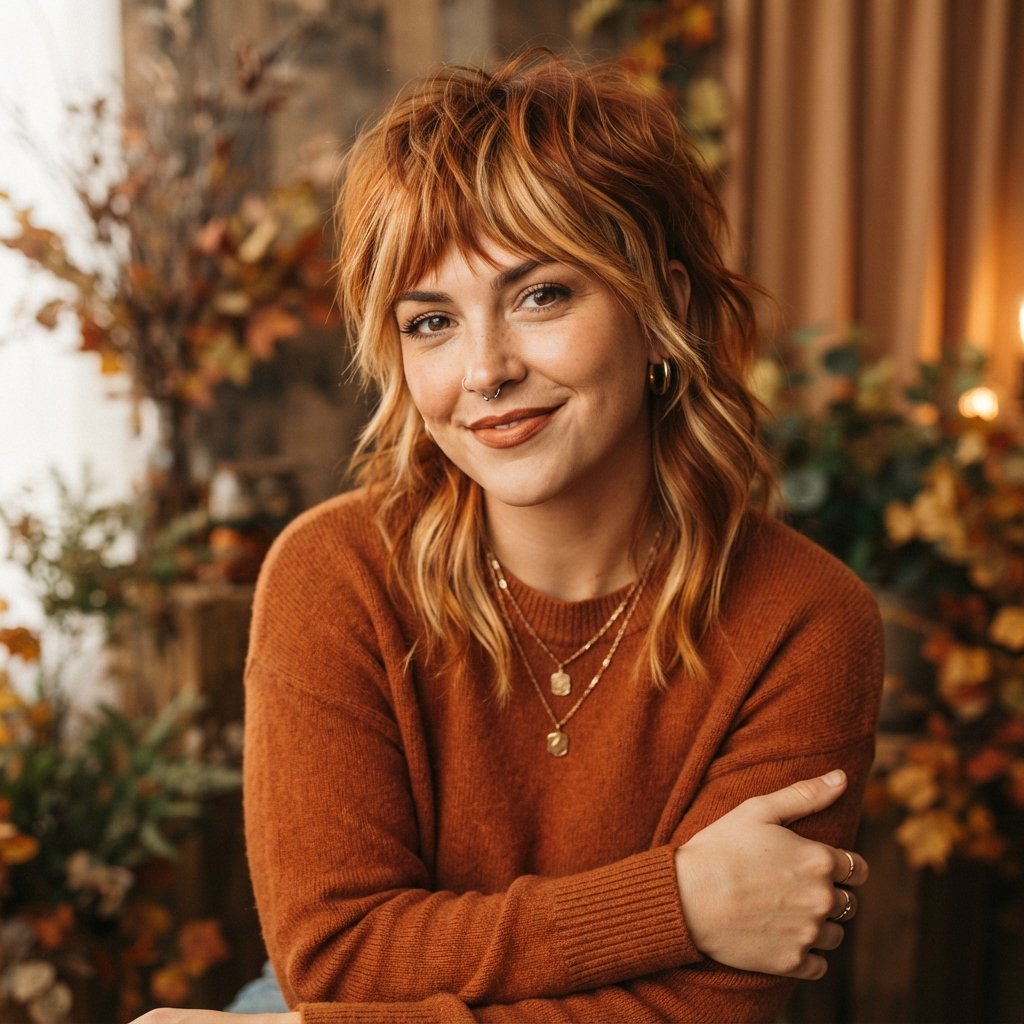
Color is doing half the work with this cut. A chunky highlight mullet adds visible contrast between layers, which makes the shape pop in photos.
Ask for wide ribbons rather than fine babylights if you want that bold effect.
The copper mullet is the shade I keep seeing everywhere for 2026. Warm copper flatters most skin tones and looks stunning against sage, navy, or chocolate bridesmaid dresses. Book your color two to three weeks before the wedding and grab a color-safe shampoo to keep it bright.
34–35. Choppy Shoulder-Length Mullet and Balayage Mullet
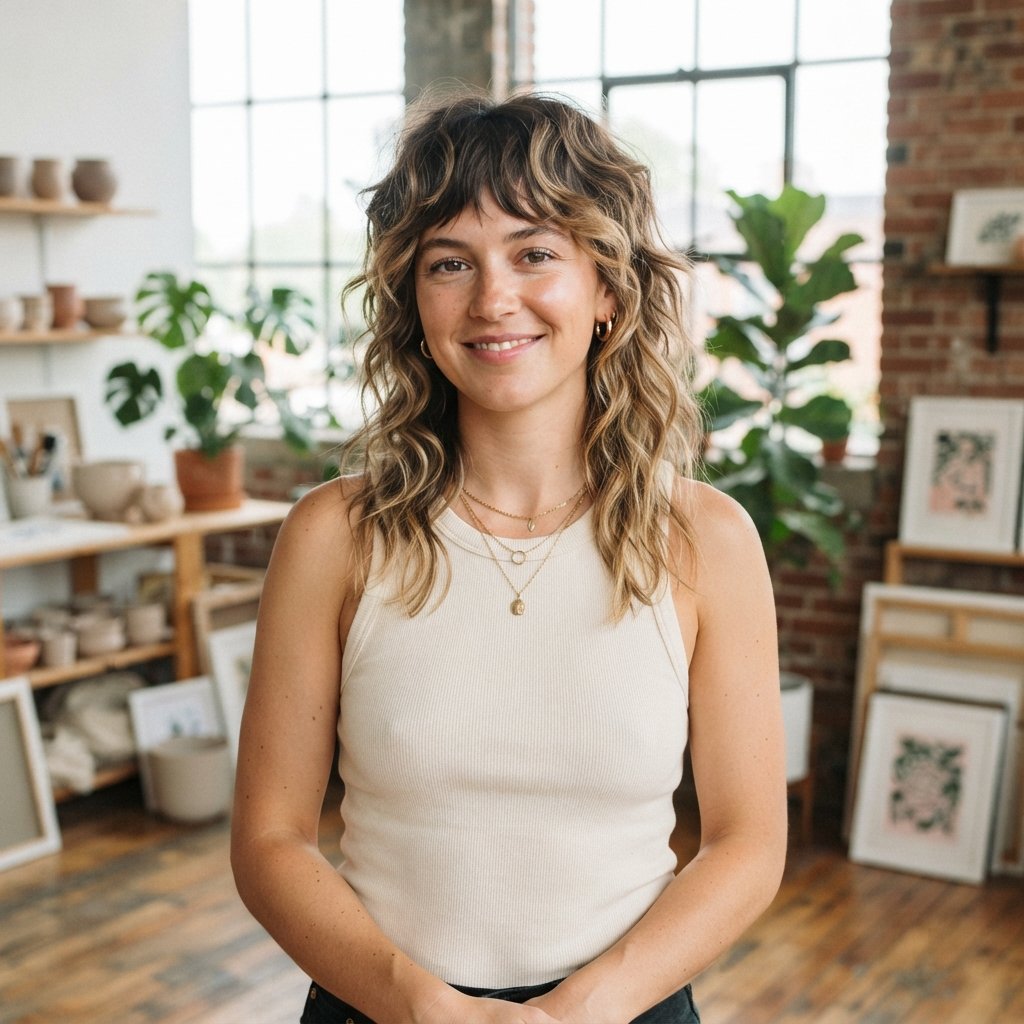
Two more to round out the list. The choppy shoulder-length mullet hits right at the collarbone with lots of piecey layers. It’s flattering, low maintenance, and easy to grow out if you change your mind.
The balayage mullet uses soft hand-painted lightening to add depth without harsh lines. It works on almost any base color and grows out gracefully, which is great if you’re planning more events after the wedding.
Both look best with a little texture spray and a quick scrunch.
How to Match Your Mullet to Your Dress Neckline
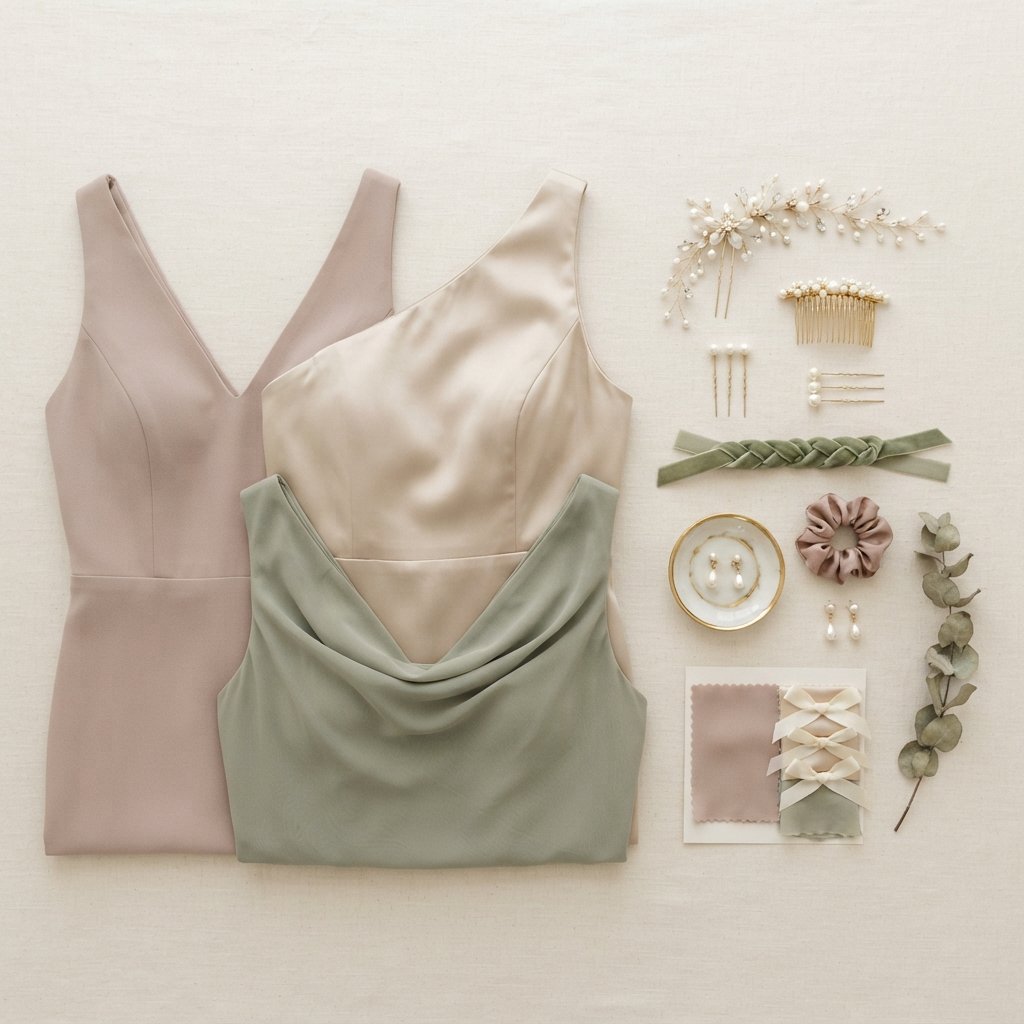
Your neckline should guide your styling, not fight it.
- One-shoulder: tuck the shorter side back so the strap stays visible
- Strapless: leave a few face-framing pieces down to soften the open neckline
- High neck or halter: pin the top back so it doesn’t crowd the fabric
- V-neck: curtain bangs or long side pieces balance the angle beautifully
Try your hair idea on with the actual dress before the wedding day. It takes ten minutes and saves a lot of stress.
What to Ask Your Stylist at Your Trial

Bring photos, but also bring these questions. It makes the whole appointment faster and way more accurate.
- How much length will I lose in the back?
- How will this layer pattern look if I curl it instead of straightening?
- How long will this take to style on my own?
- How often will I need trims to keep the shape?
- Can you show me how it looks half-up?
If your stylist hesitates on the last question, that’s a sign the cut might be too short in the back for wedding styling.
Styling for Fine, Thick, and Curly Hair
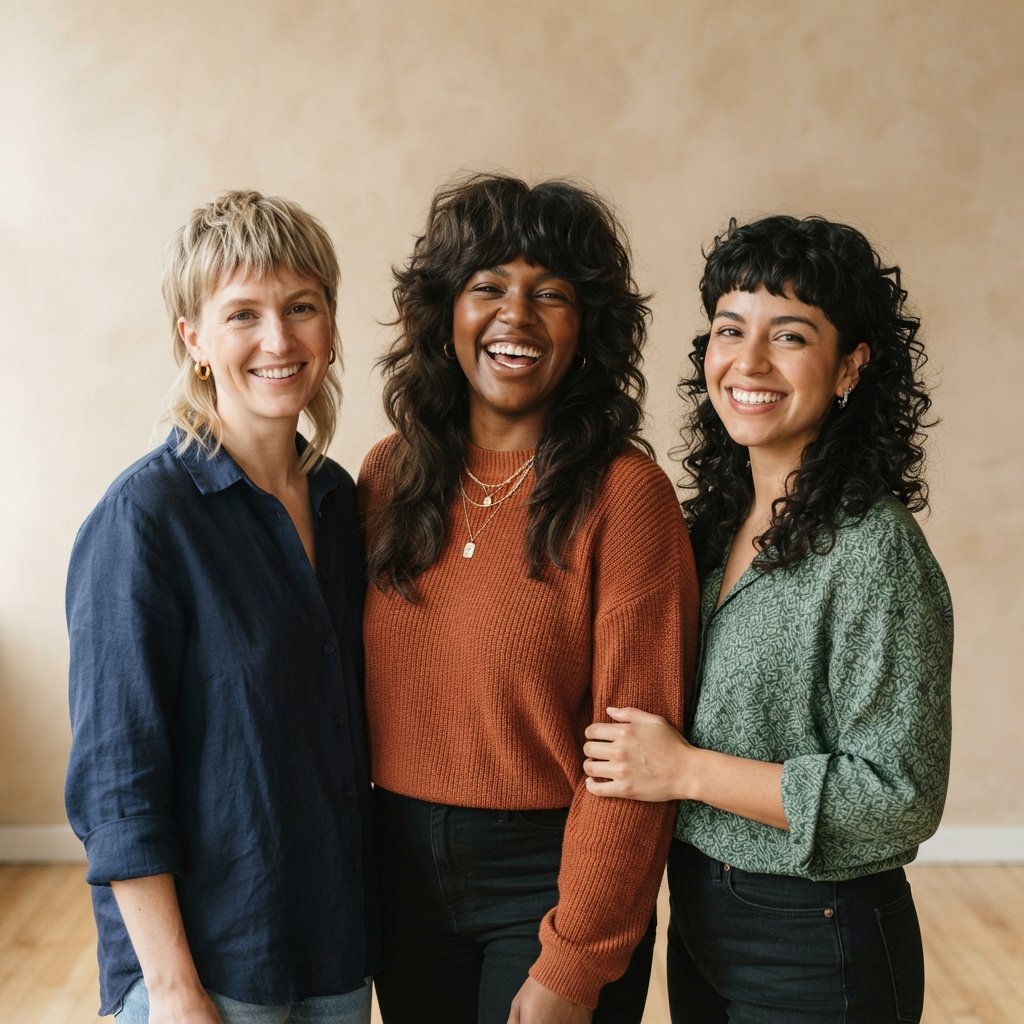
The cut adapts, but the products change.
- Fine hair: ask for a lighter layer pattern and use a volume mousse at the roots. Skip heavy creams.
- Thick hair: go for more internal layers to remove bulk, then finish with a light oil on the ends.
- Curly hair: cut dry, use a curl cream, and diffuse. Don’t brush it out.
Bring your own products to the trial so you know exactly how your hair behaves with them before the big day.
Your Quick Wedding Day Product Kit

Keep it small enough to fit in your clutch or the bride’s prep room.
- Travel texture spray
- Two or three bobby pins that match your hair color
- Mini flexible-hold hairspray
- A tiny hair oil for flyaways and shine
- One or two pearl clips for a quick refresh
That’s it. Anything more and you’ll never use it. Hand the bag to a friend before the ceremony so your hands stay free for photos and helping the bride.
Group Photo Tips for a Mullet Bridesmaid Lineup

Mixed hair looks best when there’s a little rhythm to it. If you’re the only mullet in the lineup, stand toward the middle so the layers feel like part of the group.
Turn your shorter side toward the camera for at least a few shots. That’s where the shape shows.
If several of you have this cut, vary the styling: one down, one half-up, one braided. Same haircut, different finish, looks intentional rather than matchy. And tilt your chin slightly in the later outdoor shots when the light gets harsh.
Day-Two Refresh and Grow-Out Tips
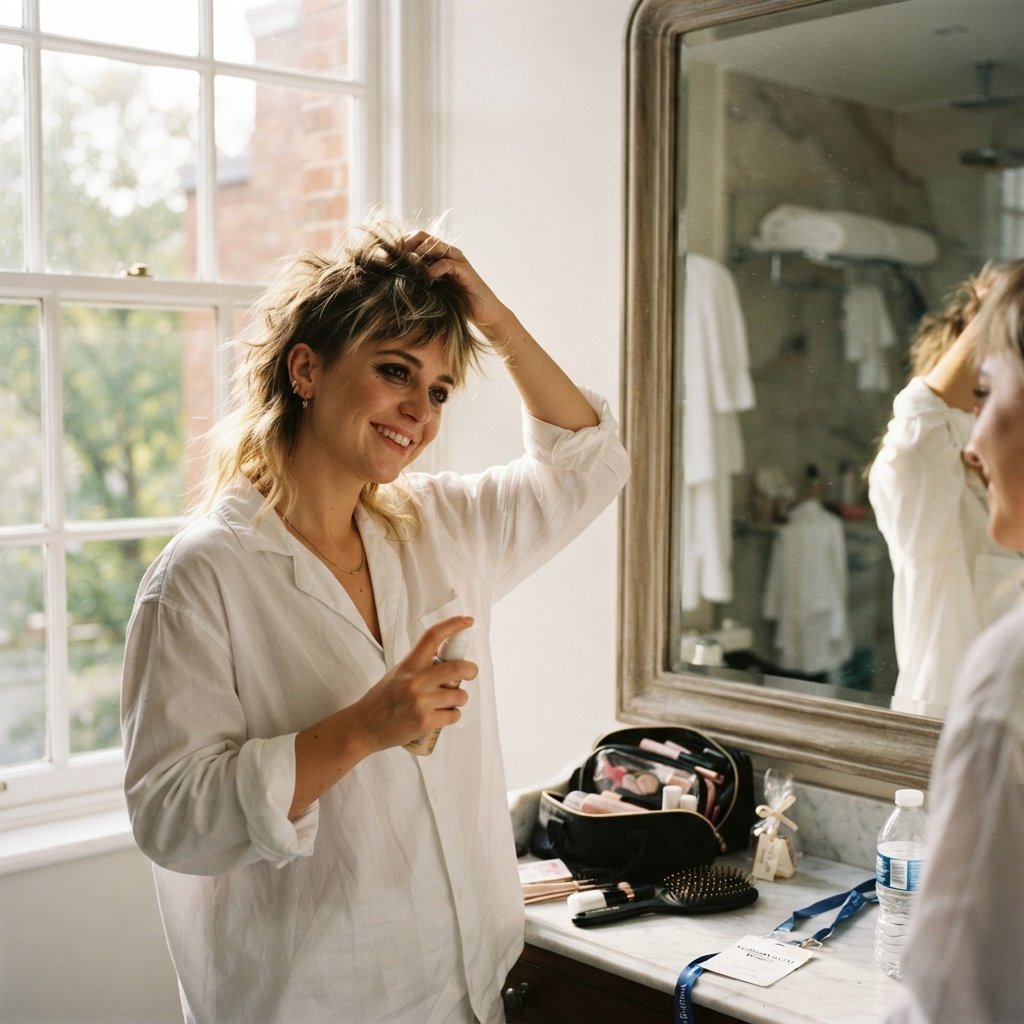
The morning after, you’ll want something easy. Dry shampoo at the roots, a little mist of water on the ends, and a quick scrunch gets you 80 percent of the way back.
Long term, plan a trim every eight to ten weeks to keep the shape. Mullets grow out surprisingly well because the layers blend into a shag or a lob over time.
If you want to soften it, ask for the back to be blended up rather than cut off. It’s a much gentler transition.
Common Mistakes to Avoid
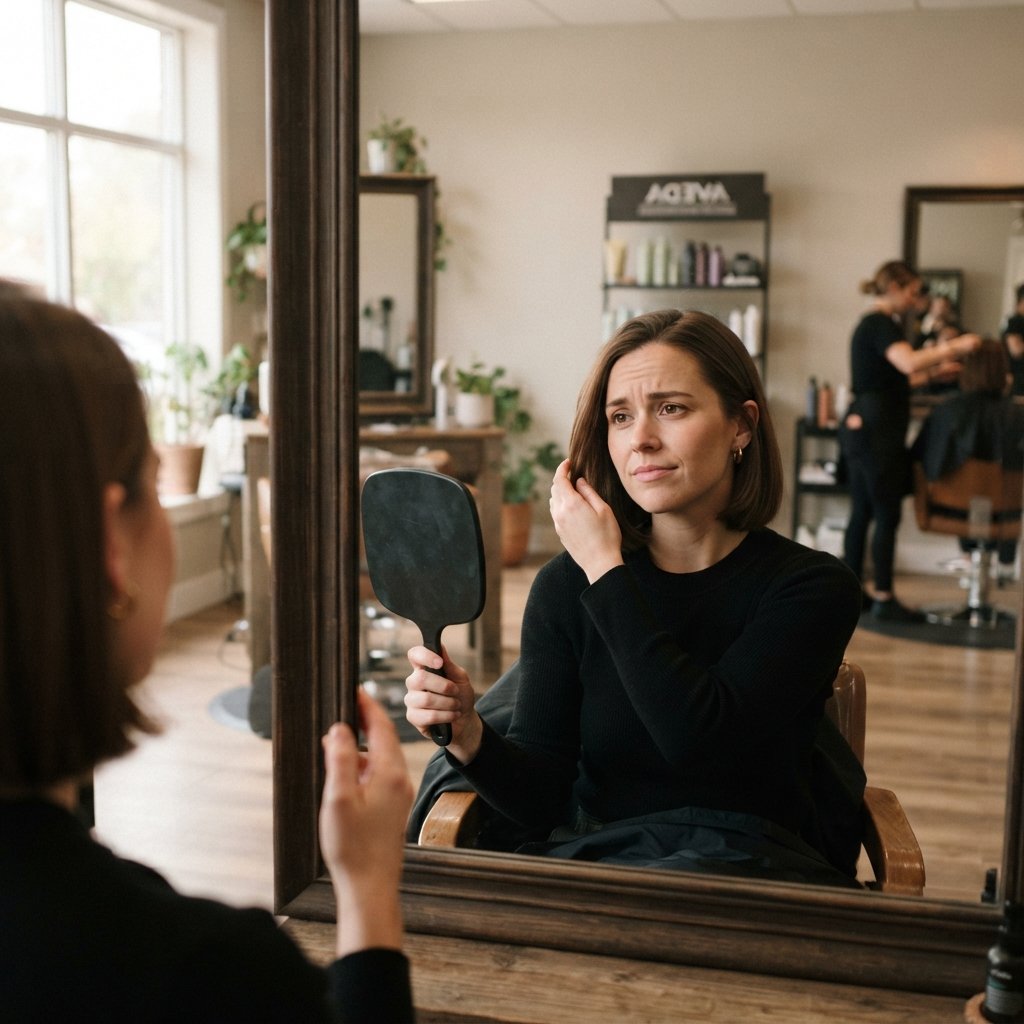
I’ve seen these go wrong, so let’s sidestep them.
- Cutting it the week of the wedding. Give yourself three weeks minimum.
- Going too short in the back when you want a half-up style
- Forgetting to test the cut with your dress and earrings
- Over-styling it so it looks flat and stiff in photos
- Changing color and cut on the same day before a big event
Most of these come down to timing. Book early, trial the style, and give yourself room to adjust.
A Little Pep Talk Before You Book
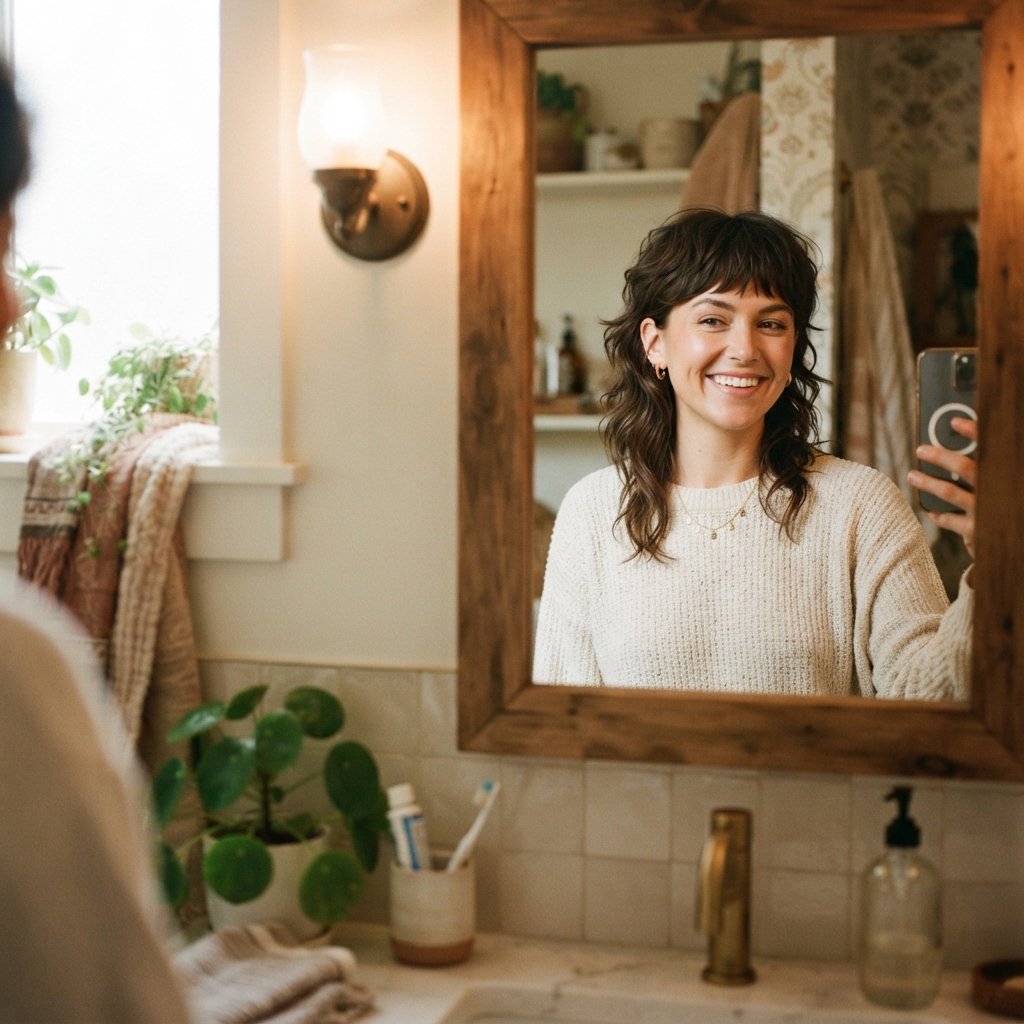
You don’t have to choose between looking polished and feeling like yourself. That’s the whole point of a modern mullet. It’s a haircut that says you’re here, you have taste, and you’re not copying anyone else in the bridal party.
Start with a photo you love, book the trial early, and trust your stylist to adapt the shape to your face and hair type. The version that works for you might be softer than the one on your mood board, and that’s a good thing.
You’re going to look incredible in those photos for years to come.
Save This Post to Pinterest
Save this post to Pinterest so you have all 35 styles in one place when you sit down with your stylist. Pin the ones that feel closest to your hair type and bring two or three, not twenty.
And tell me in the comments: which one are you trying? Are you going soft shag, quiet luxury, or full vampire mullet? I read every single comment and I love hearing what you pick.

