
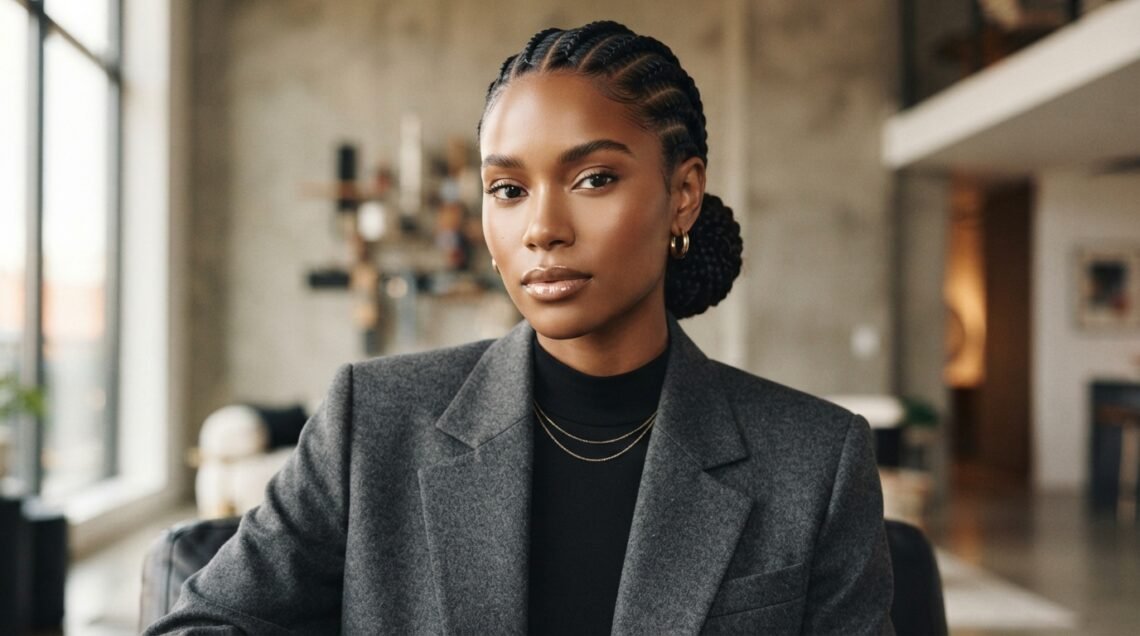
Braids are supposed to make life easier. So why does hairstyling sometimes feel like a second job? I get it. Between work, errands, and real life, I want a look that holds up for days and still looks like I tried.
That is exactly why Dutch braids stay in my rotation. The strands cross over instead of under, so the braid sits raised, looks fuller, and forgives a little frizz. You do not need to be a professional braider to pull one off.
Below are 30 Dutch braid ideas that actually make mornings faster. Some are sleek and polished, some are bold and dramatic, and all of them are doable.
Pick one, screenshot it, and bring it to your braider or your mirror tonight.
1. Why Dutch Braids Feel Easier Than Most Styles

Dutch braids are the opposite of fussy. You cross each strand over the middle instead of under, so the braid sits raised and looks fuller from day one. That tiny flip is why it holds so well.
They work on short hair, long hair, relaxed hair, and 4C hair. You can wear them sleek for a meeting or soft and lived-in for a Sunday.
- Fuller look with less effort
- Holds for three to seven days
- Keeps your ends tucked away and protected
2. Classic Two Dutch Braids for Beginners

This is the one to learn first. Part your hair down the middle, split it into two even sections, and braid each side from the front hairline to the ends.
Keep your hands close to the scalp at the start so the braid stays tight and tidy. Once you pass the ears, you can loosen your grip.
- Part cleanly down the middle
- Braid in small sections near the front
- Secure with a clear elastic and seal the ends with oil
3. Sleek Feed-In Dutch Braids
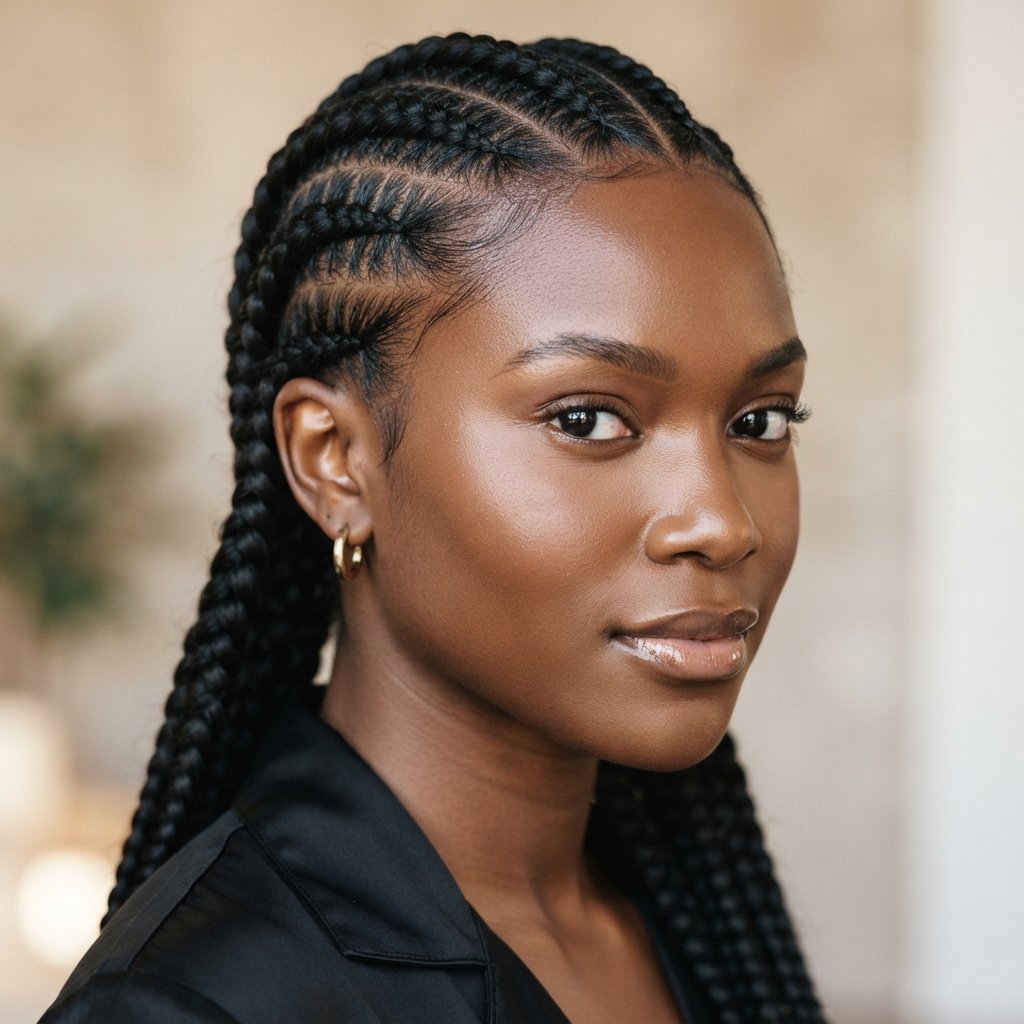
Feed-in braids are the secret to that clean, scalp-hugging finish. Instead of starting with thick sections, you add small pieces of hair as you go.
It takes longer, but the result looks expensive and lasts longer too. Ask for small feed-ins if you want the braid to look natural at the root.
This style pairs beautifully with a middle part and a little edge control.
4. Dutch Braid Bun for Busy Mornings

Running late? Braid both sides, then wrap them into a low bun at the nape of your neck. Pin it down and go.
It looks intentional even when it took four minutes. This is my go-to for early meetings and travel days.
- Use bobby pins that match your hair color
- Leave two small pieces out for softness
- Mist with light oil instead of heavy gel
5. Jumbo Dutch Braids That Make a Statement
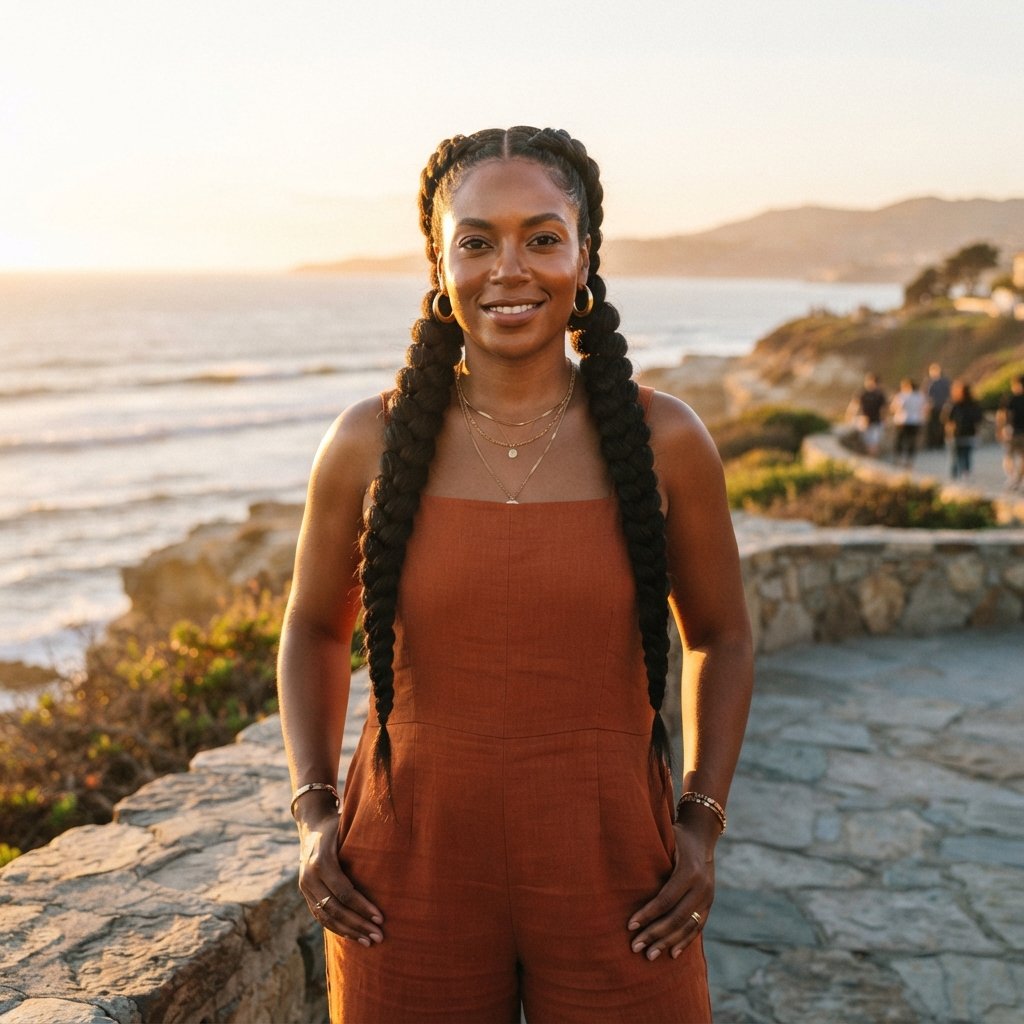
Jumbo braids are big, fast, and full of personality. Fewer sections mean less braiding time, which is a win on a Sunday night.
They look best with hair added for thickness. Ask for a light stretch so the braids stay soft instead of stiff.
Wear them with hoops and a clean white tee and you are done.
6. Dutch Braided Ponytail With Old Money Hair Energy
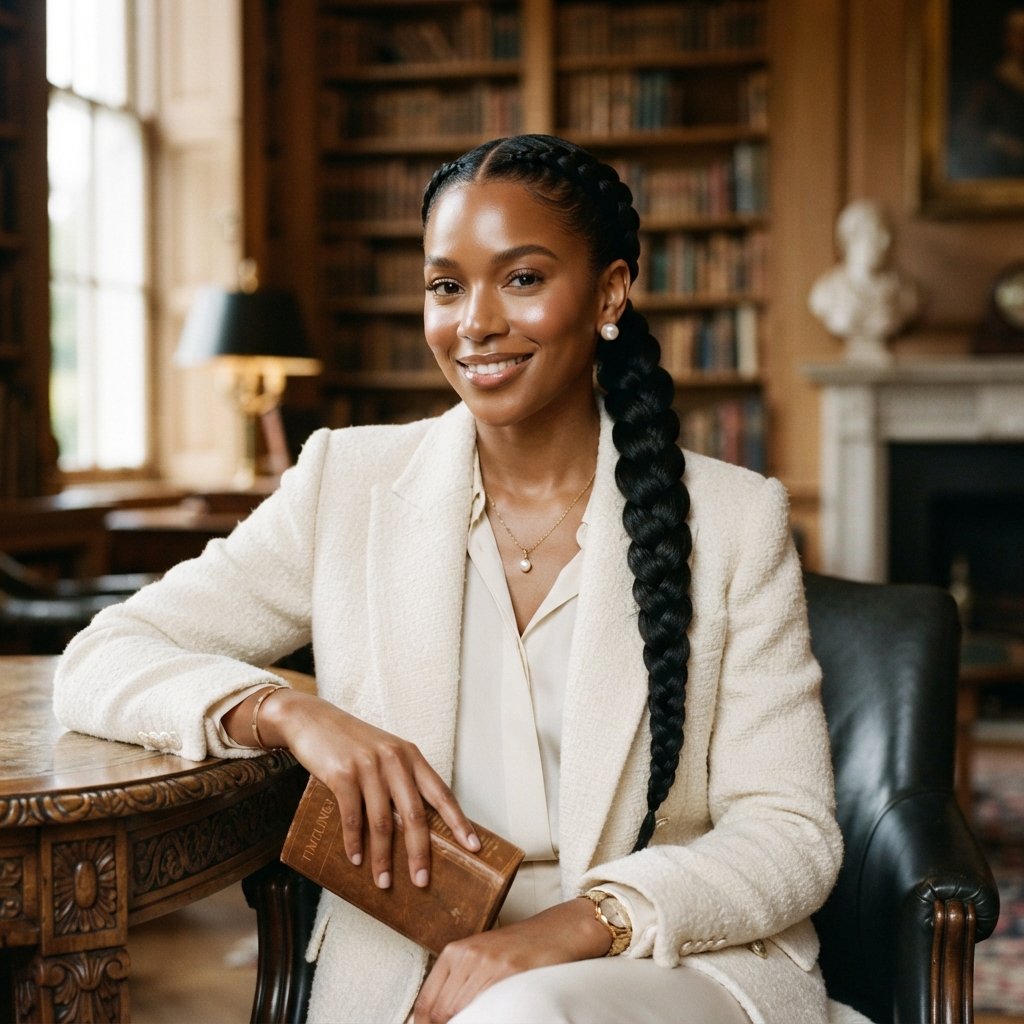
Want that old money hair look without a blowout? Braid one side back into a low ponytail and smooth the front with a soft brush.
The braid adds texture, and the ponytail keeps it clean. It reads polished without trying too hard.
Finish with a satin scrunchie or a small gold cuff at the base.
7. Half-Up, Half-Down Dutch Braids
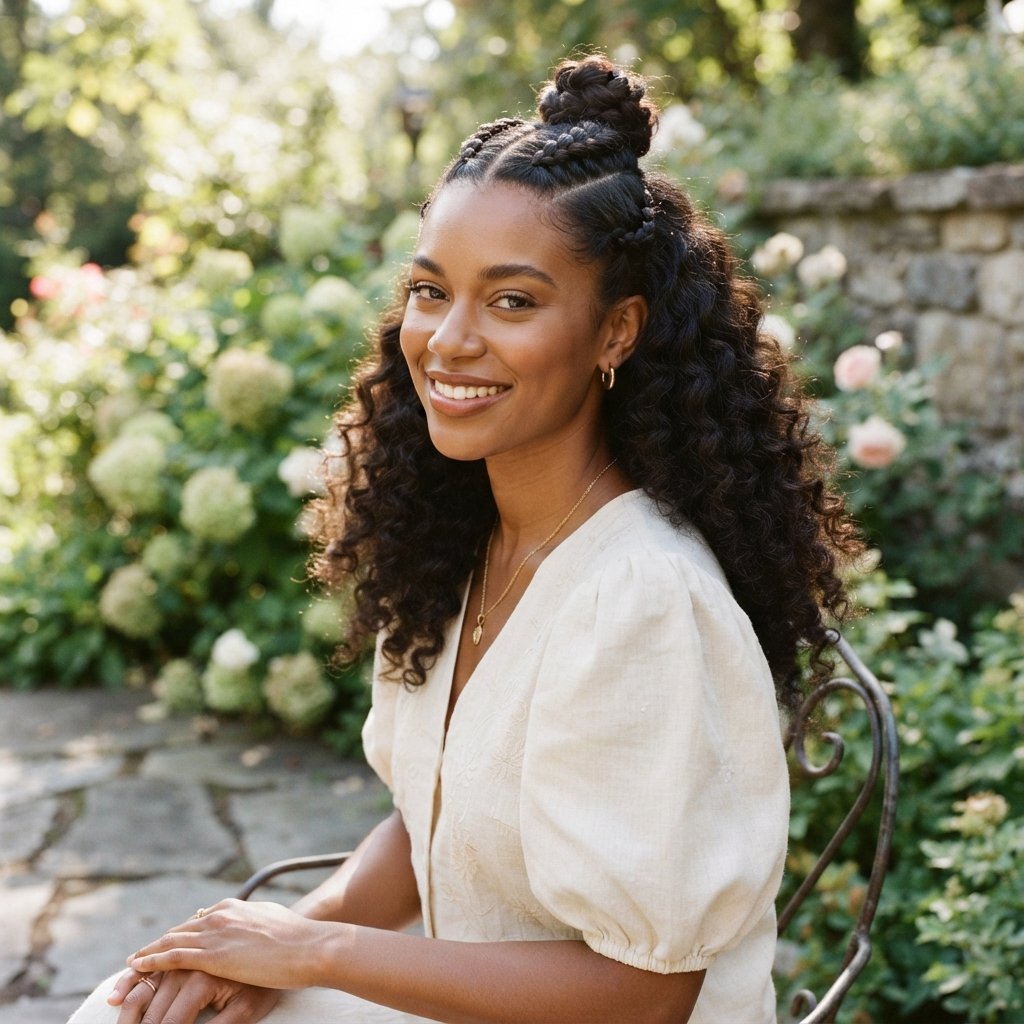
This one is for my curl girls. Braid two sections at the front, then pin them together at the back and let the rest hang loose.
You get the detail of braids with the softness of curls. It works for dates, brunch, and family photos.
Refresh the curls with a little water and leave-in and you are set.
8. Goddess Dutch Braids With Curly Ends

Goddess braids leave the ends out and curly, which gives the whole look a softer, more romantic feel.
Ask your braider to leave two to three inches loose and curl them with a small wand. It looks dreamy and still protects most of your hair.
This is one of my favorite romantic goth hairstyles when done in deep brown or black.
9. Dutch Braid Crown for a Polished Finish

A crown braid is basically one long Dutch braid curved around your head. It looks fancy but it is just a braid with good placement.
Start at one side, braid along the hairline, and pin the tail underneath at the other side.
- Great for weddings and graduations
- Works on medium to long hair
- Hides stretched roots beautifully
10. Side Dutch Braid With a Deep Part
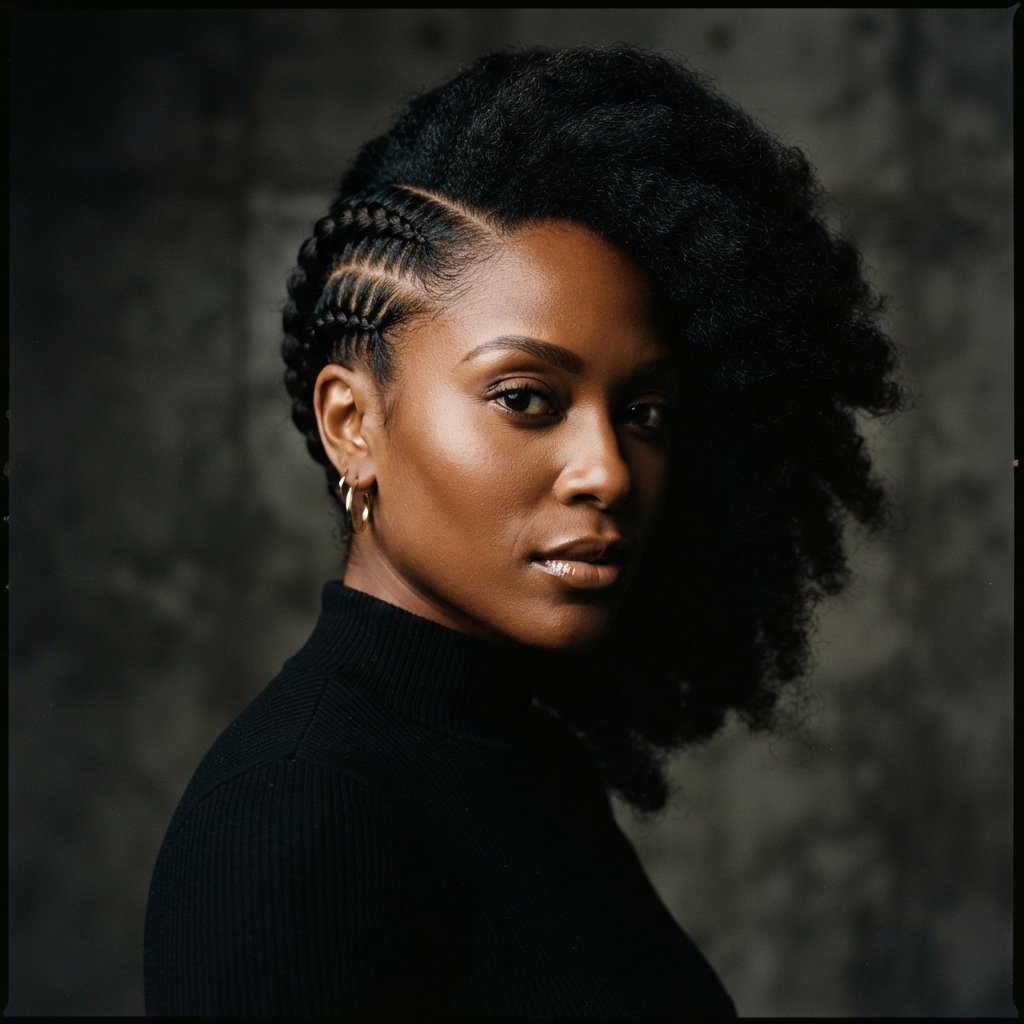
A deep part plus one braid is such an underrated combo. It frames the face and makes cheekbones pop.
Braid only one side and leave the other out, or tuck it behind your ear for a cleaner line.
This style looks especially good with a bold lip and simple earrings.
11. Braided Bob: The Quiet Luxury Bob Illusion
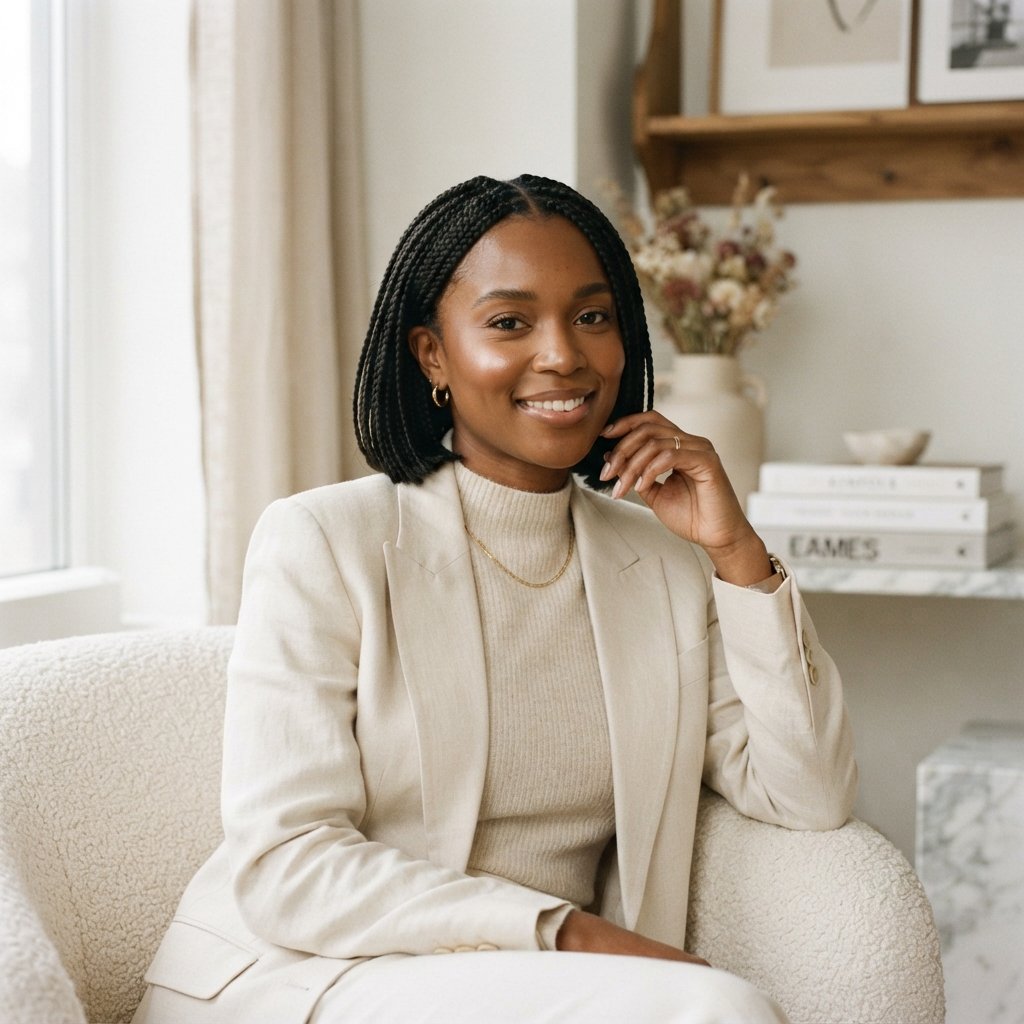
You can fake a quiet luxury bob without a single scissor cut. Braid your hair close to the scalp, then tuck the ends under and pin them for a blunt finish.
The result is a short, sculpted look that keeps its shape all week. It is one of my favorite 2026 hairstyles because it is low effort and high impact.
Keep it sleek and skip the bulky accessories.
12. The Asymmetrical Lob Illusion
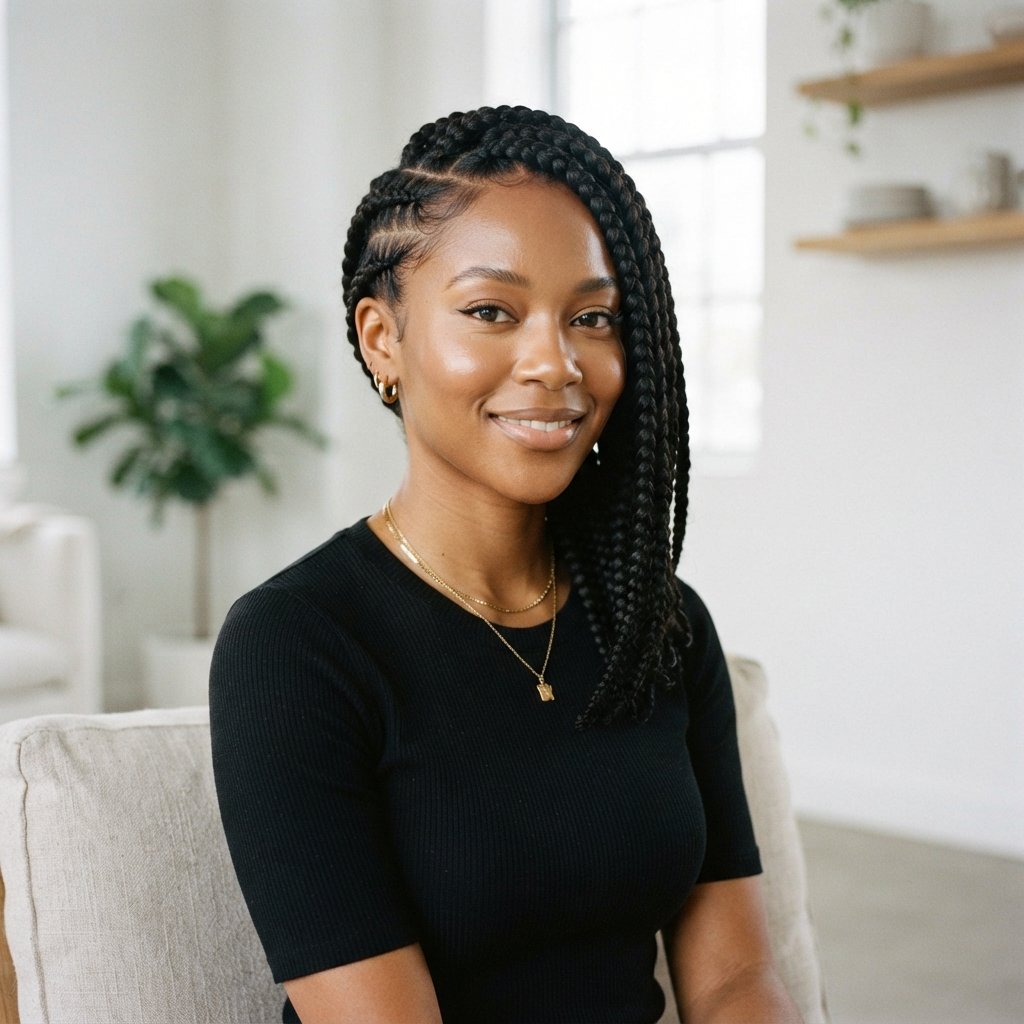
An asymmetrical lob is all about the line. Braid one side shorter and let the other side fall longer past the shoulder.
This gives you that modern, slightly angled shape without heat or a blow dryer.
Pin the shorter side flat so the difference reads clearly in photos.
13. Glitchy Glam Hair With Metallic Dutch Braids

Glitchy glam hair is playful and a little futuristic. Add thin silver or chrome cuffs along two tight Dutch braids and you are instantly on trend.
Keep the braids small and neat so the metal stands out. A glossy lip and clean skin finish the look.
This is my pick for concerts, birthdays, and any night that needs extra energy.
14. Romantic Goth Dutch Braids
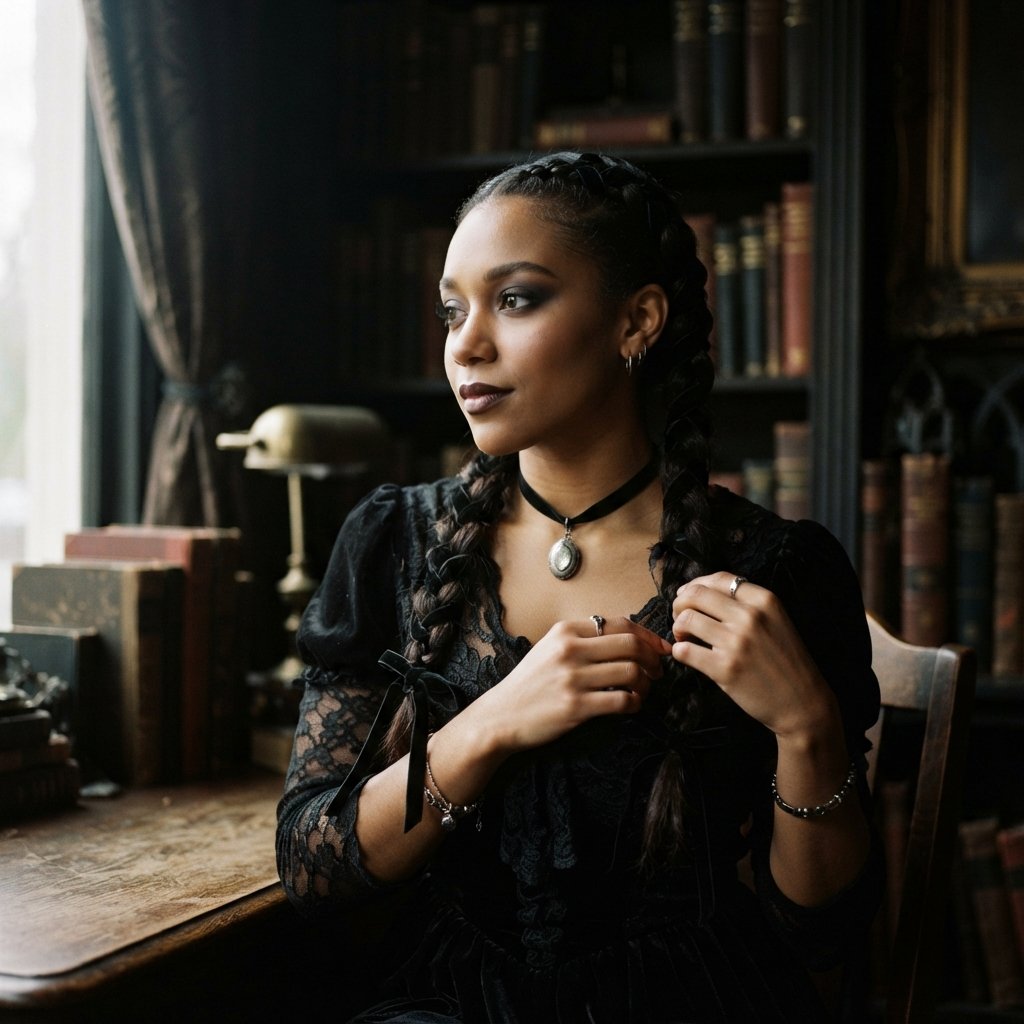
Romantic goth hairstyles are soft, dark, and a little dreamy. Braid two Dutch braids and weave a thin black velvet ribbon through them.
Leave a few face-framing pieces out and keep your makeup soft and smudgy.
It is moody without being heavy, which is exactly the point.
15. Vampire Haircut Energy With Face-Framing Braids
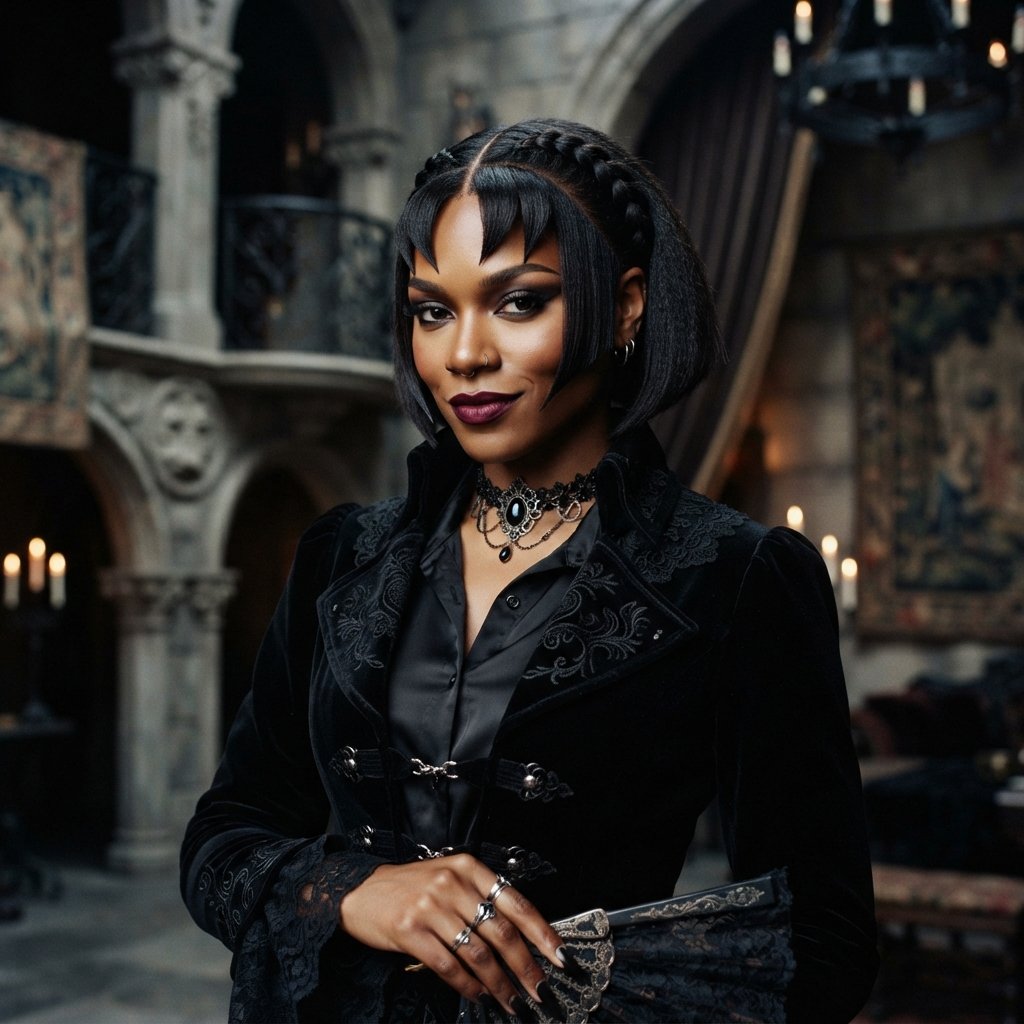
The vampire haircut is all about sharp, face-framing layers. You can borrow that energy by leaving two pointed pieces out at the front while the rest is braided back.
Keep the braids tight and the loose pieces sleek. The contrast is what makes it work.
Pair it with a deep berry lip and you look like you stepped out of a film.
16. Hime Cut Meets Dutch Braids

The hime cut is that Japanese style with blunt side pieces and a straight back. You can blend it with braids by keeping the front sections flat and blunt.
Press or slick those front pieces straight, then Dutch braid everything behind them.
The mix of sharp lines and soft braids looks modern and very 2026.
17. Dutch Braid Space Buns

Space buns plus braids equals instant fun. Braid each side up toward the crown, then wrap the ends into two small buns.
Pin them loosely so they look full, not flat. This style is perfect for festivals, workouts, and weekends.
Add tiny gold hoops for a little shine.
18. Cornrow and Dutch Braid Hybrid
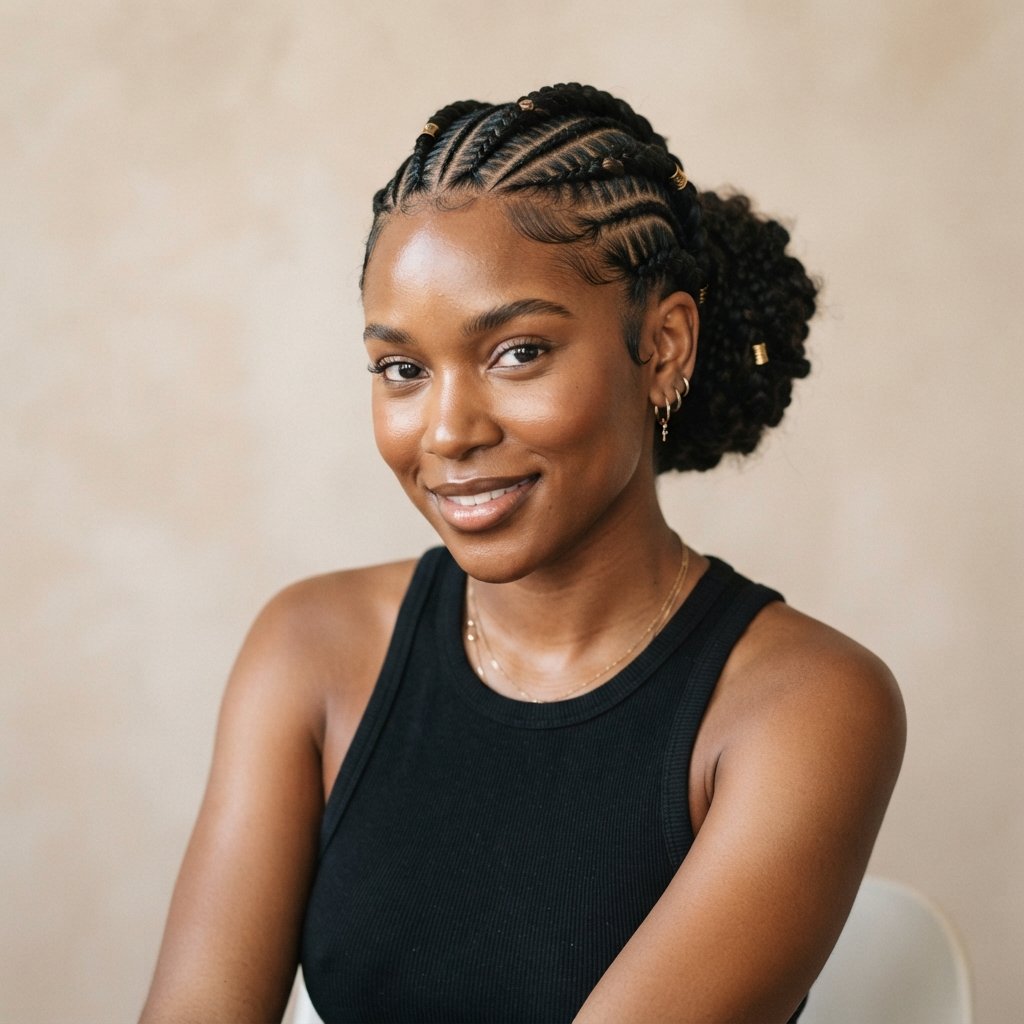
Why choose one when you can have both? Start with a few cornrows at the front and switch to Dutch braids in the back.
The mix gives you texture and visual interest, and it holds beautifully on natural hair.
- Ask for straight lines at the front
- Keep the Dutch braids slightly larger for contrast
- Use a light hold gel only at the partings
19. Middle Part Dutch Braids With Baby Hairs
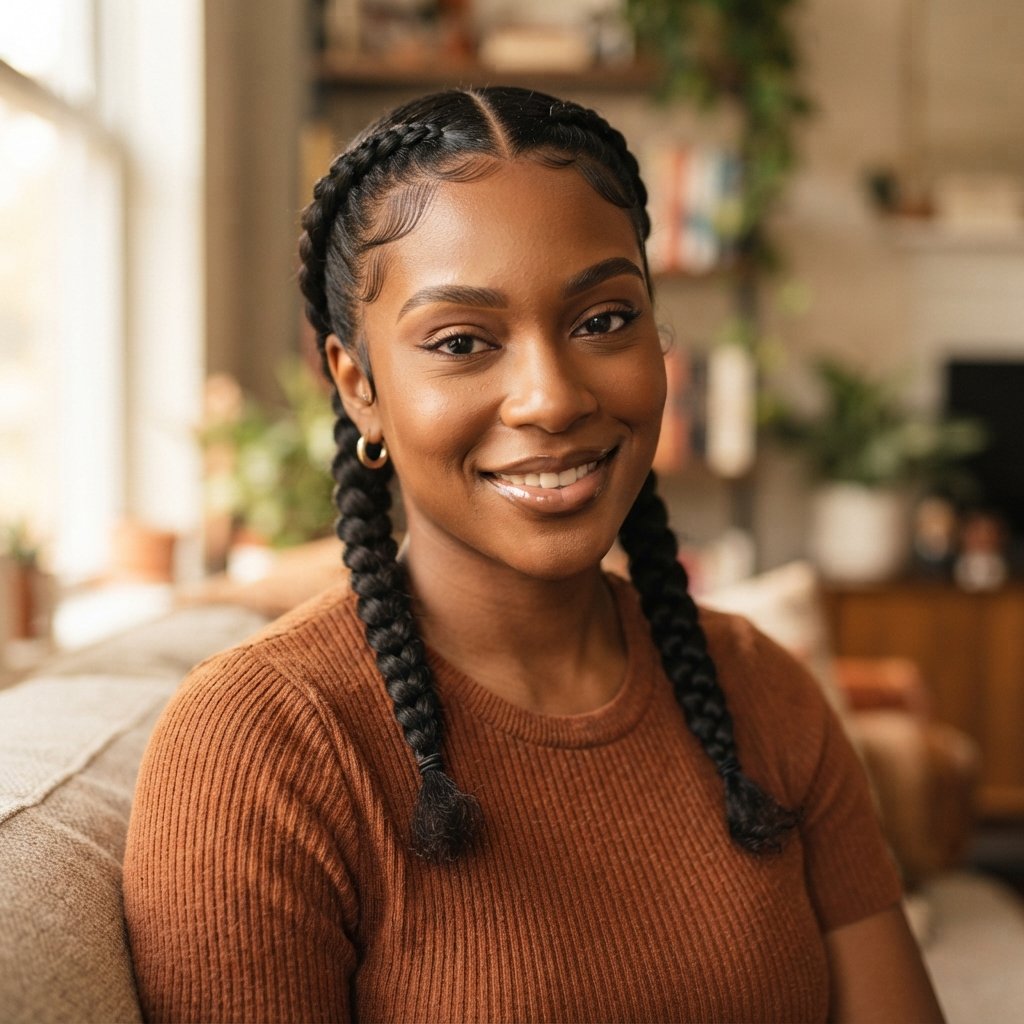
Baby hairs are optional but they change the whole mood. A crisp middle part with two Dutch braids looks clean, and soft edges make it feel finished.
Use a soft brush and a light edge control so nothing flakes by day two.
Keep the swoops small and natural, not heavy.
20. Dutch Braids Under a Wig
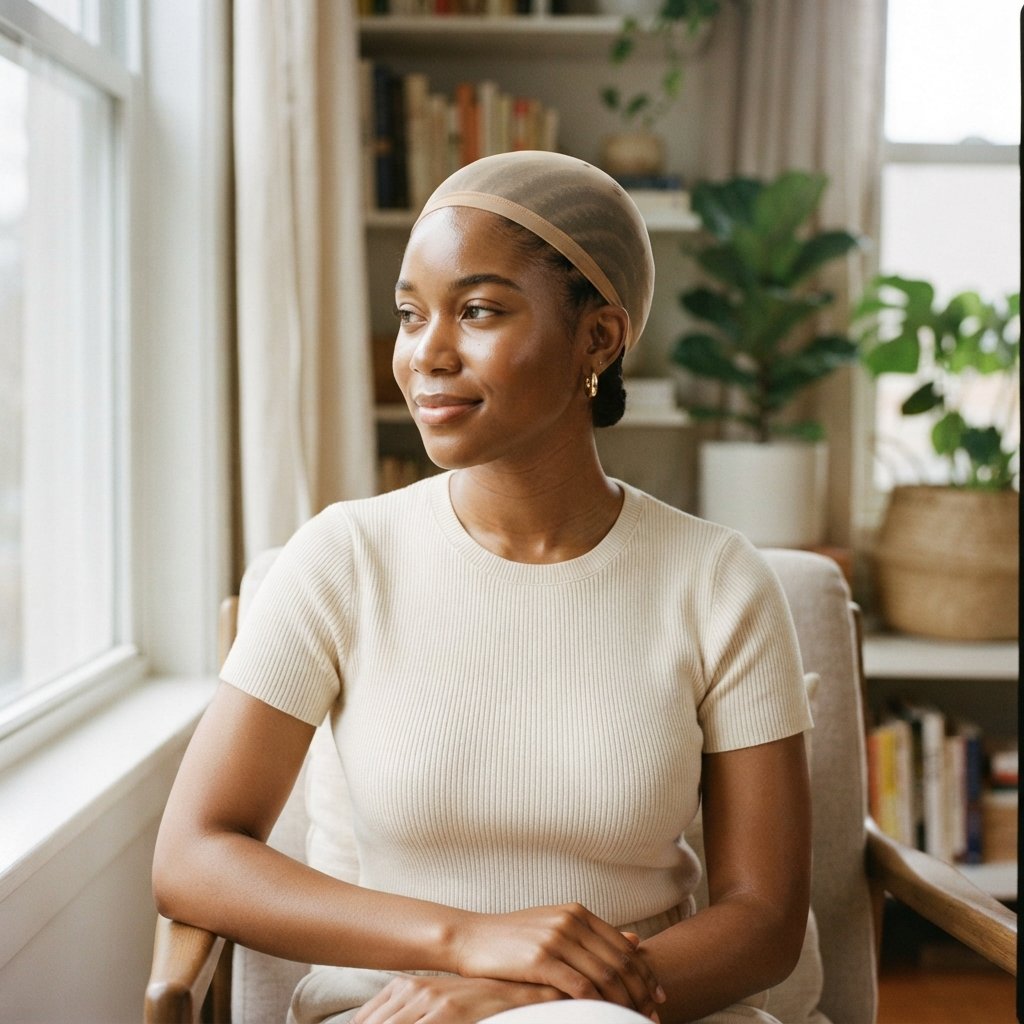
Dutch braids work as a braid-down base because they lie flat and hold shape. Braid small sections close to the scalp and make sure the braids are not too thick at the crown.
This protects your hair while your wig does the styling work.
Take the braids out after a week or two, deep condition, and let your scalp breathe.
21. Dutch Braid Updo for Weddings and Events
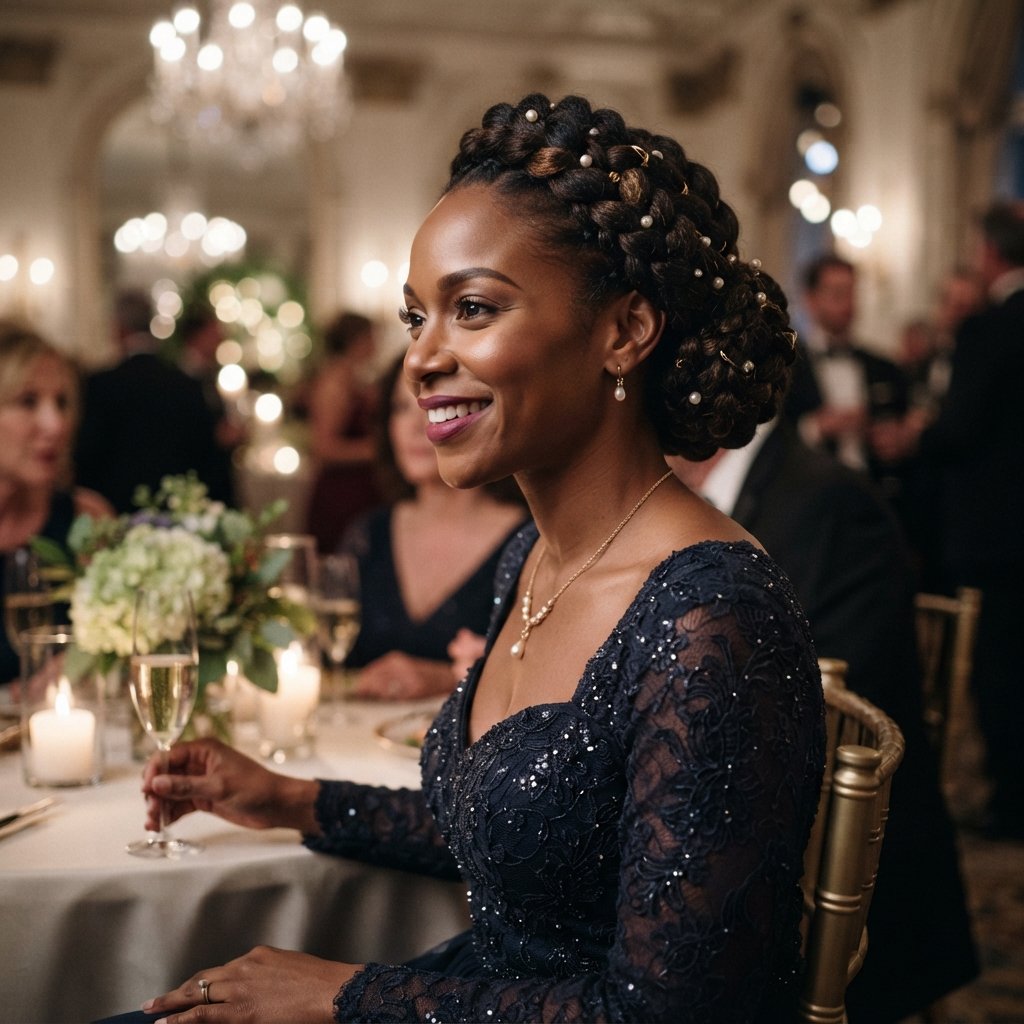
A braided updo does not have to be complicated. Braid two sections, wrap them at the back, and pin them into a low, full shape.
Add one small accessory, like a pearl pin or a gold clip, and let the braid be the star.
Mist with a light finishing spray and you are event-ready.
22. Gold Cuffs and Accessories That Elevate Braids
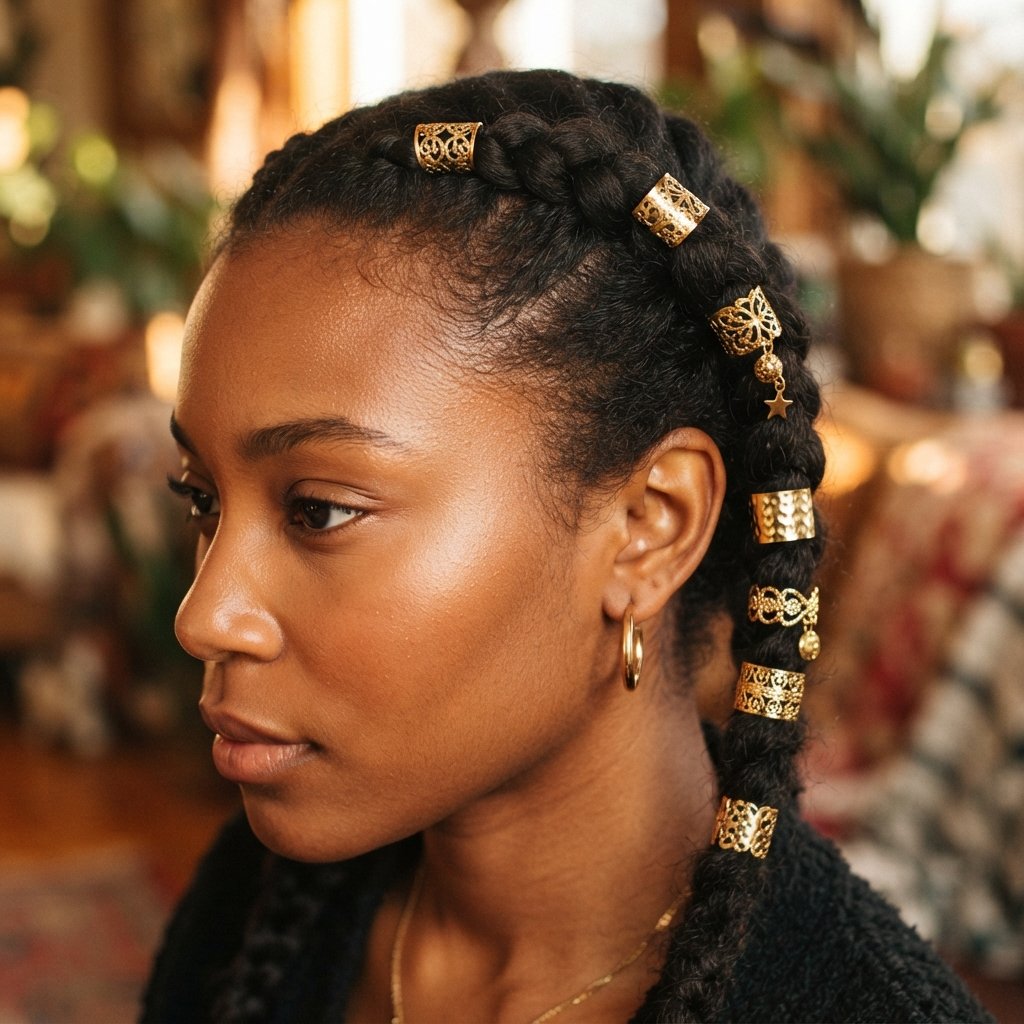
One small cuff can make simple braids look like a whole styled moment. Slip a gold or copper cuff onto each braid about an inch apart.
Keep the braids sleek so the accessories stand out. Skip heavy beads if you want an old money hair feel.
- Gold for warm undertones
- Silver for cool undertones
- Matte finishes for everyday wear
23. Your Weekly Dutch Braid Rotation
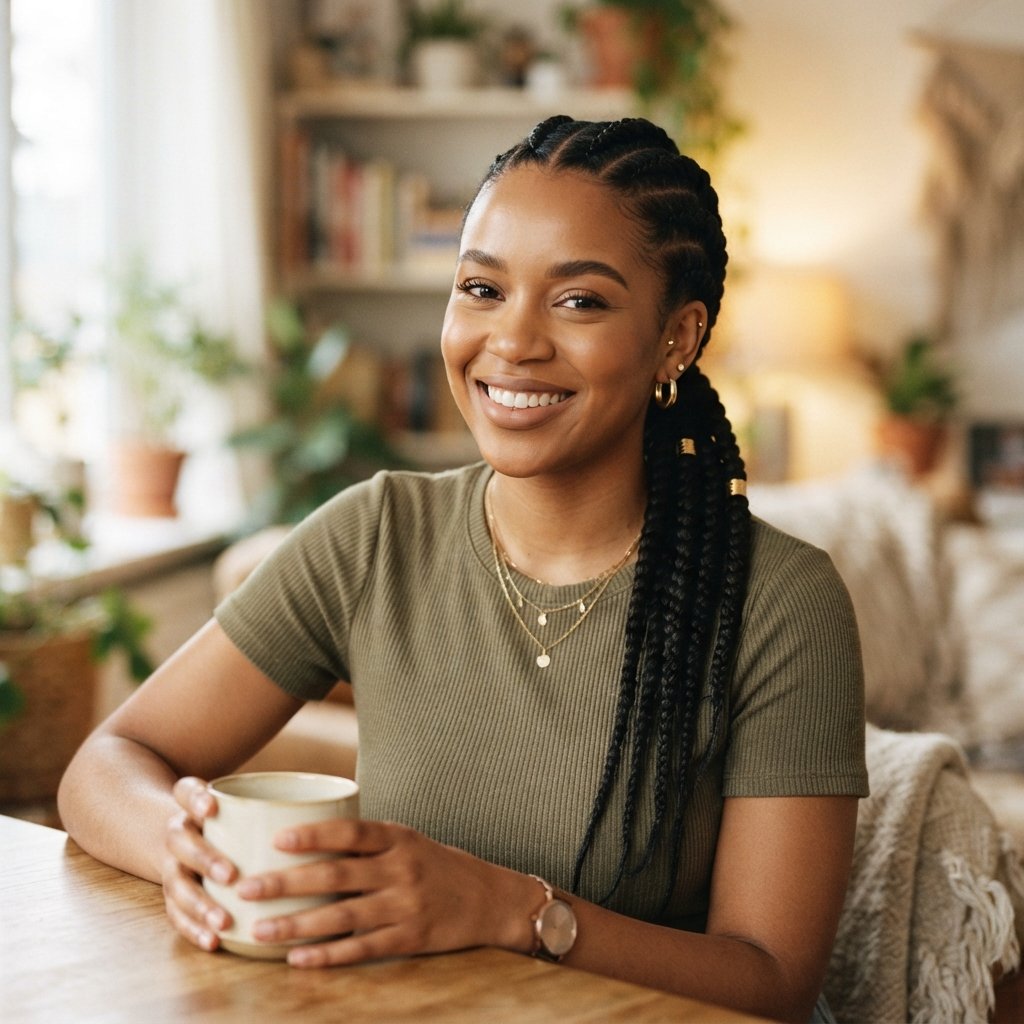
A tiny rotation saves so much time. Here is how I plan mine:
- Sunday: fresh two Dutch braids
- Tuesday: wrap into a low bun
- Thursday: pin into a half-up style
- Friday: take down, oil the scalp, and let your hair rest
Planning ahead means fewer rushed mornings and healthier hair. Simple as that.
24. How to Make Dutch Braids Last Longer

Braids last longer when your nighttime routine is gentle. Cover them with a satin bonnet or wrap so friction does not rough up the surface.
Oil your scalp every two to three days with a light oil, and do not scratch. If the braids feel tight, loosen them instead of waiting it out.
- No heavy products on the braids themselves
- Rinse-free cleansing spray for the scalp
- Take them down after four to six weeks
25. 2026 Hairstyles: Dutch Braid Trends to Watch
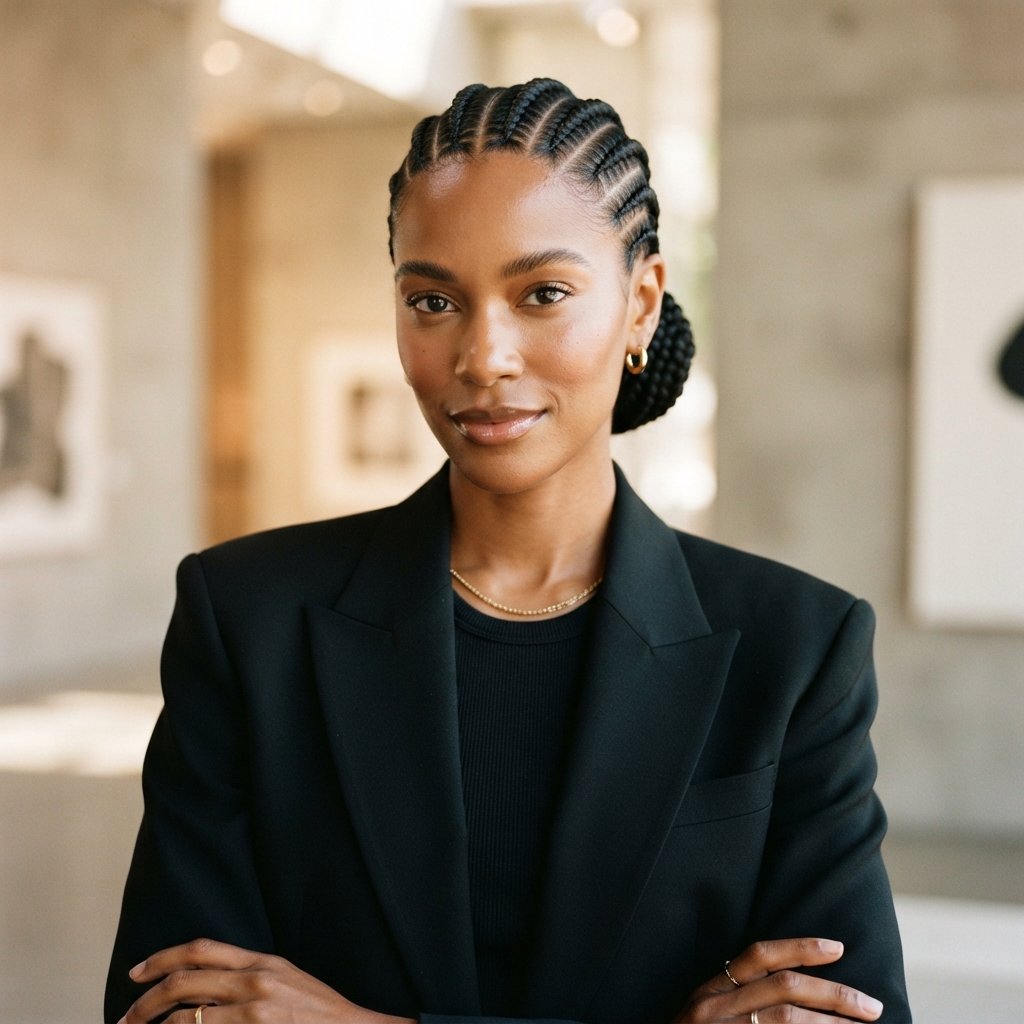
For 2026 hairstyles, expect braids to get cleaner and more sculpted. Think flat roots, sharp parts, and one bold detail instead of ten.
We are also seeing more mix-and-match: a quiet luxury bob illusion on one side and a soft trail of goddess curls on the other.
Texture is still in, but polished texture. Keep your braids neat, your edges soft, and your accessories small.
26. A Quick Product Checklist
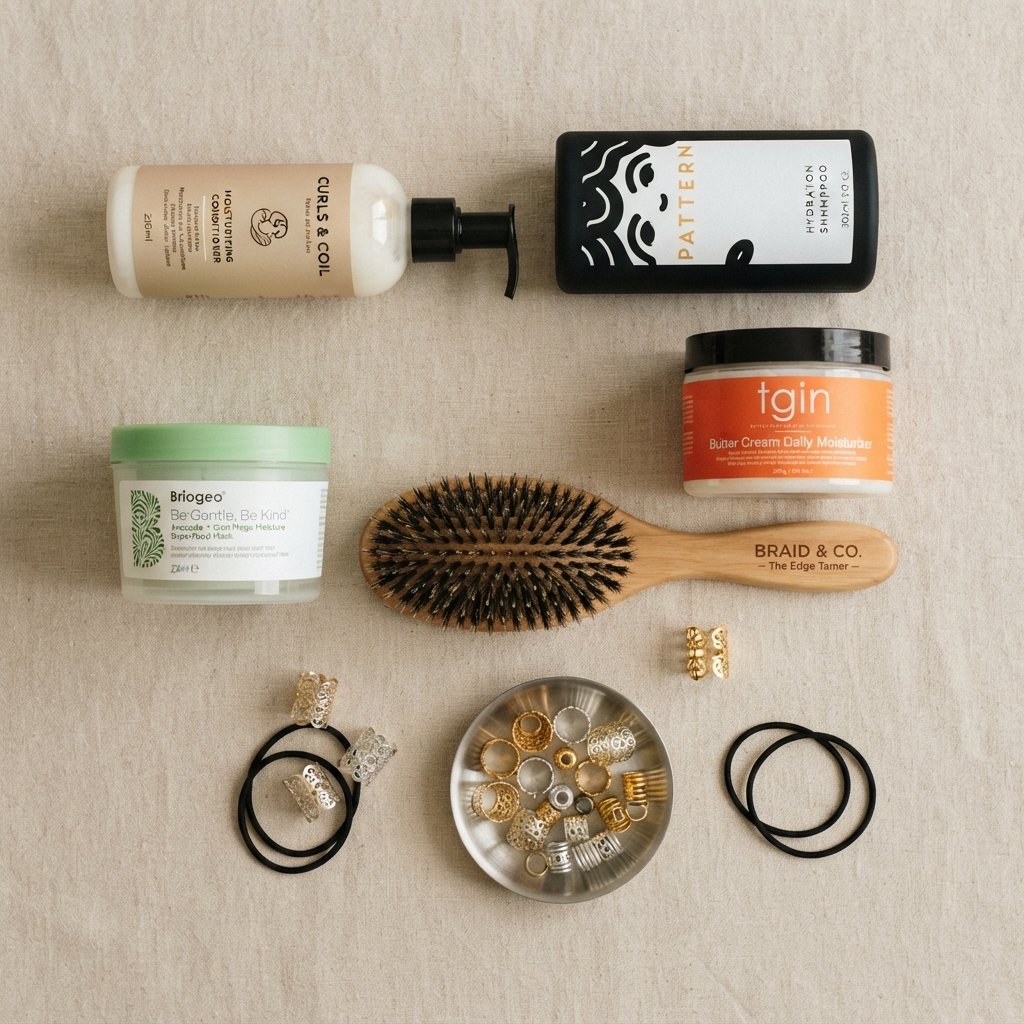
You do not need a full shelf. These few items cover almost every Dutch braid style above.
- Light hold gel for partings and edges
- Leave-in conditioner for the ends
- Lightweight oil for the scalp
- Clear elastics and matching bobby pins
- Satin bonnet for the night
- Small gold or silver cuffs
Start with these and add more only if you braid often.
Before You Go
Dutch braids are one of the few styles that work hard for you — they look polished, protect your ends, and buy you back your mornings. You really only need one good version to start.
Try the classic two braids first. Once that feels easy, layer in the bun, the ponytail, or the gold cuffs. Small changes, big difference.
And if your braids turn out a little imperfect on the first try, wear them anyway. That is how everyone starts.
Save this post to Pinterest so you have these Dutch braid ideas ready the next time you sit down to style your hair.
Tell me in the comments: which one are you trying first — classic, goddess, or the braided bob? I read every single one.
— Hailey & Team

